This is a frustrating post because I can look back now and see all the wasted effort and time, but that's all just part of building a custom car. My master cylinder is mounted under the floorboard and the arm that attaches the brake pedal to the master cylinder needed to be modified. I wanted it to go through the original hole in the floorboard and worked for several days trying to come up with a way to make it work, but the very simple fact is, it will not work. There is absolutely no way to make this happen because the brake arm must have a certain amount of travel exactly below the pedal and unfortunately this means the pedal arm must go down from the hole in the floorboard a specific amount at a specific angle to allow a safe direction and feel for the brake pedal. In every scenario, this means the arm will come in contact with the transmission, so I am going to have to relocate the arm and I am going to try to have it enter the floorboard through the old clutch pedal hole. I really do not like when the brake pedal is on the left side of the steering column because that usually means to move your foot from the gas pedal to the brake pedal you must lower your foot under the steering column and go back up to hit the brake pedal. This is annoying and dangerous. Because of this, I am going to change the angle of the steering column and raise it up, allowing it to be far and clear of any interference from feet. But, here are some pictures of the last week or so of work I did attempting to make the pedal fit in the original brake pedal hole.
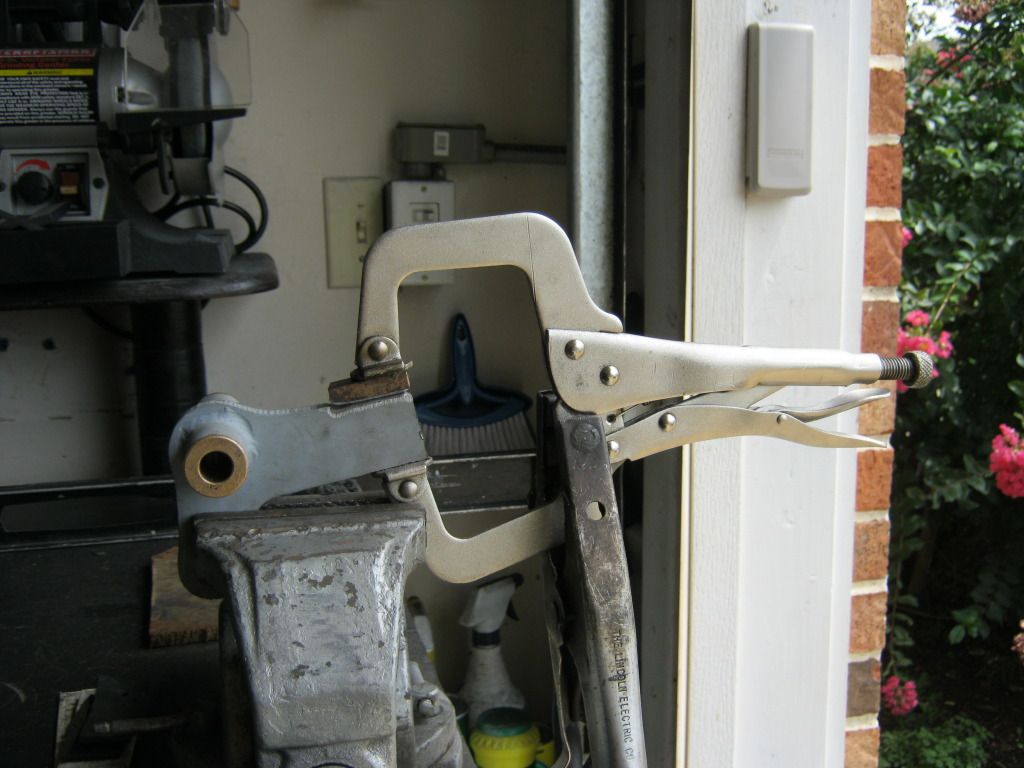
I removed the brakes and set them up in the vice to get measurements on the movement of the brake arm. The arm would not move and could not be installed as it was in the car, so it had to be removed. Not all of it was a waste, because a lot of the cutting and shaping would have been necessary regardless of where I moved the pedal arm.
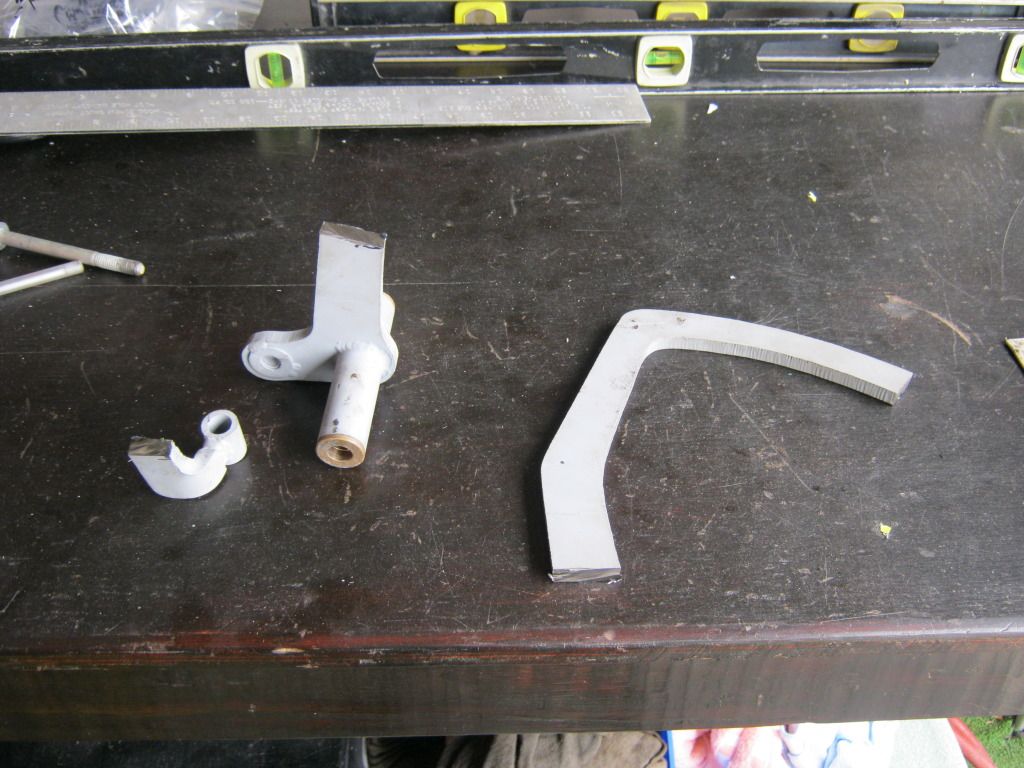
The arm will not fit through the floorboard with the end attached so I am going to have to make it a removable piece.
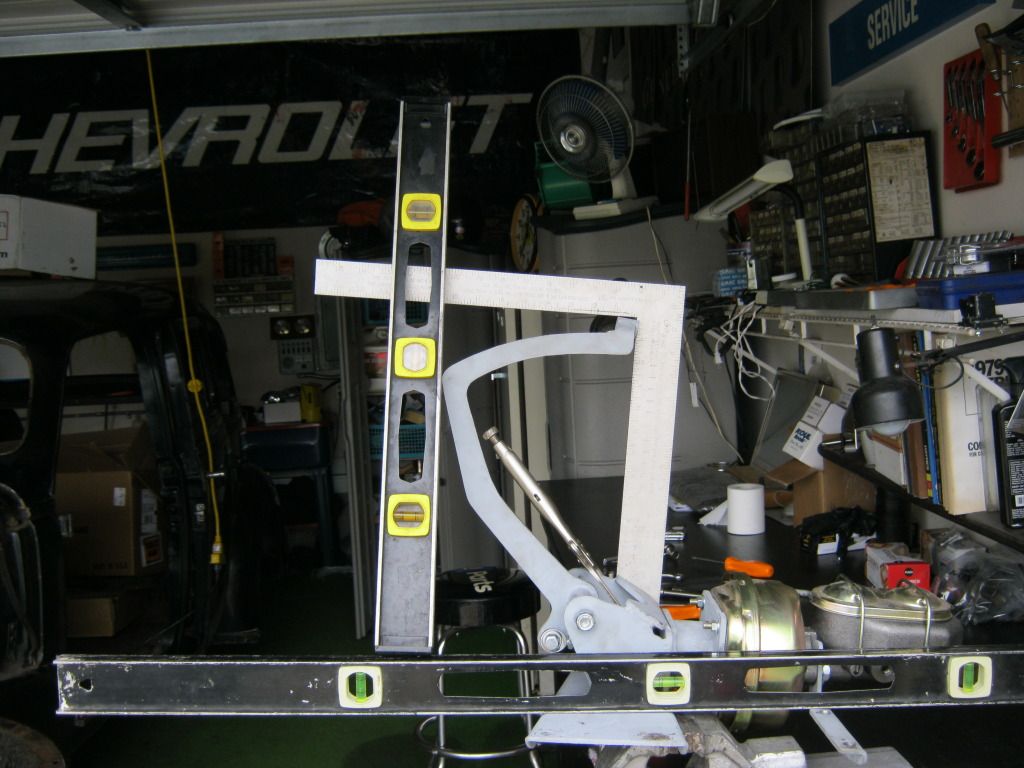
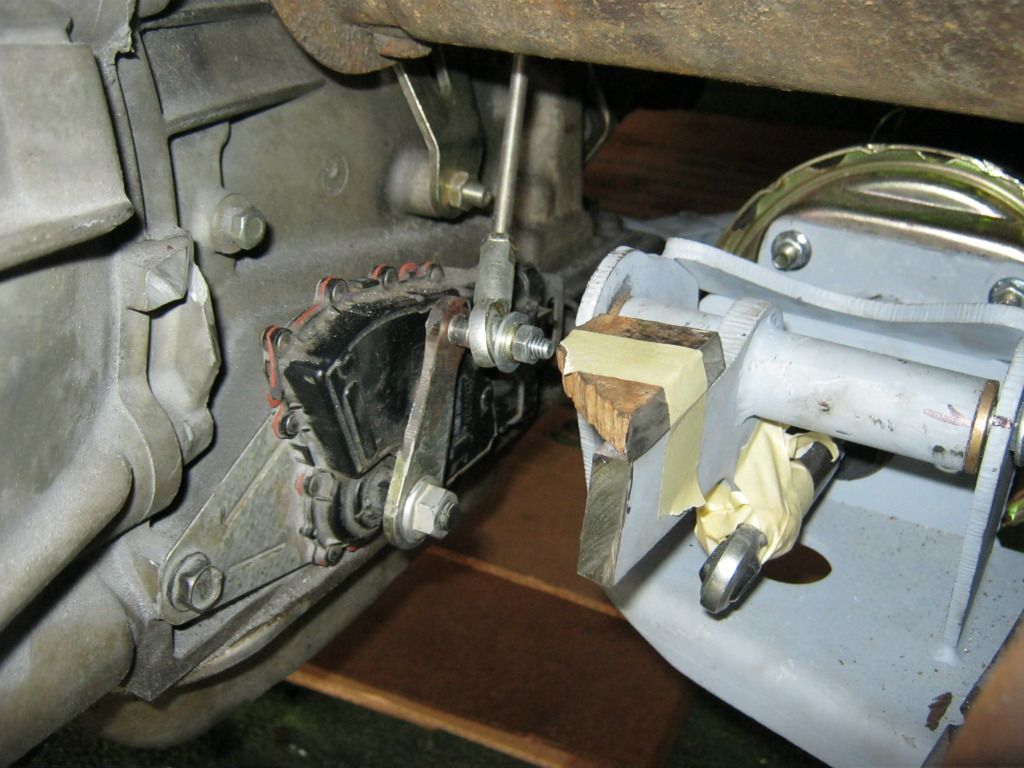
I had April use a marker and mark where the assembly would be when the pedal was fully depressed so I could get an idea of what dimensions I was dealing with.
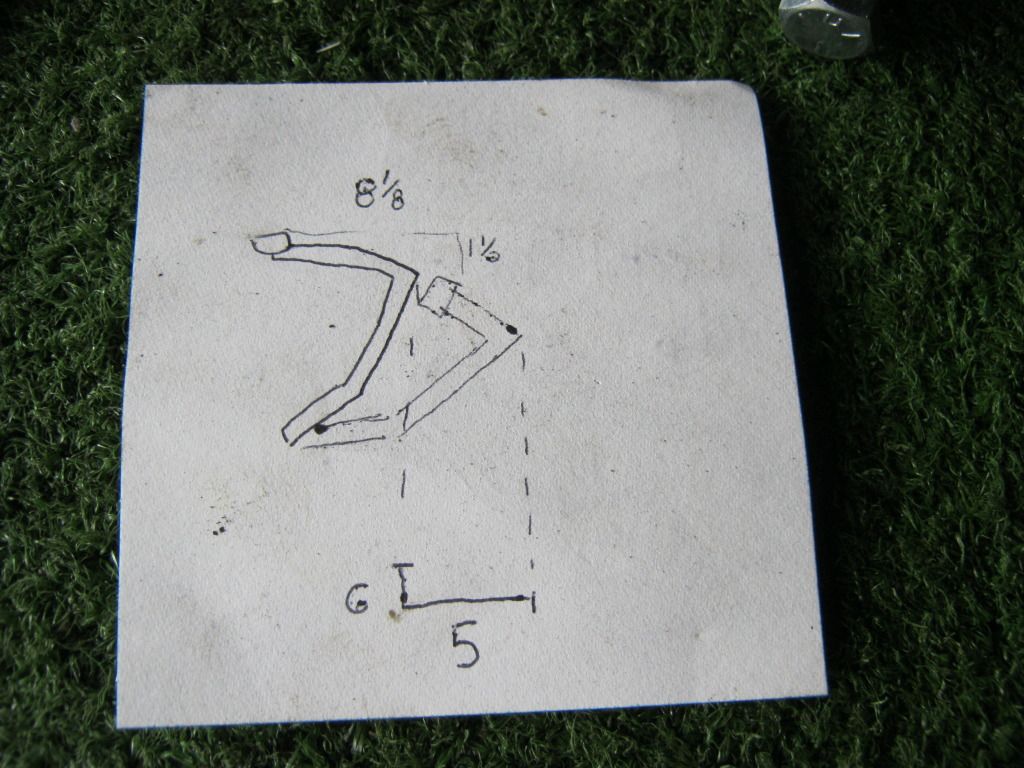
Here are my amazing blueprints
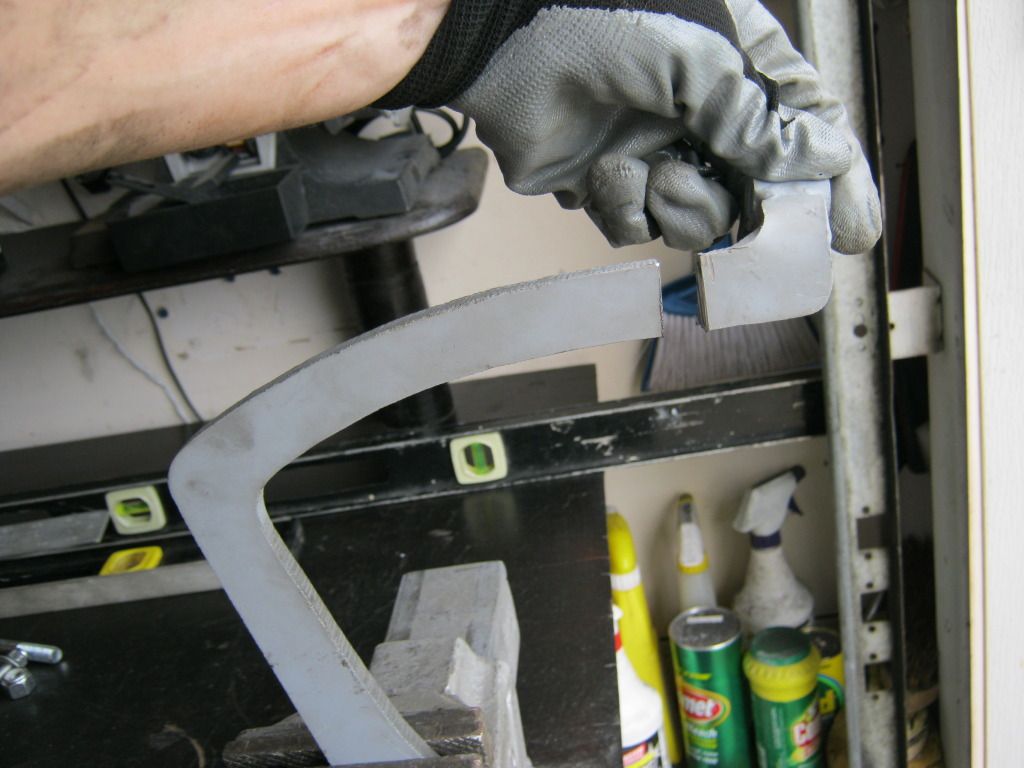
I had to add some length to the top of the piece so I used this method to determine how much.
Here's the extra piece as I prepare to weld it on.
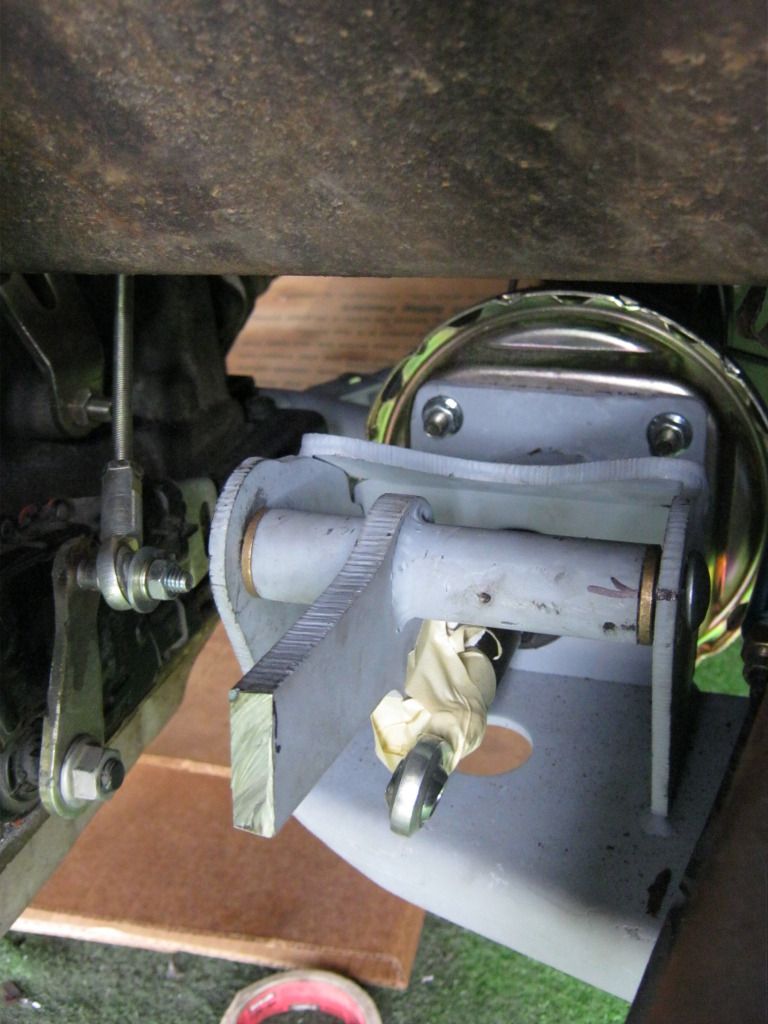
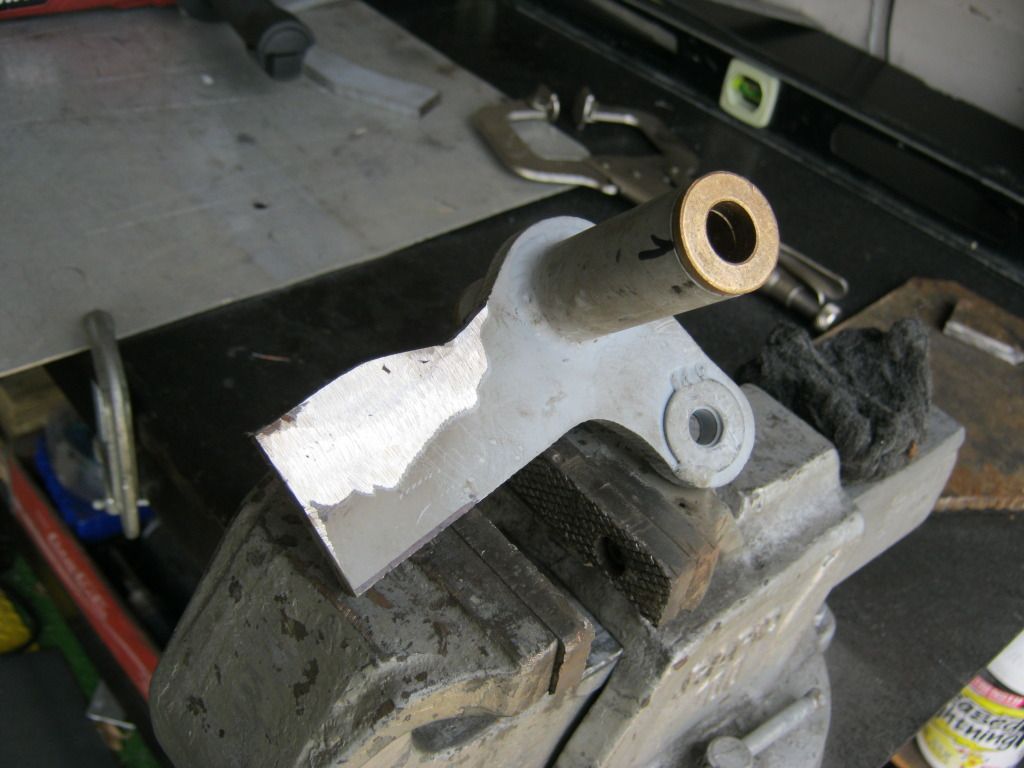
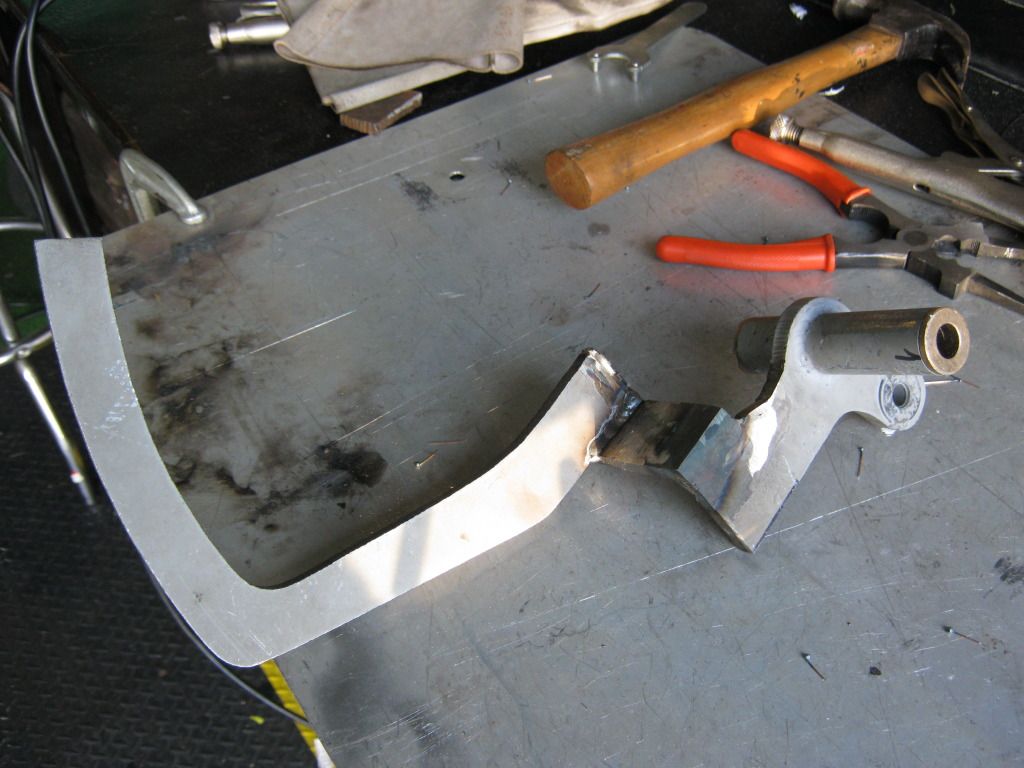
And here is the finished result.
I eventually ended up with this. This was not going to be the final result. I was going to smooth out the corners and add several gussets for strength. Now I'm going to have to cut this up and relocate the arm to the other side with different measurements, which means I'm almost starting all over.