Tuesday, March 19, 2013

Cowboys and Engines

I put the question out on the intrawebs and got a positive response.  The hole in the transmission was designed to be there to let the fluid drain back.  This was a massive relief.

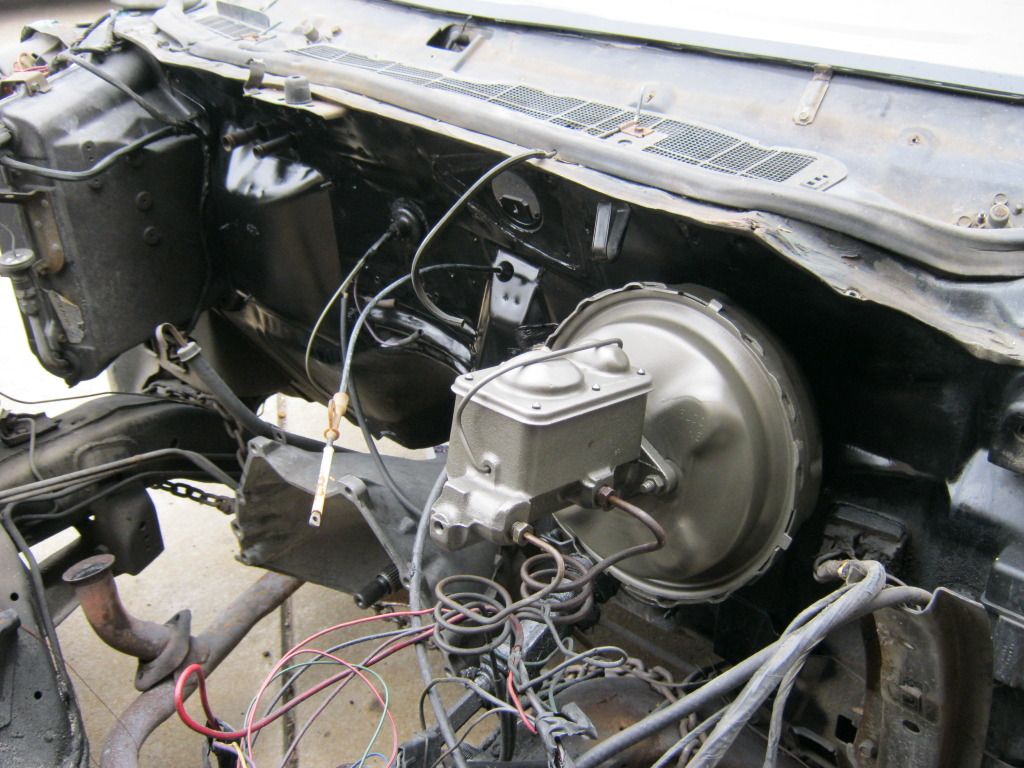
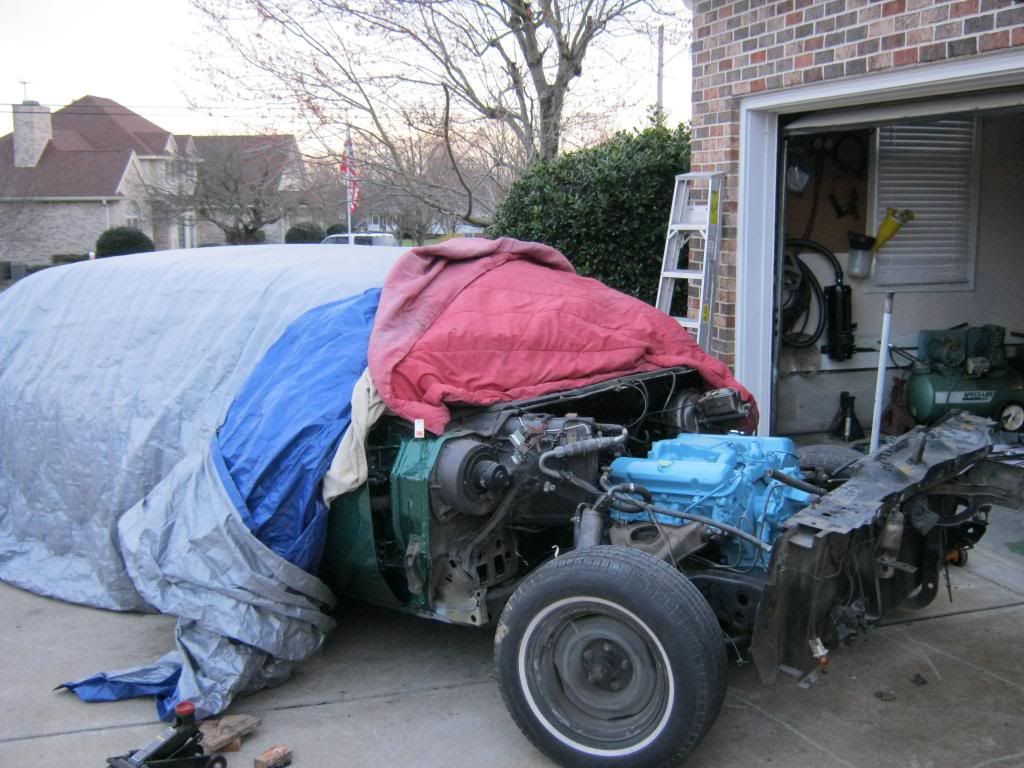
Today I was finally able to install the engine.  It would be an understatement to anyone who has never installed an engine to say it was easy, but it would be an exaggeration to anyone that has put an engine in a car to say that it was hard.  There were difficulties and problems to be solved as there are with any engine installation, but relative to installing an engine in general, it went pretty smooth.

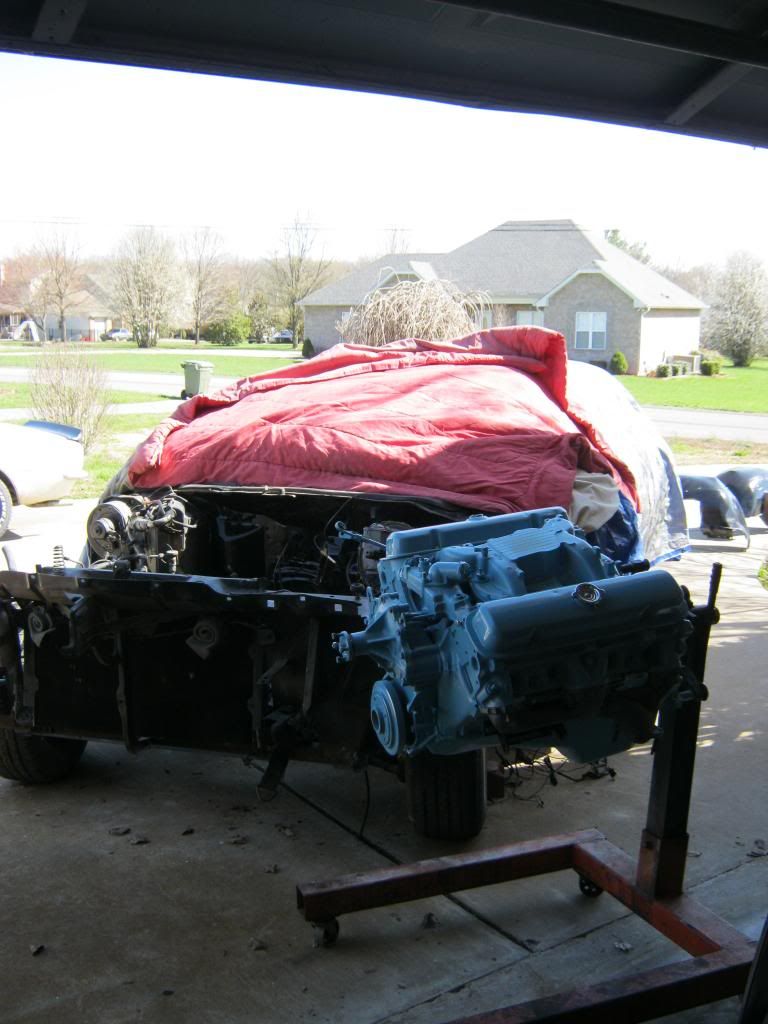
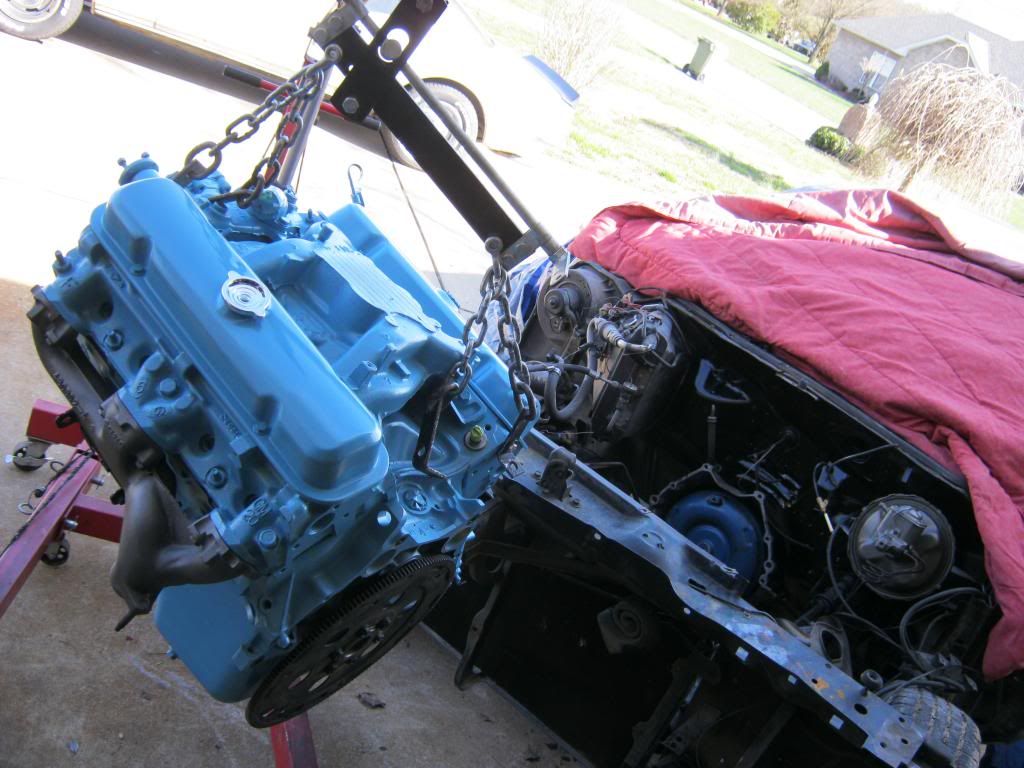
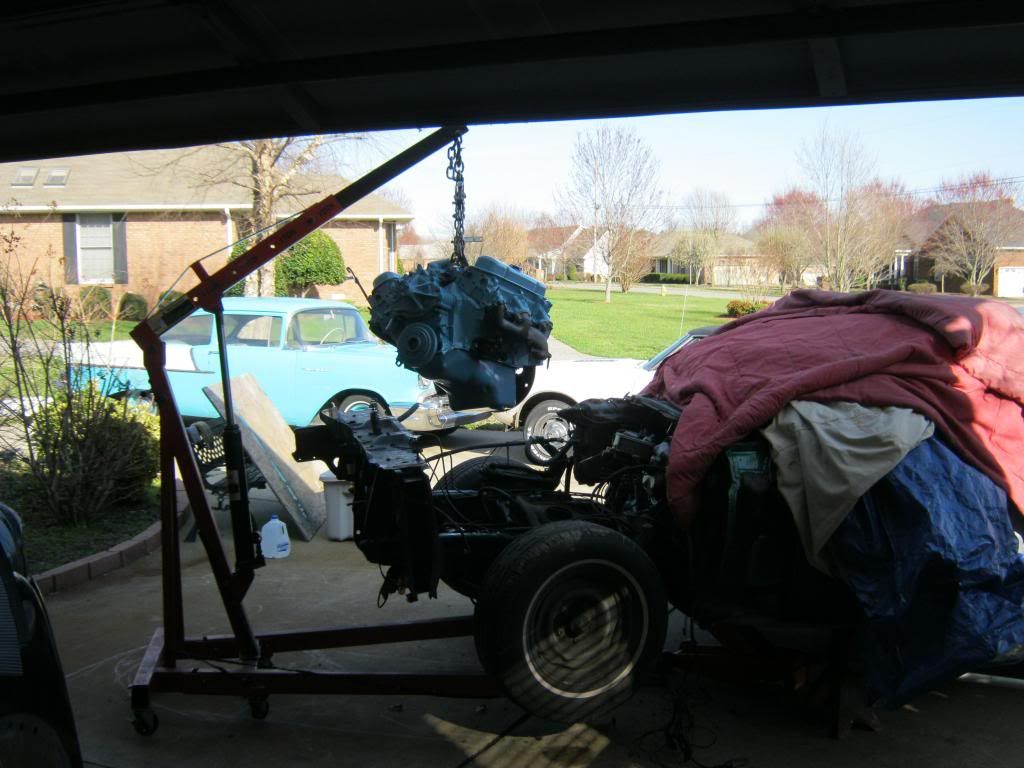
First I had to check a cylinder through the spark plug hole.  A while back one of the pieces of tape that I used to plug the spark plug holes for painting disappeared.  I made the pieces cone shaped around the end of my finger, so I didn't see how it could have fallen in, but I wanted to make 100% sure it wasn't in there.  Fortunately it wasn't.  This involved mounting the front pulley so I could turn the engine over.  Then I moved the engine on it's long journey to the front of the car.  This was actually more frightening than it sounds.  There was so much weight on the old engine stand you could see the strain and any movement would cause a slight bouncing up and down.  It felt that at any second it was going to break and try to crush my foot.  The worst scare was pushing it over the lip in the garage.  It's quite a jolt for so much weight.

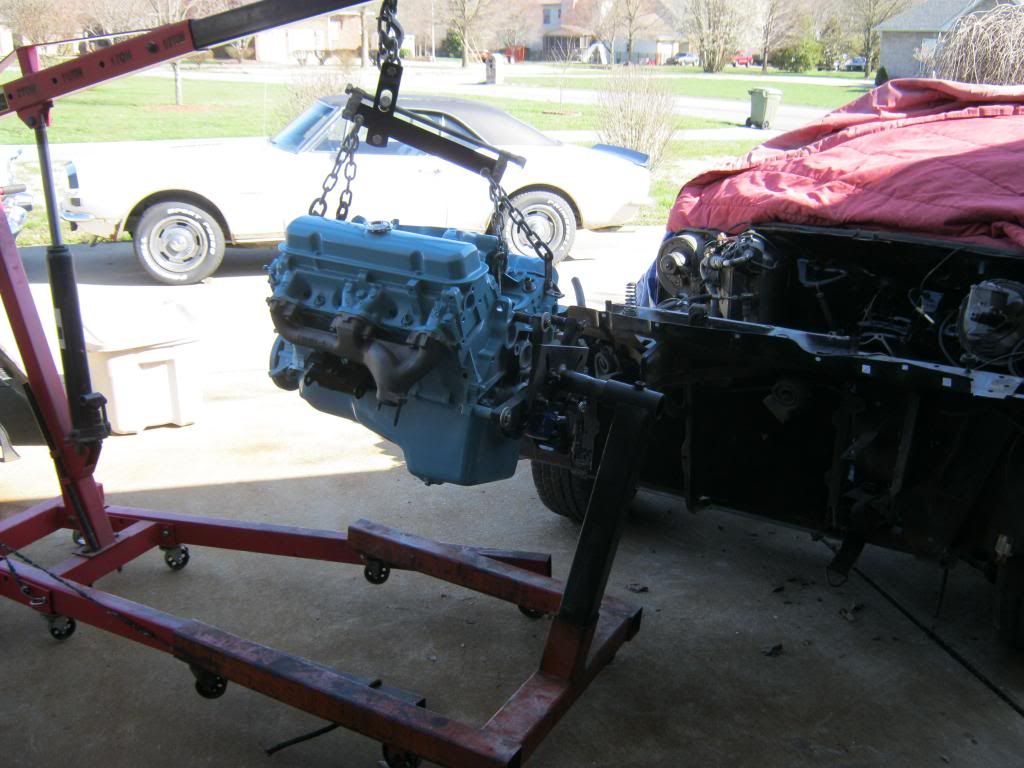
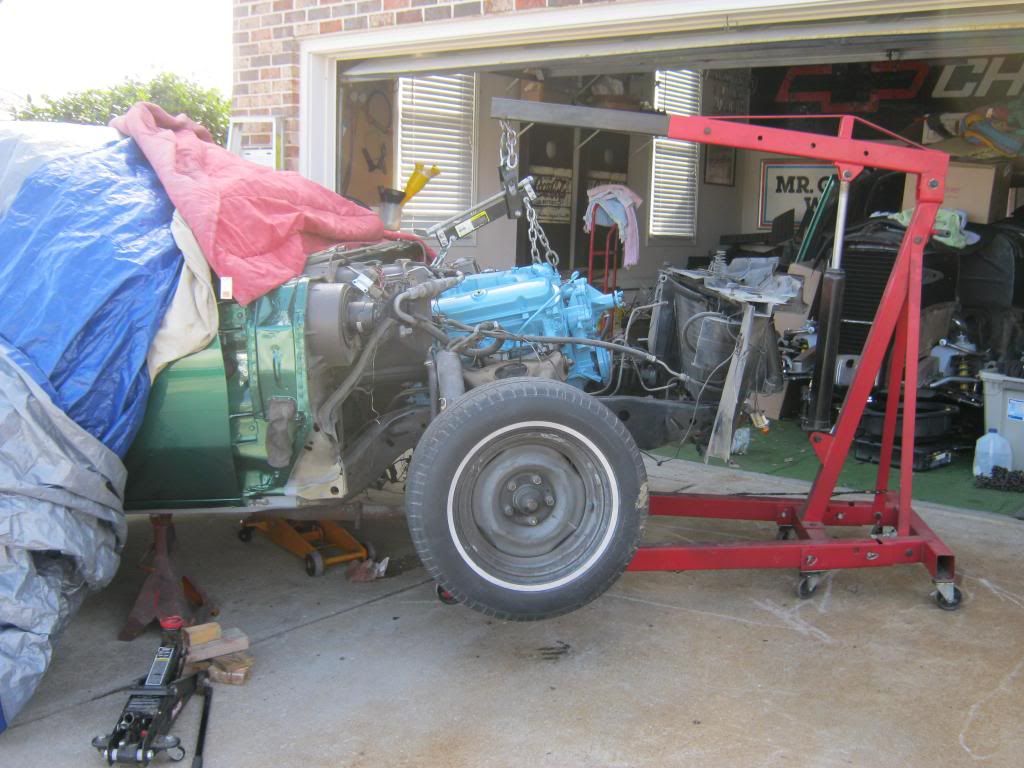
Next was getting the engine onto the hoist and off the stand.  Pulling the stand off of the engine mount was also something that proved to be fairly difficult this time around.

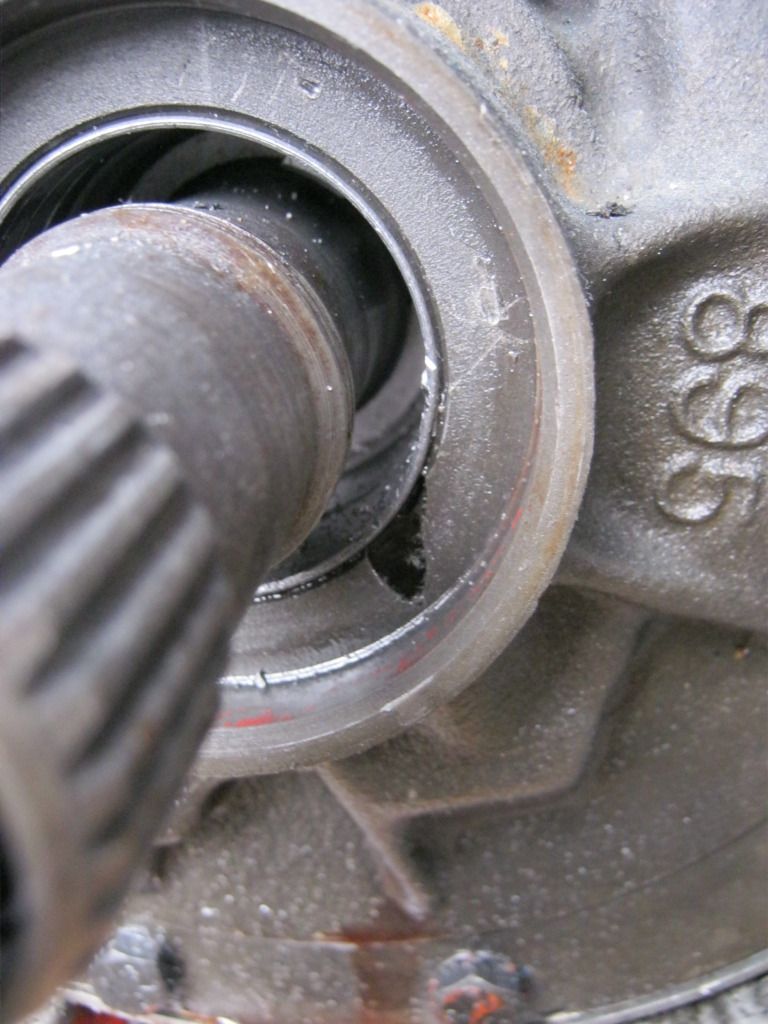
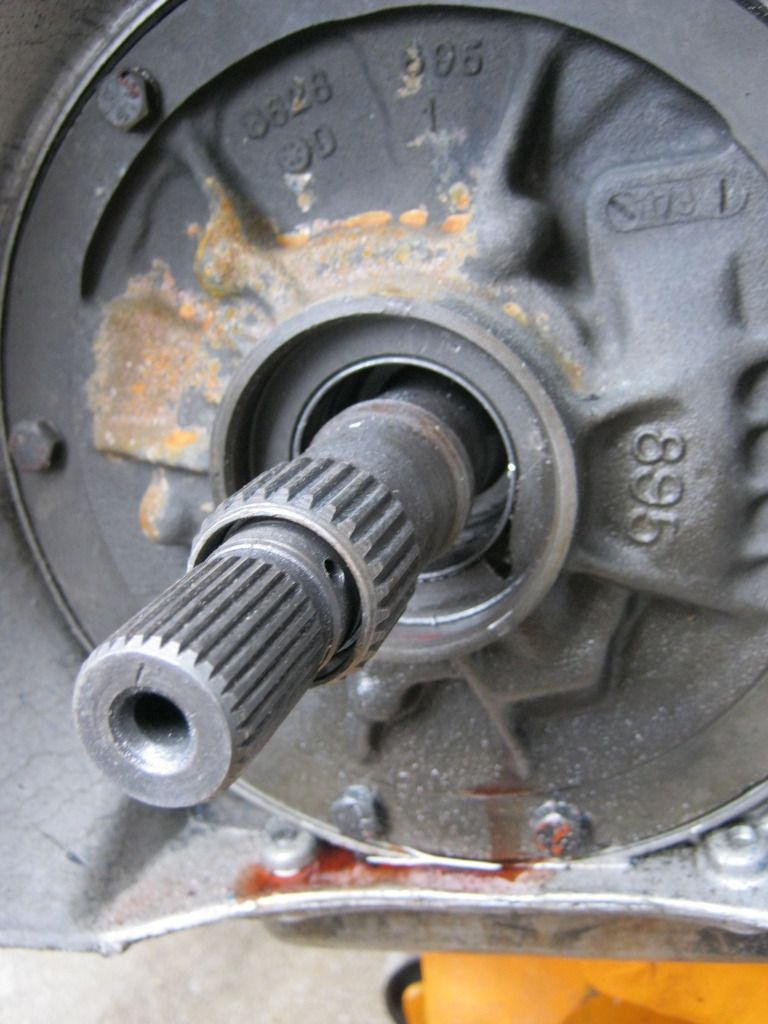
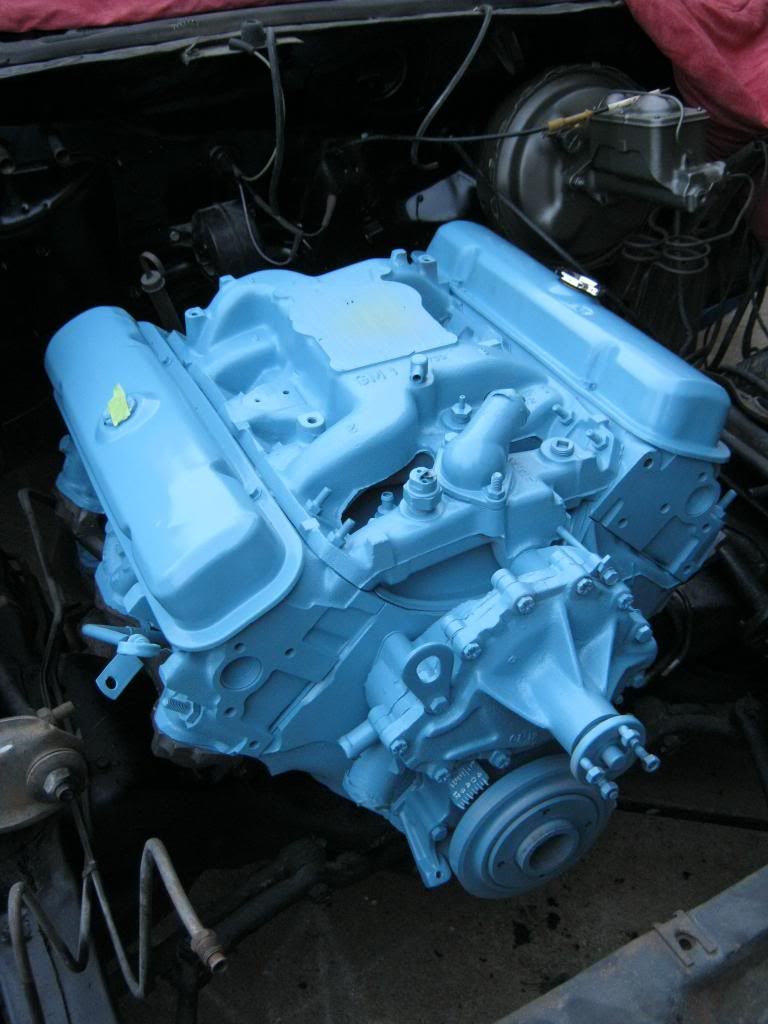
After getting the torque converter securely pushed back into the transmission I installed the flywheel, remembering to put the shim back in place behind it so the starter will line up.

I had forgotten that when I removed the engine I had to jack the car up because the lower control arms block the legs of the hoist from sliding under the car.

This meant that the transmission was too high for my little jack to reach so I had to use the large jack.  Later, I would have to use several blocks of wood to get the small jack to contact the engine to give it a nudge in the right direction.  Fortunately my neighbor Craig was walking by right as I was beginning to sit the engine in.  He stopped by to check the progress and helped me guide the behemoth into place so I could start the top two bell housing bolts.  I was very thankful he stopped by because the engine was sitting sideways and at an angle as it dangled from the hoist.  It would have been very difficult to twist and pull on the engine while started the first couple of bolts.  I tried to hurry because I know he likes to keep his heart rate up while walking.

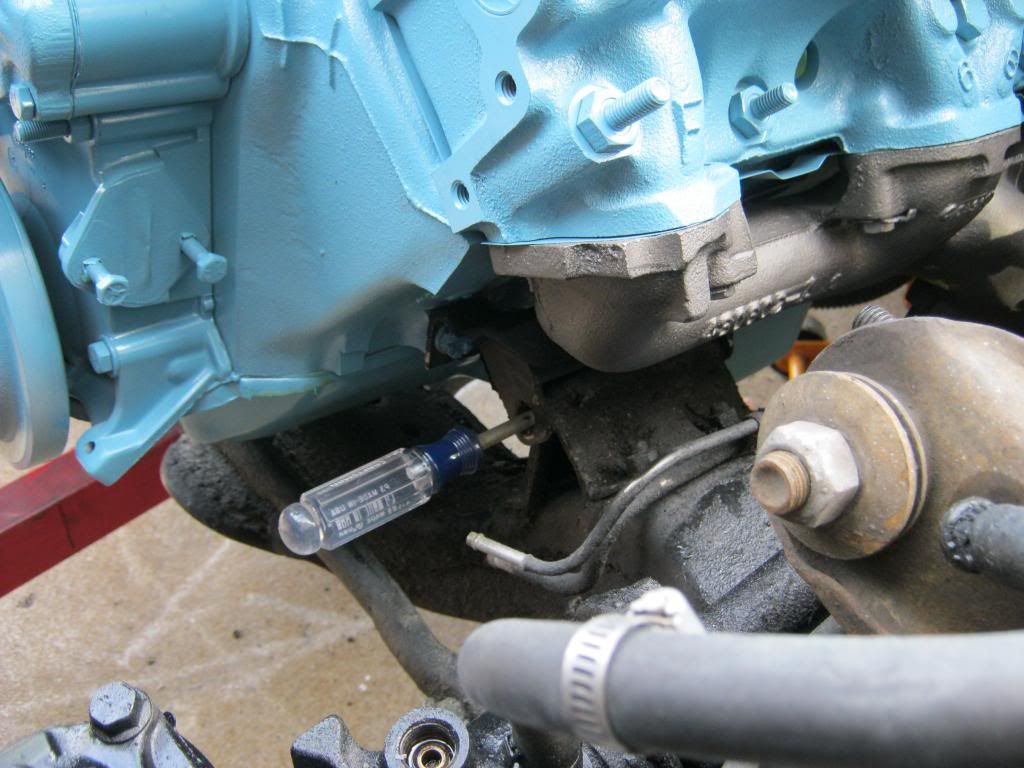
After getting a few of the bell housing bolts started I lowered the engine hoist and the transmission jack.  The passenger side motor mount made contact so I got it mounted first.  It went in with surprising ease.  The driver side took a bit more work, but compared to how much trouble these can be, it was fairly simple.  When I was able to run a phillips head screwdriver through the holes I knew I was very close.  The mounts have two tabs with a nut welded to one end.  Fortunately I thought to test fit the long motor mount bolt before I tried to install the engine.  The tabs on both mounts were not lined up properly and it took some time with the vice to get them bent to a position that would allow the bolt to go through the first tab and screw into the nut on the other side without cross-threading.

I had rotated the flywheel to match the position of the torque converter to help pre-align the bolts.  I was off by about two millimeters.  It was very close but the bolts wouldn't start, but it didn't take a lot to get it where it needed to be.  After getting the converter tightened up I finished the bell housing and motor mount bolts, making sure to tighten them in a series and double checking everything after they all finally tightened up for the last time.

And she's finally home.  I hope she stays there for a very, very long time.

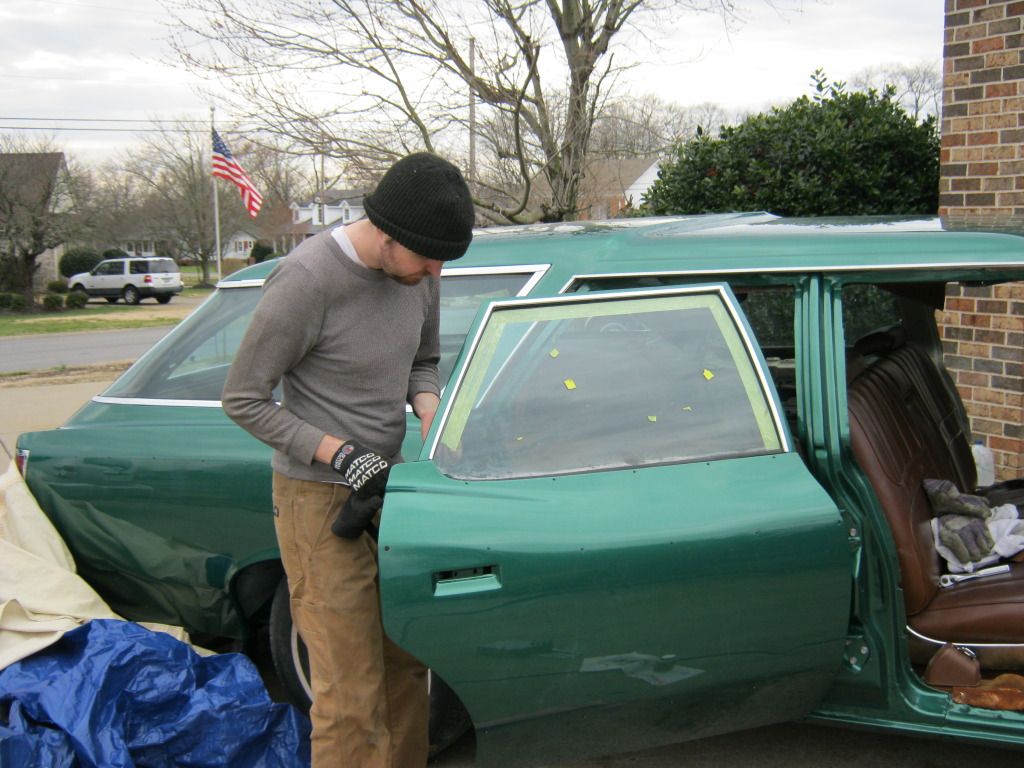
I also found out today that the guy who ordered the headliner and was going to install it died of a sudden heart attack last week, so I will have to find another upholstery shop.


Thursday, March 14, 2013

Holes Can Be Bad

Today I changed the front pump seal on the transmission just as a precautionary measure.  When I got the old seal out this is what I found.  I'm honestly not sure if I caused this or if it was already there.  I'm trying to look into this and get an answer as to whether this will be detrimental to the transmission.  It appears to me this would simply cause the fluid to flow out, but it could be that the seal will keep things contained.  Either way, it would be better if it was not there and I'm a little scared this could be big, bad news.

I didn't have anything to slide over the shaft to hammer on the seal so I hammered it little by little, keeping each side as square as possible until it fully seated.  I called a mechanic down at the dealership and he said that he installs these dry, with no sealant on the outside diameter.  I did put a small amount of lithium grease on the inside rubber, though.

Today the booster and master cylinder that I ordered last week came in.  The computer at the parts house said that it was "coated" to prevent rust, but I have had these rust shortly after installation so I painted it cast iron.  By the time I finished the transmission seal the paint was dry so I mounted it back on the firewall.  The hardest part of putting it back on was getting the peg on the brake pedal inserted into the shaft on the booster.

Wednesday, March 13, 2013

Clamhorn

Today I installed the rear passenger door weatherstrip.  It went on similar to the other.  I installed the door bumpers after the rubber.  I bought these new on the internet because several of the old ones were missing.  Though in comparison to the entire project they don't cost much, they are still very pricey for what they are.  It is the small things like this where the companies that sell these parts really make a profit.  I have had experience with parts like this causing a lot of grief while trying to install.  Now anytime I put things like this on I coat the part that is inserted with grease.  It makes the job much easier.

The adhesive used for these rubber strips is very messy.  It is very stringy and flows from the tube even after you stop squeezing so the easiest and cleanliest method to apply it is with a brush.

Right as I finished this door a friend of the family called.  Her son had locked his keys in his car in Nashville while at the hospital.  She was at home because she has had cancer and has been in for treatments, so I drove up to country to his house, got his spare key and then continued on to Nashville to take it to him.  Since I knew this would mostly wrap up any further progress on the car today and I already had my dirty work clothes on and I knew I would be very near the Pull-A-Part I loaded my toolbox, coveralls and a few supplies in the car before I left.

There were two things I wanted to pick up at Pull-A-Part.  Because Park Avenue Buicks were so plentiful in the 90's there is always an abundant supply of them at the junkyard.  These were good cars in their day and it was common to see them with well over 200,000 if cared for properly.  I had been thinking about putting some of the optional dual-note horns that I had previously installed on my motorcycle on The Clam.  They have a great sound, like a mini-train horn.  Perfect for the inconsiderate and often dangerous drivers that have migrated to this area in the last 10 years.  The last time I was here I remember walking past a Park Avenue Ultra and noticed it had the four horns.

Before I went for the horns I started in on the back window in this '77 Caprice that I had also noticed the last time I was here.  There are some four doors available, though I see far fewer than I used to, the two door coupes have become quite rare.  Yet still harder to find are the 77-79 model years that were used in Nascar, hence the Aerocoupe back window.  These cars are very popular with local dirt and small track race car drivers.  This is a good and bad thing.  It means a handsome supply of the cars have been destroyed by the racers and typically, they just bust the back window out while preparing them.  The small benefit is that because the racers do not care about many of the extra parts on the car, if you can catch them before they prep a car they will let you take off a lot of the parts and sometimes just give them to you.  It saves them work most of the time.  I already have one extra back window that I was given by a racer.  This one had the rear defroster option.

After cleaning all the garbage out of the trunk and interior, it was very difficult to remove the window.  I had a box cutter that unfolds like a knife.  With these types of windows you have to cut through the thick rubber by making continuous cuts along the same path over and over until you are able to cut all the way through and separate the glass from the car.  Before I was finished the box cutter itself actually broke.  The internal piece that holds the blade in the handle broke.  I had already spent a long time inside and out working on getting this window out.  I decided to go for broke, quite literally.  I literally prayed that this window would hold together and it seems my prayer was answered.  Because I had no other suitable tools to remove a window I had to break almost every single rule about removing a window.  I began prying it out with screwdrivers, little by litter.  I even used a hammer to chisel the screwdrivers through in places where I had not finished cutting.  When I was finally able to get my hands under the bottom edge the window actually flexed and I thought for sure it was going to break.  Eventually I was standing on the trunk prying up on the window and got it lifted almost straight up, but the top was stuck with the very strong glue causing it to act like a hinge.  I tried prying and yanking.  I was afraid if I wasn't careful and it gave way I would fall off the car, which was already higher in the air than normal by being jacked up off the ground, and break the glass or my neck.  I finally asked a few helpful guys passing by if they would help me grab one side and pull.  They happened to have another box cutter and held the glass up while I trimmed the last pieces off.  It was a windy day and it was actually somewhat difficult to carry the glass to the car without the wind catching the glass and making me drop it.  I wanted to scavenge more parts from this car before she gets crushed, but as you'll see, I didn't have time.  Notice the footprints on the roof and trunk.

As it turns out, an Aerocoupe back window will fit in the trunk of an Aerocoupe.

When I went to go back in the on duty police lady said they were closing, but I didn't have the horns yet.  She had just seen me walk out with the window and was curious about it due to it's odd shape, so she had asked me some questions about it.  Fortunately, she recognized me and I told her I just needed to grab a horn.  She said I had better hurry because she would be coming to run me out in just a few minutes.  I got all the way to the horns and realized they were metric.  I couldn't get any of my sockets to fit so I literally ran back to the car and by this time they had turned the automatic doors off at the entrance to the junkyard so I manually opened them and ran back to the horns and I'm pretty sure I set a record for removing four car horns.

The window was pretty difficult to get out and my back is really killing me tonight.


Tuesday, March 12, 2013

Strikers

Today I installed all the door strikers.  This of course is a trial and error process where you mount the striker, close the door slowly, see if anything will rub and then open the door and make small adjustments as it goes.  This was compounded by the fact that I don't have any exterior or interior door handles.  I don't want to install the exterior door handles before the woodgrain is applied, which meant I had to make sure that one door was open at all times so I didn't get locked outside of the car.  It also meant I had to go around the car and slide through to open the door each time I closed it.

I did eventually install one door handle on the driver's door so I could at least get access inside in case all the doors closed at once.  Also, without an exterior door handle I couldn't have put the striker on the driver's door because that could have led to all the doors being shut at once by accident and I knew for the door seals to set up correctly all the doors will have to be latched.

I put the door weatherstripping on the rear driver side door.  Before installing it I used a trick I learned at the shop where I used to work.  I laid an outline of tape around the area the weatherstripping will be glued to and scuffed it with sandpaper.  This gives the surface a good texture for the glue to hold.

Unfortunately the directions were confusing so I ended up installing a few of the snaps into the wrong door before I realized it.  The directions the company sends are for front doors, though the package is labeled rear doors.  When I laid each weatherstrip out and looked at it I put the top 90 degree bend where the instructions said and then also inspected and saw that the bottom curvature seemed to match up.  It did not occur to me that on a rear door the top 90 degree bend is on the front side of the window, not the rear.  I didn't realize this until the snaps began to not line up and one pulled out by my efforts to stretch it to its hole.  I removed the pegs and installed the other weatherstripping, which went on much better.  As per the instructions, I didn't glue anything until it was completely installed, then I raised up sections and applied the glue.  Fortunately because of this I didn't have to worry about the glue when I changed the rubber.  I only managed to get the one door rubber finished today.  It is recommended to leave the doors open for an hour before closing them and with rain forecast again for tomorrow and the cold night air moving in I didn't have time to begin any of the other doors.

Monday, March 11, 2013

More Doors For the Four Door

The weather has been absolutely terrible for the last two weeks.  April ended up getting sick and then gave it to me.  I had to deliver a car to Biloxi, Mississippi while sick so that extended my sickness for almost a week.  That is when the cold air, constant rain and unstoppable strong winds started and they didn't stop for almost two weeks.  Because The Clam is now at my house with only one door and no dog house it has been necessary to keep it wrapped up tight underneath a tarp.  The winds have been so strong that even if the weather had been nice I couldn't have managed the tarp by myself.  Because of this I haven't been able to make any significant progress in the last two or three weeks.

One Saturday, because of the weather, April and I went on a small road trip to west Tennessee.  My computer is getting very old and besides becoming insufferably slow it has begun showing signs of hardware failure.  I'm going to have to buy a new one.  Fortunately my friend Nick loves building computers so he is going to help me order the parts I'll need to build my own.  Realizing this I decided I would rather have a computer that I enjoyed looking at so I started searching the internet for antique radios for sale.  After about a month or so I finally found this 1940 Zenith model.  Typically these sell between $200-$600.  The guy who had this for sale just didn't want it anymore and had it listed for $30.  My intention is to carefully remove all the parts and store them.  In the meantime I am going to install my computer inside this encasement.  I have already designed a shaft with the help of my neighbor Craig and his mill that will allow me to mount the button on a spring loaded shaft to turn the new computer on and off and hopefully I will be able to illuminate the old radio dial when the computer is on with the orange glow of LED lights.

Back to The Clam.  Finally we got two days of dry weather, and the temperature was very manageable as well.  I removed the master cylinder and brake booster to replace them.  This would have been very easy given that there are only 4 bolts through the firewall that they are mounted with, but access to the bottom, passenger side bolt was blocked by the steering column.  Also, although the bolt itself was not rusted, the nuts and backing plate had a small amount of rust that had fused them together and made the initial movement of the bolts very difficult provided how little space there is under the dash to obtain anything that might resemble leverage.  The angle of the picture doesn't truly depict how restrictive the placement of the column really was.  The problem was that the bolt was too long for a regular sized socket and a deepwell socket was too long and interfered with the column.  Also, a wrench could not get a good grip due to obstructions all around the bolt.

After fooling with this for a good part of the afternoon and running out of options, compounded by my failed efforts having slightly rounded off the bolt, I remembered that my friend Tate had bought me this set of special sockets as a wedding gift.  They are designed to remove nuts and bolts that have been rounded off.  Their slight extra length allowed me just enough room to push an extension in the end, though there wasn't enough room for it to click into place.

It's easily assumed when your start putting together contraptions like this that you're getting desperate.  There are adapters there to change between different size drives.

After removing the brake parts I stripped the firewall for a little touch up, bagging and labeling all the parts and screws of course.

After some strong degreaser and wiping it down with brake parts cleaner I applied a coat of heat resistant primer and black paint to the firewall.  I will eventually paint the frame rails but I'm not going to remove the age old grease from the cradle.  Because this car will be a driver, all of that grease is a very useful and needed rust preventative. 

When Saturday came April helped me install the remaining doors.  She's not allowed to lift more than 25 pounds because of the pregnancy so I handled getting the doors in place while she did the other things like lifting the jack and holding the doors steady and I installed the bolts.  This is certainly not a one person job and almost not a two person job.  These doors are very, very heavy and cumbersome.  This door gave us a particularly hard time. 

Eventually, we got it mounted.  I applied antiseeze to all the bolts, as I do with almost all of the course thread bolts I reinstall.


April really, really enjoys removing tape, so she offered to handle all of that, which was actually harder than it sounds.  She also enjoys pretending to be very, very hardcore about it.

The driver door didn't give too much trouble.  In fact, I almost installed this one myself after April held the door steady so I could get the bolts started.  She went on to install the incredibly frustrating gas door.  The shop manual said to remove the hinges from the door rather than the body because it is easier.  I didn't understand why until we reinstalled the doors.  The hinges on the body control the placement of the door on both the X and Y axis, relative to if you are looking at the side of the car.  The hinges on the door only control the door leaning toward or away from the car at the top and bottom, which is much easier to realign.

They may need some more adjustment when it is time to install the fenders, but we hope they won't.  Until then The Clam is a four door again.  I sincerely, with all my being, hope I never have to pick these doors up again.