Thursday, November 29, 2012

Things in my face: Sand and shotgun shells


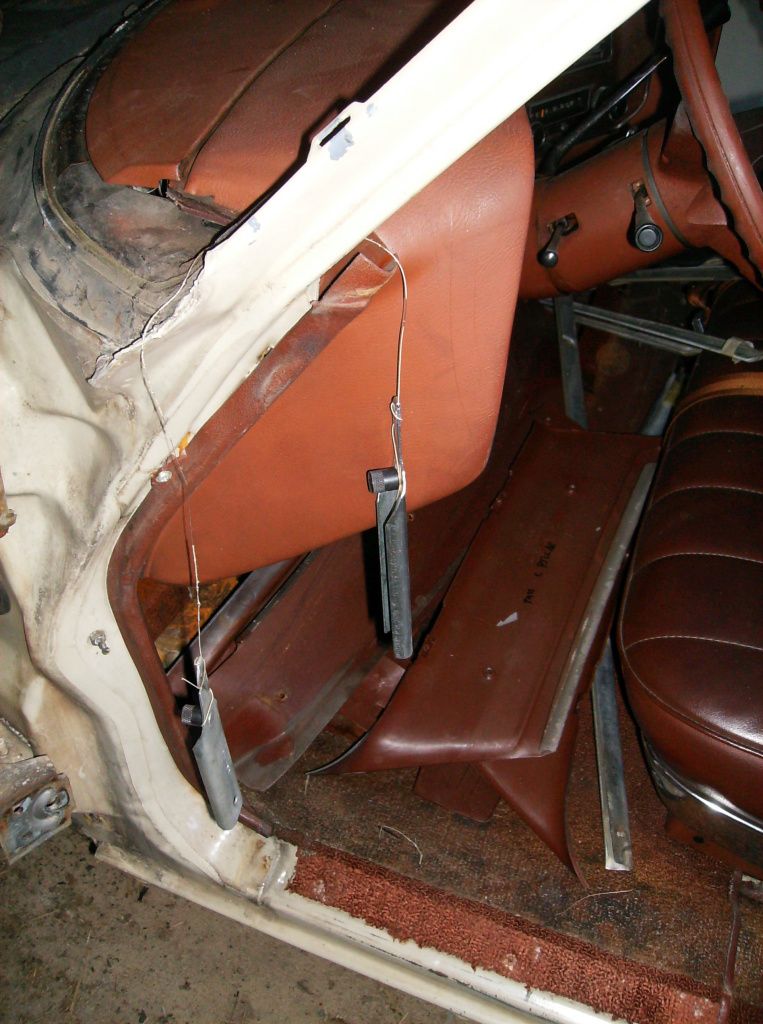
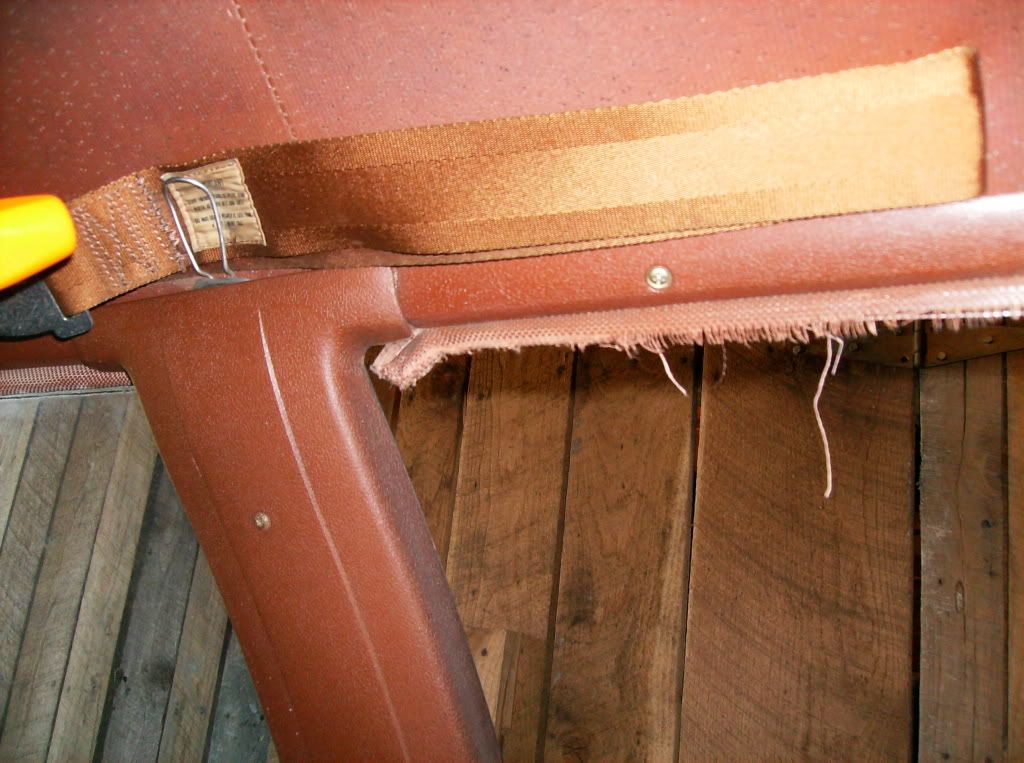
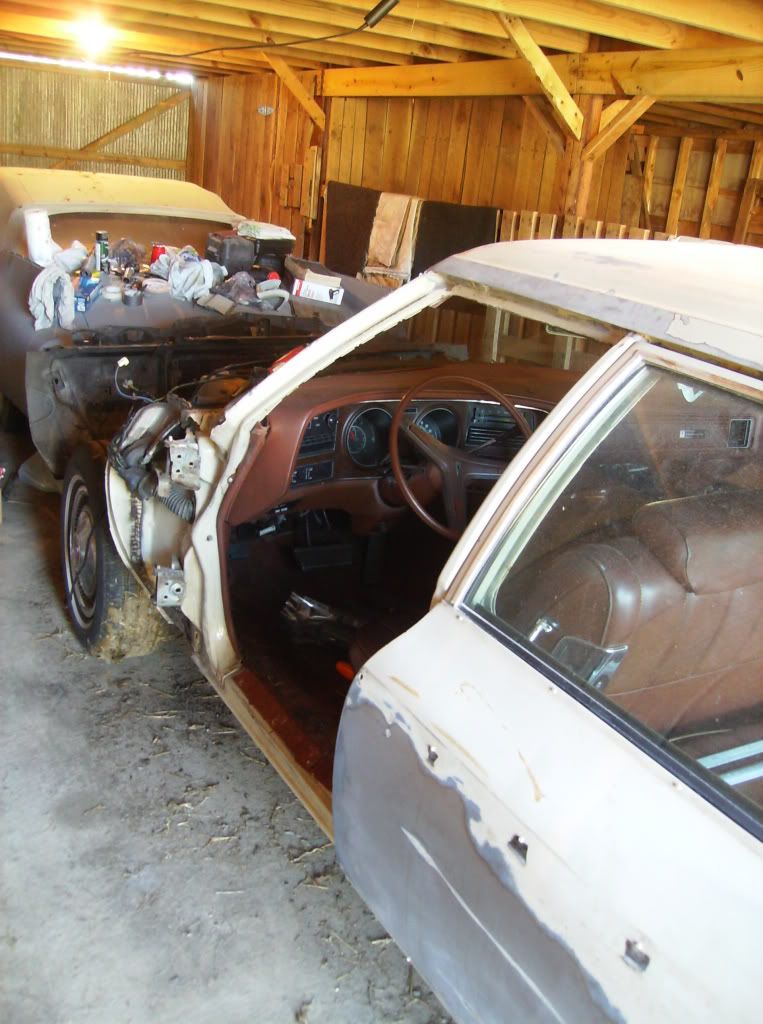
Unfortunately I wasn't able to get much done last week.  Because of Thanksgiving we traveled up to my in-laws place in Indiana on Wednesday and stayed the rest of the week.  Unfortunately as well these were the last warm days of the year.  It is now very cold, dipping into the 40s during the day and into the 20s at night, but still at the time  I didn't want to begin sand blasting the window channels and then needlessly leave them in bare metal for an entire week, especially when it was going to be raining and there would be tons of moisture in the air.  Flat panels aren't as bad because any flash rusting can be easily sanded off but because the window channels are not smooth it is impossible to get into all the crevices and remove any flash rusting.  I took the days I had to do the smaller things that I hadn't been able to get around to yet like removing the remainder of the interior parts that were in the way of being taped off, fixing the glove box door that hasn't ever been able to close and various other small things like that.  I also scraped all of the old hardened sealer from the window channels.  This was a pretty hard job and there was no way to remove 100% of it.  After sand blasting I still have had to come back and scrape some more.


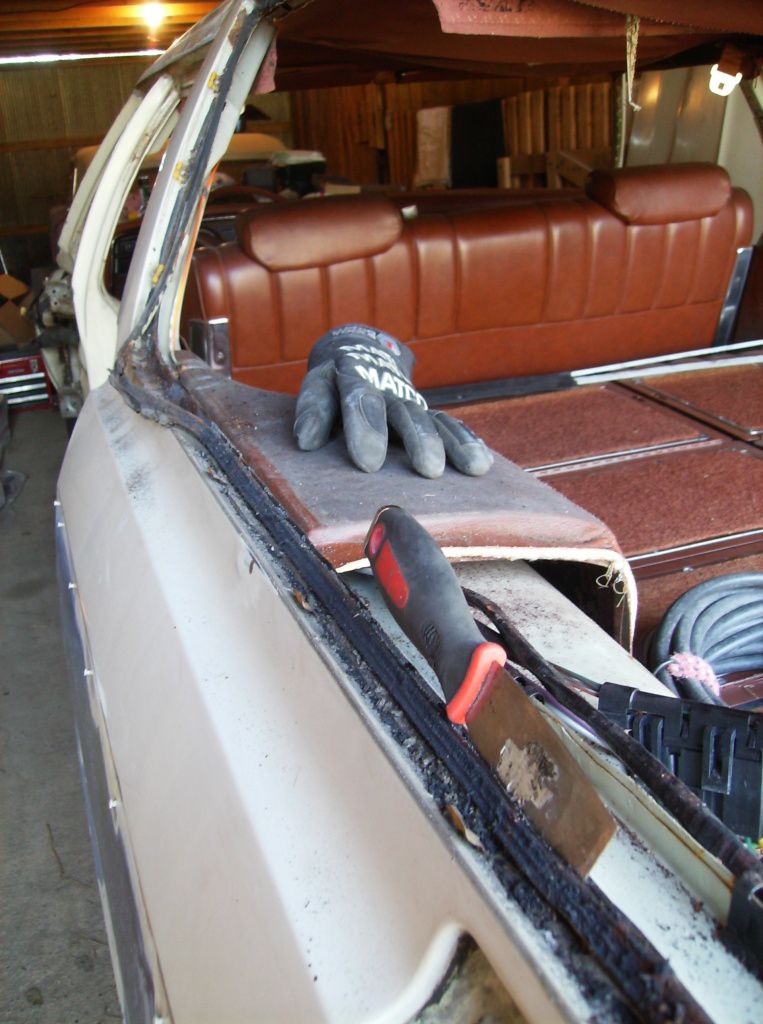
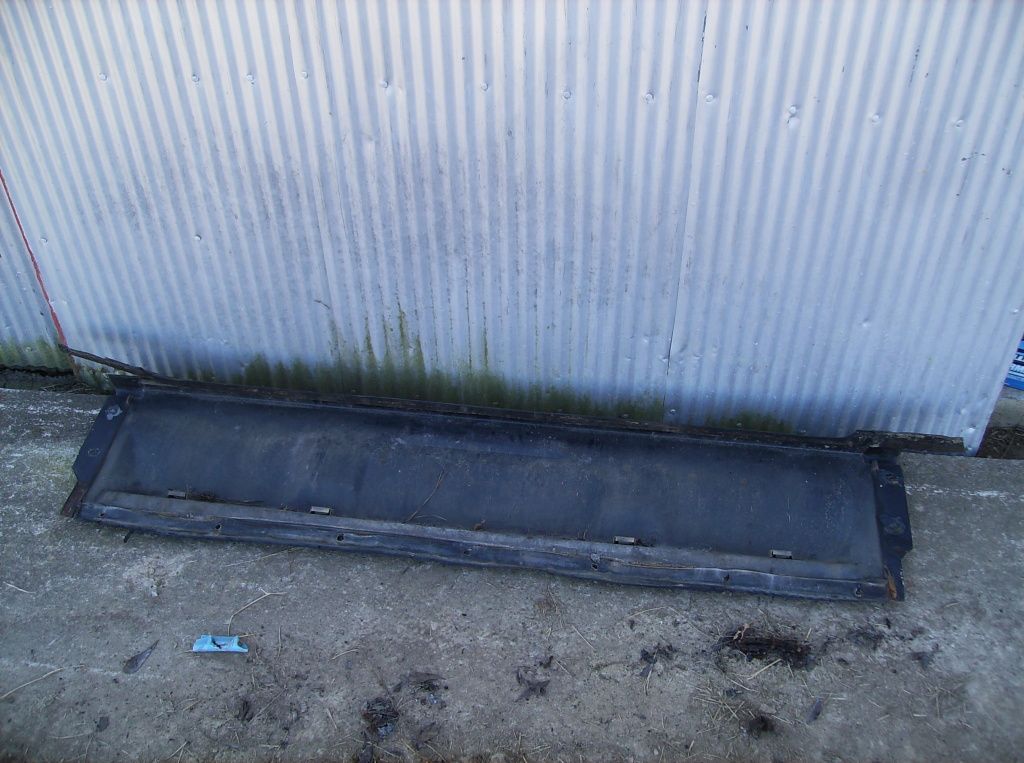
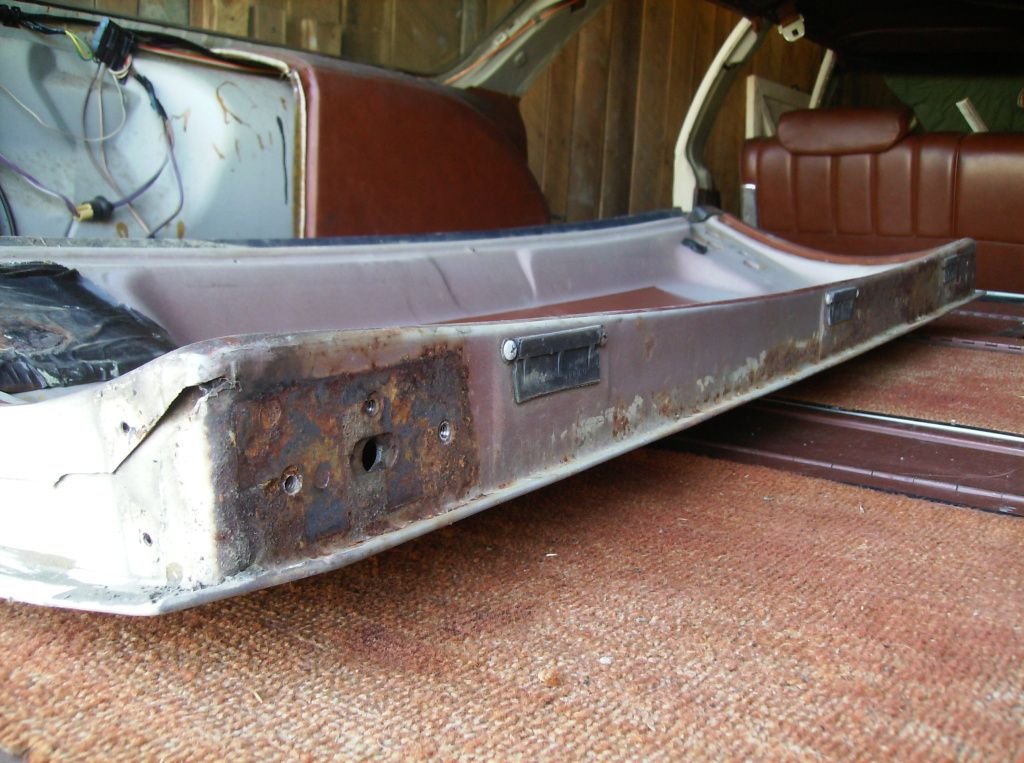
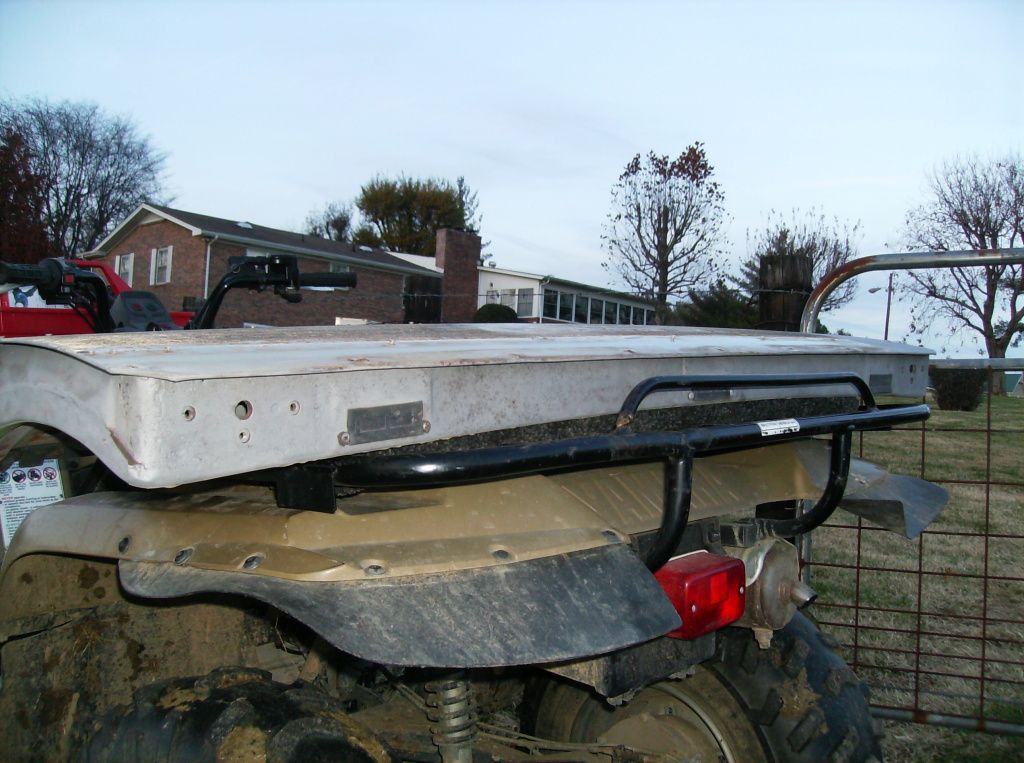
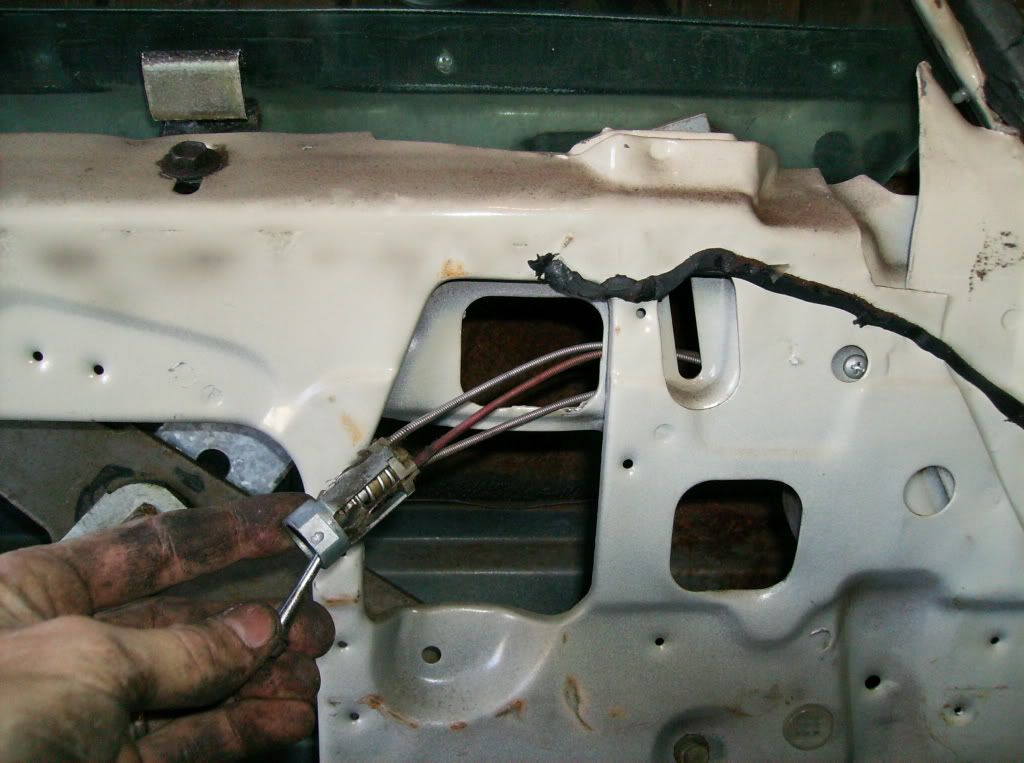
Here was a surprise.  This is the bottom storage area where the tailgate goes when it is retracted.  It was filled with dirt and rocks.  It was so thick and compacted, in fact, I had to chisel it away with a screw driver.  I used a vacuum cleaner to suck up all the loose dirt after and soon noticed something wedged under one of the tracks.  It was covered in dirt and all I could tell was that it was round.  At first I wasn't able to tell if it was part of the car or something stuck.  So far in the fenders and body panels I have found two matchbox cars, two sparkplugs, an antique screwdriver and hammer and a couple other small odds and ends, so there was the possibility this could be something foreign to the mechanics of the automobile.  After a little prying I saw it wanted to come loose but was stuck so I ran the screwdriver up into the drain holes that are right below the object and began pecking it loose.  When it finally came loose, I found out it was a live shotgun shell.  I'm lucky I didn't blow my face off, or at least give myself a heart attack had it gone off.  I don't have any pictures of what it looked like at first but after cleaning it all out I put it back where it was just to show the location of what I'm talking about.  It was so old and dirty, there was no way to tell what it was at the time.  It looked more like a piece of round wood.

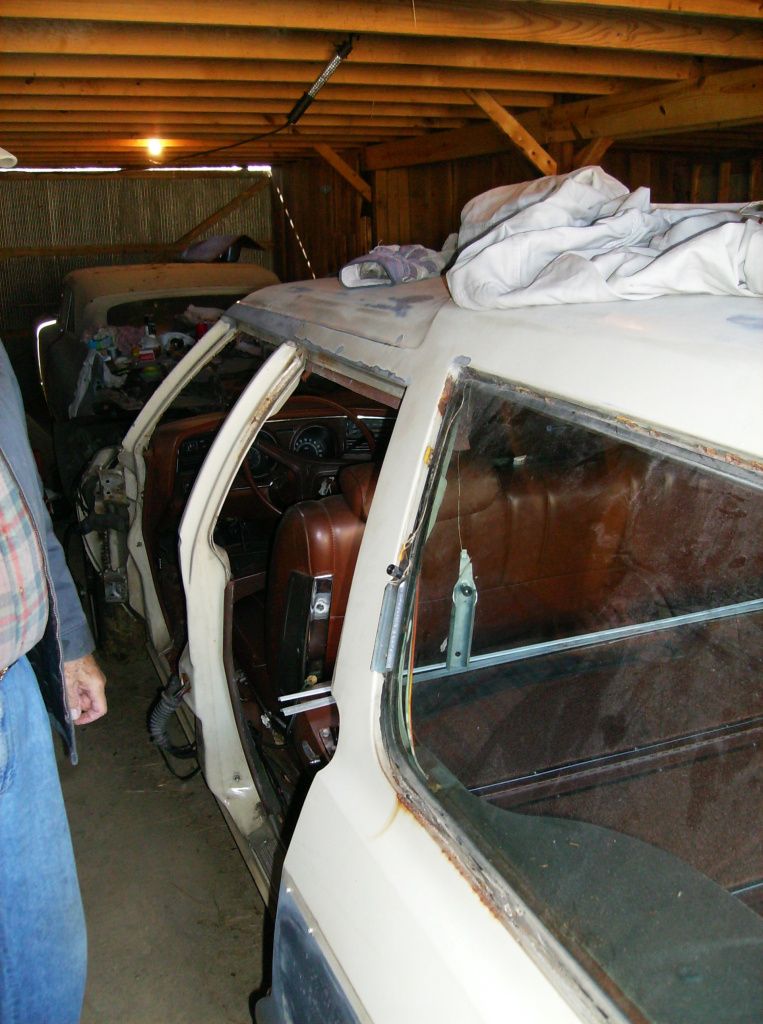
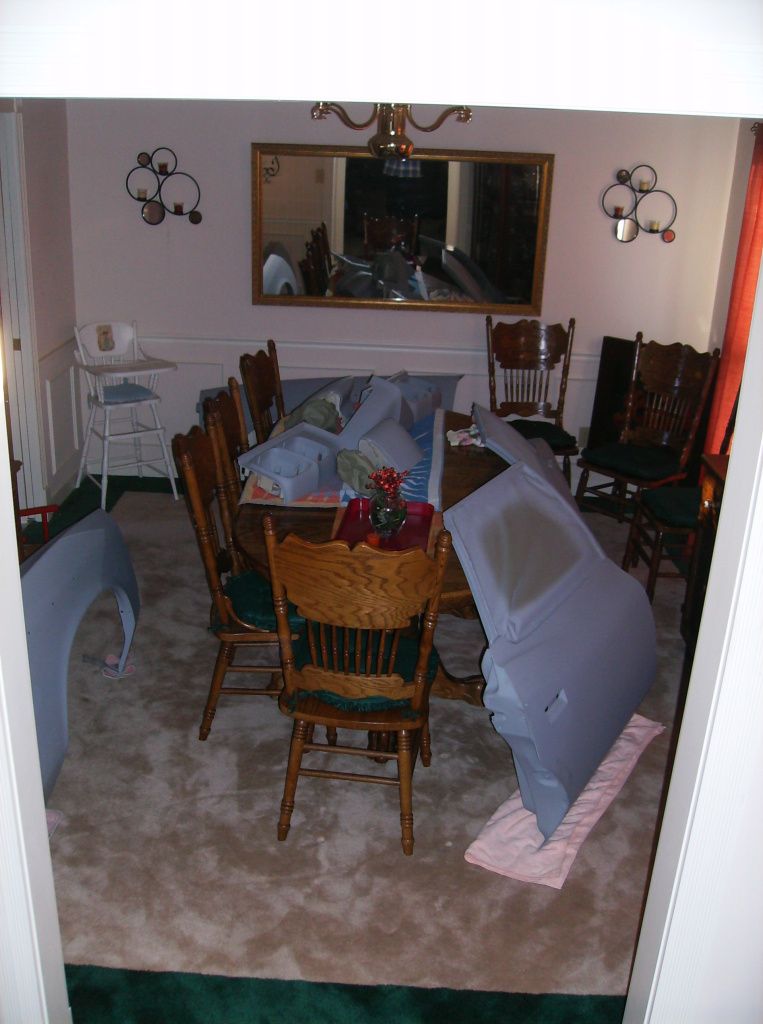
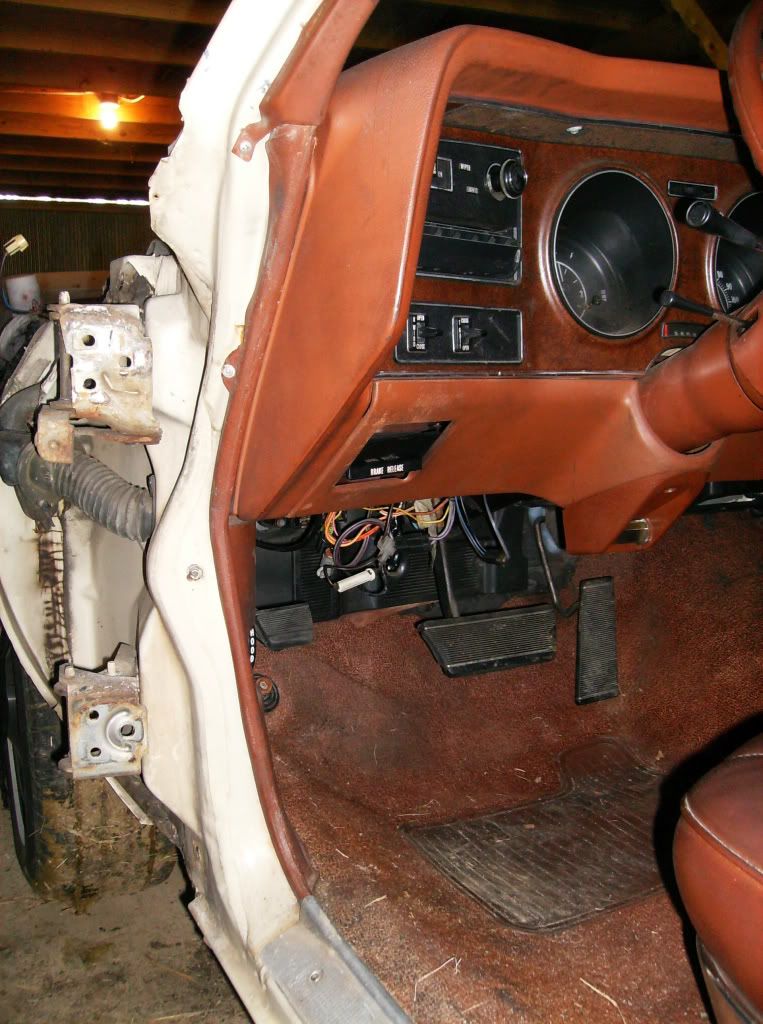
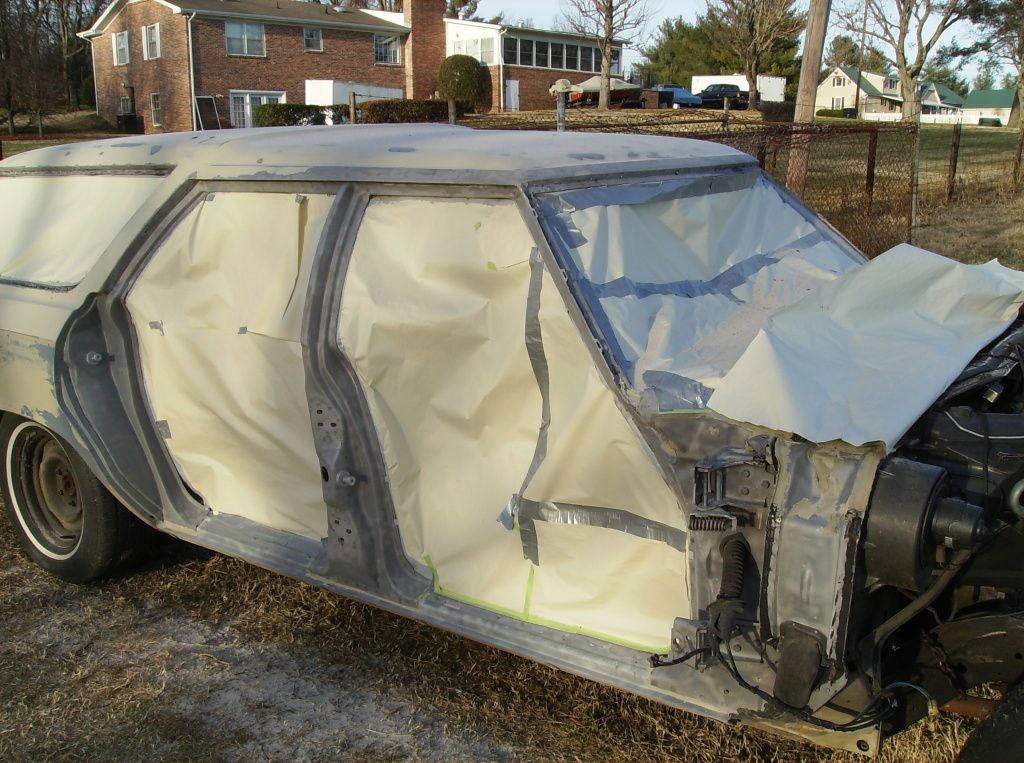
It took an entire day to tape off all of the openings to the car and cut paper to fill the gaps.  I know it won't keep all the sand out but it will keep most of it out.  I go through about 4-6 bags of sand during this process and without these holes covered the majority of that would be inside the car.

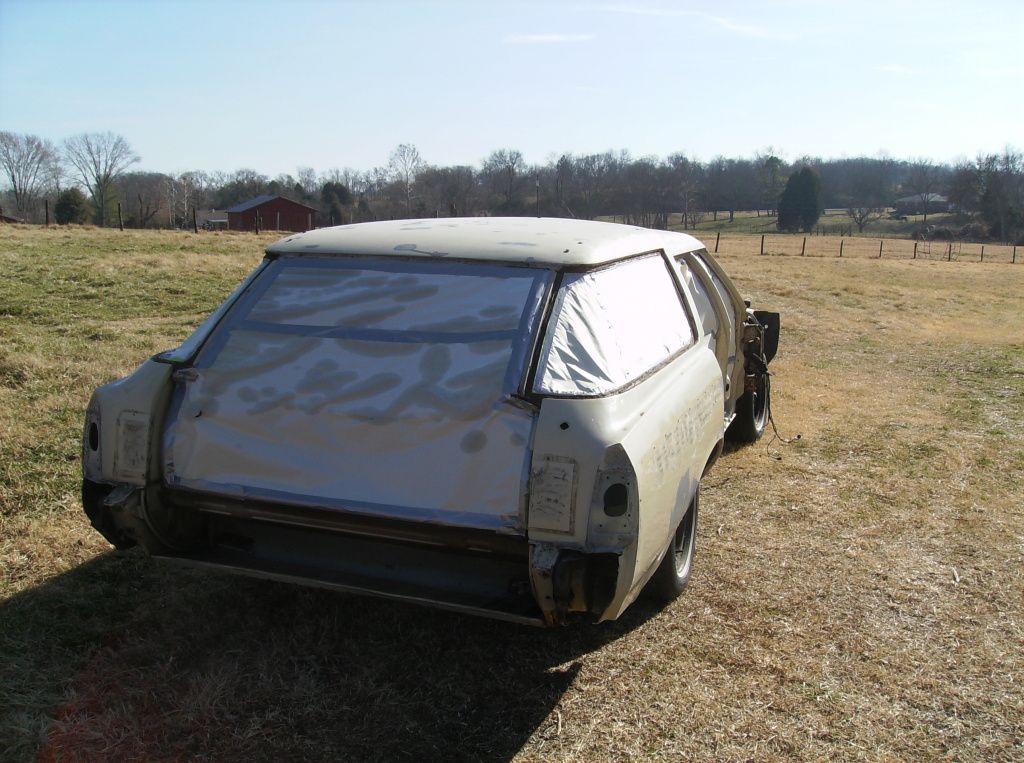
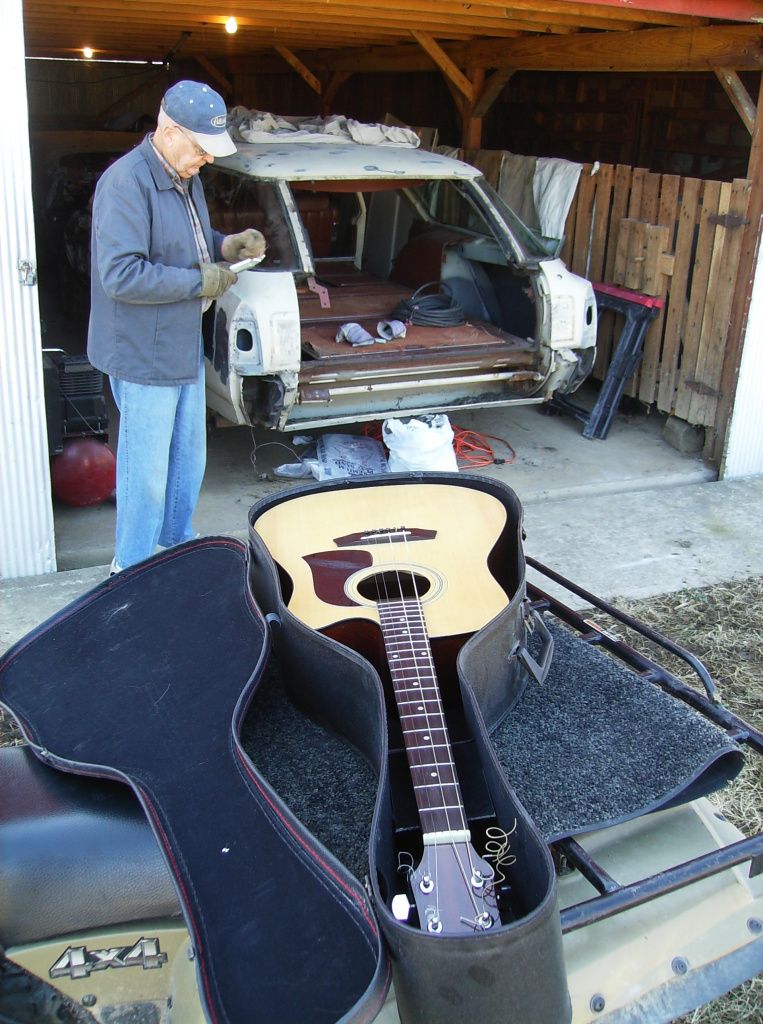
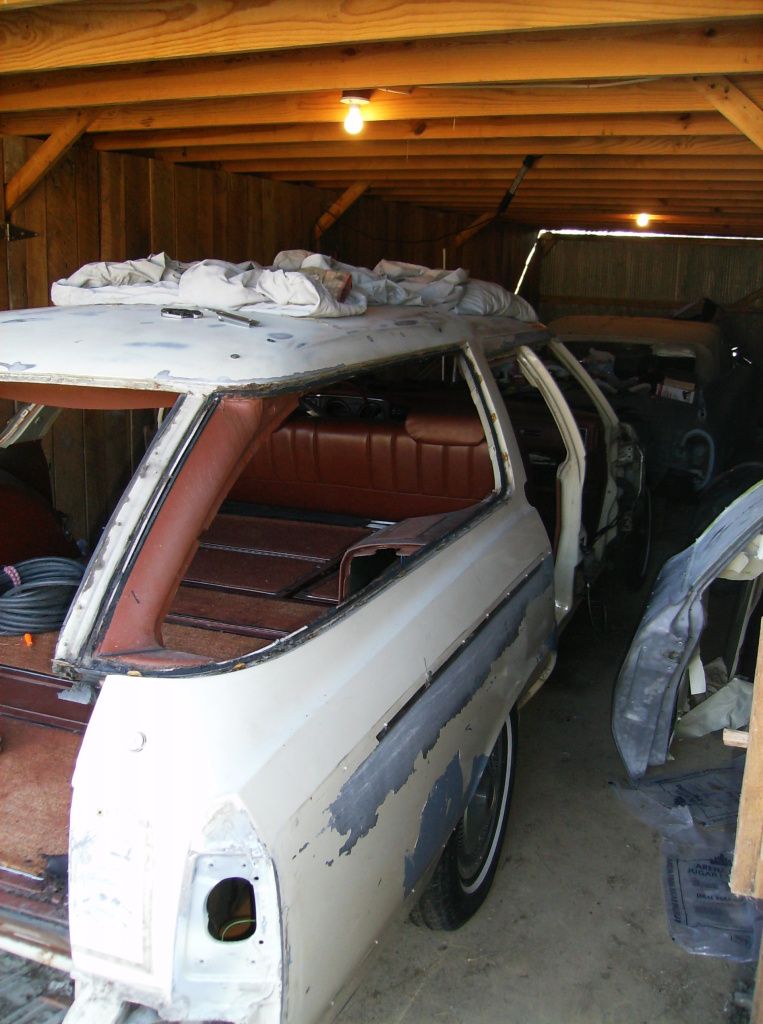
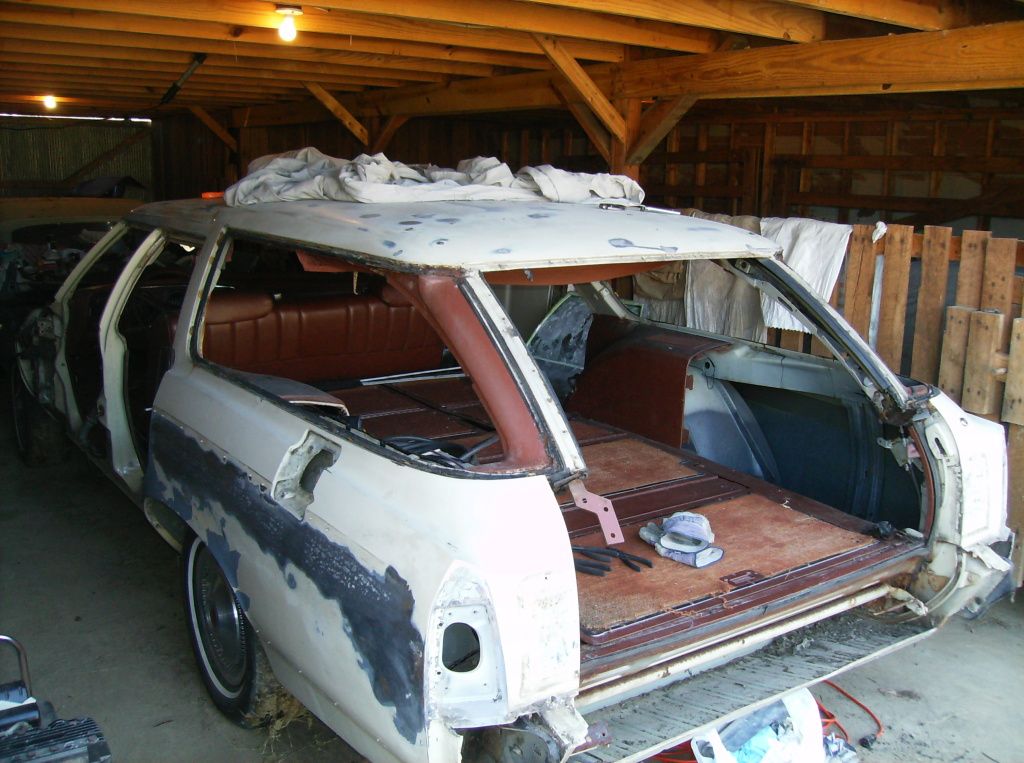
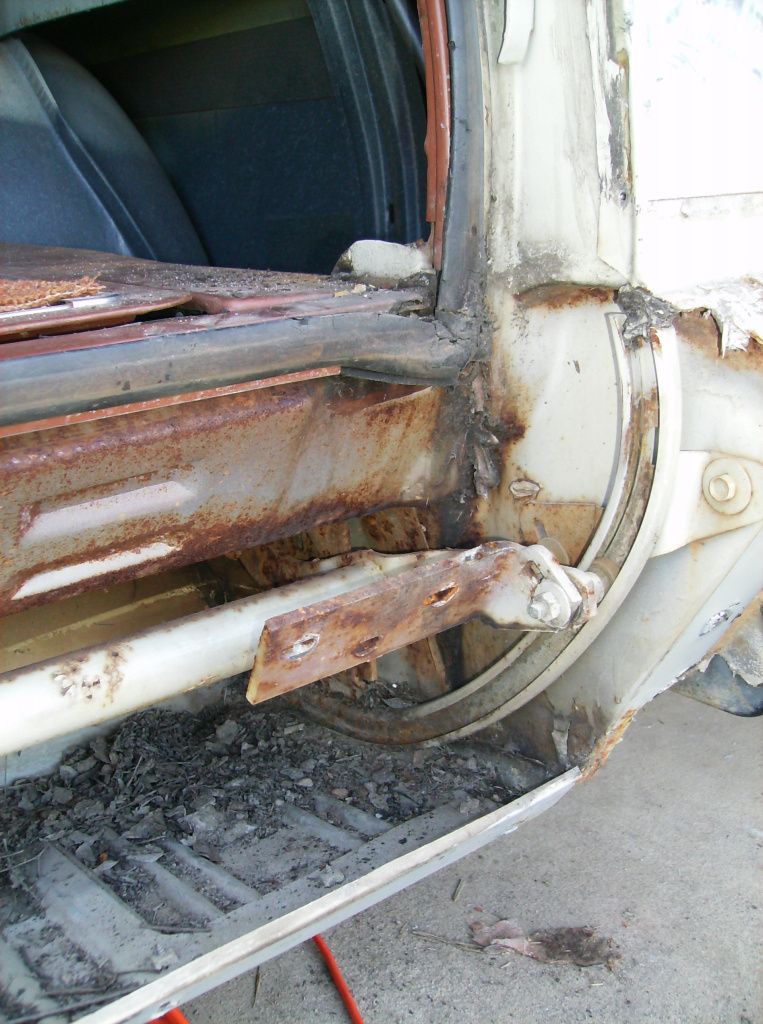
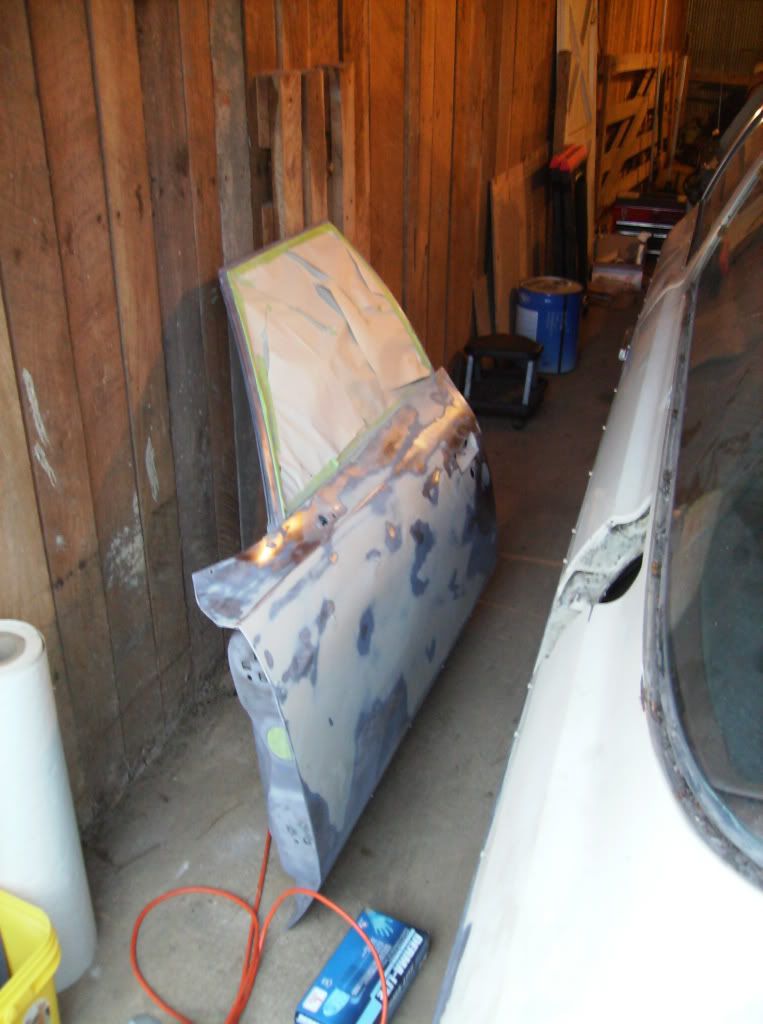
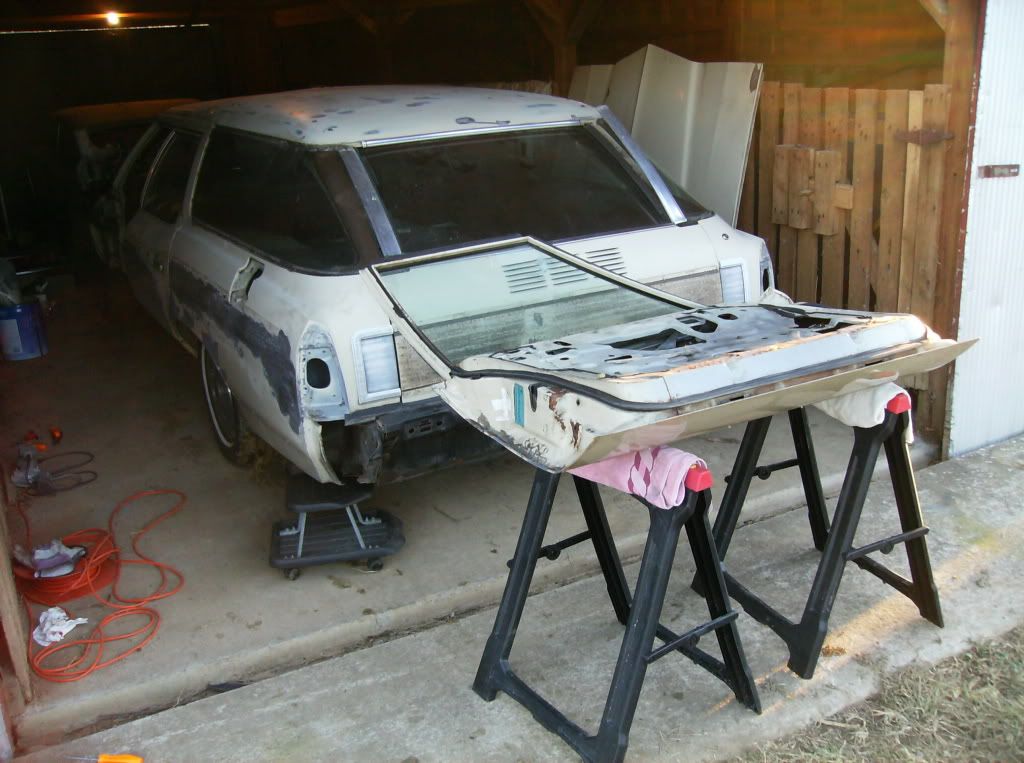
I finished all the door jambs, windshield channel and rear window channels and gas door opening.  Next will be the quarter panels, tailgate storage area and small parts of the rear.  Here are some before and after shots.

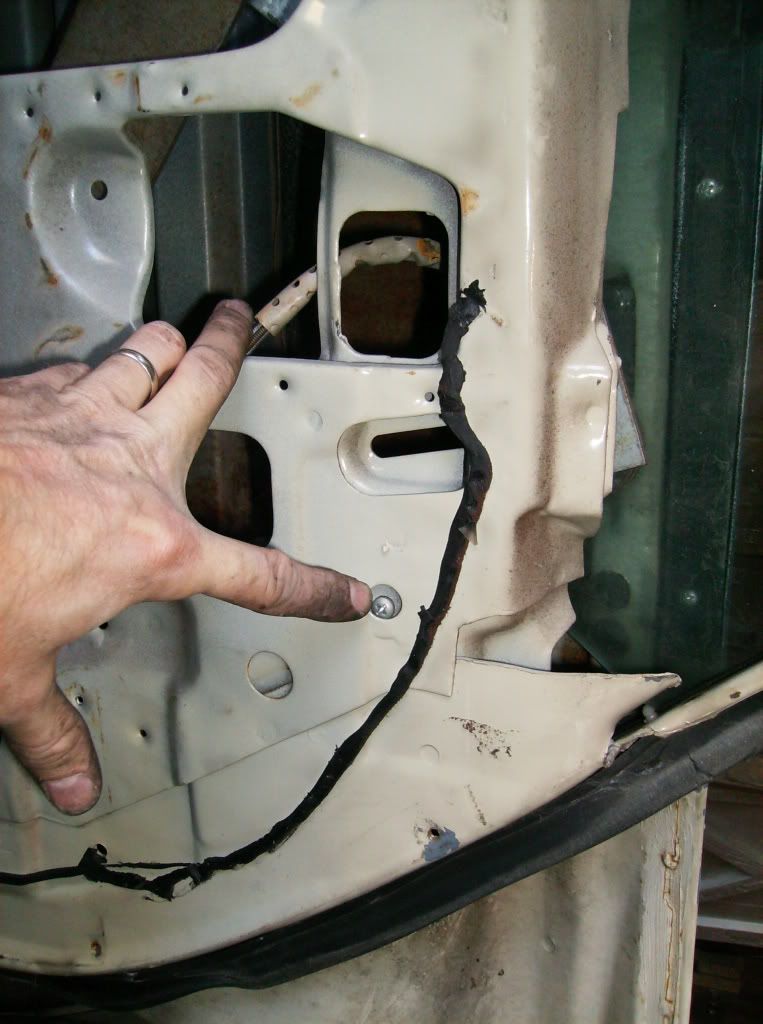
The areas that are still body colored are actually areas of seam sealer.  This is a sealer used by the factory to seal body panels together and keep out dirt and moisture.  This will not sandblast away, which is a good thing, however it will not change color when sand blasted.  By blasting it I'm basically just cleaning it so it cane be primered back over.

With such a small compressor and small blaster this process is very time consuming and can be very frustrating.  I have managed to find a pretty good rhythm that allows me to use up the reservoir of sand in about the same amount of time it takes to use up my air pressure and then go fill up the sand again in about the same amount of time it takes to have the compressor fill the tank back up.  About every 4 tanks of sand requires me sifting another load of sand from the bag, through the screen door into a cardboard box.

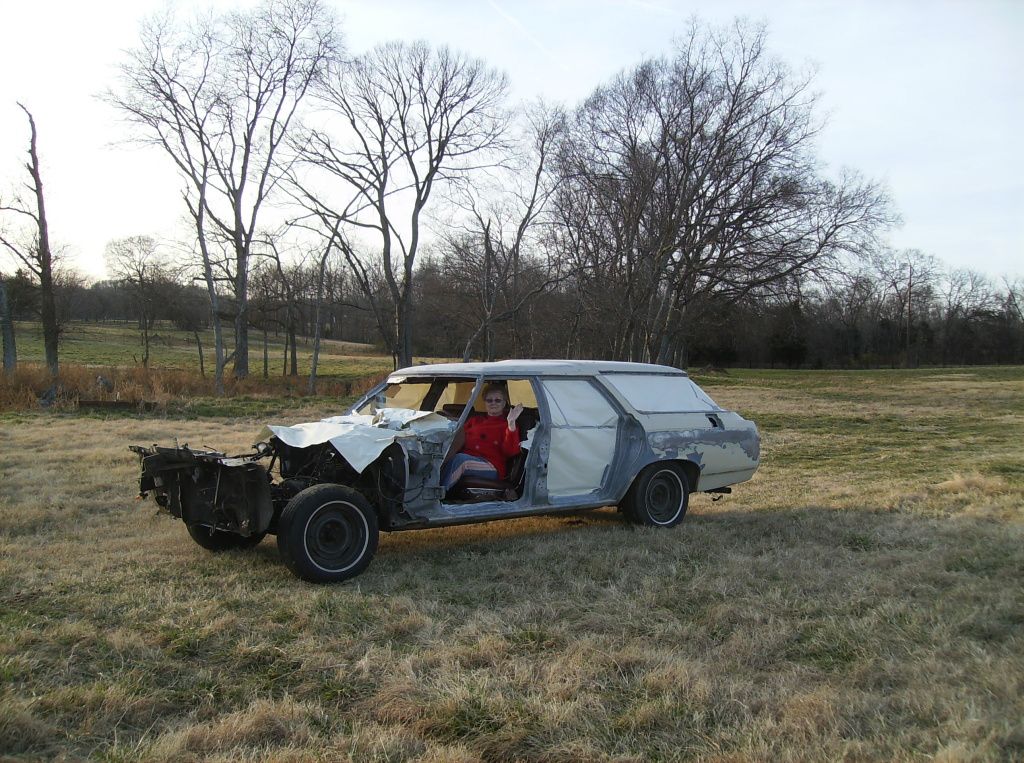
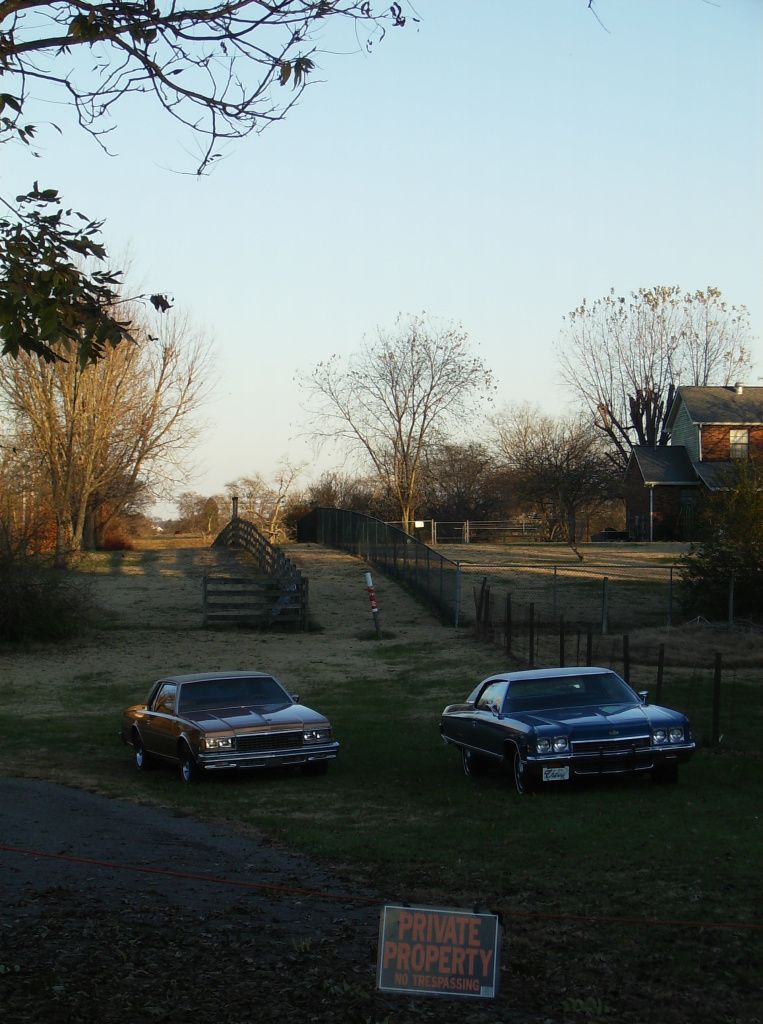
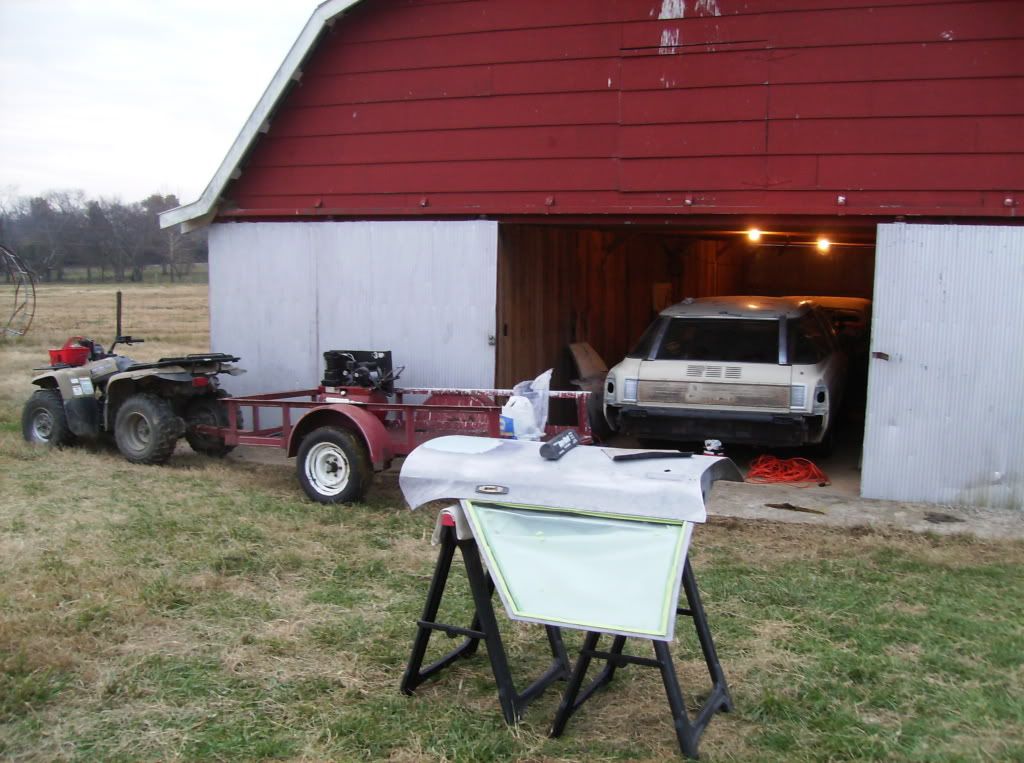
When it was time to put the car back in the barn I asked mother come down and steer it for me again.  I hooked the chain to the four wheeler and pulled it near the barn and then unhooked it and pushed it, using the momentum to carry us over the hole in the concrete.  I told mother to not touch the brake until I said so so that we could make it past the holes.  Because I have removed the rear portion of the tailgate cover there's now no where to push the car from behind with the four wheeler without causing body damage.  She had one shot to fit it back in the stall and she made it in fine.

Monday, November 19, 2012

Temporary Ventilation

This past Saturday dad helped me remove the remaining windows from the car.  He borrowed this tool to help with the job and it came in very handy.  You push the wire behind the windshield and then attach it to one of the handles and then each person pulls back and forth in a sawing motion to cut through the seals and sealer.  It had a wire on it when we got it but it was in pretty bad shape and lasted halfway through the windshield, which we tackled first.  After that I started using old guitar strings I got from a friend.  This is definitely a two person job.  As I mentioned before the previous owners had crammed as much filler behind the mouldings as possible to try to stop a leak.  It would have been much better and cheaper in the long run if they had just had the windshield removed and fixed correctly, but they didn't and it left me with a big mess to deal with.  I thought the windshield would be the hardest but it turned out to be the easiest and in fact in the areas where there wasn't any extra filler it was almost downright easy. 

After the windshield was handled we moved on to the side windows.  I thought these would be easier but they turned out to be much harder.  The corners were very hard to get to along with the rust on the bottom and also the extra filler that people had added to try to stop leaks made these very difficult.  The rear curve really gave up fits until dad came up with the idea to run the strings behind the top of the glass and back out the bottom to be able to get around the rear corners.

Guitar strings definitely weren't made for this type of work and when we encountered rust or filler they didn't last long at all.  I had relatively new strings on my guitar but fortunately I had this extra guitar at home that already had one broken string on it so we cannibalized it for our purpose.  We ended up using 7 strings total, counting the ones I was given.  The problem with the top 4 strings is that they were wrapped in copper which made them more coarse and better at cutting however the copper wrapping would come loose and then cause problems.  

The passenger side was actually really easy compared to the time we had with the driver side.  There was much less filler, less rust, a few spots that didn't even seem to have sealer and also I used a razor to pre-cut the sealer.  All this made for a much easier removal.  We used a couple feed bags for protection and stored them in the loft.

Here it is sans windows.  It's really beginning to look nothing like a car, which is pretty scary and more frustrating as I realize just how much further I've gotten into this project than I ever planned or wanted to.  I hate to say it but had I foreseen this we wouldn't have bought the old clam but we're already this far in.  I just hope I'm able to keep costs down so I don't have to sell it to get our money back.


It only took around 2 1/2 to 3 hours to get all the windows out.  If we had the right string and there wasn't any filler I think this would be a very quick and easy job.  After we finished we went to see the new James Bond movie, Skyfall.  We have seen every Bond movie in the theater since 1995 and I also have every ticket stub to every single movie I've seen since that same film in 1995.  After 17 years, it's getting to be quite a stack.

Thursday, November 15, 2012

Primer Fear

The last several days have been very busy.  I had to wait for the time change to happen so it would be light outside when I would get up to start working.  I had managed to take both front fenders, both front doors and some smaller pieces like the front parking light housings and the headlight bucket piece up to the body shop.  They called and said that they were going to primer soon.  I went up and finished out the sanding on both front fenders and both front doors.  From about Thursday of last week I worked every daylight hour on both back doors trying to get them done so they could be primered with the rest of the parts.  Even with this constant work I was only able to get one door finished, and even it had to be finished at the body shop.  Rain interrupted work as well as wet sand.  I had run out of sand and when I bought more it was wet, which wouldn't work in my blaster at all.  It would literally spray for about 1/4 of a second and clog up so I had to take the DA sander and finish up what was left on the door.  The remaining door I didn't finish is still at my parents' house and I'm still working on it.  Getting it right has been one terrible process.  This area of the body is very complex with a roll similar to that of a whiskey barrel, but also flattens out as it changes torward the back of the car.

To help cut costs, Larry, the owner of the body shop, allowed me to come and do all the prep work on the parts to be primered.  I had brought the parts up to the shop ahead of time to keep them from flash rusting in the barn but I was surprised to find they rusted worse in his shop than they did in our barn.  This meant I had to sand down all the surface rust, then tape off all the parts for primer and then clean them with grease and wax remover.  I had intended to get to my parents' barn around sunrise and finish the sand blasting I couldn't finish earlier because of the wet sand but as luck would have it a massive rain storm moved in that night.  That morning it was coming an absolute flood.  I slept in an hour, hoping it would pass by, but it didn't.  I put my mud boots on and locked the hubs in on The Blazer and pulled down in the field to load up the door.  Even though I backed right up to the door it still got wet.  The cows also thought that since a truck was coming in the field they were getting fed so they swarmed my truck and I literally had to knocked them out of the way with the front bumper.  I though they were going to cave the sides in (worse than my mother already had by backing over it) but they didn't.  Finally I had everything loaded up and was on the way up when the heater core blew.  It leaked antifreeze in the floorboard and blew it out from under the truck, which caused it to overheat.  I was near my destination, which is about 20 miles away, so I limped the truck to the shop by letting it cool down enough to start and then floor it and coast up and down the hills with the engine off until I got there.  Once there I worked most of the day on preparing the parts to be primered and then I had to borrow some tools and bypass the heater core, so now I have no heater.  I had to set the parking brake because I pulled the truck right up to the door to unload it to hopefully avoid the rain.  I set the parking brake so it wouldn't roll forward on the steep hill and when I went to leave it stuck and wouldn't fully disengage.  It is still partially stuck and I'm going to have to take the rear wheels off to dislodge it.  I eventually finished the day up and went home.

Here are the parts right after being sprayed.

Fortunately for me I ran into my friend Nick on the way up to the shop to pick the parts up.  He was heading the same way and stopped to help me load them in the truck because these doors are very, very heavy and very awkward for one person to lift.

I borrowed dad's truck and trailer to bring all the parts home.  It would have taken many trips to get them all home in The Blazer.

Larry called me the day they finished spraying the parts and said he needed the room in the paint booth so that meant I had to go pick them up just hours after they had been sprayed.  I have literally no where to put them for safe storage because the barn is full and my sister's family is living in my parents' basement because their house burned down so it is absolutely full to the brim with stuff, not to mention it's not a safe place for body panels with their two kids and dog.  Fortunately for me, April doesn't mind that I turn the dining room into a temporary parts storage.  The worst thing about it, other than the clutter driving me insane, is that because these parts hadn't cured yet they made the house smell awful.  We hung a sheet over the door and opened a window and a day later it's not bad.  There's also a door in the guest bedroom.


Another problem that has been taking up so much of my much needed time is the fact that The Blazer and The Caprice won't pass emissions this year.  The Caprice's carb decided to go nuts and the choke rod had come loose internally in the carb which caused the car to almost not run at all.  I took it to a local mechanic here and he rebuilt the carb at his house.  When I went to pick The Caprice up he had parked it next to another car he was working on, a low mileage 1972 Caprice that the owner's mother had owned.  The owner is getting it in good working condition and is going to sell it.

As usual, I forgot to bring the camera with me a few days so I don't have any detailed pictures of the process but I finally removed the tailgate and have begun sand blasting it.  It also took the better part of a day to remove all the many interior trim pieces necessary to prepare to remove the side windows.

First I had to remove this tail panel which covers the storage area for the tailgate when it is in the open position.  It doesn't look like it but this piece of of metal is much thicker and much heavier than you would anticipate.

Once again the manual wasn't very clear on exactly how to remove the tailgate because it referred to parts that I don't know by their technical name, such as the "tailgate torque arm."  Fortunately I was able to find very detailed and helpful pictures on the internet from someone that had done the process before.  To get the window up I had to remove the motor and separate gear reduction assembly, remove the cable and use vise grips to turn it until the window was cranked up.  It seemed to go up pretty smooth but took what seemed like 30 minutes of cranking before it was fully open.

If you look at the bottom of the track the tailgate rides on you can see why it wouldn't go down all the way.  This was even after I had taken a screwdriver and cleaned some of the trash out of the way.  This area appears pretty nasty right now but there are no places rusted through and after I sand blast this area it'll look as good as new.

This is one of two places on the bottom that the tailgate mounts to the rod shown in the previous picture.  I learned from others that because the tailgate is lifted from only the side shown here this can be an area that can cause problems.  If moisture is trapped here, as it has started on my car, it can eventually cause rust to weaken the metal and cause fatigue and cracks.  Fortunately for me there were no cracks and no rust through so I won't have to make any patch panels or fix anything here.

I ran out of sand and wasn't able to finish the outside but I finished blasting the backside of the tailgate.  You can compare this picture to the previous one and see all the rust is gone.  Because the glass does not slide into the tailgate as it does on many models, this tailgate is very light once removed.


Tuesday, November 6, 2012

Bare Metal and Rain Do Not A Good Week Make

I am still working on finishing up my second door.  Rain and interruptions in general have slowed progress all week.  It seems each time I finally have the freedom to really get to work the weather does not cooperate.  It's the time of year for cold weather and constant rain, so I guess that is to be expected, but when you have to work outside it can be a slow process.  Also, I have had to contend with trying to get The Caprice and The Blazer through the government scam known as emission testing.  I have a guy that was supposed to look at The Caprice last weekend but he said he can't get to it until midweek.  I'm going to have another guy look at The Blazer.  No matter what I do it still barely fails.  I've been through 4 times now and they continue to get my money as I roll the dice to see if I'll pass yet again.

I haven't been able to get many pictures because I have had to quickly rush everything back into the barn as quick rains pop up.  Today, for example, a quick rain came up while I was getting lunch and caused flash rusting on the top of the door I was working on so I had to go back and sandblast it again to remove it.  Even though the flash rusting comes off very easy it's still a pain to have to deal with.  I finished sand blasting the front and back of the driver door and finished up smoothing out a couple of very small dents in it.  Today I finished sand blasting the passenger door and noticed a very, very small but somewhat long dent in it today.  It wasn't very deep at all, but was very long and the concave portion extended about 1.5 to 2 inches tall.  It was practically unnoticeable by feel unless you really concentrated on it.  It was so small I really had to take careful consideration to see if it truly was a dent or not.  After determining there was a small indention I decided to go ahead and fix it.  Unfortunately I ran out of daylight and the bondo was taking too long to dry in the colder weather so I'm going to let it sit over night and get to it first thing in the morning.  After I finish it up I hope to load up the doors and take them up to the body shop to be primered.    


Here's the driver side door, finished for now.  When I get to the body shop I'll probably go over it once more by hand with 180 grit just to finish out any small scuffs that might have been picked up during transport.

Thursday, November 1, 2012

Turning The Clam into a Two Door

I set about today to take the doors off of The Clam.  I have both the factory shop manual and fisher body manual for this car but they aren't always helpful in every instance.  The two problems are that they either direct a person to use specialized tools that only a dealer would have or they simply don't cover certain specific things.  It took about half a day to get the first door off and once I had learned how the second door came off in about twenty minutes.

I started with the passenger door because the power door lock motor has been loose and knocking around in the driver side door so I wanted to start with a door that was put together as it should be to give me a better idea of how the broken door was supposed to be put together.  The passenger side rear view mirror is not a remote mirror so it has no wires or cables going to it.  It also, from what I can tell so far, does not have bolts holding it to the door, but instead has rivets.  Once I get the door on the saw horses and inspect it I may find that these are some type of studs with nuts on the back, but for now it seems that this is as far as I can remove the mirror bracket without drilling, so this is as far as I'm going to go.

The door panel has an upper and lower section.  Taking the top part off took a long time because it was hung for some reason.  I expected that it would be necessary to push down and then back and pull up to remove the top of the panel, but this one was hung.  Since this was the first panel I was trying to remove it proved to be pretty confusing.  I eventually just ran a wrench up into the panel and removed the entire bracket holding it together and that is when I realized it was simply hung rather than me just not knowing how to remove it.  Once I figured out how to remove the upper and lower panels without breaking any of the old, brittle clips I came to the plastic weather protection.  This came off after I removed the inside door handle.

Most of the time I just don't have the memory to keep track of so many parts so I have to label everything.

I had a bit of trouble trying to unhook the wiring to the power door lock motor.  You can see the wire entering the door on the far left of this picture.  The motor is mounted to the back of the door where my wrench is on one of the bolts.  It was impossible to get my arms into the door to disconnect the wire.  I couldn't get any help from the manual because it simply breezed over the subject by explaining to disconnect all the wires to all the accessories inside the door.  I finally found it necessary to remove the motor, held in by two bolts where my wrench is in this picture, pull the motor over to one of the access holes and then remove the wire.

Another issue I had trouble with was this rubber tube that the electrical wires ran through.  It was held in the door by a press fit but also two plastic studs that pressed into the door.  From the back they felt like screws but the heads were smooth.  They had to be pulled out and getting pliers on then took a bit of time.

The manual recommended removing the door from the hinge rather than the hinge from the body.  I took a chisel and marked three locations on the top hinge and the bottom hinge to help in realigning the door when, or as it feels at this point, if, it comes time to put the car all back together.  I would have preferred to remove the door pins but I didn't have the tools necessary to do this.  It would have been easier to do when it comes time to put the doors back on and line them up.

Dad bought this chisel set for me at an estate sale.  This set came rolled up in a large coffee can full of other chisels and punches..  I honestly don't know what I did before I got these because I use them all of the time.

After this it was time for the door to come off.  Because there was only myself around to lift the door I closed it and used the latch to support the back of the door while I removed the bolts from the hinges.  There were two bolts I had to remove while the door was open and the rest could be removed with the door closed.  This was made a bit harder by the fact that I'm in a barn stall and the door could not be opened all the way on either side.  I took a bit of time here because when I went to remove the bolt that I didn't have access to with the door closed, 3 times I accidentally removed the wrong bolt.  It didn't hurt anything, but it took longer to remove them with a wrench from the inside rather than a ratchet from the outside when the door was closed.

Moving on to the driver side, the rear view mirror was harder to remove because it is a remote mirror which is moved by cables running through the door into a control stick on the inside of the door.  The bracket for this mirror was held on with two small bolts and was easily removed once the wire was fed through.

It's easy to breeze through steps like this without pictures but I have found that taking a little time to document where wires and switches were run proves invaluable when it comes time to put them all back together.

I have tons and tons of pictures that I save onto my computer that look like this.  This is my own way of telling myself later that the cable for the rear view mirror was held in place by a clip and that the clip was held in place by the screw that I am pointing to. 

The rear view mirror didn't work correctly and this was the problem.  You can see here that one of the cables was frayed and broken.  Hopefully I'll find a way to weld or brazen it back together, because I'm sure a replacement would be pretty expensive.

I had to remove quite a bit of the interior trim so that I can tape off the door frame areas to be painted.

Fortunately this was sturdy metal, something not found on any of today's cars...

These pieces, however, were old and brittle plastic.  I did manage, carefully, to remove them without any cracking.


The driver's door came off much quicker than the passenger side thanks to the steep learning curve


I set the drivers door up on the saw horses, which wasn't an easy job to do by yourself with these cheap, flimsy, plastic examples.  They will hold weight but they aren't very sturdy unless what they are holding is perfectly still and directly on top of them.

From this point I began to remove the door handle and key lock.  This is what they look like inside the door.  The red plate on the bottom must be removed to take apart the key lock and the rod running up to the top must be removed to take off the door handle.


It took a good hour, possibly longer, for me to figure out how to remove the door handle.  The directions in the manual simple said, "Remove two bolts.  Remove door handle."  Because it was all set deep within the door it was difficult to see and on top of that the clip that I needed to remove was faced away from me.  What I finally figured out was that the clip on the back of this handle must be slid up, away from the handle in order for the rod to be removed.  There is a tab which snaps into the bottom hole pictured here so to do this you have to push something into the bottom hole which releases the tab and then pry upwards on the clip.  I didn't find this out until I bent my clip and removed it and then was able to examine it once it was removed.  At least the next ones won't be as hard.