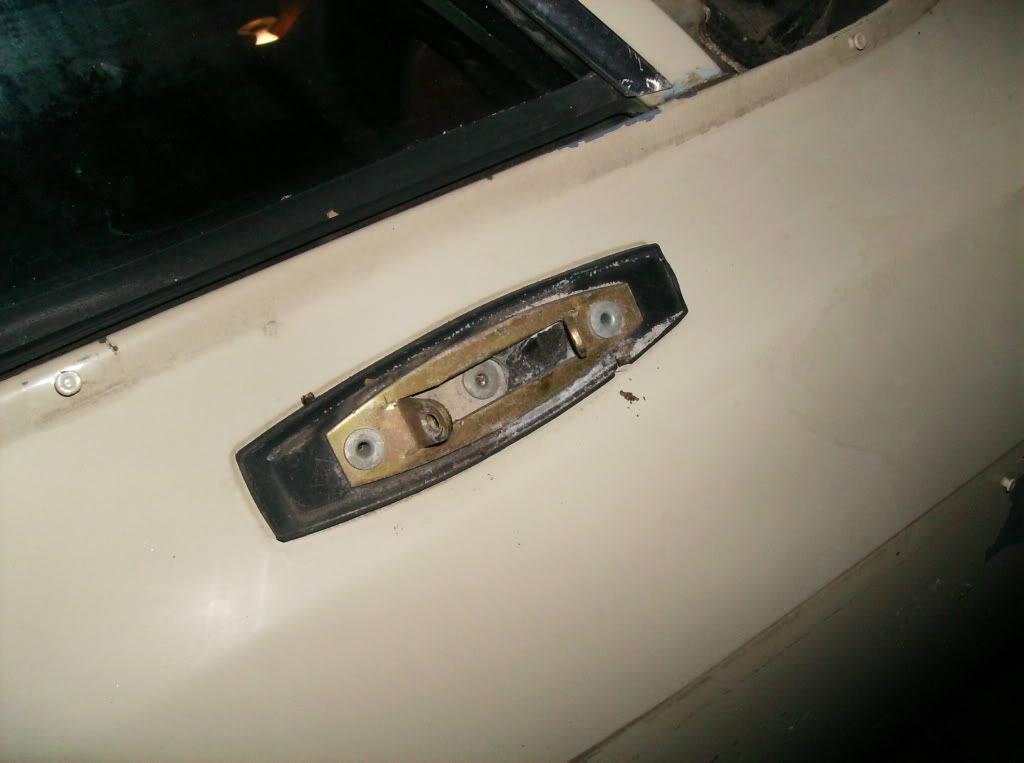
I started with the passenger door because the power door lock motor has been loose and knocking around in the driver side door so I wanted to start with a door that was put together as it should be to give me a better idea of how the broken door was supposed to be put together. The passenger side rear view mirror is not a remote mirror so it has no wires or cables going to it. It also, from what I can tell so far, does not have bolts holding it to the door, but instead has rivets. Once I get the door on the saw horses and inspect it I may find that these are some type of studs with nuts on the back, but for now it seems that this is as far as I can remove the mirror bracket without drilling, so this is as far as I'm going to go.
The door panel has an upper and lower section. Taking the top part off took a long time because it was hung for some reason. I expected that it would be necessary to push down and then back and pull up to remove the top of the panel, but this one was hung. Since this was the first panel I was trying to remove it proved to be pretty confusing. I eventually just ran a wrench up into the panel and removed the entire bracket holding it together and that is when I realized it was simply hung rather than me just not knowing how to remove it. Once I figured out how to remove the upper and lower panels without breaking any of the old, brittle clips I came to the plastic weather protection. This came off after I removed the inside door handle.
Most of the time I just don't have the memory to keep track of so many parts so I have to label everything.

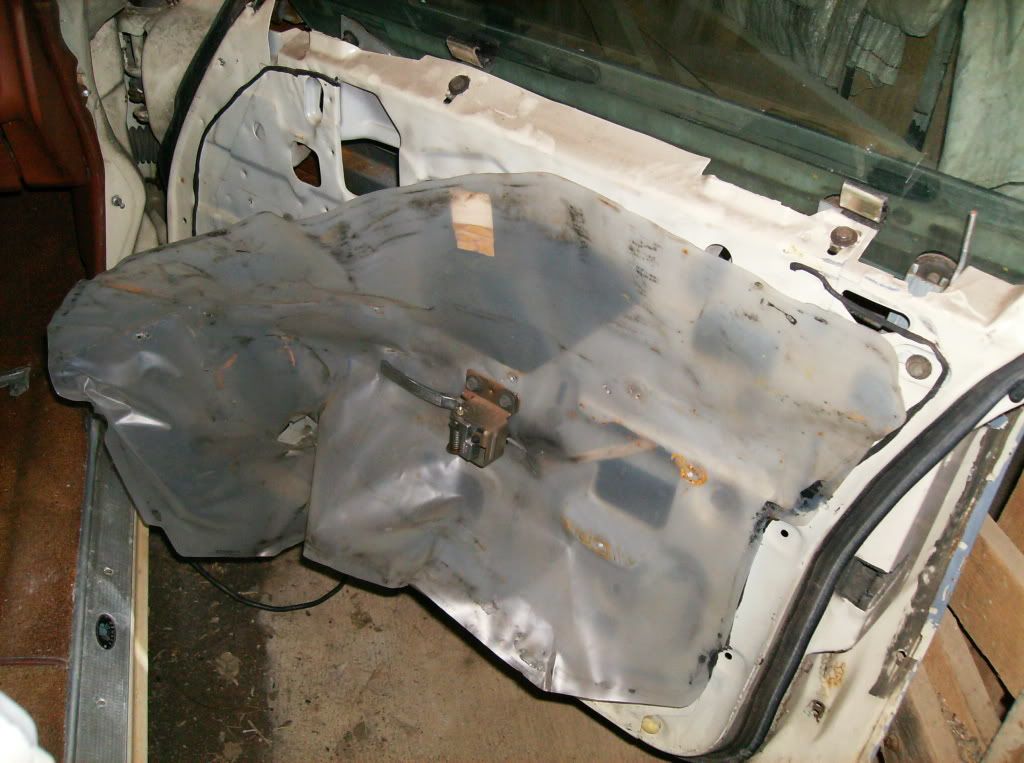
I had a bit of trouble trying to unhook the wiring to the power door lock motor. You can see the wire entering the door on the far left of this picture. The motor is mounted to the back of the door where my wrench is on one of the bolts. It was impossible to get my arms into the door to disconnect the wire. I couldn't get any help from the manual because it simply breezed over the subject by explaining to disconnect all the wires to all the accessories inside the door. I finally found it necessary to remove the motor, held in by two bolts where my wrench is in this picture, pull the motor over to one of the access holes and then remove the wire.

Another issue I had trouble with was this rubber tube that the electrical wires ran through. It was held in the door by a press fit but also two plastic studs that pressed into the door. From the back they felt like screws but the heads were smooth. They had to be pulled out and getting pliers on then took a bit of time.

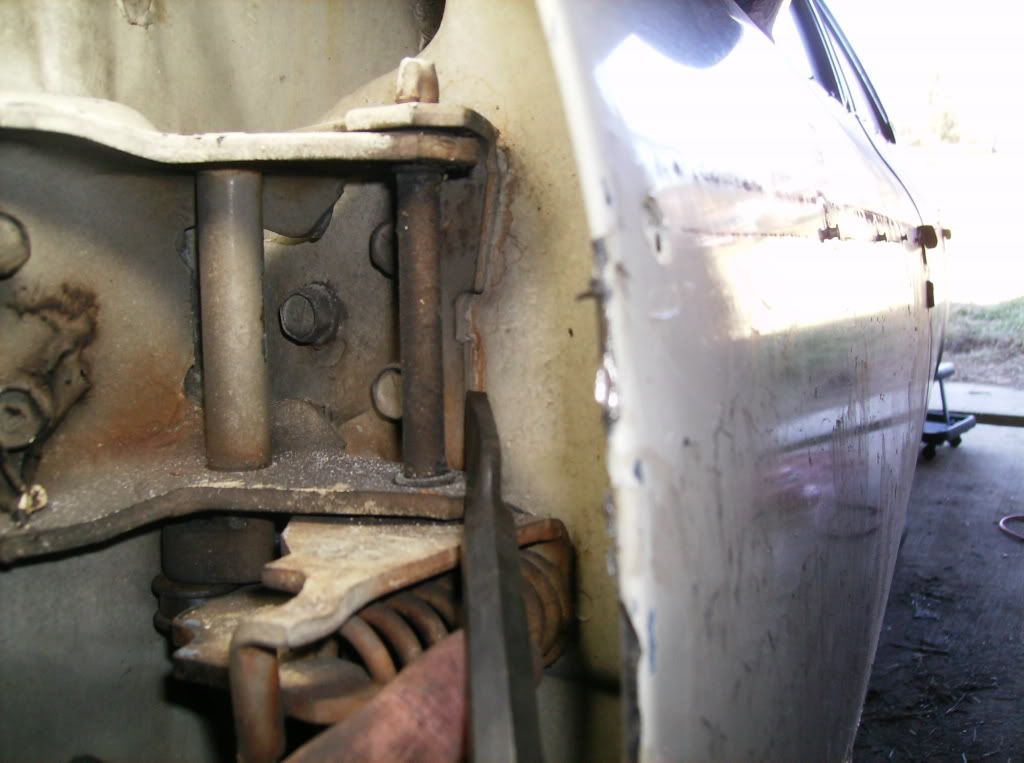
The manual recommended removing the door from the hinge rather than the hinge from the body. I took a chisel and marked three locations on the top hinge and the bottom hinge to help in realigning the door when, or as it feels at this point, if, it comes time to put the car all back together. I would have preferred to remove the door pins but I didn't have the tools necessary to do this. It would have been easier to do when it comes time to put the doors back on and line them up.
Dad bought this chisel set for me at an estate sale. This set came rolled up in a large coffee can full of other chisels and punches.. I honestly don't know what I did before I got these because I use them all of the time.

After this it was time for the door to come off. Because there was only myself around to lift the door I closed it and used the latch to support the back of the door while I removed the bolts from the hinges. There were two bolts I had to remove while the door was open and the rest could be removed with the door closed. This was made a bit harder by the fact that I'm in a barn stall and the door could not be opened all the way on either side. I took a bit of time here because when I went to remove the bolt that I didn't have access to with the door closed, 3 times I accidentally removed the wrong bolt. It didn't hurt anything, but it took longer to remove them with a wrench from the inside rather than a ratchet from the outside when the door was closed.

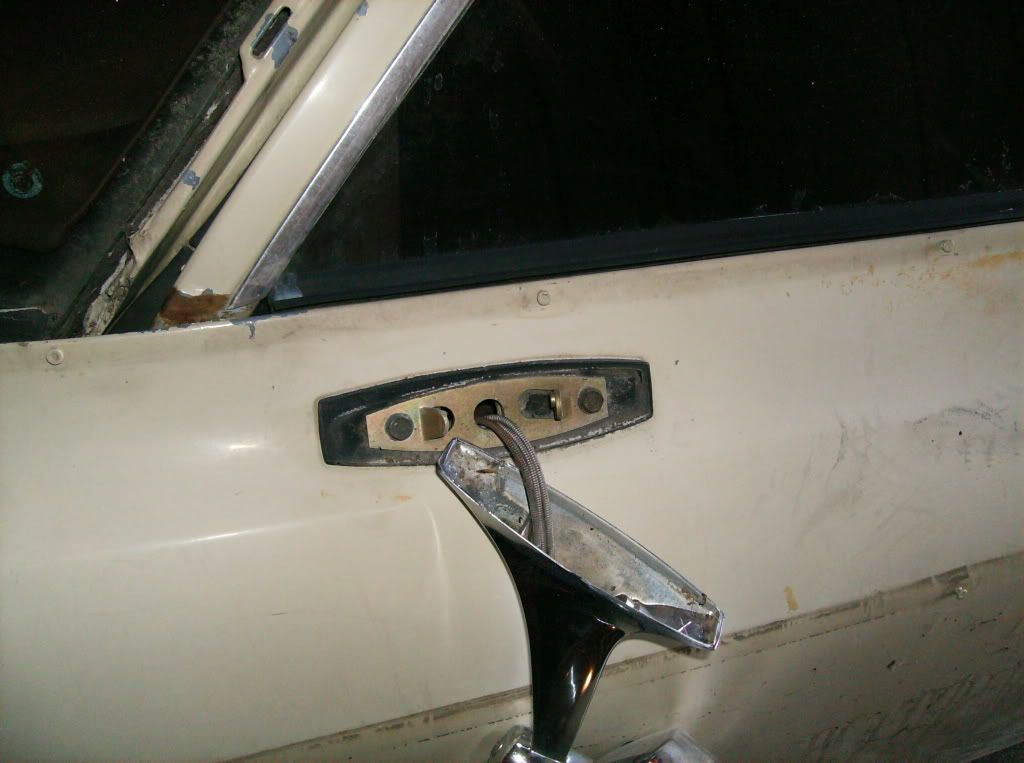
Moving on to the driver side, the rear view mirror was harder to remove because it is a remote mirror which is moved by cables running through the door into a control stick on the inside of the door. The bracket for this mirror was held on with two small bolts and was easily removed once the wire was fed through.
It's easy to breeze through steps like this without pictures but I have found that taking a little time to document where wires and switches were run proves invaluable when it comes time to put them all back together.
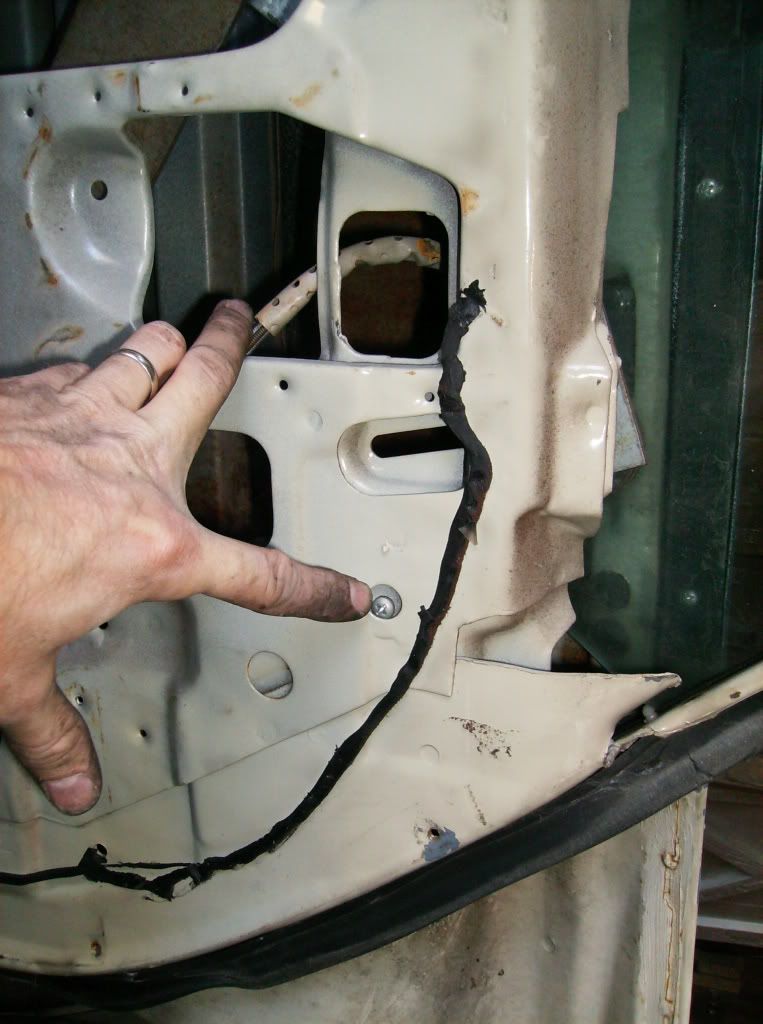
I have tons and tons of pictures that I save onto my computer that look like this. This is my own way of telling myself later that the cable for the rear view mirror was held in place by a clip and that the clip was held in place by the screw that I am pointing to.
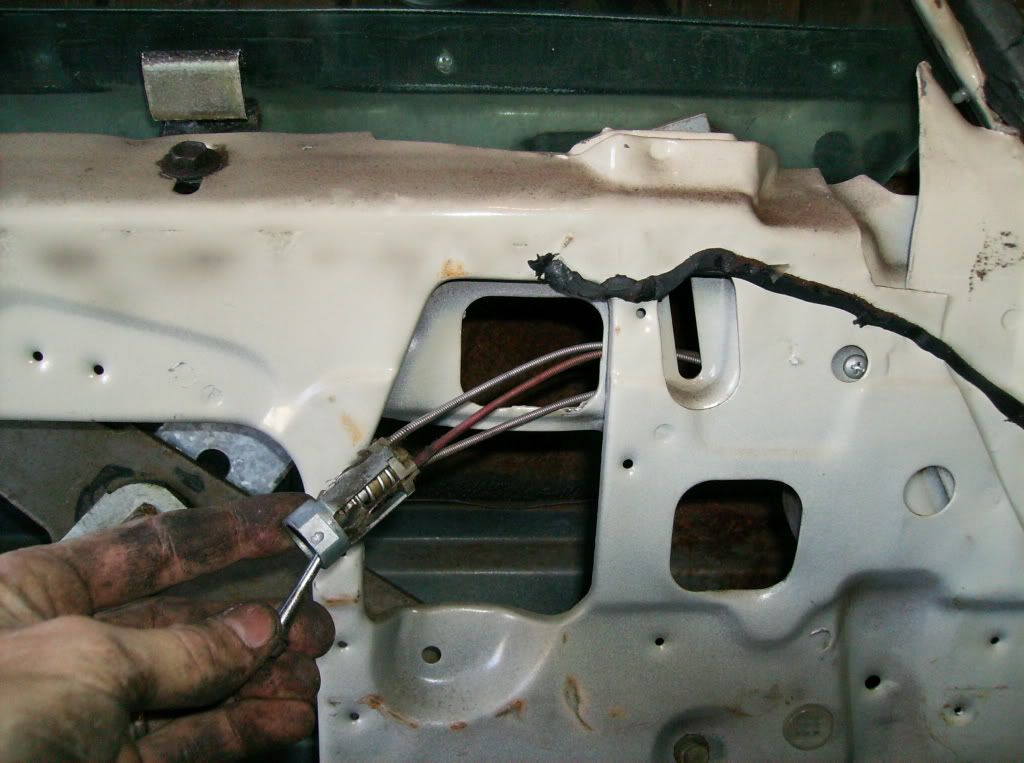
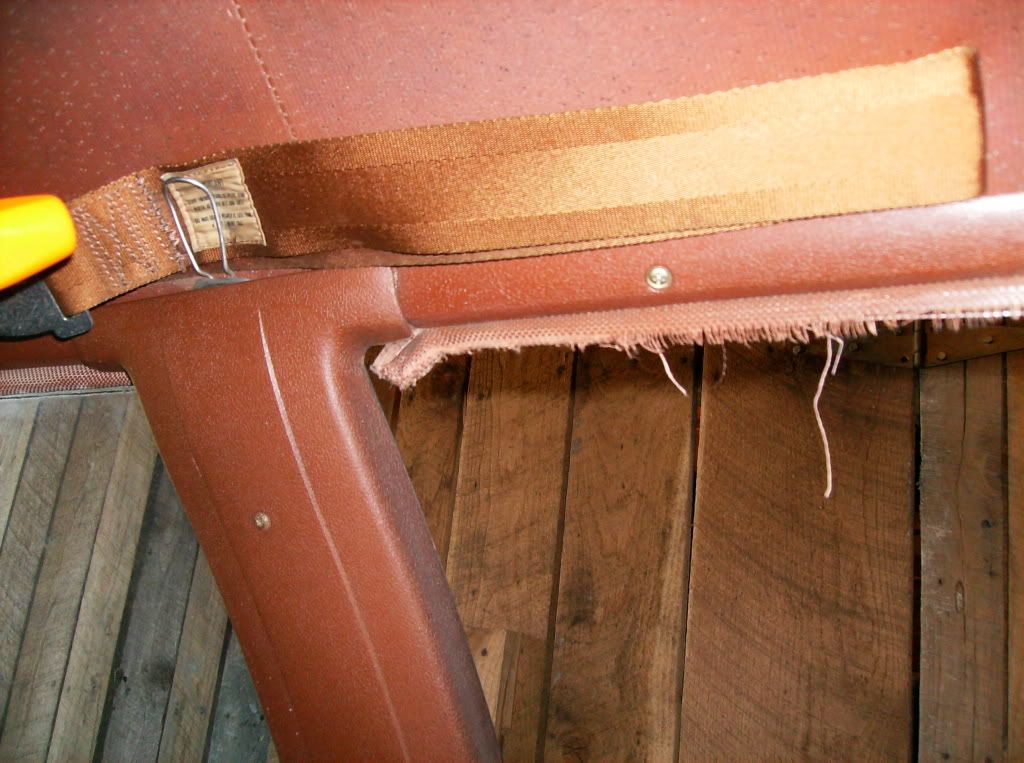
The rear view mirror didn't work correctly and this was the problem. You can see here that one of the cables was frayed and broken. Hopefully I'll find a way to weld or brazen it back together, because I'm sure a replacement would be pretty expensive.

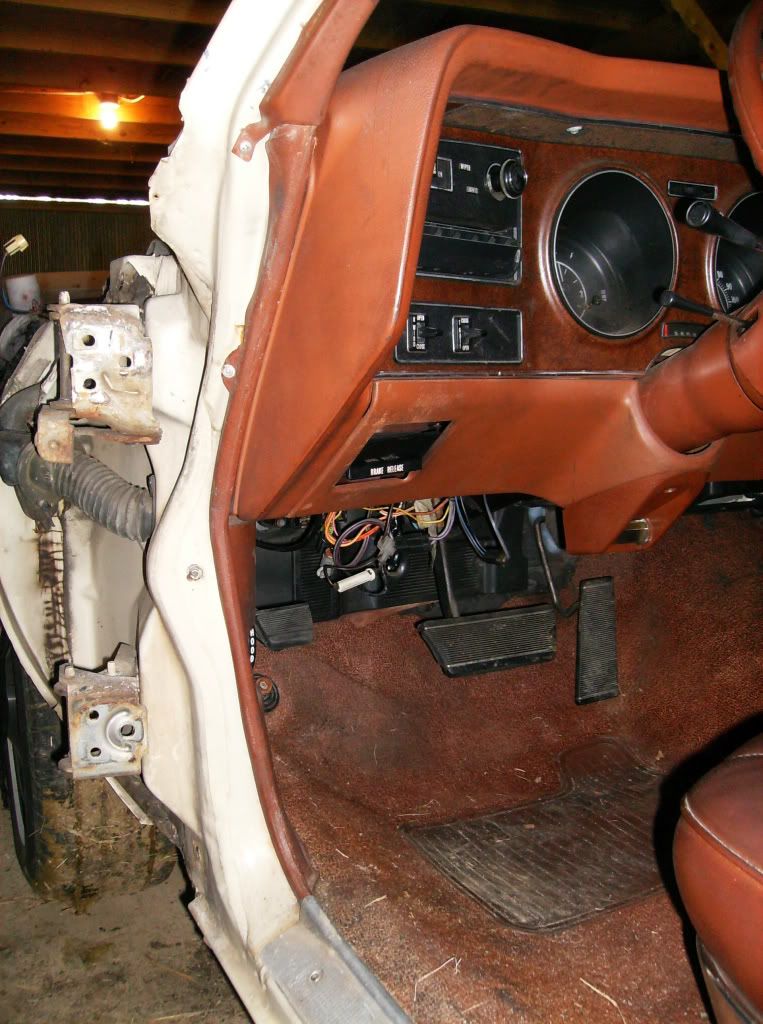
I had to remove quite a bit of the interior trim so that I can tape off the door frame areas to be painted.
Fortunately this was sturdy metal, something not found on any of today's cars...

These pieces, however, were old and brittle plastic. I did manage, carefully, to remove them without any cracking.
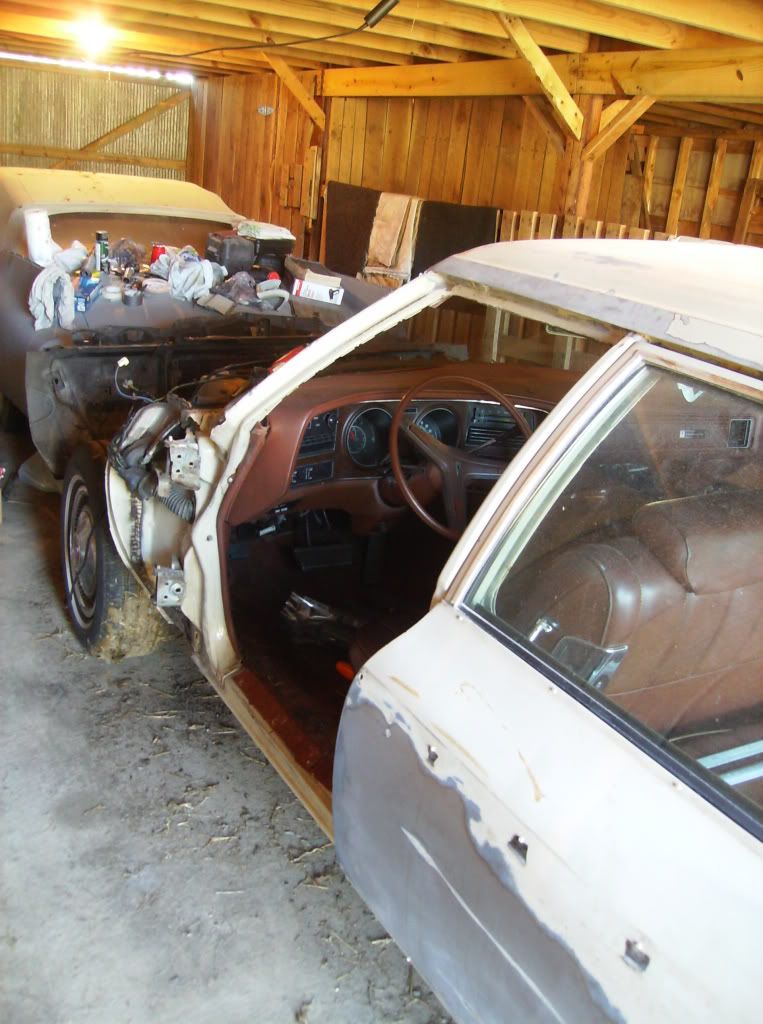
The driver's door came off much quicker than the passenger side thanks to the steep learning curve
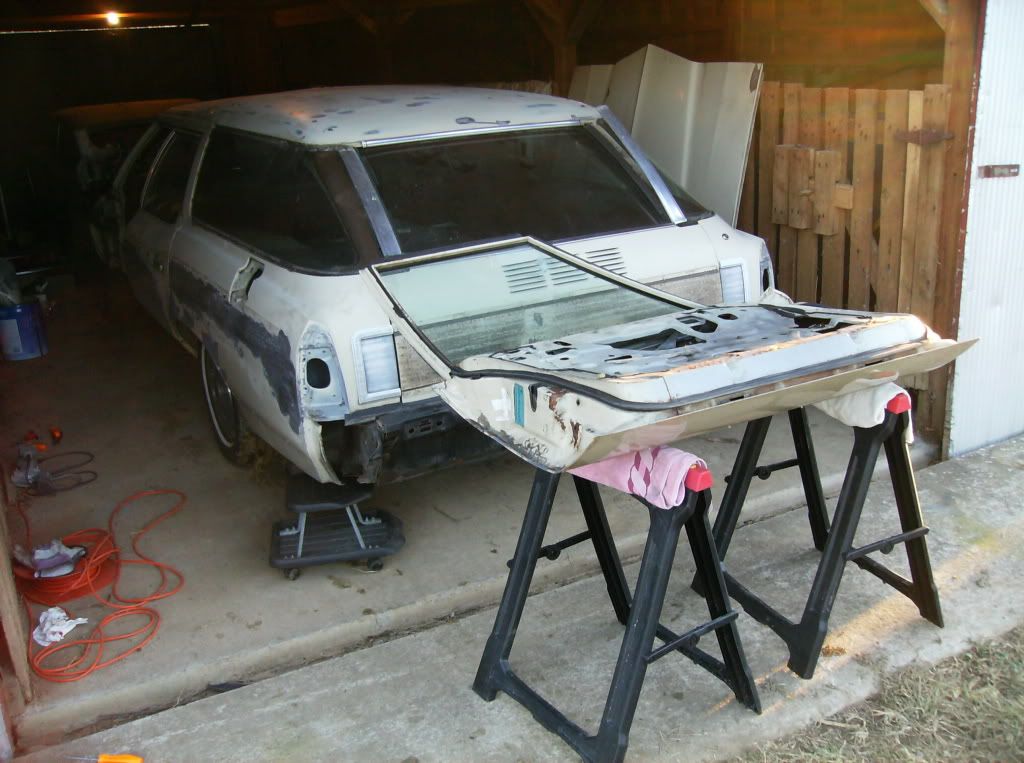
I set the drivers door up on the saw horses, which wasn't an easy job to do by yourself with these cheap, flimsy, plastic examples. They will hold weight but they aren't very sturdy unless what they are holding is perfectly still and directly on top of them.
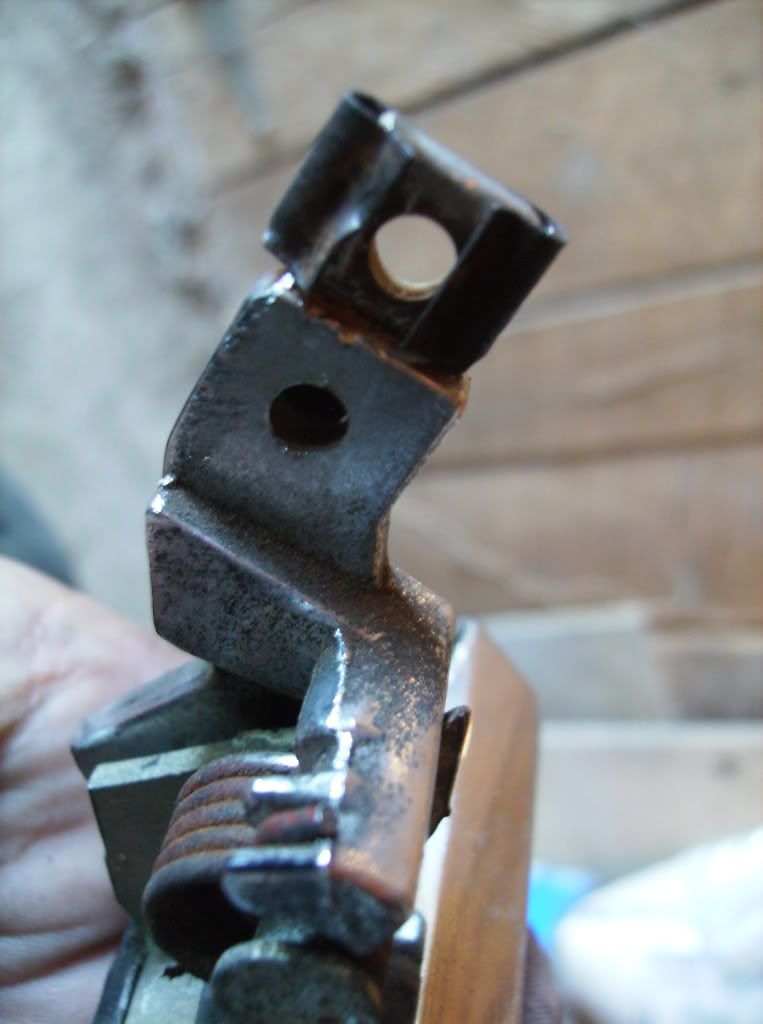
From this point I began to remove the door handle and key lock. This is what they look like inside the door. The red plate on the bottom must be removed to take apart the key lock and the rod running up to the top must be removed to take off the door handle.

It took a good hour, possibly longer, for me to figure out how to remove the door handle. The directions in the manual simple said, "Remove two bolts. Remove door handle." Because it was all set deep within the door it was difficult to see and on top of that the clip that I needed to remove was faced away from me. What I finally figured out was that the clip on the back of this handle must be slid up, away from the handle in order for the rod to be removed. There is a tab which snaps into the bottom hole pictured here so to do this you have to push something into the bottom hole which releases the tab and then pry upwards on the clip. I didn't find this out until I bent my clip and removed it and then was able to examine it once it was removed. At least the next ones won't be as hard.