Monday, October 24, 2016

Kick It Into Underdrive

This past weekend I intended to get the patch panel welded into The Clam's holy fender.  First, I had to sandblast the area behind the new piece I had just cut out.  Lowe's has decided to store their sand outside, under no roof, which means that their sand has moisture in it.  I forgot to cut the bag open and dry it out so the sand was very wet which makes it unusable for my small blaster.  I dried the sand out by laying it out on a newspaper end roll, but it still didn't dry out even after sitting there most of the afternoon.  Progress on this front was dead.

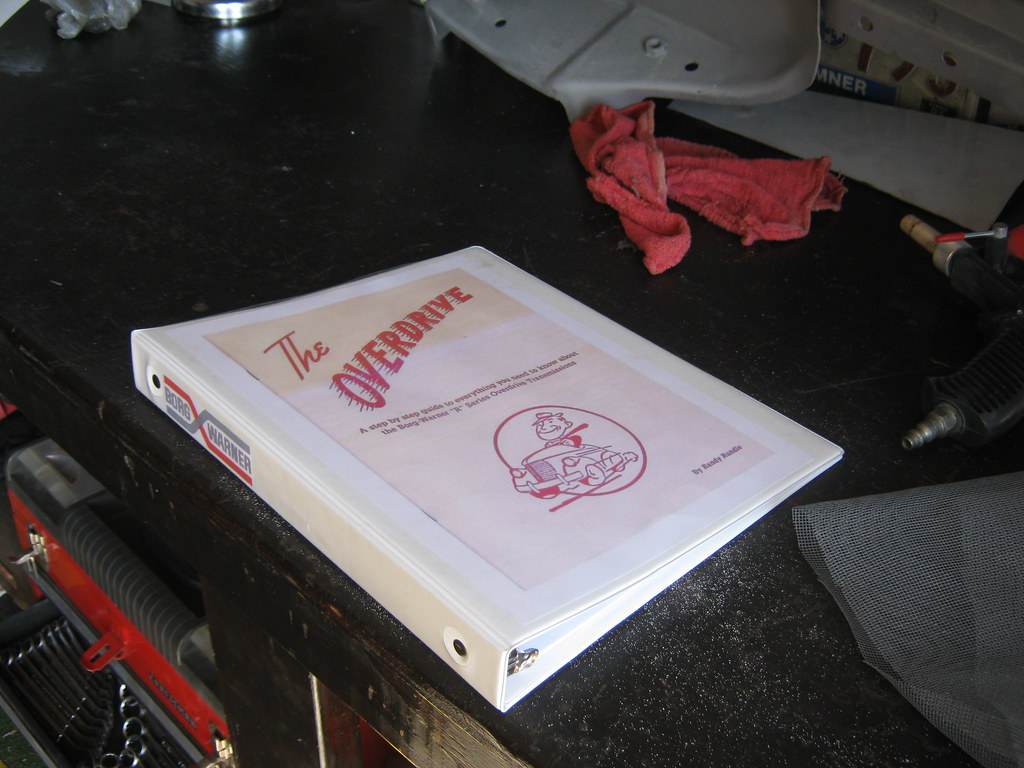
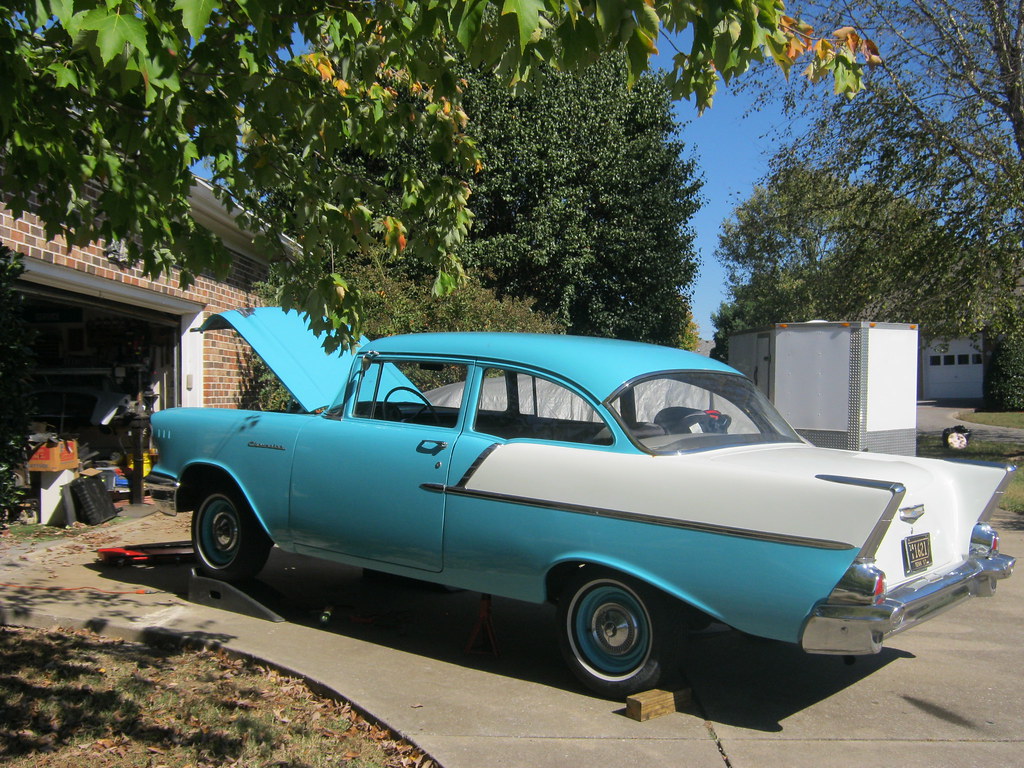
I had printed out a couple Borg Warner overdrive manuals because the '57 wasn't kicking out of overdrive properly when I would push my foot to the floor and this was a good time to tackle the problem.  Driving the car in some areas was a nuisance because in order to kick the car out of overdrive you had to push the pedal to the floor, let up off the gas and then floor it very quickly.  This was not a smooth process and was annoying.

This Borg Warner overdrive unit was essentially the same no matter what transmission it was bolted behind.  They basically took the tailshaft off of each manufacture's transmission and adapted their Borg Warner behind it.  As a result, the manuals are basically universal for all applications of each particular make and model car.  The Borg Warner model that was on the 1955-1957 Chevrolet's were a Borg Warner R10H-1.

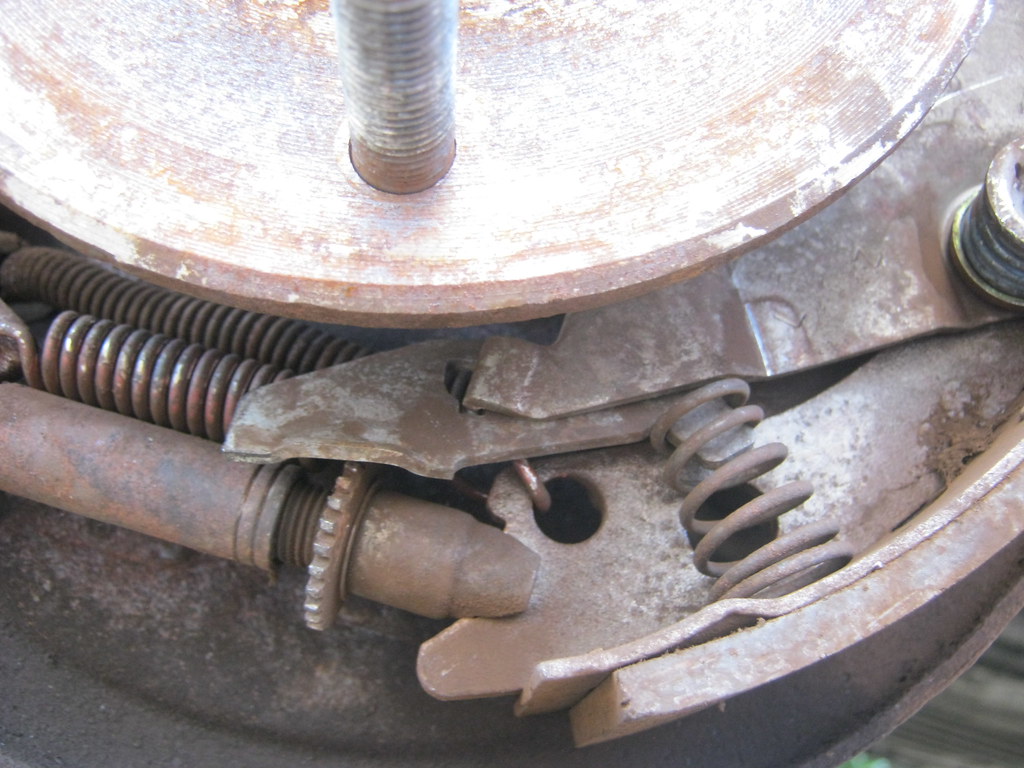
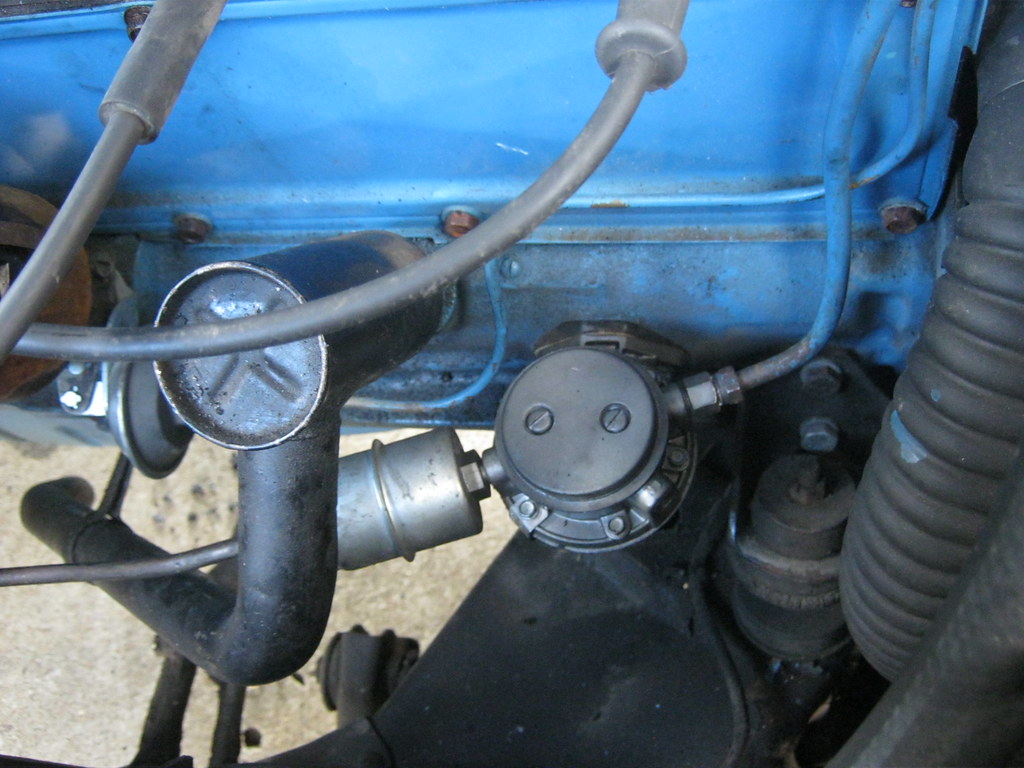
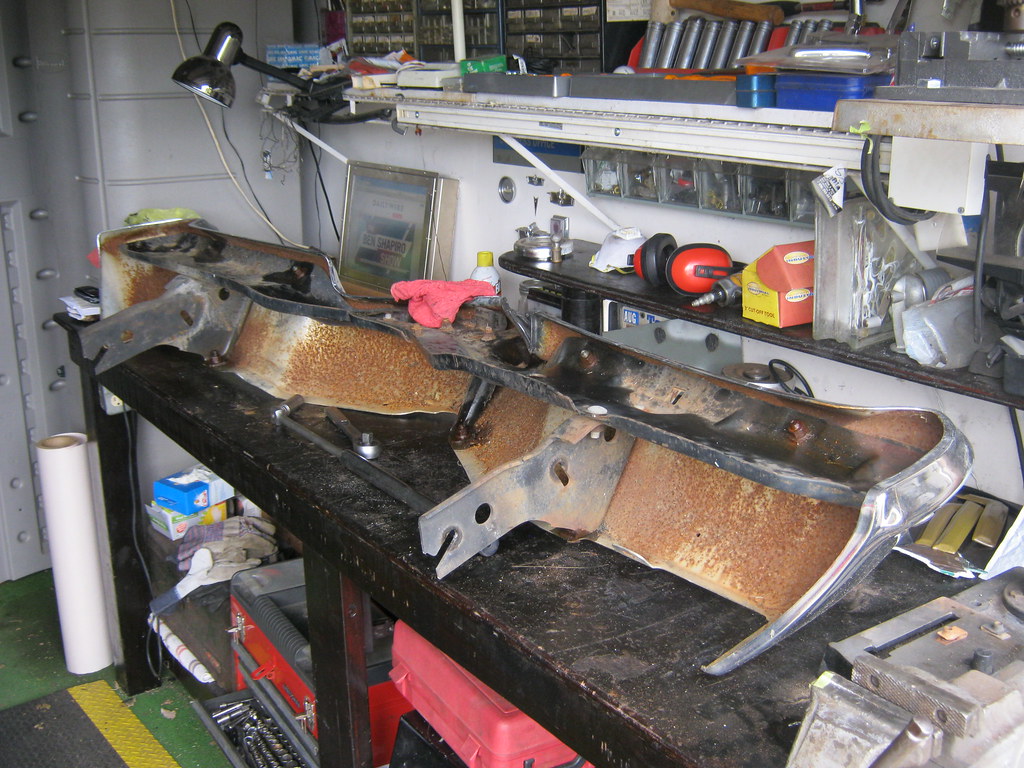
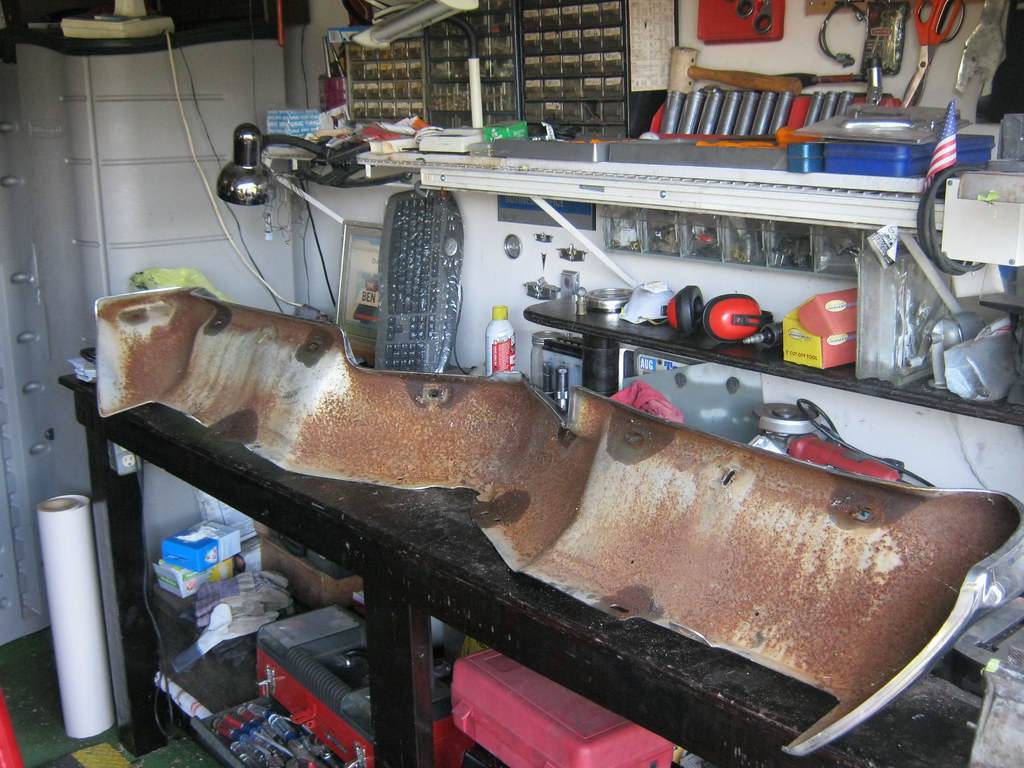
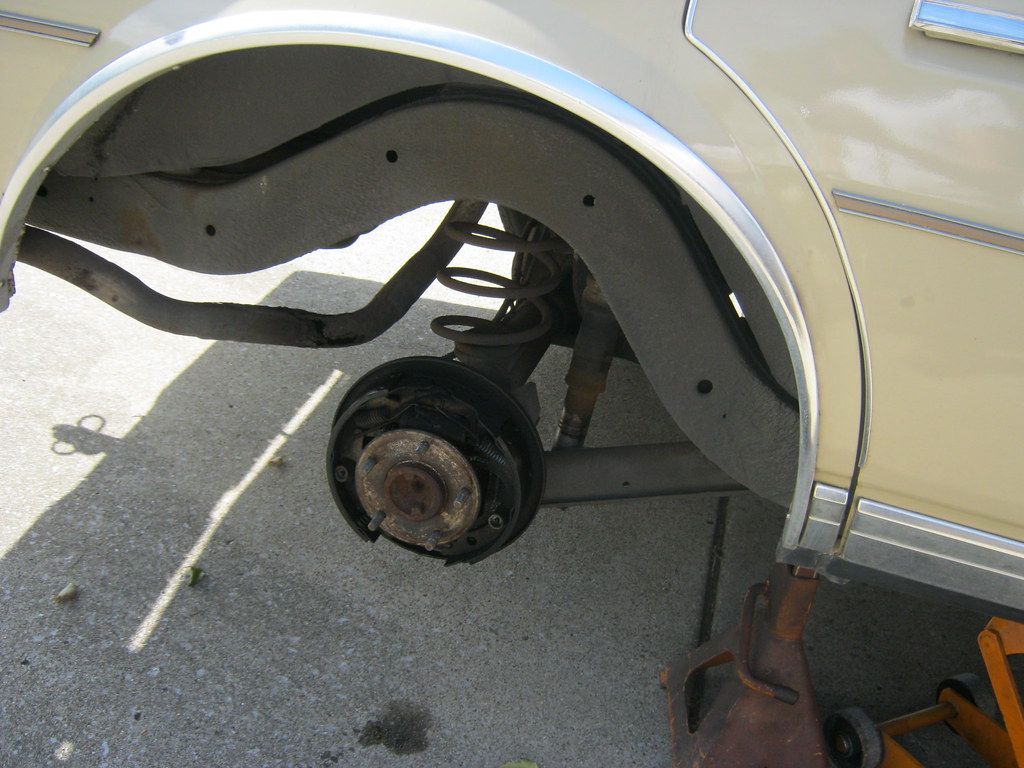
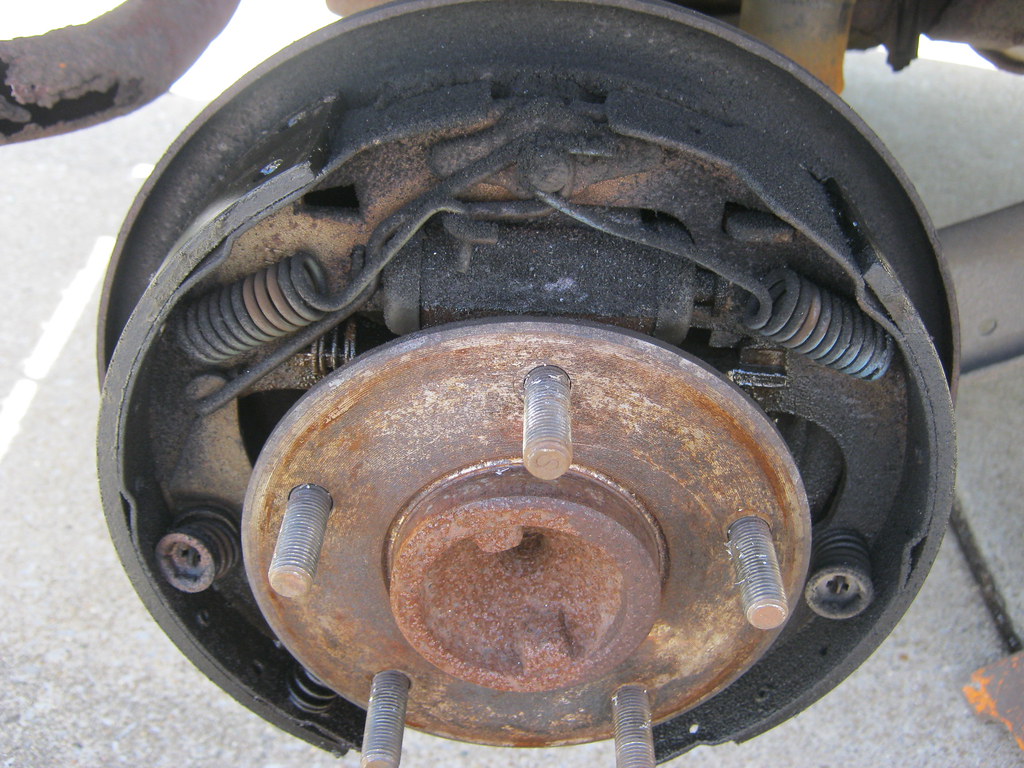
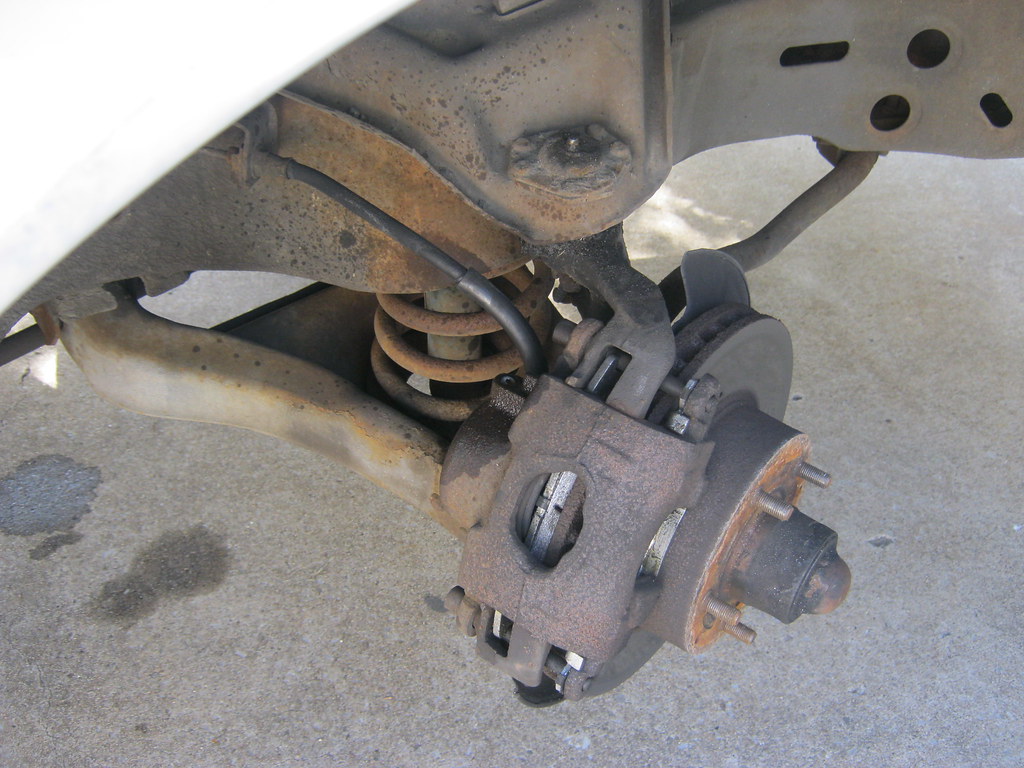
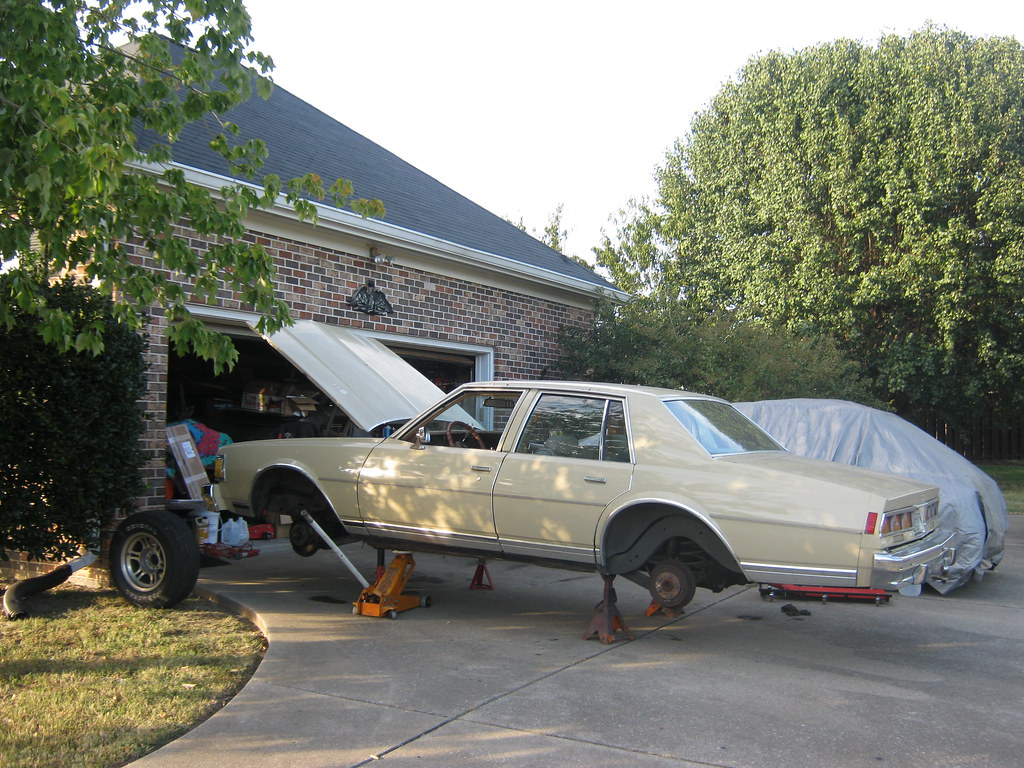
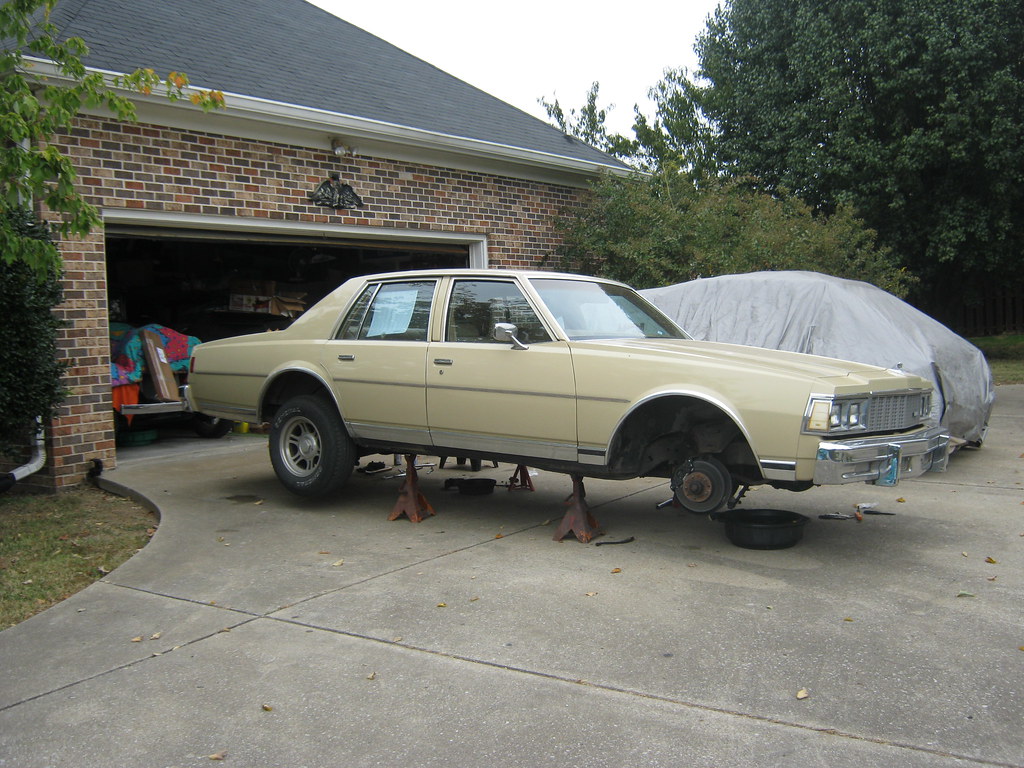
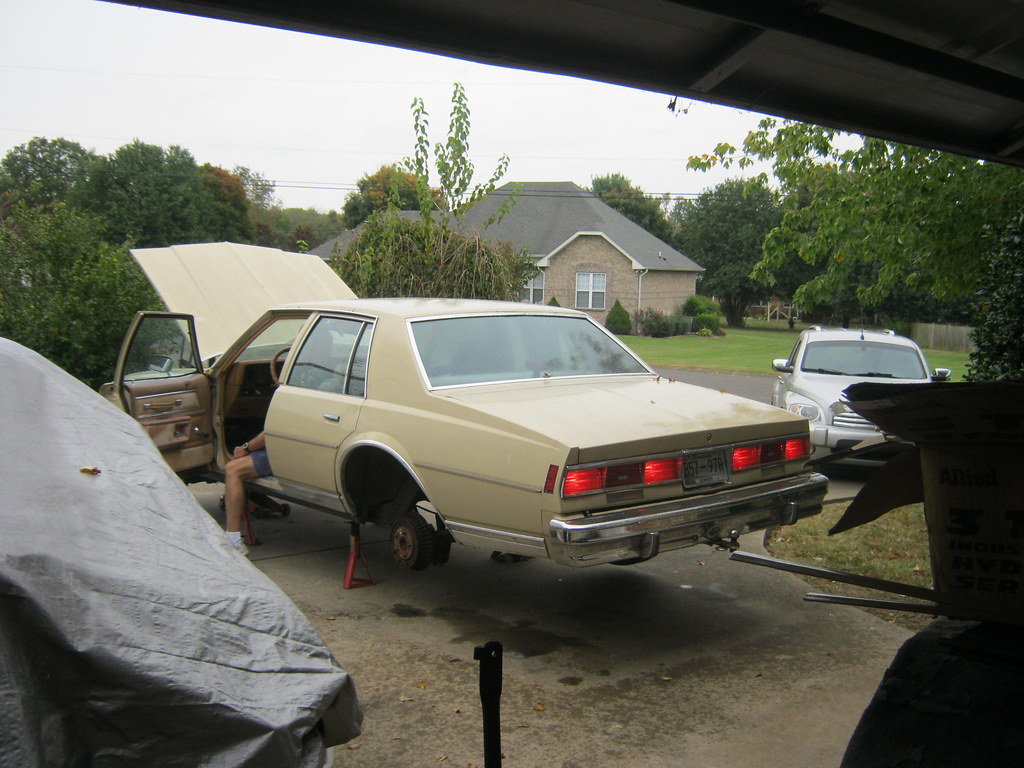
Up in the air it went to see what was going on underneath.

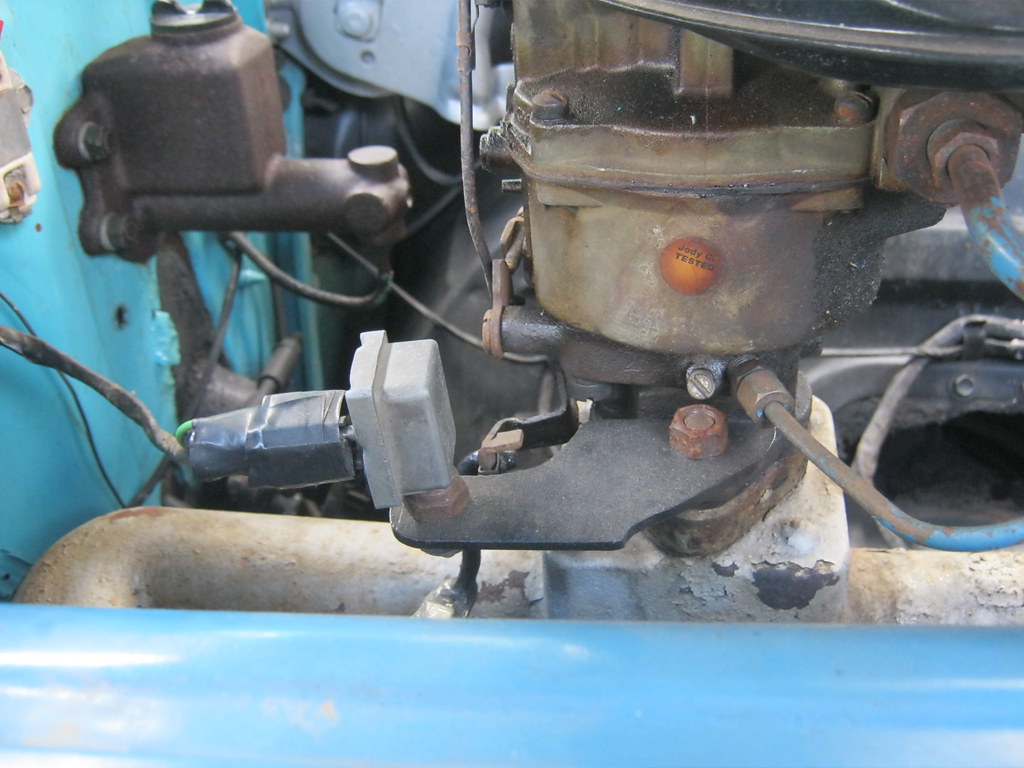
According to the manual(s), the first step to diagnosing a non-kickdown-from-overdrive problem was testing the solenoid.  The solenoid engages a pawl, which is what engages and disengages the overdrive.  When you push the accelerator to the floor it pushes a button under the hood which disengages the overdrive for passing gear.  The pawl cannot be retracted as long as there is torque still applied to the transmission so the ignition must be momentarily disrupted in order to allow the pawl to disengage.  As soon as it does, the ignition can resume operation and the car continues with the overdrive disengaged.  It achieves this by grounding out the ignition coil through the solenoid by using relay contacts inside the solenoid.  The coil is grounded out by the contact of the pawl to the lock out shaft.  Once the pawl is retracted it breaks the ground and the ignition continues as normal.  To test this you must ground the ignition-cut-out on the solenoid, which is the #6 screw.....

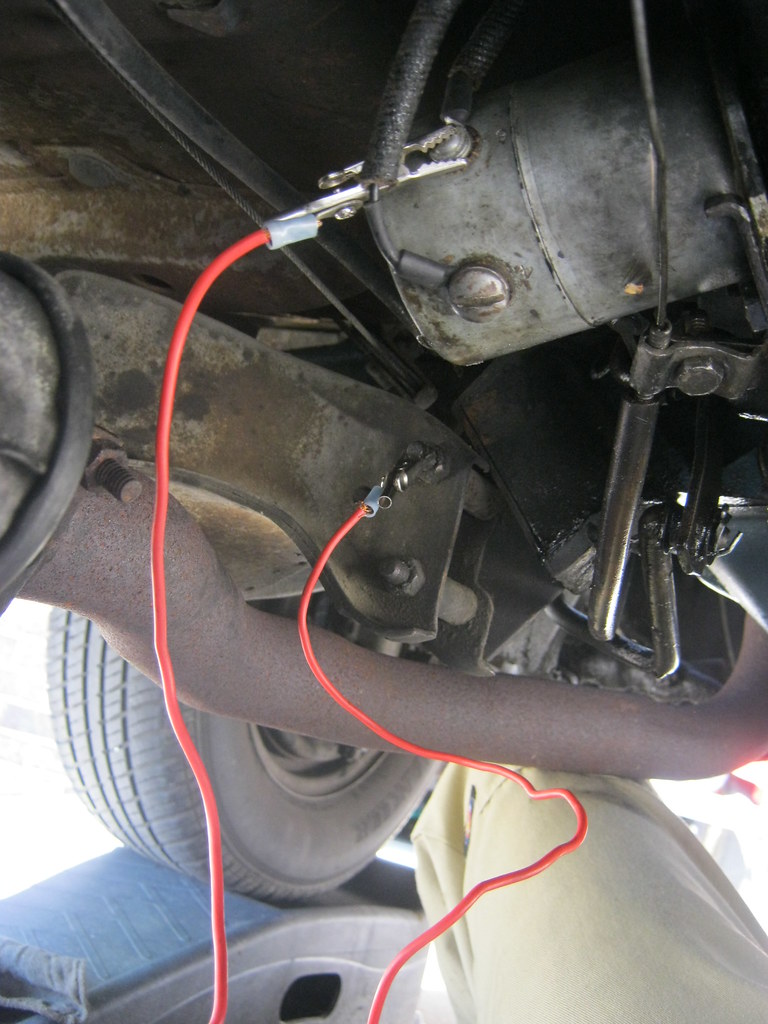
then as the engine is running, push the button under the hood by hand.  If this kills the engine, that means there is a problem with the solenoid.  If it does not kill the engine, there is a list of other things to test. 

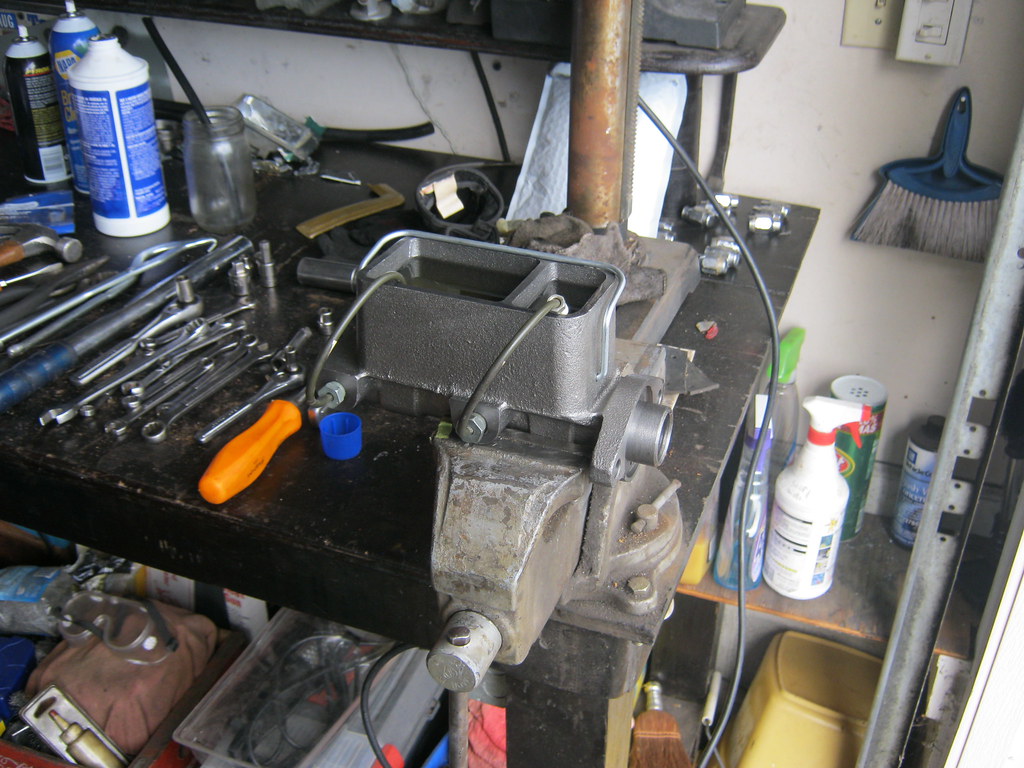
Pushing the button killed my engine, which meant my solenoid was faulty.  I took the solenoid off the car and went through the testing procedure to determine what was wrong with it.  The strange thing is that everything tested fine with the solenoid.  The pawl engaged properly.  Using a test light, I determined the ignition-cut-out contacts were working properly.  The spring had the proper tension on it.  This was all very confusing.  I continued to recheck, reread both manuals and check continuity between all the wires and connections.  Everything was perfect.

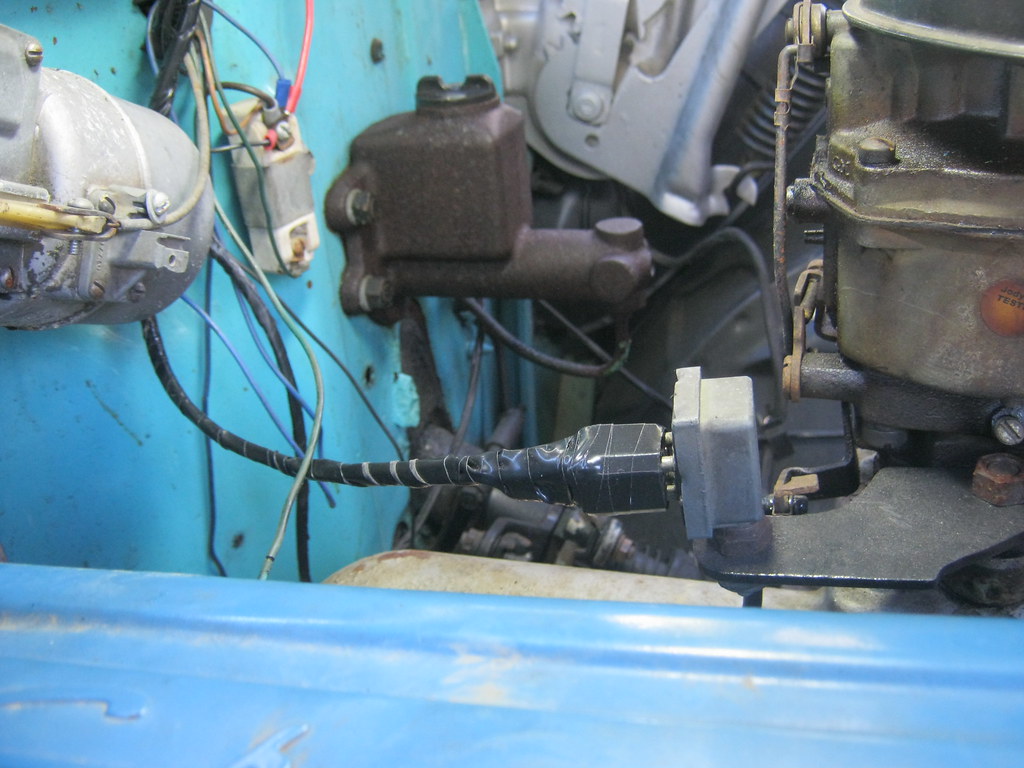
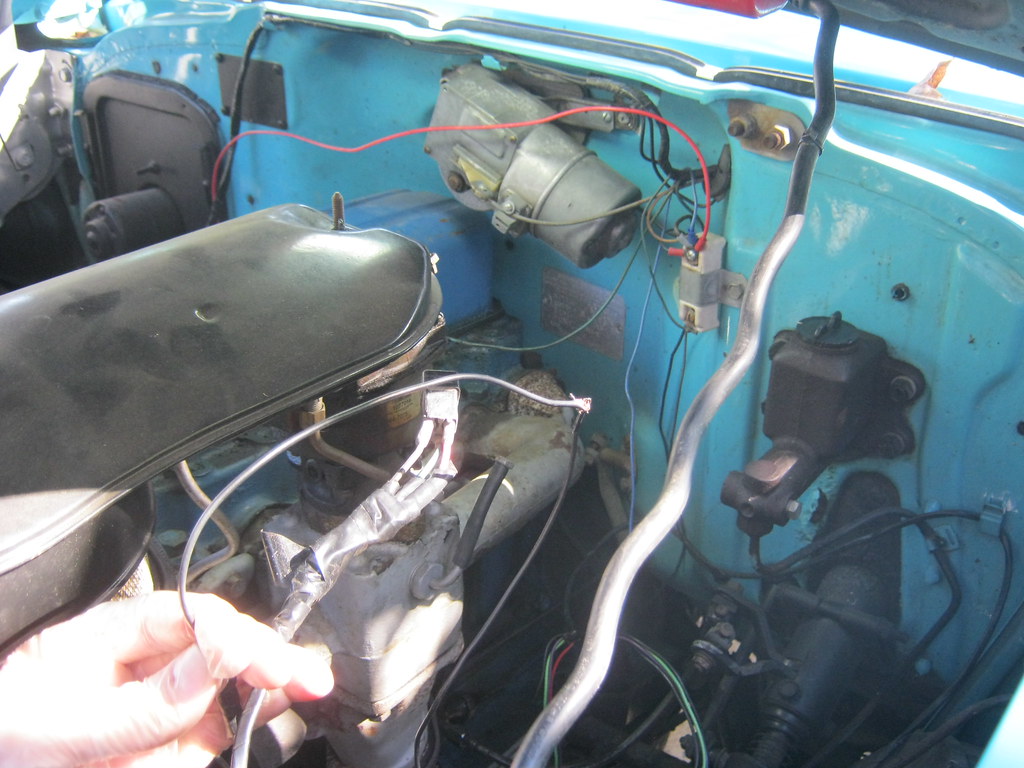
Eventually, I found that an animal had been under the hood and chewed through the ignition-cut-out wire that goes from the kick-down switch under the hood to the coil.  It still had contact, but the insulation was gone and some of the copper was chewed away.  I also found a small footnote that said that this wire must be connected to the side of the coil opposite of the ignition switch.  Mine was wired on the same side as the ignition switch, however it had worked with my previous transmission so I'm not sure what the difference is.  Either way, I moved it where the manual instructed.  I pulled the entire overdrive harness out of the car, cut the tape off and separated the broken wire, the one that runs from the kick-down switch to the coil, and replaced it.


This meant removing the wire from the kick-down pigtail, removing the old solder and resoldering the new wire back in place.

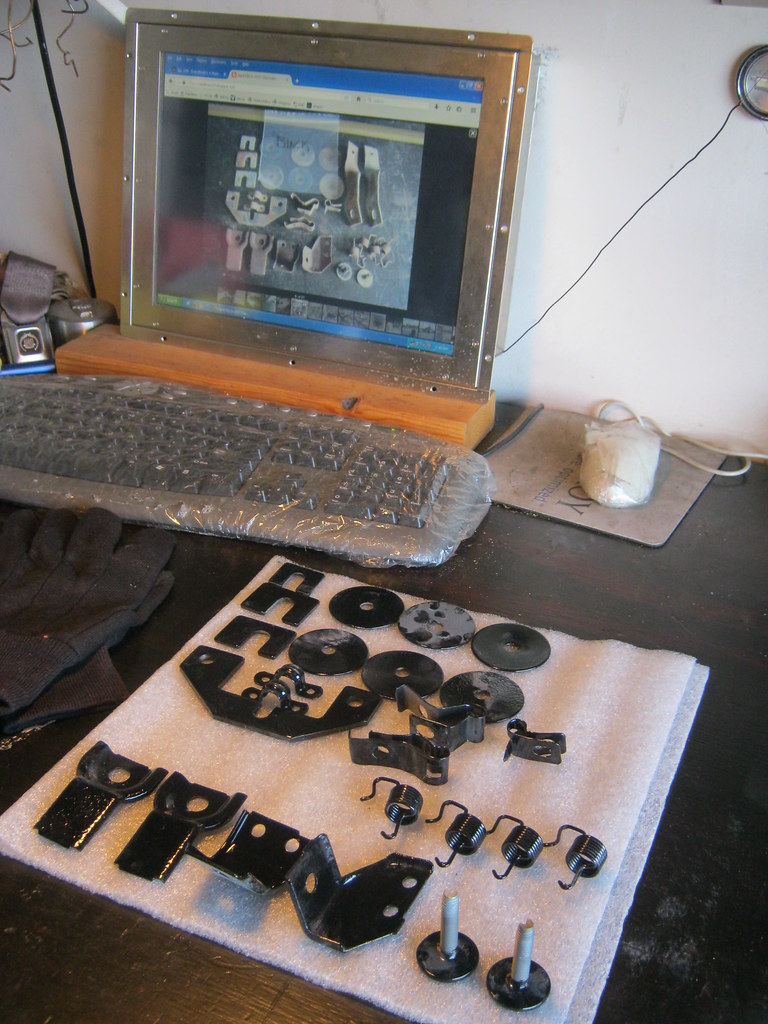
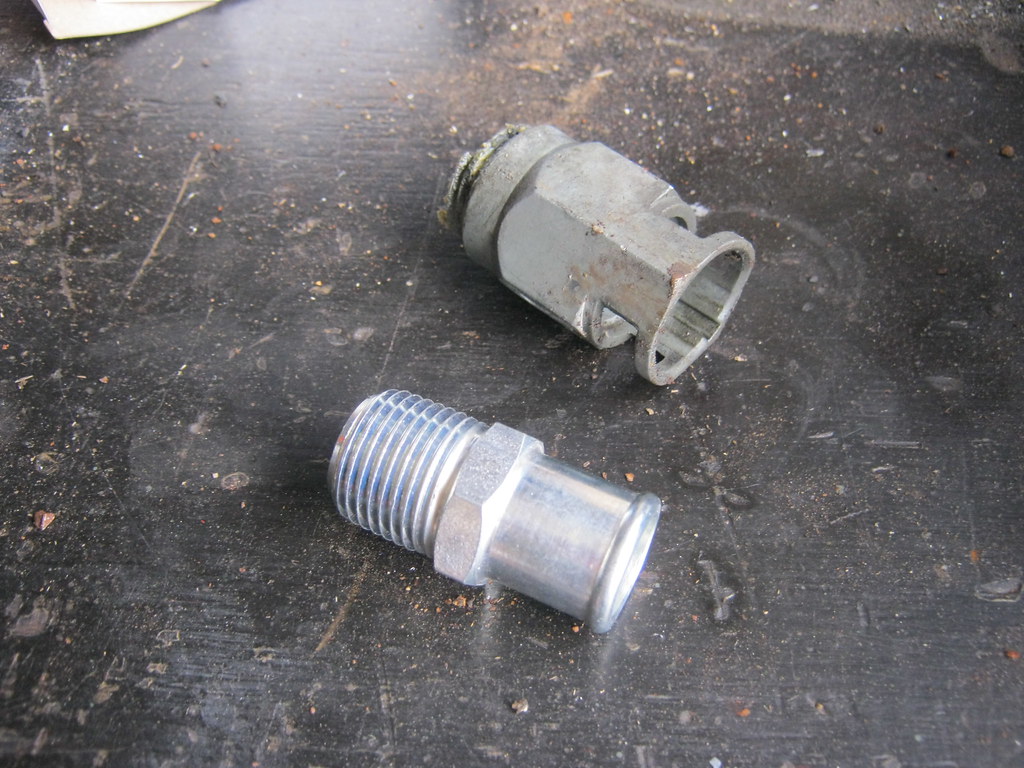
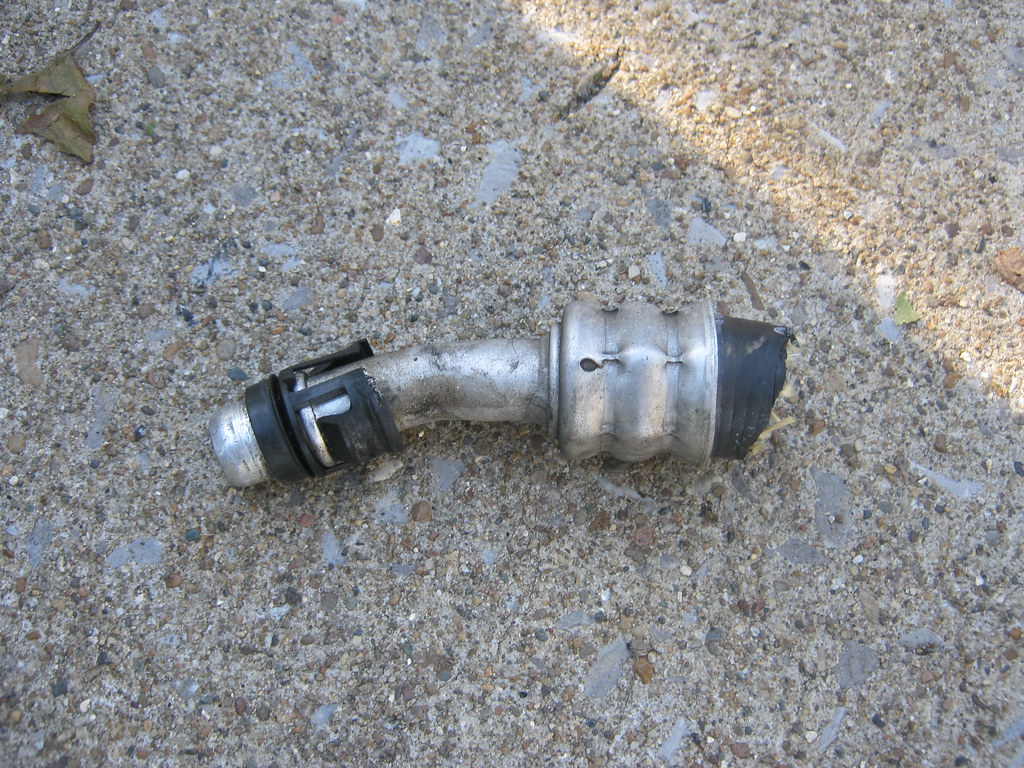
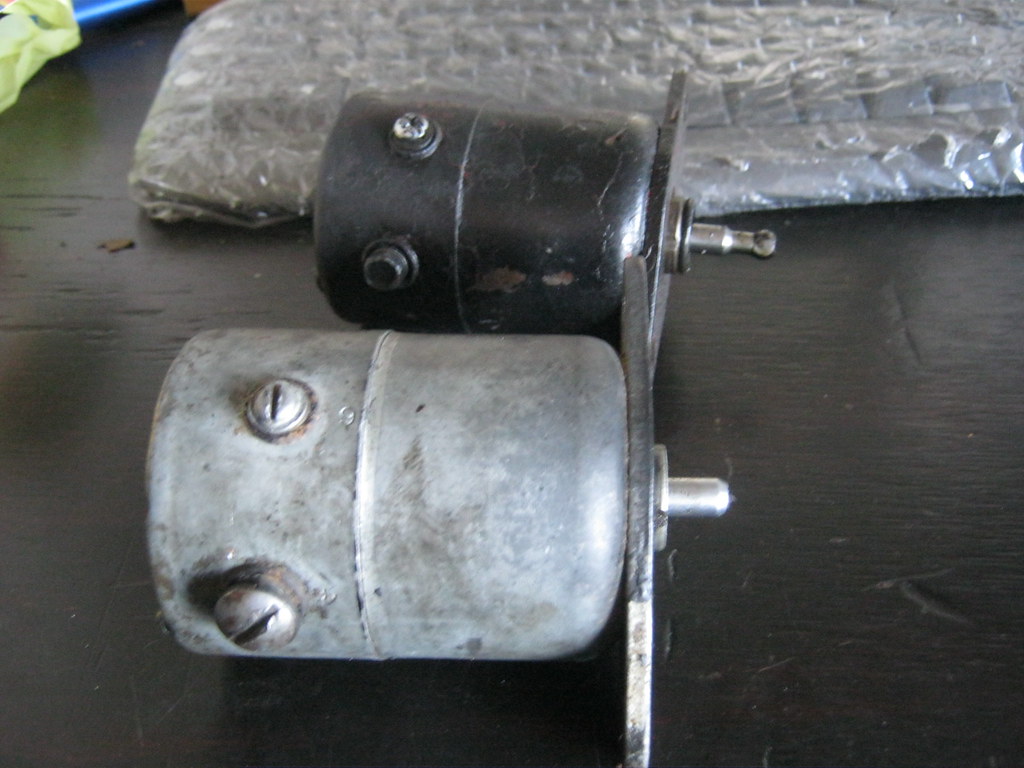
I was hopeful that this would fix the problem, but it didn't.  Not knowing where to go from here I began testing all the other systems in the unit, like the kick-down switch.  Everything checked out good.  All the wires were good.  All the connections were good, but each time I tested the solenoid, it was good.  I went online to see if I could find how to disassemble the solenoid and noticed in the picture that something was off.  If you look closely, you can spot it.

The end of the pawl is supposed to have a head on it.  Theoretically, I knew this, but I assumed that it must be inside the solenoid and I couldn't see it.  I assumed it must work in a way I didn't yet understand, but after seeing the picture I realized that mine was broken.  I removed the solenoid from my other transmission and it was in tact.  I got mirrors and an extendable magnet to make sure the head of the old pawl wasn't stuck inside.

I installed the new solenoid and it worked perfectly.  I was glad to have that over with.  Later that day April and I drove to church, which is about 37 miles away.  Halfway there the kickdown feature stopped working again.  I was very afraid that the new solenoid pawl had been snapped off as well.  If that was the case, not only would I have to find and buy a new solenoid, I wouldn't be able to install it because obviously this transmission has a problem that causes it to shear solenoid pawls.  I couldn't even imagine how that would be possible, but I didn't rule it out as a possibility because it seemed the most likely issue. We got home around 11:30 that night and I knew that if I didn't take the solenoid off then I wouldn't be able to sleep with my mind racing trying to figure out what was going on.  After the first transmission going out and then having it rebuilt only to find it was incorrect, finding the new one and three years later finally getting it sorted, I was beyond dejected and fearing the worst.  I removed the solenoid and found that the pawl was not sheared.  I tested the new solenoid and once again found all of it's components to be in correct working order.  I did remember that one potential cause of these issues was a bad connection with the wires.  The only thing I could imagine was that the problem with the old solenoid had been a broken pawl but the new solenoid had a bad connection at one of the wires.  Two different problems that would cause the same issue.  I cleaned it a little and reinstalled them.  I took it for a test drive, now around midnight, and it didn't work.  As I turned around to come home it began working and has been working since.  I am assuming that there was a bad connection and it finally made contact.  I'm going to see if it continues to work properly and if it goes out again I'll make sure to clean all the contacts thoroughly in the daylight.

Friday, October 21, 2016

Murphy's Bar Exam

I was on my way to pick up Rose because the babysitter called and said she had thrown up when I heard, and felt, something let loose in the rear of the car.  It had the feel of something under sprung tension letting go.  Then a rubbing noise came from the rear.  I assumed something had let loose in the rear shoes.  I managed to limp the car home and found that I had incorrectly installed the auto-adjusting shoe lever.  When I got back I took both rear wheels off and found the lever had fallen off and was bent.  I straightened and reinstalled it.  In this picture you will see the spring goes from the back of the shoe to the lever, which is installed behind another lever.  There is supposed to be a piece of the lever that fits on the front side of the top bracket.

I checked and the other side was the same way so I reinstalled it correctly.  Below is a picture of the correct way to install the lever.

The powercoater finally finished with all of the parts so I went and picked them up.  I'm working within a pretty tight budget with the insurance money, but I believe this step was necessary to have a finished product to the standards that I want the car.  I checked all the parts I got back with pictures I had taken before to make sure nothing was missing.

One good side effect of having everything powdercoated is that they aren't just protected well, they're shiny.

All the sheetmetal and front end fiberglass was present.  The core support looks a far sight better than it did.

April called on her way to work and said that steam was coming from under the hood of the Suburban.  I loaded up a bunch of tools and went to her work.  Fortunately, the only problem was the clamp on the new heater hose fitting had cut into the hose.  I cut the end off, pulled up some slack, reinstalled the hose, added some fluid and it was fixed.  Unfortunately, this ruined any productivity for the day.

The fender is back, devoid of paint or rust.

Notice the top left of where the patch panel has been cut.  There are some pinholes there that didn't show up before the sandblasting.  The only correct way to fix this is to cut out more metal.

A closer look.

Once again, I'll use the piece I cut out as a template to make a new piece.  You can see the rust on the brace, though it doesn't show up in the picture as it does in reality.  Unfortunately I found this out after, and because of, the sandblasters.  I went to Lowe's and bought some sand so that I can sandblast this area myself.  I could not find the Honey Coat that I used previously but did some internet research and found a 3M product called 3M Rust Fighter, which is a paraffin wax product just like the Honey Coat.  I'll prime this area with weld-through primer, coat it with the 3M product and weld it back together.

Then the fuel pump went out on the '57.  Getting a new one isn't as simple as just ordering one, because there is a lot of controversy over which pump actually fits.  After reading a lot of stuff on the internet I ordered one I thought would work best.  It took a few days to arrive.

The old pump was leaking gasoline from where the top and bottom part of the body was crimped together.  After a test, the new pump showed no signs of leaking.

Also, the overdrive has not been disengaging as it should with the installation of the new transmission.  After a lot of reading I have determined that when the pedal is pushed to the floor and the kickdown switch is activated, it not only disengages the overdrive, but it also grounds out the ignition coil for a brief moment.  The torque of the engine will prevent the prawl from disengaging if a load is kept on it, so a momentary "miss" is created by grounding out the coil through the overdrive solenoid and then as soon as the prawl in the solenoid is disengaged the ground is broken causing a seemless disengagement of the overdrive once the pedal is pushed to the floor.  This is the kick-down switch and bracketry I made a while back.  I printed a couple online Borg Warner overdrive manuals from the internet so I'm going to be following them to diagnose the cause of the problem.  I'm hoping it is not this switch because they aren't cheap or easy to find and I'd just as soon replace a broken wire than try to rebuild a broken switch.

Monday, October 17, 2016

The Wagon, The Suburban, The Caprice and a Week

I wanted to have the patch panel for the fender cut and ready to go as soon as it comes back from being sandblasted.  I still had the old trunk that I used to cut a patch panel for the fender from the first time I restored the car.  Here you can see where the old patch panel was cut and the new panel sketched next to it.  I used the panel I cut out of the fender as a template for what will be the new patch.

After tracing and cutting out the patch I found it fit very well.  I won't weld it in yet because I want to have the brace behind the patch sandblasted so that I can repaint and coat it to prevent future rust.  I didn't sandblast the patch because I want the factory coating on the back of it for protection.

Then I began removing the old woodgrain.  It's not a simple process, but it's much easier than removing the 45 year old stuff that was originally on the car last time.

After removing the woodgrain I used a rag and adhesive cleaner to remove the glue.  This is a time consuming process.

I compiled all the parts from the original car and the parts clip and determined what would be used and what was damaged and could not be used.  In the event I had two good parts I chose to have the part from the parts clip blasted and powdercoated, that way if I ever need a replacement I'll have an extra, already in good condition, that originally came from the car.

I made sure to document all the small parts to ensure I get them all back from the powdercoaters.

Other than sheetmetal and fiber header panels, this is all of the steel and metal that holds the front end on the car.  It seems that there would be more.  I want to make sure I get all of these back from the powdercoaters as well.

I borrowed dad's small trailer to haul all the parts.

I inspected the bumper and contrary to what I had expected I found it wasn't bent.  The top lip on the passenger side is, however, rolled down a slight bit.  I'm going to have to measure the bend and determine if it is something that will need to be repaired and then find a way to repair it.

I removed the inner structure from the bumper to have it powdercoated as well.

Everything loaded.  I did some predrilling on the inner fender wells so I won't have to do any drilling after the powdercoating is complete.

Hopefully the next time I see the hood it will be bare metal

Rose went with me and enjoyed looking at all the old cars that were on the lot

Somehow I missed something very obvious.  The Grand Safari is based on the Grand Ville, however it does not have the Grand Ville front nose.  The Grand Ville and Bonneville had a front nose that was about 3 inches longer than the Catalina, but this nose was not used on the Safari wagons.  The Grand Ville grill was used on the Grand Safari.  Because the parts clip was a Safari, and not a Grand Safari, it had the standard grill.  This means the grill I have doesn't match the grill I bought.  My driver side grill is still good, but I'm going to have to find a passenger side Grand Ville grill.


I was walking into the house and noticed a large puddle under the rear passenger wheel of the '79 Caprice.  The next day I was walking in the house and noticed a large puddle under the front of April's Suburban.  This left us with only one driveable car, the '57.  I had to put the wagon on hold and I tackled the Suburban first.  I crawled under and found a steady drip coming from the bell housing.  It appeared to be oil.  Later, it turned out to be antifreeze that was discolored from the dirt it collected.  Because the Suburban had been sitting for several days without use for the first time since we have had it, it lead me to first suspect it could be a pan gasket leaking as the oil leaked down into the pan.  I found the leak to be coming from above the starter.  I could feel the leak on the backside of the block between the firewall and head, but could not see anything.  I eventually relented and removed the starter.  I was able to trace the leak to the very rear of the intake manifold where it meets the valve cover on the passenger side.  I was afraid it would be a valve cover gasket or intake manifold.  Then I noticed that there was a very slight dampness running along a valley next to the intake and when I traced it back I found it was coming from the heater hose fitting on the front passenger side of the intake.

On the Suburban the heater hose connects to the front passenger side of the intake manifold.  GM designed a quick-release fitting made of pot metal and had a special hose with plastic clips that could snap into the fitting.  The design is known to be faulty and has caused a lot of problems on the Suburbans and Trucks of these years.  This happened to our last '99 Suburban (the one that burned to the ground) so I was already aware of this situation.  These fittings are notorious for breaking off in the intake.  The last one I had came out without breaking, which is rare from what I have read from others' testimonies.  I was not so fortunate this time and with very little force the fitting broke off almost flush with the block.  I had to take chisels and screwdrivers and remove what was left of the old fitting.

Rather than replacing the bad design with another bad design I replaced the pot metal fitting with a standard heater hose fitting, the way GM should have done it in the first place.  It took most of the day to remove what was left of the old fitting and install the new one.  Because the threads were bunged up pretty bad and I didn't have a 1/2" NPT tap I had to tap the hole with the fitting itself.  I would have to screw it in until it got hard to turn, use a breaker bar to turn it about 1/4 of a turn, back it out and clean off the threads of the fitting as well as the threads inside the intake with a pipe cleaner attached to a drill. 

This is the special quick-release fitting on the end of the original heater hose that presses into the pot metal fitting that screws into the intake.  After cutting the hose right above the quick-release there was enough slack in the hose to reconnect it to the new intake fitting with a regular worm gear clamp.

The rest of the week was taken up with the numerous misfortunes of the brakes on the '79.  I started out by changing the wheel cylinder on the afflicted wheel.

As you can see, it was pretty crusty, but everything came apart OK.

Dad was going to come over and help me bleed the brakes after replacing the wheel cylinder.  These calipers haven't been removed in almost 30 years and I found that the bleeder valve was practically welded to the caliper.  It twisted off like butter.  I attempted to drill it out to no success.  I knew at this point I was going to have to replace this caliper.  In this picture you can see the bleeder valve broken off right next to where the brake hose goes into the caliper.

While I was at it I went ahead and tested the remainder of the bleeder valves.  This meant I had to take all of the wheels off because they were all difficult.  Because the wheels on the '79 are a universal style wheel that are aligned by the special lugnuts, taking the wheels and tires off of this car is a long process compared to normal wheels.  The front driver side bleeder valve was very stuck as well.  Using a torch and copious amounts of BP blaster I was eventually able to get it broken loose.  After replacing the rear wheel cylinder and then the front passenger side caliper dad came over and we bled the brakes.

After bleeding the brakes again the brakes seemed to be fine and then we began loosing pedal and the brake light came on.  It turns out all of the brake bleeding had ruined the old master cylinder.  A new master cylinder must be bled off of the car, before installation, in order to get all of the air out.  This is called bench bleeding.  Once I did this, I installed it.

I actually don't like installing new parts in the engine because they look out of place when they're all shiny and new.  After installing the new master cylinder dad came over and helped me bleed the brakes, again.

After having the brakes bled everything seemed to be OK, but then about halfway through the first trip into town the brake light came on, but would go off if you pumped the brakes a couple times.  Also, the brakes were clearly sticking slightly.  It turned out that one of the brake lines had collapsed.  I ordered and replaced both front brake lines and since I had gone this far decided it would be unwise to not replace the remaining caliper and wheel cylinder on the driver side, so I replaced those as well.  Both front brake lines had been on the car longer than I've been alive and were a huge pain to remove because the nut on the brake lines was frozen solid and would not spin.

Also, the rear driver side wheel cylinder brake line was rusted and wouldn't come off even with a torch.  I was finally able to get it removed after a lot of work.  Wheels off and back up on jackstands, again. After that, dad came over and helped me bleed the brakes, again.  I now have all new brake pads, both front calipers, both rear wheel cylinders and brake hoses and a new master cylinder.

All week it looked as though it was going to rain and finally, after everything, it began to rain just minutes before we finished for the very last time.  We readjusted the rear brakes and after this, at long last, the brakes held pedal and worked better than ever.  After flushing a total of two quarts of new brake fluid through the lines, I finally put the wheels on for the last time and was glad of it.