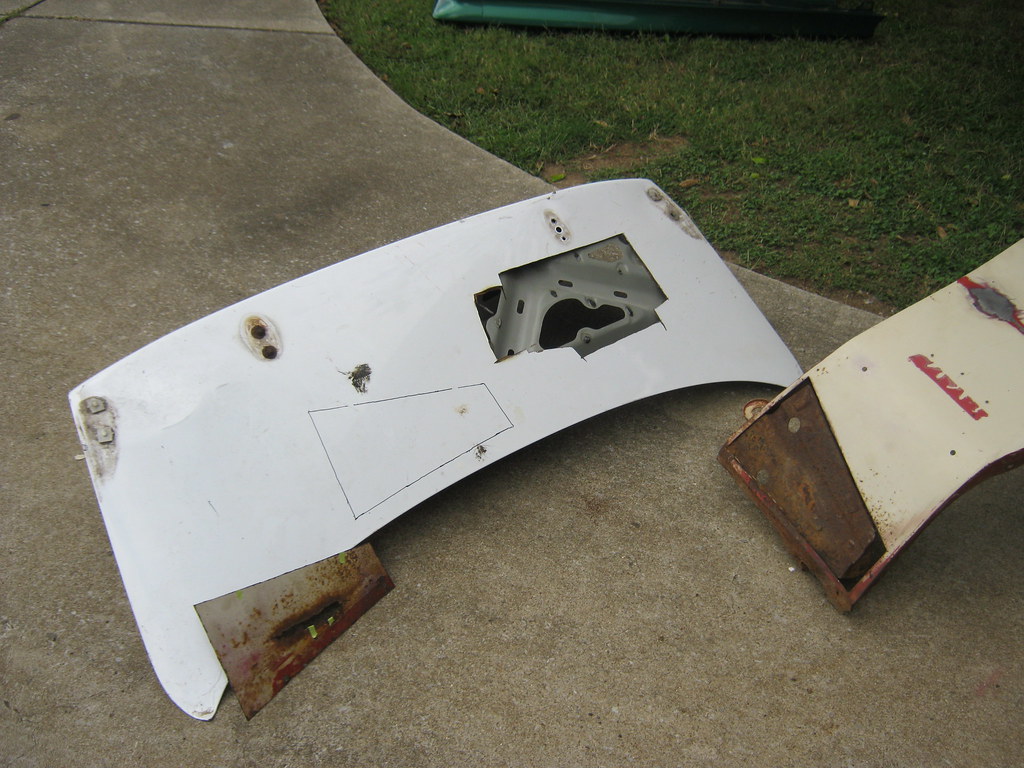
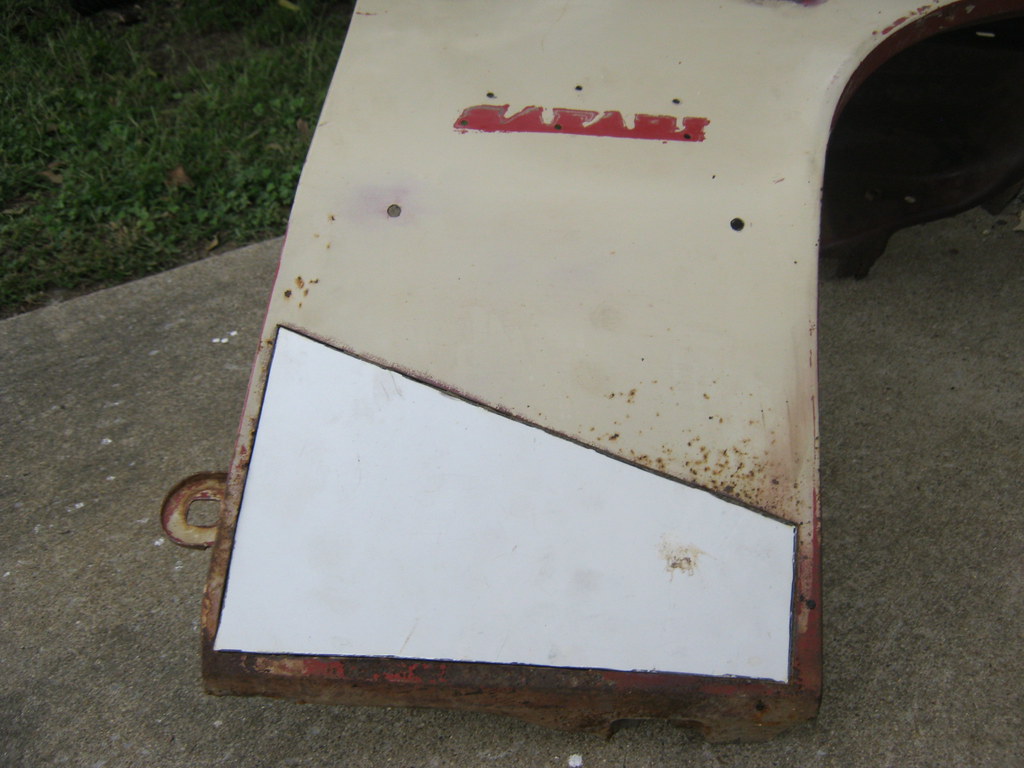
After tracing and cutting out the patch I found it fit very well. I won't weld it in yet because I want to have the brace behind the patch sandblasted so that I can repaint and coat it to prevent future rust. I didn't sandblast the patch because I want the factory coating on the back of it for protection.
Then I began removing the old woodgrain. It's not a simple process, but it's much easier than removing the 45 year old stuff that was originally on the car last time.
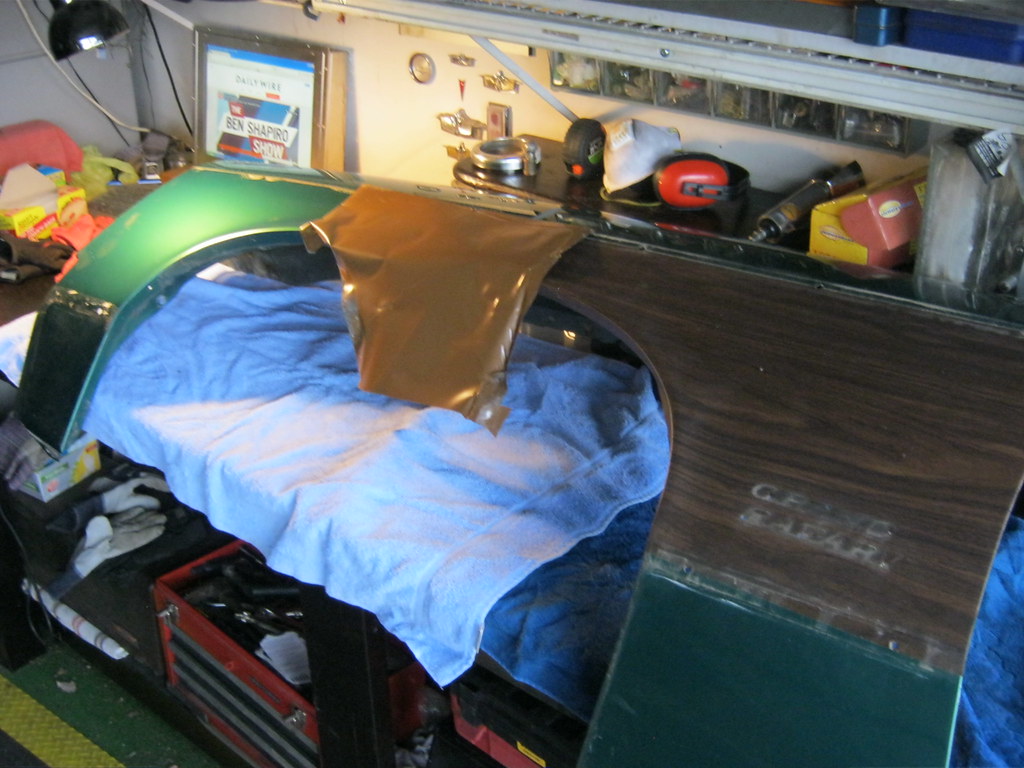
After removing the woodgrain I used a rag and adhesive cleaner to remove the glue. This is a time consuming process.
I compiled all the parts from the original car and the parts clip and determined what would be used and what was damaged and could not be used. In the event I had two good parts I chose to have the part from the parts clip blasted and powdercoated, that way if I ever need a replacement I'll have an extra, already in good condition, that originally came from the car.

I made sure to document all the small parts to ensure I get them all back from the powdercoaters.
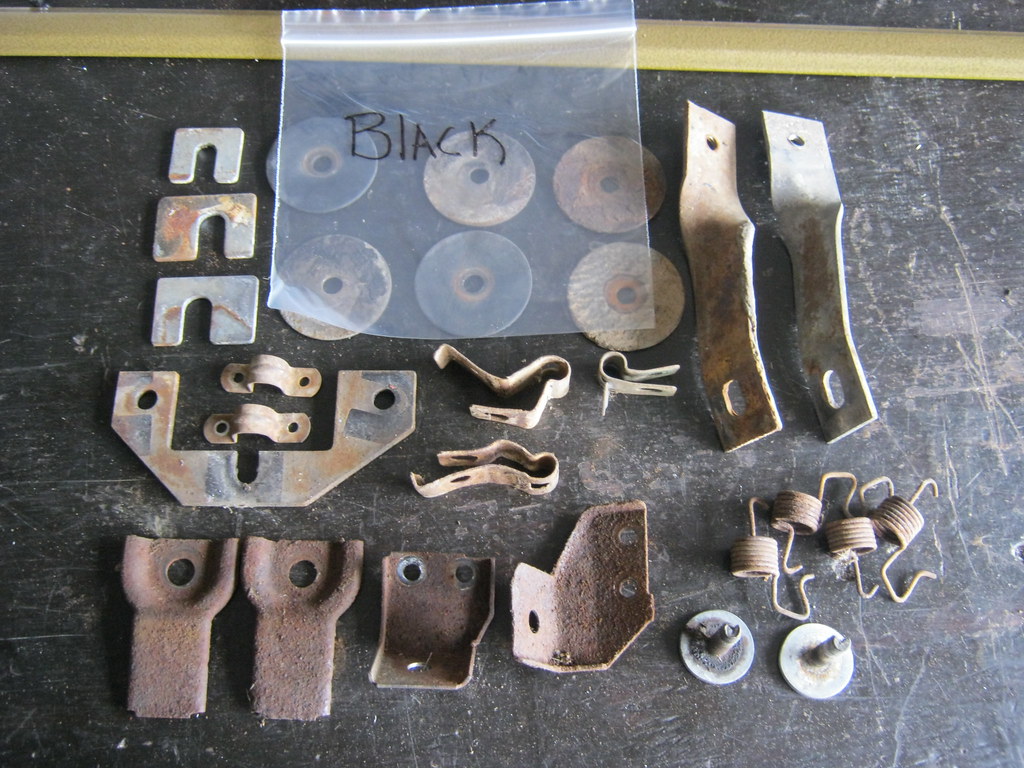
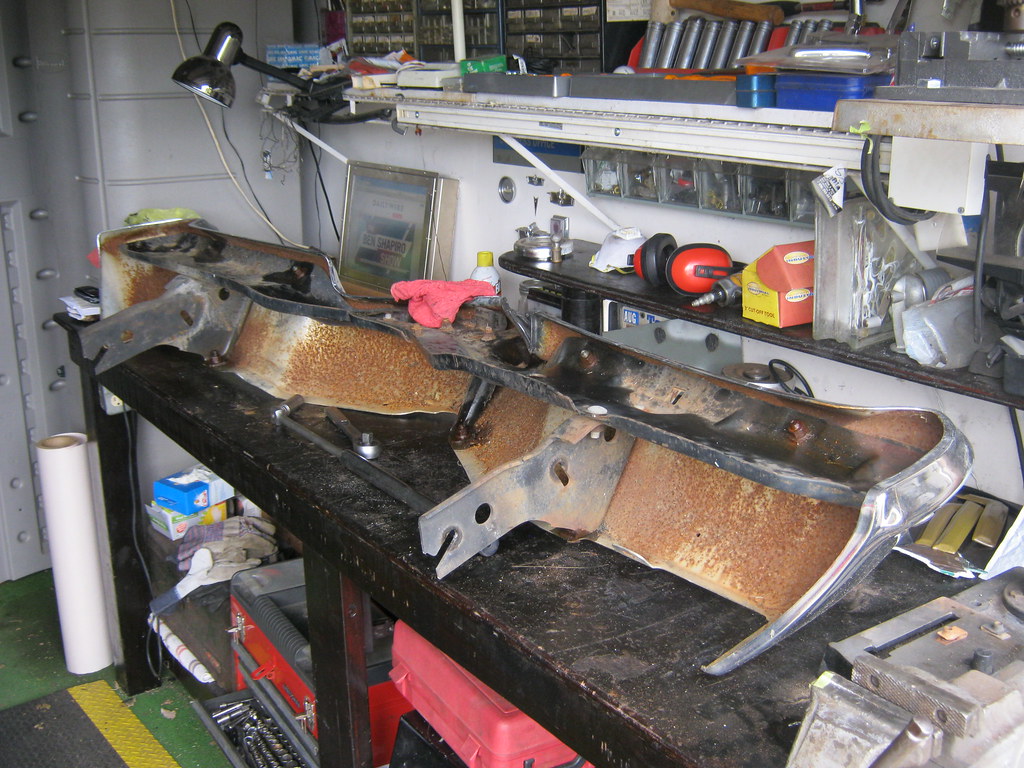
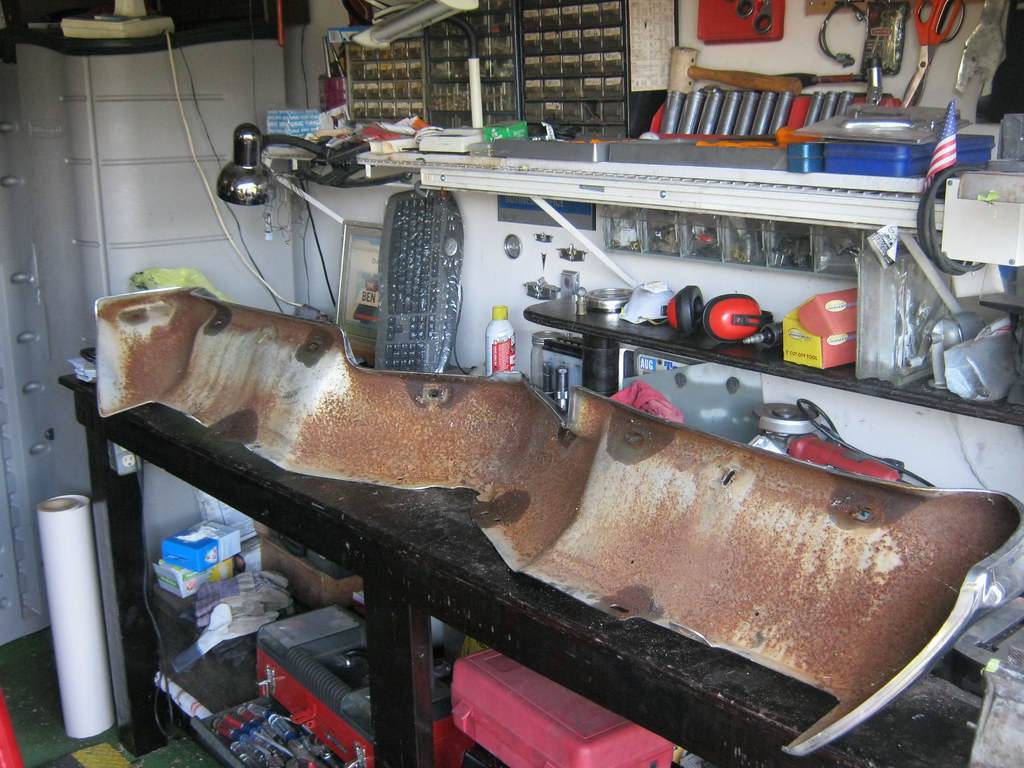
Other than sheetmetal and fiber header panels, this is all of the steel and metal that holds the front end on the car. It seems that there would be more. I want to make sure I get all of these back from the powdercoaters as well.
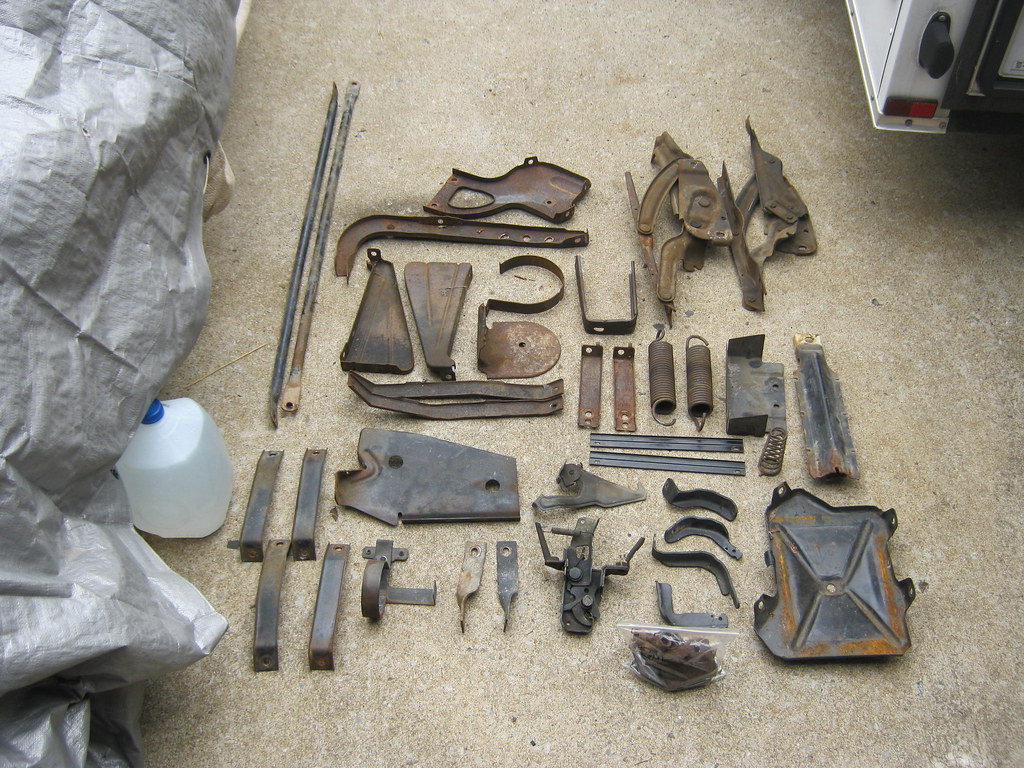
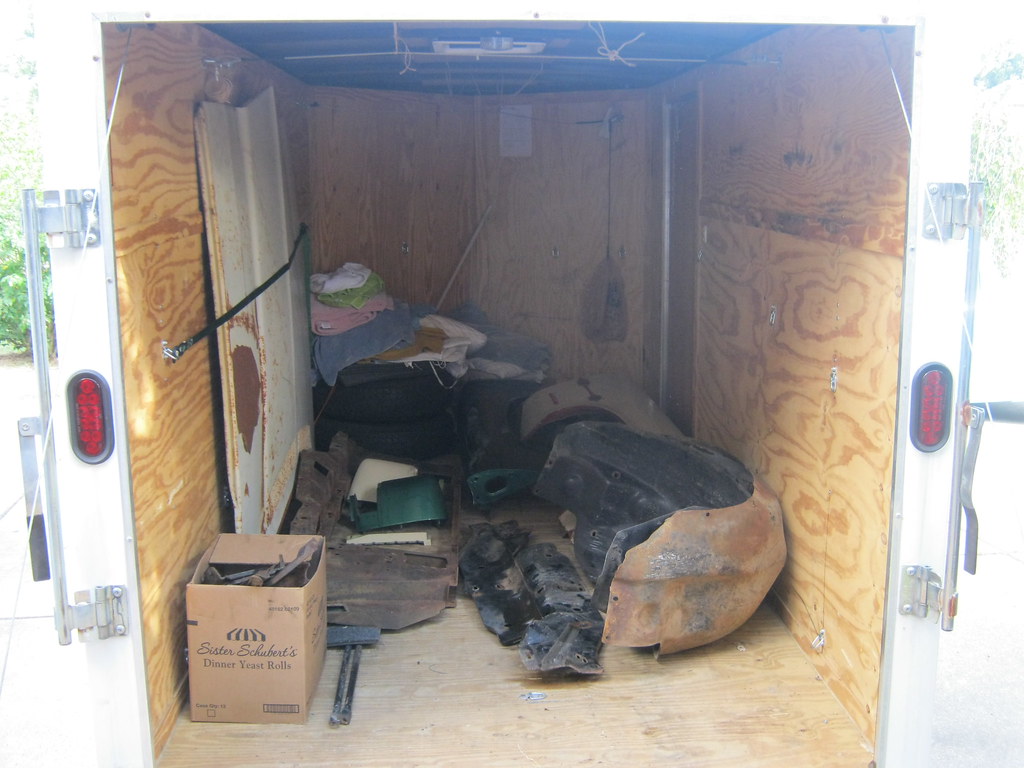
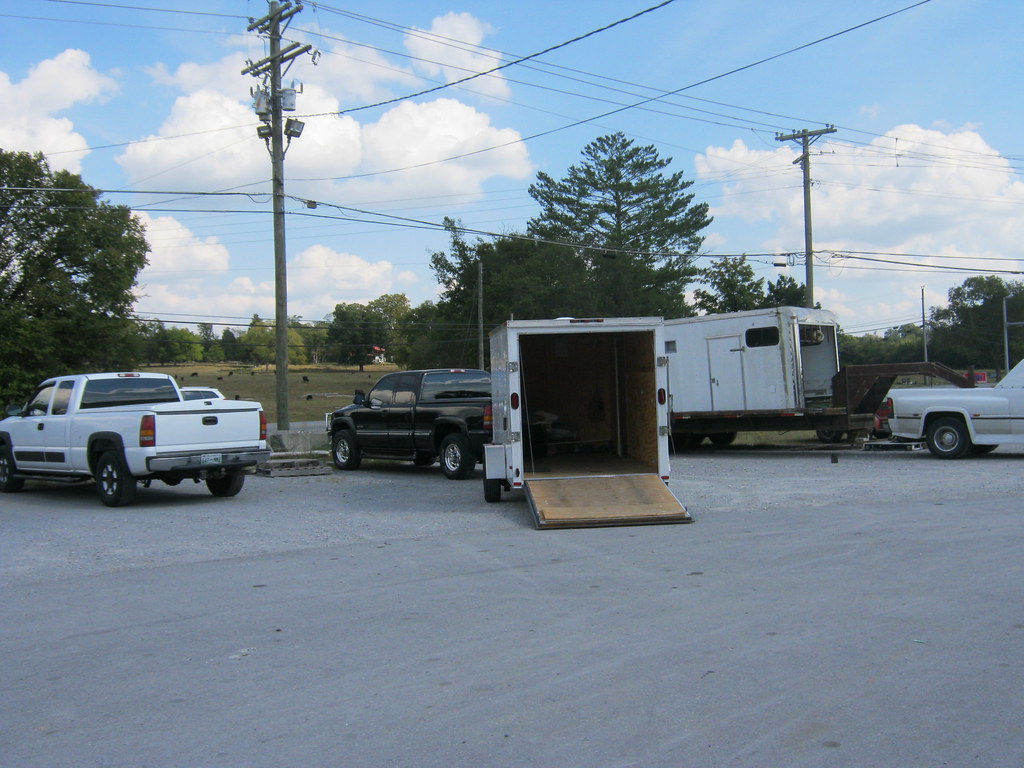
I borrowed dad's small trailer to haul all the parts.
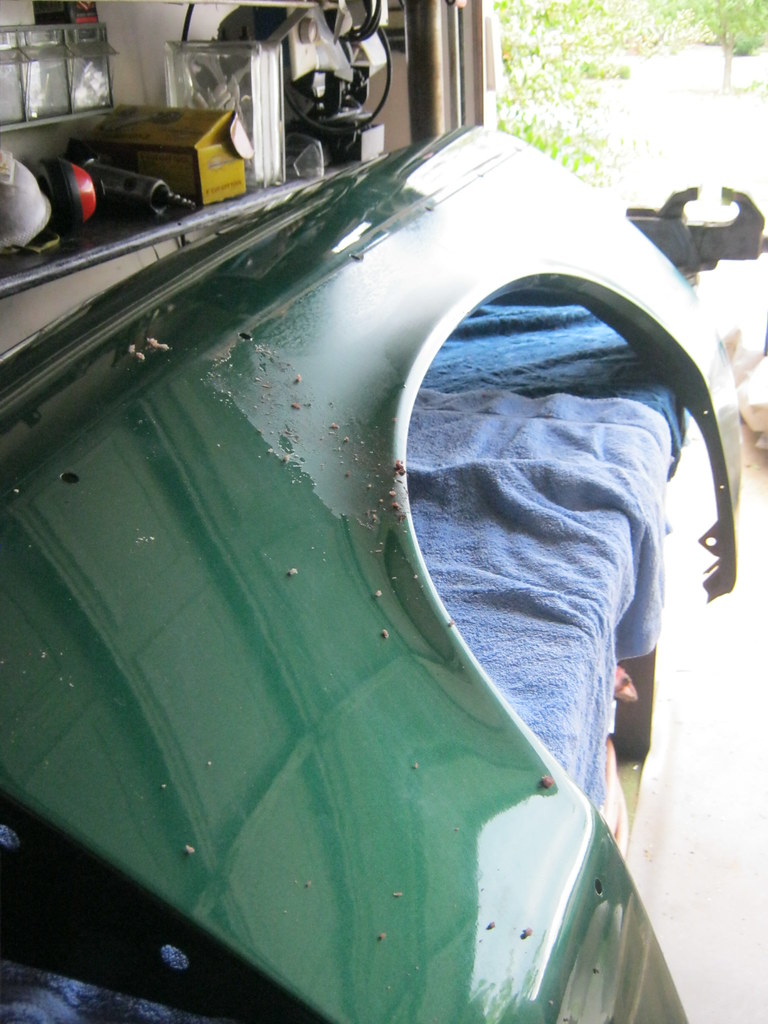
I inspected the bumper and contrary to what I had expected I found it wasn't bent. The top lip on the passenger side is, however, rolled down a slight bit. I'm going to have to measure the bend and determine if it is something that will need to be repaired and then find a way to repair it.
I removed the inner structure from the bumper to have it powdercoated as well.
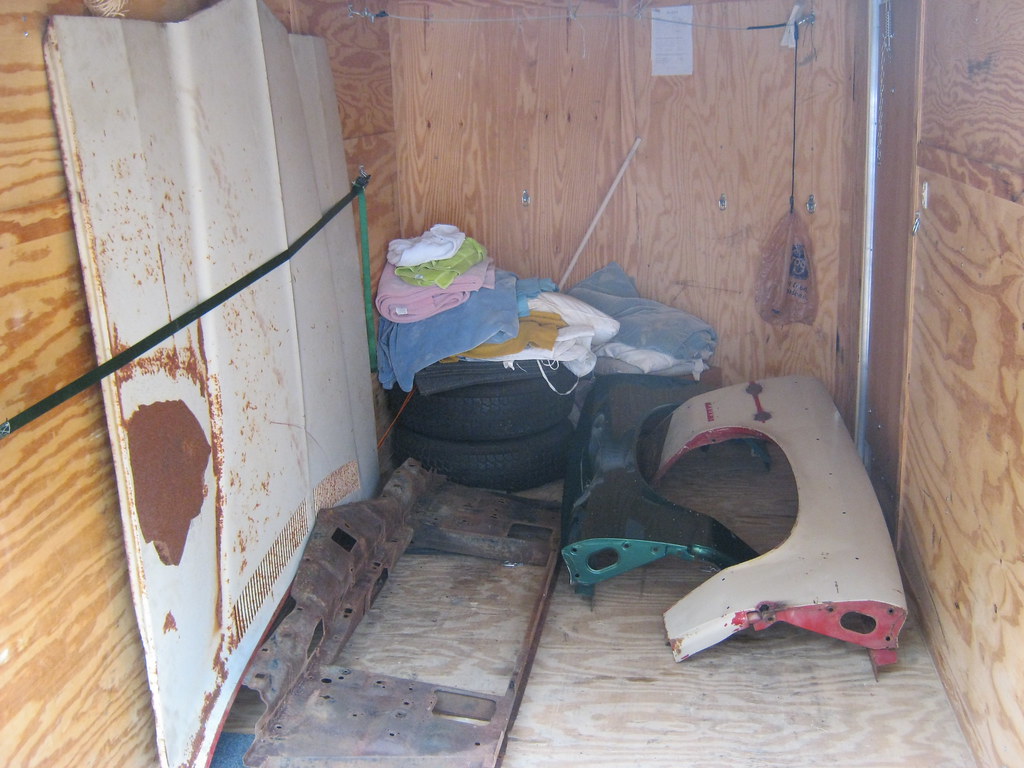
Everything loaded. I did some predrilling on the inner fender wells so I won't have to do any drilling after the powdercoating is complete.
Hopefully the next time I see the hood it will be bare metal
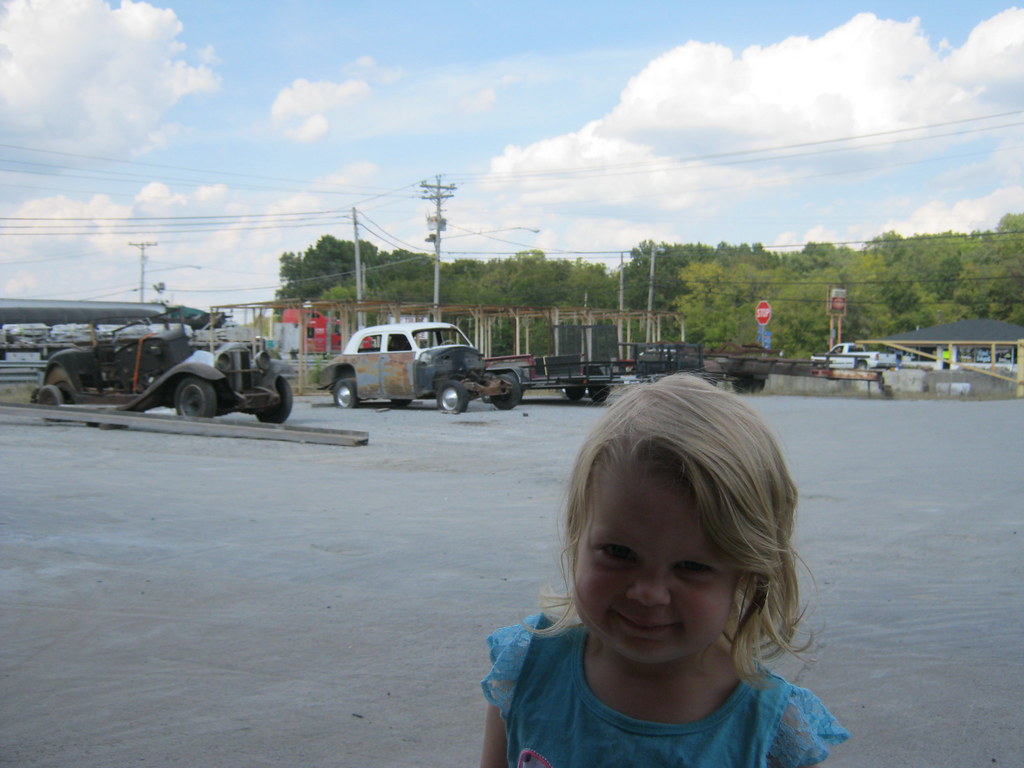
Rose went with me and enjoyed looking at all the old cars that were on the lot
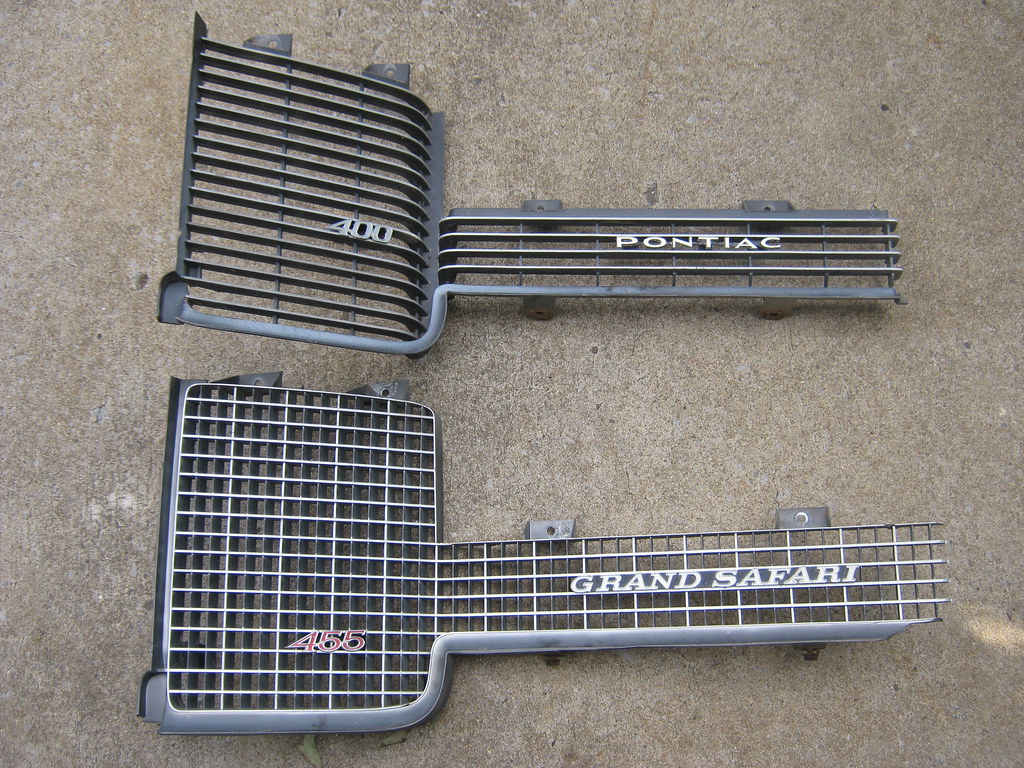
Somehow I missed something very obvious. The Grand Safari is based on the Grand Ville, however it does not have the Grand Ville front nose. The Grand Ville and Bonneville had a front nose that was about 3 inches longer than the Catalina, but this nose was not used on the Safari wagons. The Grand Ville grill was used on the Grand Safari. Because the parts clip was a Safari, and not a Grand Safari, it had the standard grill. This means the grill I have doesn't match the grill I bought. My driver side grill is still good, but I'm going to have to find a passenger side Grand Ville grill.
I was walking into the house and noticed a large puddle under the rear passenger wheel of the '79 Caprice. The next day I was walking in the house and noticed a large puddle under the front of April's Suburban. This left us with only one driveable car, the '57. I had to put the wagon on hold and I tackled the Suburban first. I crawled under and found a steady drip coming from the bell housing. It appeared to be oil. Later, it turned out to be antifreeze that was discolored from the dirt it collected. Because the Suburban had been sitting for several days without use for the first time since we have had it, it lead me to first suspect it could be a pan gasket leaking as the oil leaked down into the pan. I found the leak to be coming from above the starter. I could feel the leak on the backside of the block between the firewall and head, but could not see anything. I eventually relented and removed the starter. I was able to trace the leak to the very rear of the intake manifold where it meets the valve cover on the passenger side. I was afraid it would be a valve cover gasket or intake manifold. Then I noticed that there was a very slight dampness running along a valley next to the intake and when I traced it back I found it was coming from the heater hose fitting on the front passenger side of the intake.
On the Suburban the heater hose connects to the front passenger side of the intake manifold. GM designed a quick-release fitting made of pot metal and had a special hose with plastic clips that could snap into the fitting. The design is known to be faulty and has caused a lot of problems on the Suburbans and Trucks of these years. This happened to our last '99 Suburban (the one that burned to the ground) so I was already aware of this situation. These fittings are notorious for breaking off in the intake. The last one I had came out without breaking, which is rare from what I have read from others' testimonies. I was not so fortunate this time and with very little force the fitting broke off almost flush with the block. I had to take chisels and screwdrivers and remove what was left of the old fitting.

Rather than replacing the bad design with another bad design I replaced the pot metal fitting with a standard heater hose fitting, the way GM should have done it in the first place. It took most of the day to remove what was left of the old fitting and install the new one. Because the threads were bunged up pretty bad and I didn't have a 1/2" NPT tap I had to tap the hole with the fitting itself. I would have to screw it in until it got hard to turn, use a breaker bar to turn it about 1/4 of a turn, back it out and clean off the threads of the fitting as well as the threads inside the intake with a pipe cleaner attached to a drill.
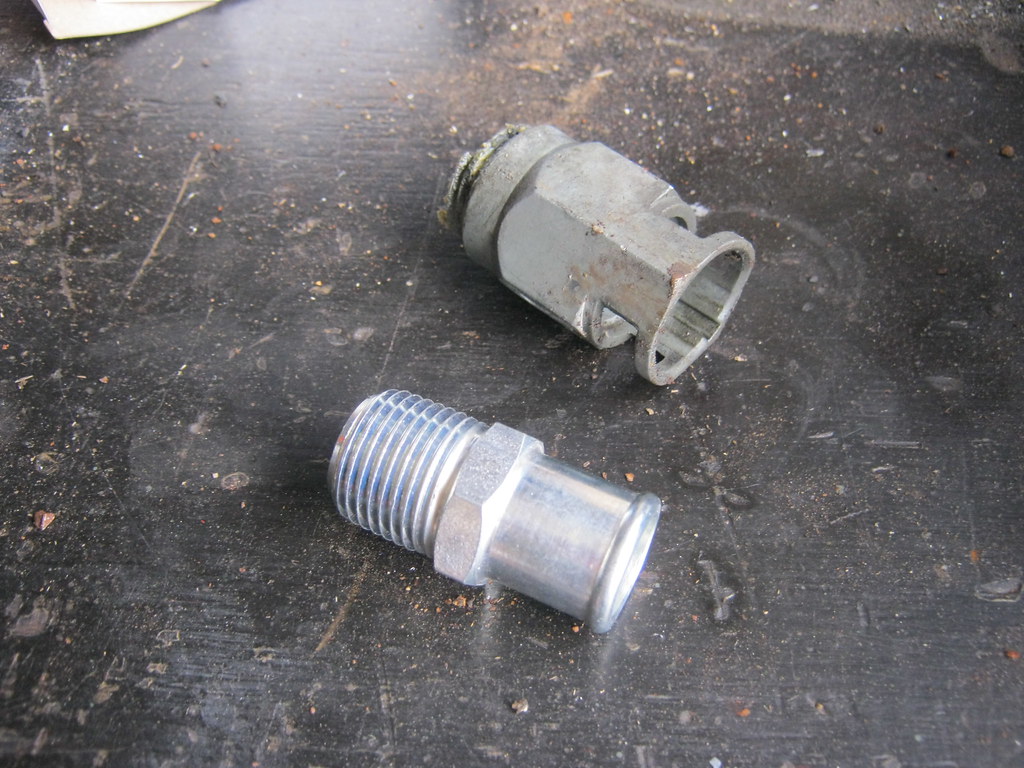
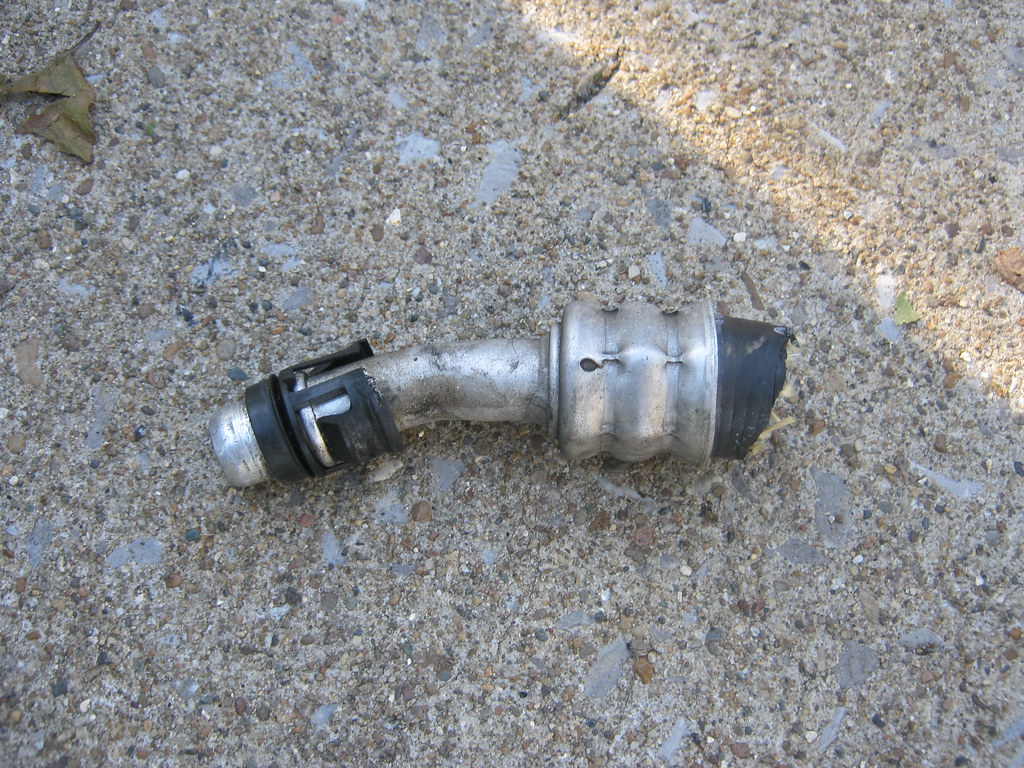
This is the special quick-release fitting on the end of the original heater hose that presses into the pot metal fitting that screws into the intake. After cutting the hose right above the quick-release there was enough slack in the hose to reconnect it to the new intake fitting with a regular worm gear clamp.
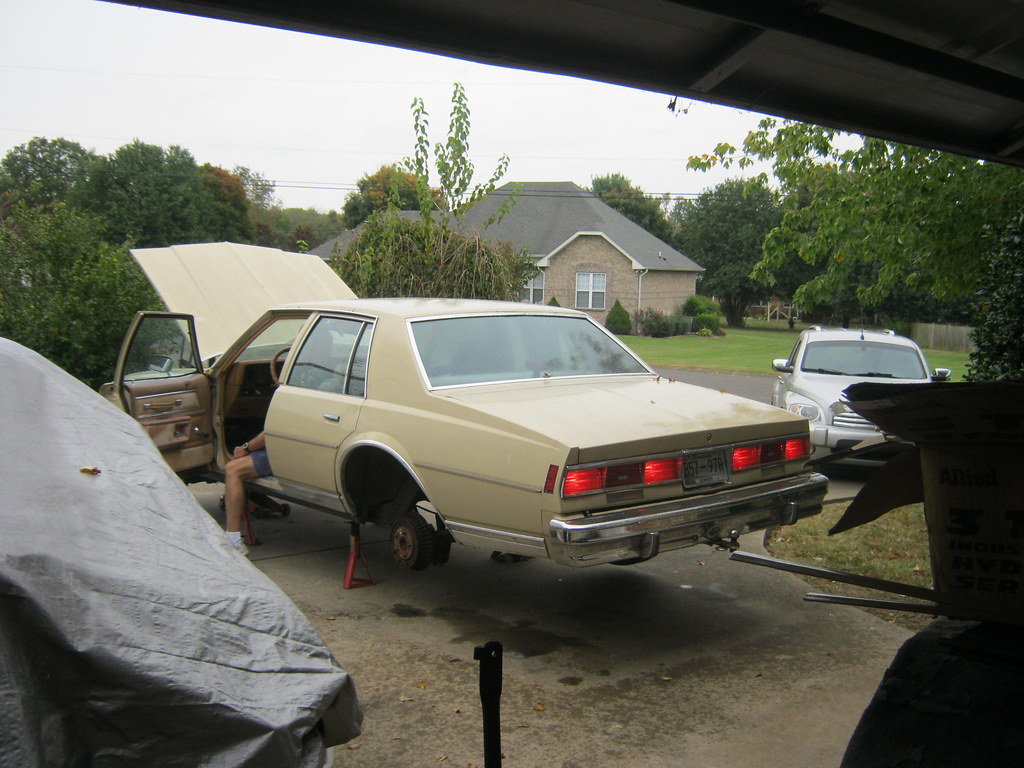
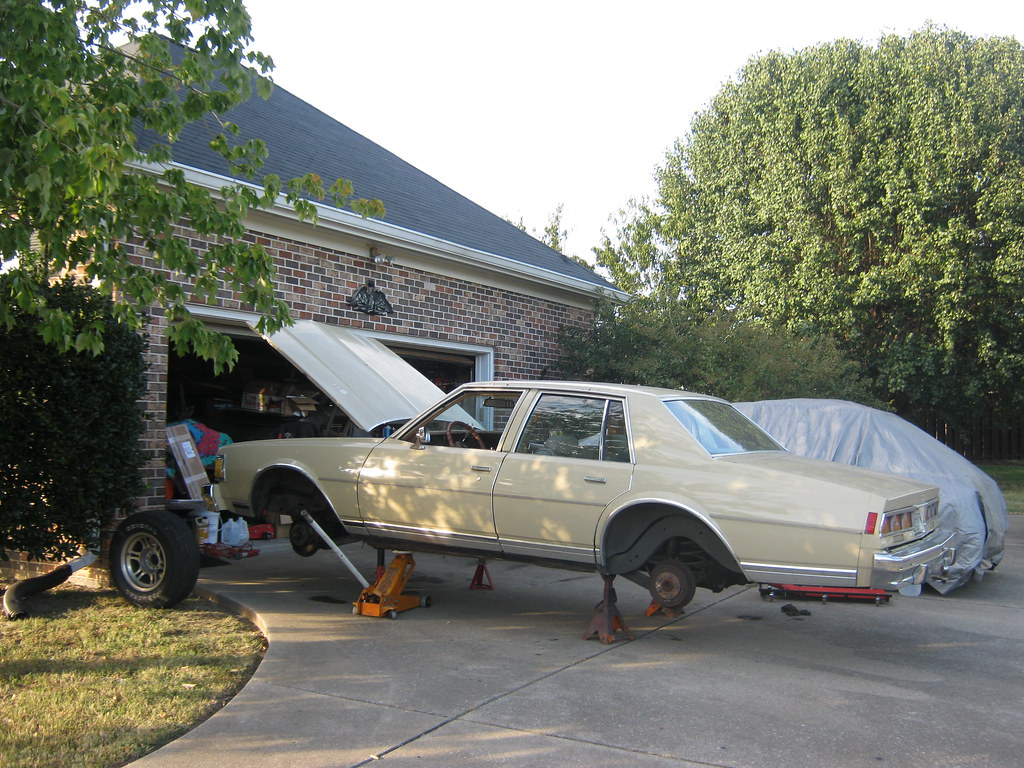
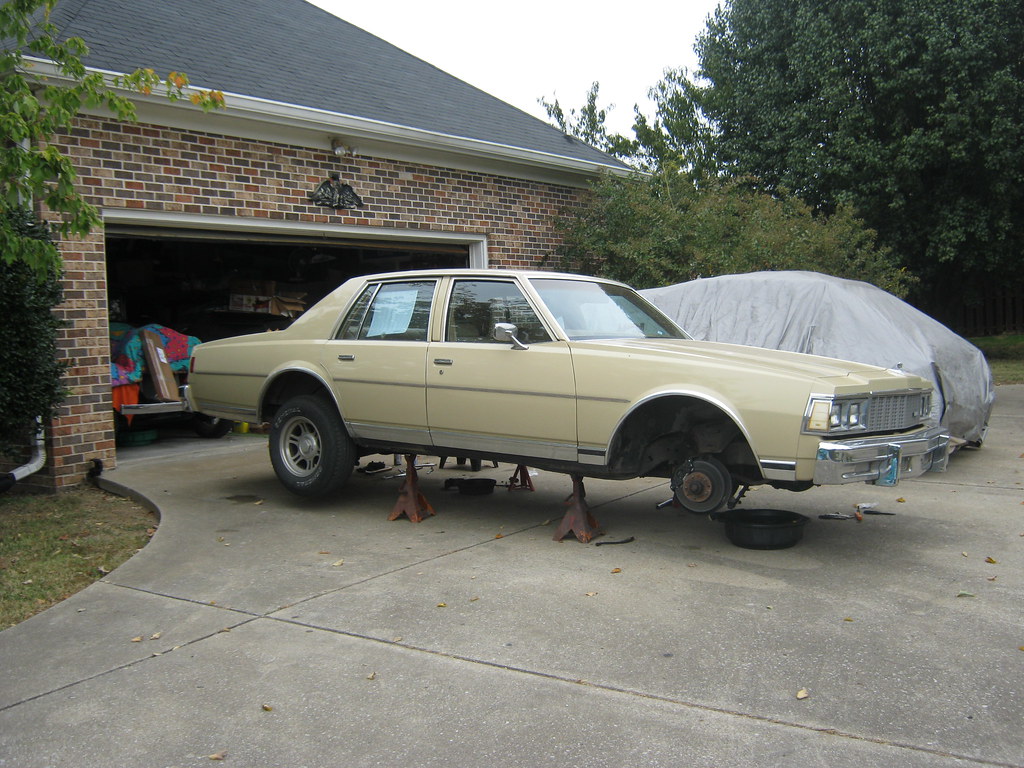
The rest of the week was taken up with the numerous misfortunes of the brakes on the '79. I started out by changing the wheel cylinder on the afflicted wheel.
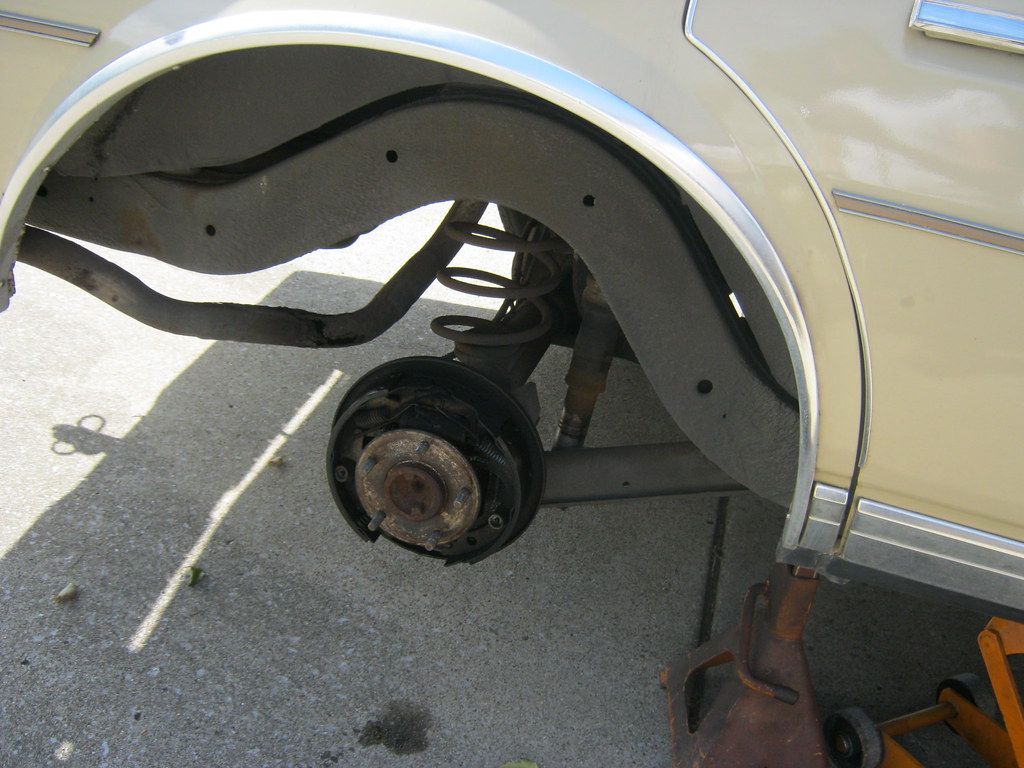
As you can see, it was pretty crusty, but everything came apart OK.
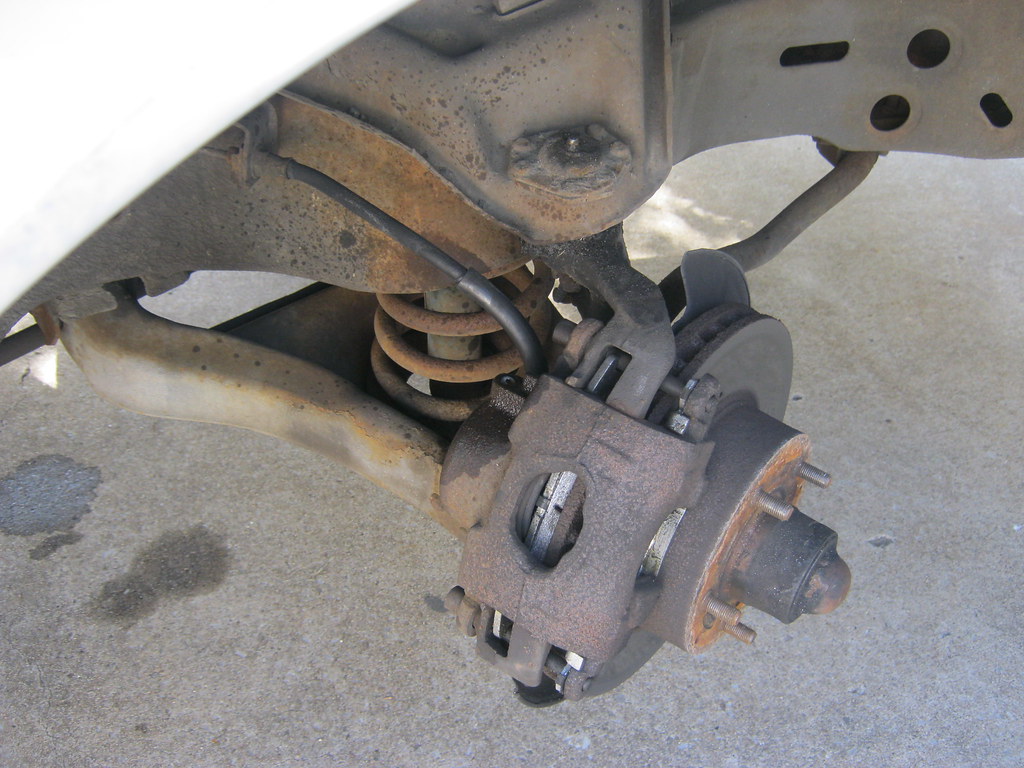
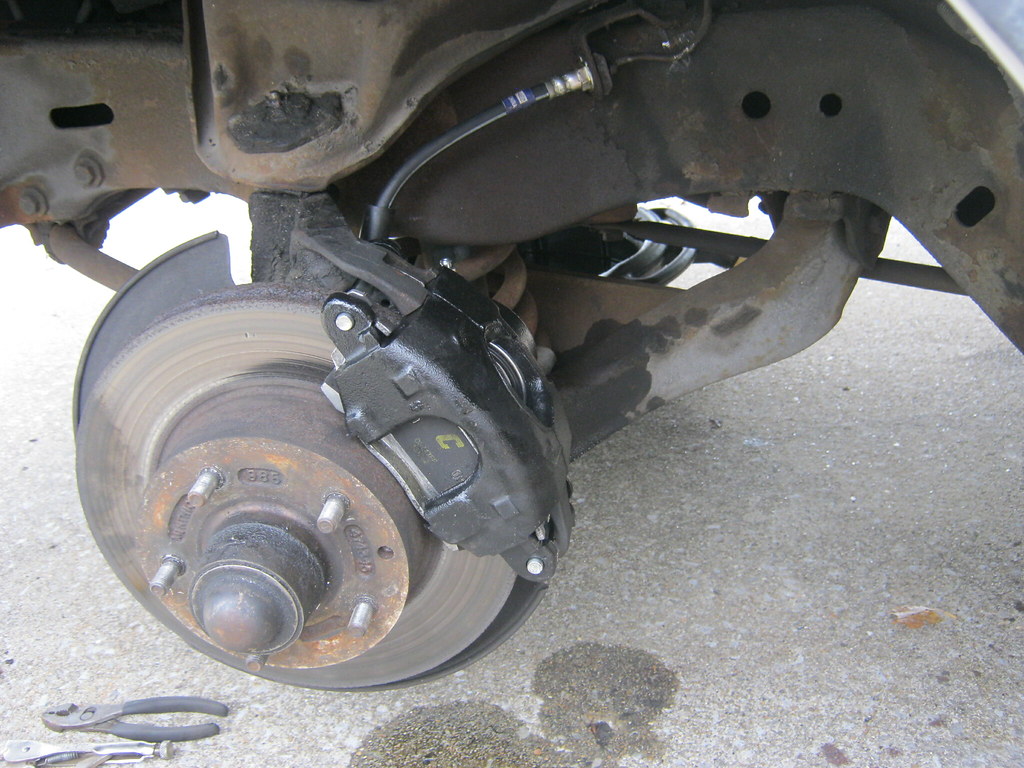
Dad was going to come over and help me bleed the brakes after replacing the wheel cylinder. These calipers haven't been removed in almost 30 years and I found that the bleeder valve was practically welded to the caliper. It twisted off like butter. I attempted to drill it out to no success. I knew at this point I was going to have to replace this caliper. In this picture you can see the bleeder valve broken off right next to where the brake hose goes into the caliper.
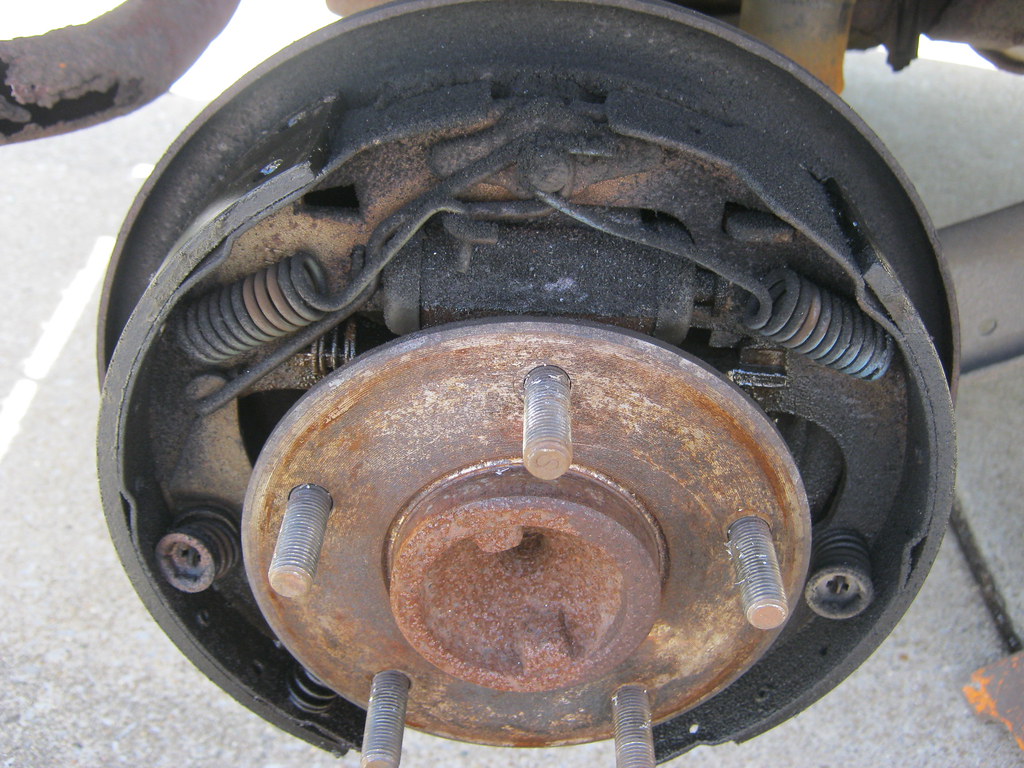
While I was at it I went ahead and tested the remainder of the bleeder valves. This meant I had to take all of the wheels off because they were all difficult. Because the wheels on the '79 are a universal style wheel that are aligned by the special lugnuts, taking the wheels and tires off of this car is a long process compared to normal wheels. The front driver side bleeder valve was very stuck as well. Using a torch and copious amounts of BP blaster I was eventually able to get it broken loose. After replacing the rear wheel cylinder and then the front passenger side caliper dad came over and we bled the brakes.
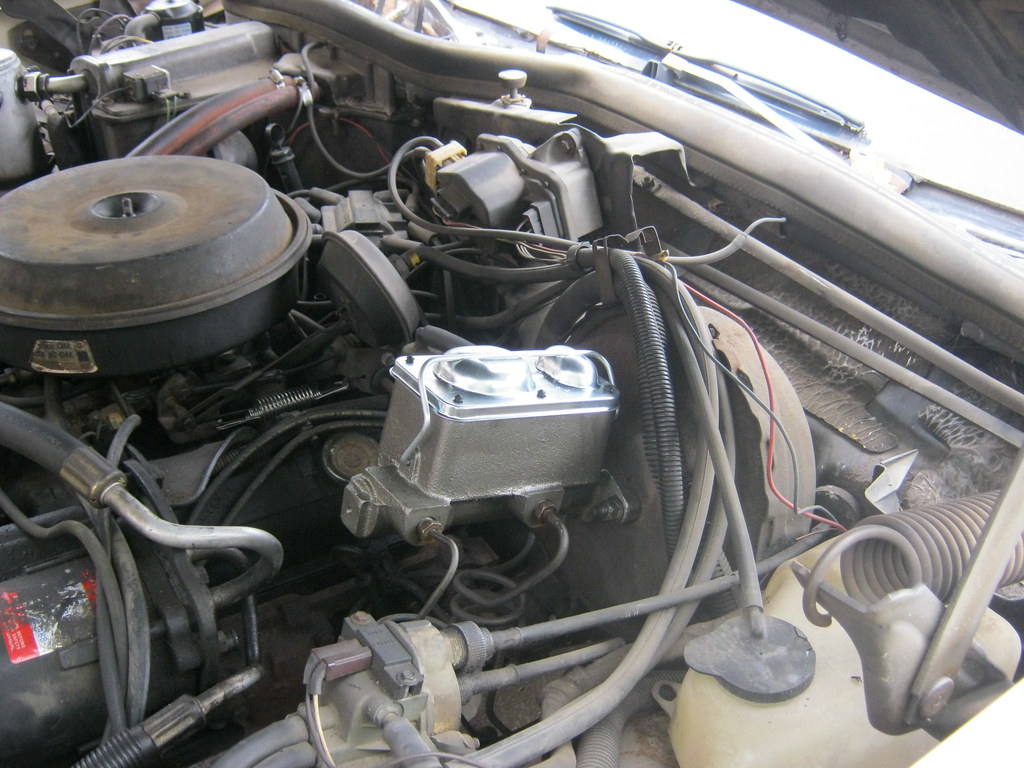
After bleeding the brakes again the brakes seemed to be fine and then we began loosing pedal and the brake light came on. It turns out all of the brake bleeding had ruined the old master cylinder. A new master cylinder must be bled off of the car, before installation, in order to get all of the air out. This is called bench bleeding. Once I did this, I installed it.
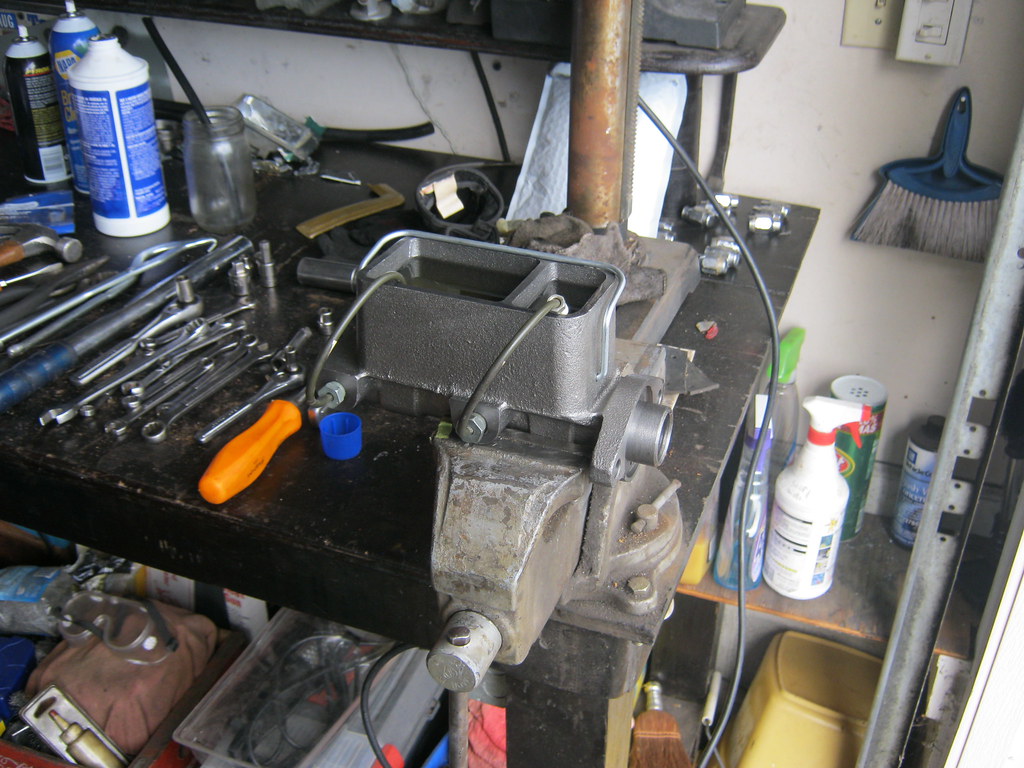
I actually don't like installing new parts in the engine because they look out of place when they're all shiny and new. After installing the new master cylinder dad came over and helped me bleed the brakes, again.
After having the brakes bled everything seemed to be OK, but then about halfway through the first trip into town the brake light came on, but would go off if you pumped the brakes a couple times. Also, the brakes were clearly sticking slightly. It turned out that one of the brake lines had collapsed. I ordered and replaced both front brake lines and since I had gone this far decided it would be unwise to not replace the remaining caliper and wheel cylinder on the driver side, so I replaced those as well. Both front brake lines had been on the car longer than I've been alive and were a huge pain to remove because the nut on the brake lines was frozen solid and would not spin.
Also, the rear driver side wheel cylinder brake line was rusted and wouldn't come off even with a torch. I was finally able to get it removed after a lot of work. Wheels off and back up on jackstands, again. After that, dad came over and helped me bleed the brakes, again. I now have all new brake pads, both front calipers, both rear wheel cylinders and brake hoses and a new master cylinder.
All week it looked as though it was going to rain and finally, after everything, it began to rain just minutes before we finished for the very last time. We readjusted the rear brakes and after this, at long last, the brakes held pedal and worked better than ever. After flushing a total of two quarts of new brake fluid through the lines, I finally put the wheels on for the last time and was glad of it.