Monday, April 22, 2013

Radi-Hater

I finished up the horns that I wasn't able to finish from last week.  I bolted them together using all-thread, a spacer and two lock washers.  It was actually fairly time consuming to get these pieces installed due to the confined area in which they had to bolt together.

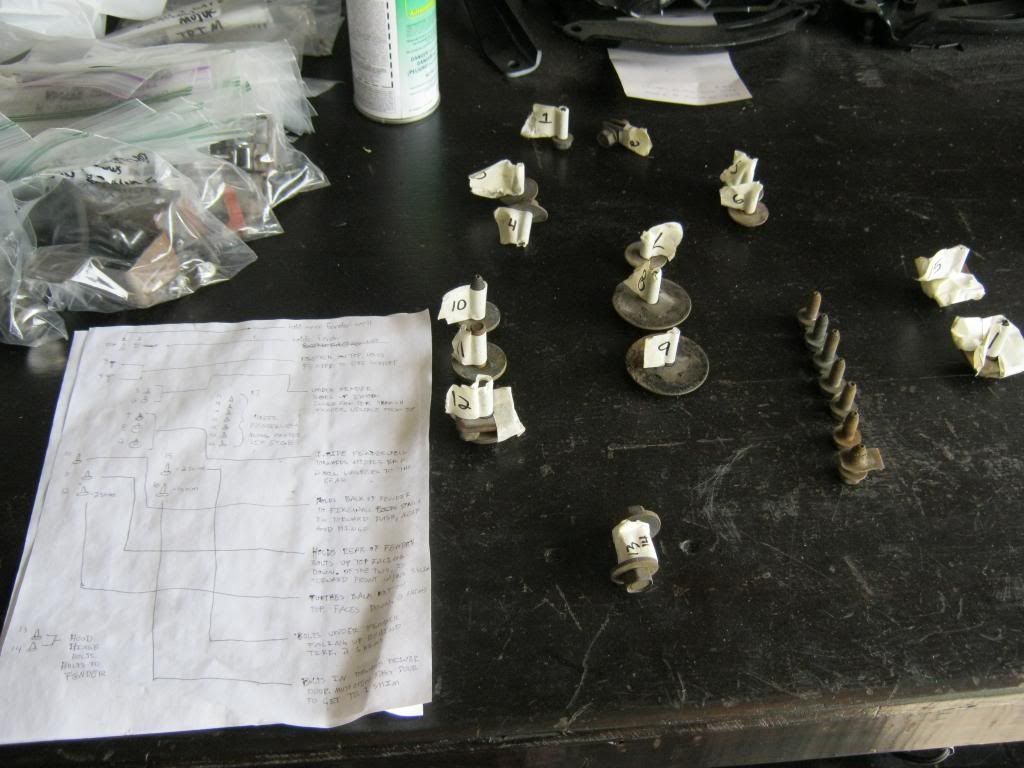
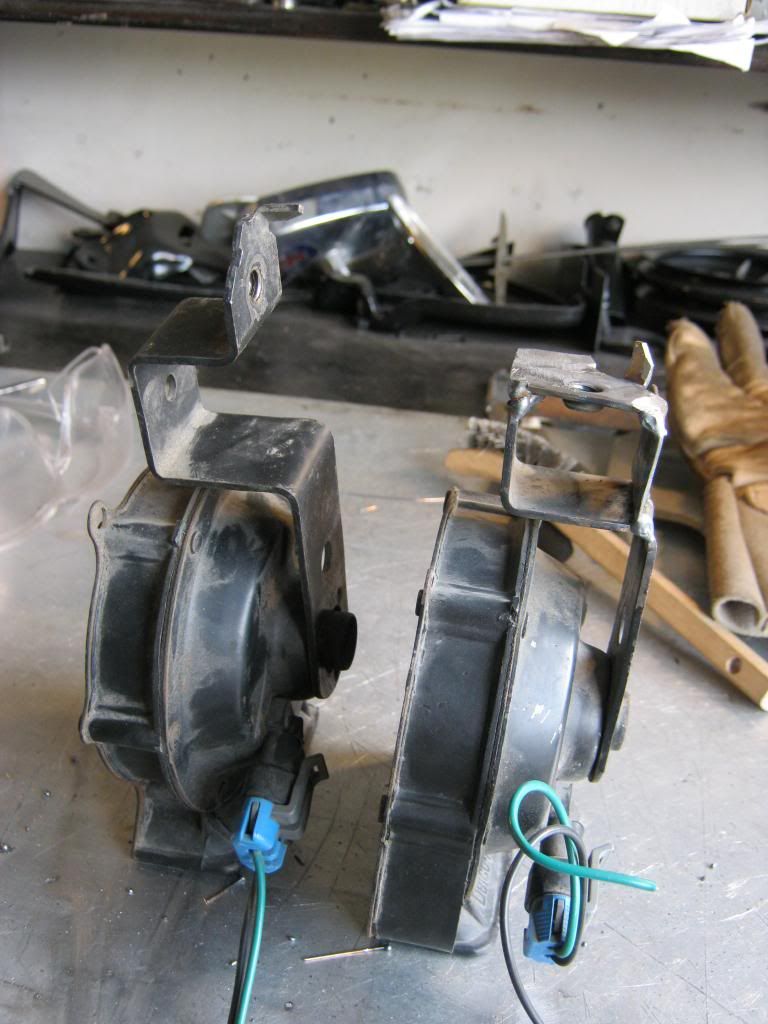
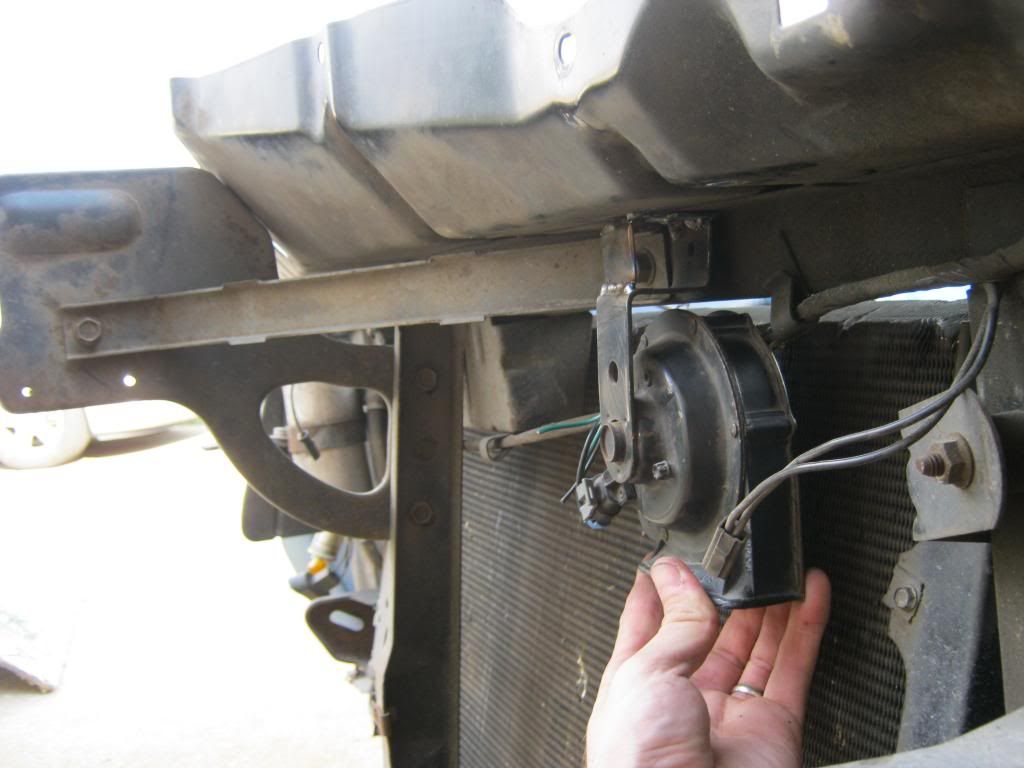
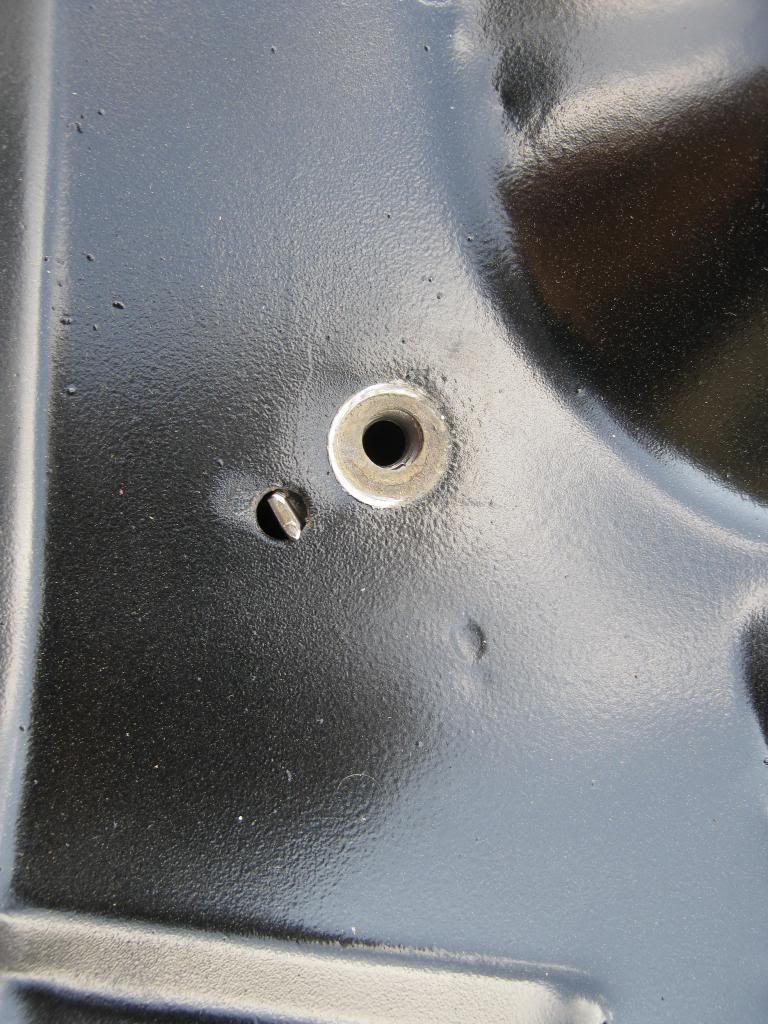
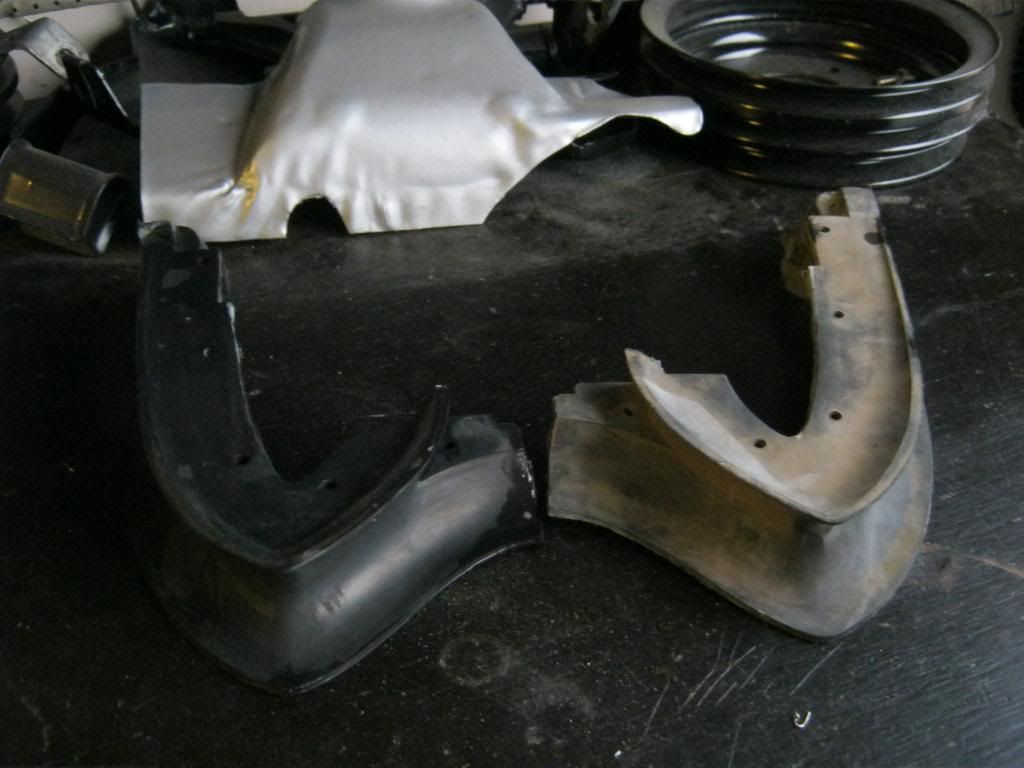
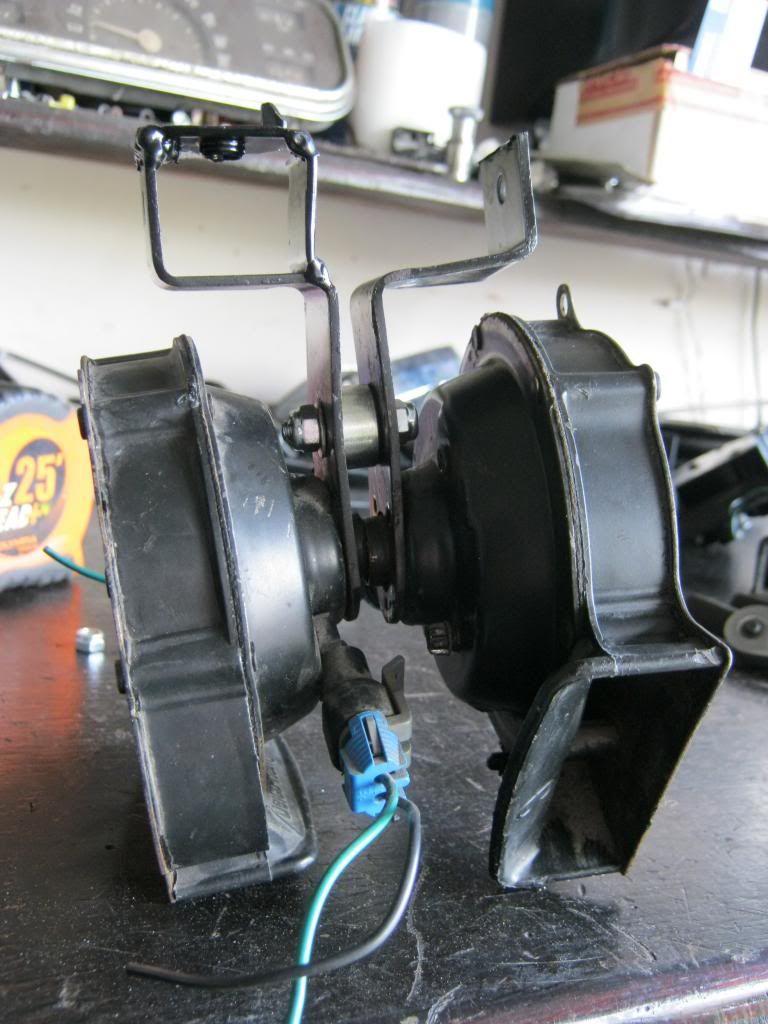
I didn't grab the bolts that held these horns to the car when I picked them up from Pull-A-Part so I went to the hardware store to find somereplacements.  They were metric and I found a #7 that fit.  When I got home I found that it fit one side, though it was loose, and actually fell right out of the other side.  I went back and the size was actually between a #7 and #8.  The guy at the hardware store helped me look for about 10 minutes and we both decided it must be some strange thread.  I bought a couple of standard bolts, because no one wants any stupid metric bolts on their car anyway, and retapped the holes.  I have since learned that these bolts were supposed to be the very coarse threaded, body bolt types.

This is what I ended up with.  Today, with my dad's '71 parked right next to our '71, I realized that I don't think these horns will fit.  I think they may stick out too far.  I'll have to wait and see.

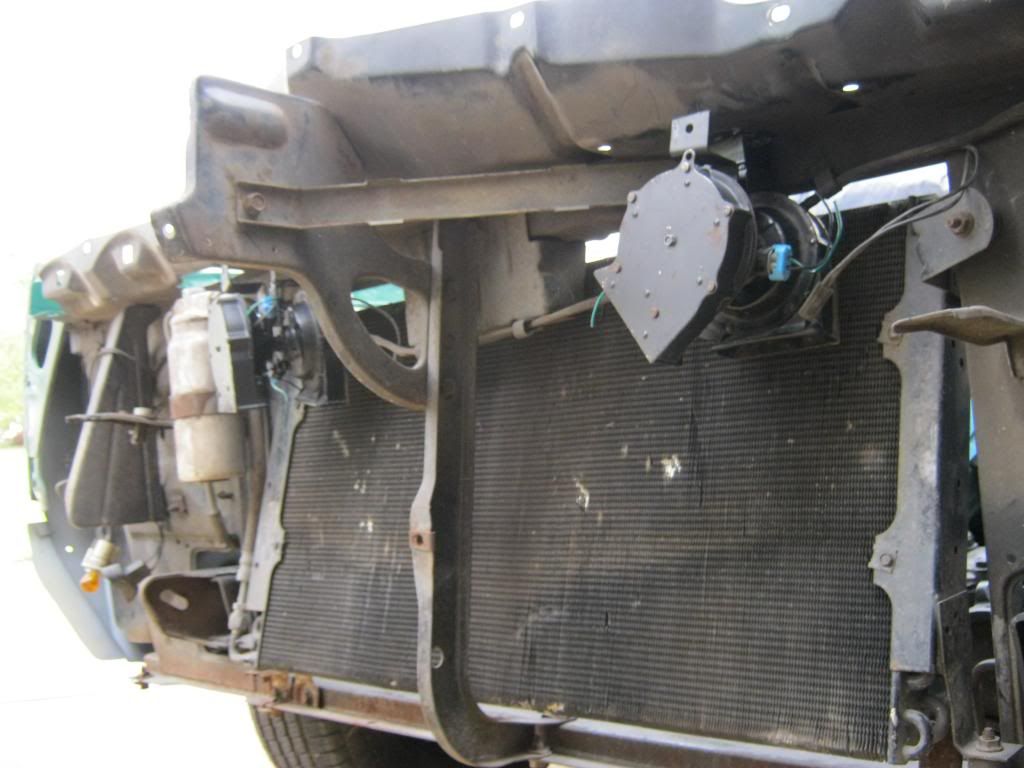
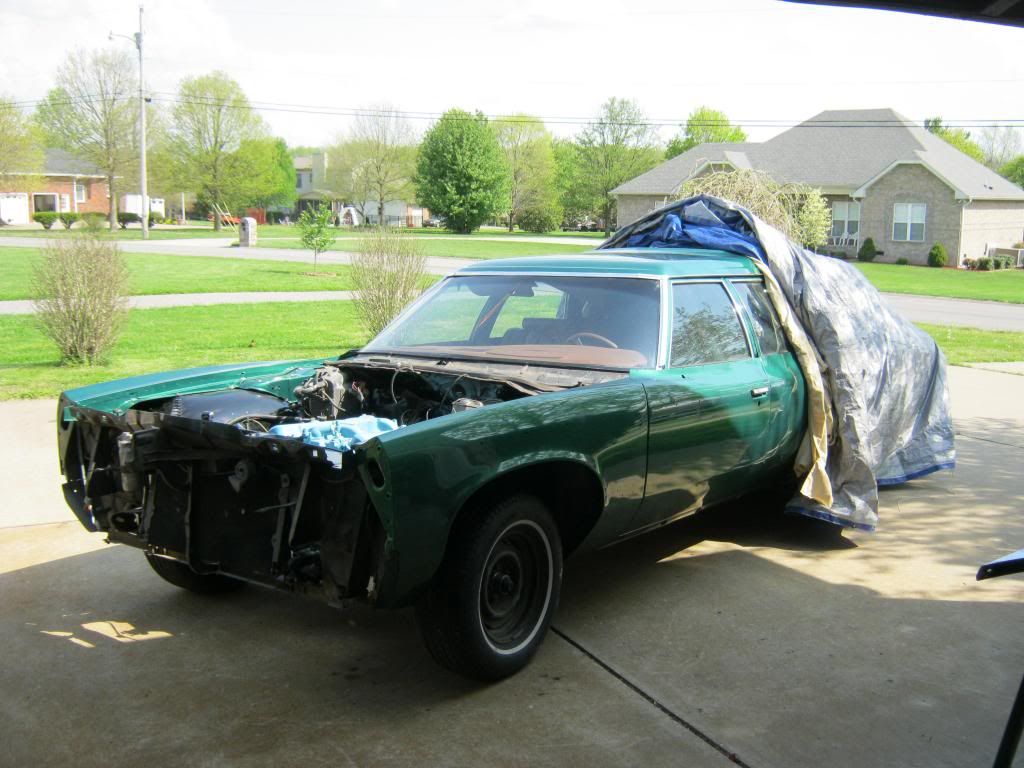
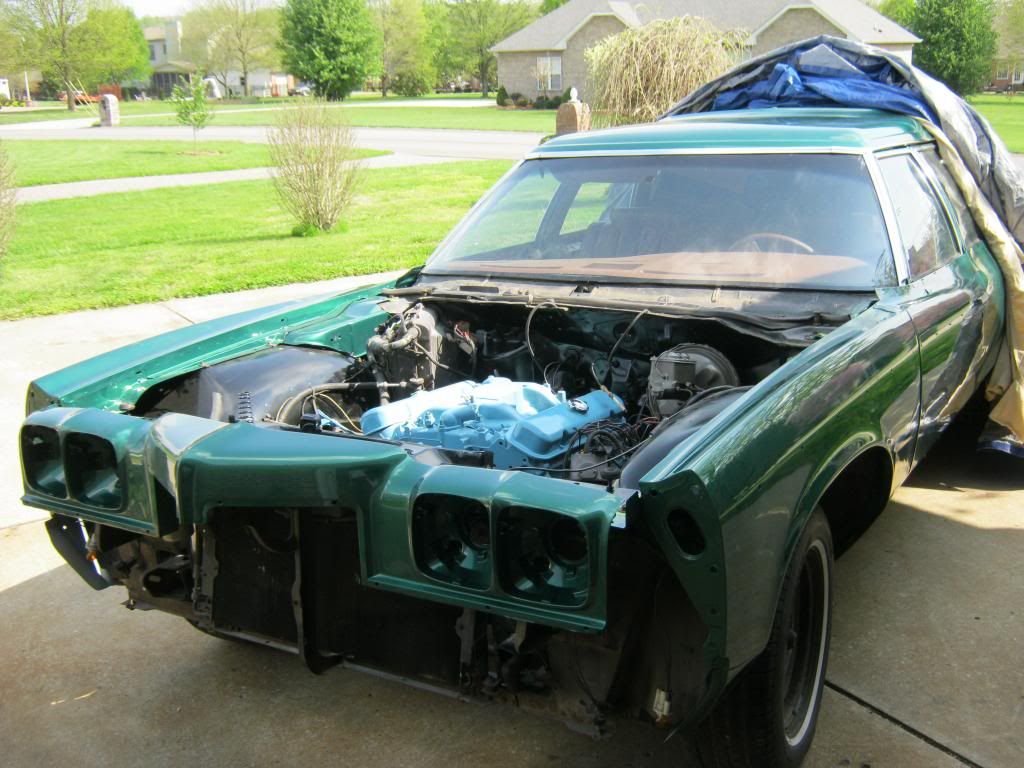
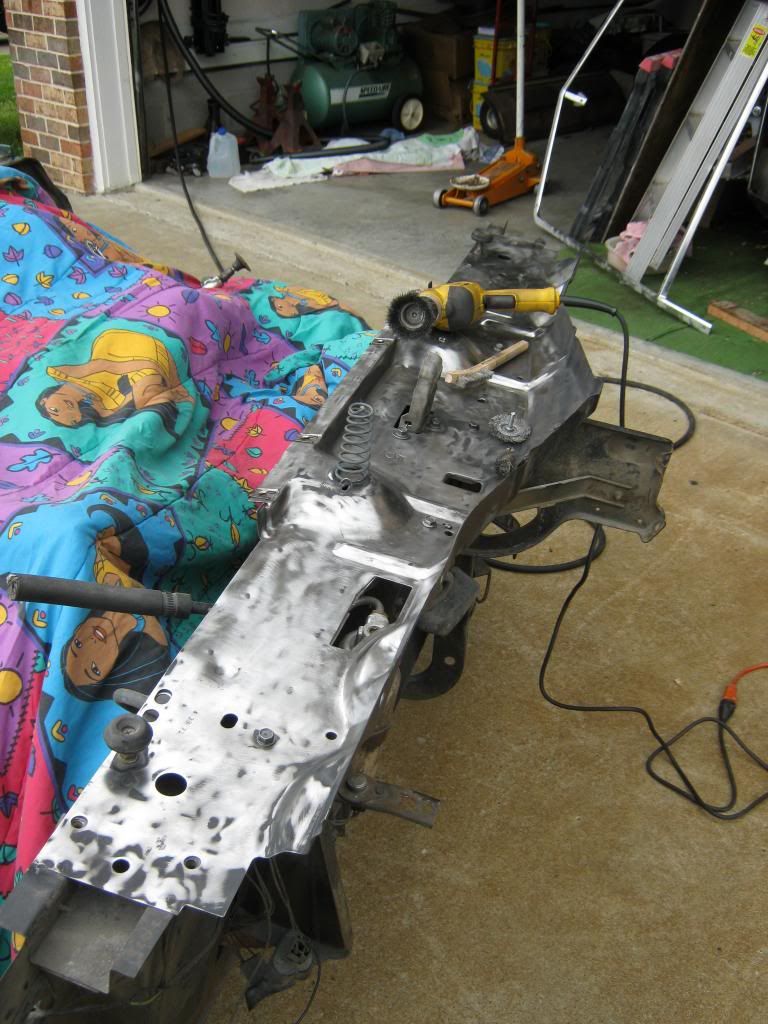
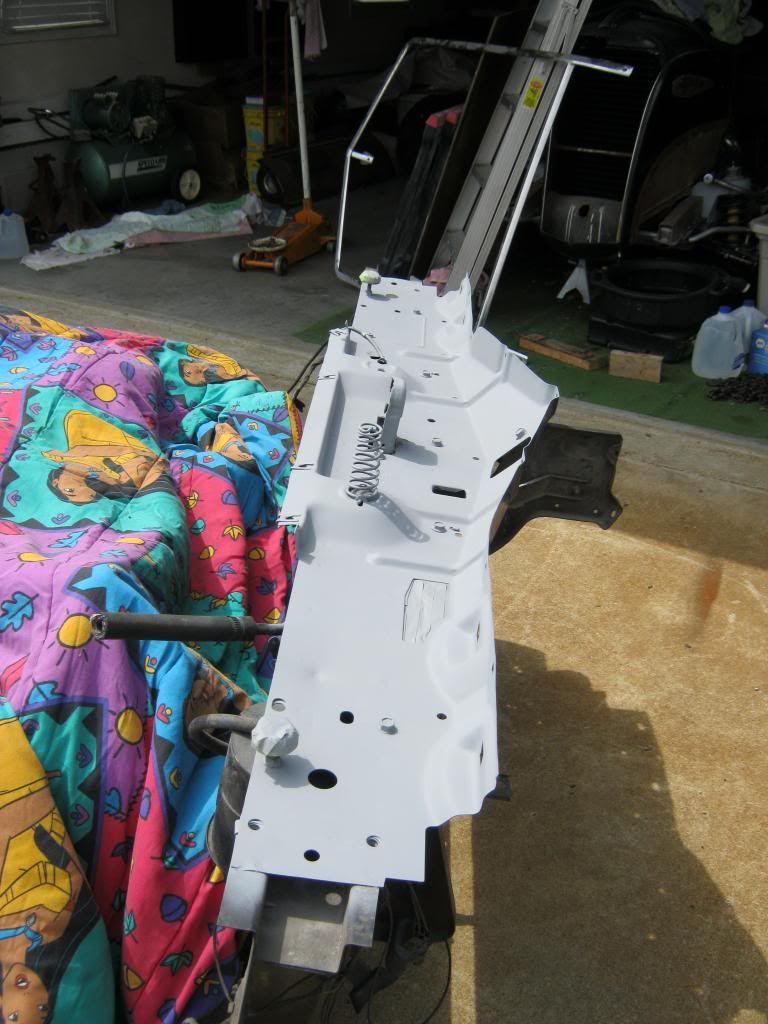
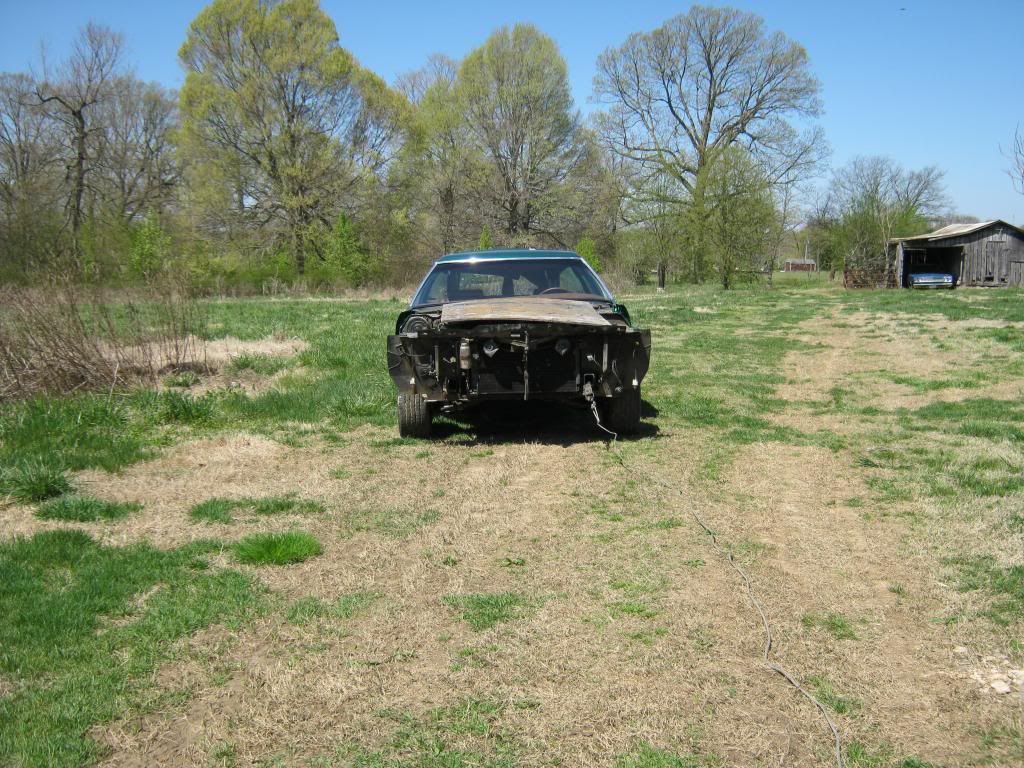
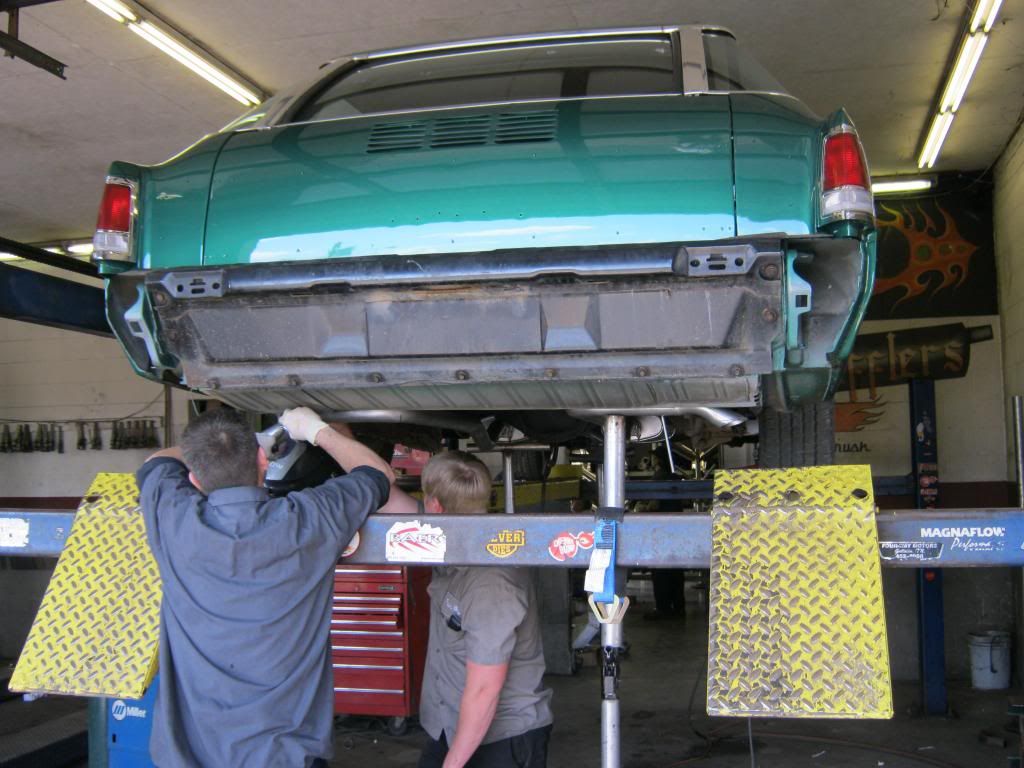
Then came the big problem for the day: The Radiator.  Many radiators bolt to the core support and the shroud bolts on after.  In this case, the radiator is installed inside the shroud sitting on rubber supports and the shroud is bolted to the car.

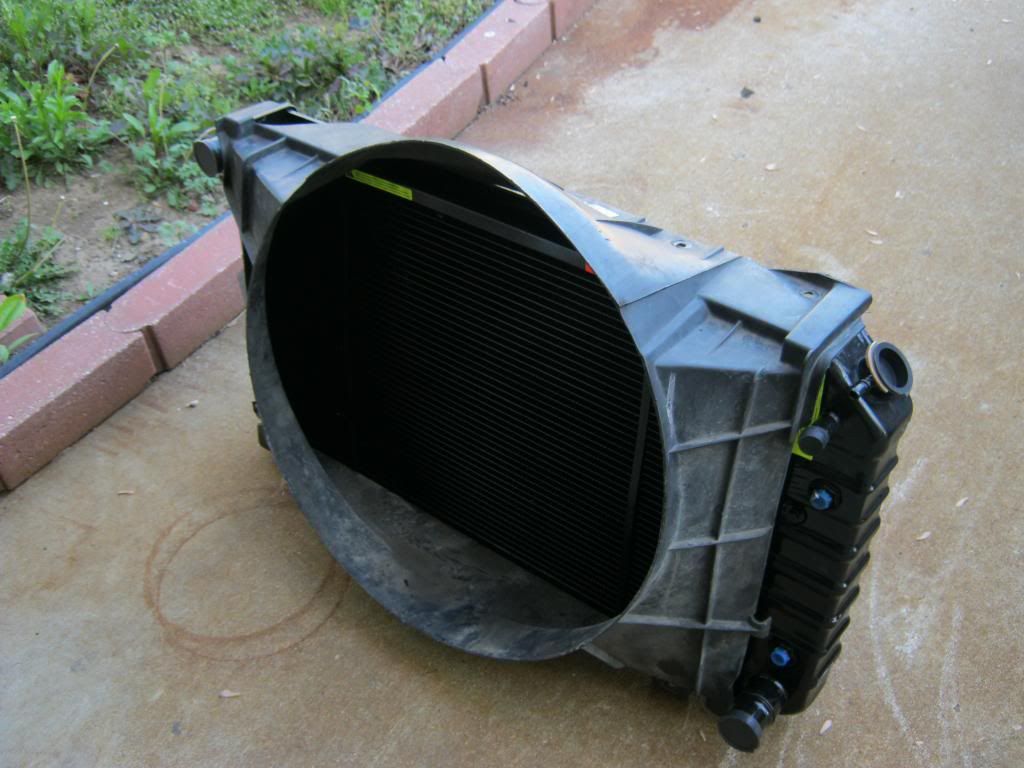
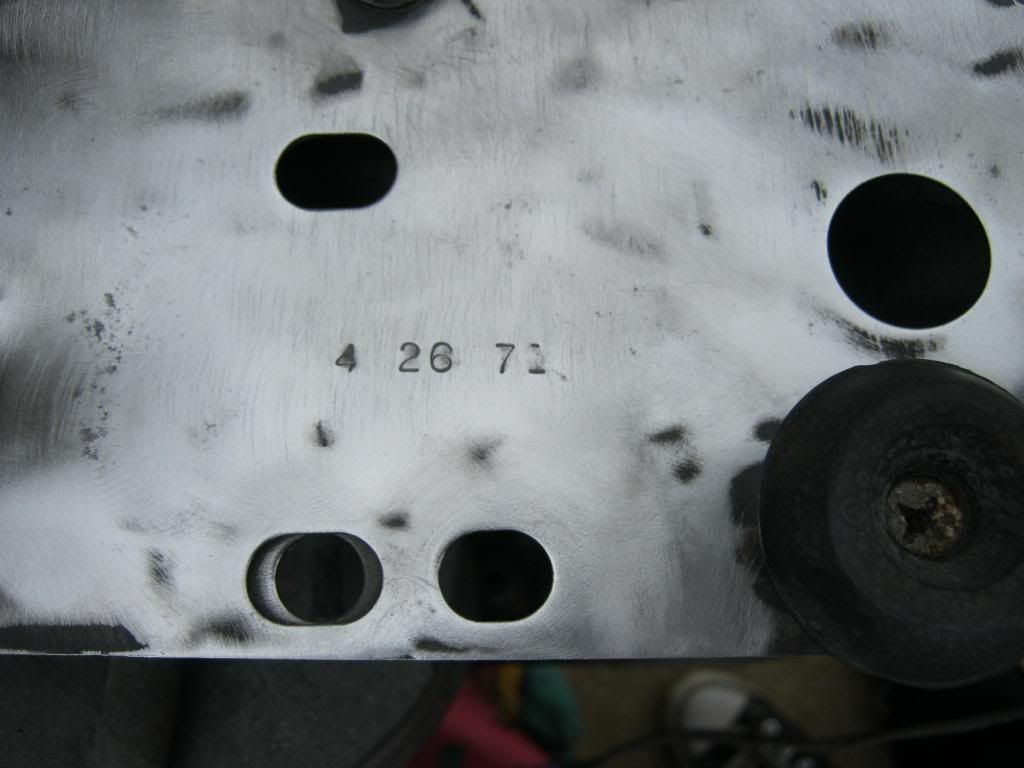
The problem came when I realized my new radiator was thicker than my old one.  The new radiator is approximately 2 1/2" inches deep and the old radiator was somewhere around 1 1/2".  It took quite some time to figure this out, but what I have is a heavy duty radiator.  The parts house did not distinguish this fact.  I was simply told there were two kinds, one with air conditioning and one without.  In reality there were several available and the one that my car came with was the non-heavy duty with air conditioning.  Fortunately I had dad's car right next to mine and I was able to measure his radiator to see that his was much thinner than mine and since he sold the car new as a salesman in '71, we know that it is original.  The real confusion came in to play when I found that others have not had the same problem I was having.  Supposedly, the heavy duty radiator should fit in the same shroud.  The only difference should be the length of the rubber supports.  At first I wasn't sure if I had the right radiator, what kind of radiator I had, if I was installing it correctly, if I had the right fan shroud or if Pontiac originally offered different types of fan shrouds that corresponded to different radiators.  It took me all day long to find the answers to these questions.  I finally found that there was only one type of shroud made.  Different rubber supports were made for the heavy duty and non heavy duty.  The reason my shroud won't fit is that the aftermarket company that made the radiator did not make it correctly.  I eventually talked to another person that had recently done the exact same swap to a 1971 Pontiac.  His heavy duty radiator bolted right up.

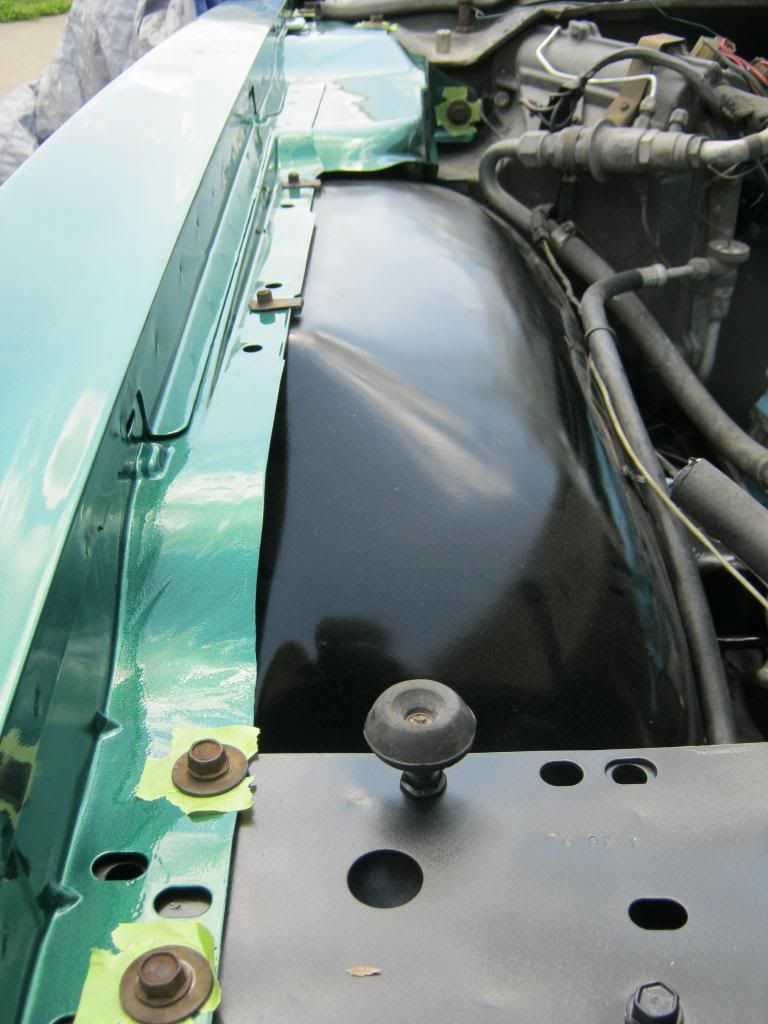
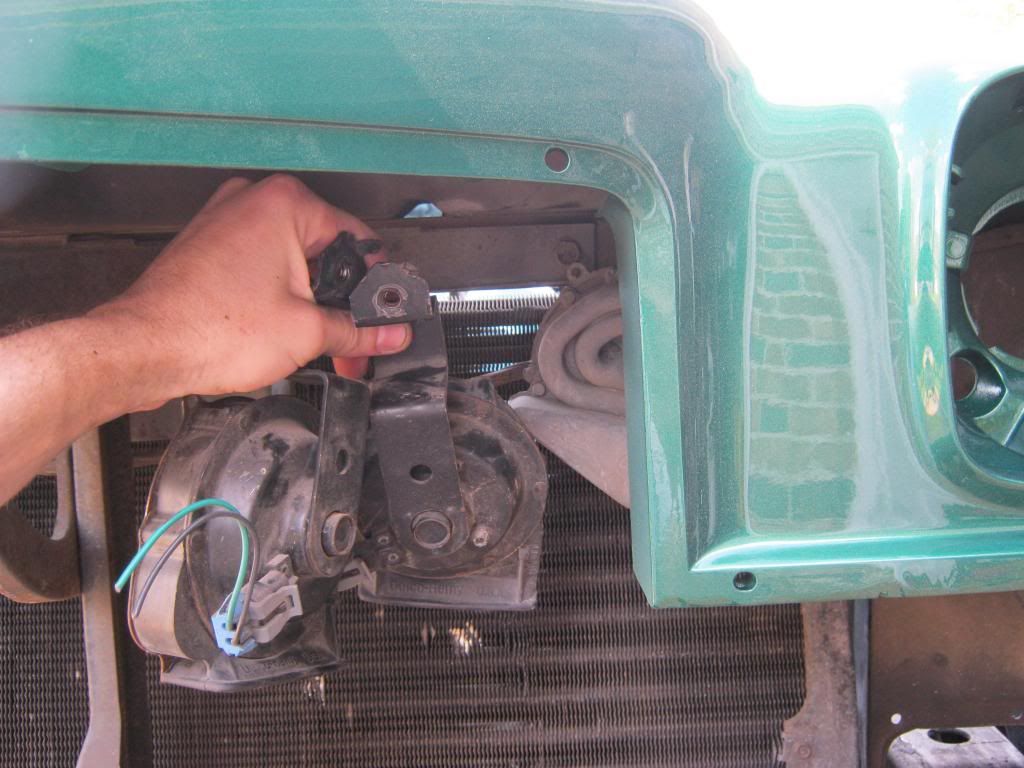
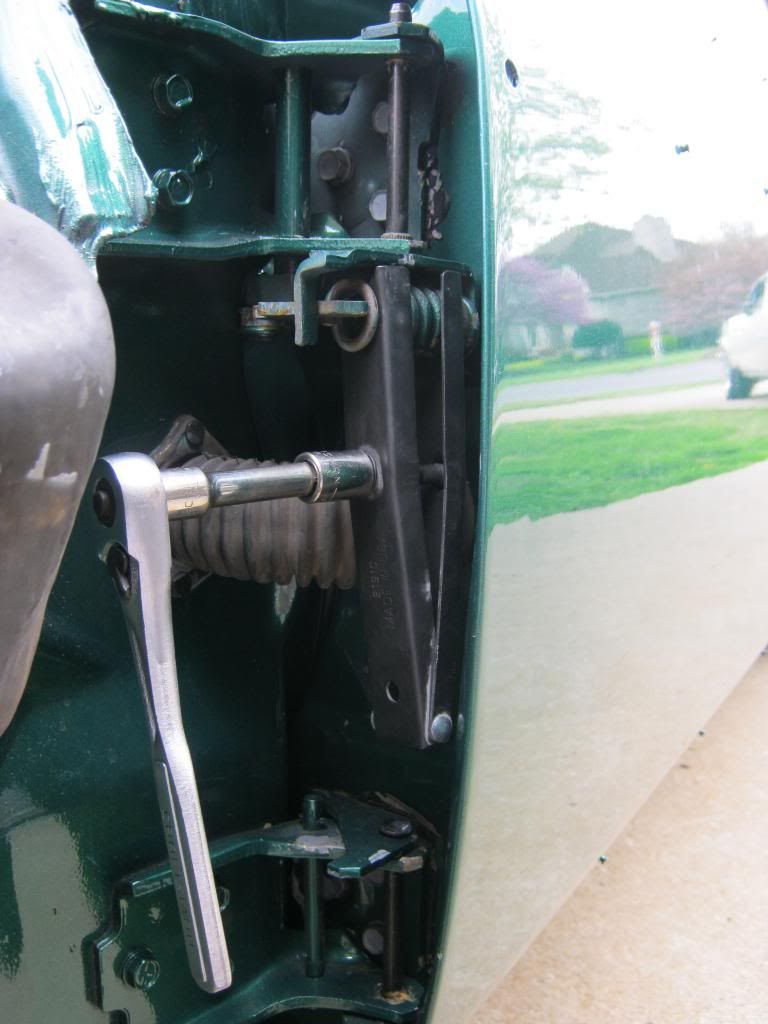
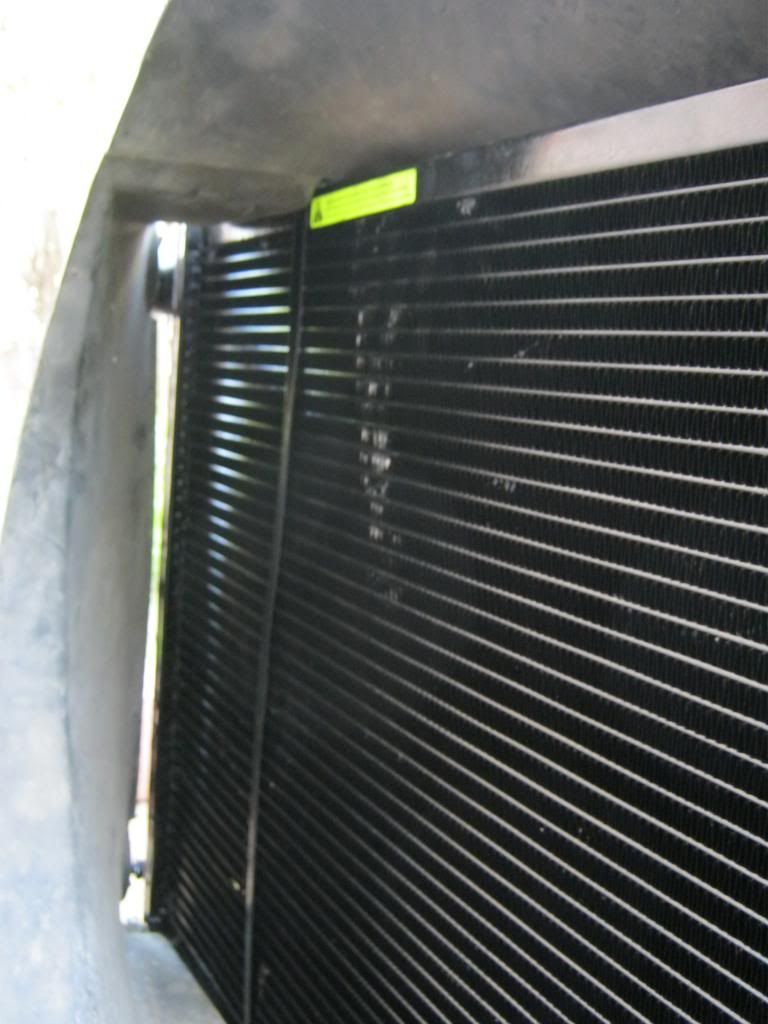
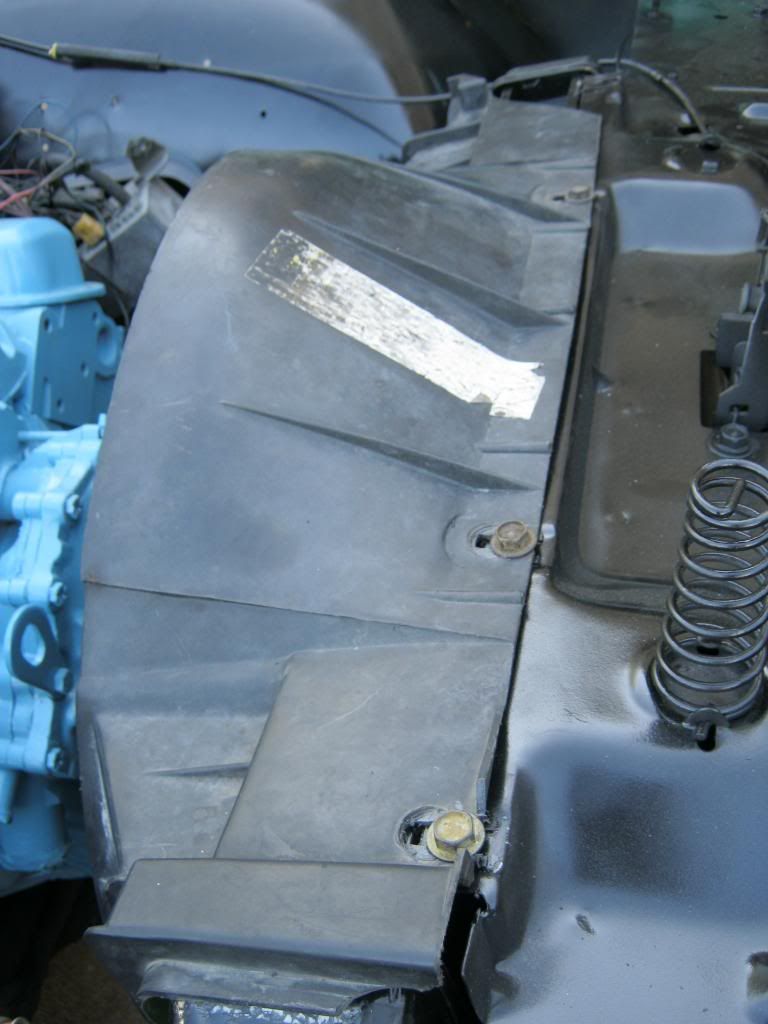
If you look next to the yellow sticker you can see where the radiator is pushed as far into the shroud as it can go and is making contact with the sunken area of the shroud.  There was no more room to give any relief.

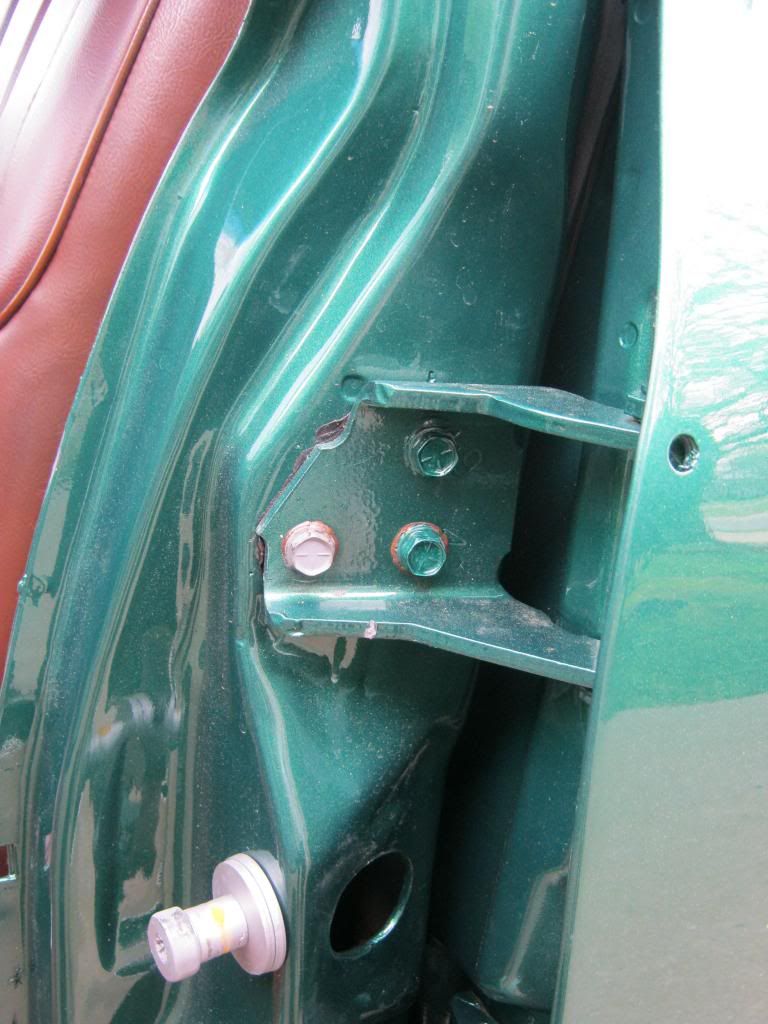
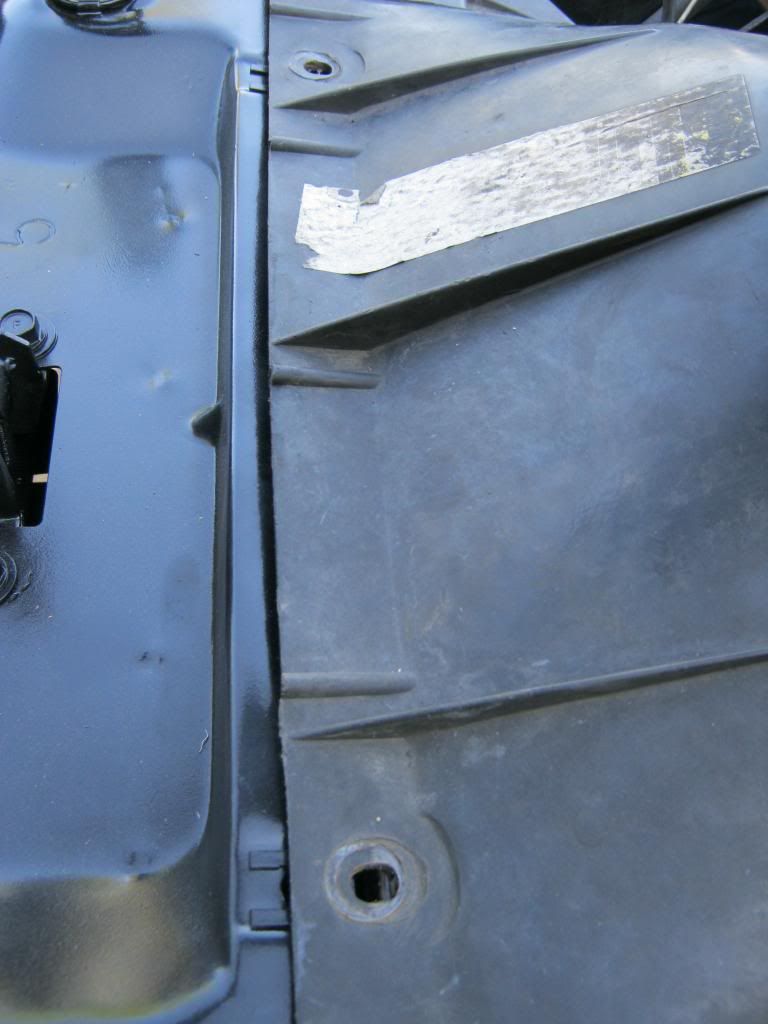
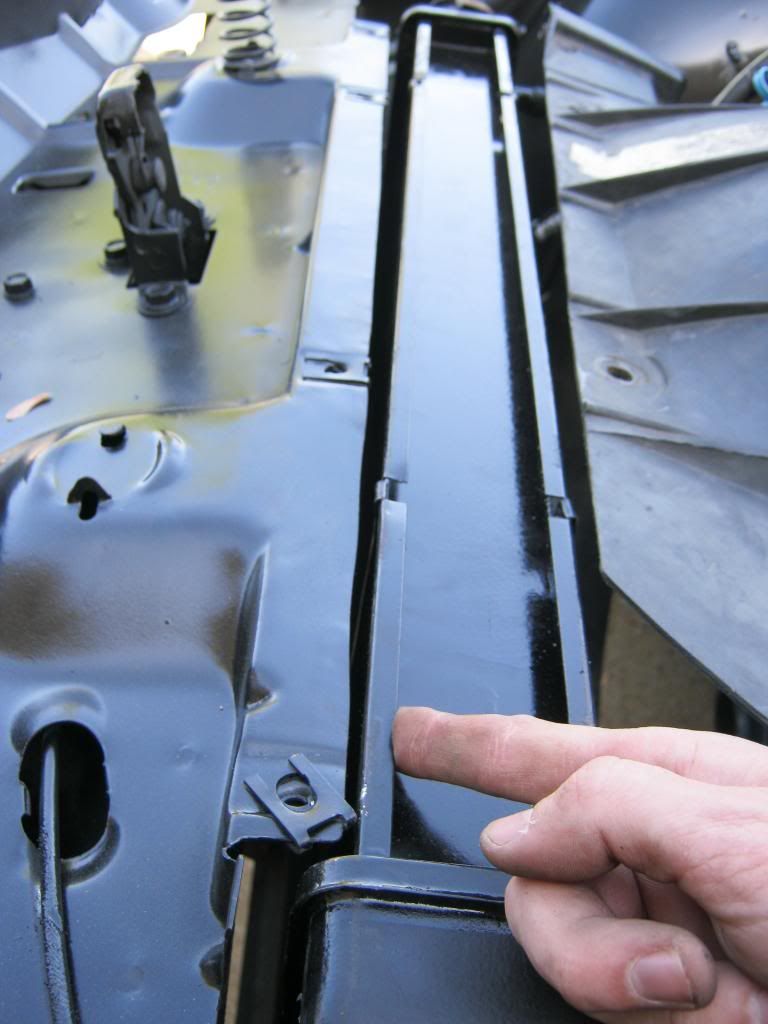
Here you can see how the shroud is sitting too far back to align with the holes.

I attempted to make the radiator go under this lip to give a bit of extra room, but it could not be done.

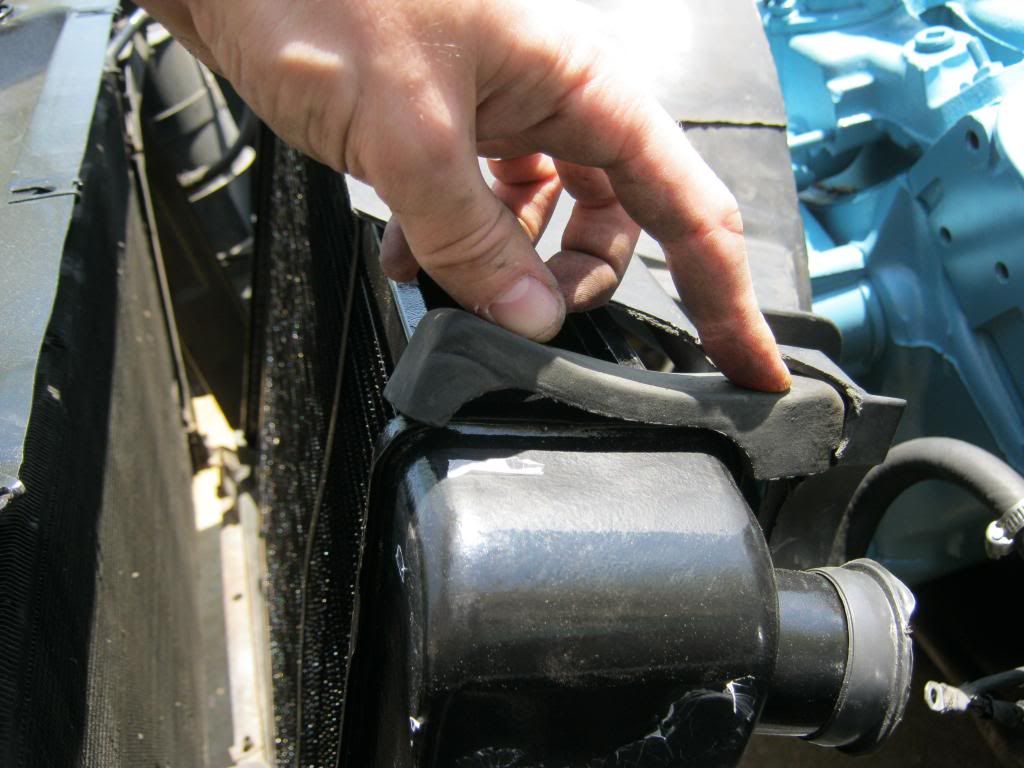
Because the top rubber supports would not fit I had to leave them out temporarily until I can get the correct size.  This picture shows where they would fit, sandwiched between the radiator and shroud.

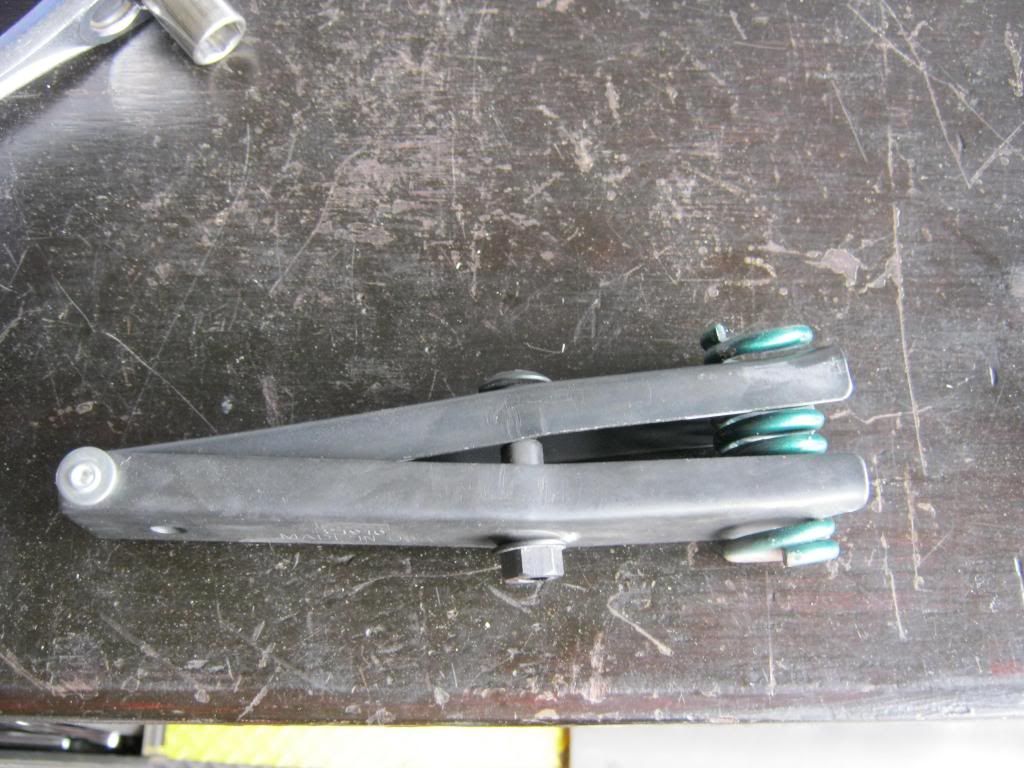
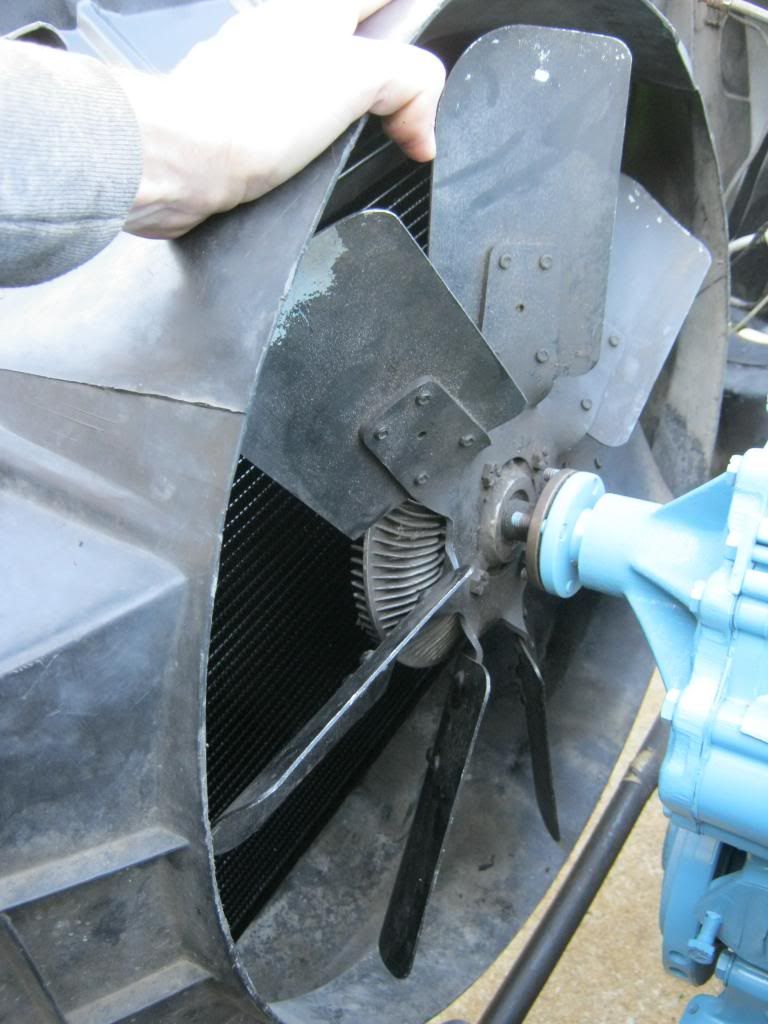
The fan had plenty of room despite the fact the shroud would not move back any further

It took the entire day to get to this conclusion, but I eventually notched the holes in the shroud to make them slots.  This allowed me to mount the shroud in its new location.

This was an exceptionally frustrating situation and also why I dislike dealing with many aftermarket companies that say they make model specific parts that end up being generic parts that are "supposed" to fit a wide variety of models.  Because I am eventually going to try to see how many miles per gallon I can get from this massive old engine I will, down the road, most likely end up converting the clutch fan to an electric fan setup.  In that case I will have to make an entirely custom shroud from scratch, so that means this one is not a huge deal if it isn't perfect for now.


Wednesday, April 17, 2013

Fender Well Done

Today it was time to install the fenderwells and the fenders.  I don't think I would have figured it out without the diagram and numbered bolts with notes for each.  After the first fender went on the second one went on that much quicker.

I used tape under the bolts to keep from scratching the paint down to the metal.  After the fender is adjusted for the final time I will loosen them one by one and take the tape out.  I also couldn't strip and paint these bolts because they were all labeled and numbered, so I'll have to do them one at a time as I remove and replace them.  I can't have fresh paint everywhere and then rusty bolts sticking up all over the place.

Since I was doing this by myself I had to use a couple of empty boxes to hold the fender well in place so I could start the front and rear bolts.

After I got both fenders mounted I aligned them.  The alignment process, though difficult, was much easier than it could have been.  I have seen things like this take an entire day or longer.  I have to keep in mind, however, that I still have the hood, header panel and corner pieces to go, so I may not be out of the woods just yet.  I only tightened down the rear of the fender because the front will still need adjustment as I add more body pieces.

Hey, it kind of looks like a car.  After I finished with the fenders I temporarily hung the front header panel so I could get the measurements for the custom horns.  As I mentioned earlier, much to April's approval, I am replacing the two stock horns with dual note horns from a 1990's Buick.  The best way to describe how these four horns sound is to imagine the sound of a mini train horn.  When people cut us off in traffic, as they so often do in this town, we will  make sure they are aware of it.

I wanted to find a way to make the one extra horn per side fit without blocking any more air flow to the condenser and radiator.

The original horn mounted with a bolt going through the core support and a small tab bent up from the horn mount and went through a small hole in the core support to steady the horn.  The new horns had this tab but it was positioned the wrong direction.  I found the best solution was to cut the new horn brace down and weld it back the way I needed it.  I used the extra material left over from the bracket to add support by boxing it in.  On the left is how the horn originally looked and on the right is what I ended up with.

This is how the horn will mount and then I will bolt the second horn to the first horn.  I began on the second horn but ran out of time, so I will have to finish it tomorrow.

Here you can see how the new horn bracket lines up with both the support tab hole and with the bolt hole.  I unfortunately didn't think about the fact that the new horns use metric bolts, so I will have to go pick some up at the hardware store when I go to get the hardware to bolt the two sets of horns together.

Tuesday, April 16, 2013

Door Springs: Health Hazzard or Very Simple

All day today it appeared that it was going to rain at any moment, but I took the chance and used an assortment of steel brushes and an air grinder to finally strip the top of the core support.  It took a few hours because it had its fair share of surface rust.

I found this date under all the crud.  It appears this core support is just 10 days away from being exactly 42 years old. 

I have been fighting these door springs for a while now.  I determined I was probably going to end up hurting myself or losing an eye so I called Ricky, the man who painted the car for me.  He let me borrow this door spring compressor.  This tool was an absolute life saver.  It probably took five minutes to complete both doors and it was safe, too.  I installed them and took the tool back when I got done.

To use the tool you just put the spring in the jaws, tighten the bolt to compress the spring, install it, and then unscrew the bolt.

There were quite a few nicks in the paint that needed to be touched up from a couple of the stubborn door pins.  I used a brush to touch them up by hand as well as all of the heads of the door hinge bolts.  I also touched up anywhere else on the car that needed a touch up and then finished the passenger rear door area that was rubbing.  I had to use an air grinder to shave some off of the door jamb and touch it back up. 

I realized I had not yet installed the rubber and routed the wires into the rear doors.  It took a while to feed the ends of the wires through the tight rubber seals.  I took some soap and water and cleaned them with a toothbrush.

That looks much better.  After I did this I greased all the door hinges and locking mechanisms with chassis grease and silicone spray.

The car was missing the driver side bolt that holds the core support to the frame.  I have been searching for a replacement to this bolt and it's accompanying bushings but I haven't been able to find one.  Several weeks ago I noticed a bolt for sale at the parts house so I made a mental note in case I couldn't find an original replacement.  The bolt had some bushings with it.  I had to customize it a bit but it ended up working well.  Here is a picture of the original on the passenger side and the one I made for the driver side.

To finish up the day I cleaned a few of the other rubber pieces with more soap and the old toothrbush.


Monday, April 15, 2013

The Pipes, The Pipes

Having dropped The Clam off a week or so ago at Robert's house, despite inclemate weather attempting to delay progress to infinity, last Saturday her vacation was over and it was time to come home.  Jacob and I went to get her.  Fortunately Robert had a car battery and a large battery charger that allowed us, albeit slowly and with frequent rests, to winch The Clam into the trailer with Jacob at the helm, because he was the only one that could exit the car once it was inside the trailer.

Until we got The Clam right up to the rear door Jacob manned the camera.  I think he's getting pretty good with the automotive camera angles.

Saturday before last, when Jacob went with me to take The '57 to Kentucky, we were sad to see that Garrett's Grocery had closed.  Though this is not the same grocery, this is the same name of the grocery store that my grandfather, Jacob's great grandfather, had owned and operated in the 50's and 60's.  We planned to eat lunch here but later found out that the old lady had died and the store was closed.  Not to be beaten we continued on and found another locally owned meat-and-three diner where "Granny" actually did the cooking.  Last Saturday we were glad to see that the country store near where we picked up The Clam was still open, so that's where we had lunch.

Since I wasn't able to drop The Clam off at the exhaust shop on Saturday because it needed to be pushed out of the trailer and onto the rack by an army of men, it stayed in the trailer until today when I took it down to the muffler shop to have the exhaust pipes and mufflers installed.

I have crawled under the car, but this is the first time I have been able to stand under it and really get a good look.  I was amazed at how solid and rust free the underside of this car really is.  I had the shop install an X-pipe.  They also made everything in front of the mufflers able to be unbolted to facilitate the installation of an overdrive transmission in the future.  It is my goal to try, just as personal goal, to see how many miles per gallon I can get from a 455 cubic inch, 4 barrel Pontiac engine.

I know the owner of the shop and they always do great work.  Because of the layout in the rear of the car, with the tailgate storage and the spare tire well, there is little room to run a dual exhaust setup.  Some people run both pipes out the driver's side, while some run them out both sides with one under the spare tire well, which makes one lower than the other and I personally think looks bad.  Another option I don't care for is running them out the back.  He came up with a great idea that looks awesome.  Because I plan to eventually tow things with the car, as well as the aesthetic reason, I didn't want pipes out the rear, so he ran them out the back on both sides, but cut them off and turned them down before the pipe would go under the tire well.  This way the pipes are not visibly sticking out of the sides of the car and they are tucked up nicely underneath.  These cars came with the pipes run under the axle housings, which is somewhat of a strange set up.  The guy welding the pipes said it's the first one he has ever seen this way.

For a brief while, The Clam shared the stalls with a fellow Poncho, a GTO.  I think I caught her looking jealously at The Goat's Rally II wheels.  I told her that though they looked the same, she has the big 5x5 bolt pattern and The Goats had the smaller 4.75 bolt pattern.

When the guys at the shop pushed the car, with me in it, back into the trailer there was absolutely no room for me to get out.  I had to borrow a pair of vise-grips and manually roll up the back window to crawl out.  When I got home I stopped by Jacob's house to see if he would ride his 4-wheeler over to my place and help me pull The Clam up next to my garage.

It was a tight fit.

Jacob's 4-wheeler doesn't have a hitch on the rear so that meant I had to chain it high up on the rear of the rack.  The meant that when we started to pull The Clam up the driveway the forces exerted tried to pull the back of the 4-wheeler down, lifting up on the front.  I was on the 4-wheeler and Jacob was steering the car.  Our first two attempts up the driveway didn't work because the 4-wheeler would spin its tires and then try to flip over backwards. 

On the third attempt we rolled back across the street and got a running start.  I had to lean forward on the front of the 4-wheeler to try to keep the front end down.  The tires were off the ground and I couldn't steer, but I didn't let up off the throttle until The Clam was fully up next to the garage.  Unfortunately, that meant I had to disregard a few bricks and bushes.

All the outsourced mechanical work is finally finished so now I can begin reassembling The Clam.