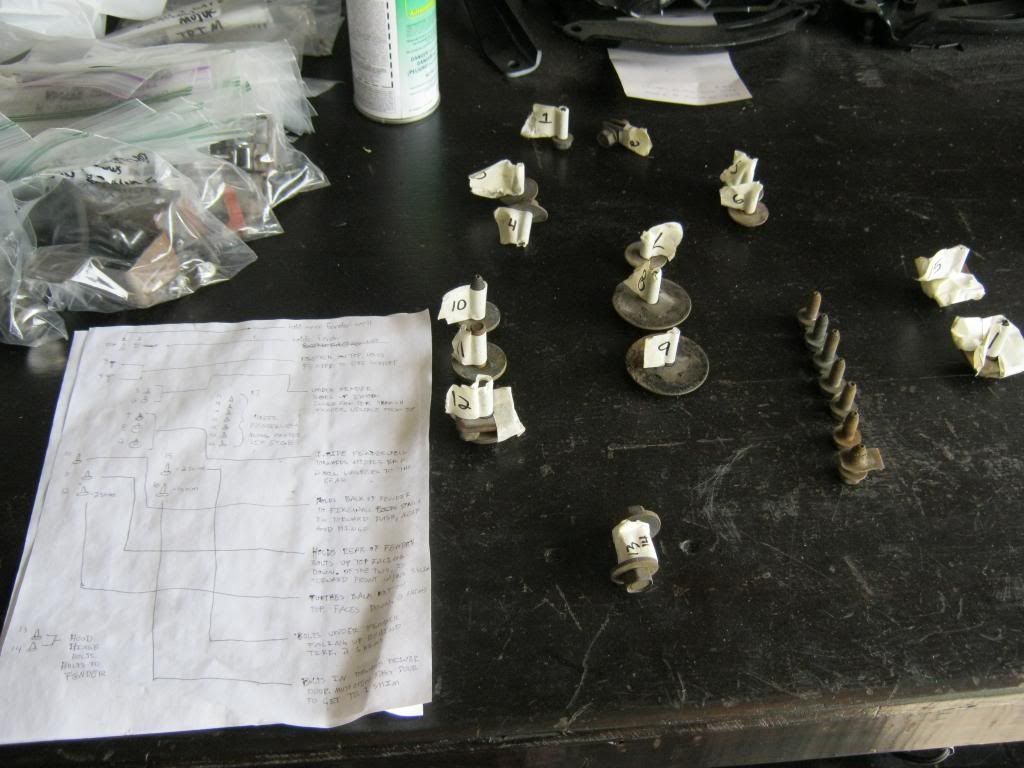
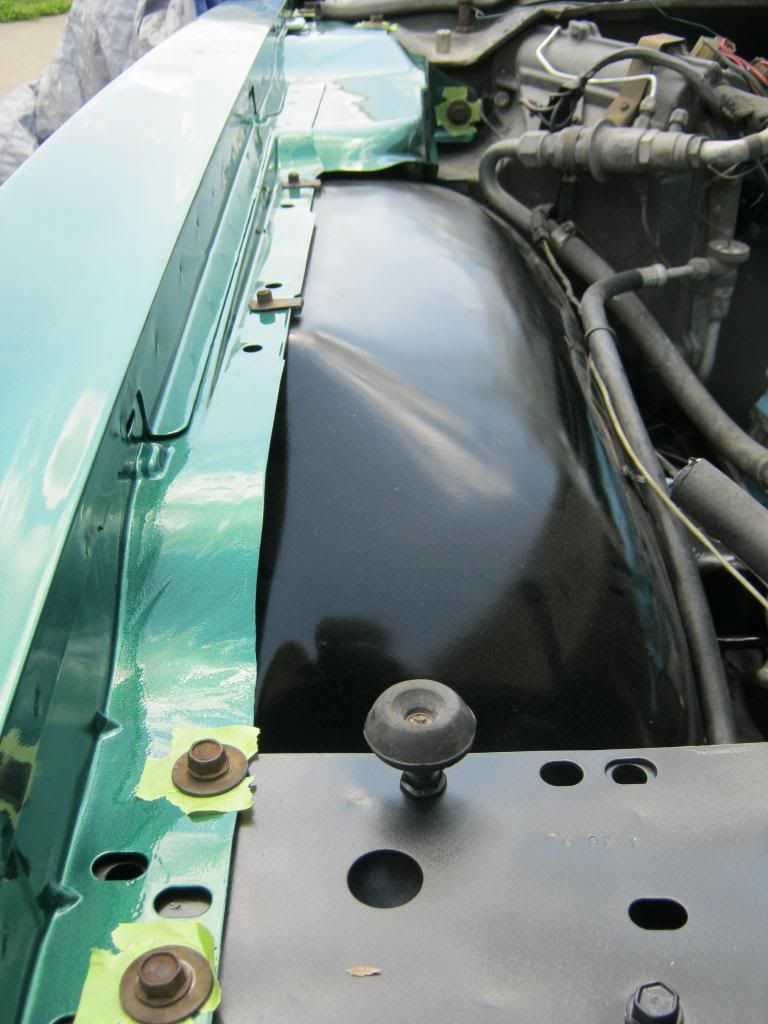
I used tape under the bolts to keep from scratching the paint down to the metal. After the fender is adjusted for the final time I will loosen them one by one and take the tape out. I also couldn't strip and paint these bolts because they were all labeled and numbered, so I'll have to do them one at a time as I remove and replace them. I can't have fresh paint everywhere and then rusty bolts sticking up all over the place.
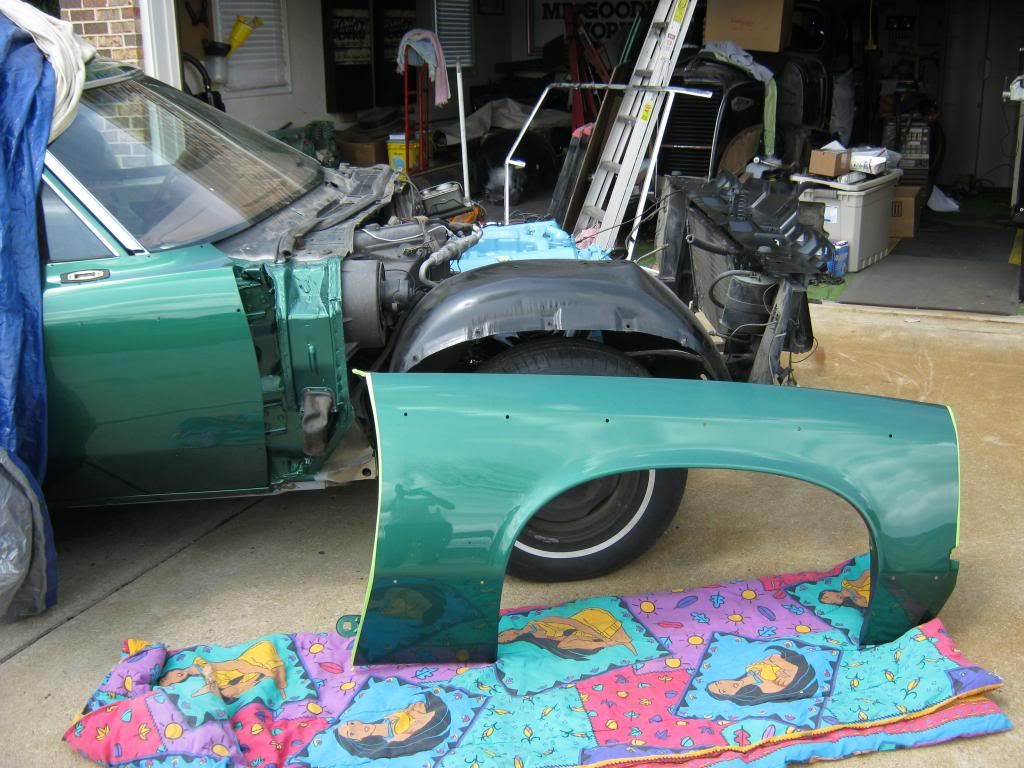
Since I was doing this by myself I had to use a couple of empty boxes to hold the fender well in place so I could start the front and rear bolts.

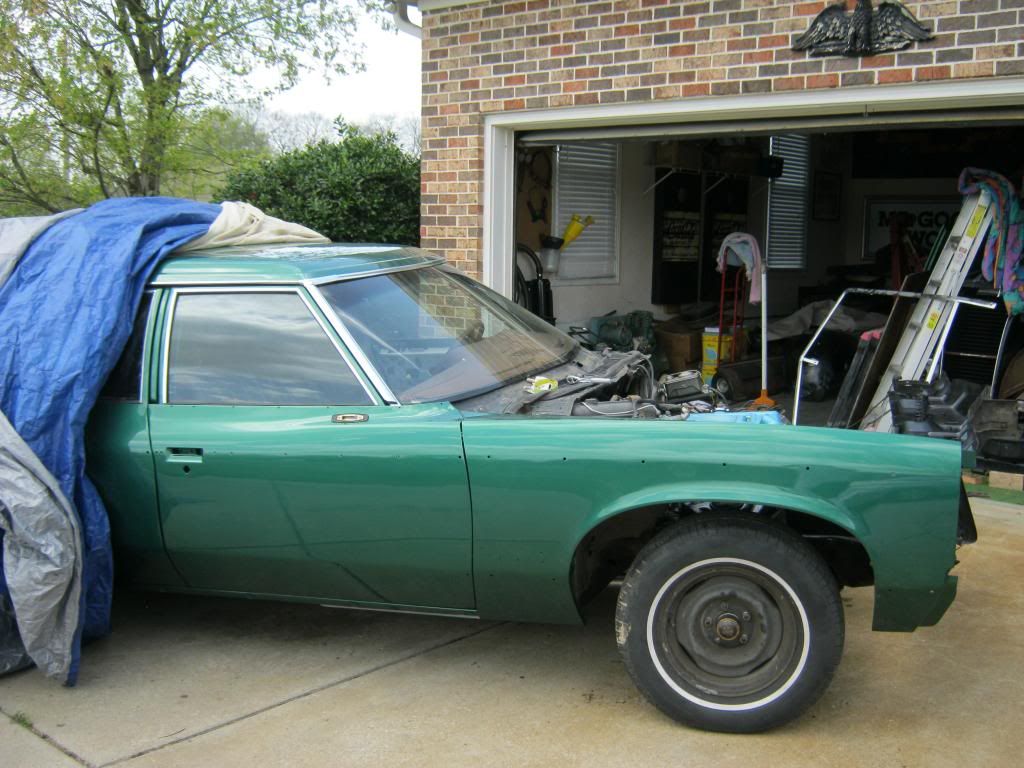
After I got both fenders mounted I aligned them. The alignment process, though difficult, was much easier than it could have been. I have seen things like this take an entire day or longer. I have to keep in mind, however, that I still have the hood, header panel and corner pieces to go, so I may not be out of the woods just yet. I only tightened down the rear of the fender because the front will still need adjustment as I add more body pieces.
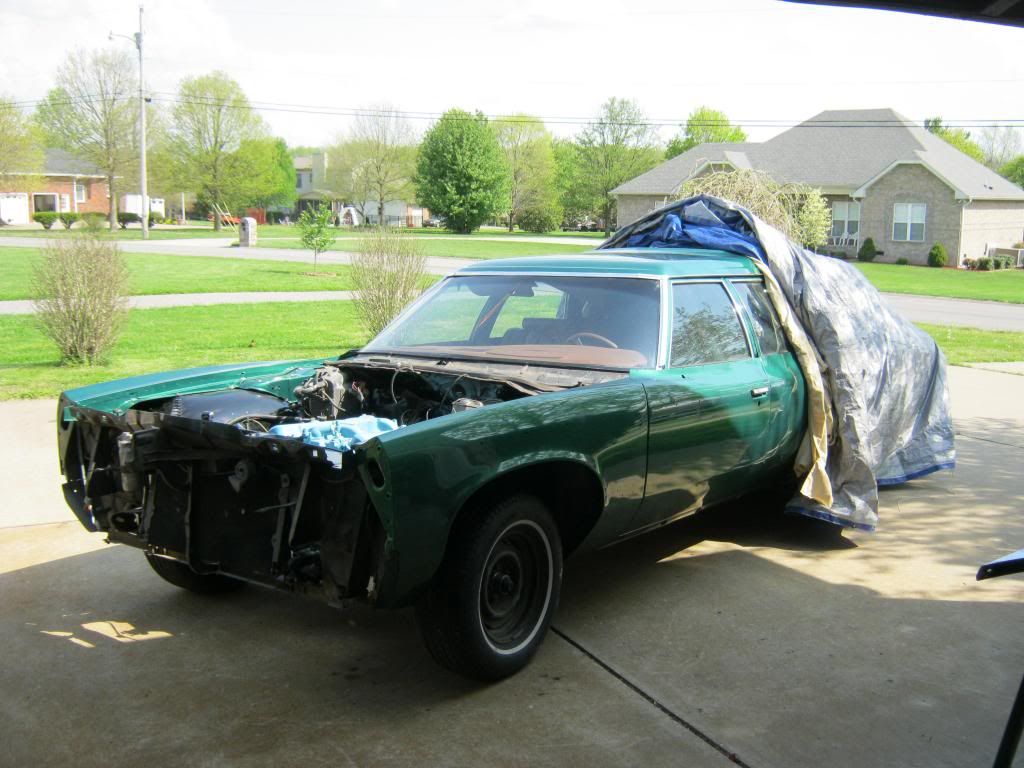
Hey, it kind of looks like a car. After I finished with the fenders I temporarily hung the front header panel so I could get the measurements for the custom horns. As I mentioned earlier, much to April's approval, I am replacing the two stock horns with dual note horns from a 1990's Buick. The best way to describe how these four horns sound is to imagine the sound of a mini train horn. When people cut us off in traffic, as they so often do in this town, we will make sure they are aware of it.
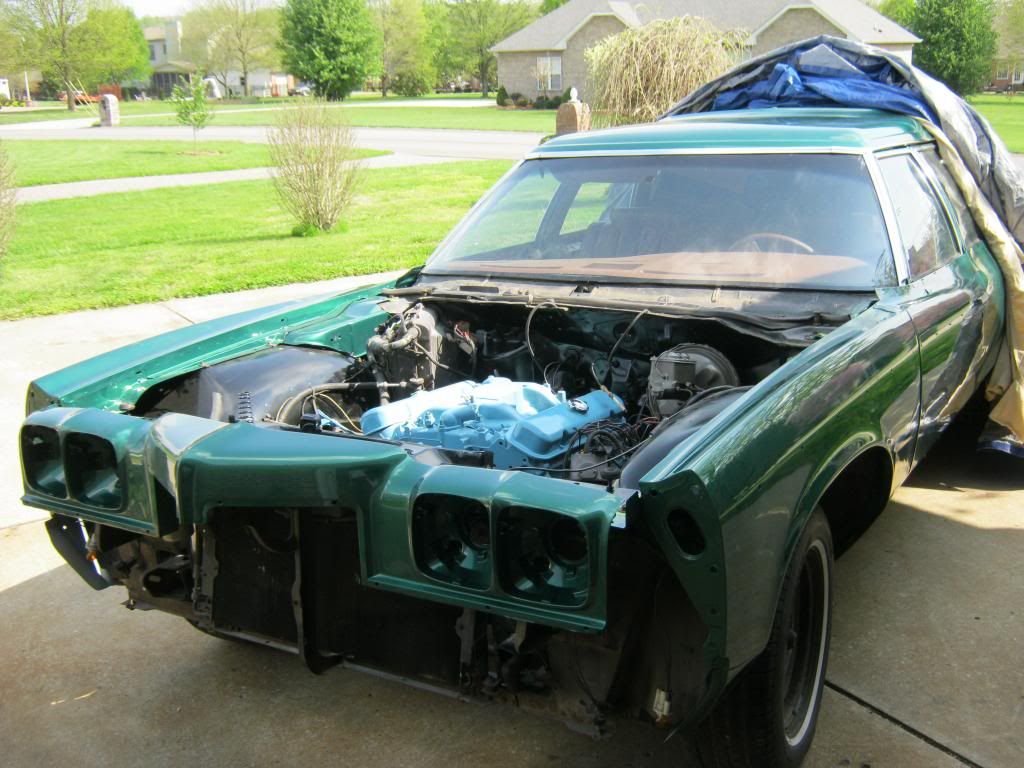
I wanted to find a way to make the one extra horn per side fit without blocking any more air flow to the condenser and radiator.
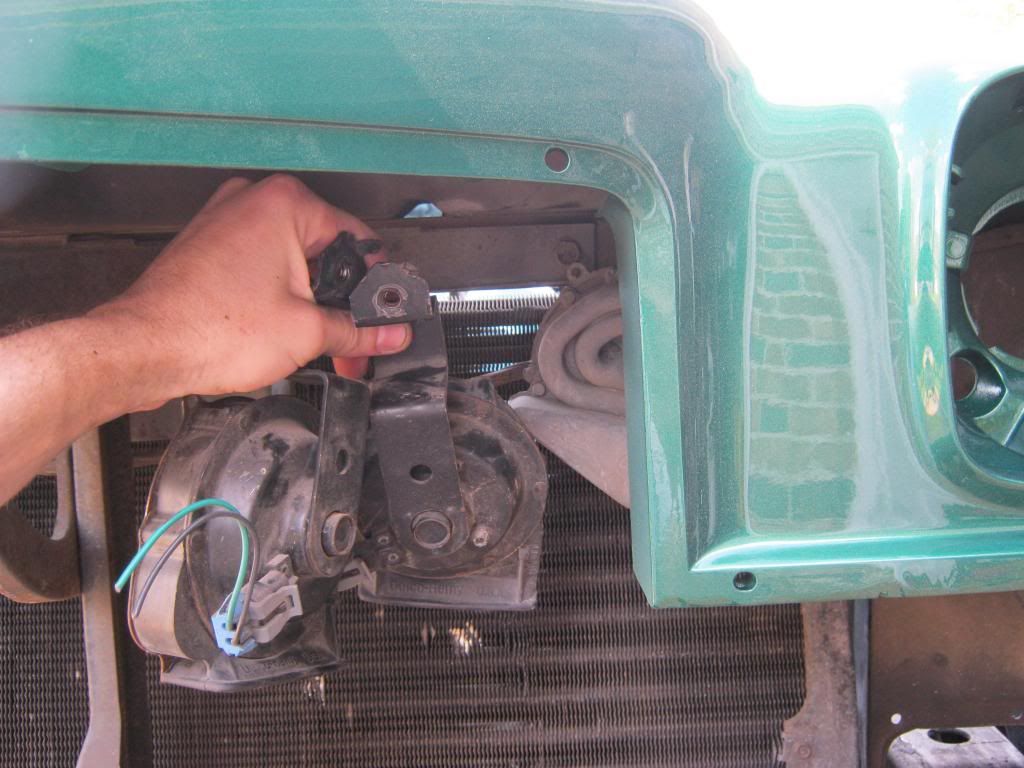
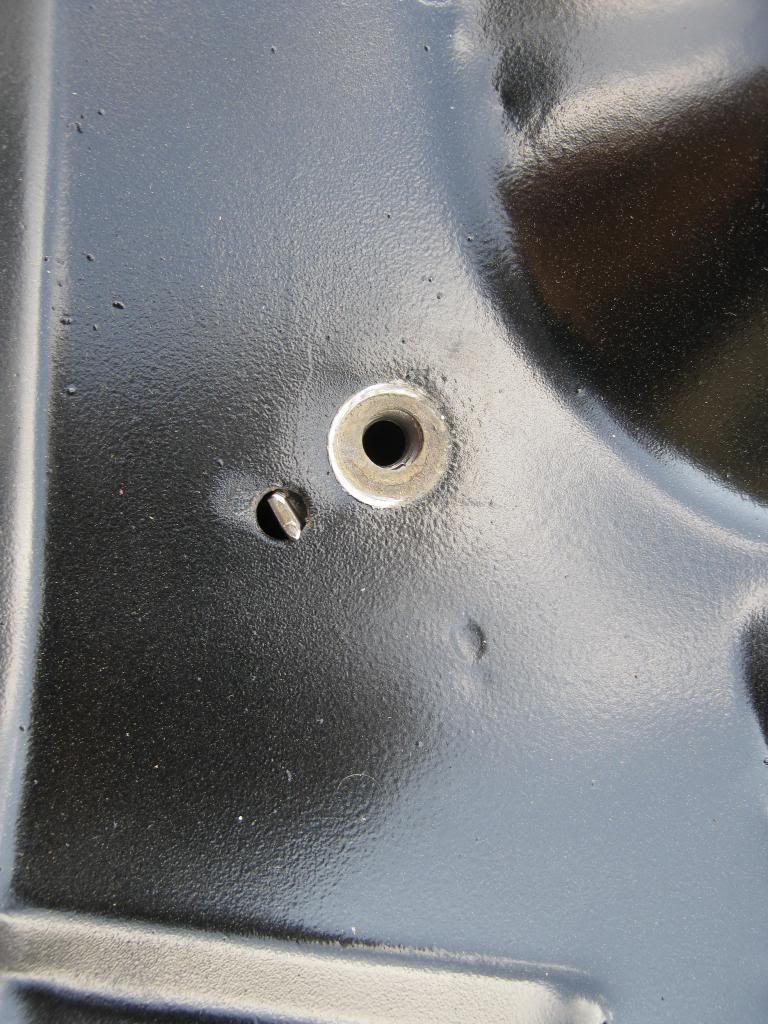
The original horn mounted with a bolt going through the core support and a small tab bent up from the horn mount and went through a small hole in the core support to steady the horn. The new horns had this tab but it was positioned the wrong direction. I found the best solution was to cut the new horn brace down and weld it back the way I needed it. I used the extra material left over from the bracket to add support by boxing it in. On the left is how the horn originally looked and on the right is what I ended up with.
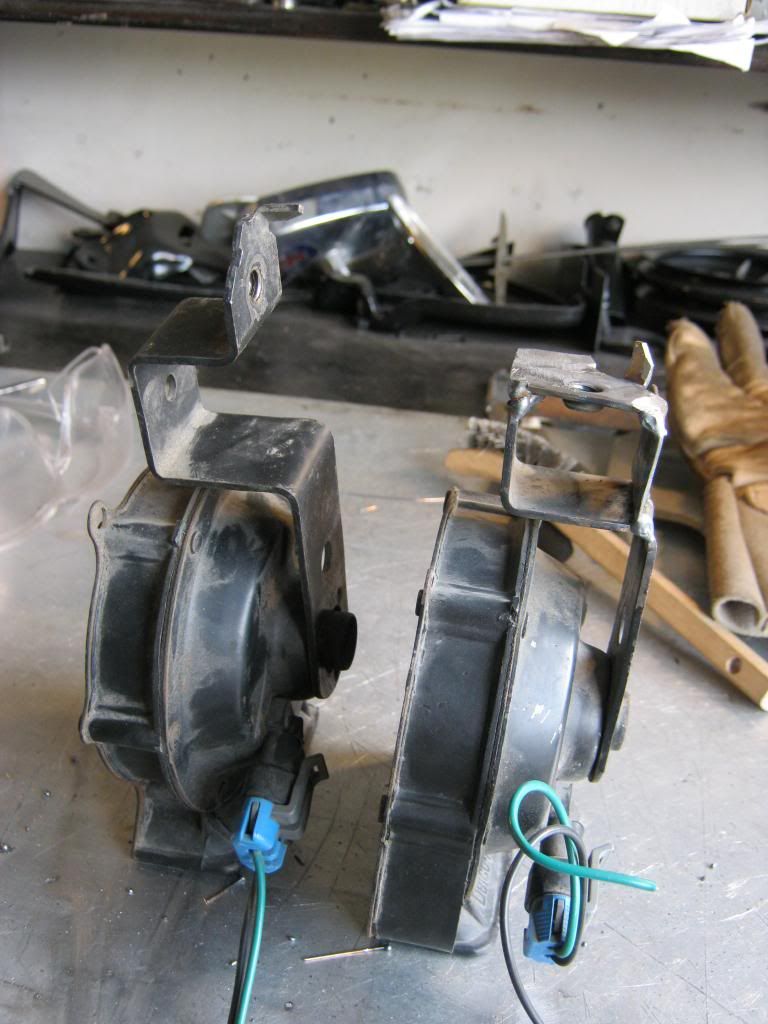
This is how the horn will mount and then I will bolt the second horn to the first horn. I began on the second horn but ran out of time, so I will have to finish it tomorrow.
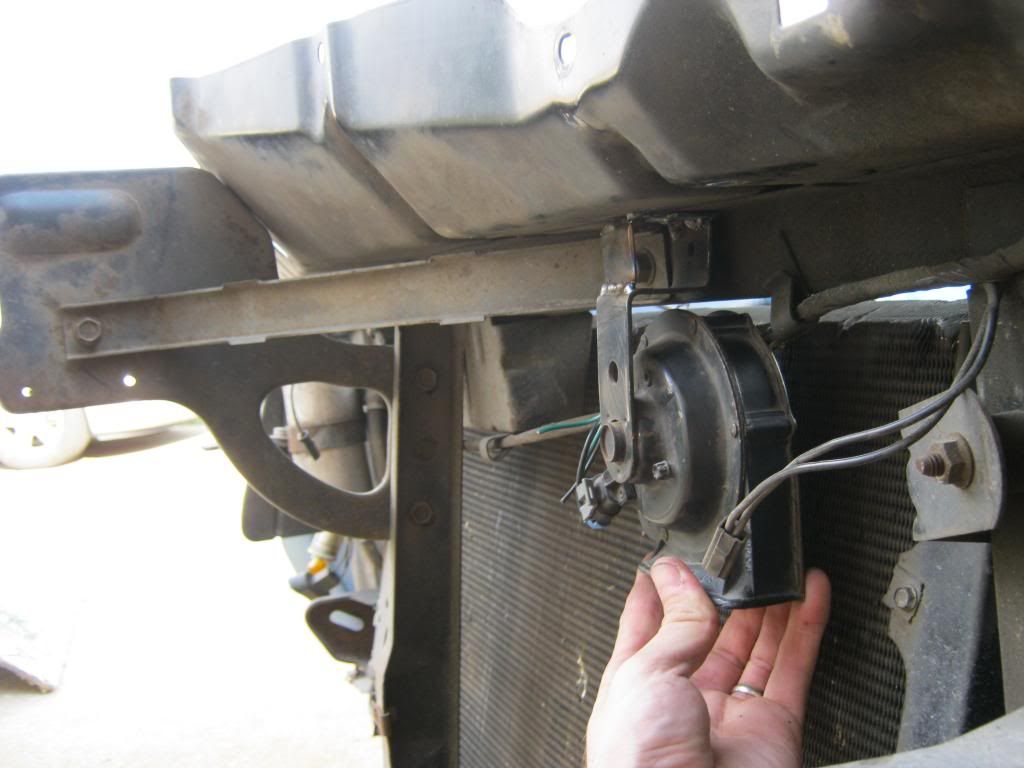
Here you can see how the new horn bracket lines up with both the support tab hole and with the bolt hole. I unfortunately didn't think about the fact that the new horns use metric bolts, so I will have to go pick some up at the hardware store when I go to get the hardware to bolt the two sets of horns together.