I made some measurements a while back and ordered some straps in the length I needed. After mulling things over a while I determined the best thing to do was to weld some tabs on to the axle and mount the top of the strap to the frame. I wanted to put a tension rod inside the frame so it wouldn't distort as I clamped down on the bolt. I was surprised to find that I couldn't find rods the size I needed anywhere, even at some of the hardware specific places like Fastenal and McMaster Carr. I ended up welding three spacers together per side to make a single tension pin, one for each side.

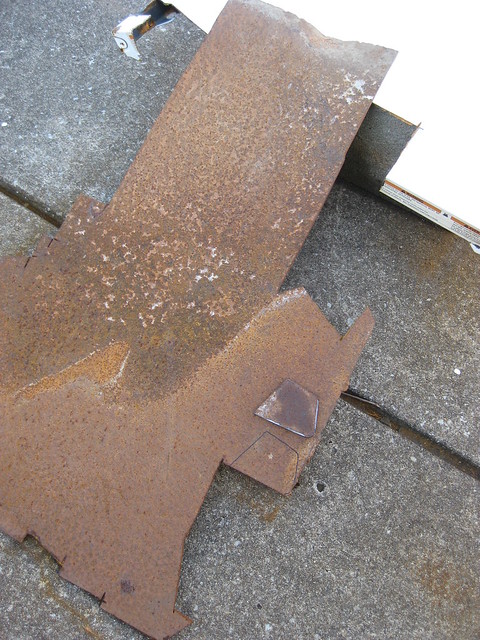
Next I went back to the never-ending 1/8" steel plate to make some mounting tabs to weld to the axle.
I had to complete this project a little at a time over several days as my schedule allowed.

I cleaned the areas I wanted to mount the tabs. The grease from years of build up didn't come off easy.

I got everything aligned and welded the tab to the axle. I did quite a lot of practicing on scrap steel to get my settings on the welder dialed in right because I wanted the welds to be strong and look decent. I'm still not sure what happened but these ended up being the worst welds I've ever made, no exaggeration. They are literally worse than the first one's I made when I just got my welder. No changes I made would give me a good, solid bead. I really hate the look of how it turned out. It was very hard to get to all the areas I had to reach.
After getting the ugo-tabs welded on I moved on to getting the holes drilled in the frame. There was no room to drill from the inside of the frame so I had to make a mark on the inside of the frame and take a lot of measurements to transfer that mark to the outside of the frame. The drill bits were too big to fit in my hand drill so I had to go borrow Dad's big drill. This was my Grandfather's drill, and it still works, and it will break your arm, hand or wrist if you aren't careful.

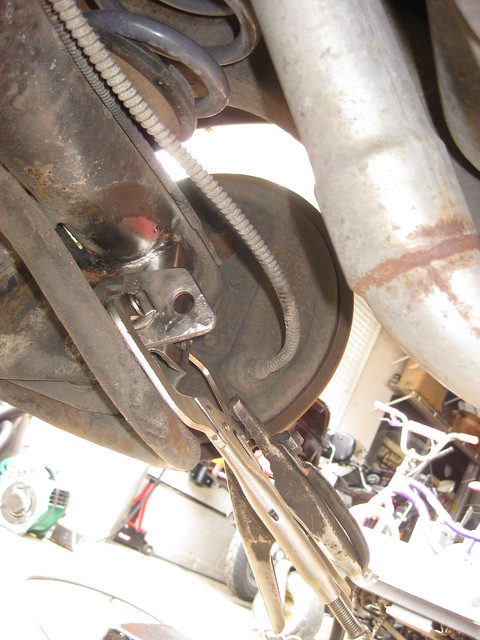
So here was the plan. There wasn't enough room to weld from the inside of the frame, so I drilled a hole the size of the bolt all the way through the frame and then drilled the outside hole the same diameter as the tension rod I made. I slid the tension rod in the outside hole and butted it up against the inside of the inside frame rail. I ran the bolt through to keep everything lined up and tack welded the pin in place.

I turned the bolt around and put it in the other side and pulled it back a bit just in case something went wrong. I didn't want to lose the pin by having it fall inside the frame rail. After tack welding the pin in place I cut off most the excess. Then I ground one side smooth while the other side held the pin in place. I then re-tack welded the flush side in place and then ground down the other side and ground it flush and then re-tack welded that in place, the whole time keeping the bolt slid in the back just in case I ground down too far and the pin fell out.


Here's the finished result. As usual, this all took a very long time but the pictures make it look very quick.

At some point while grinding and welding upside down, even though I was wearing a full face mask, I ended up getting a metal shaving in my eye. Two nights later it began to become very irritated and I could not get it out and sleep was almost impossible. I have some super powerful rare earth metal magnets that I tried to remove it with, but I couldn't get it. I finally went to the doctor and they found it stuck to the back of my eye lid, so that would explain why I could never get it out but I was glad they didn't have to use the drill like last time. Below is a picture of the finished product.
