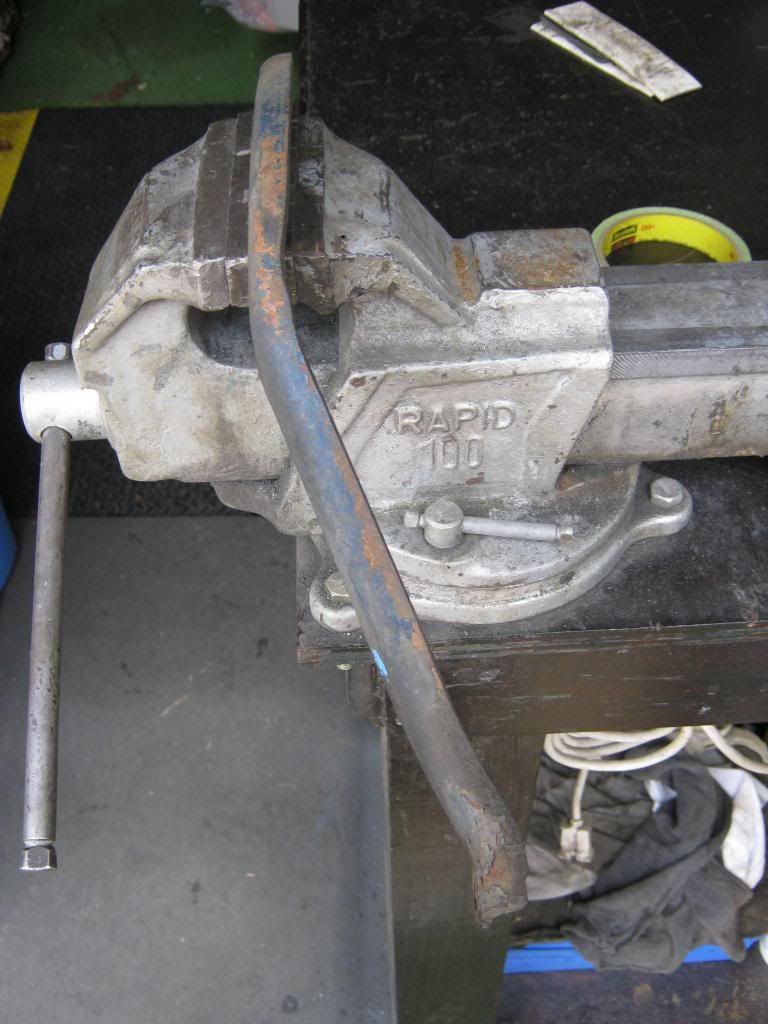
Basically, a volt meter takes one small wire with a small load and determines, of course, how much voltage is flowing through it. An amp gauge basically just shows which direction amperage is flowing within a system and accuracy isn't paramount. With an amp gauge, the entire flow of the vehicle is wired from the battery/starter, through the gauge, and to the alternator/generator. This amount of flow would damage the gauge so a bypass, called a shunt, must be made. Later style amp gauges had a shunt installed from the factory but old amp gauges (old by my standards) don't have shunts. In order to wire the amp gauge I would need to create a length of wire and then play with the length or the gauge until I found the right balance, letting just enough of the flow bypass the gauge and letting just enough go through the gauge to get an accurate reading but not damage it. When you have trouble starting the car and crank it for a while it can cause the battery to drain, which causes lots of power to then be transferred to the battery from the alternator. Due to the schematic of the wiring, this extra power can destroy your amp gauge, or cause a fire, because typically your gauge may only handle 10 to 30 amps but under this situation it will then be attempting to handle much more than that. Another alternative is wiring a simple volt meter. These are simpler and safer, but it would require an aftermarket gauge under the dash and the original gauge would no longer be functional. Unfortunately when I drove the '31 into town I found that it began blowing coolant out of the overflow hose. I believe this, along with the antifreeze that has been leaking out of somewhere between the head and firewall, is evidence that the head gasket I purchased and installed is faulty. So, yet again, I have more rabbits to chase before I can drive this car with carefree enjoyment.
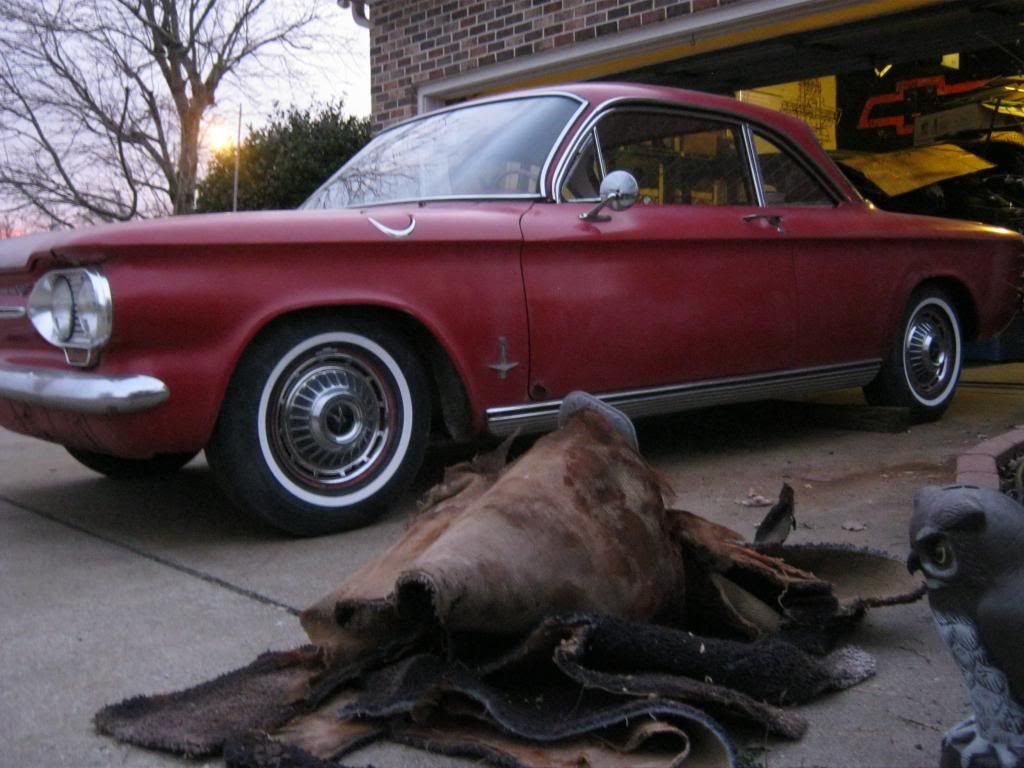
On to the Corvair. I rebuilt both carburetors, disassembling and rebuilding each one at a time. I laid the parts out in the order I removed them and with the help of an old GM manual I printed from the internet I was able to get them back together as they were intended. As they were laid out I removed the metal and brass pieces as well as the main bodies of the carburetor and soaked them in, according to what I researched, the best carburetor and part cleaner available. After letting each soak for two days, each with a rinse off and re-soak in between, I laid the parts back out for reassembly. Both carburetors were missing some pieces. Between the new parts that came in the rebuild kits and an old, extra carburetor that I found in the trunk of the Corvair when I bought it I was able to piece them back together to have two rebuilt, fully functional carbs. It became clear to me that whoever rebuilt them last wasn't a thorough individual.

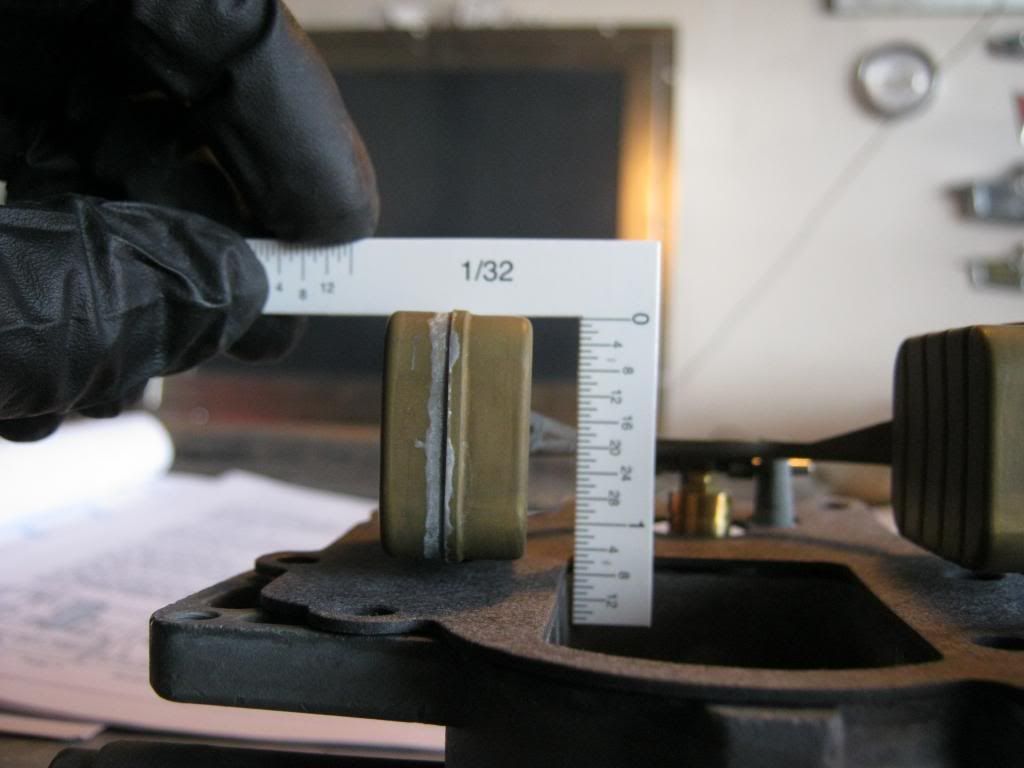
Of course the floats were terribly out of adjustment so I reset them per the settings listed in the carburetor repair manuals.
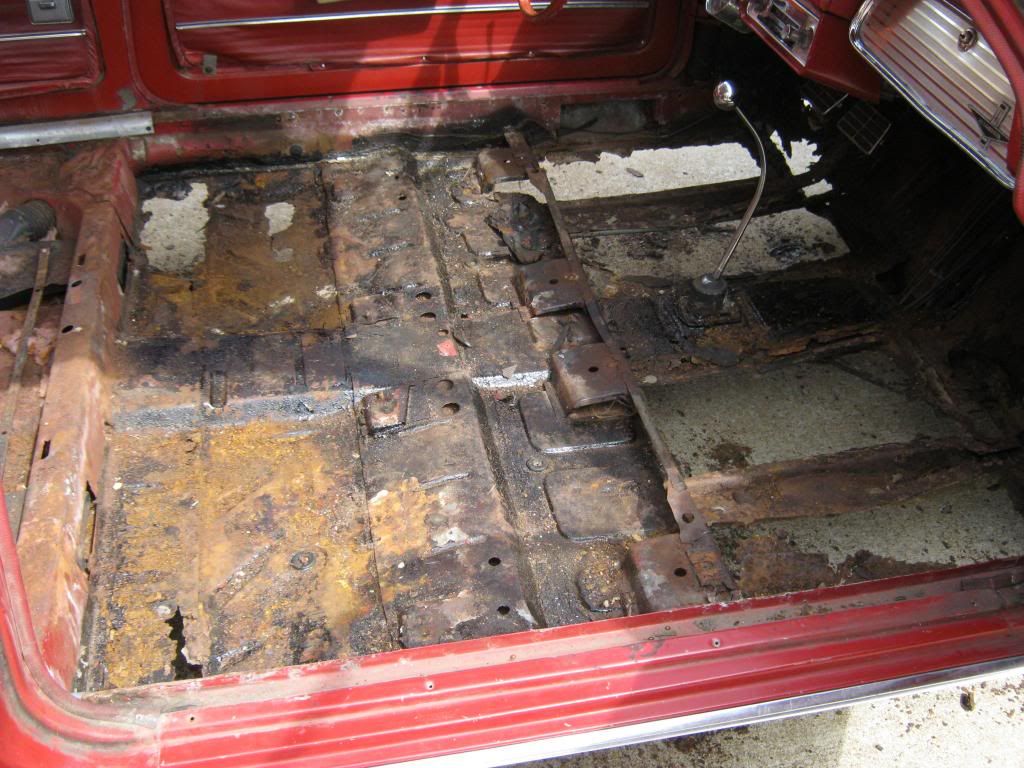
Then it was time to move on and tackle the terrible floorboards. First, the carpet came out. Typically, the seats would come out first but the carpet was in such bad shape it made removing the seats very difficult so I had to rip and cut it out first.
I had soaked the rusty seat bolts in PB Blaster a few days prior. After removing the seats and a few smaller interior pieces I found that someone had simply laid new floorboards down and put screws in them to hold them in place. Screws are worse than riveting, and riveting is still a terrible way to do this. Because Corvairs are unibody cars, meaning that the body and frame are all once piece welded together, the floorboards are a structural part of the car. When replacing them they should be properly welded in. I was literally able to pull these rusty pieces out with my (gloved) hands.
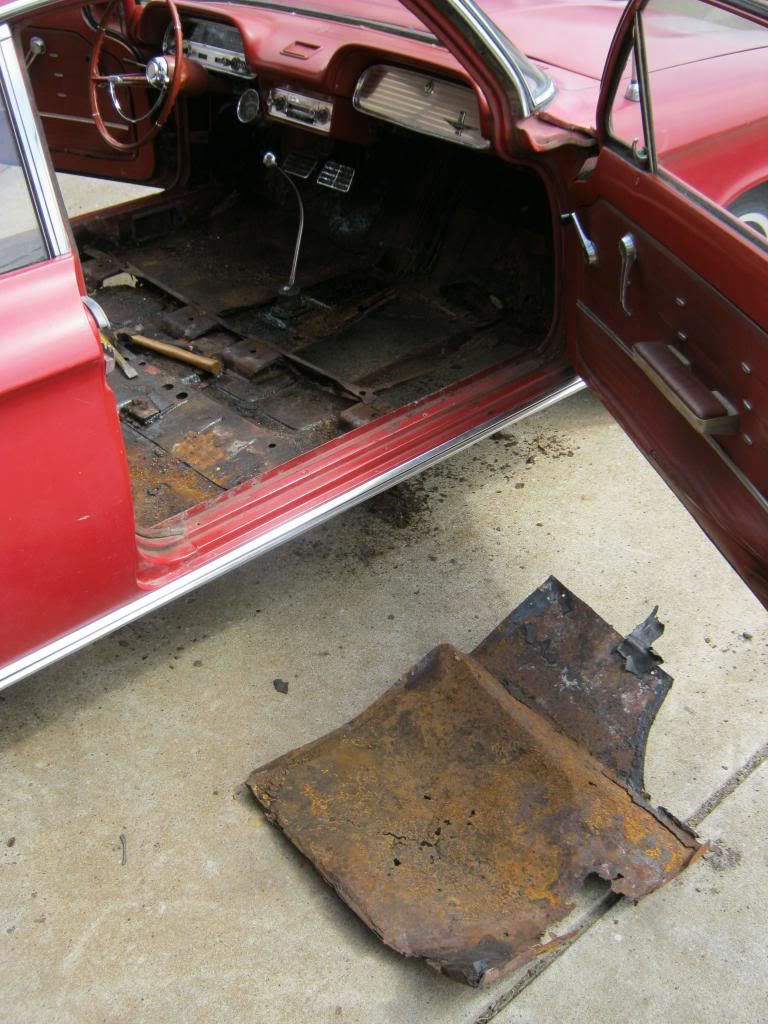
I'm going to prepare you for the understatement of the year: This was a dirty job. After most of the insulation and rust bits had been removed this is what I was left to deal with. The replacement floor panels don't cover all of the parts that need to be replaced so I'm going to have to figure something out there.