I ran another bead of caulk strip on the backside of the rubber gasket. Getting the box to fit back in place around all the obstacles takes a lot of practice.

This is the blend door rod for the hot and cold air. The shop manual says that this is supposed to self adjust by putting the threaded rod in the nylon clip and then moving the temperature selector from hot to cold and it will allow the nylon clip to slide over the threads until it auto-adjusts. Because these old plastic parts are get brittle with age I found where the rod should be located through trial and error, popped it into place and then marked its location with a marker for future reference.

I hadn't taken a picture of how this vacuum hose retainer clip fit because I thought it would be obvious how it went back on. It turns out it wasn't that obvious to me and I had trouble trying to figure out how to get it back on. It seems pretty simple looking at it now.

The picture below, before the windo-weld was applied, shows how the top of the fiberglass box is warped. I ran a liberal amount of windo-weld over this area like I had done before. This time of year Saturday is the only day I have to work on the car in the daylight. I used windo-weld to seal around the entire box. That day it decided to rain so I had to throw tarps over the entire car and work under them, holding them up with my head and having shop lights underneath so I could see. It was far from optimal, but I was finally able to get it completely sealed. Unfortunately, the windo-weld tube had hardened from the previous days work and wouldn't work in the caulk gun anymore. The caulk gun allows for a much easier application of the sealer. I had to cut the tube with a hacksaw and use my fingers to spread it around. This caused me to go through a lot of latex gloves and paper towels.

I had noticed when I was installing the wiring earlier in the project that someone had removed all but one of the steering column plate bolts. I took the one bolt and tested all of the holes and they were not stripped out. I have no idea why someone would have left them out, or why they were even taken out. I've owned this car for 22 years and my father used it as a loaner car for his dealership for years before that and I don't recall a reason as to why this would be this way. I had a lot of trouble finding out what kind of bolt was in the firewall. I kept trying to match it up to a body bolt and even resorted to measuring the thread pitch with a caliper. Eventually I found that it was a sheet metal bolt. I was able to find the correct size and order them online.

A while back the tire shop told me my wheels were bent so I ordered new 8" rally wheels. I would like to have had 3.5" backspacing and or 9" wheels, but I could only find those in custom made applications, which were too expensive. I ordered a new set of Wheel Vintiques' regular 8" Corvette rallies with 4" backspacing and trim rings. I should be able to reuse the center caps. These wheels are not hub-centric like the old ones but the lugnuts are cone shaped, so they will keep the wheels centered.

After getting the heater box reinstalled I tested it with a garden hose and then fortunately had a few good days of rain. I was really let down to find that though the leak was much smaller than before, there was still water coming into the floorboard. I knew that the top of the box was sealed well, and that the water could be coming in from anywhere and running around the edges of the box. Also, there were some internal seals within the heater box I had tried to seal after installing it by reaching my hand inside. There were just too many possible areas to try to troubleshoot and I knew I had to remove the heater box and start all over. I have a deadline of when I need to have the car finished and drivable again, so that was another layer of why this was so frustrating. Another issue is that the next several days were supposed to have rain and then tornado like weather was projected for the weekend. I was very fortunate in that my friend Brian recently went to work for himself after years of working for dealerships and he built his own shop. He let me bring my car over Friday night before the storms came in and work on it there during the bad weather. Saturday was a 12 hour day, followed up by more work on Sunday and Monday after work. I don't even have the words to describe how nice it was to be able to work in a garage for a change, especially as the storm raged outside.

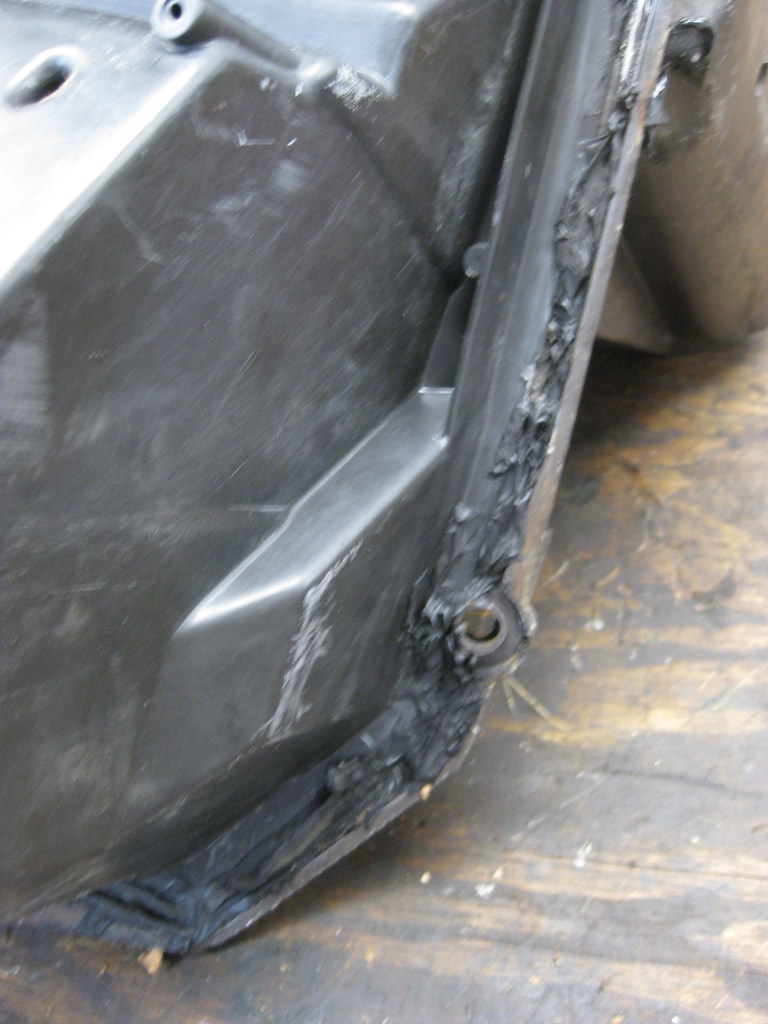
I was able to remove the box without anything breaking, which I had been afraid of. The windo-weld came off very easily but the caulk strip was an absolute nightmare. It took a very, very long time to get it cleaned off of the box and when I thought that was bad it took even longer to get it off of the rubber gasket. After the gasket was clean we fixed some small holes and tears in the rubber gasket with super glue gel.

An absolute mess.
I took the box apart and slowly worked my way around, cleaning all the areas that had caulking.

The box comes apart into five pieces. It was only necessary for me to break it down into four parts. I thoroughly cleaned each piece and put sealer between the necessary mating surfaces as it went back together.

Last time I installed the box I used 3M's windo-weld and caulk strip. I used caulk strip on the front and back of the gasket and then sealed the outside of the box to the firewall with the windo-weld. Windo-weld is 3M part # 08609. This time I did a lot of reading on the internet and decided to go with 3M part # 08509 - Auto Bedding and Glazing Compound. It is a similar product, and both are used for sealing windows, but the 08509 is a different consistency. Both do not fully harden, but it seems the 08509 is a softer product. A lot of the descriptions online are similar or confusing so I called 3M. Unfortunately their representative is basically just reading from a script and doesn't really seem to have experience with the product so it was a bit of a gamble of what sealer to use.
While all of these parts were removed from the car I was able to get a better view on the exhaust manifold clearance to the frame on the passenger side, or the lack thereof. From this angle it was very clear to see that the manifold and pipe were resting on the frame. There wasn't enough room to trim the exhaust pipe because it would have caused the gasket to leak.

We ended up notching the frame. The area is actually the support for the lower control arm, which is welded to the frame and wraps under the frame as well, so fortunately this could be trimmed without any fear of compromising the structure of the frame or support.

Here is the final result.

I had to order the first tube of 08509 and ended up using it all to seal the pieces of the box back together and the lower part of the box to the firewall, but didn't have enough to permanently install the upper box. I removed the transmission dipstick tube and re-routed some of the wiring which gave more clearance for the box and allowed it to be placed directly against the firewall without any smearing of the sealer. I bolted the lower box in place and then bolted the top of the box in place to push the sealer against the firewall and allow it to setup. It really helped to have a second person guiding the box from inside the car. I ordered a new tube of 08509 and the next day came back and finished up installing the rest of the components and fully installed the top box with sealer. In the picture below you can see how the 08509 has squished out around the entire edge of the box. I used a very liberal amount of sealer because I really want this thing to seal.

In testing the sealer the next day it was still pliable and had not hardened. I believe if I ever need to remove it that the sealer will not give me any problems like the caulk strip did.

One area that I believe was giving me trouble before was a seam inside the heater box. Brian and I were both really amazed at how poorly this entire box was designed. From the way it mounts to the firewall to the way the pieces fit together it was destined to cause problems, and this is proved by talking to people who own these cars. All of these heater boxes leak and cause rust issues. The picture below is right below the windshield looking down into the air intake of the heater box on the cowl. Not only is this where all of the air comes in, it is where all of the water from the windshield and cowl is channeled. This area has four seams where different parts of the box comes together. Even the part of the box that mounts to the firewall is three separate pieces of the boxes that come together to fit up against the firewall. The hole below empties directly into the area shown in the picture above and the drain hole above (with the rubber flap over it) is supposed to let all of the water that goes into the hole below drain out. One problem, and I stress this is only one problem, is that the seam at the bottom of the hole shown below is right where all of the water drains down on top of, and that seam is placed inside the cab. If it leaks it dumps water right into the floorboard. And the seam is placed right in an area where the box is warped and does not seal well. I put a whole lot of sealer in this area. I have now brought the car back to my house and hope to test for leaks in the upcoming days. There is supposed to be rain this week so I'm hoping for some good hard rain and some very dry floorboards.
