A bad stomach bug was going around and sickness hit our household hard. April ended up with multiple ailments and both kids were sick at one point and then I was sick myself. As as a result I had to go three weeks without working on the car. It was hard to be patient knowing I was so close to the end but still had so much work to do.
I put a new filter in the transmission. I thought I was going to be smart and pre-fill the filter with fluid like an oil filter. After it all ran out on my workbench and floor I realized that the filter has holes in the bottom. I probably won't make that mistake again.

I cleaned the pan up and realized I had the wrong gasket. Fortunately a gasket came with the filter so I was able to use that.

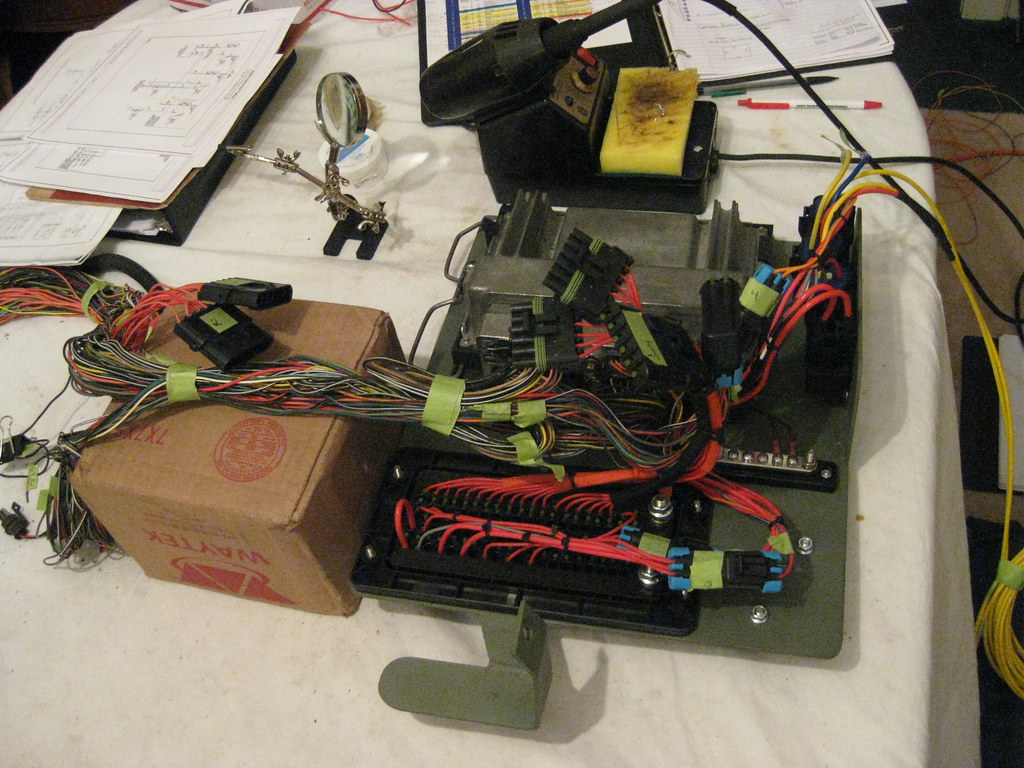
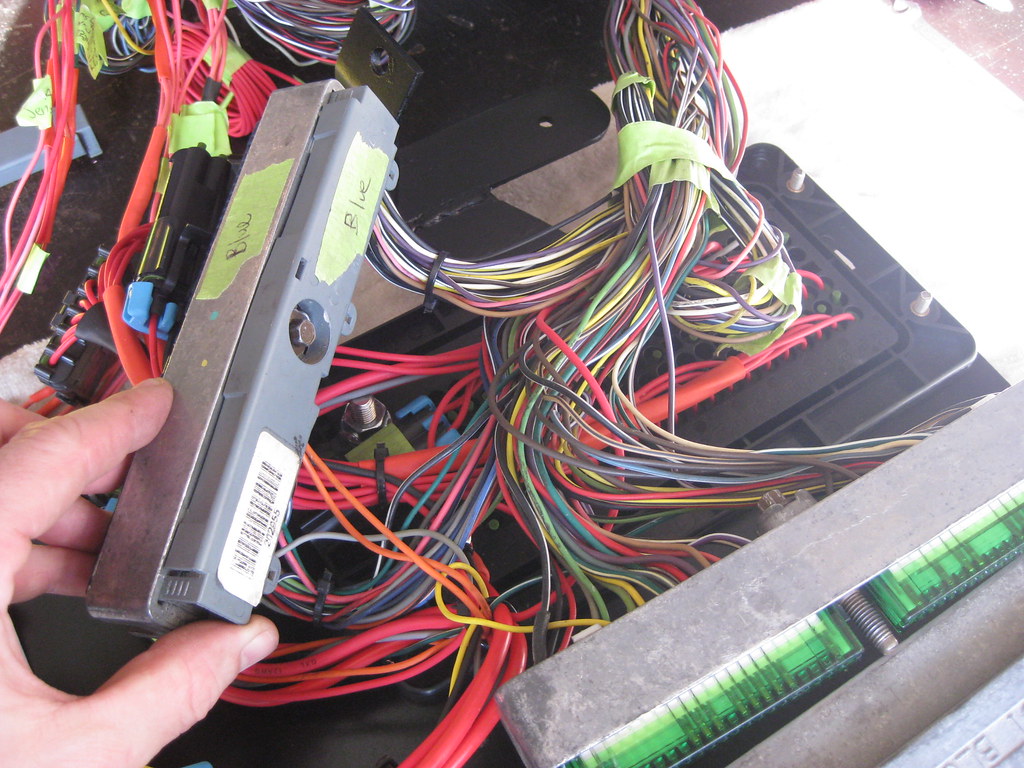
This is a picture of the very last stages of the PCM and fuse panel.
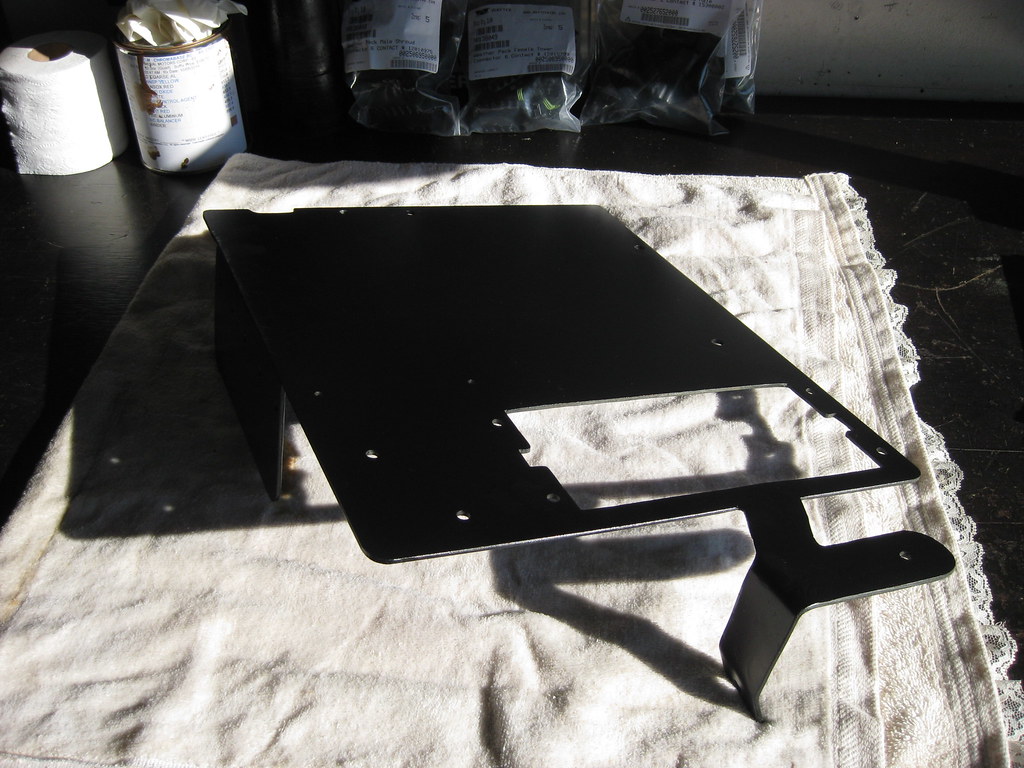
At long last I applied some paint to the fuse panel.
I did a final inspection of the wires and applied heat shrink to any naked wires.
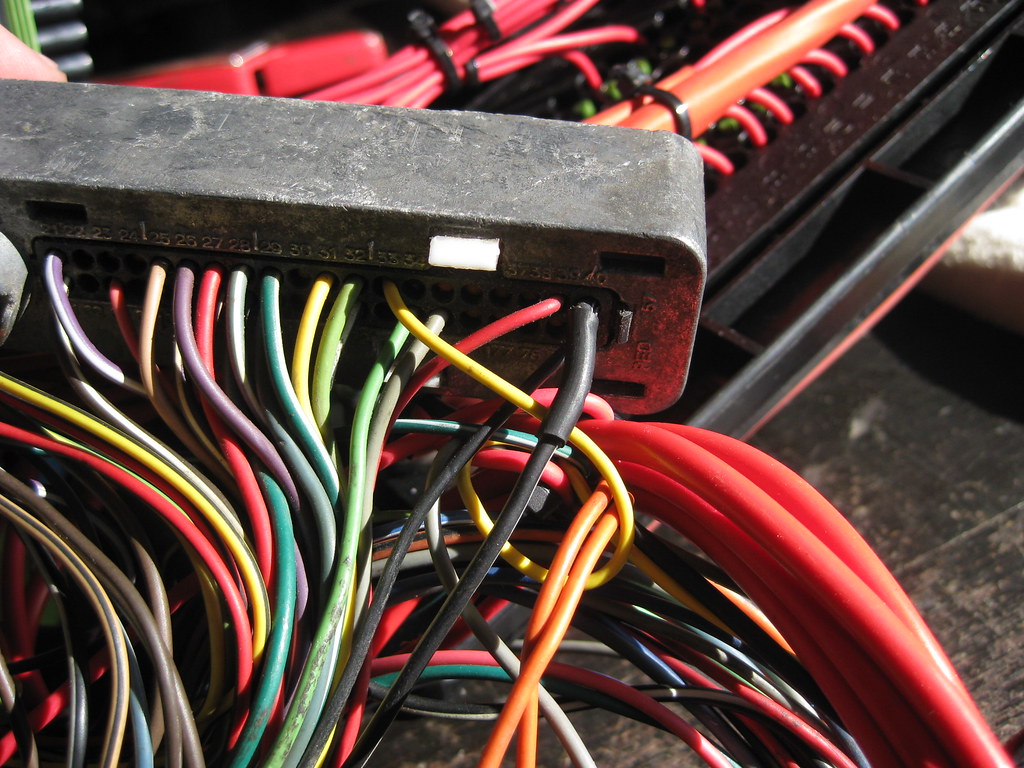
I installed the PCM connectors and realized I'd forgotten these plastic pieces. I've been working on these for so long I had forgotten they existed. I also installed the PCM gaskets that came with the new-to-me PCM. My old PCM was missing the gaskets.
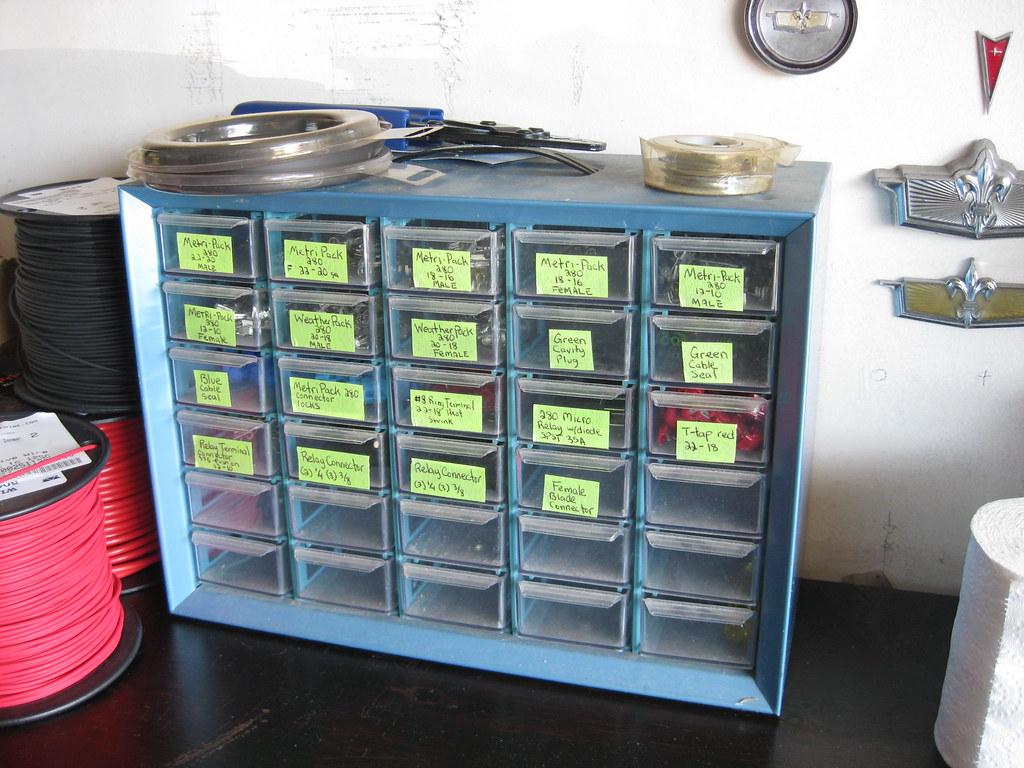
I finally did what I should have done from the beginning and put all of the harness supplies in pull-out drawers. This is way better than continually digging through tiny plastic bags.
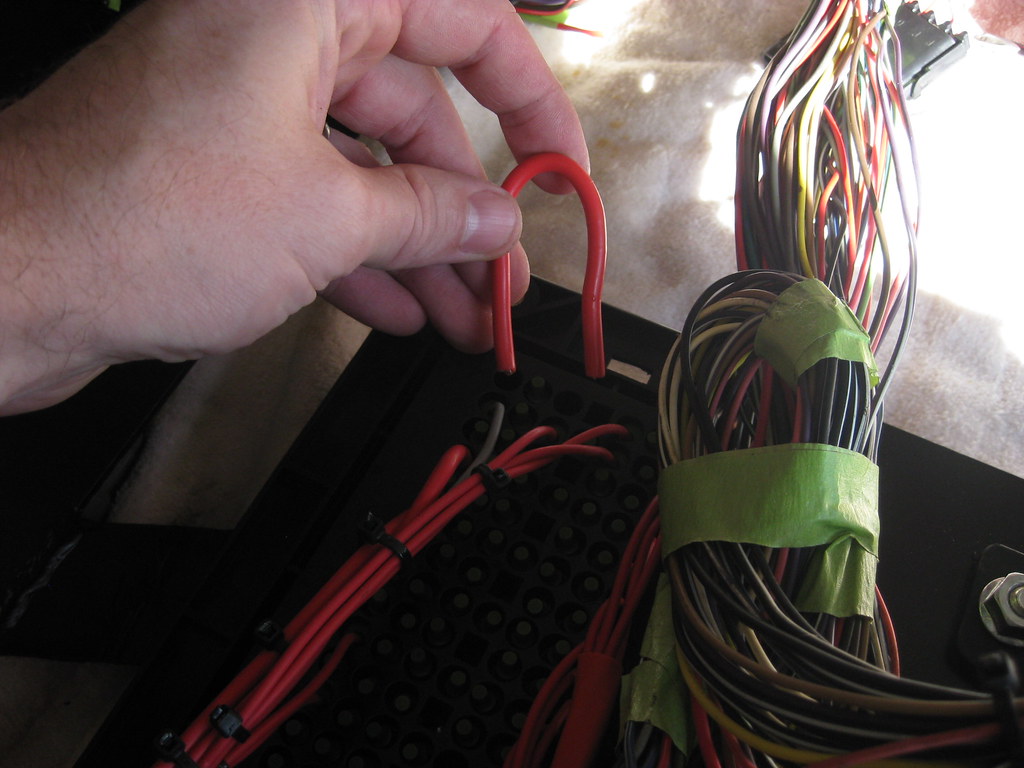
I noticed that there was an empty slot on the back of the fuse box. The wire that powers the AC relay was missing. I was confused because these connectors are not easy to remove even if you are trying and they cannot just fall out. As it turns out I had just cut the wire and stuck it in there and forgot to put connectors on the end. I found the wire on the floor and installed it properly. I also installed the cavity plugs.
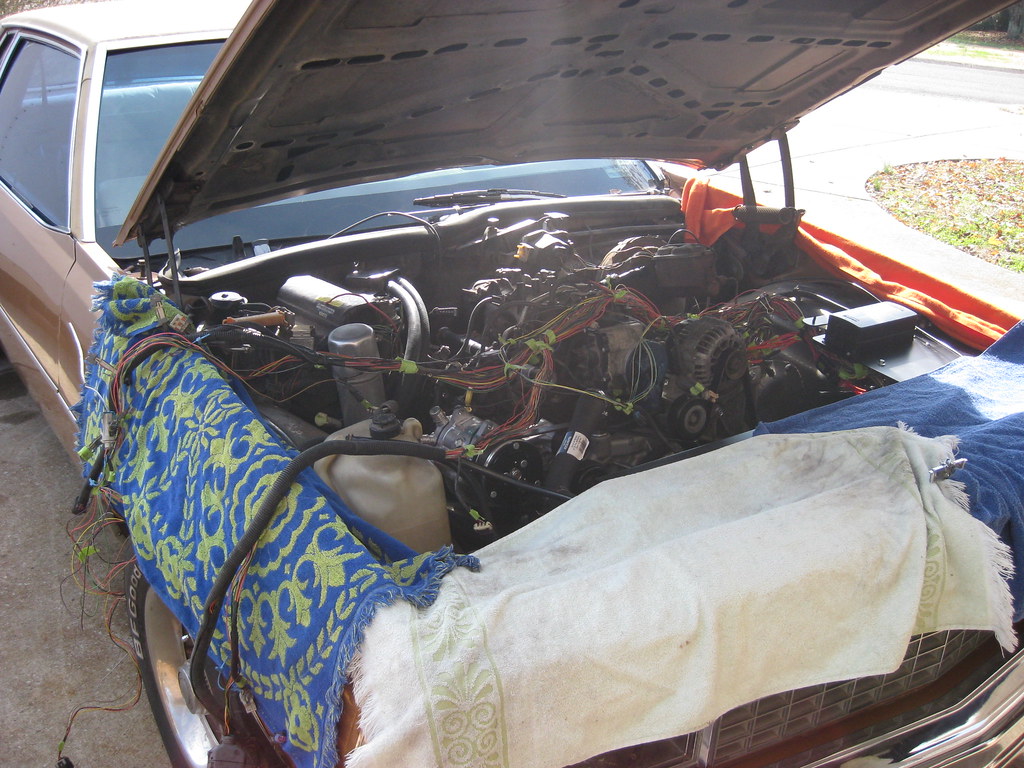
The assembly was finally ready for the first fitment in the car. This moment has been a long time coming.
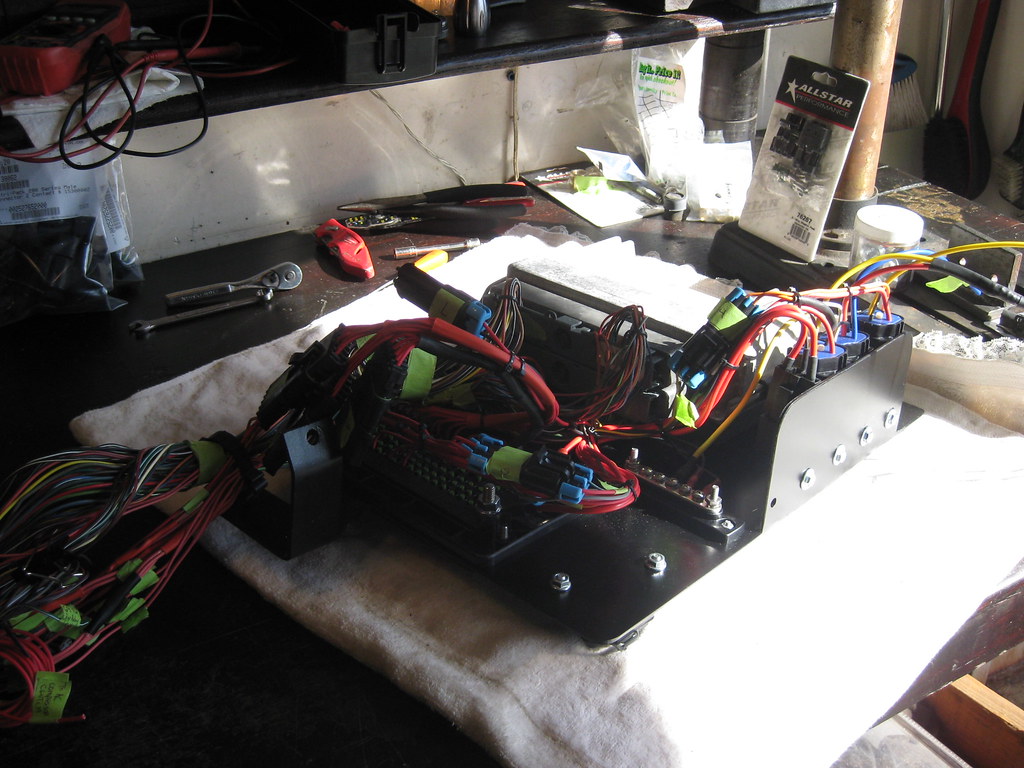
I suppose the best way to describe this process is the same as describing walking many miles. Just one step at a time. I bolted the fuse panel in and slowly began working my way down the harness.
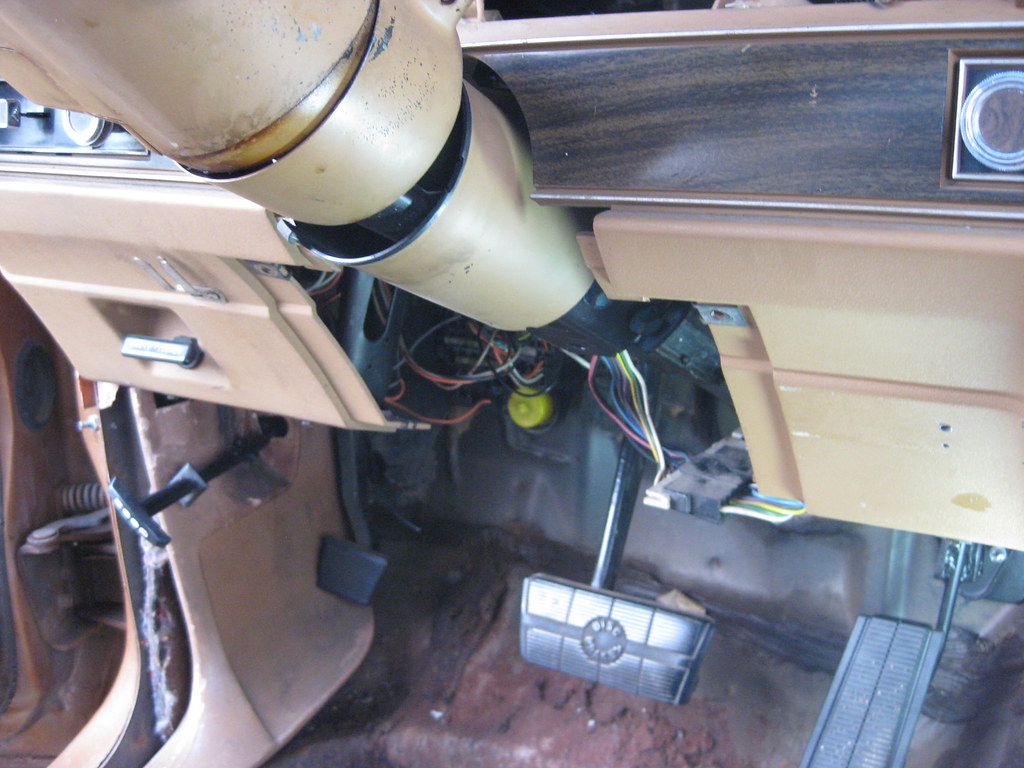
The electronic gas pedal requires a harness connector and a controller box. The controller box originally mounted under the hood but I don't have a good spot for it so I'm going to mount it under the dash. Regardless of that fact the connector would not fit through the hole in the firewall and I'd have to cut a monster hole to get it to fit. Rather than do that I opted to de-pin the connector and I will re-pin it once they're all through the firewall. I will also end up shortening these wires as there is just too much slack to contain and too little room under the dash.

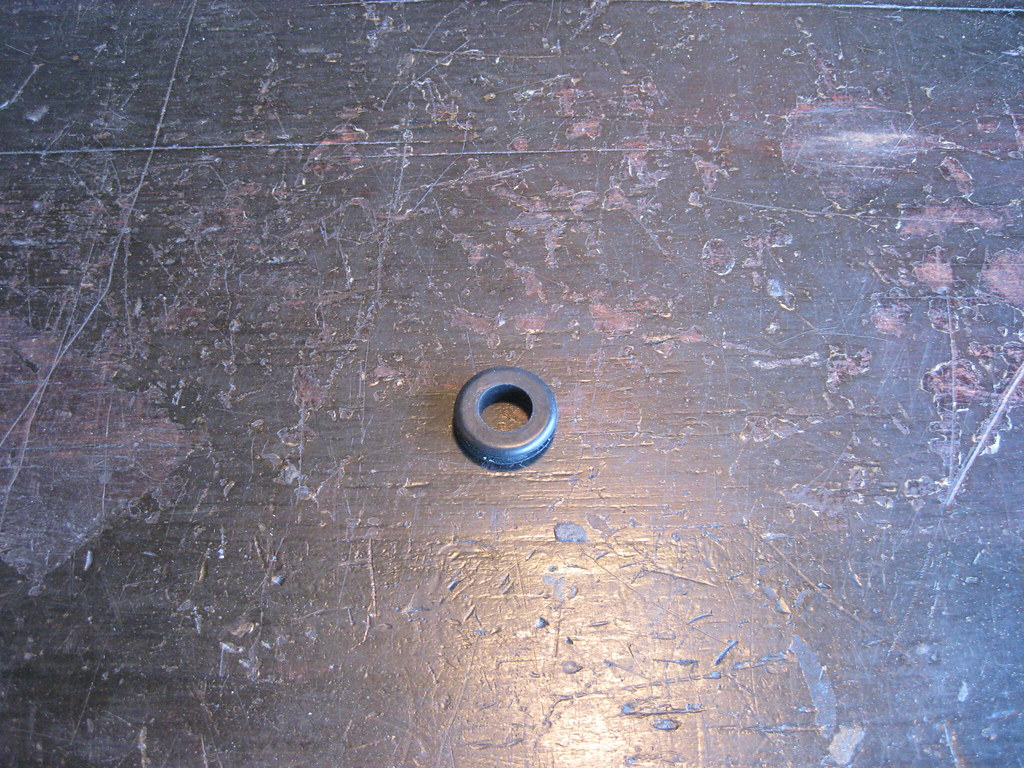
I cut the original firewall grommet off of the original throttle cable assembly, however the rubber was far too hard and brittle to work. Also, the interior diameter was too small for what I needed so I picked up a new grommet at the hardware store, which at this point should probably offer me a position on their trustee board.
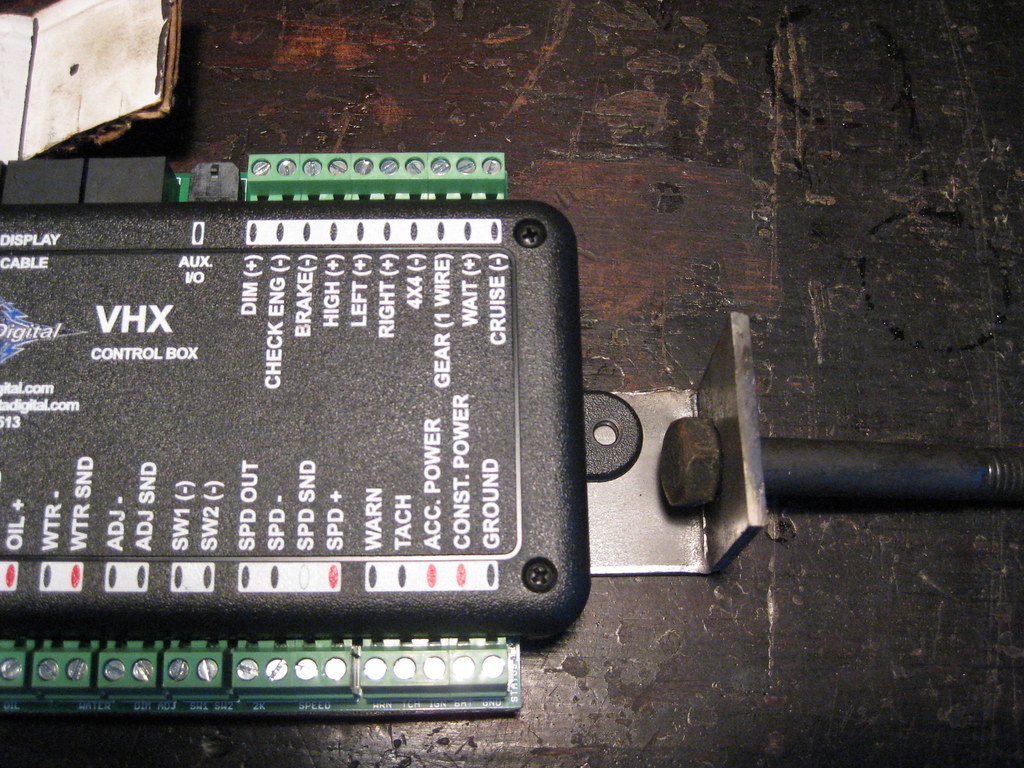
In order to get the Dakota Digital dash operational I'm going to need to mount a couple of pieces. There are a lot of items here and not a lot of real estate. The top left is the electronic pedal controller. The right is the controller for the digital dash and the bottom left if the BIM connector which will allow the Dakota Digital dash to plug into and get engine diagnostic and monitor information from the OBD II port. This will allow the dash to gather most of it's information for the engine displays from a single cable running to the OBD II port rather than running all the wires to the different sending units. If I understand this correctly it's going to save a lot of work and tidy up the wiring to a large extent.

In all the years I've worked under the dash of this car I've never removed this panel and the vent behind it to make more room. I'm not sure why because it was only four screws and pulling the vent hose off. It took about 3 minutes and made it way, way, way easier.
After looking at a lot of options with my head in the floorboard and my feet in the air I found this location that I believe will work great. I'll make a mount for the Dakota controller to mount up high. This will allow it to be near the entrance of the wires coming through the fire wall and will also allow it to be near the wires I'll have to pull from the original dash harness and install into the controller. I may not even have to extend some of the wires to fit. The pedal controller will mount lower, to an existing brace under the dash so all I will need to do to it is drill a couple holes.
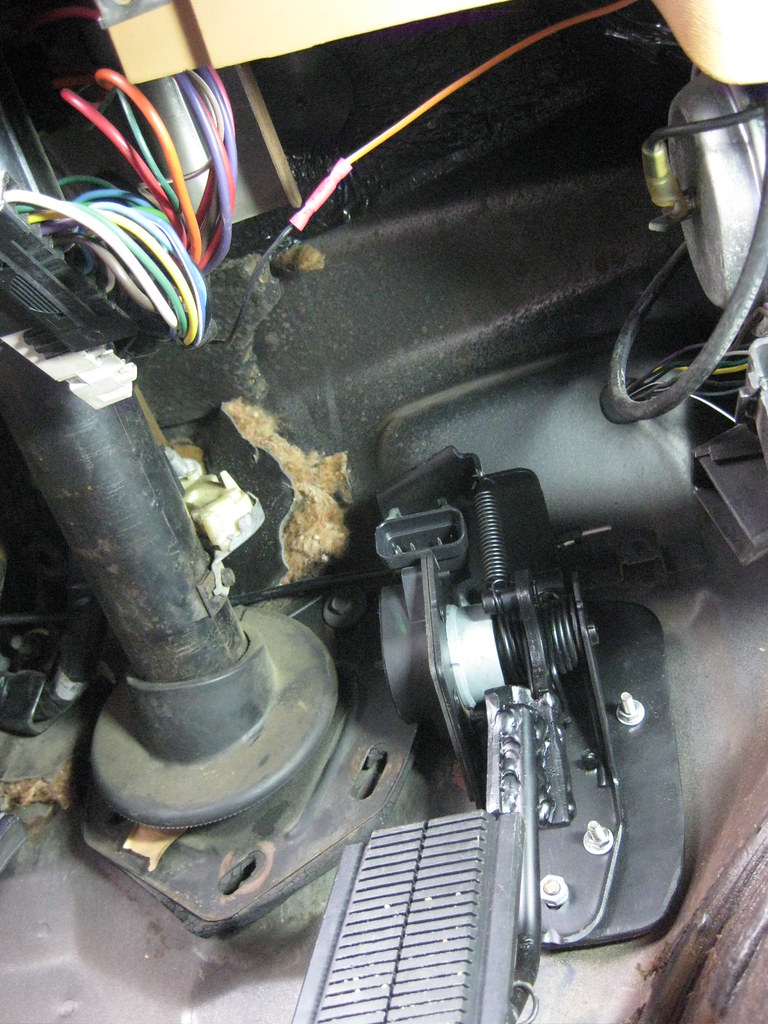
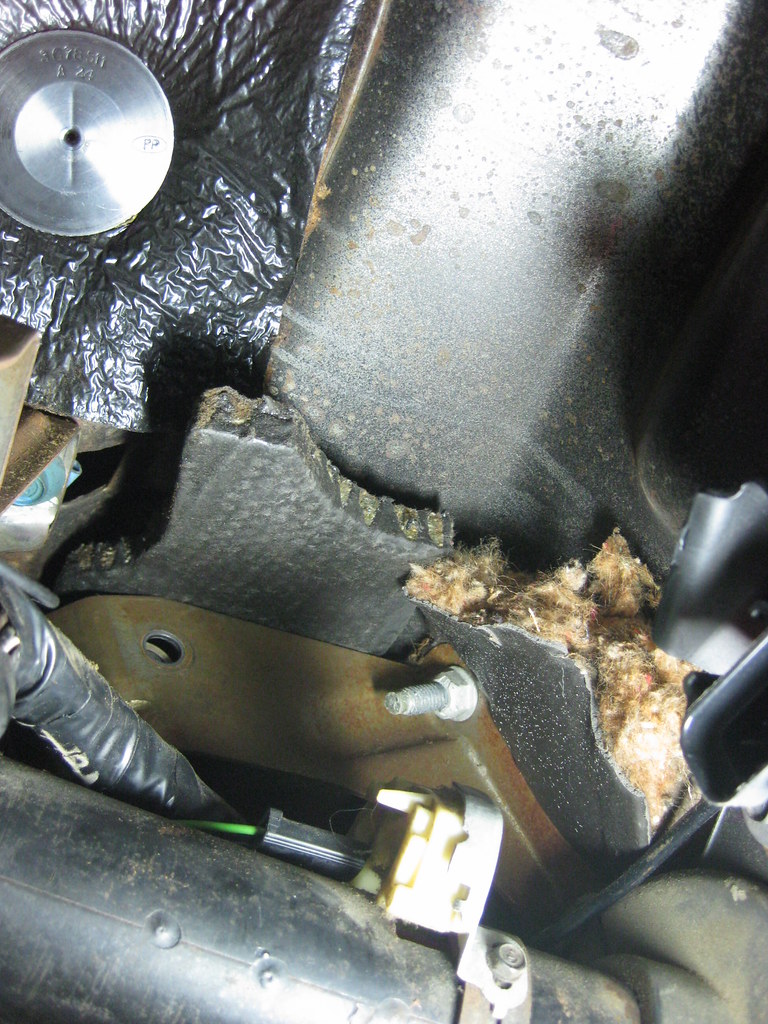
In the picture below the empty hole to the left is for the brake pedal arm. I will make and attach an L-shaped bracket and bolt it here for the dash controller. I was very surprised at how well these mounting locations worked out and I'm still somewhat afraid something is going to spoil the plan.
The 1/8" steel from the upper radiator mount continues to pay dividends. I'll use it to make a simple but sturdy mount for the dash controller.
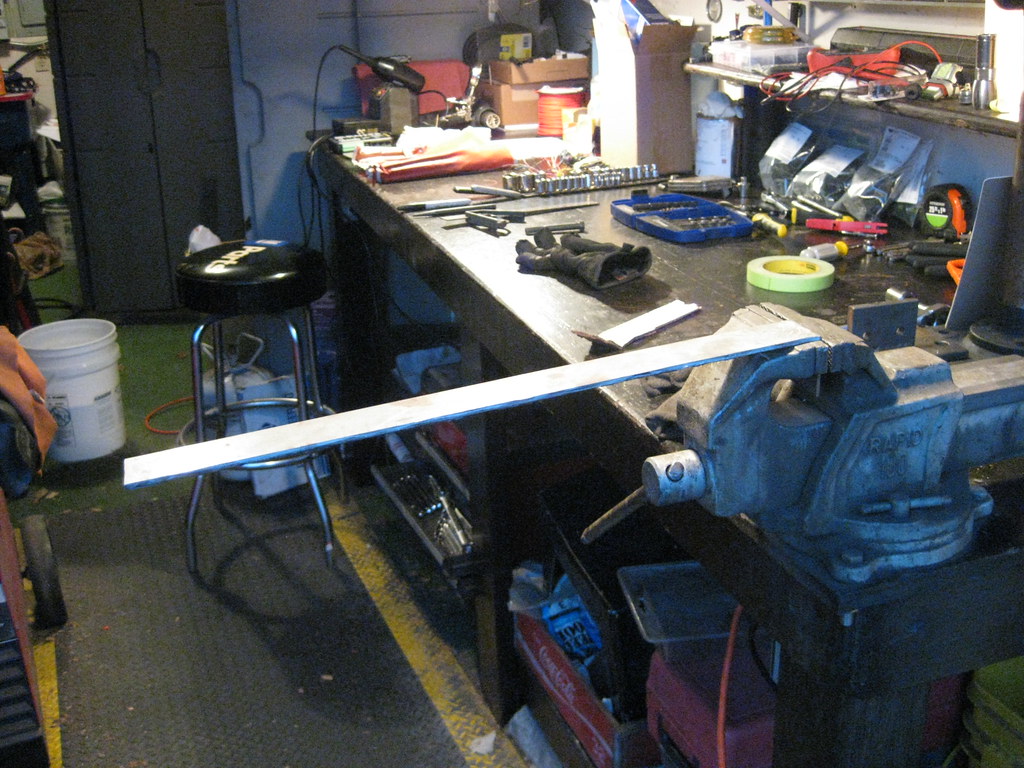
I was really using my noodle this night for some reason. I remembered to drill the hole for the mounting bolt before I bent the metal and then I remembered to pull the controller back away from the bolt so I will have room to tighten the screw when installing it.