The Clam originally came with the factory auto leveling air shock system. I'm not sure about the condition of the pump but I do know the air lines were in a great state is disrepair. Because the old air shocks had no air and no doubt needed replacing and because we will do some towing with The Clam I installed air shocks. It was a cold Saturday when I put them on and fortunately for me dad happened to call to see if I needed help, which it turns out I did.
Most shocks I have dealt with go through the body and mount inside the cabin somewhere. These shocks don't go through the body, but they do go through the frame. This is good for heavy load bearing, but bad for access to the bolts. The top bolts for the airshocks were between the body and the frame. In this picture, that would be the flat spot on the ride side of the picture. This was the driver side. The passenger side had even less space. I don't think I could have managed to get the bolts slid through and started by myself. Fortunately dad was able to hold his fingers between the body and frame and get the nuts started while I worked the new shocks in from below. We both agreed that this was the hardest set of shocks to install we've ever had to deal with.
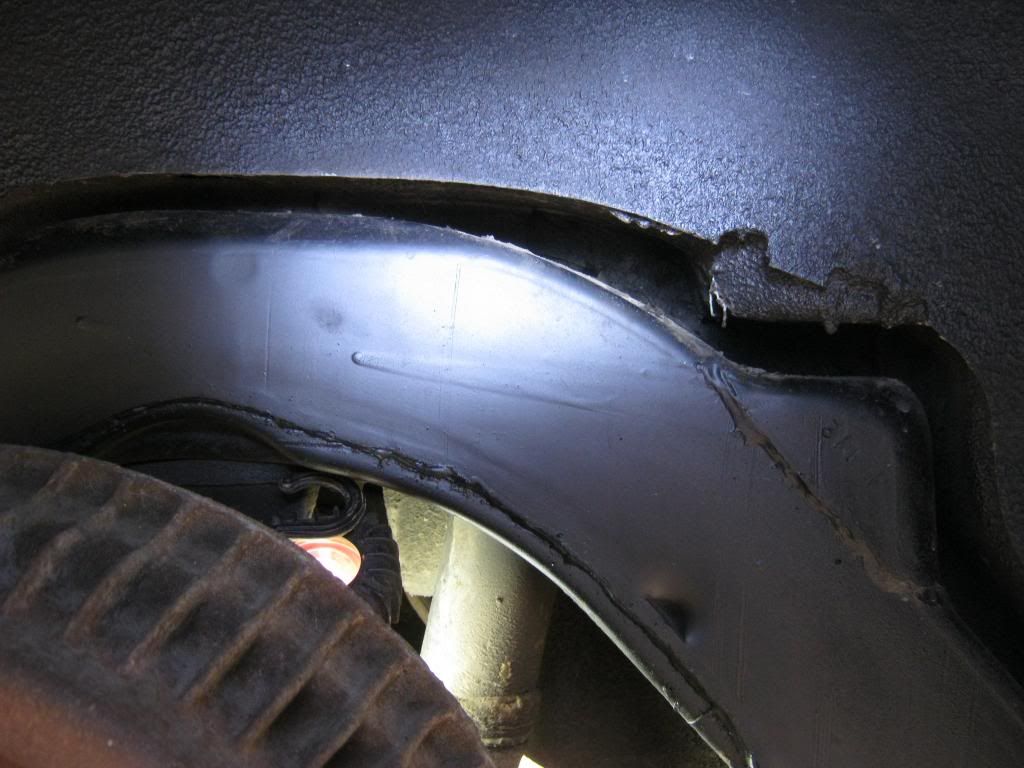
The new shocks were much bigger around than these old shocks. It made it difficult to get them bolted into place. This shows the original shock going up into the body and where they mounted on the frame perch.

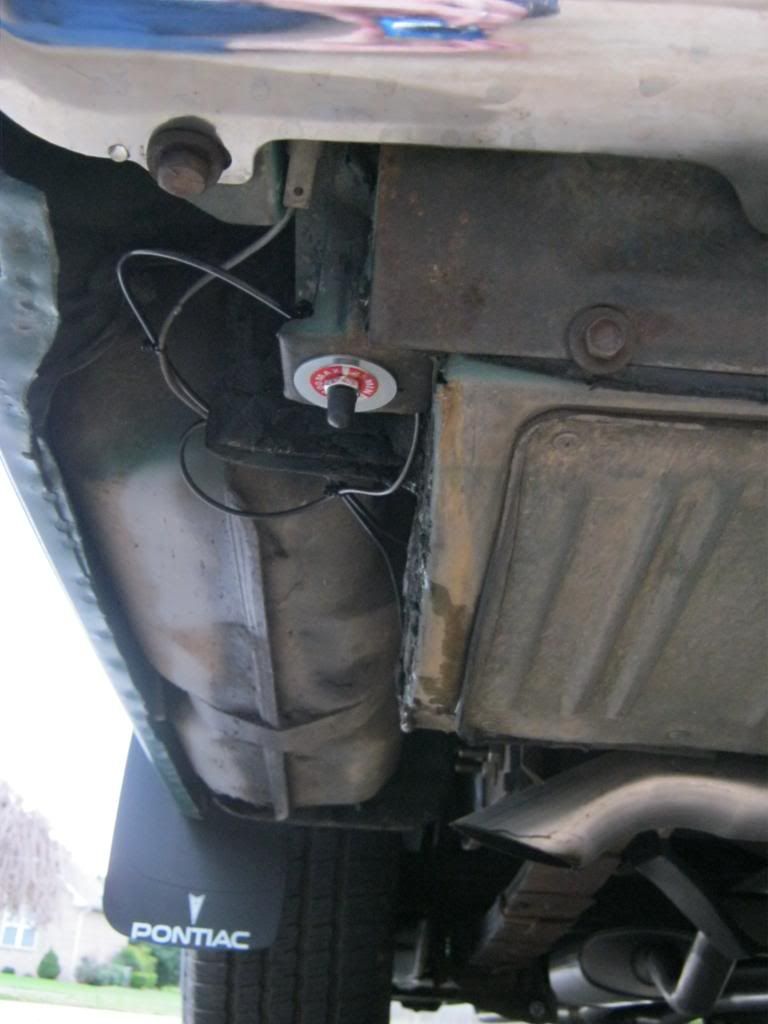
Then we ran the lines for the air shocks. Typically, this would be run inside the trunk or would be mounted behind a bumper somewhere but because of the unique design of the clamshell tailgate there is no access behind the rear bumper. Though these lines appear to be run haphazardly, they are actually tidy and organized. It is necessary to have large bends in the plastic lines to prevent crimping, which would of course cut off air flow. With 45-50 pounds of air in the shocks the rear of The Clam sits up where it should, or perhaps even a little bit high, but it keeps the bottom from dragging the ground when we go over bumps or hills in parking lots and driveways.
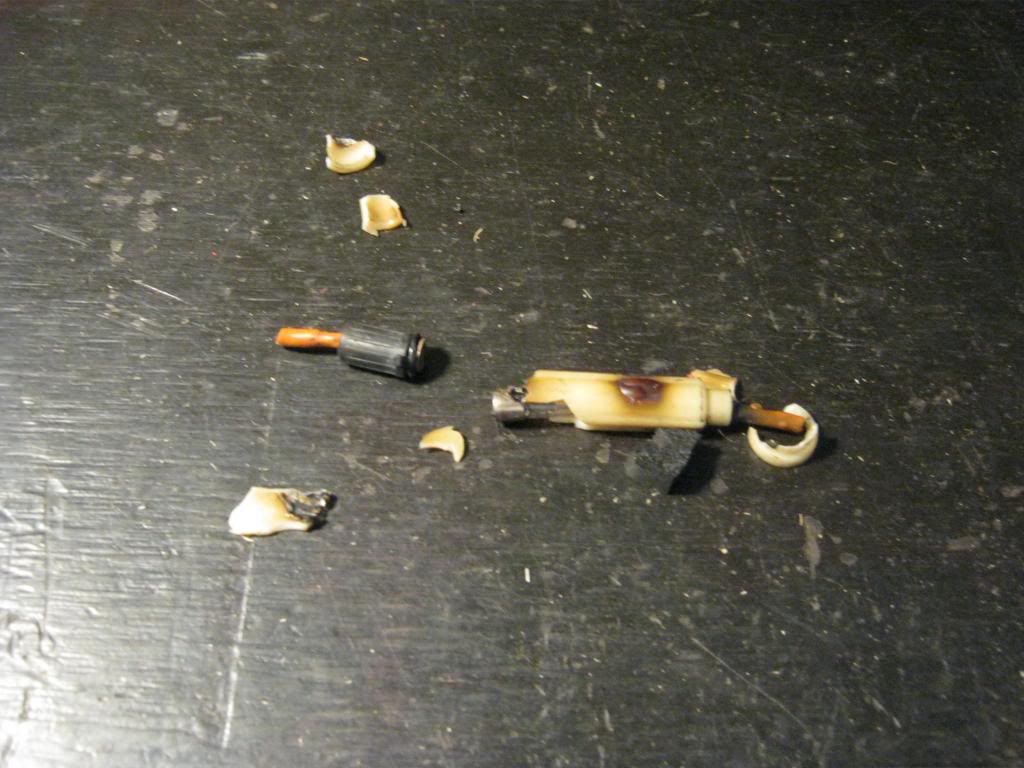
On the way back from church one Sunday the blower motor quit working. The fact that high blow plus the lower three speeds quit was a clue that I was probably dealing with a fuse or the motor itself. I found this inline fuse, right behind the alternator, had completely melted. I believe the old wire and plastic was not up to the task of performing any more. I couldn't even get the glass fuse apart and had to brake the plastic apart to see what was going on inside. I replaced it with a new inline fuse holder and fuse and it fixed the problem.
For sealing the rear tailgate each side is a little different so I have started on the passenger side. Each day I will design and cut a new piece, glue it in place and let it sit until the next day and go from there. It doesn't look pretty right now but my first goal will be to get a setup that is functional, then I can work on making it look better. Here is the top of the passenger side tailgate so far.

And here's the piece on the body for now.
