It feels like it has been weeks since I have been able to work on The Clam. I was pretty exited about getting to the point that I thought I could make some headway and then Christmas came and progress ground to an immediate halt. Between Christmas and New Years I caught the flu that has been going around. It has been very widespread this year. My doctor couldn't fit me in for two days and some clinics had two hour waiting periods. Because April is pregnant and it can be hazardous to the baby for a pregnant woman to catch the flu April moved over to my parent's house for a week. I ended up staying on the couch through new years. After I spent two entire days washing all clothing and linens I had come in contact with and disinfecting the entire house she moved back in.
The night before April's family came down for Christmas the television went out. Actually, it separated into the three primary colors. This is called convergence. Fortunately we still have a large television in the other room that my grandmother left here so during my sickly days on the couch I stayed there. When I was finally well enough to move around but not yet well enough to do any work I used the time to fix the television. Just having a repairman come out to look at the television can cost $150-200, which is probably more than this set is worth. That seemed pretty ridiculous to me so I thought I might as well have a go at it myself.
We bought this television used from a friend. It's an RCA and according to the research I found on the internet this particular model had problems that the factory never issued a recall for. In the rear there is a high voltage capacitor called the flyback. The flyback has around 12 solder points. RCA used non-lead based solder which over time becomes porous and cracks, causing bad contacts and a particular fuse or set of fuses to blow.
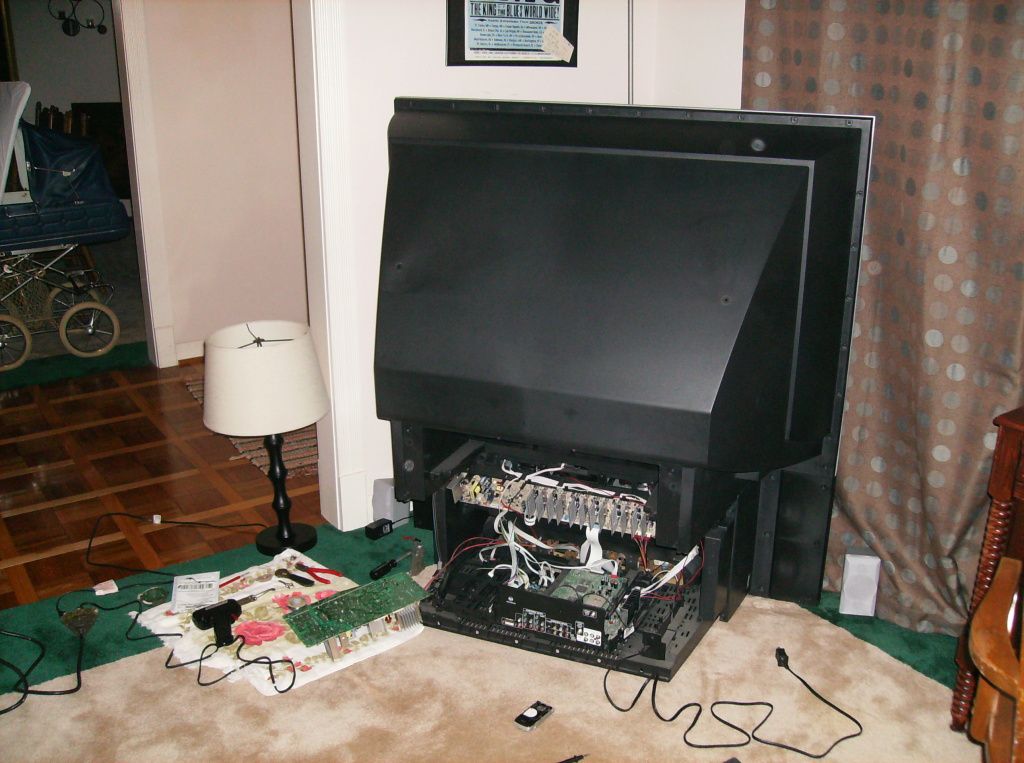
I took everything apart, went and borrowed dad's solder gun and found a few different explanations on how to fix the problem. I'm not sure why I haven't bought my own solder gun as much as I use this one. They don't seem to make new ones as good as this old one, though. The large plastic backing piece has twenty torque head screws holding it on. I'm not sure what the reason for the excessive mounting points was. If you look in the background to the left of this picture you can also see the pram I found on Craigslist.org. We went and picked it up the day I started to get sick because the owners were moving to Louisville and were actually on their way as we me them. We got a really great deal on it and it also came with a stroller assembly which is interchangeable with the baby carriage portion. It was our Christmas present to us. We paid $40 for the entire setup. I have yet to find another used setup for under $150, and that does not include any other attachments. New, these go for as much as $1,200.00.

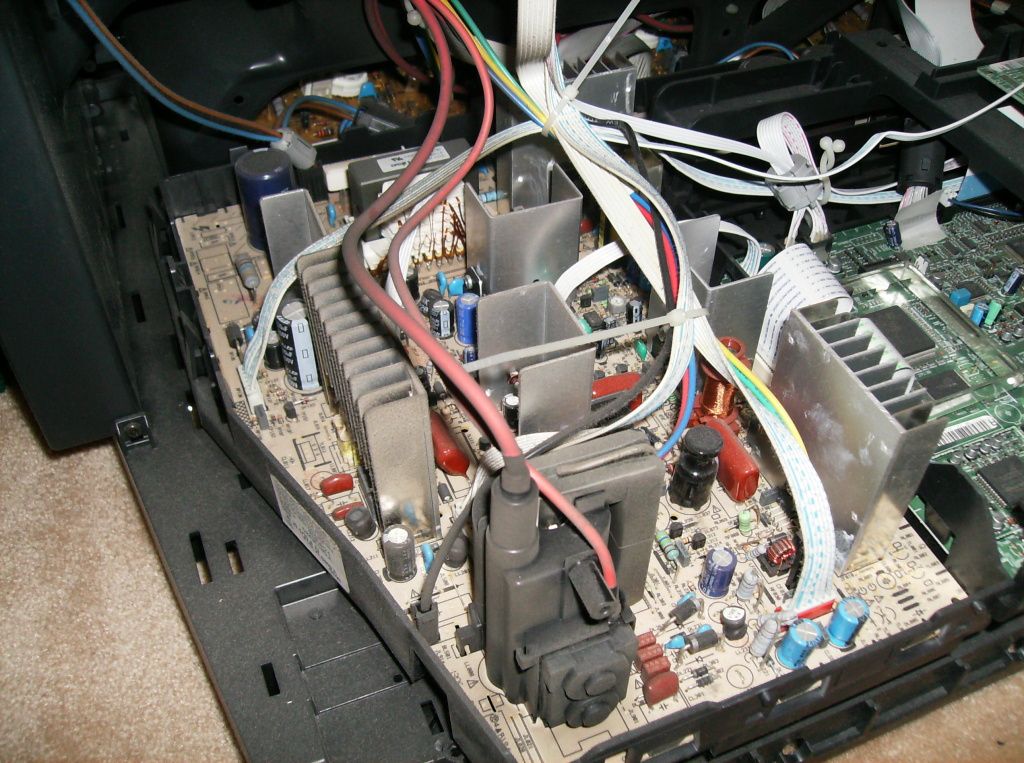
The large black piece at the bottom left with the two red wires going to it is the flyback. I didn't realize until after I started this project that the high voltage capacitors in a television can be lethal, even if the television is unplugged, even if it has been unplugged for more than 24 hours. Because of this I did not disconnect or otherwise fool with the flyback. It made working with the circuit board much more difficult, but less difficult than coming back to life if I were to electrocute myself. There is a way to discharge the flyback, but with as little as I know about electricity I wasn't confident to test my abilities to figure this one out on my own. I already felt bad and going to the hospital sounded like a horrible ordeal.

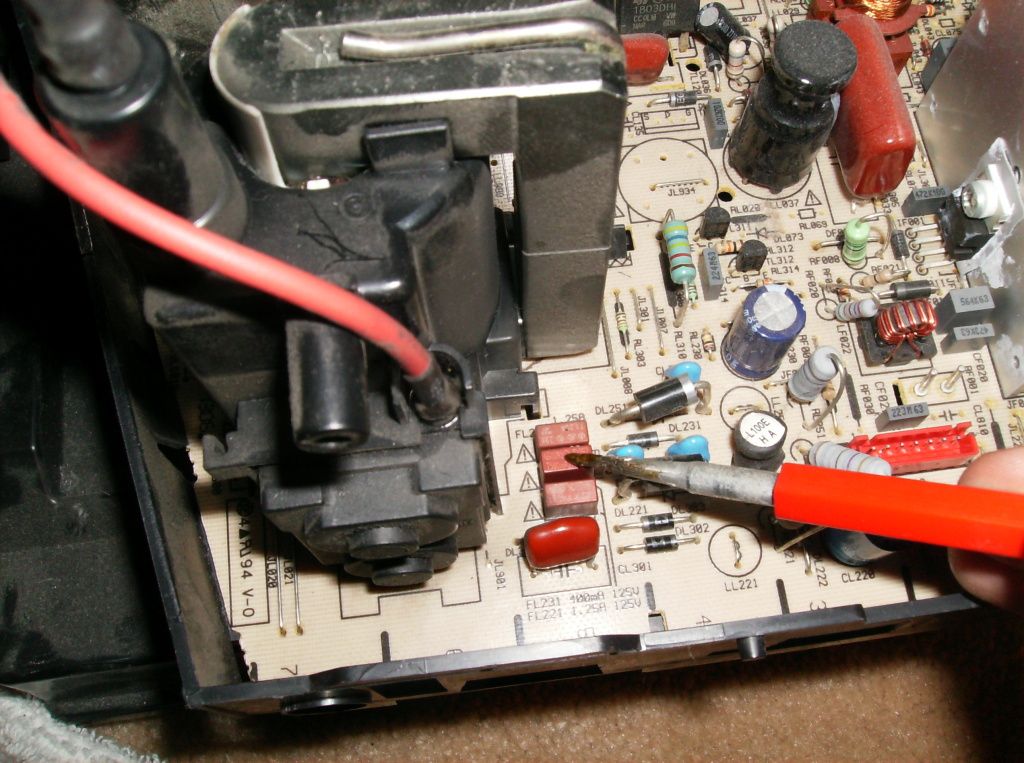
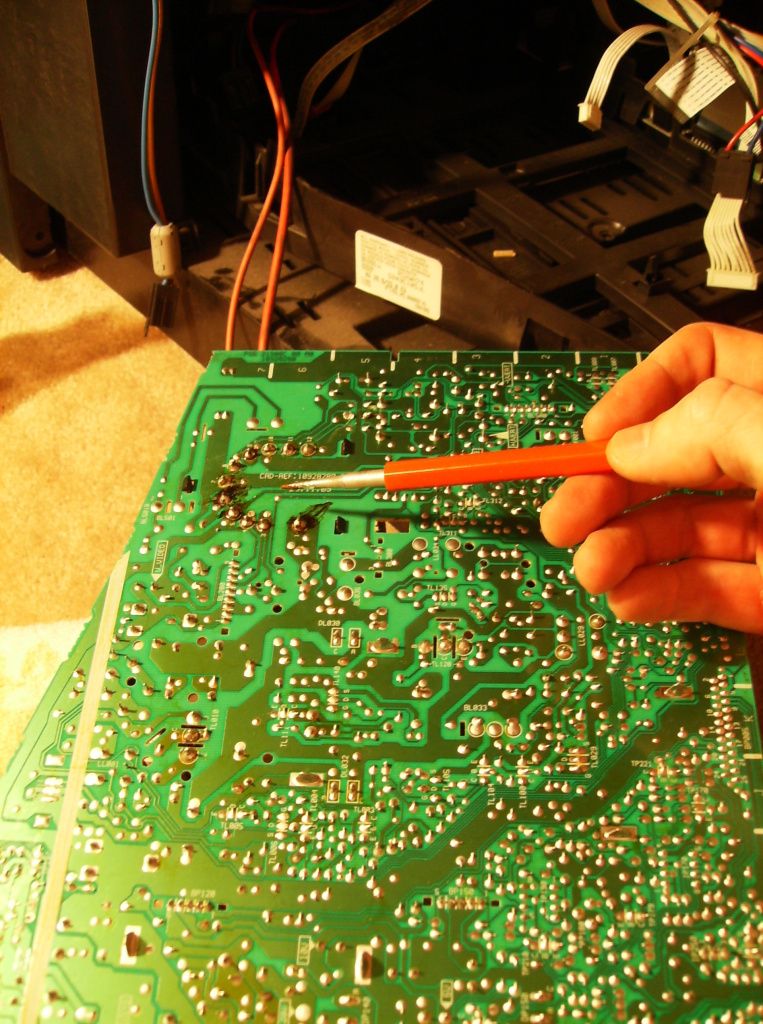
According to the information I found any or all of the three fuses I'm pointing to here are where the problem lies. The flyback causes them to blow. Using a multimeter I found that only the middle fuse had blown. I ordered a new one from the internet for $5.00 including shipping. I found that simply replacing the fuse will only solve the problem temporarily. Since the aged solder is what caused the problem it wouldn't be long until the fuse blew again. The only fix is removing the old solder and replacing it with lead solder.

The large "C" shaped section of solders is the flyback. It is necessary to remove the solder from each one and resolder them with lead based solder. I had to do some research to understand how to do this. There are two processes. One is a small, cheap gun. The idea is you pull a handle on the back which loads the gun with a pressure. Once you liquify the solder you hold the gun up and push a button and it sucks all the liquid solder up. The other way is to use what is called Solder Wick. This is a small ribbon of copper wire mesh that is held against liquid solder. Because of the capillary design of the copper wire it draws the solder into it. This is a slower, messier process, but it does work. I went all over town trying to find some solder wick. No one had any idea what I was talking about. I finally stopped at a small shop that I had been told possibly worked on radio equipment. I found they also work on antique cars. The guy there didn't have any to sell but he did give me a part of a small roll he had. I was very thankful for this. It didn't require much to fix what I needed so I plan to return the remainder to him. Once I got home I was pretty worn out but I was anxious to see if the fix was going to work so I went ahead and started removing the old solder.

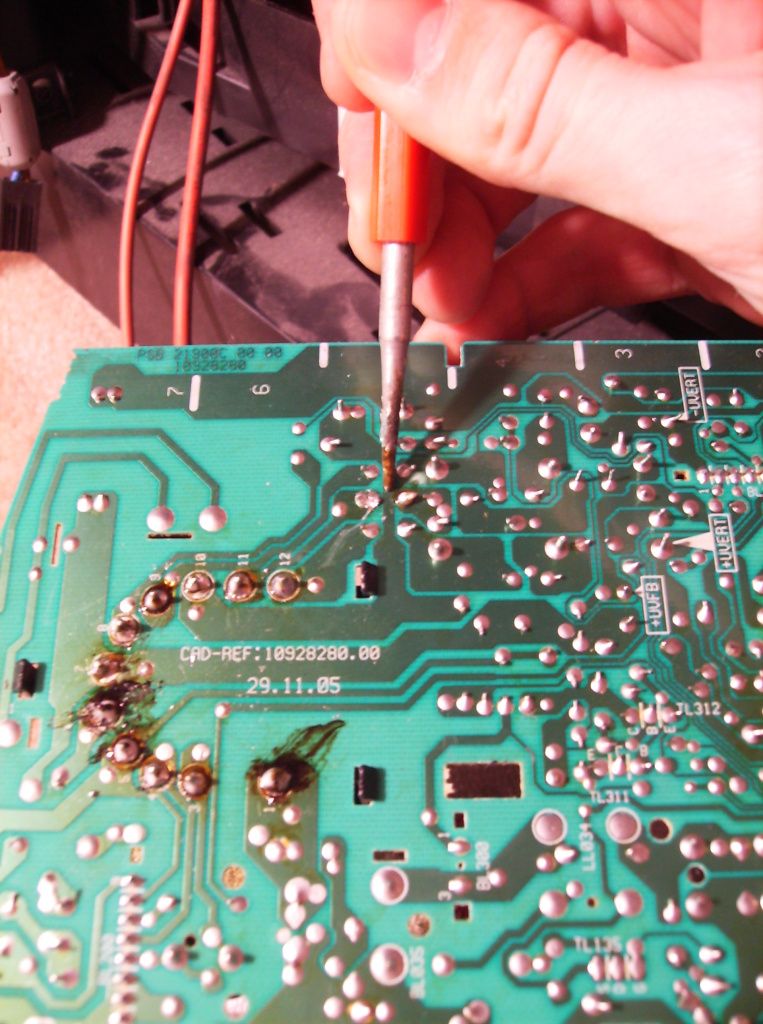
Here I am pointing to the back view of the fuse I showed earlier. This had to be unsoldered, removed and the new fuse soldered back in place.

It only took about an hour or so to resolder the necessary pins. The worst part was getting easy access to the panel with the flyback still connected. Getting the large soldering iron tip to the board without disturbing any other pieces while holding the solder wick and the solder needle was a bit of a challenge. I got a couple of nice souvenir burns. I had taken sveral pictures before dissassembly of where all the wires plugged in so I replaced them all and plugged the television in. To my dismay the television power light would come on and I could hear the television try to power up, but it would instantly cut off. It would do this three times and then would no longer respond to any inputs until it was unplugged and left for a while. I got online and found this was systematic of a television not getting appropriate power. I traced some ribbon wires and found two loose connections. After tightening them everything worked perfectly. I was very, very glad because a new flatscreen television, though nice, is also very expensive. With the internet's help this was a very simple job. Other people had already done all the homework and had documented what steps needed to be done so all I had to do was fix the places they said.
Hopefully by next week I can get back to work on The Clam, so I can then get back to work on The '37.