Definitely need to wear a mask to keep the surface rust and various other particles our of your lungs
After I finished painting and removing all the masking paper and tape I was finally able to install the front rocker panel molding brace. If you remember way, way back when I cut out and replaced the lower panel on the passenger side I cut the panel in the shape of a capital "T" so I could keep the original holes and maintain the exact placement of this piece. I ended up not sanding down the rocker trim because they are aluminum and it would have involved sanding them with sandpaper of varying degrees of coarseness, polishing them and then covering them with a clear coat. I wasn't confident that the clear coat would stay on and could possibly chip off with rocks so I used a polishing ball on the end of a drill and spent a long time getting them back into shape. They aren't perfect, but they're better than good enough.
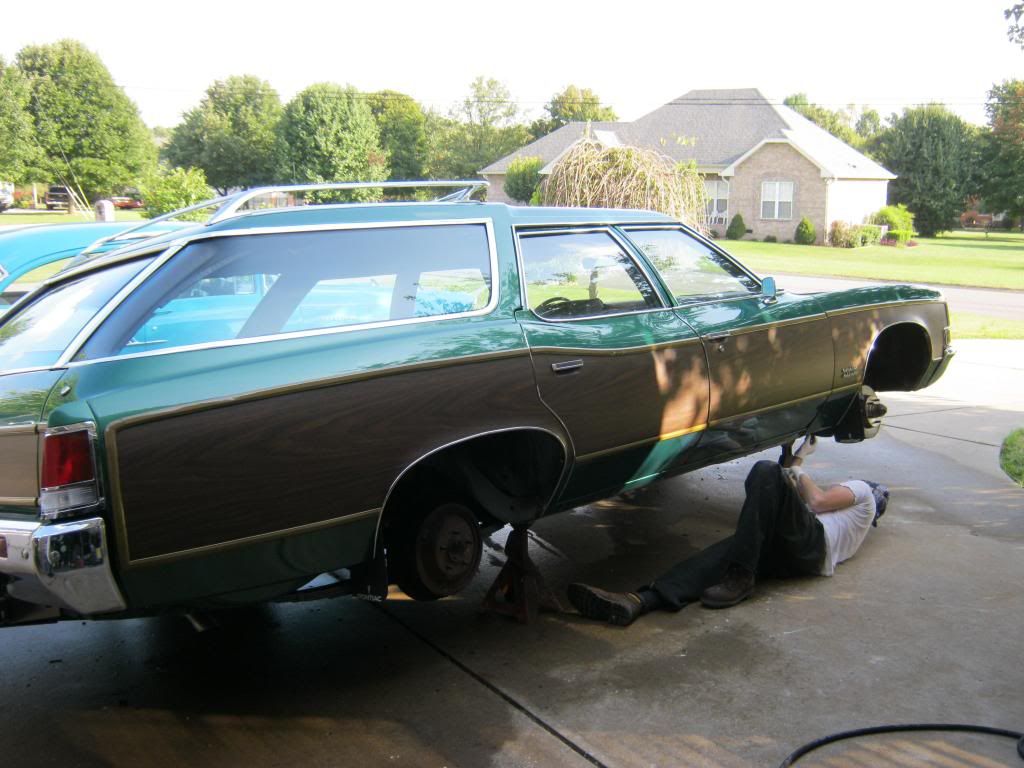
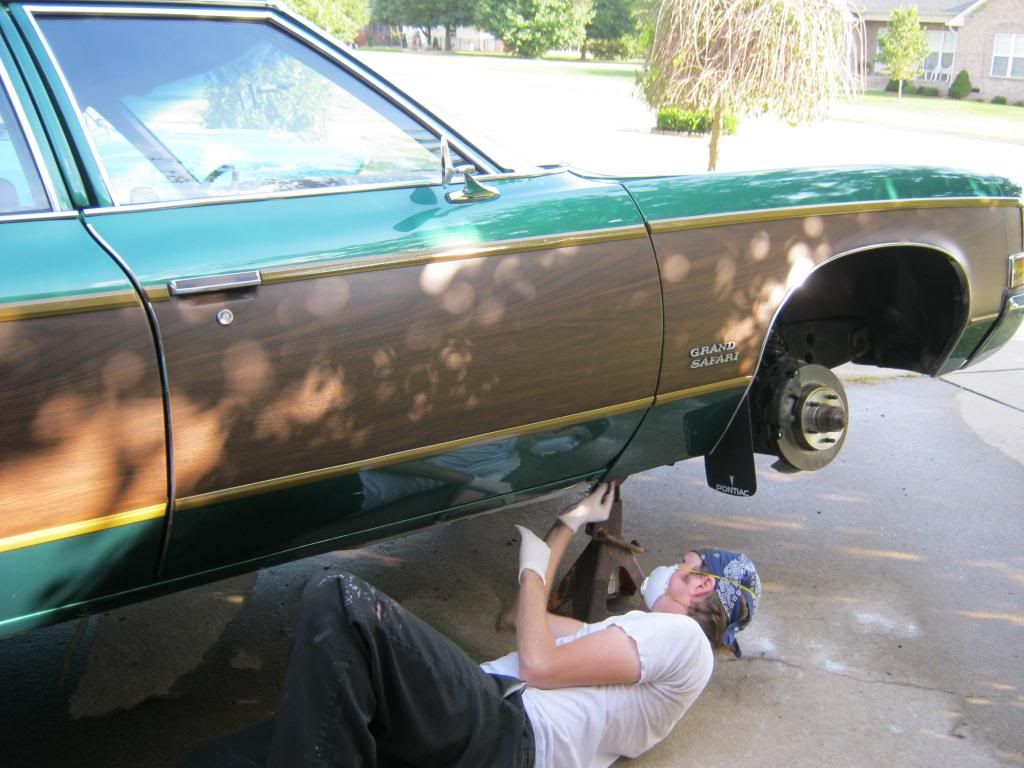
I needed to find and set the pinion angle on the rear end. The new transmission caused the need for a longer driveshaft and the difference in size between the new 700r4 and the old TH400 meant that I had to modify the crossmember to allow the trans to sit lower. My friend let me borrow this angle finder.
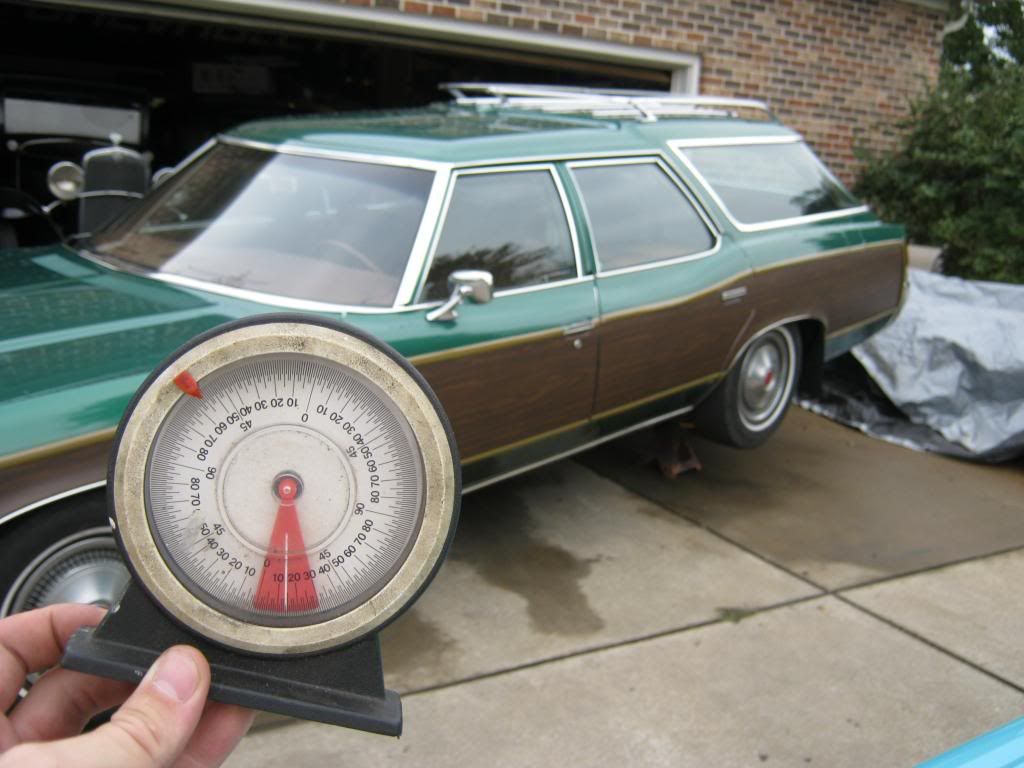
It is not necessary for the car to be level. What is necessary is that all the angles are relative to one another and that the jackstands are under the rear axle to mimic how far up the axle would sit against the body if the car were on the ground.
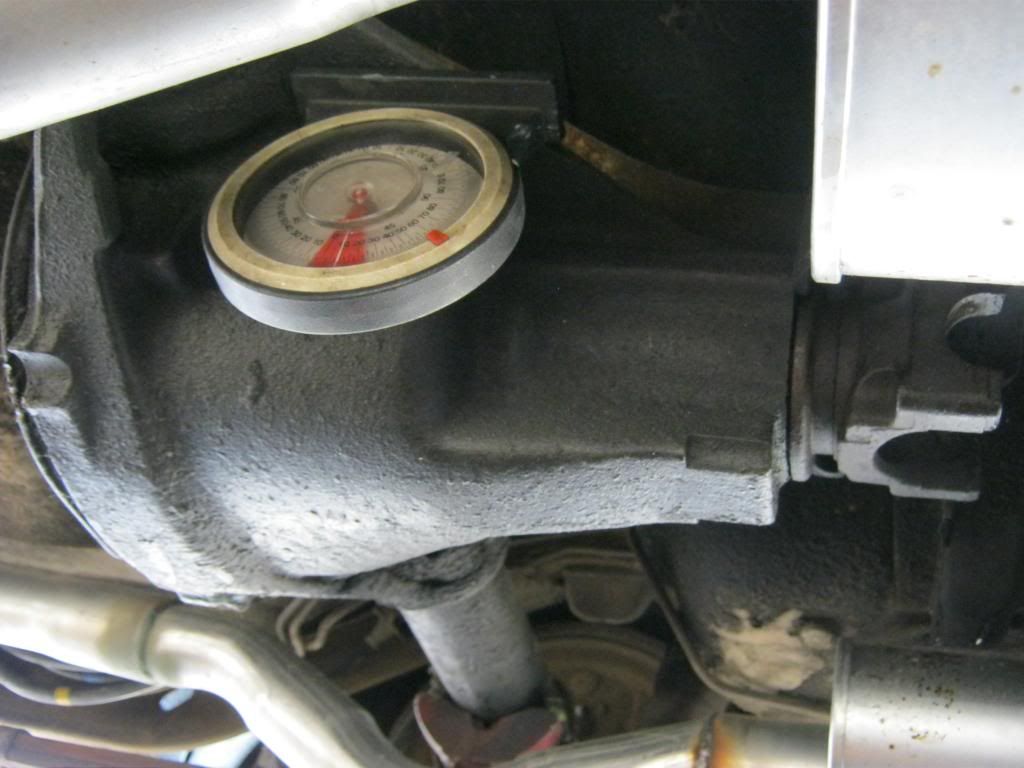
First I got a measurement from the driveshaft.

Then I took the driveshaft out and got a measurement from the yoke.
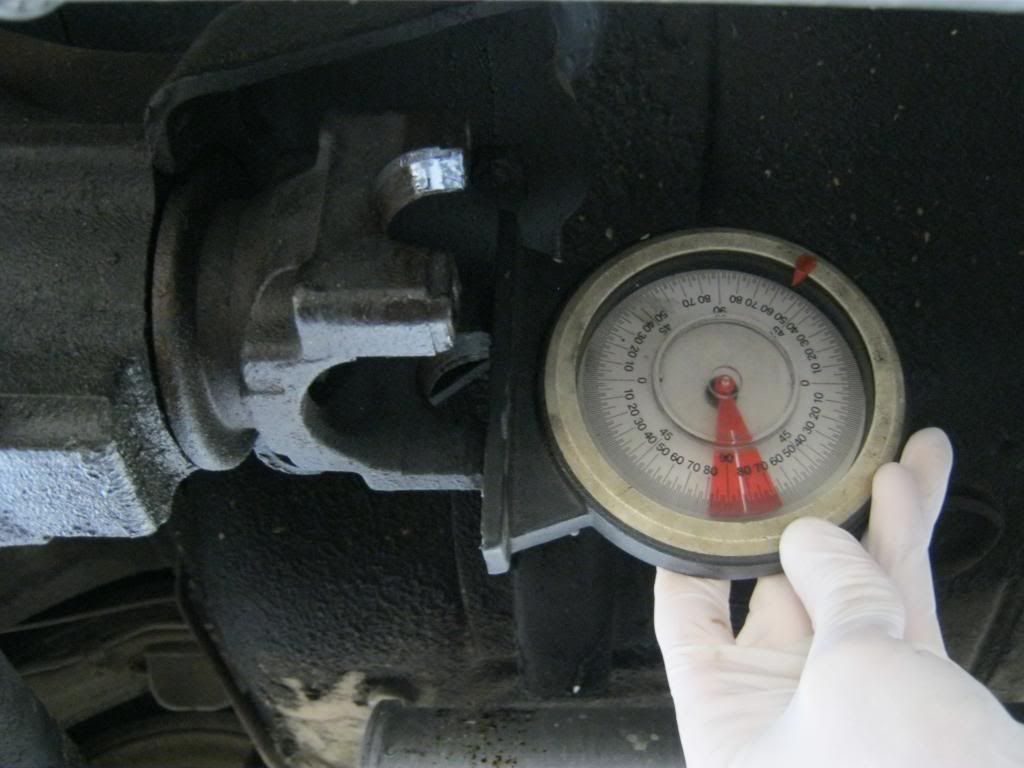
I tried several different areas on the differential and they all gave different measurements. This was confusing because this is not supposed to be the case so I ended up using the measurement from the yoke because that is supposed to be the most accurate measurement. Though I don't have a picture I then crawled under the transmission and got a measurement from the pan. As it turns out the yoke and transmission are exactly the same angle (positive and negative 3 degrees relative to one another). This means the transmission is pointing down to the same degree that the pinion is pointing up. This is ideal in theory, but in real life you want a bit of negative angle on the differential to compensate for how much the leaf springs allow the pinion to rotate upwards under the forces of acceleration. Other suspension types such as ladder bars require less and a four-link suspension requires an even lesser amount of compensatory negative degrees of angle. My friend is going to let me borrow some 1 degree shims to insert between the leaf springs and the rear end before I buy them. This is the appropriate way to change pinion angle. We'll begin with the one degree and move to a two degree if necessary.
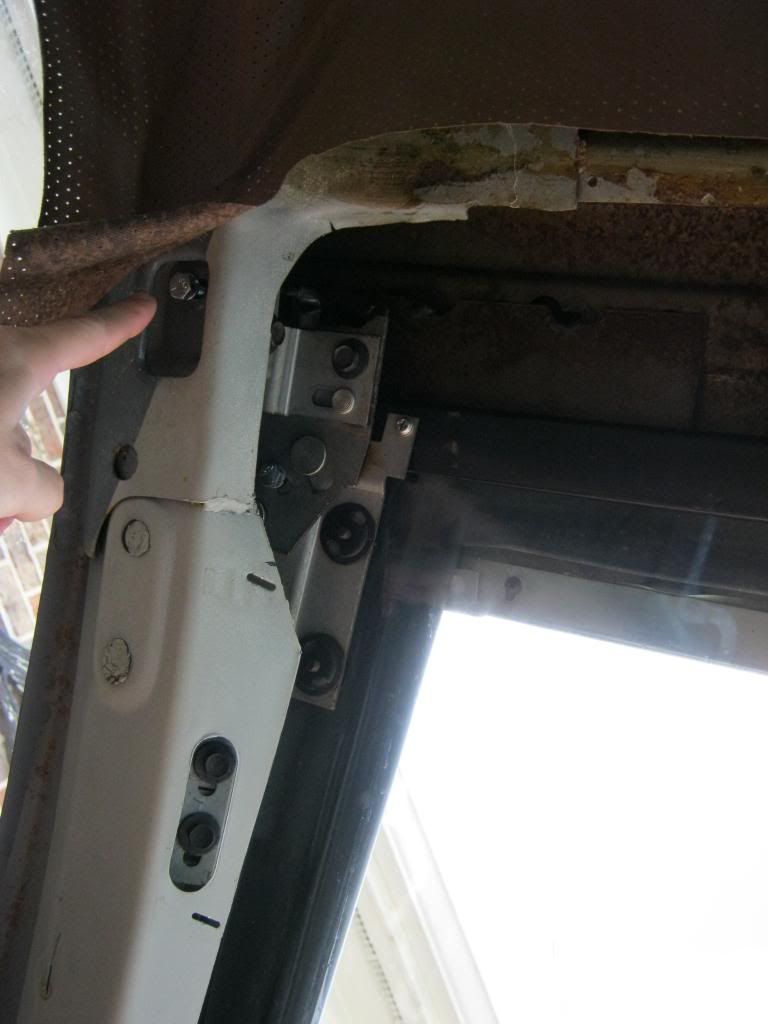
I continued working on the rear tailgate and window seals and found that the window still had too much play in it to align correctly with the rubberstripping on the tailgate. I found the reason to be yet another bolt missing from the adjustments for the window alignment. This missing bolt was hiding under the headliner material.
The switch on the dash that operates the rear window works fine but the switch for the tailgate did not operate at all. I begrudgingly pulled all of the parts necessary to access the panel. First I used a jumper wire to determine if it was the switch that was bad. The jumper wire yielded no results so I knew if the switch was possibly bad, I also had other issues.
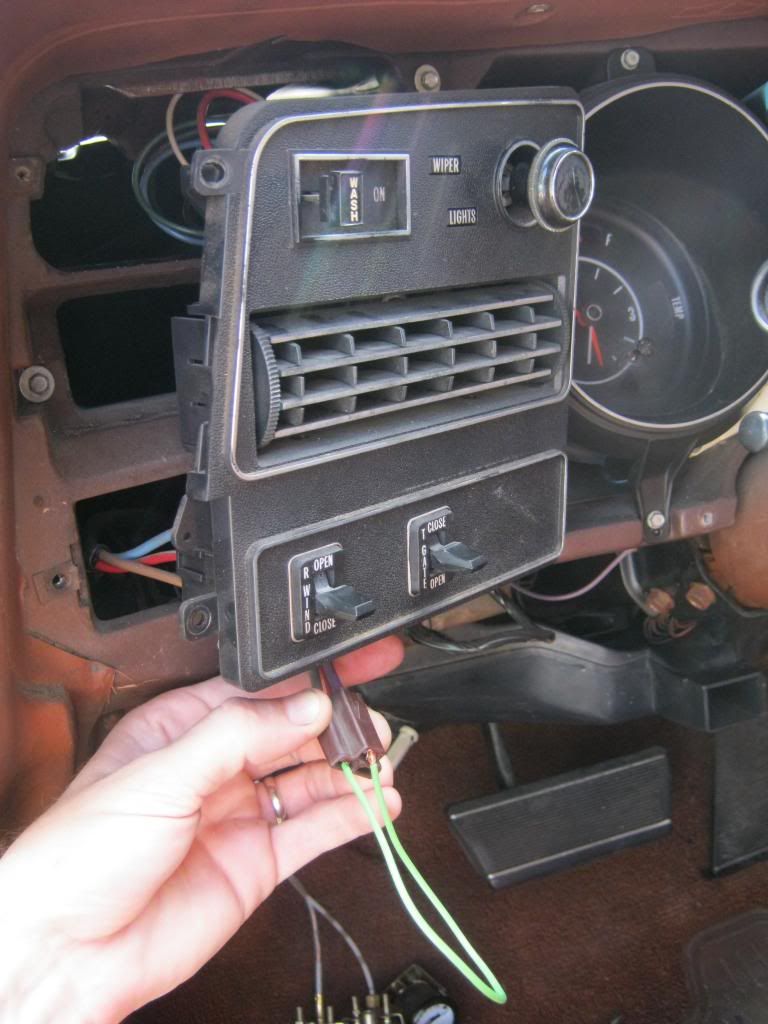
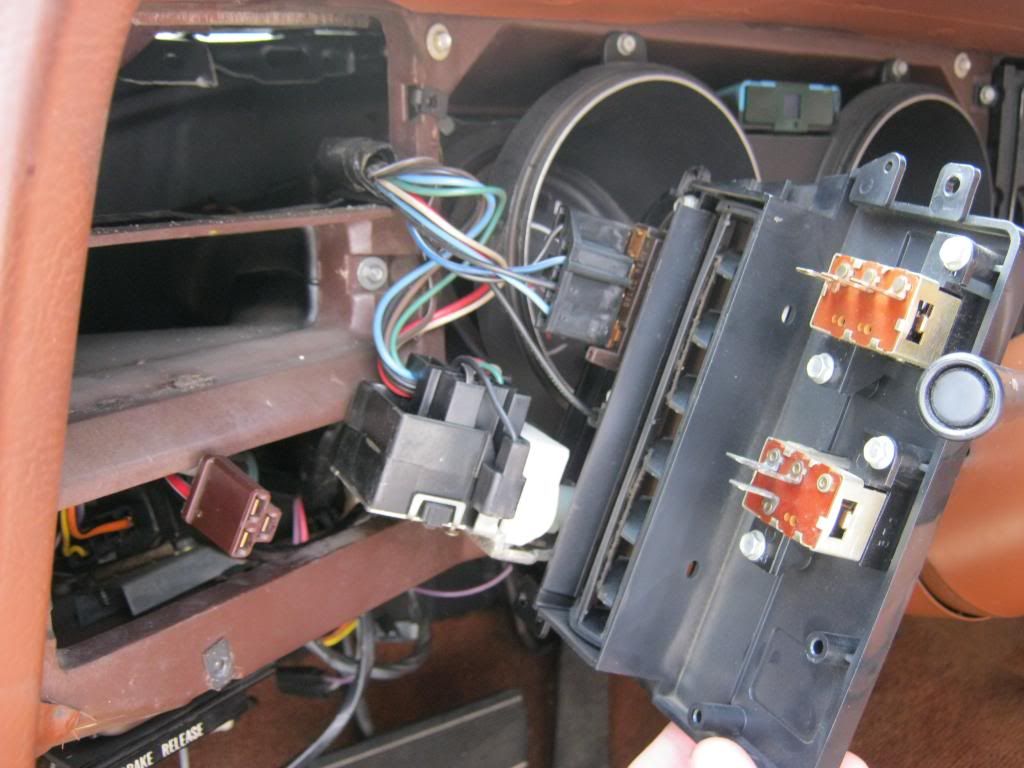
I spent a very long time tracing wires and reviewing a wiring schematic in the two shop manuals for this car, the GM Shop Manual and the Fisher Body Manual. They were very confusing and not very well organized. To skip over a lot of boring details I finally found on my own that there was a relay inside the dash but the previous owner had disconnected it and tucked the wiring inside the dash making it very difficult to notice if you didn't already know it was there. When I found the harness plug for the relay I used a jumper wire and found that the tailgate worked so I knew the missing relay was my only problem. I bought a new relay from the parts house and when I plugged it in it began to smoke. I began to wonder if this relay was incorrectly labeled in their system as the blower motor relay was.
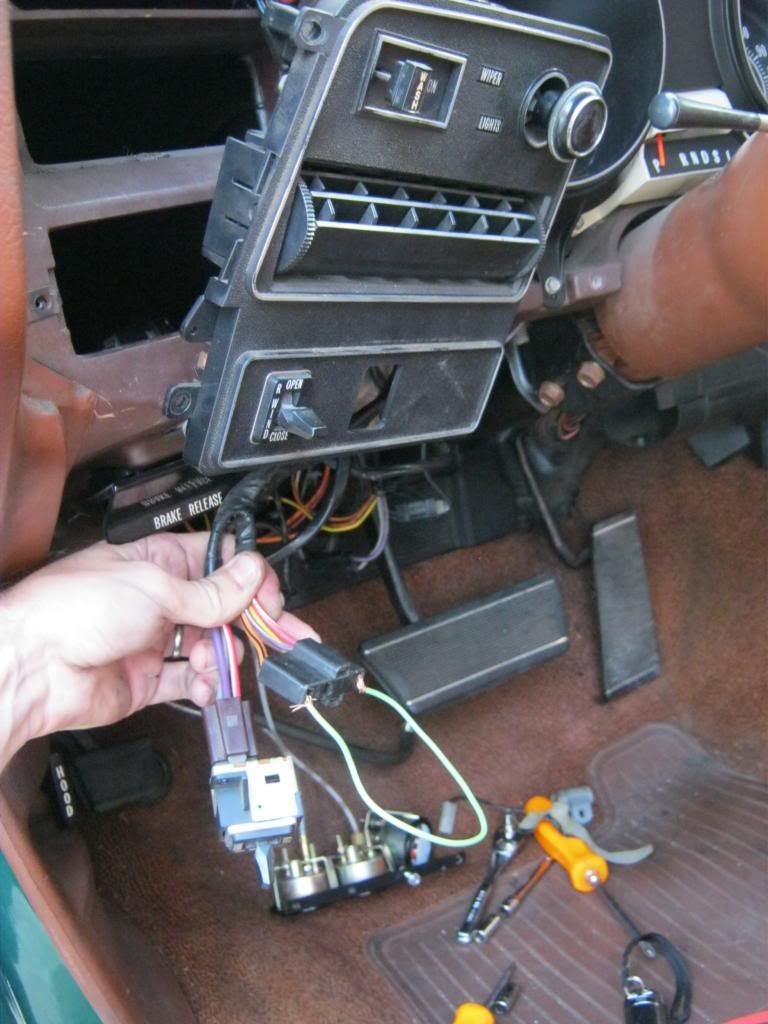
I took the panel almost completely out and noticed the original relay still screwed in place deeper inside the dash. Just to see, I plugged in the original relay and found that it worked perfectly. I put everything back and it worked great. I wish I hadn't wasted money on a useless new relay.
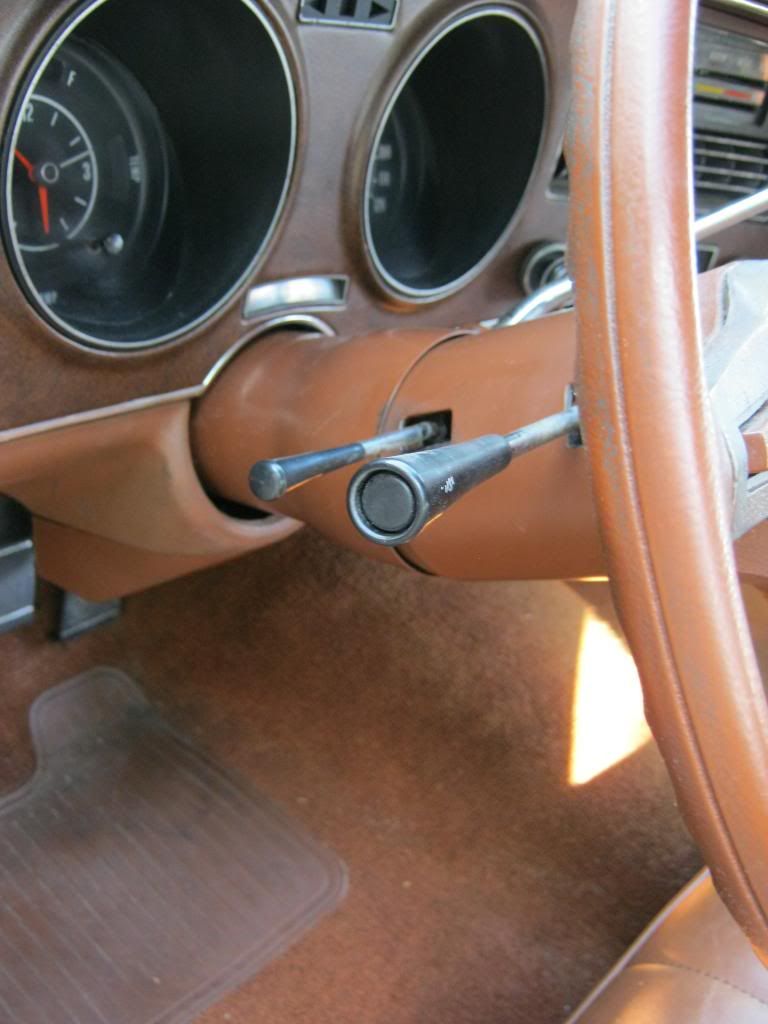
Jacob was off from school for fall break so he came by on his four wheeler. He helped me begin diagnosing the faulty cruise control. We used the flow charts in the shop manual and began checking various wires as indicated with a test light. I showed him how to use a known good power source to ensure a proper ground before testing an unknown wire or plug with a test light.

We found a problem with the brake light switch, which also controls the cruise control.

After fixing that problem the cruise still didn't work so we continued on and found that the button on the stalk was bad. I don't have the special tools to pull the steering wheel and get into the column so fixing this project will have to wait until another day, but at least I now know what the problem is.
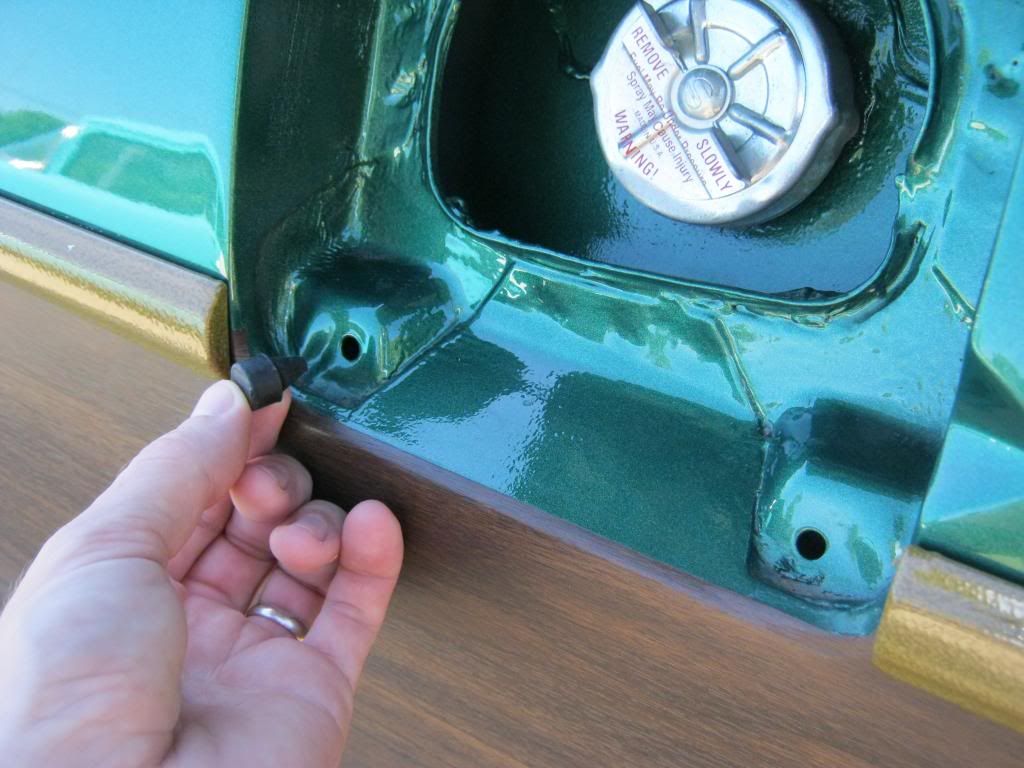
I finally put the rubber bumpers into the gas flap door...
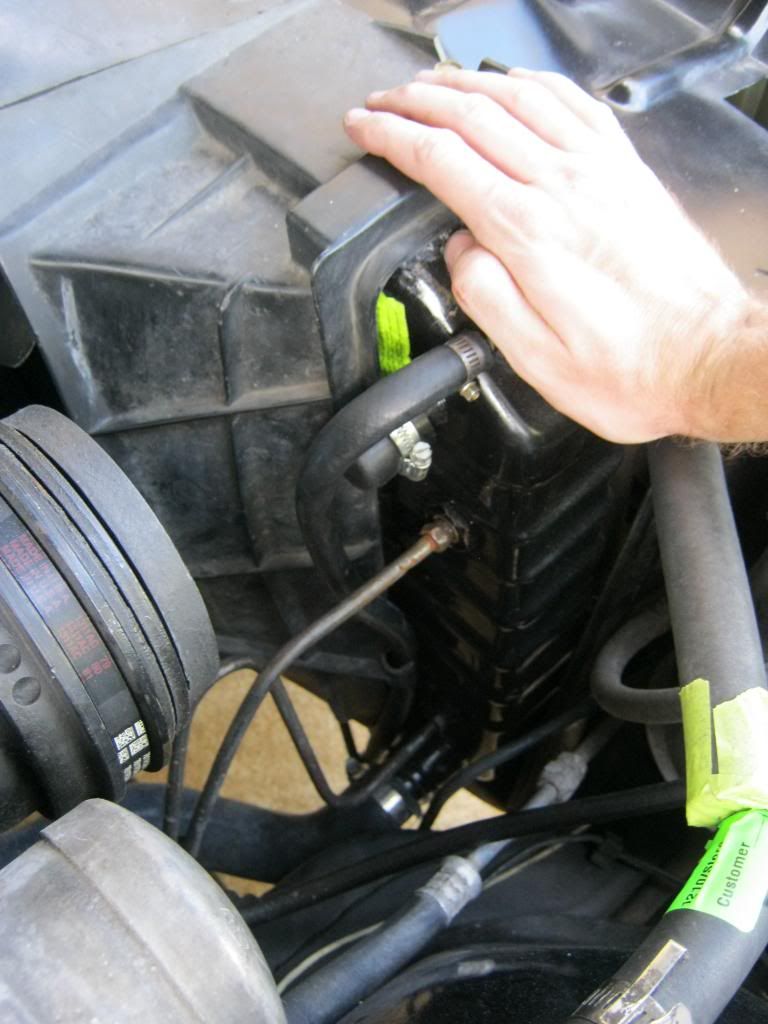
...and added the radiator overflow hose. I had to cover the chrome cap with my hand because the glare was blinding the picture.
I learned an important lesson years ago with my Cadillac. Always mount the transmission dipstick tube. I'm not sure if it was never mounted or if the shop that rebuilt the transmission on the Cadillac never put it back but I never even noticed that the dipstick tube was not connected to a brace. After a while I had a transmission leak that I could not place. I eventually found that the movement and vibration of the dipstick tube had wallowed out the grommet in the pan and when the car would sit for a couple days the fluid would drain back into the pan and when it reached the level of the dipstick grommet it would pour out onto the floor.
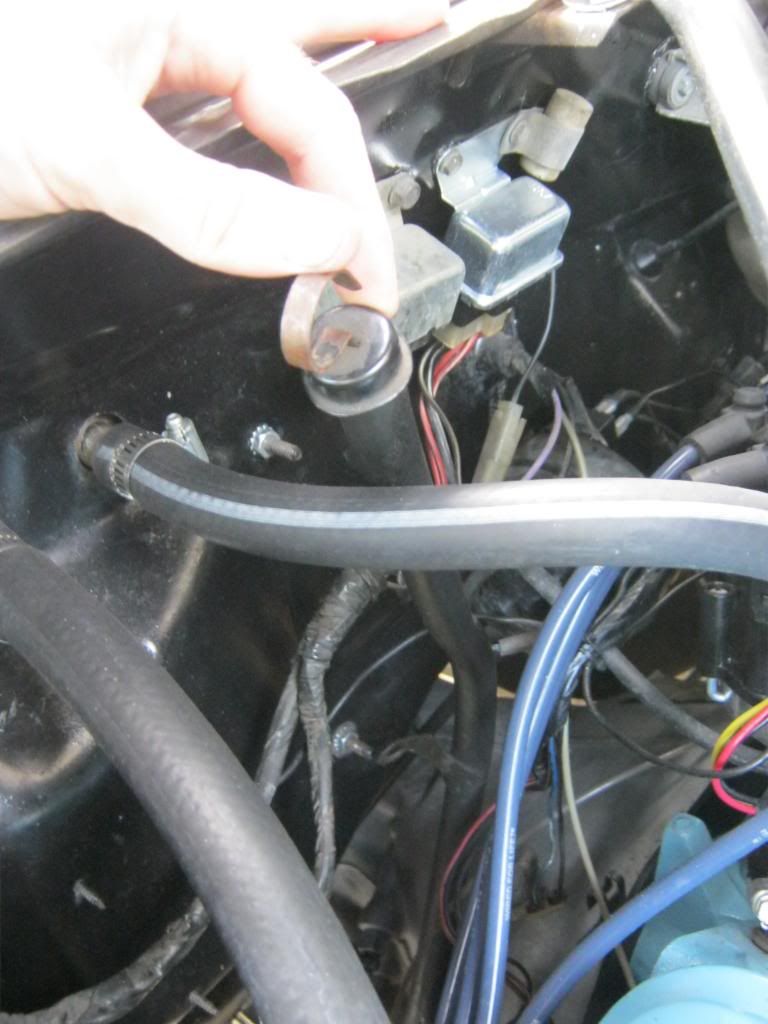
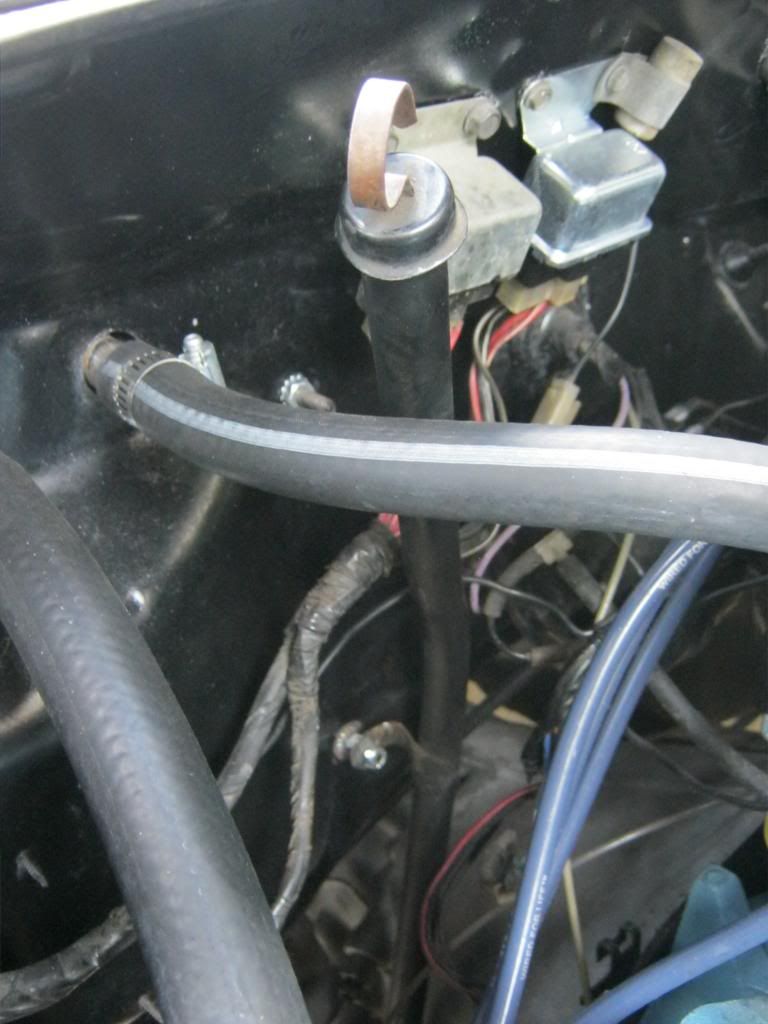
At first I was not thinking clearly and mounted the dipstick tube to the firewall. I completely forgot about the concept of why I needed to mount the tube in the first place. If I mount the tube to the firewall when the engine, and consequently the transmission that is hooked to it, rock back and forth with the torque of the engine then the tube will bind, causing the grommet in the transmission to wallow out as it did on the Cadillac. The dipstick tube needs to be mounted to the back of the block so that it may be free to move in relation to the body of the car but in relation to the engine and transmission it will be steady and still. I fixed this problem after the realization.
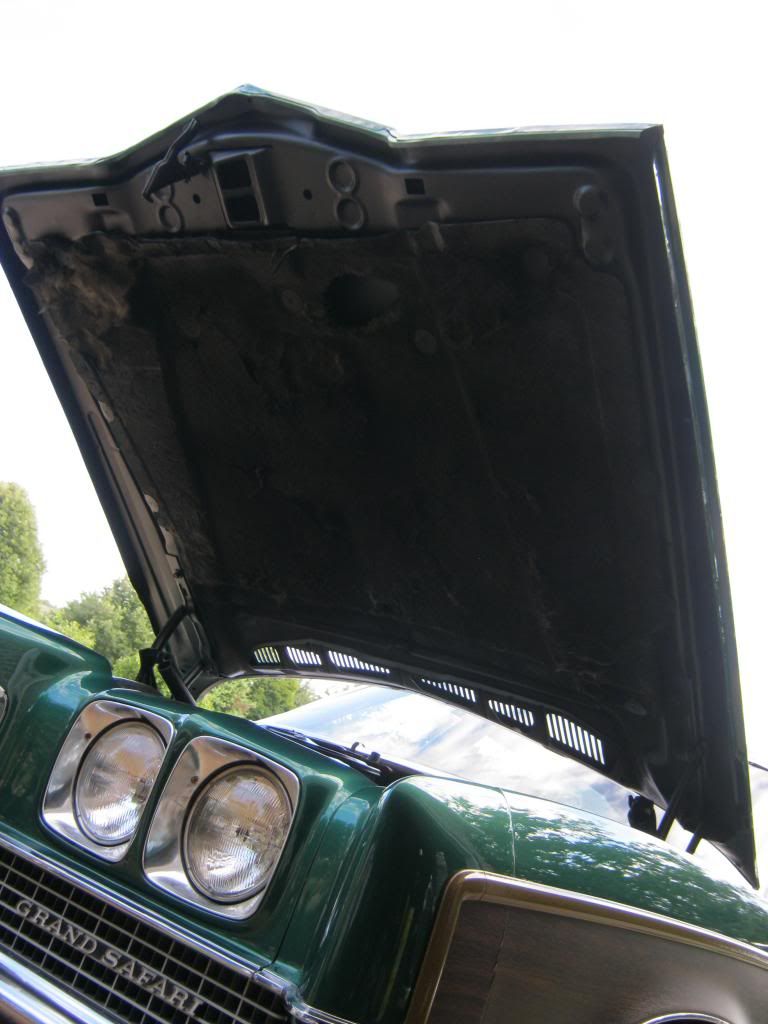
The underside of the hood was still nasty and dirty and looked terrible. The primer was an eyesore in comparison to the otherwise completed engine bay. Also, when sitting inside the car you could see the primer color on the underside of the cowl. First I cleaned and steel-wooled all of the dirt and grease that was present then prepped everything with brake cleaner.
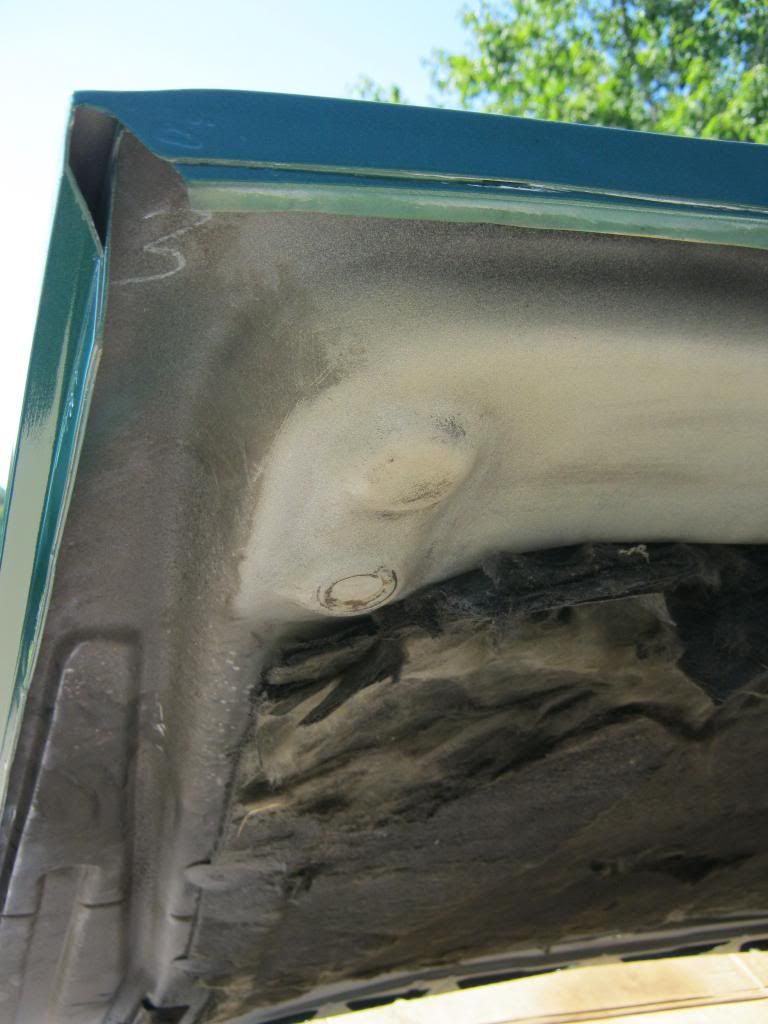
Taping everything off wasn't a huge deal in comparison to the entire project but I found taping the cowl vent holes to be somewhat daunting.
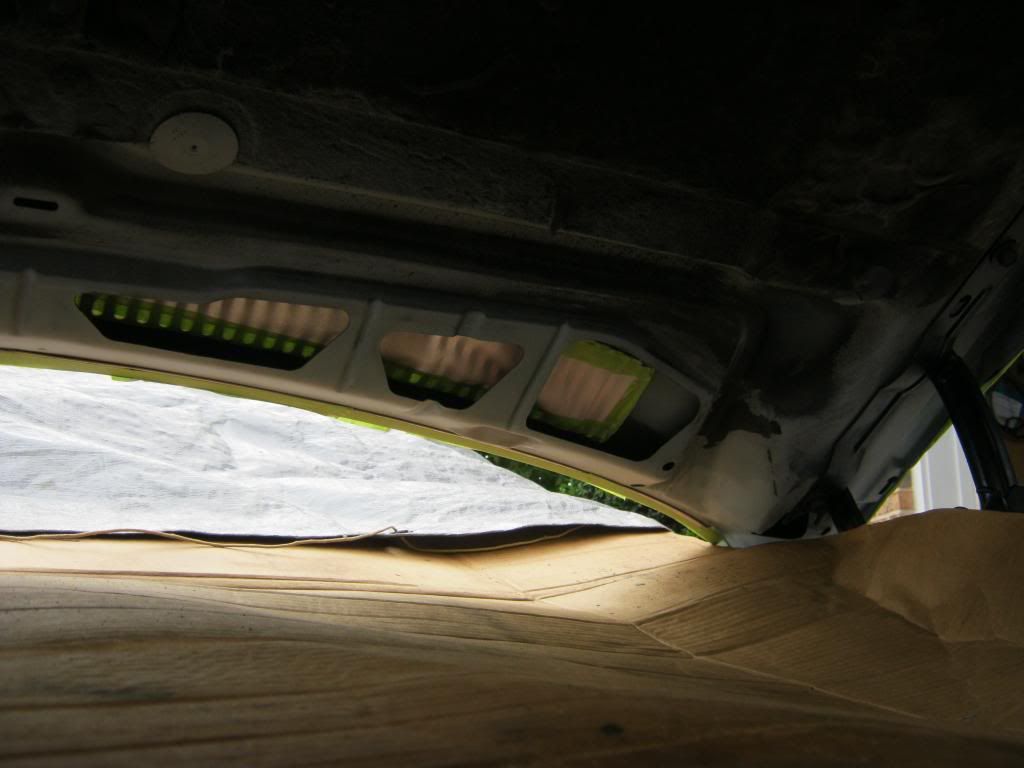
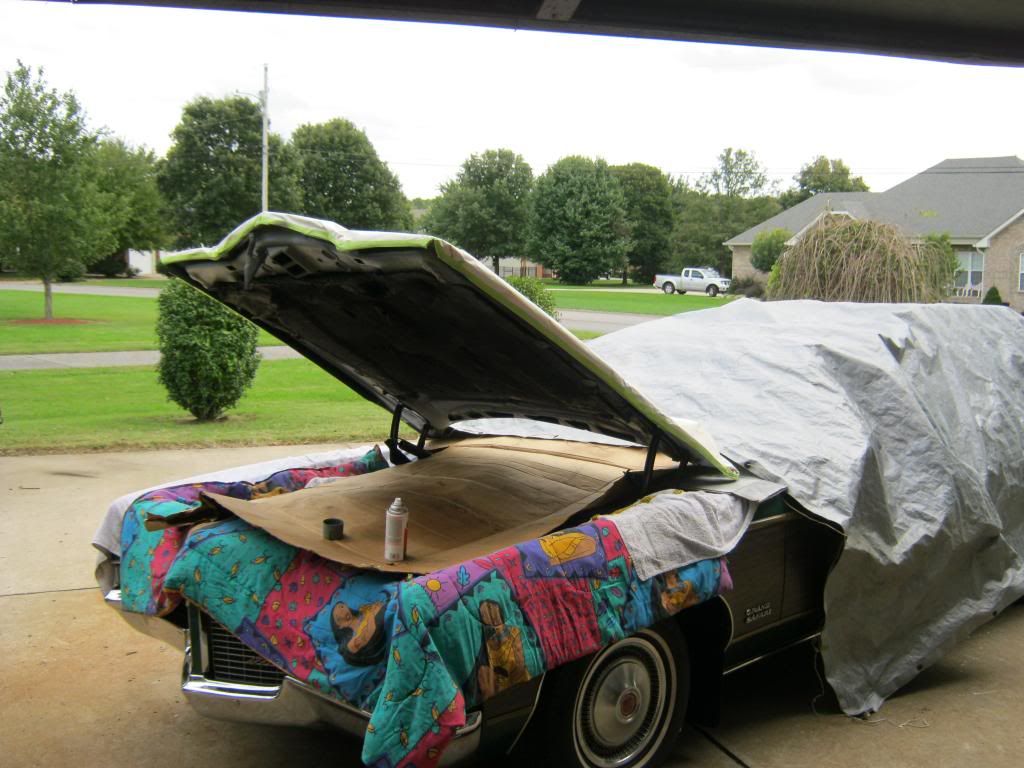
The end result is that when I raise the hood or sit inside and look at the cowl I don't notice anything, and that was the point. All that work to make sure it's never noticed or looked at, but I was glad to get it done. It had been bothering me since we got the hood back on.