The air stopped blowing cold on April's 4 door Caprice. I suppose it has a small leak. We don't have the time or money to fix it right now on top of the fact that the choke has, for some reason, decided that it will not allow itself to set correctly. The car began slowly becoming harder and harder to start, grinding the starter longer and longer until finally we had to use starter fluid to start it. Once it had been started for the day it was fine the rest of the day. I think I finally have that fixed, though I don't know how. I simply reset the choke again, essentially to right back where it was before I played with it. The car is still running R12 refrigerant so I found a couple cans to put back in.
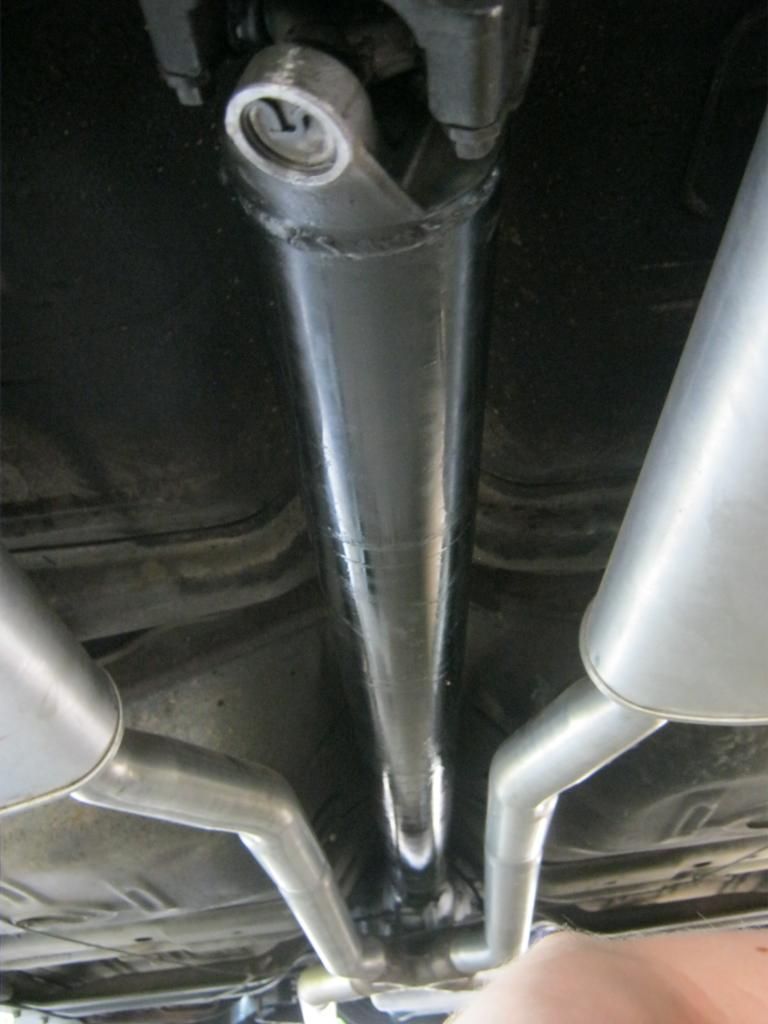
The previous driveshaft I had made was too short, causing a driveline vibration. I had this new one made and it has taken care of much of the problem, but the car still has a slight vibration when deceleration and a somewhat bad vibration when coasting in neutral at speed.
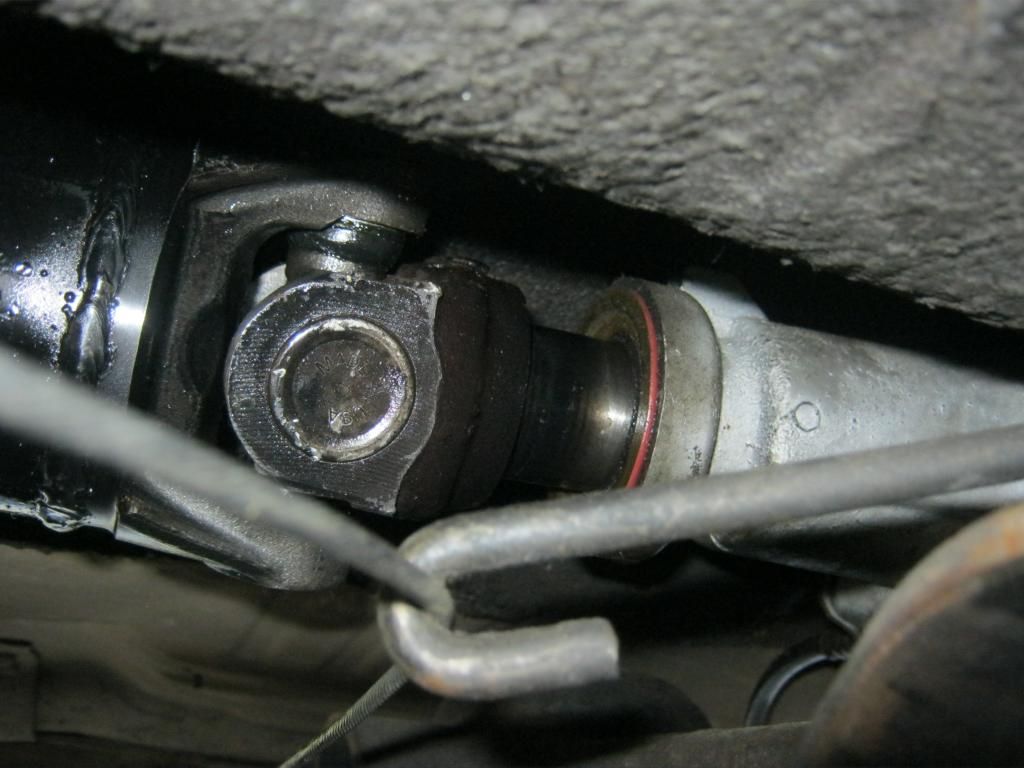
The yoke is finally inside the tailshaft the proper amount, 1" of stickout.
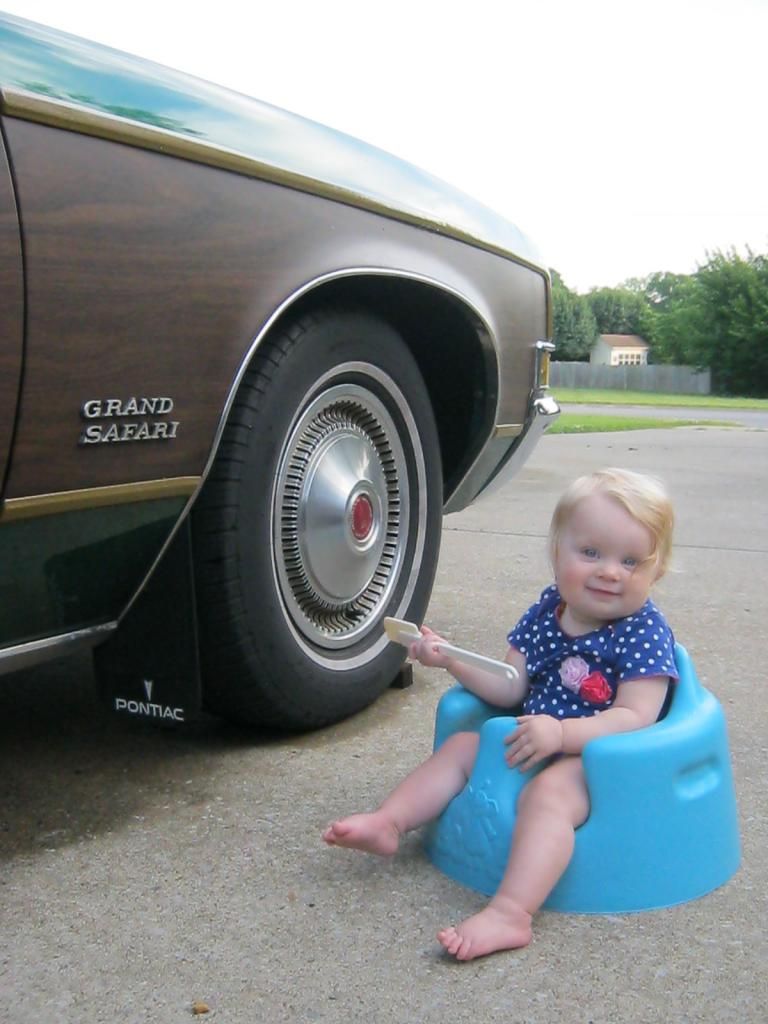
Rose supervised while I put the new driveshaft in.
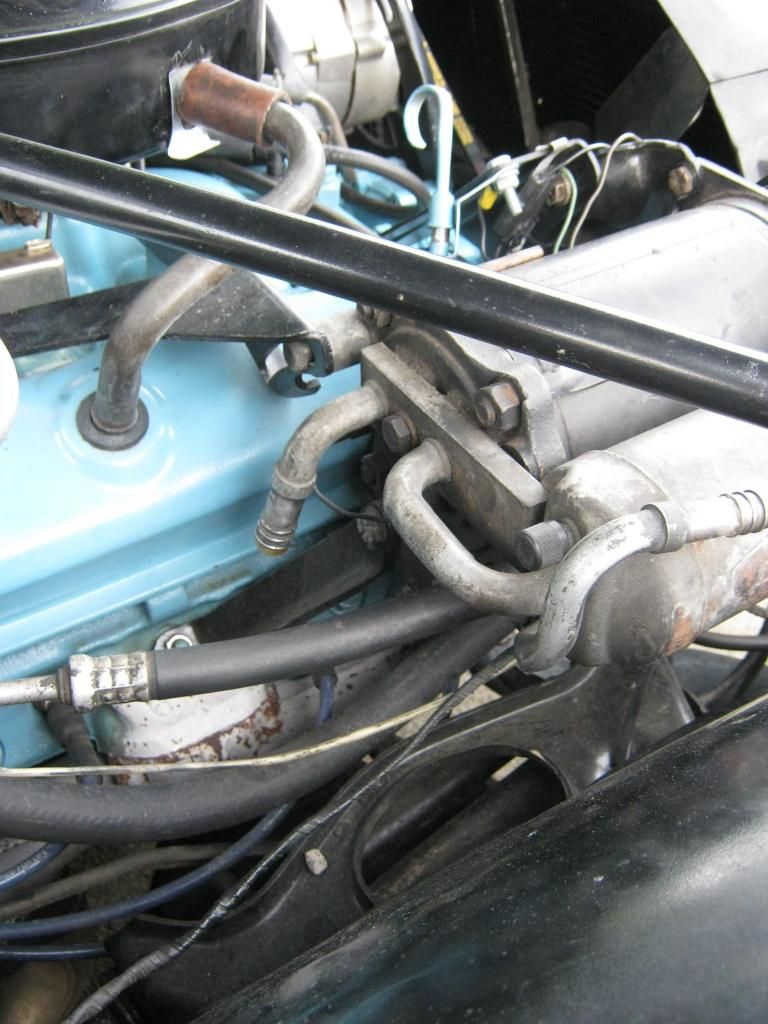
While the carburetor was away being rebuilt I took the time to get the engine touched up. Except for the leaking carburetor I honestly have no idea how it got this bad. The car hasn't even been driven very much considering the last year we've been driving it.
I finally got everything painted and reinstalled.
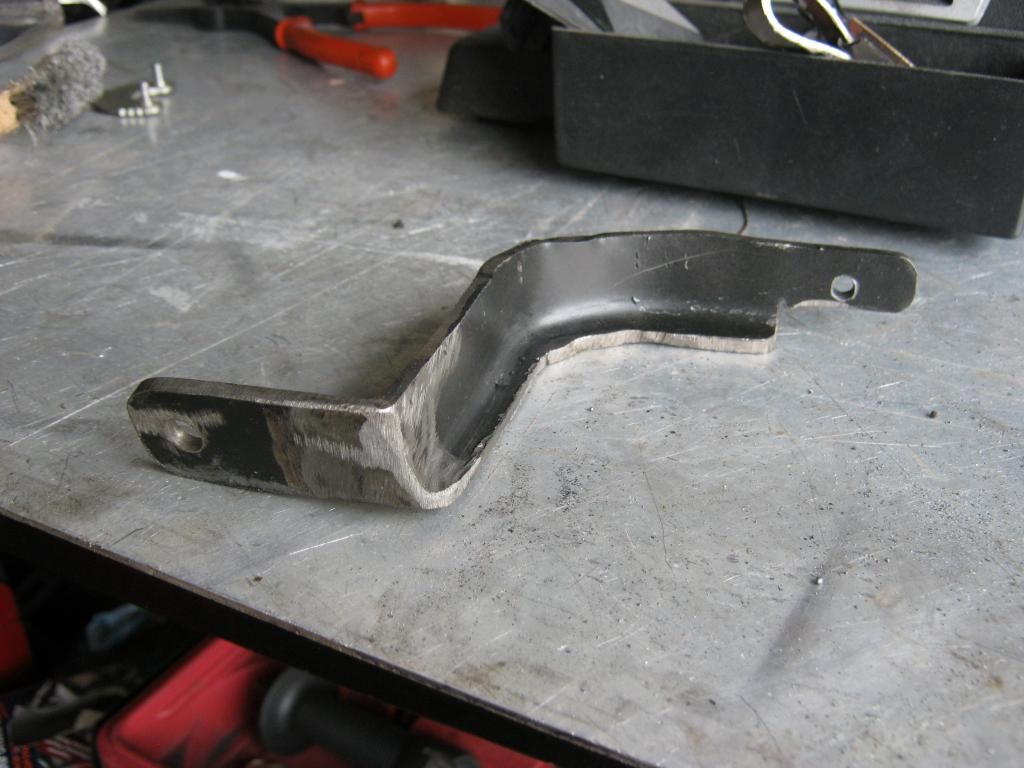
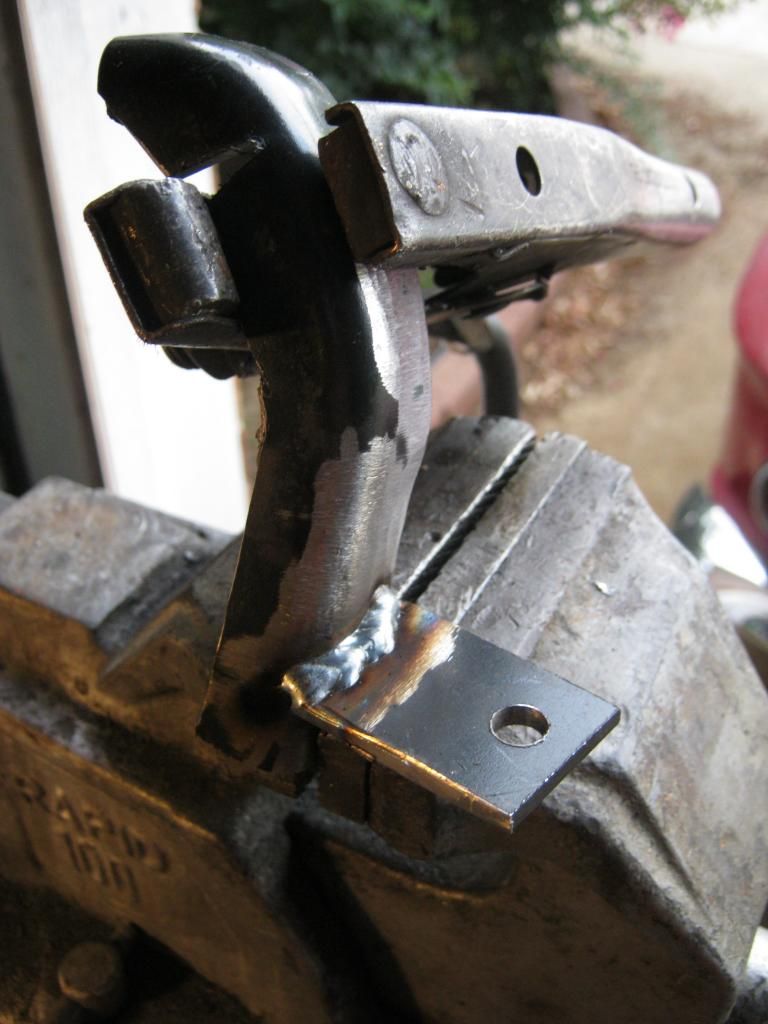
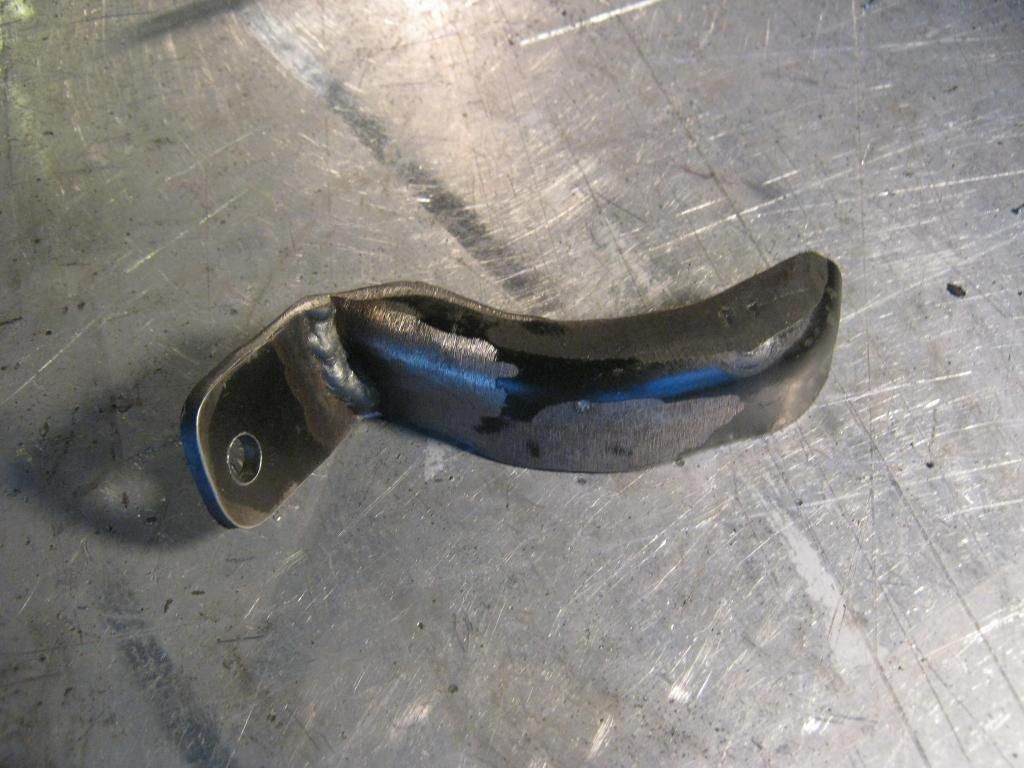
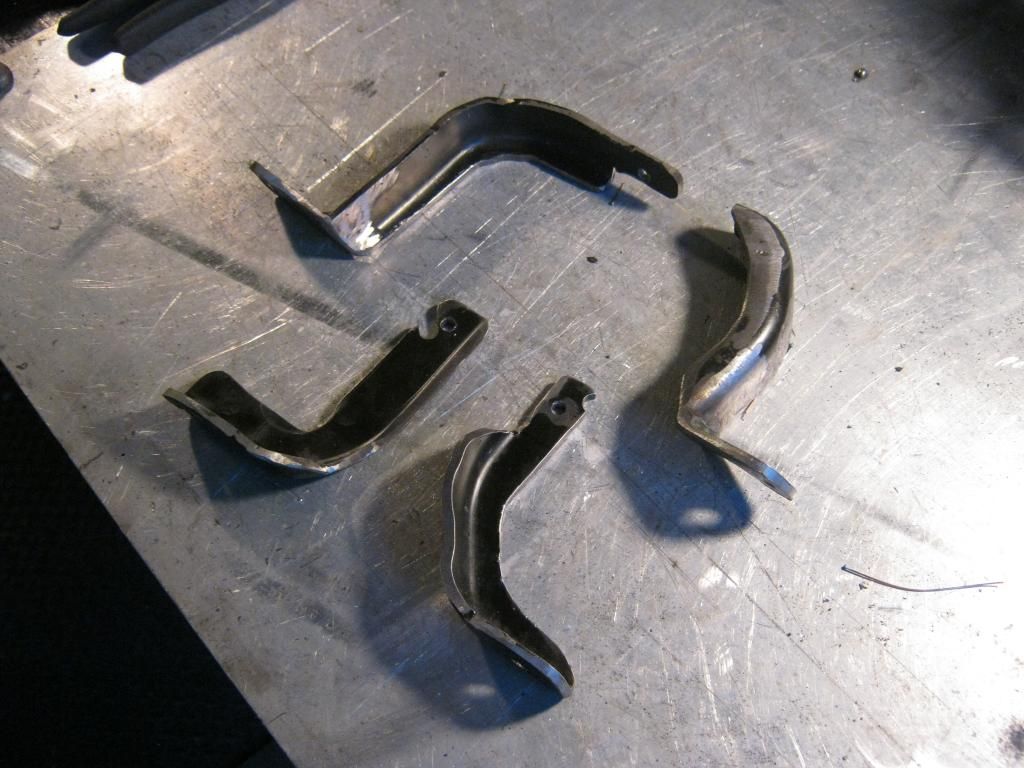
I reinstalled all the brackets but I couldn't get the power steering pump pulled tight and tighten the bolts on it at the same time. Everyone was gone and this was the last thing I needed to have the car running again. I called my sister, who lives in the same neighborhood, and she came over and while I pried on the pump she tightened the bolt enough for it to stay in place. April pulled up right when we got done so we staged an exact photo reenactment.

It's beyond time to get the air conditioning working on The Clam. It currently has the original R12 refrigerant system, which is non-functional, but at least it is complete. I plan to convert the car to 134a refrigerant due to the fact that R12 has become so expensive because of government regulations mandating that it be phased out. Many people will simply change the fittings on an air conditioning system to accept the adapters for 134a and then remove the R12 and refill with 134, but I have discovered after a ridiculous amount of research that this is not the most efficient way to convert a system from R12 to 134.
I'm not sure if I'll cover all parts of the system, and I know I won't be able to scientifically explain every detail of how the system works, but I have found a group of air conditioning experts on the internet that can explain what to change and why, for the most part. There is still a lot of research to be done due to the fact there have been so many different types of systems and configurations over the years.
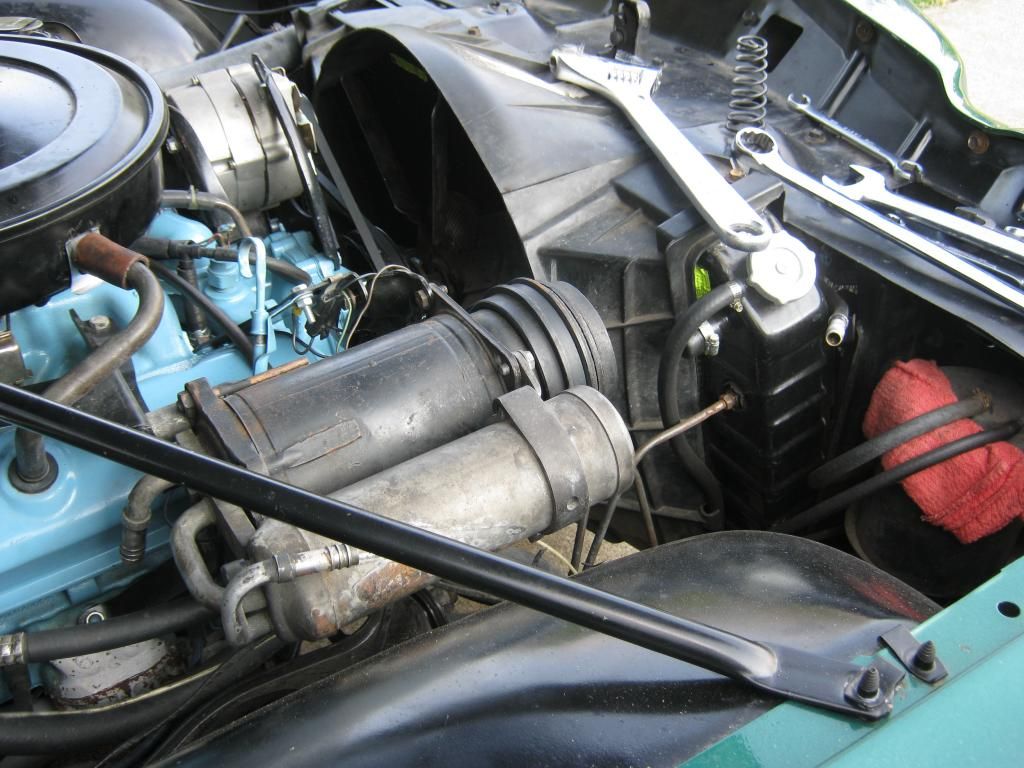
First, the compressor. The original compressor, the one in the picture below, is called an A6. It took a lot of energy to turn this compressor but its performance still to this day cannot be beat. Unfortunately, as with most things, quality in the products available has dropped so significantly that purchasing an A6 today is a gamble at best, most of the time resulting in a compressor that has a lifespan of the typical goldfish. Also, the front seals, having been rebuilt time and time again with cores, are very prone to leaking and slinging grease all over the engine. For these reasons I have decided to not replace my compressor with an A6, despite it's performance advantages.

There are companies that make new, aftermarket compressors, such as Sanden and a few others. Many people use these with great success. They can tend to have less capacity than is necessary in many cases and this leads to the crux of my problem. Because we have a station wagon, which has an enormous amount of cubic feet to cool, as well as a large area of window space which allows passive solar energy to cause a huge amount of heat to build up inside the cabin with the windows up, it is very important that I get the greatest amount of cooling capability from this system as possible. The newer style compressors are not only smaller, capacity wise, but they also require expensive mounts to allow them to fit to older engines. The other option would be to fabricate custom mounts which would take hours and hours to achieve professional, acceptable results. My solution was a compressor made to fit in the original mounts but has newer internals with 10 cylinders. It is said to be much lighter, quieter and more efficient to run. I found when attempting to order one that there were two types of cut-off systems used and this determined which compressor I needed to order. One was a superheat system and one was a high pressure system. Basically, because these older type systems do not cycle the compressor on and off like a new system, these were features that allowed the compressor clutch to disengage if the freon was too low and the compressor could be damaged.

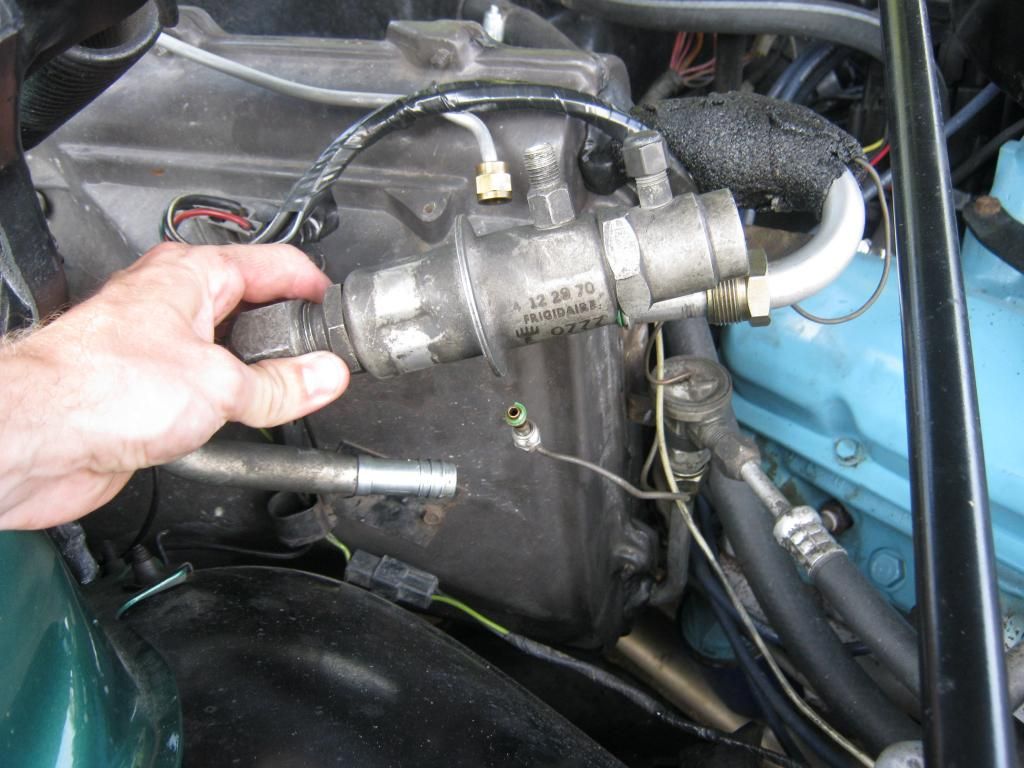
The next area to address is the POA valve. I won't go into the very detailed and scientific specifics, partly because I can barely understand them when I read them, much less explain them to someone else, but secondly it would be quite lengthy and not needed here. In short, the POA prevents the system from freezing over and manages the psi within the system, among other things. The important part to note is that I found that a POA valve for an R12 system is set around 32psi. In order for the 134 freon to cool properly the POA must be recalibrated to 28psi. This will cause a 10 to even 15 degree difference in dash vent temperatures. Adjustment can be done at home with custom attachments made to fit an air compressor by using a set of gauges and turning a nut inside the inlet of the POA until 28psi is obtained, but if the valve does not work it must be cut apart, fixed and rewelded. I elected to send my original POA to a company in Florida to ensure it is properly tested, cleaned, recalibrated and fixed if necessary. The company is only able to repair original Frigidaire valves.
These original POA valves are becoming very difficult to find and are very expensive if you can find them. Replacement valves are available which convert the system to a new, cycling style system where the compressor will cut the clutch in and out to maintain the proper pressures within the system. The topic of cycling versus non-cycling systems is still somewhat debated but many of the more knowledgeable air conditioning experts stand behind a non-cycling system being as being a better performer. I intend to keep the original POA, recalibrated to 134a, which will keep my system as it originally was designed, a non-cycling system.

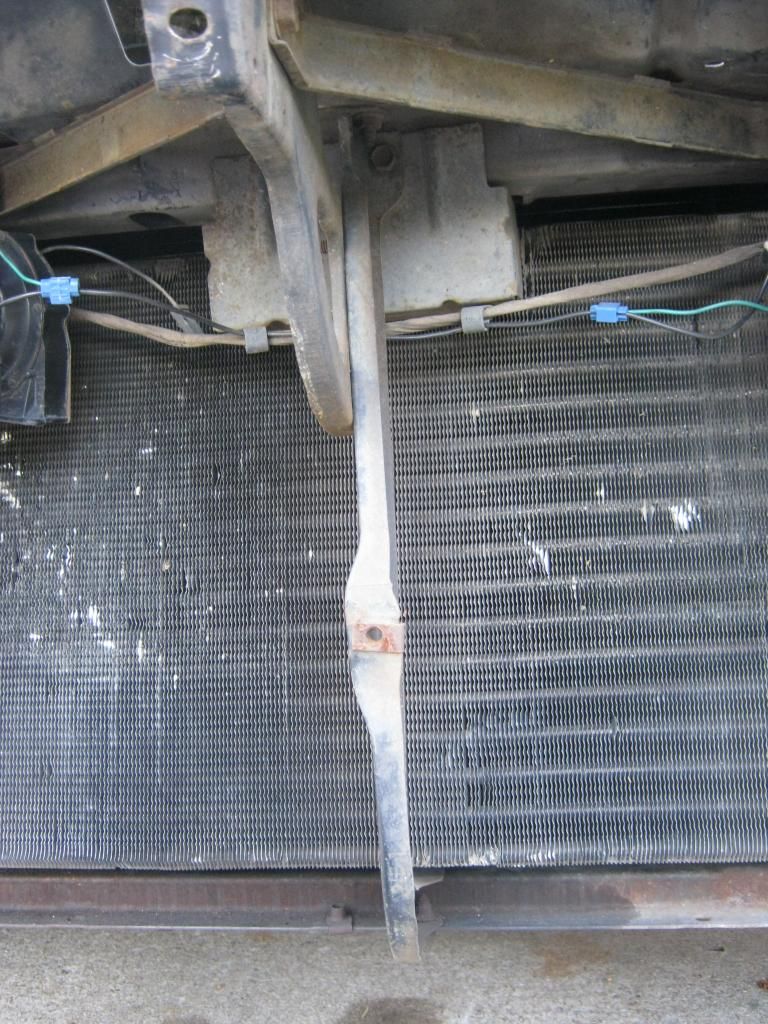
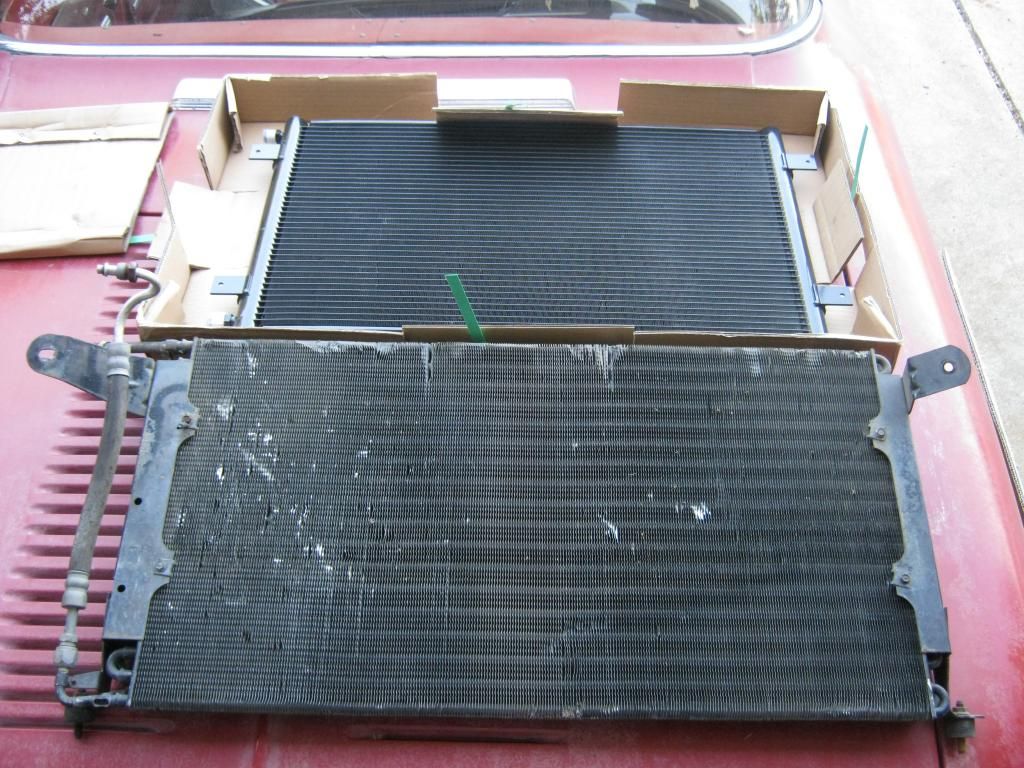
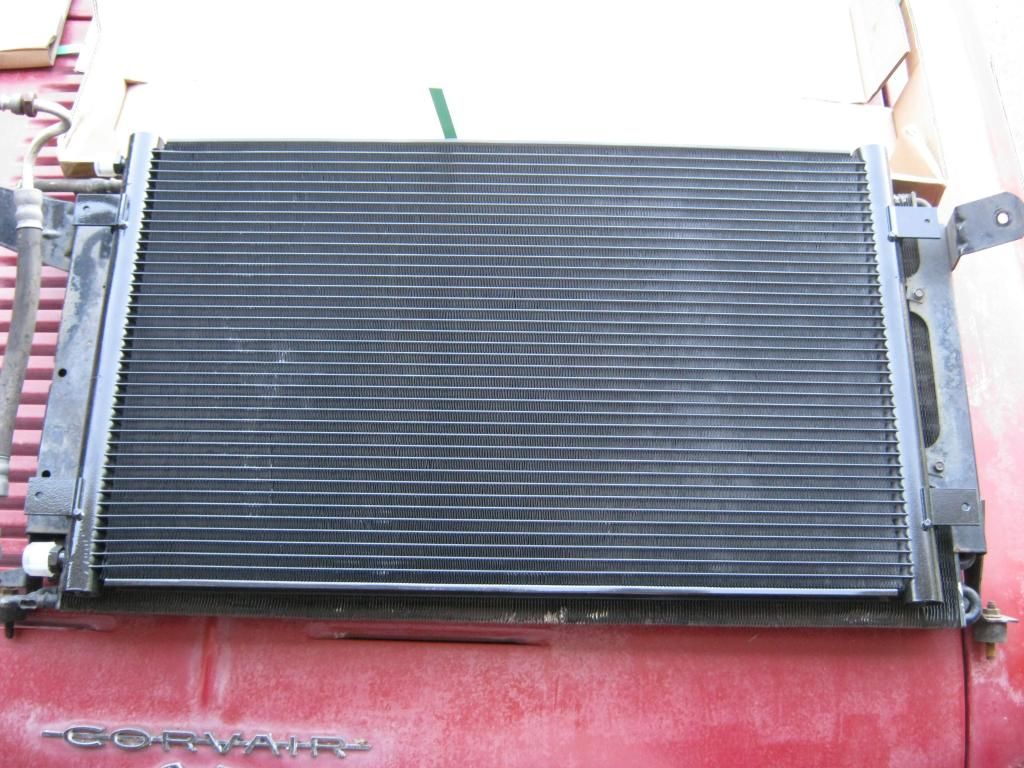
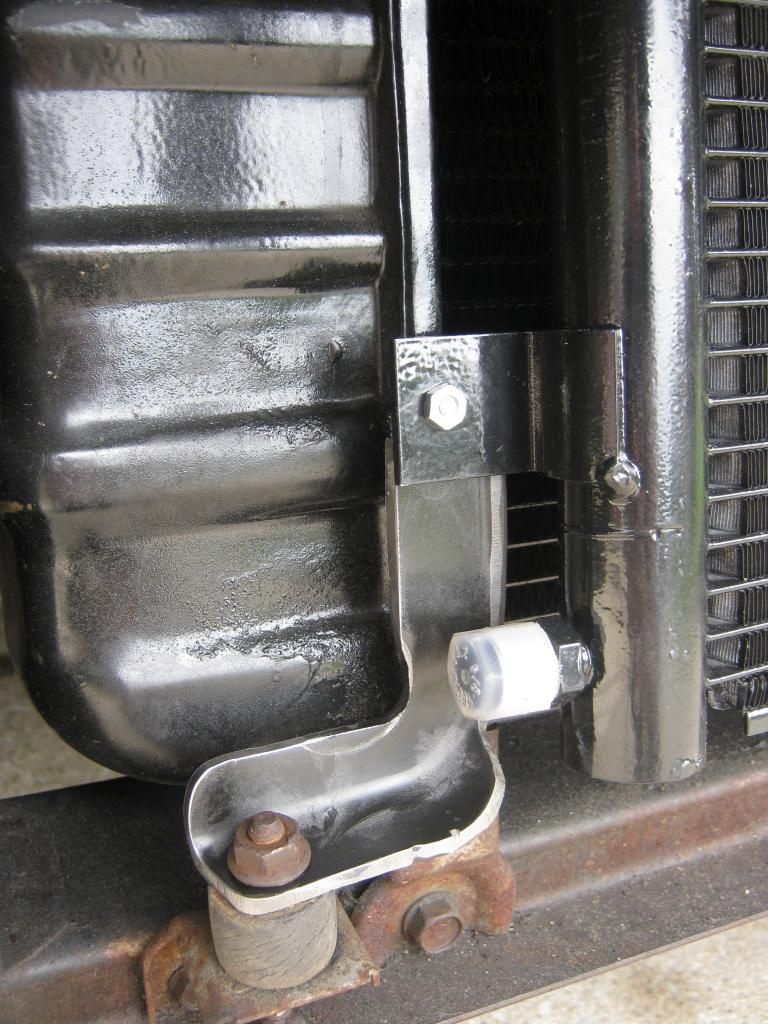
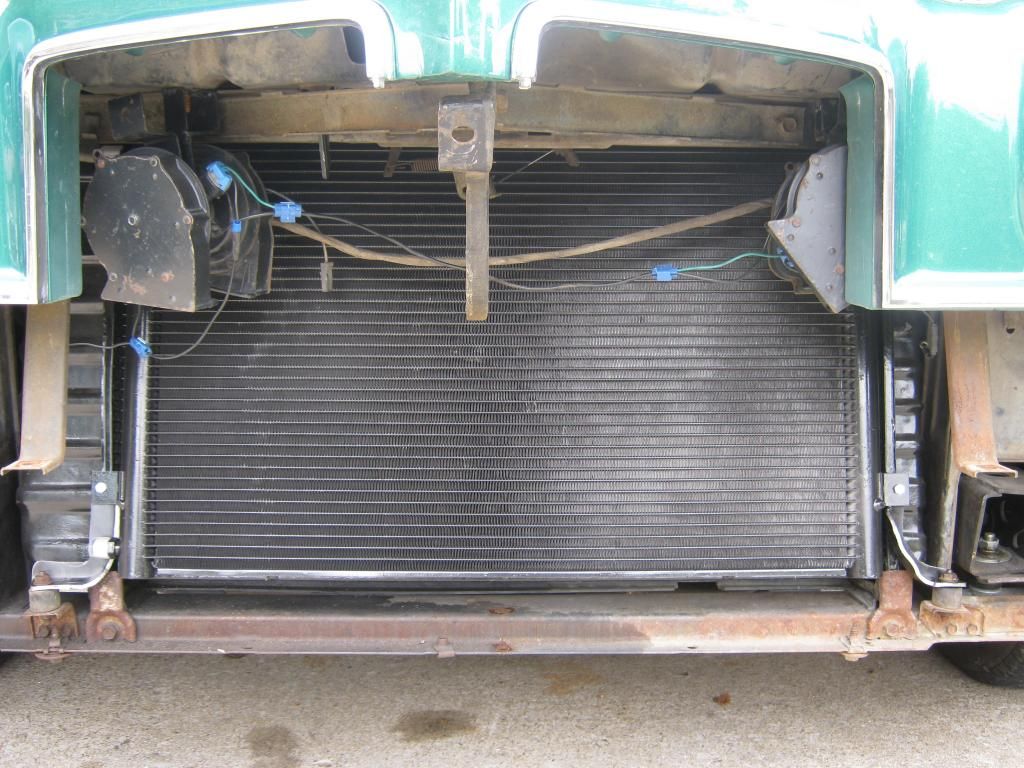
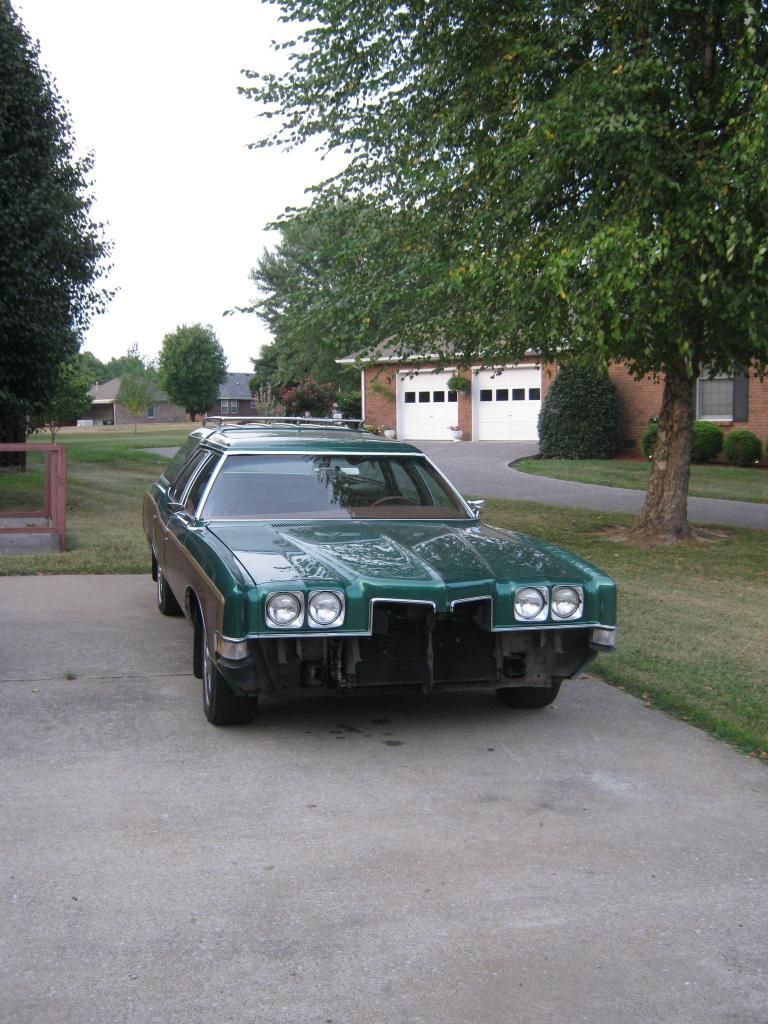
The condenser sits in front of the radiator and essentially uses the outside air to cool a superheated gas into a high pressure liquid. R12 systems originally came with what is known as a tube and fin style condenser. These are less efficient than modern, parallel flow condensers. This was not an issue with R12 because of the chemical makeup of the molecules, however 134 is different and requires the 1/3 more efficient style parallel flow condenser. In order to get access to the condenser I will have to remove the front bumper and grill. Also, anytime an air conditioning system is opened to the elements the receiver/dryer must be replaced, which on this car is a massive pain in the hind-side, but with the front end already removed it will greatly facilitate this step.

Once again, the bumper and grill had to come off. After getting the measurements of the condenser I will have to find a universal part and custom install it. My original condenser is 28.25x1.75x16 inches, which is a hefty sized condenser by today's standards. It was frustrating to think of how long this car sat with the condenser exposed with such easy access, but I didn't know then what I know now.

I ordered a new evaporator core, which mounts in a compartment inside the firewall. This part has been discontinued for these Pontiacs but I found one in Texas and it was very pricey. Unfortunately, beggars can't be choosers. I had an older mechanic that works on older vehicles replace the core. He was also going to install a new receiver/dryer but it turned out the company sent me the wrong one so I'll have to do that later. It turned out that the older mechanic strongly disagreed with me changing the air conditioning system and though I didn't push the issue at all, I couldn't get him to understand what needed changing. I ended up going and picking the car back up after the evaporator core was installed to finish the rest of the work myself, which means I've had to put a large amount of time into learning about air conditioning systems because I knew absolutely nothing about them before and I think I will know only just enough to hopefully get this task finished. I can understand the mechanic not wanting me to change the system because the original system, as designed, was a better system than anything available today. However, the world has changed and R12 is becoming difficult to find, cannot be bought without a license and I believe will soon or eventually become illegal. Also, with the poor quality control of today's remanufactured and rebuilt compressors it just, to my dismay, is not the same as restoring an air conditioning system in the 1980s or before. We plan to keep this car a long time and I have to prepare myself for what tomorrow will bring.