The encasement I had to build ended up being a bit more complicated than I had hoped. It wouldn't have been as bad but I began having some serious problems with my welder. I had to redo numerous welds and despite the fact I had it turned to its hottest setting (fairly hot for such a large welder) it still wouldn't fully penetrate at times. Here are some of the photos from the build:
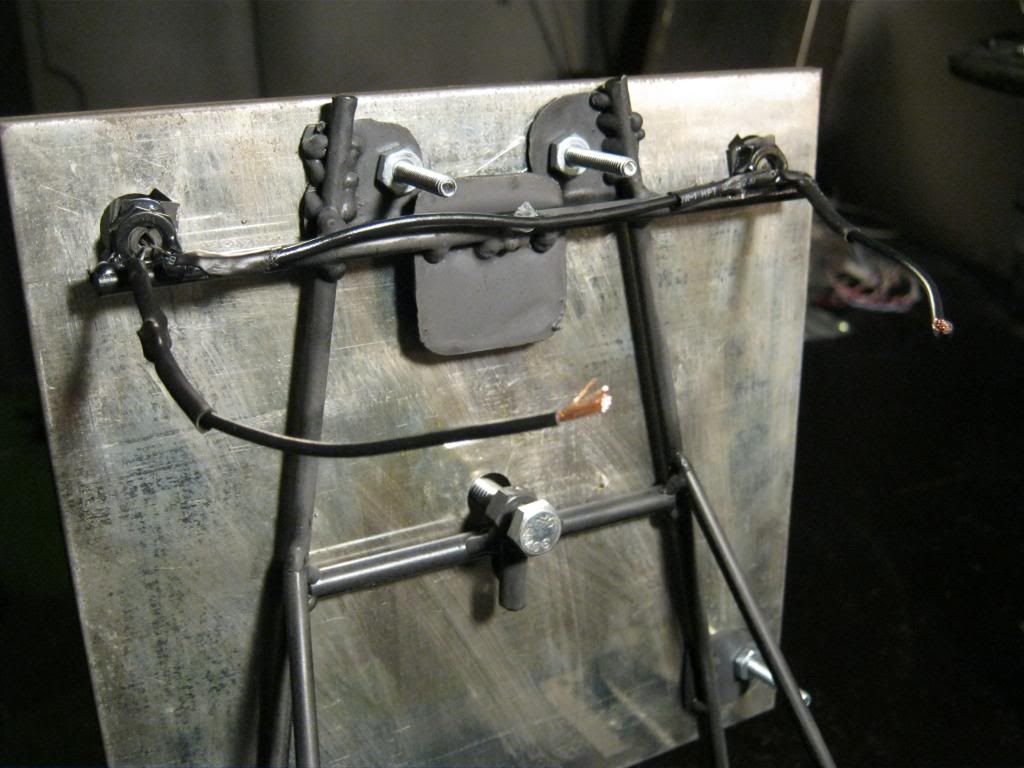
I purchased a stainless steel shaft locally and then ordered a bushing online to my exact specifications. My plan is to have the button on the front of the radio turn the computer on and off with a spring loaded shaft.
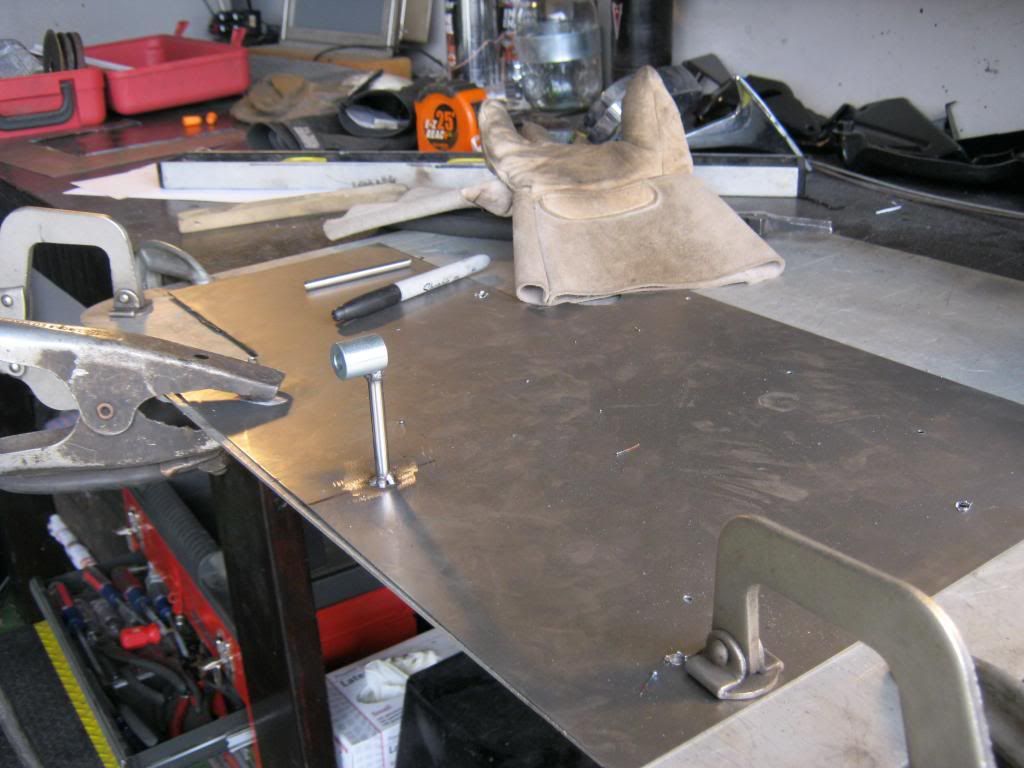
Most of the welds on this build were pretty lousy. I had a very hard time getting the machine to cooperate.

My neighbor Craig used his lathe to turn the end of the shaft to fit the original buttons. There is a larger button behind the smaller button on the front.

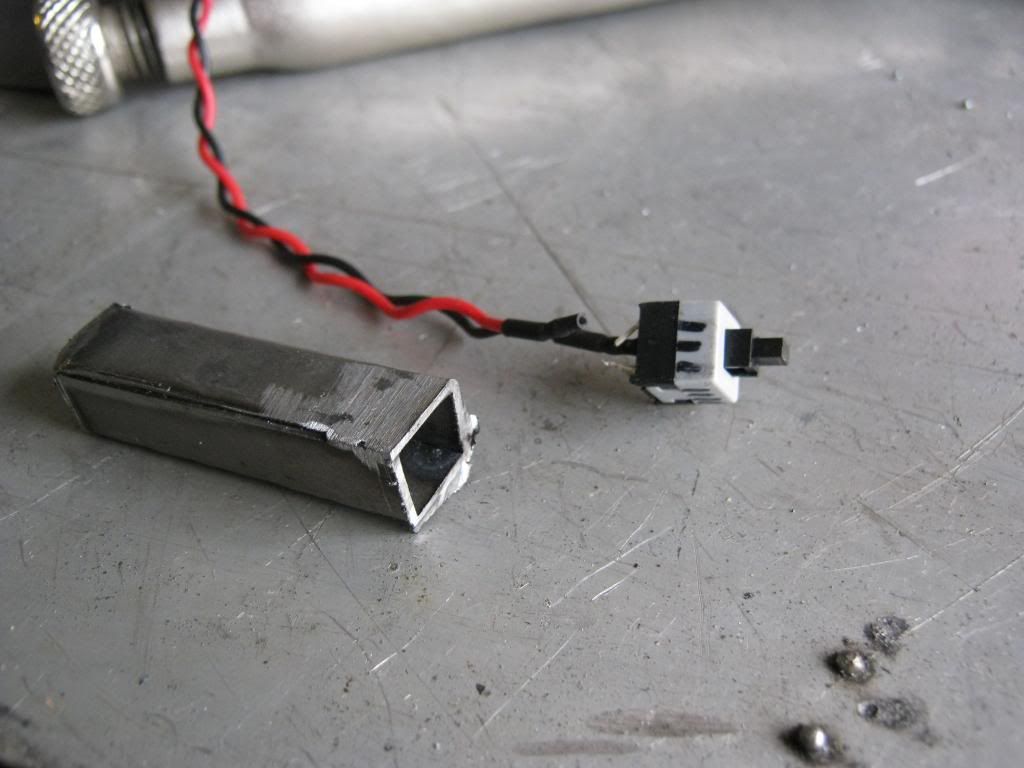
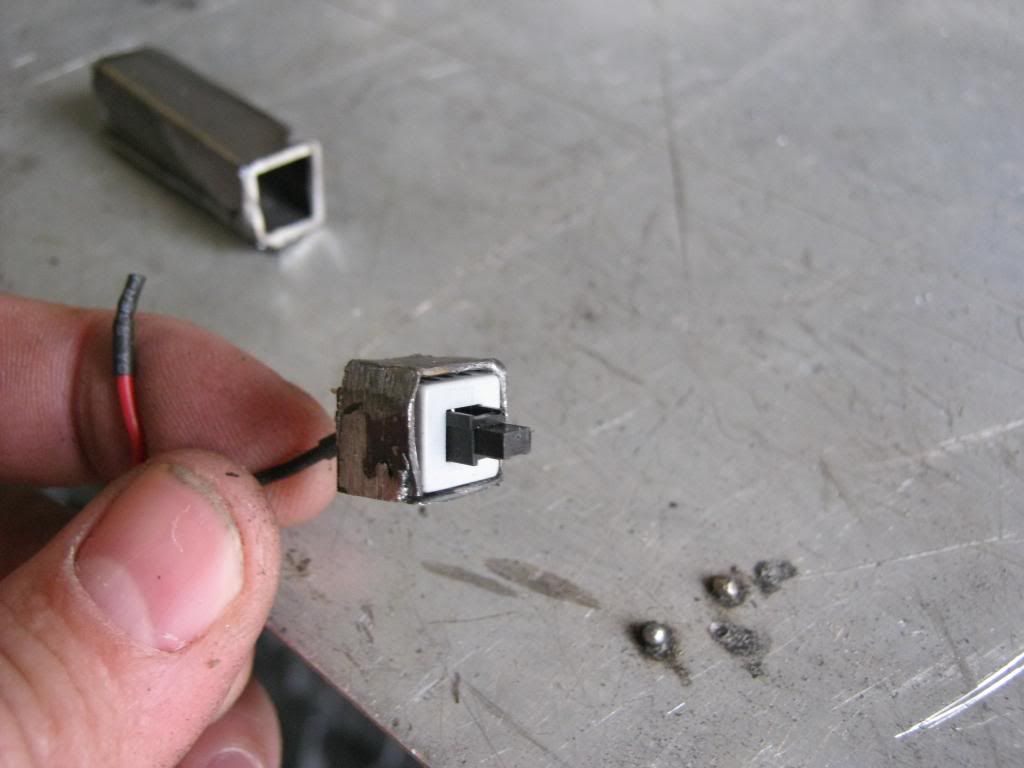
I had to build an encasement for the on/off switch that would allow access to the pins on the back.

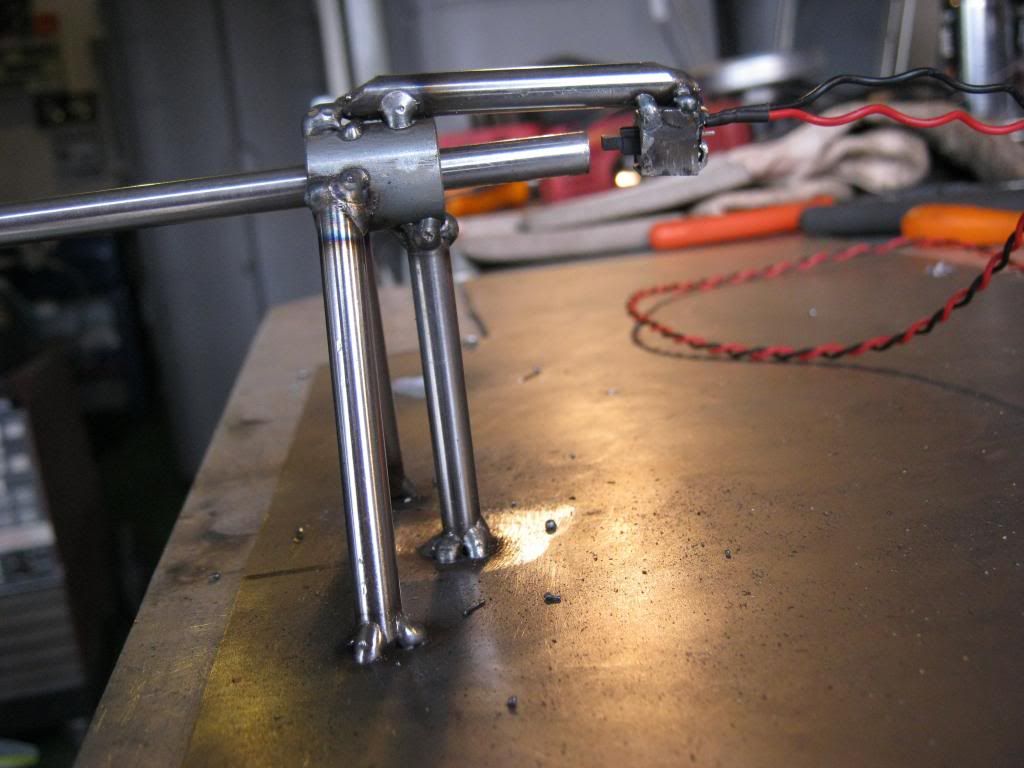

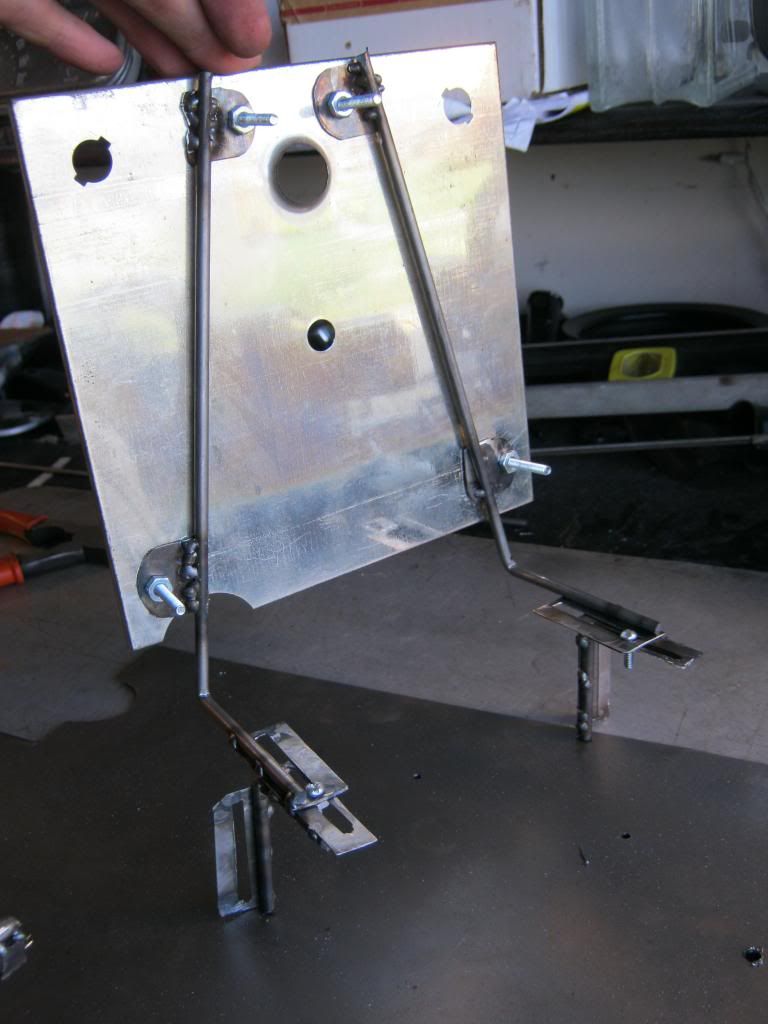
I planned to mount the original faceplate to my encasement and have the up/down and back/forward movements adjustable. I achieved this by welding metal together to make slotted plates that the faceplate mount would bolt onto.


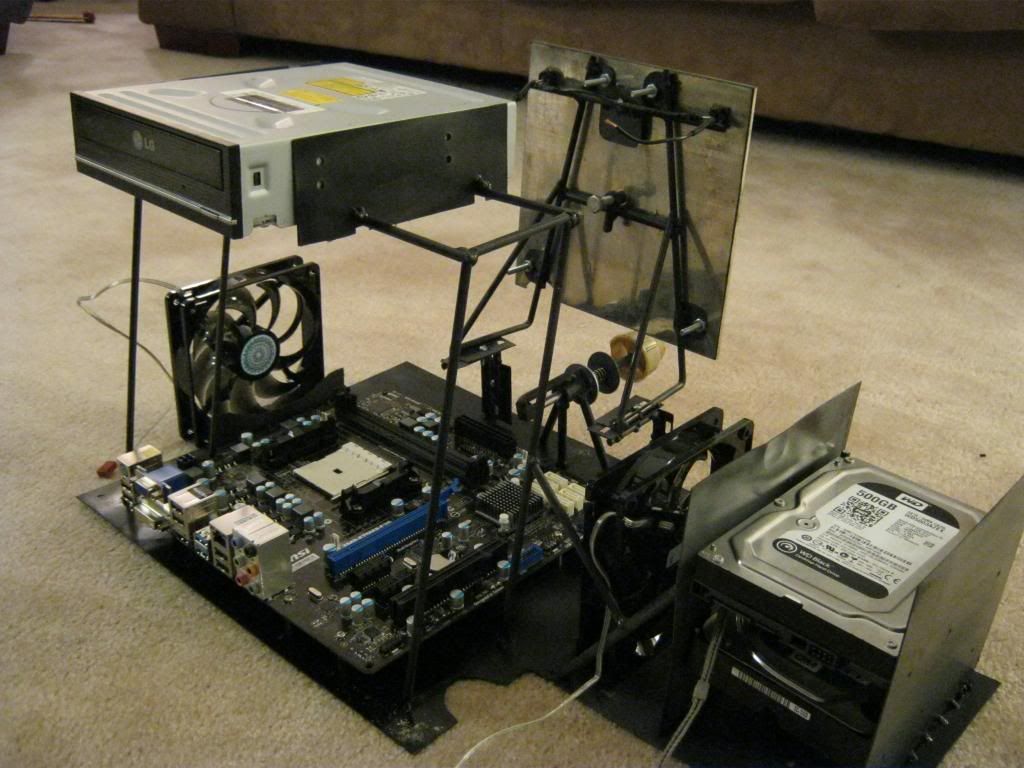
After a lot of measuring and cutting I also created the mounts for the hard drives, motherboard and optical drive up top. This picture was taken was after using a round steel brush bit with the drill to clean the metal after all the welding was finished.

Here you can also see the flat piece of metal I added that will block the large hole in the upper middle of the old faceplate. The original radio had a large light that filled this hole but I will not be using the hole so this flat metal will block the empty space. After getting the metal covered in primer I used rubber to insulate the LED lights as well as to help mount them in their nut-housings. This will allow me to slide them in or out as needed for the correct fitment.
I also cut some rubber to insulate the inside of the nuts I used as mounting holes to protect against accidental metal to metal contact.
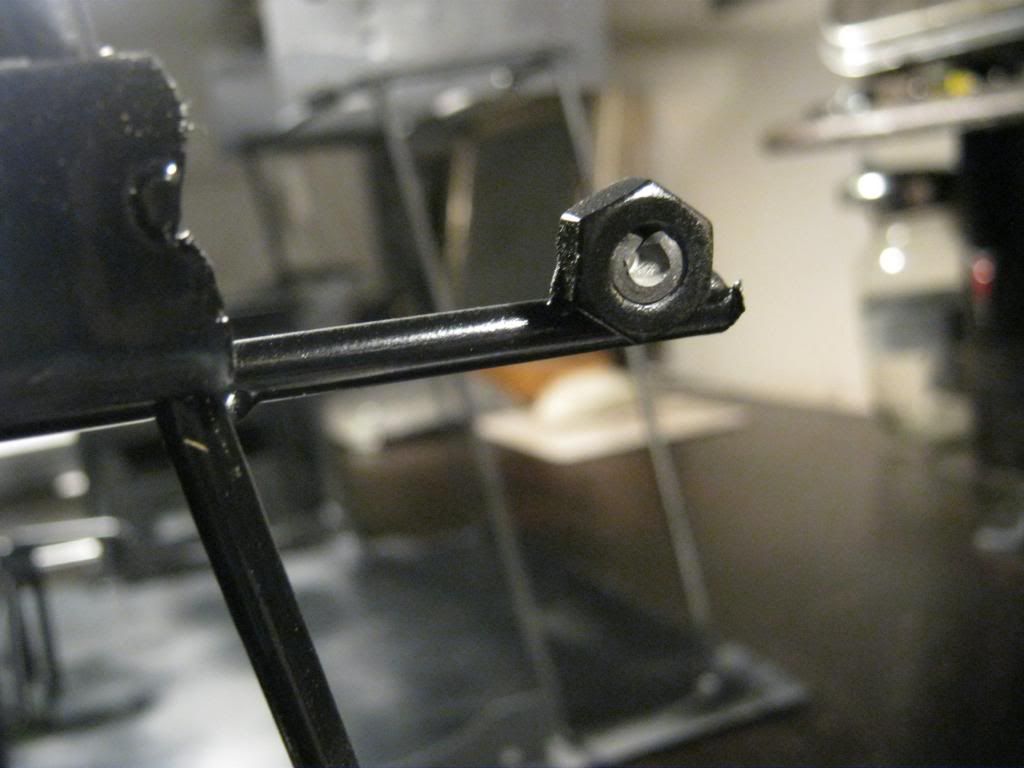
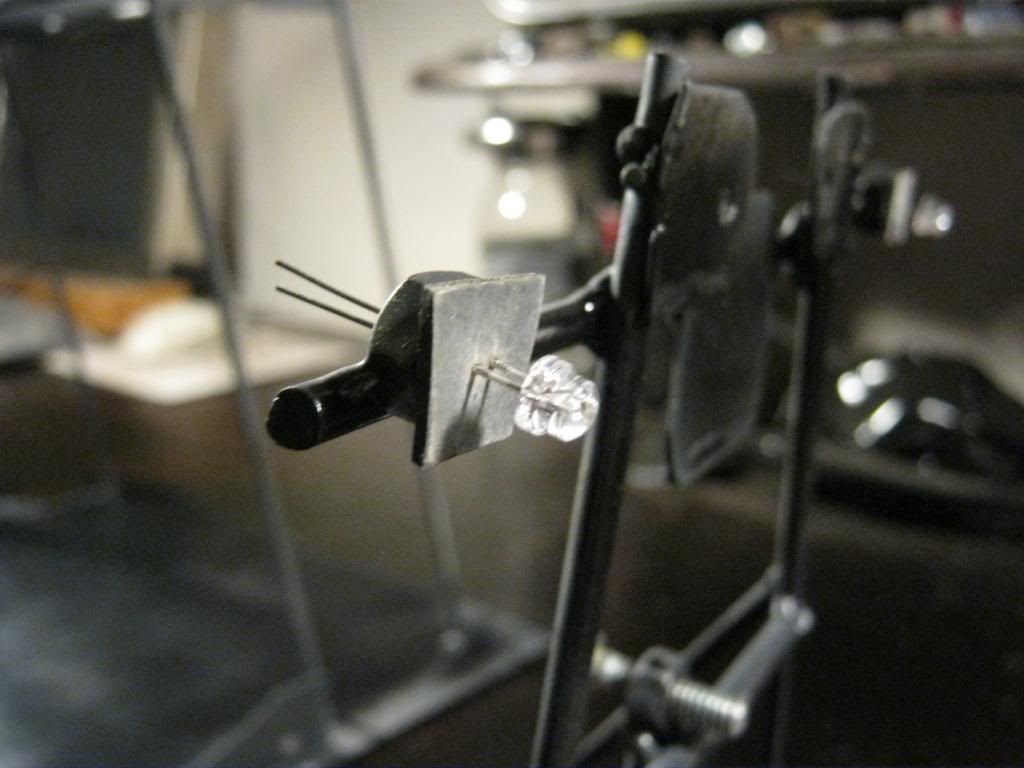
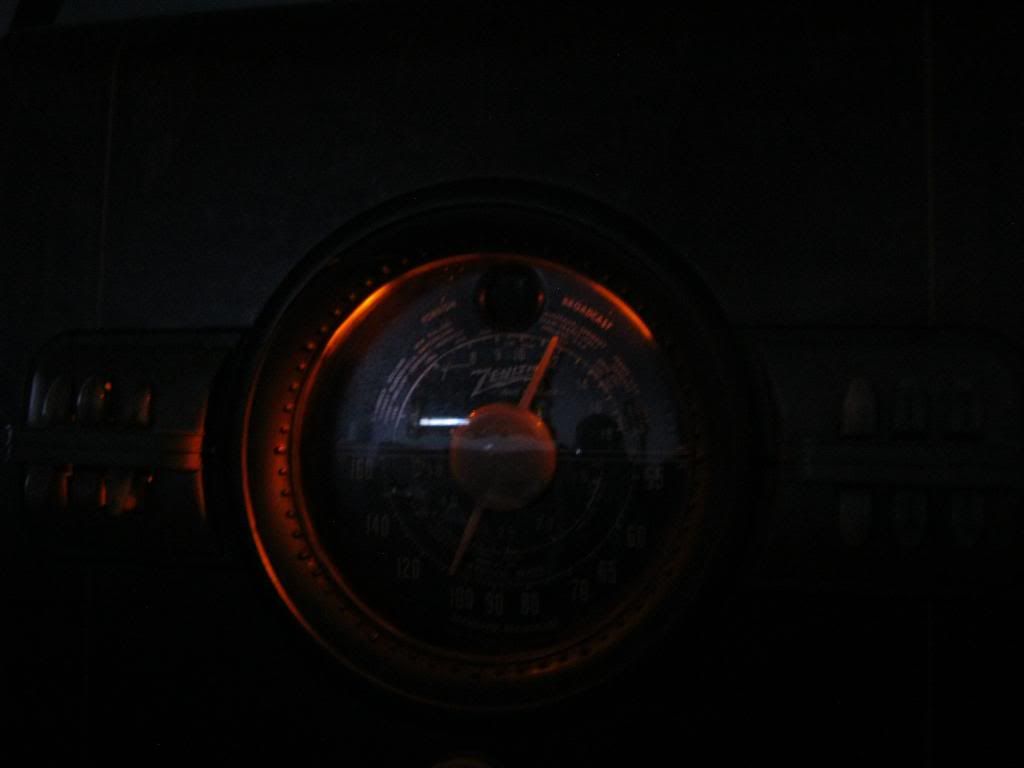
Here you can see how I mounted the original dial that sits in front of the faceplate. I found a bolt with the right diameter that allows me to screw the original dial onto the end. After screwing the dial onto the bolt I can then screw or unscrew the bolt itself to move the dial in or out until I achieve the spacing I need. I have always loved orange lights so I studied and with the help of some savvy friends learned how to wire up LEDs. LEDs are not like light bulbs in that you cannot simply wire up however many you want. There is a formula to indicate how to wire them and how many to use in a series and what kind of resistors to use depending on how many LEDs you want to use, what their voltage drop and tolerances are and if you want to use them in series or wire them in parallel. I decided to wire mine in series because I was only using two and because it only requires one resistor for my particular application. In this picture I have the resistor covered in shrink wrap. I then wired the exposed wires into an internal USB cable that plugs into the motherboard. I used a multi-meter to determine which wires on the cable were the 5v source and the ground, then I cut the wire, taped off the ones I didn't use, and wired the rest into the LEDs.
Here is a mockup sitting on the floor.

Because I don't know very much at all about how to build a computer Nick helped me order all the parts I would need and then when it was time to put them into the encasement he came over and helped me wire everything together, and it was a good thing he did because I would have been lost.
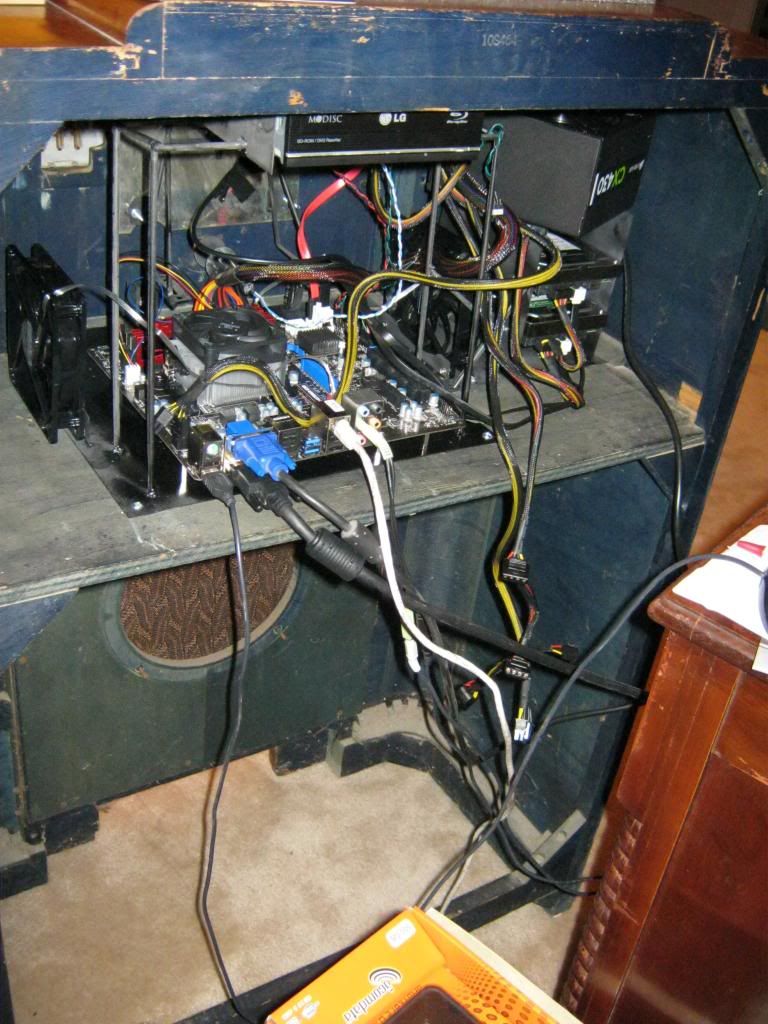
In the end you cannot tell the old radio is actually a computer in disguise.

There are still a few things to work out. I need to take the fans back out and change their direction. I need to resolve some issues with getting the computer to work with my computer speakers as well as play movies on my television while using the surround sound. The biggest disappointment was the orange LEDs. It turns out they weren't nearly bright enough. Unfortunately this isn't as easy as simply swapping in brighter ones, but it's close. I'll have to remove the faceplate and find new LEDs that are more powerful and determine what kind of resistors to use to make the change. All in all, I think it was a success with just a few bugs to work out. The button on the front works great and pretty soon the entire project will be completely finished.
Also, on Saturday, Jacob went with me to take the '57 up to Kentucky to a guy that is going to try to stop the perpetual oil leak. When we got back I showed him how to do his first donut, which is definitely a picture worthy event.