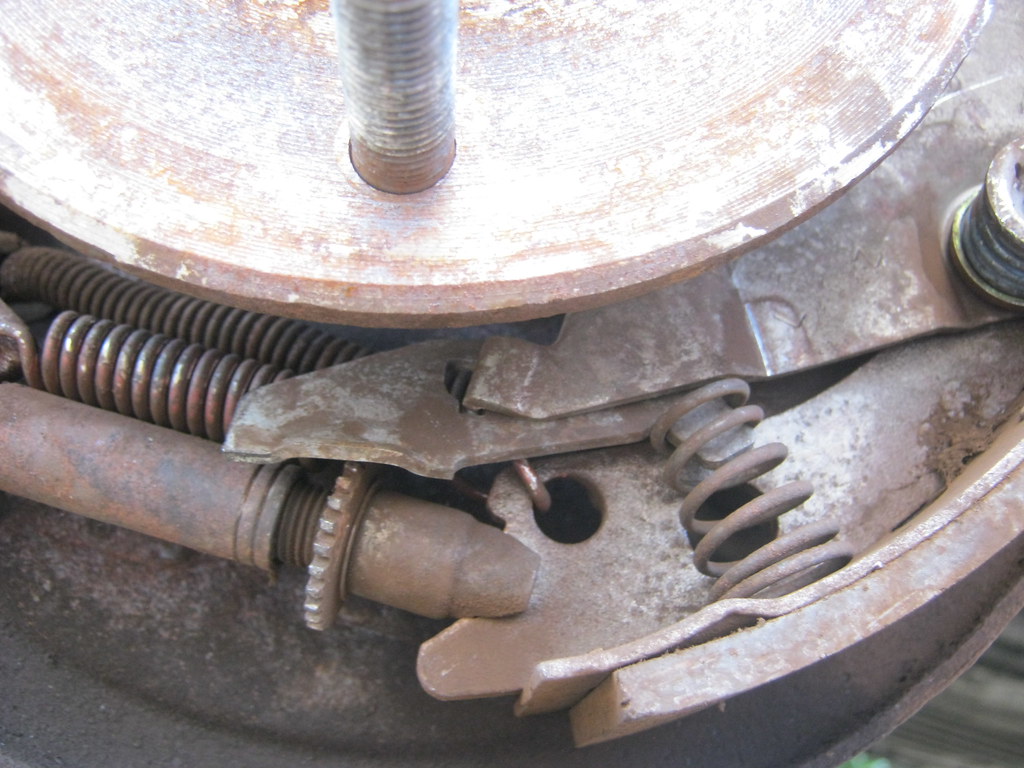
I checked and the other side was the same way so I reinstalled it correctly. Below is a picture of the correct way to install the lever.

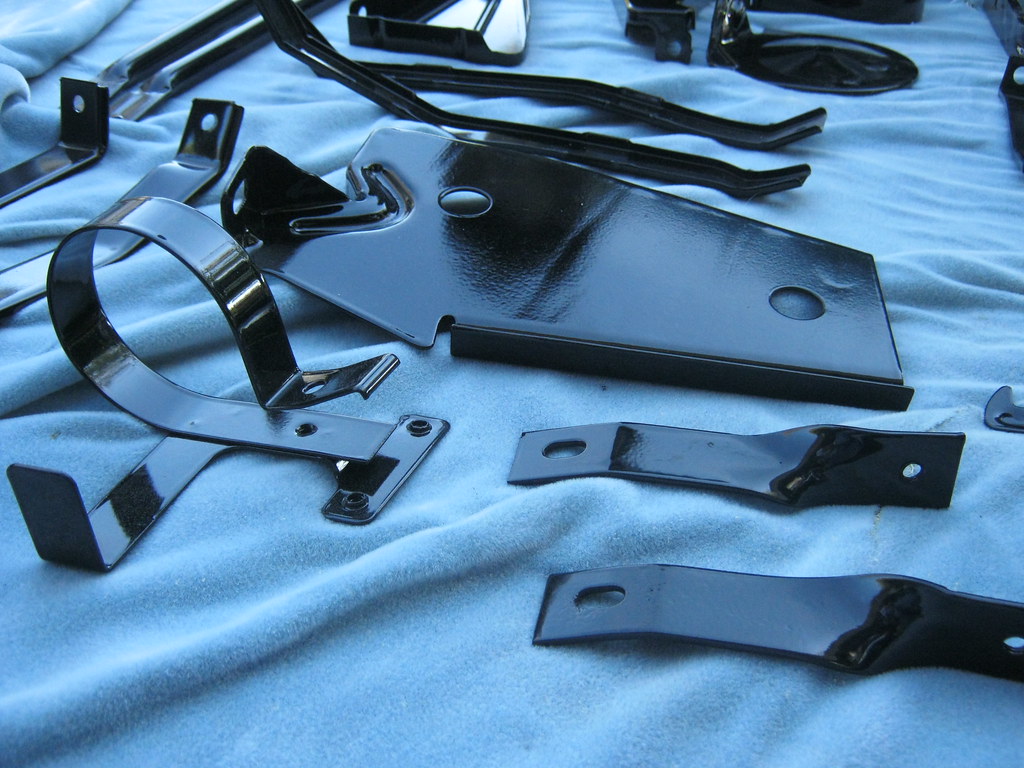
The powercoater finally finished with all of the parts so I went and picked them up. I'm working within a pretty tight budget with the insurance money, but I believe this step was necessary to have a finished product to the standards that I want the car. I checked all the parts I got back with pictures I had taken before to make sure nothing was missing.
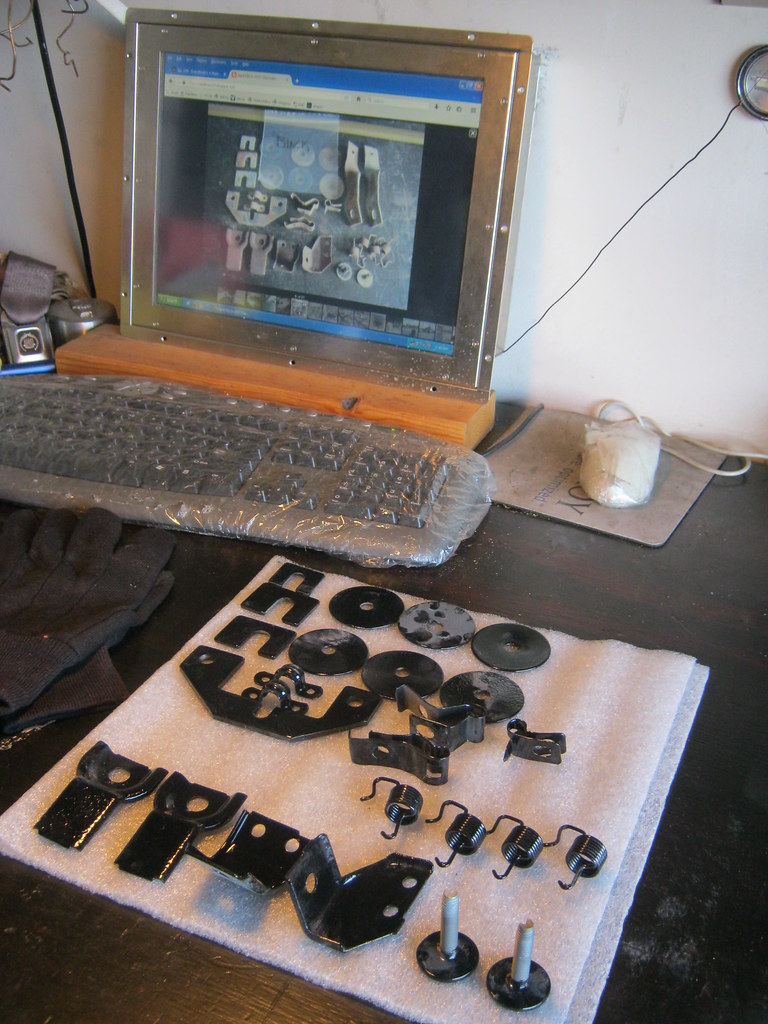
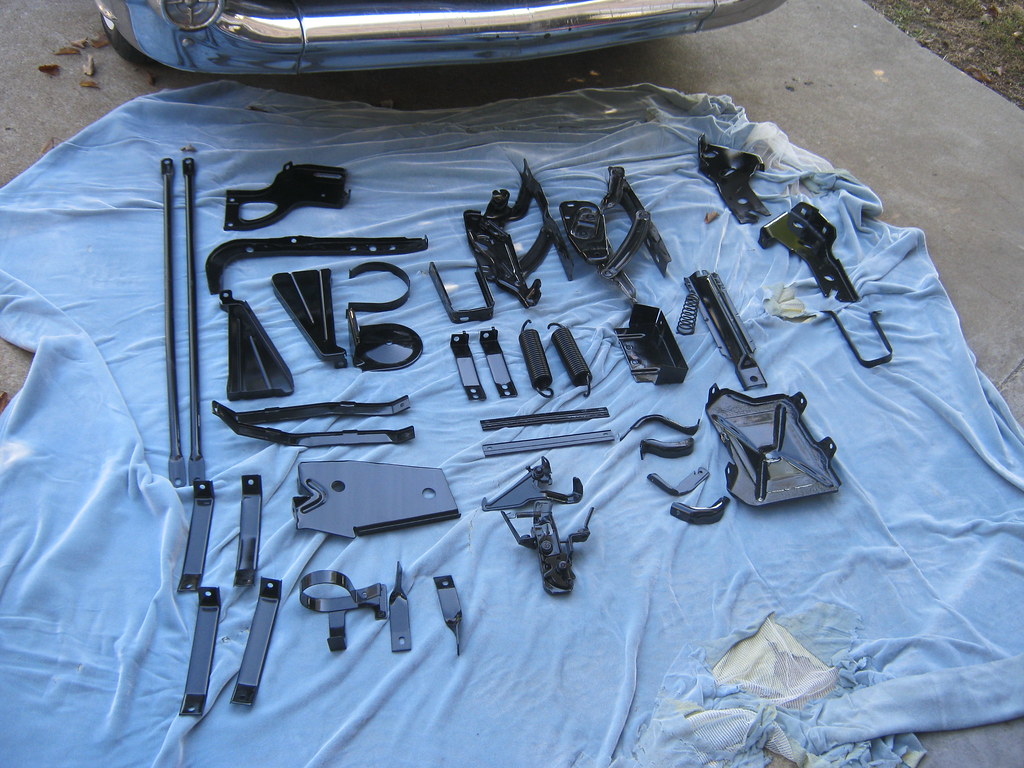
One good side effect of having everything powdercoated is that they aren't just protected well, they're shiny.
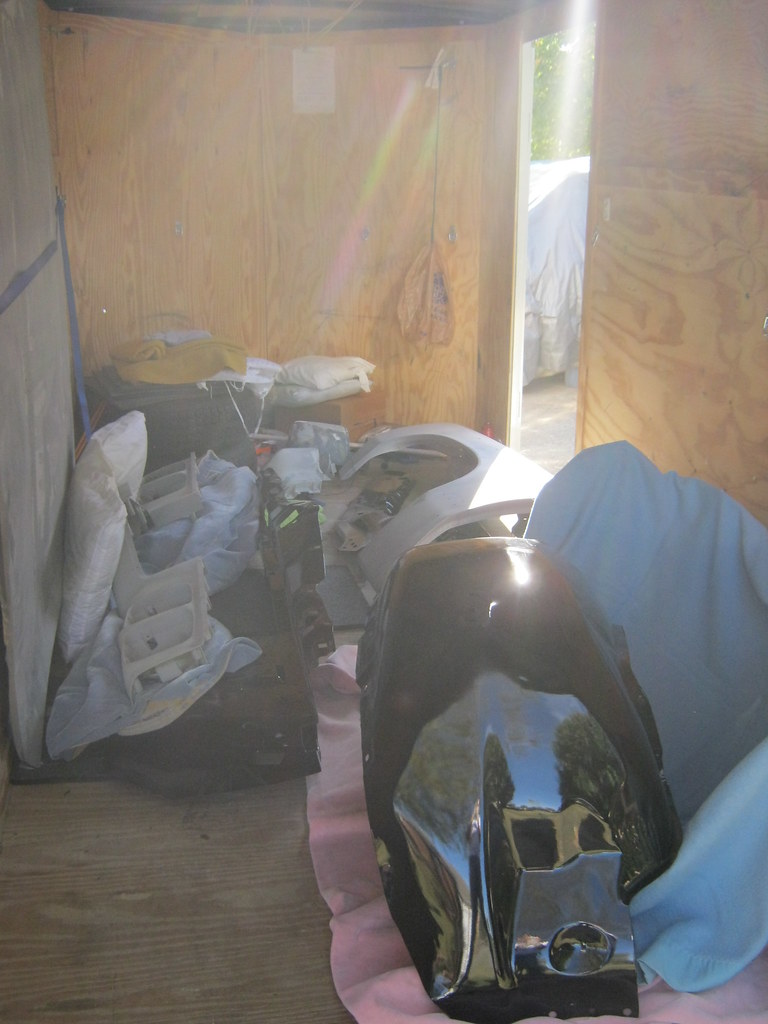
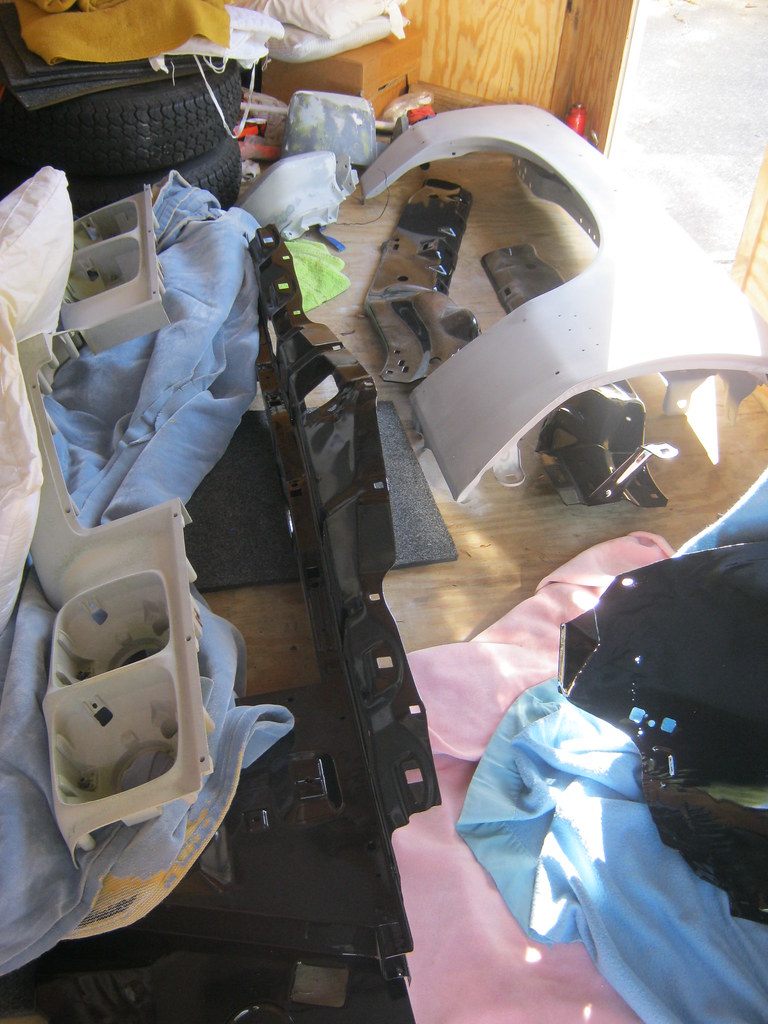
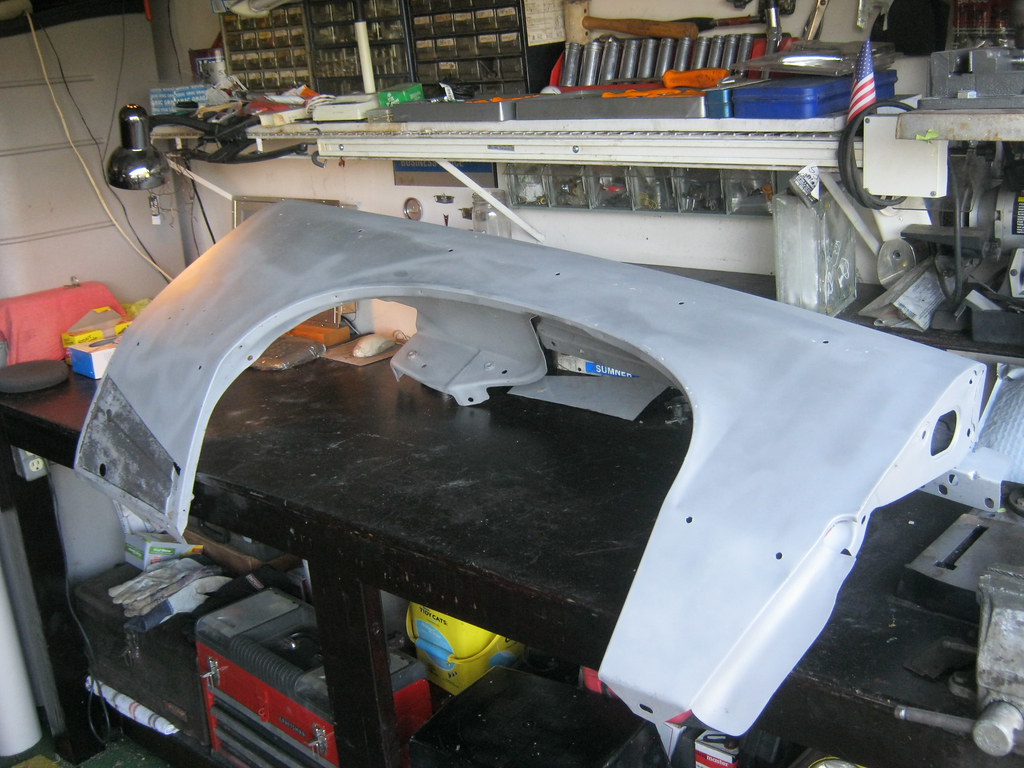
All the sheetmetal and front end fiberglass was present. The core support looks a far sight better than it did.
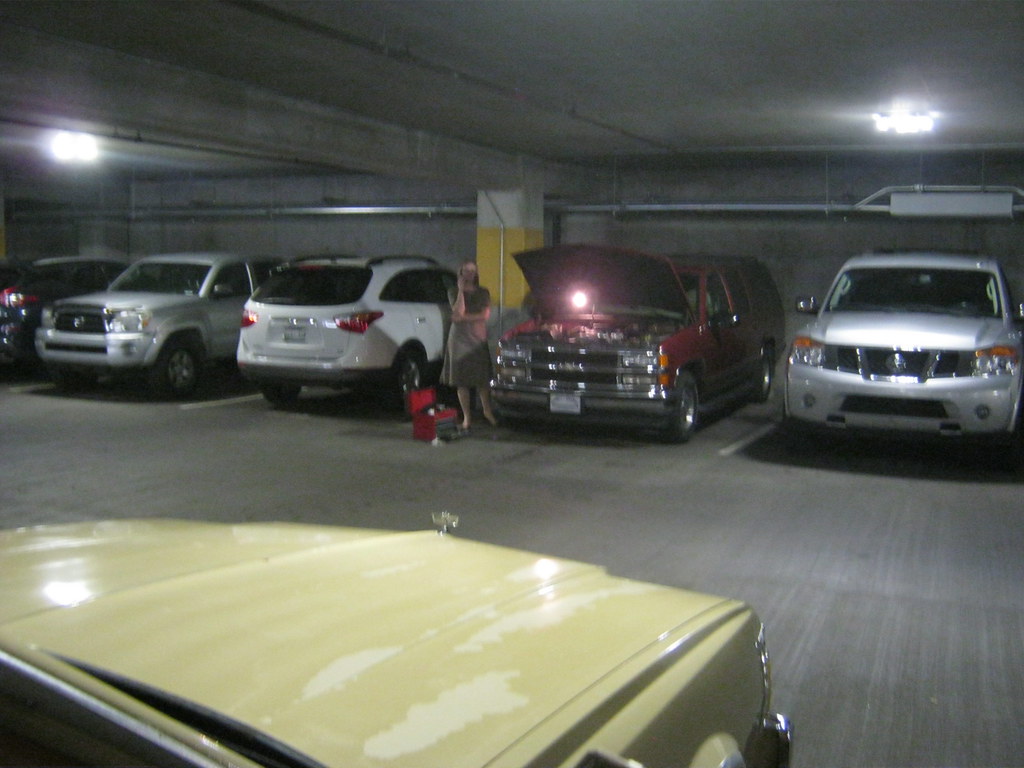
April called on her way to work and said that steam was coming from under the hood of the Suburban. I loaded up a bunch of tools and went to her work. Fortunately, the only problem was the clamp on the new heater hose fitting had cut into the hose. I cut the end off, pulled up some slack, reinstalled the hose, added some fluid and it was fixed. Unfortunately, this ruined any productivity for the day.
The fender is back, devoid of paint or rust.
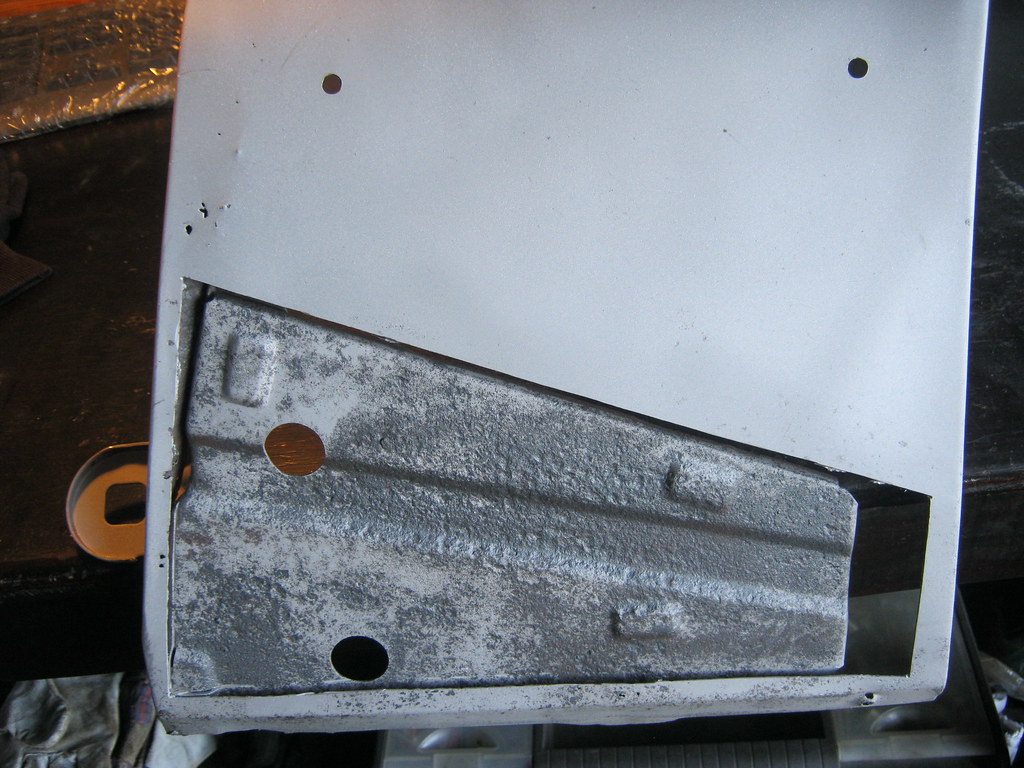
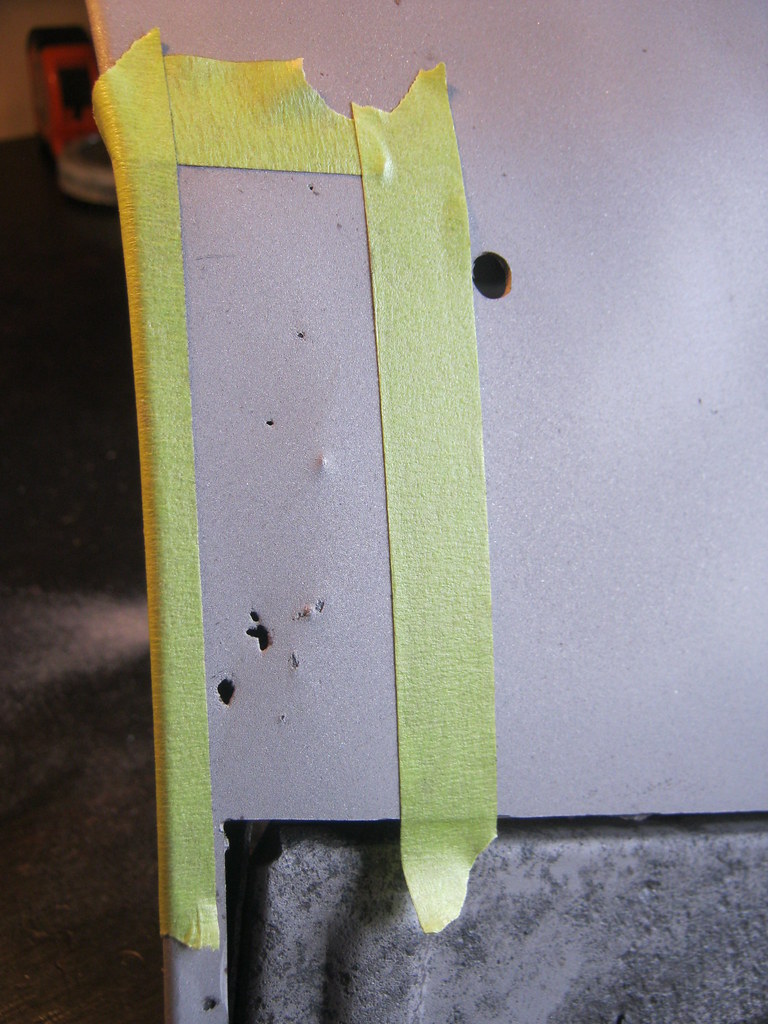
Notice the top left of where the patch panel has been cut. There are some pinholes there that didn't show up before the sandblasting. The only correct way to fix this is to cut out more metal.
A closer look.
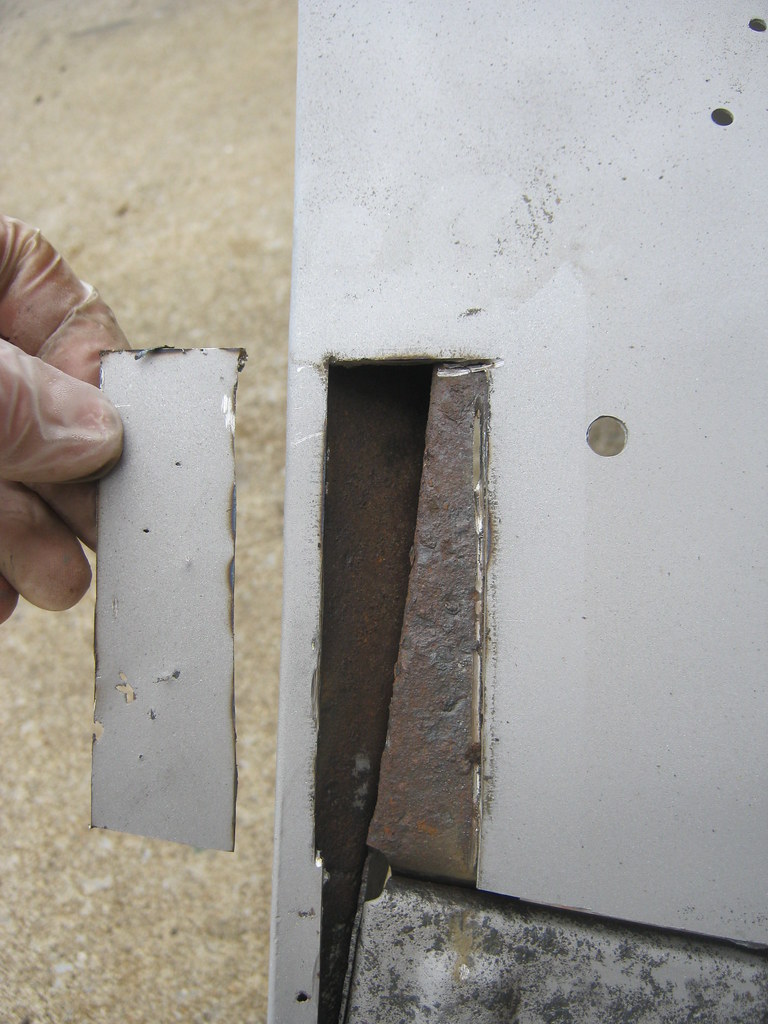
Once again, I'll use the piece I cut out as a template to make a new piece. You can see the rust on the brace, though it doesn't show up in the picture as it does in reality. Unfortunately I found this out after, and because of, the sandblasters. I went to Lowe's and bought some sand so that I can sandblast this area myself. I could not find the Honey Coat that I used previously but did some internet research and found a 3M product called 3M Rust Fighter, which is a paraffin wax product just like the Honey Coat. I'll prime this area with weld-through primer, coat it with the 3M product and weld it back together.
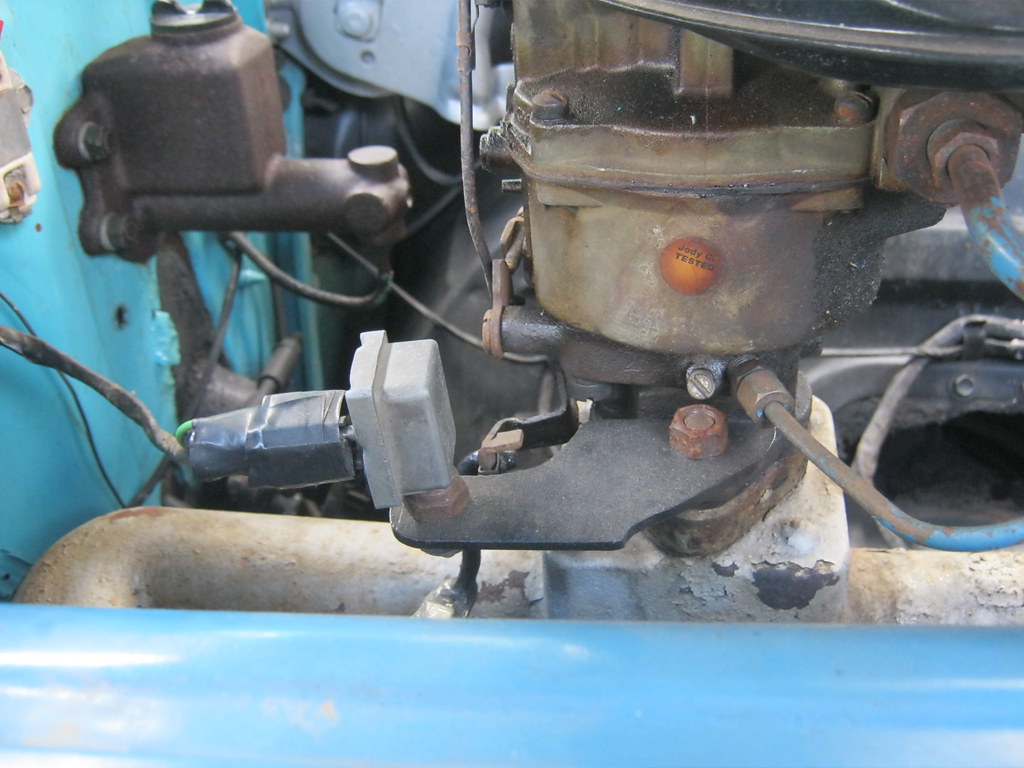
Then the fuel pump went out on the '57. Getting a new one isn't as simple as just ordering one, because there is a lot of controversy over which pump actually fits. After reading a lot of stuff on the internet I ordered one I thought would work best. It took a few days to arrive.
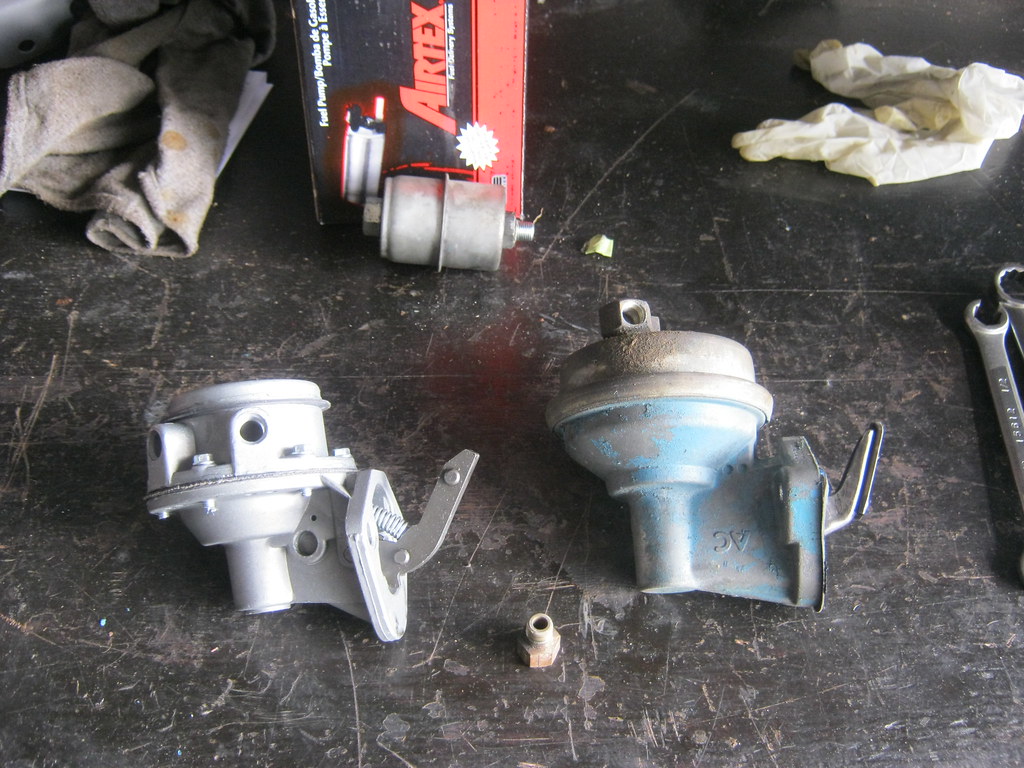
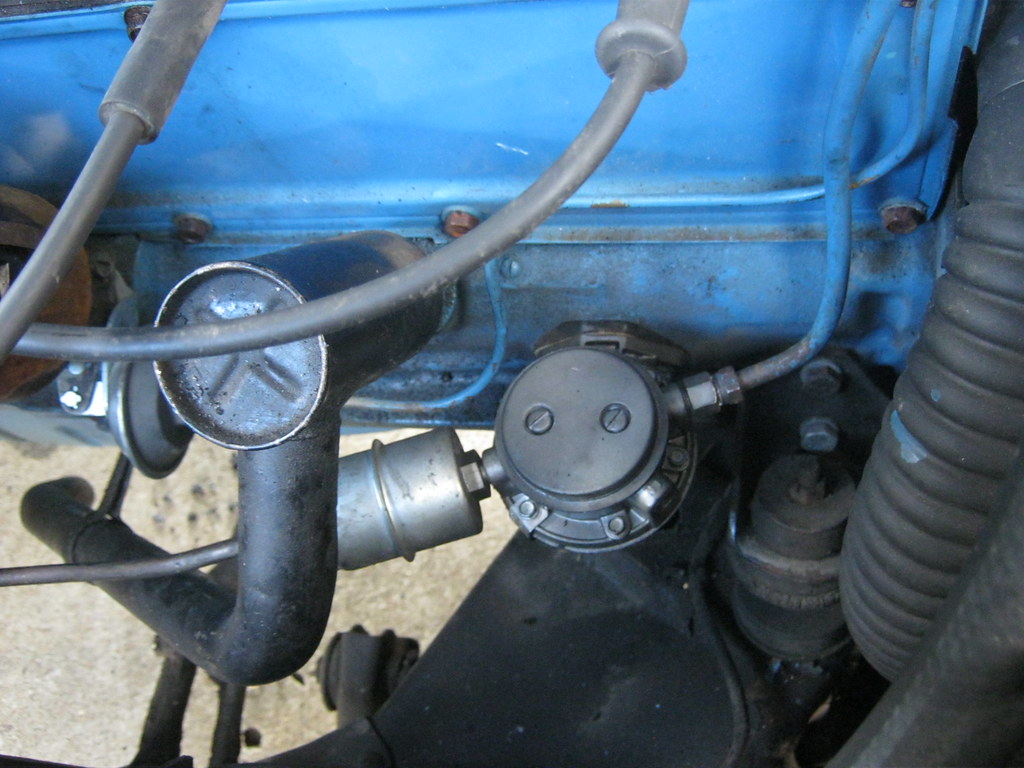
The old pump was leaking gasoline from where the top and bottom part of the body was crimped together. After a test, the new pump showed no signs of leaking.
Also, the overdrive has not been disengaging as it should with the installation of the new transmission. After a lot of reading I have determined that when the pedal is pushed to the floor and the kickdown switch is activated, it not only disengages the overdrive, but it also grounds out the ignition coil for a brief moment. The torque of the engine will prevent the prawl from disengaging if a load is kept on it, so a momentary "miss" is created by grounding out the coil through the overdrive solenoid and then as soon as the prawl in the solenoid is disengaged the ground is broken causing a seemless disengagement of the overdrive once the pedal is pushed to the floor. This is the kick-down switch and bracketry I made a while back. I printed a couple online Borg Warner overdrive manuals from the internet so I'm going to be following them to diagnose the cause of the problem. I'm hoping it is not this switch because they aren't cheap or easy to find and I'd just as soon replace a broken wire than try to rebuild a broken switch.