To help cut costs, Larry, the owner of the body shop, allowed me to come and do all the prep work on the parts to be primered. I had brought the parts up to the shop ahead of time to keep them from flash rusting in the barn but I was surprised to find they rusted worse in his shop than they did in our barn. This meant I had to sand down all the surface rust, then tape off all the parts for primer and then clean them with grease and wax remover. I had intended to get to my parents' barn around sunrise and finish the sand blasting I couldn't finish earlier because of the wet sand but as luck would have it a massive rain storm moved in that night. That morning it was coming an absolute flood. I slept in an hour, hoping it would pass by, but it didn't. I put my mud boots on and locked the hubs in on The Blazer and pulled down in the field to load up the door. Even though I backed right up to the door it still got wet. The cows also thought that since a truck was coming in the field they were getting fed so they swarmed my truck and I literally had to knocked them out of the way with the front bumper. I though they were going to cave the sides in (worse than my mother already had by backing over it) but they didn't. Finally I had everything loaded up and was on the way up when the heater core blew. It leaked antifreeze in the floorboard and blew it out from under the truck, which caused it to overheat. I was near my destination, which is about 20 miles away, so I limped the truck to the shop by letting it cool down enough to start and then floor it and coast up and down the hills with the engine off until I got there. Once there I worked most of the day on preparing the parts to be primered and then I had to borrow some tools and bypass the heater core, so now I have no heater. I had to set the parking brake because I pulled the truck right up to the door to unload it to hopefully avoid the rain. I set the parking brake so it wouldn't roll forward on the steep hill and when I went to leave it stuck and wouldn't fully disengage. It is still partially stuck and I'm going to have to take the rear wheels off to dislodge it. I eventually finished the day up and went home.
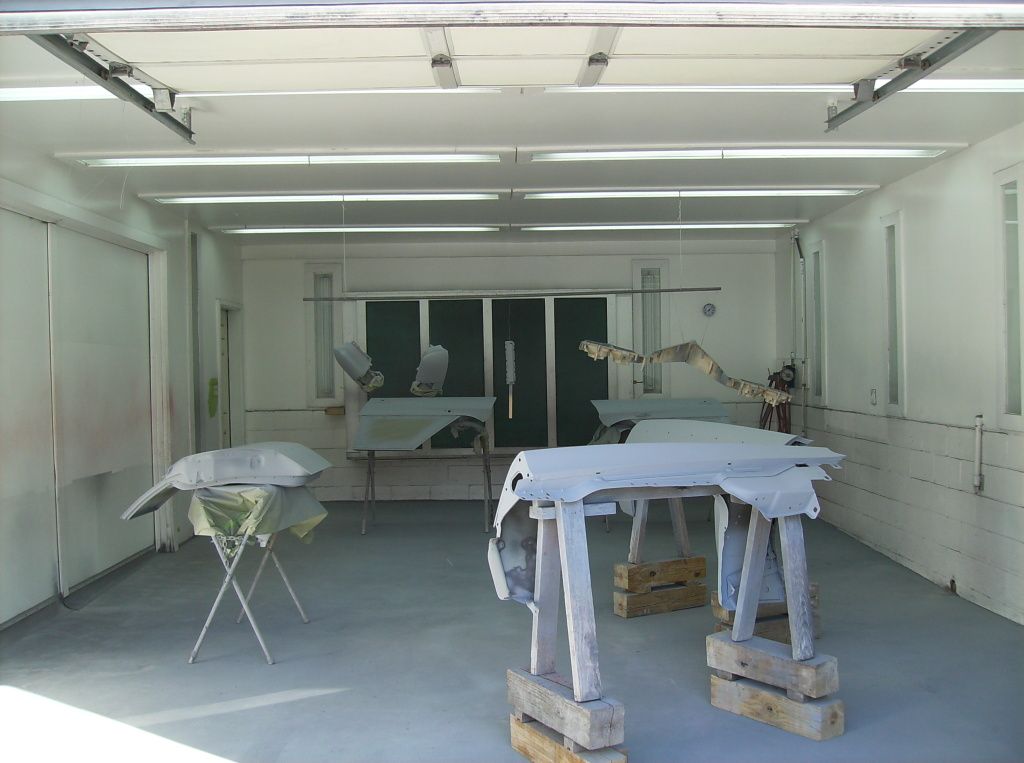
Here are the parts right after being sprayed.
Fortunately for me I ran into my friend Nick on the way up to the shop to pick the parts up. He was heading the same way and stopped to help me load them in the truck because these doors are very, very heavy and very awkward for one person to lift.

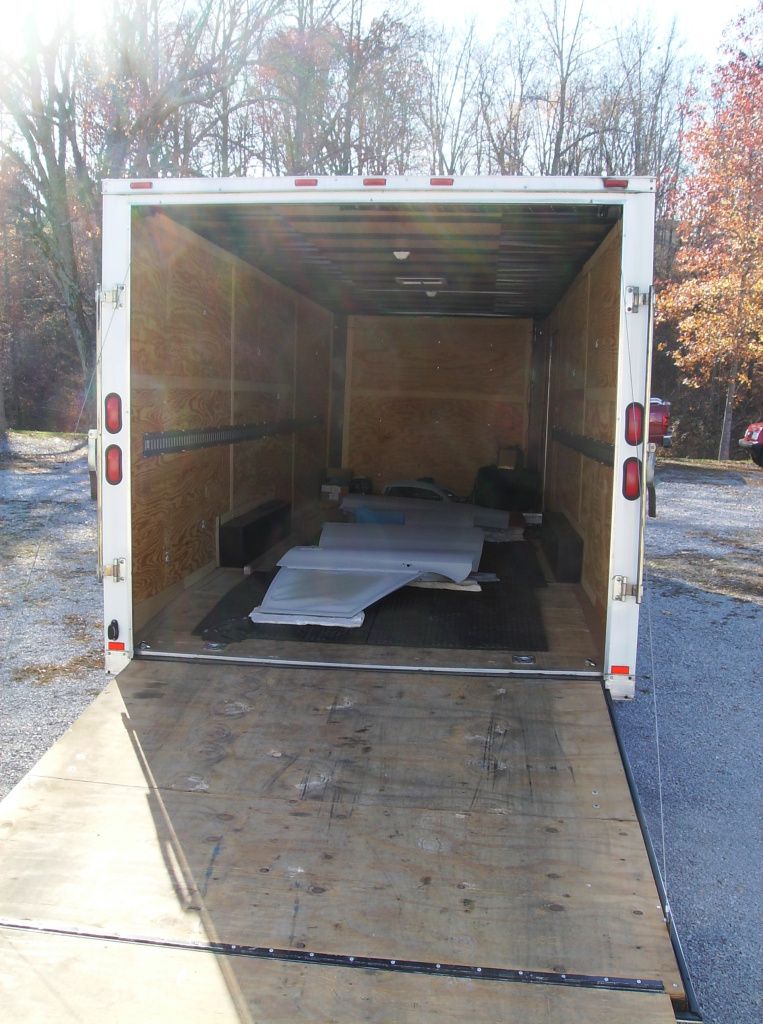
I borrowed dad's truck and trailer to bring all the parts home. It would have taken many trips to get them all home in The Blazer.
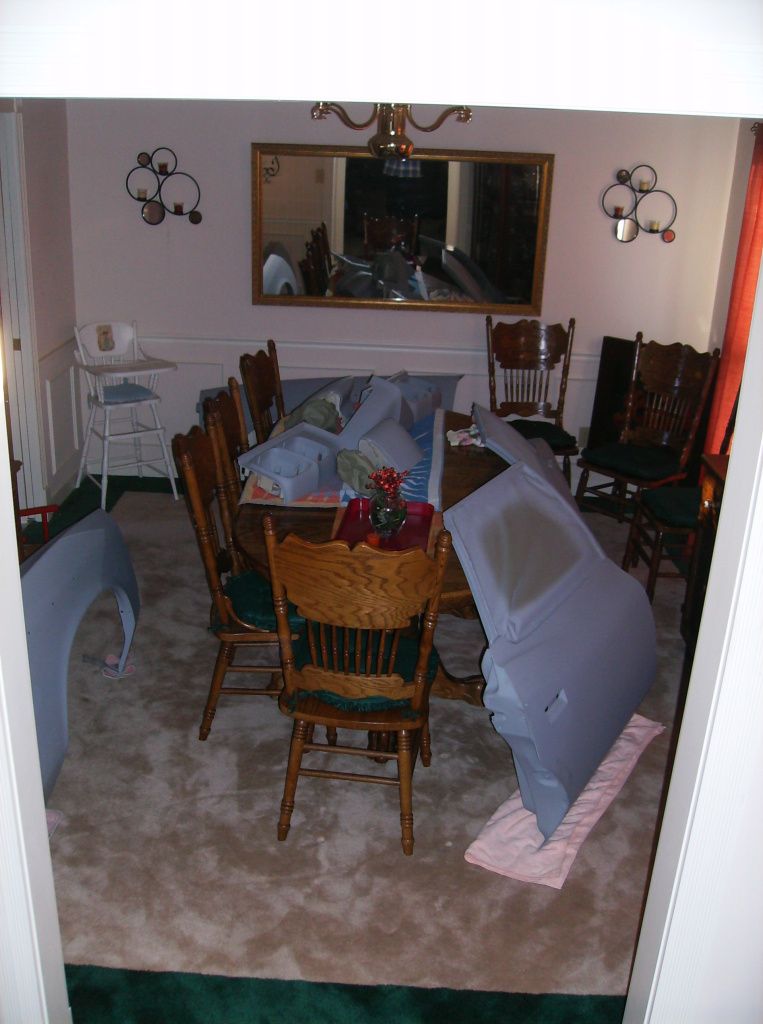
Larry called me the day they finished spraying the parts and said he needed the room in the paint booth so that meant I had to go pick them up just hours after they had been sprayed. I have literally no where to put them for safe storage because the barn is full and my sister's family is living in my parents' basement because their house burned down so it is absolutely full to the brim with stuff, not to mention it's not a safe place for body panels with their two kids and dog. Fortunately for me, April doesn't mind that I turn the dining room into a temporary parts storage. The worst thing about it, other than the clutter driving me insane, is that because these parts hadn't cured yet they made the house smell awful. We hung a sheet over the door and opened a window and a day later it's not bad. There's also a door in the guest bedroom.
Another problem that has been taking up so much of my much needed time is the fact that The Blazer and The Caprice won't pass emissions this year. The Caprice's carb decided to go nuts and the choke rod had come loose internally in the carb which caused the car to almost not run at all. I took it to a local mechanic here and he rebuilt the carb at his house. When I went to pick The Caprice up he had parked it next to another car he was working on, a low mileage 1972 Caprice that the owner's mother had owned. The owner is getting it in good working condition and is going to sell it.
As usual, I forgot to bring the camera with me a few days so I don't have any detailed pictures of the process but I finally removed the tailgate and have begun sand blasting it. It also took the better part of a day to remove all the many interior trim pieces necessary to prepare to remove the side windows.
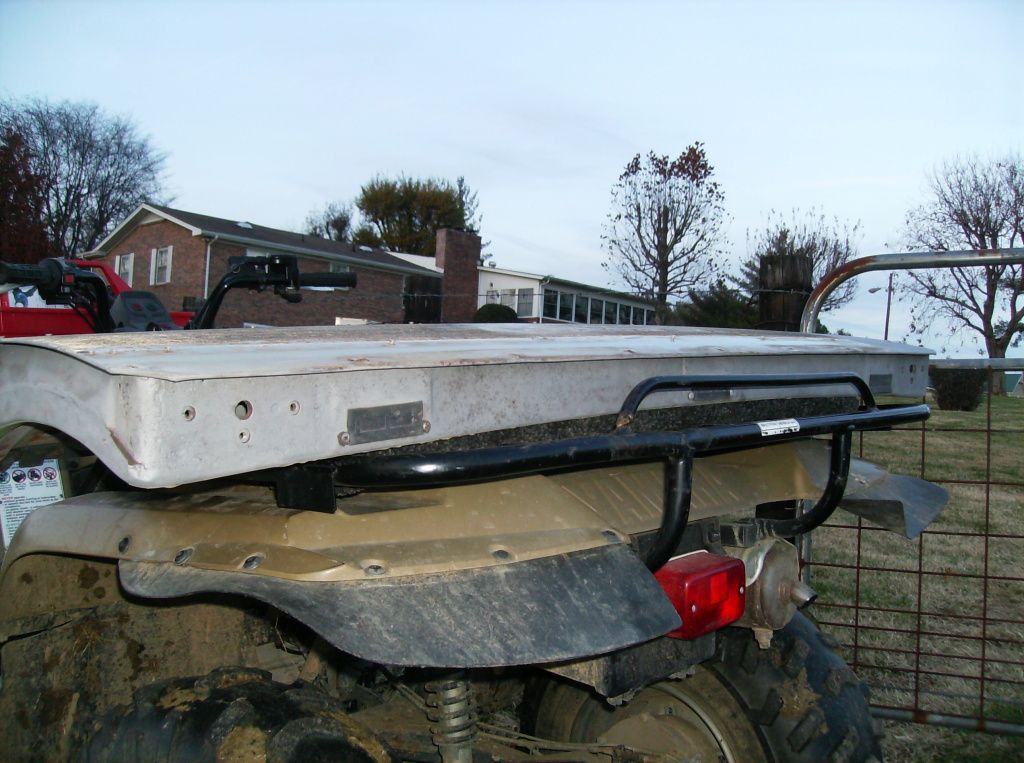
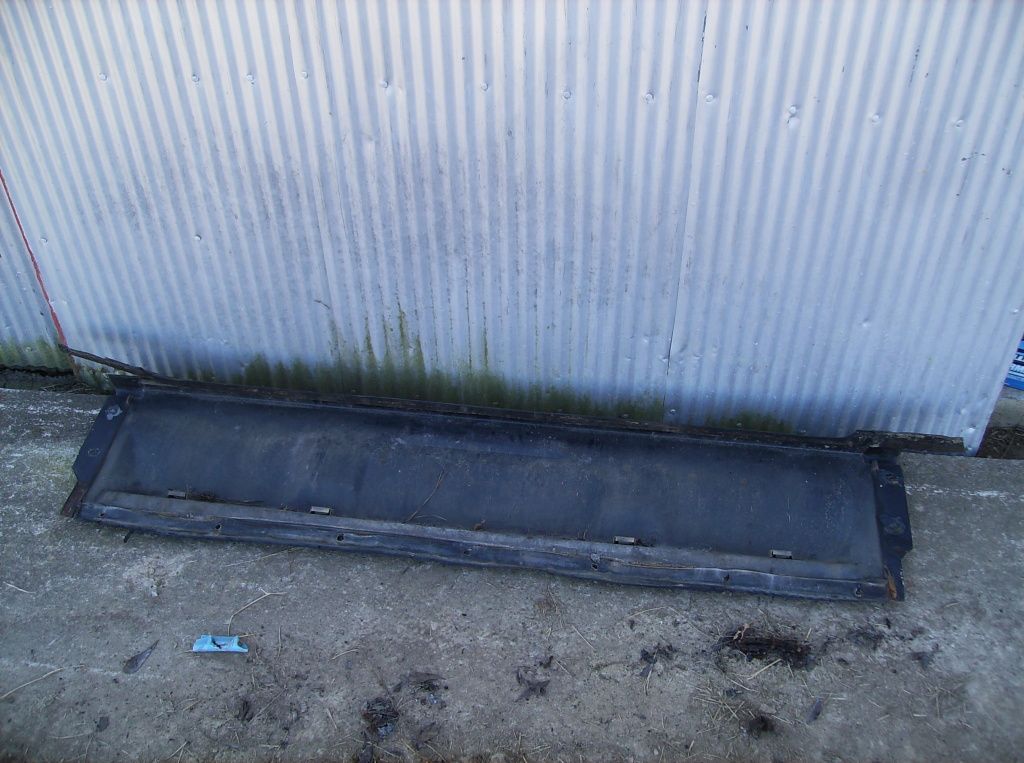
First I had to remove this tail panel which covers the storage area for the tailgate when it is in the open position. It doesn't look like it but this piece of of metal is much thicker and much heavier than you would anticipate.
Once again the manual wasn't very clear on exactly how to remove the tailgate because it referred to parts that I don't know by their technical name, such as the "tailgate torque arm." Fortunately I was able to find very detailed and helpful pictures on the internet from someone that had done the process before. To get the window up I had to remove the motor and separate gear reduction assembly, remove the cable and use vise grips to turn it until the window was cranked up. It seemed to go up pretty smooth but took what seemed like 30 minutes of cranking before it was fully open.

If you look at the bottom of the track the tailgate rides on you can see why it wouldn't go down all the way. This was even after I had taken a screwdriver and cleaned some of the trash out of the way. This area appears pretty nasty right now but there are no places rusted through and after I sand blast this area it'll look as good as new.
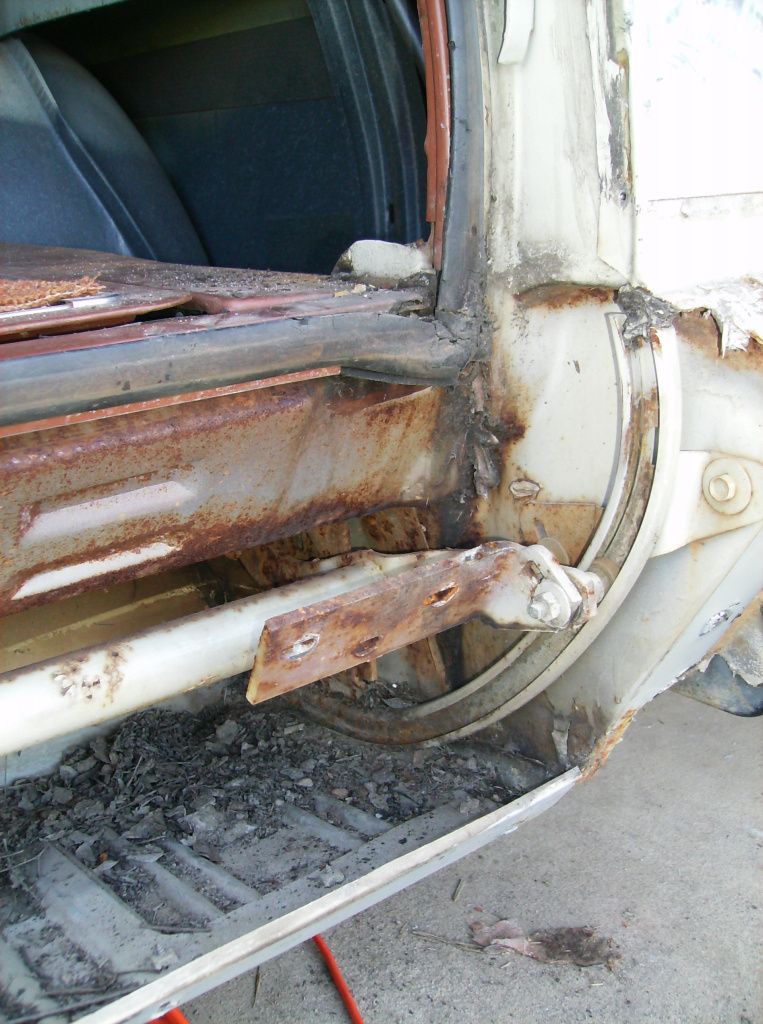
This is one of two places on the bottom that the tailgate mounts to the rod shown in the previous picture. I learned from others that because the tailgate is lifted from only the side shown here this can be an area that can cause problems. If moisture is trapped here, as it has started on my car, it can eventually cause rust to weaken the metal and cause fatigue and cracks. Fortunately for me there were no cracks and no rust through so I won't have to make any patch panels or fix anything here.
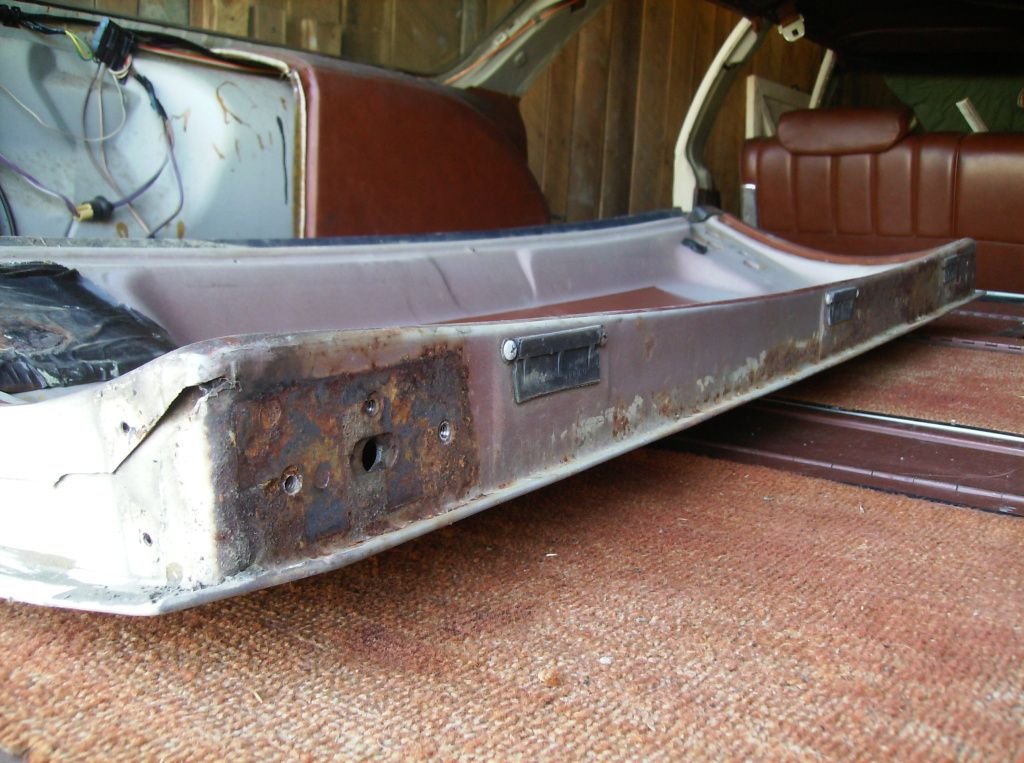
I ran out of sand and wasn't able to finish the outside but I finished blasting the backside of the tailgate. You can compare this picture to the previous one and see all the rust is gone. Because the glass does not slide into the tailgate as it does on many models, this tailgate is very light once removed.