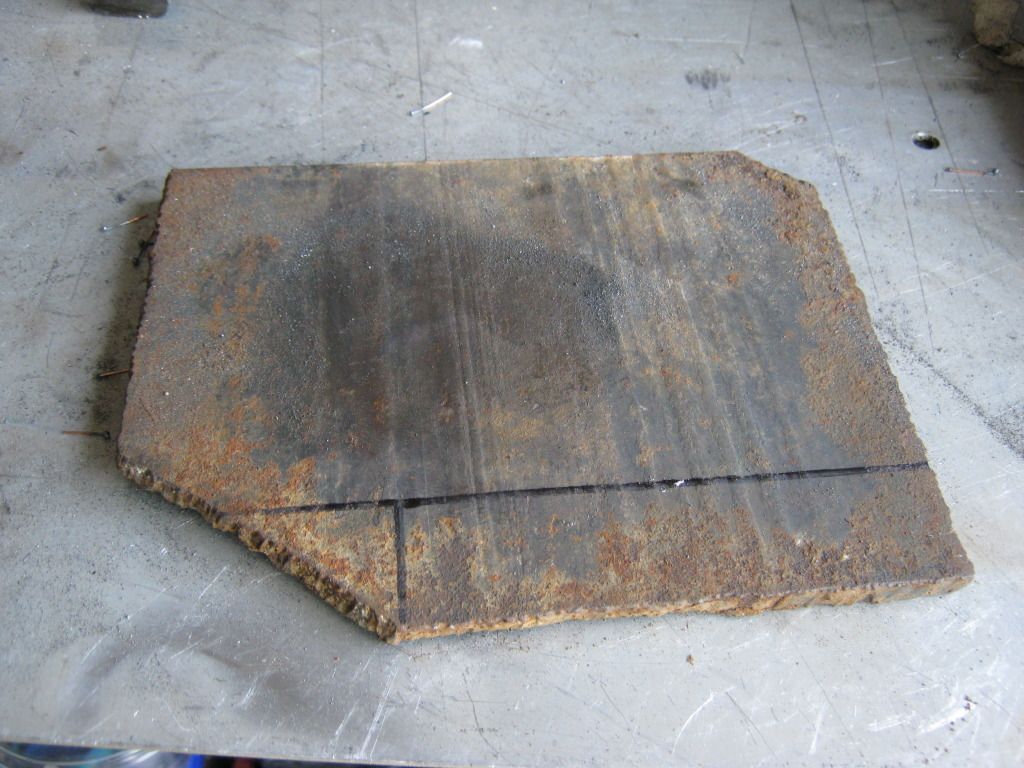
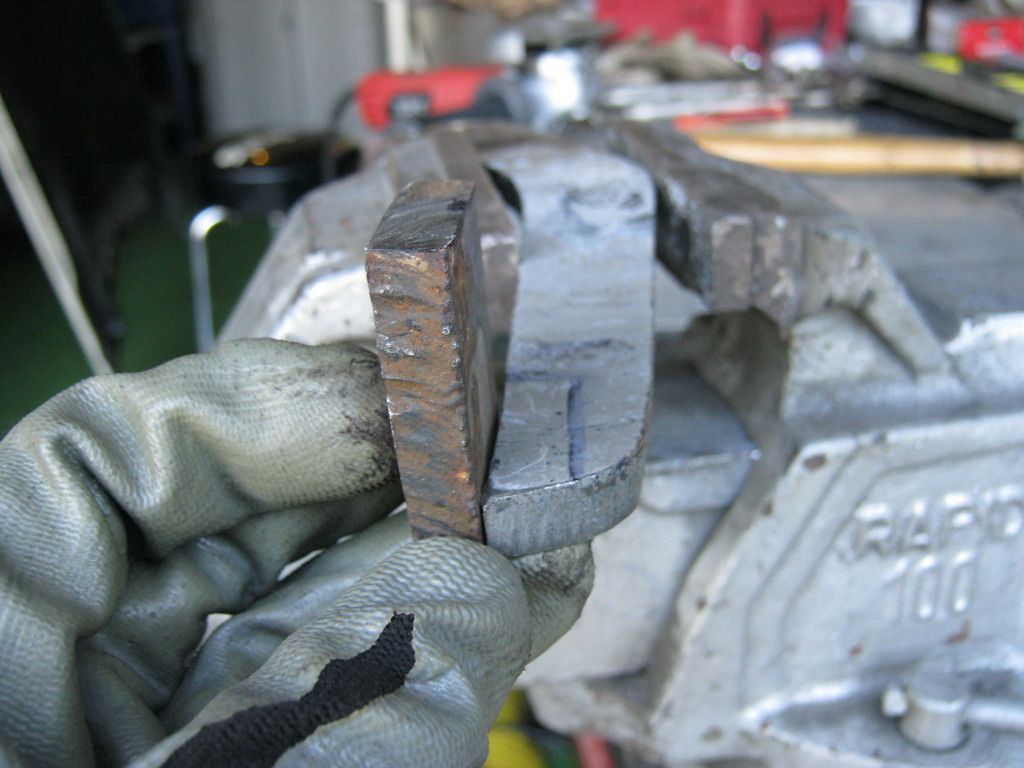
After I got the old arm cut apart I started with this thick piece of steel I picked up at the scrapyard. I saw it and thought that it would some day come in handy because of how thick the steel was. I turned out to be correct because this steel plate is the exact same thickness as the brake arm that came with the master cylinder kit. Here I've drawn out some measurements to cut out a new piece.
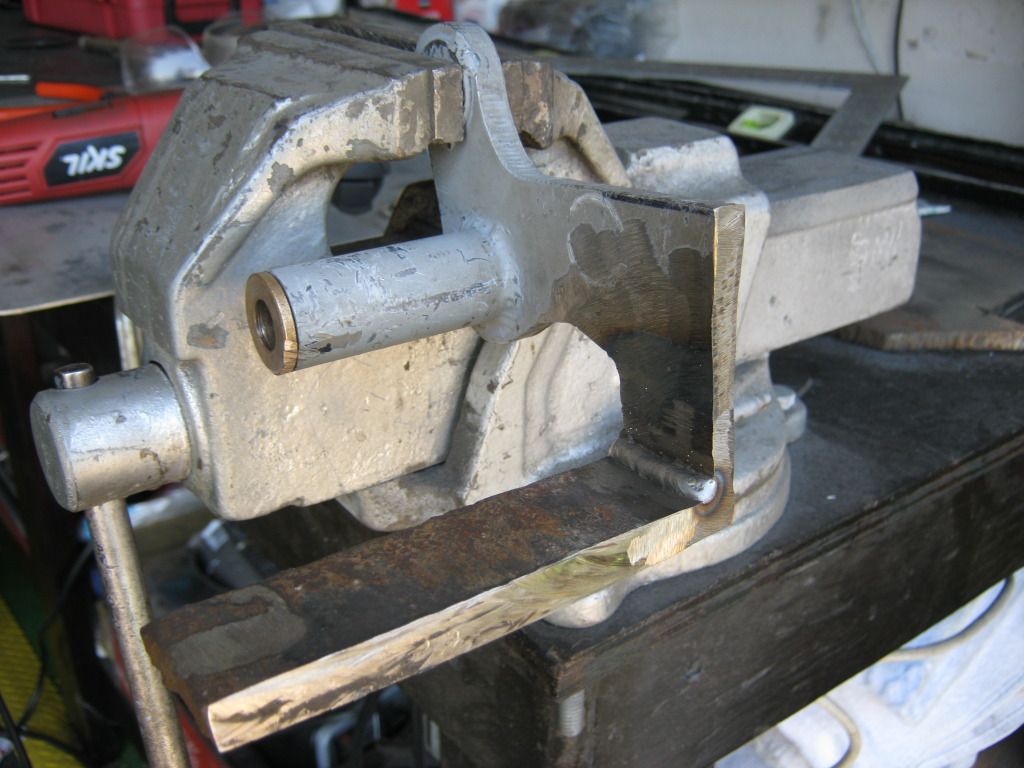
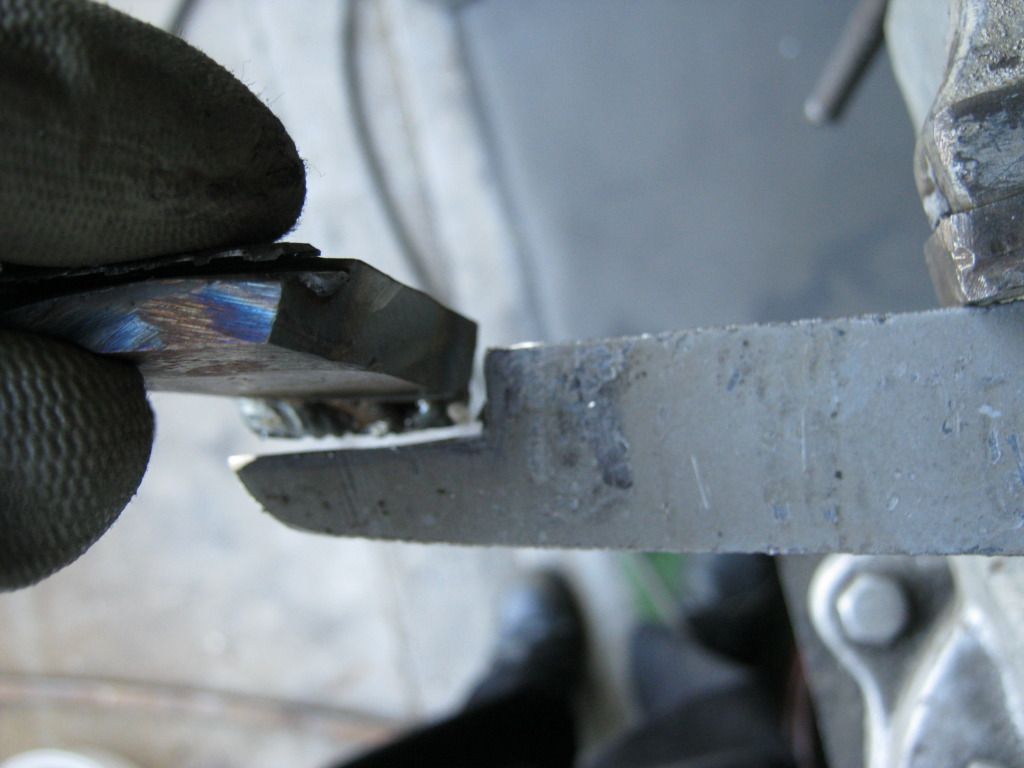
And as with each step, I tack welded it in place so I could assemble it and make sure everything was square before doing the final welding and grinding.
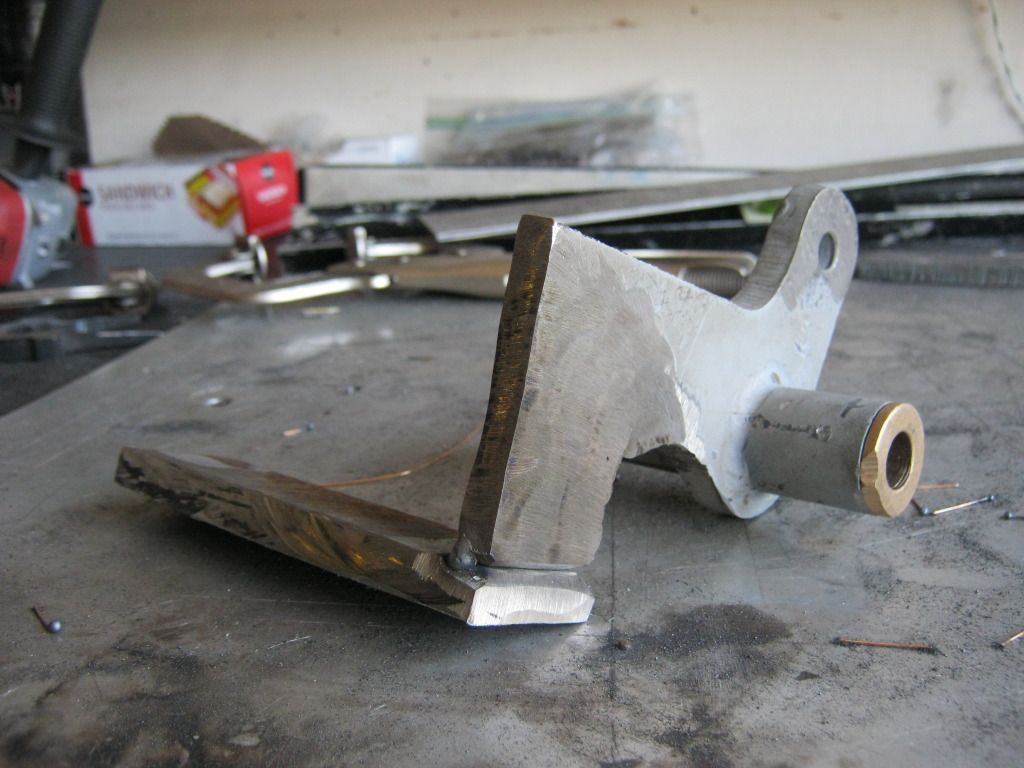
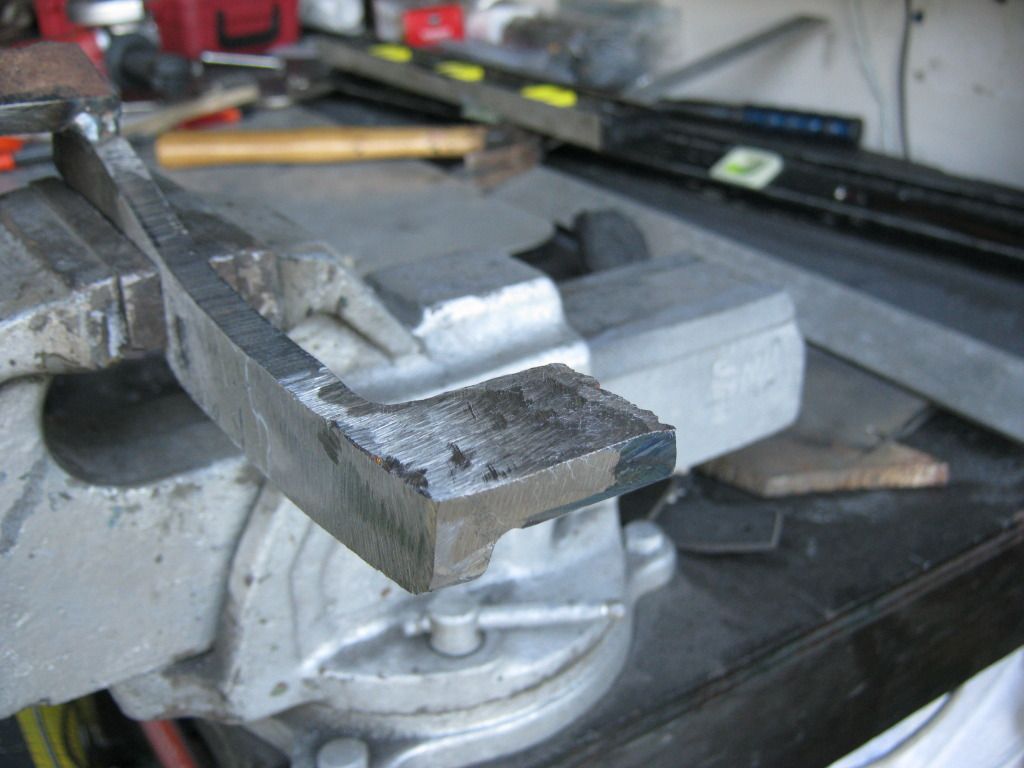
And the final assembly. I didn't smooth out the inside weld because I am not able to get to it with the grinding tools I have to make it look decent and it will be stronger as it is. Also, it won't be seen.
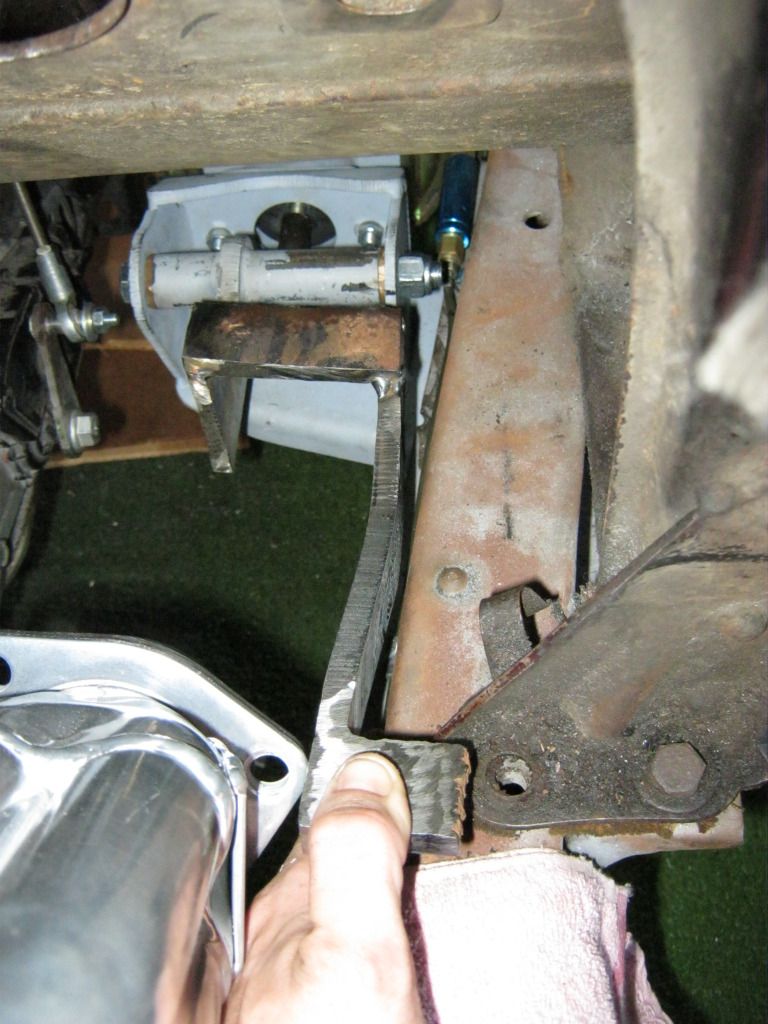
I could not weld the next tab onto the top of the new arm because there was no extra room for the added height it would have brought and I did not feel that simply welded it to the side of the arm would provide the necessary safety since this will be a part of the brake pedal assembly so I notched the arm and made the tab inset, giving it a perch to sit on.
And the finished product:
Although this doesn't look like a lot of progress, it took between 7 and 8 hours to get this far. Here is the stopping point for today.

I still have the old arm that would have mounted to this tab but because I have added length to the arm it has thrown off the angle of the arc that is necessary to go through the hole in the firewall and not rub. Because of this I am going to have to make some templates from cardboard until I come up with the right arc for the next piece of metal. It will weld onto this tab and go through the floorboard into the cabin. At that point I will need to make another piece that will allow the brake pedal mount to bolt to that arm, but I will wait until I have the gas pedal mounted to make that piece so I can make sure the brake pedal and gas pedal have a comfortable and safe distance from each other. I don't want the gas pedal to be very low to the floor and the brake pedal to be very high from the floor or it will be difficult to quickly reach the brake pedal in emergency braking.
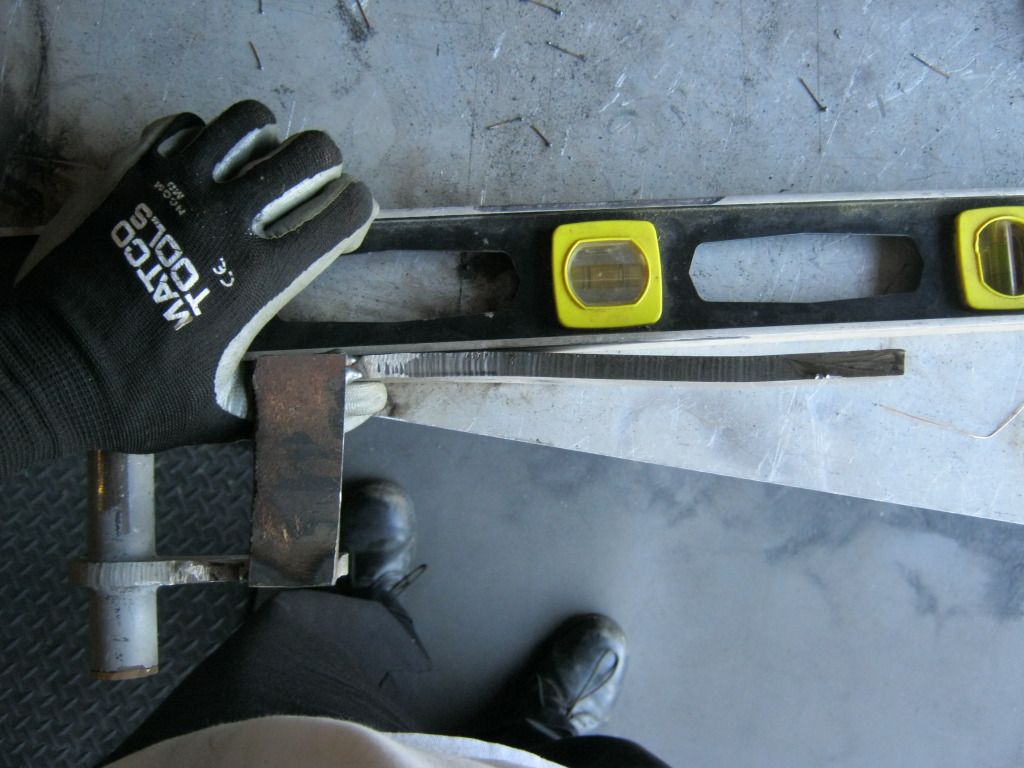
To find this arc everything must be lined up perfectly so I had to take the master cylinder mount off again and use the real bolt that will hold the arm on. Once reinstalled I checked all the measurements again. As you can see the arm will need to be bent about an 1/16 to 1/8 of an inch more to clear the header flange.
Once I have everything lined up and fitting well I will go back and add gussets and supports to strengthen the arm and its many bends.