This car has had the 283 replaced with a 327 bored .30 over and has a small cam. The air filter fitment has always been pretty finicky and after looking closer I realized that if you positioned it so that the throttle didn't hit the base plate when your foot was off the throttle, then it would hit when you pressed the pedal. If you adjusted it so it wouldn't hit when you hit the gas, then it would make contact with the base plate of the filter when you didn't touch the pedal. We marked and modified the base plate and got the throttle working with no contact with the air cleaner base plate.
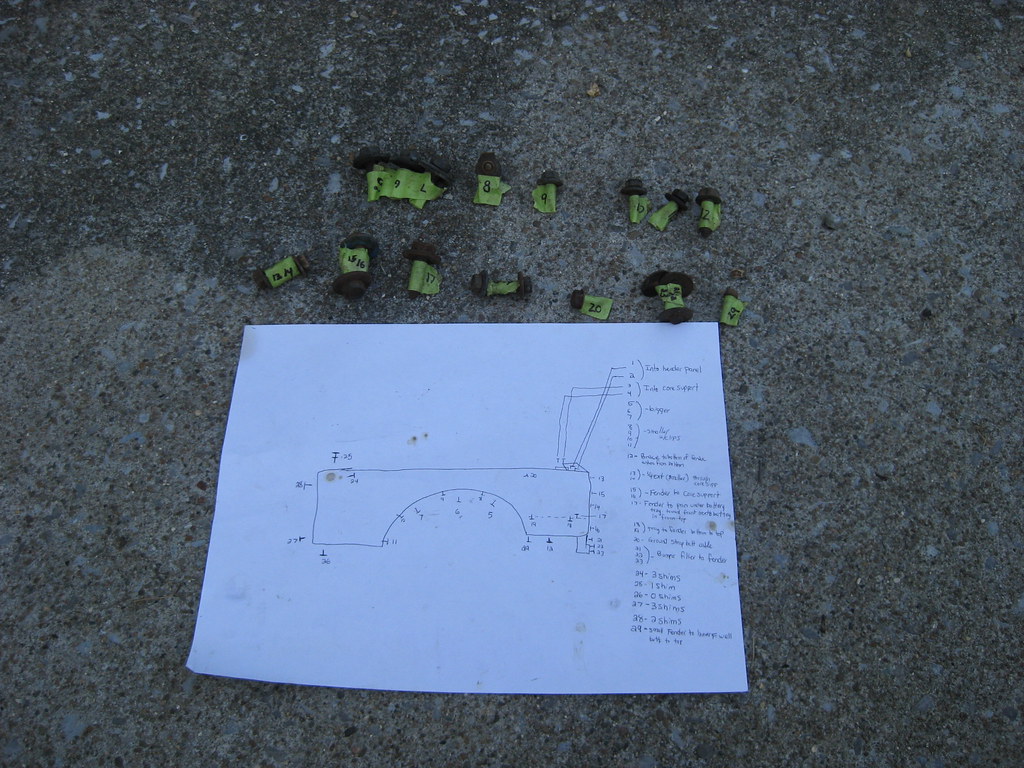
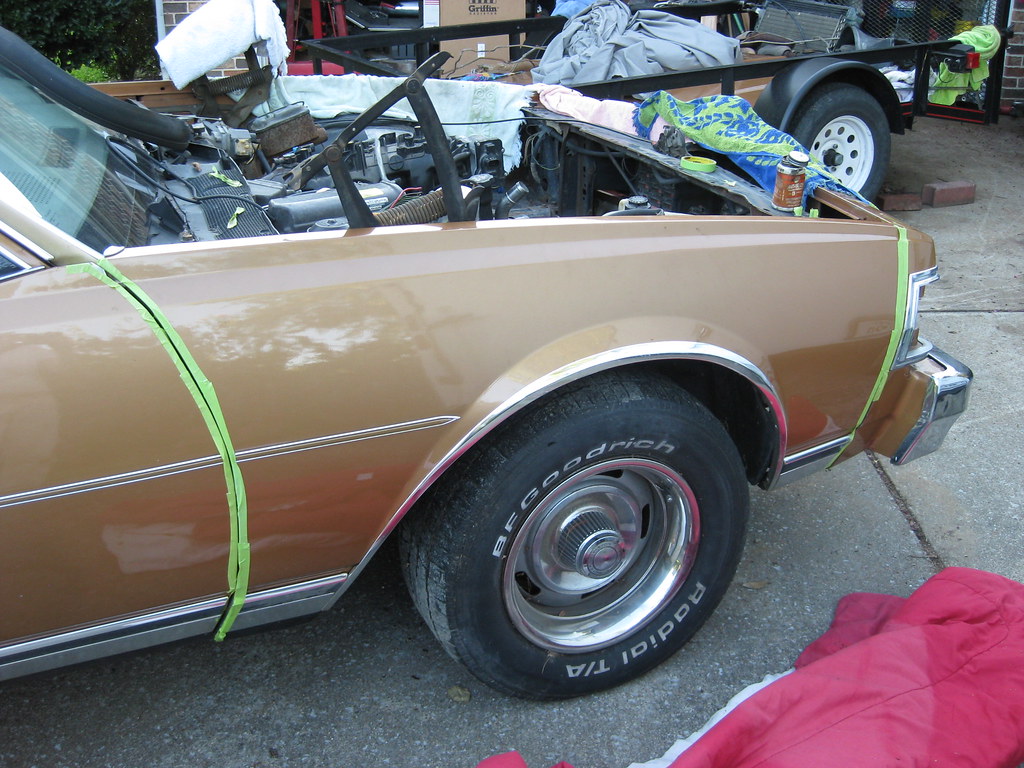
I put the passenger side fender back on. Working on the car would have been easier if I left the fender off, however covering the car continually with a tarp was a bigger hassle than it was worth. This is where all of the previous labeling came in very handy.
It's always easy to let imperfections slide in the alignment of panels because the factory didn't even align the panels correct back in the 70's.
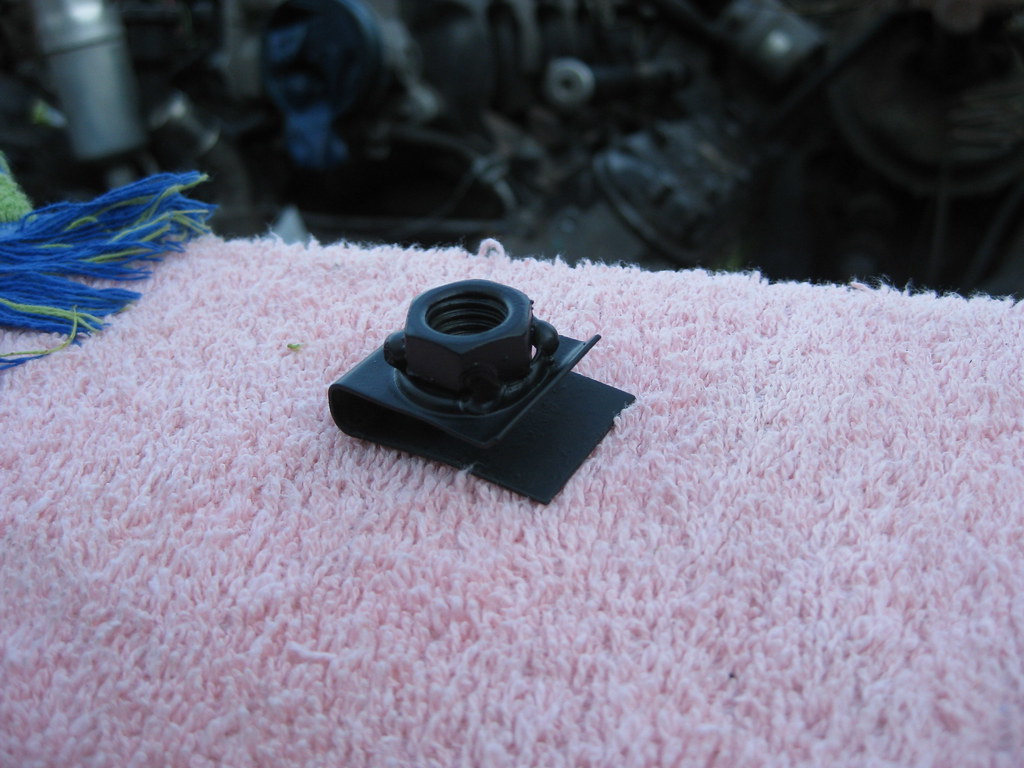
This clip fell out of the fender when I took it off. It was rusted and the nut was stripped out so I welded the nut back on, cleaned it and painted it. Then I found out it doesn't go anywhere. All of the bolt holes had bolts and clips.
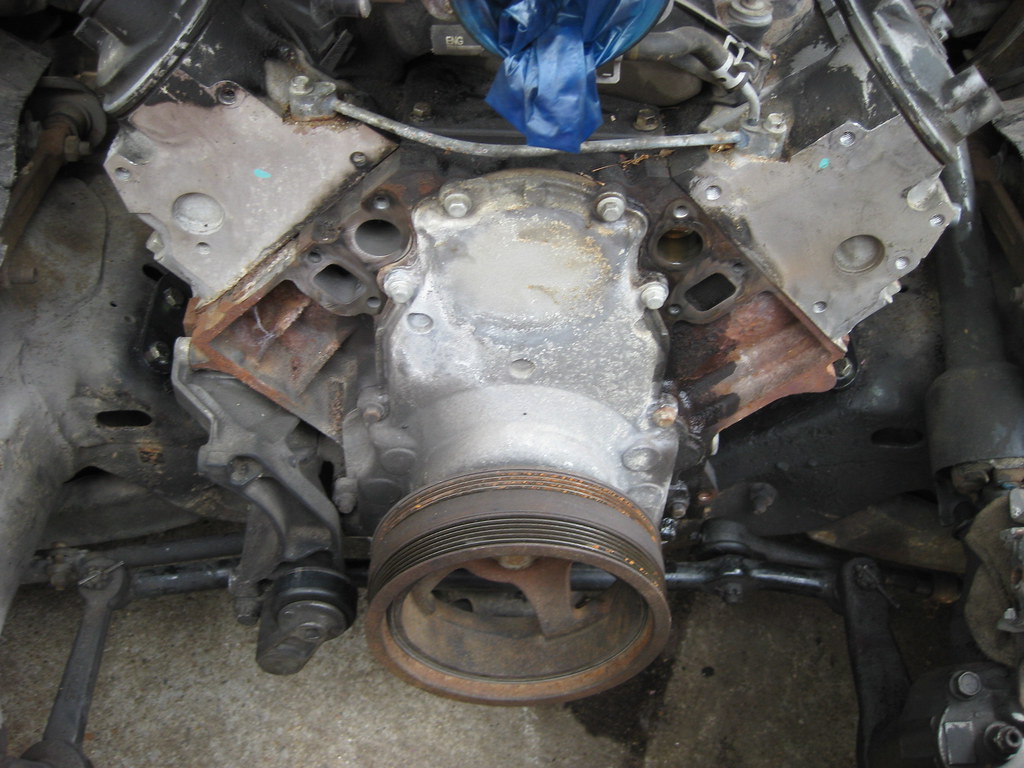
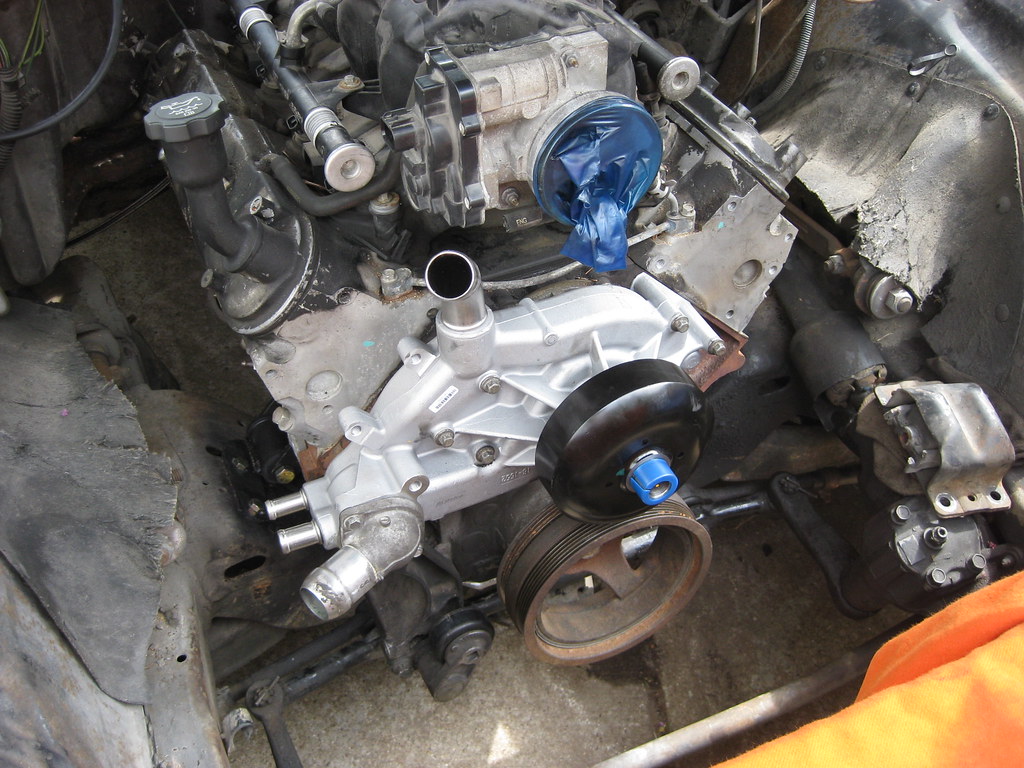
I took the old water pump off. I'm not sure if it was bad, but I didn't want to find out. It is a true test of discipline to not over-restore this project. The temptation to clean, paint and restore everything is enormous, but this is a daily driver that needs to be finished quickly without snowballing into a 6 month project. I really want to paint the block, powdercoat the inner fenders, and make the entire engine bay look brand new.
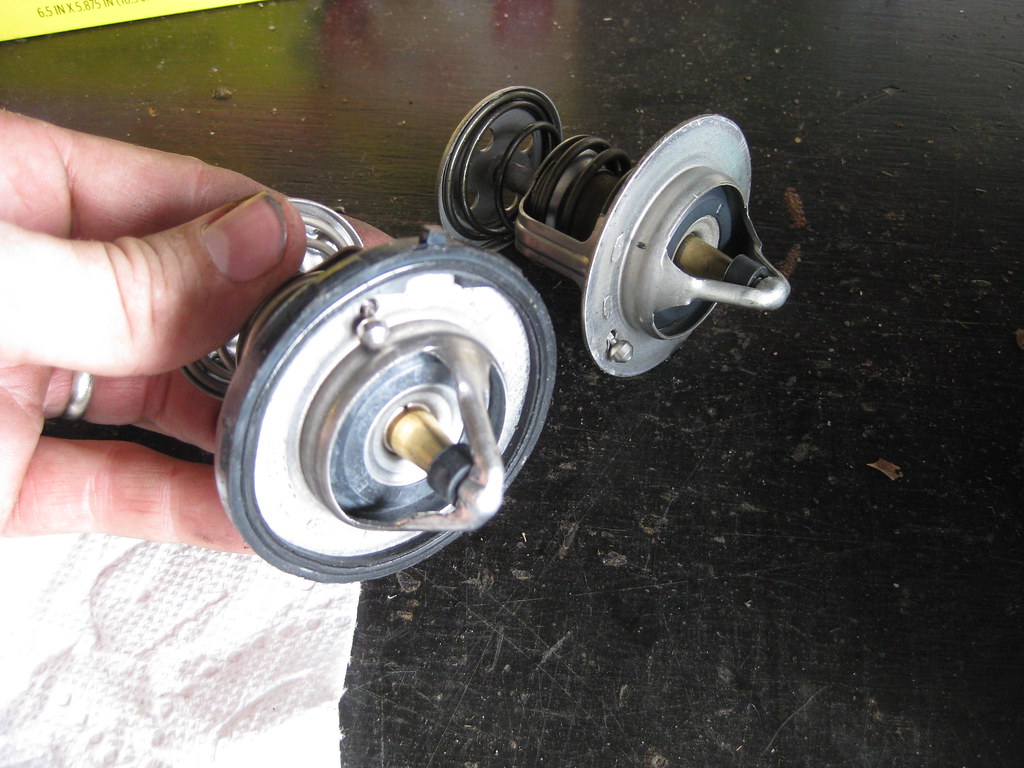
The instructions for the new thermostat were somewhat confusing. There are two types of gaskets to use depending on what type of housing you have. The instructions said to use a paper gasket for my type of housing, but the housing didn't have a gasket at all when I took it apart. Also, the new thermostat didn't have this piece of rubber around the outer perimeter so I had to reuse the old one from the old thermostat. Pictured below is the new thermostat with the old rubber gasket attached.
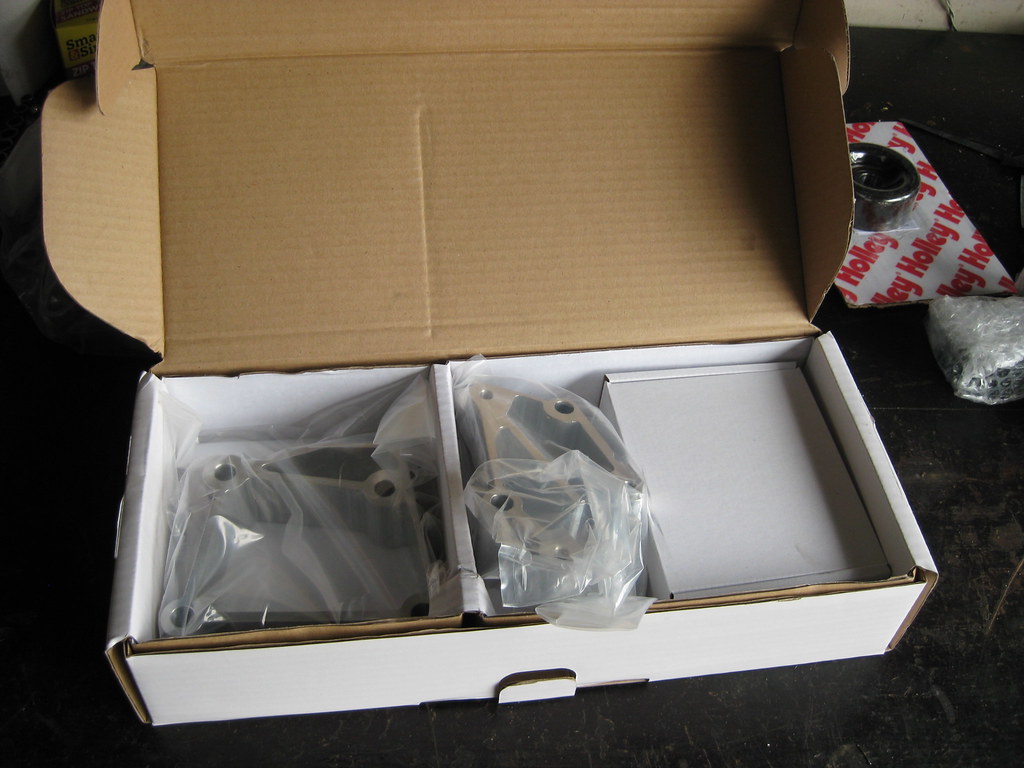
I opened up the Holley high mount AC bracket kit. The packing was top notch.
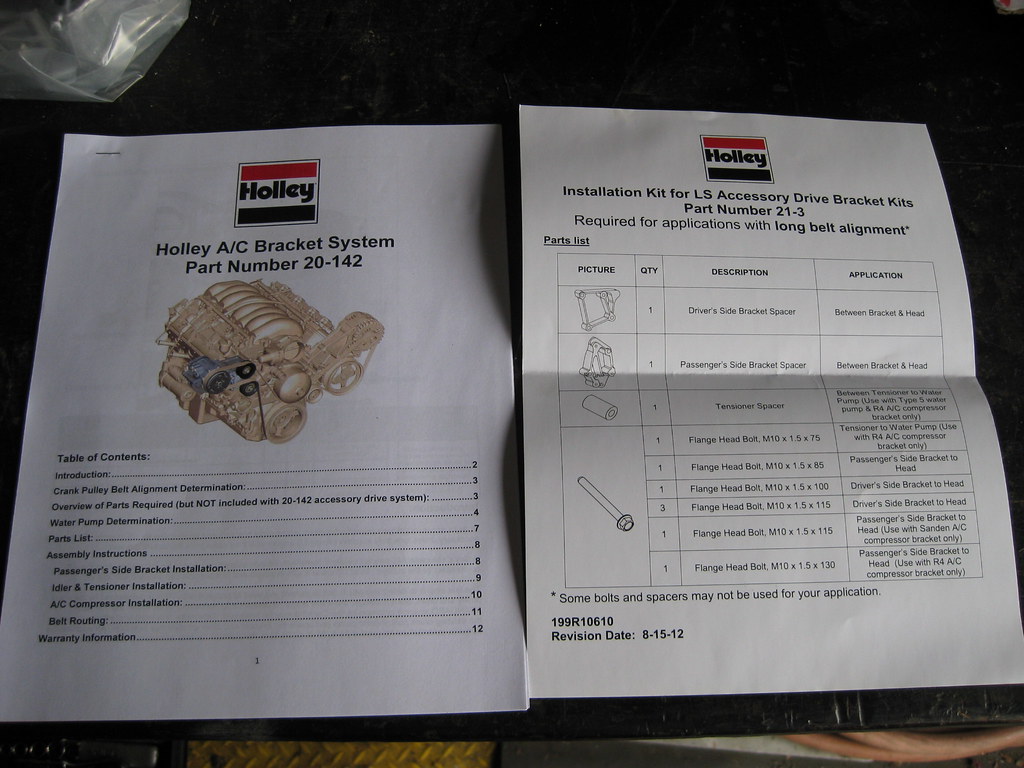
The instructions were much better than what I've been used to seeing from some of these "so called" LS Swap kits.
The new pump went on without too much of a hassle except for the fact that I got it torqued down and realized I forgot to put the gaskets in place. Since gaskets are fairly important I got to install the water pump twice.
The worst part about the Holley kit was that I found they included bolts and brackets for all 3 types of kits they offer, which meant that I had to find out which bolts went with my kit and which bolts weren't needed. Perhaps someone better at following instructions than myself wouldn't have had trouble, but it was a bit confusing. Either way, the kit was very nice and fit as described. Nice fit, nice finish and an overall well designed product, which is something I've grown unaccustomed to with the other kit's I've used so far.
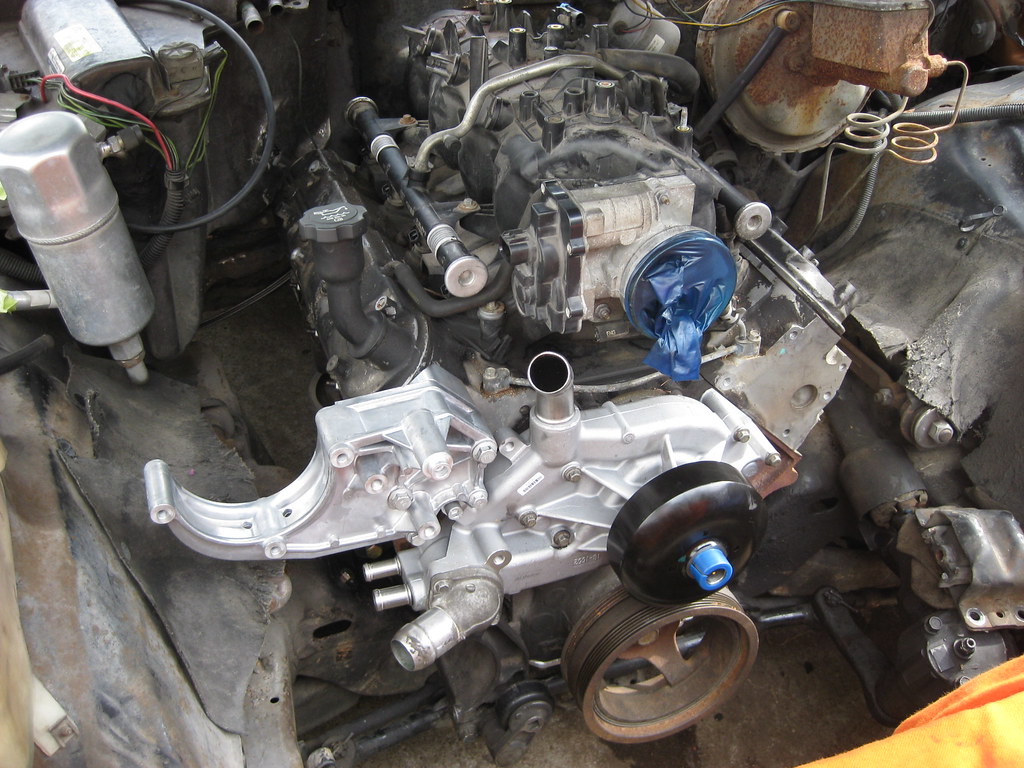
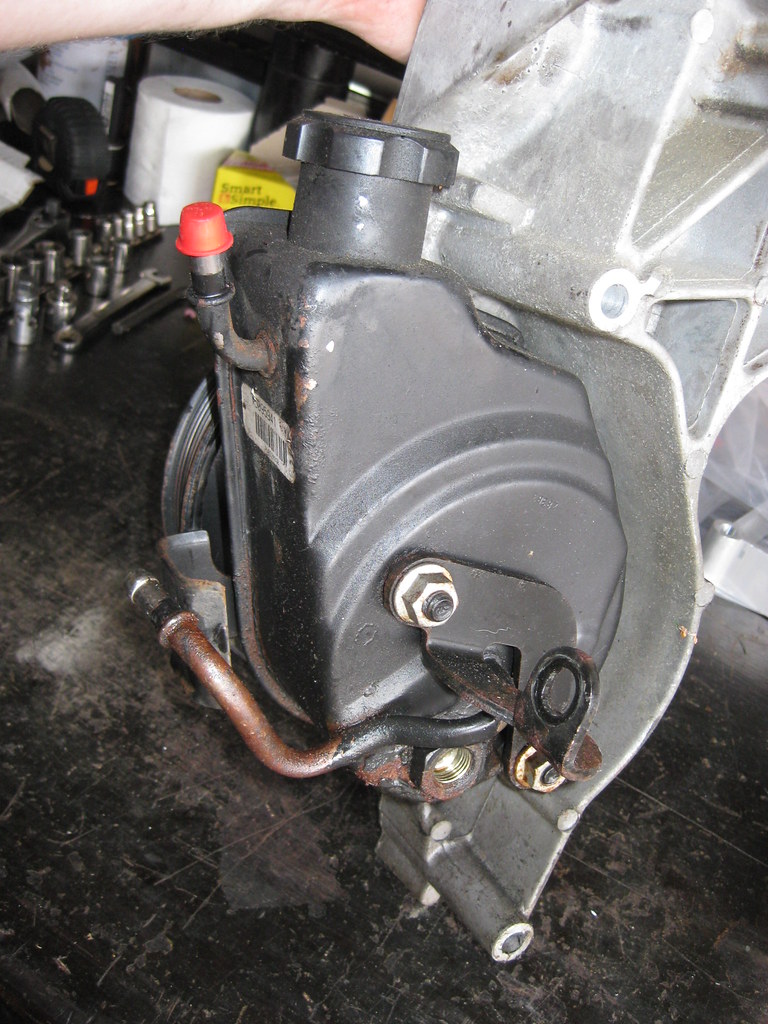
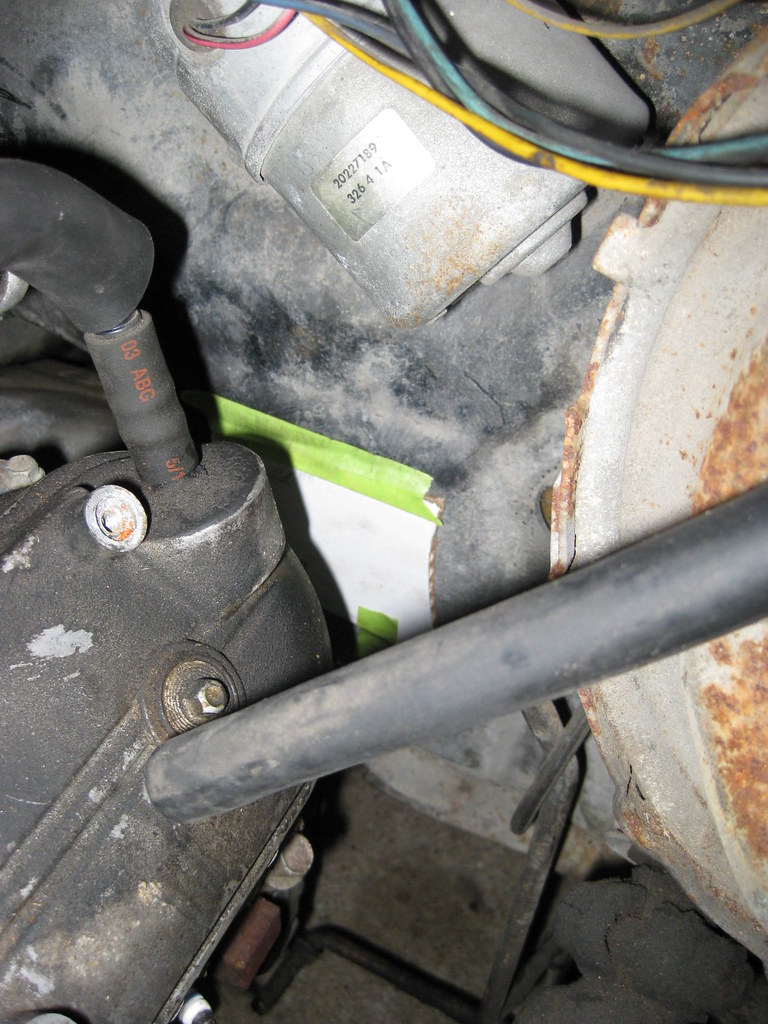
I'm going to need to adapt the power steering pump to The Caprice's gearbox. I'm not sure what the 3 fittings are for just yet. There's two lines and a fitting at the bottom of the pump.
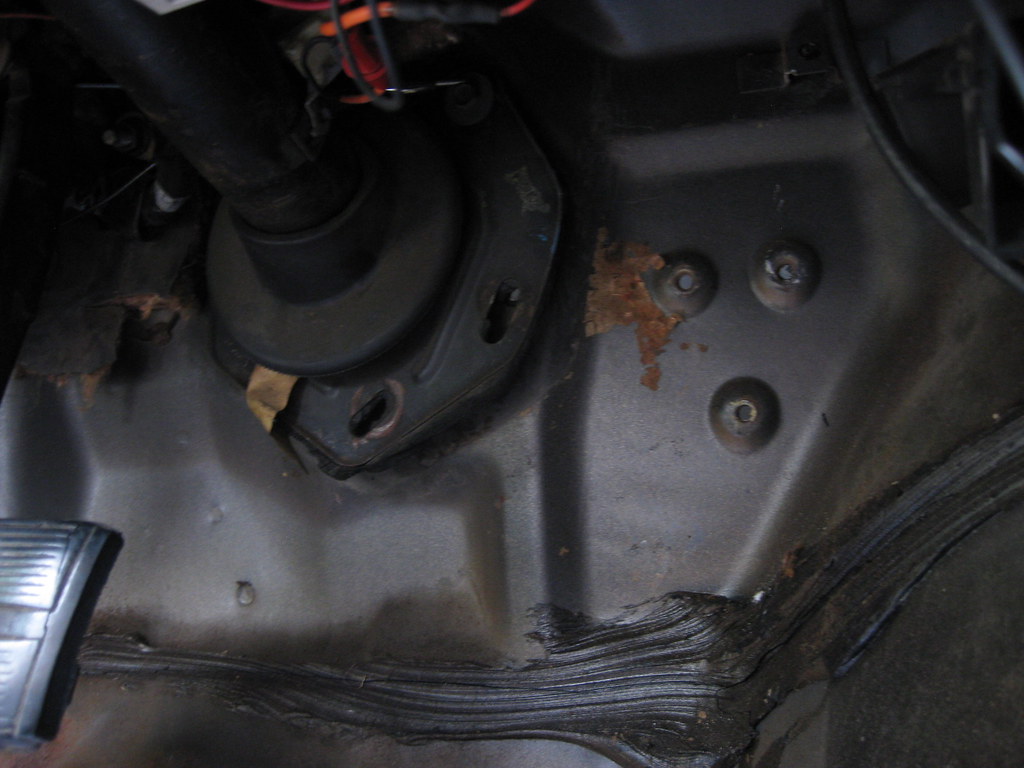
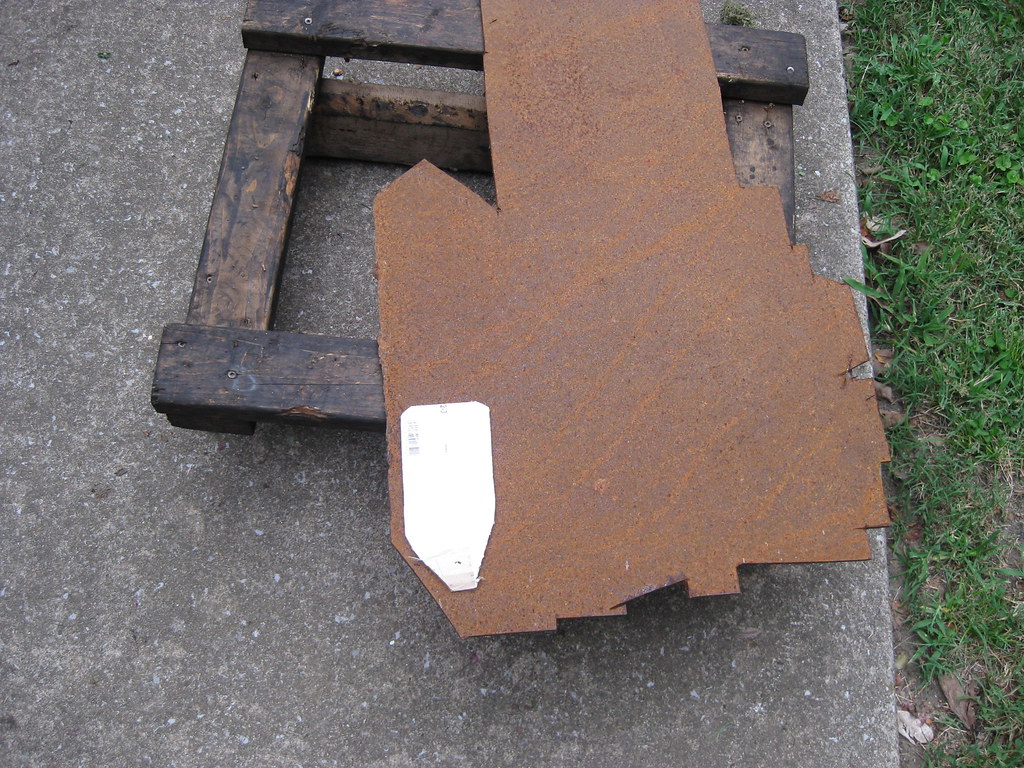
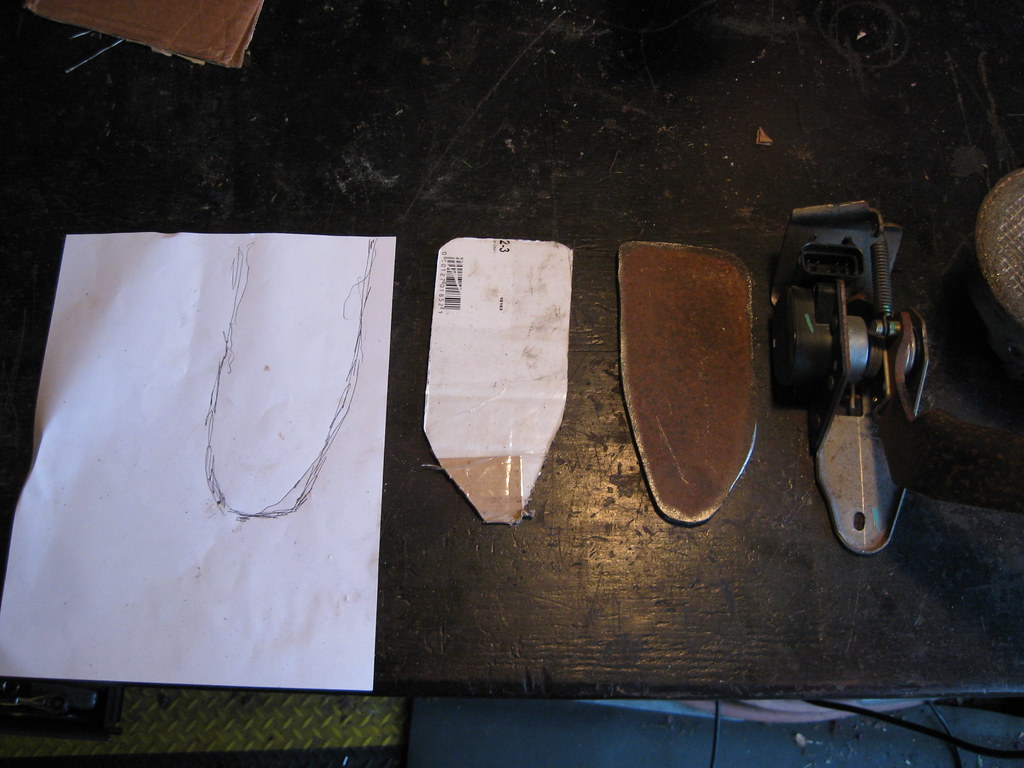
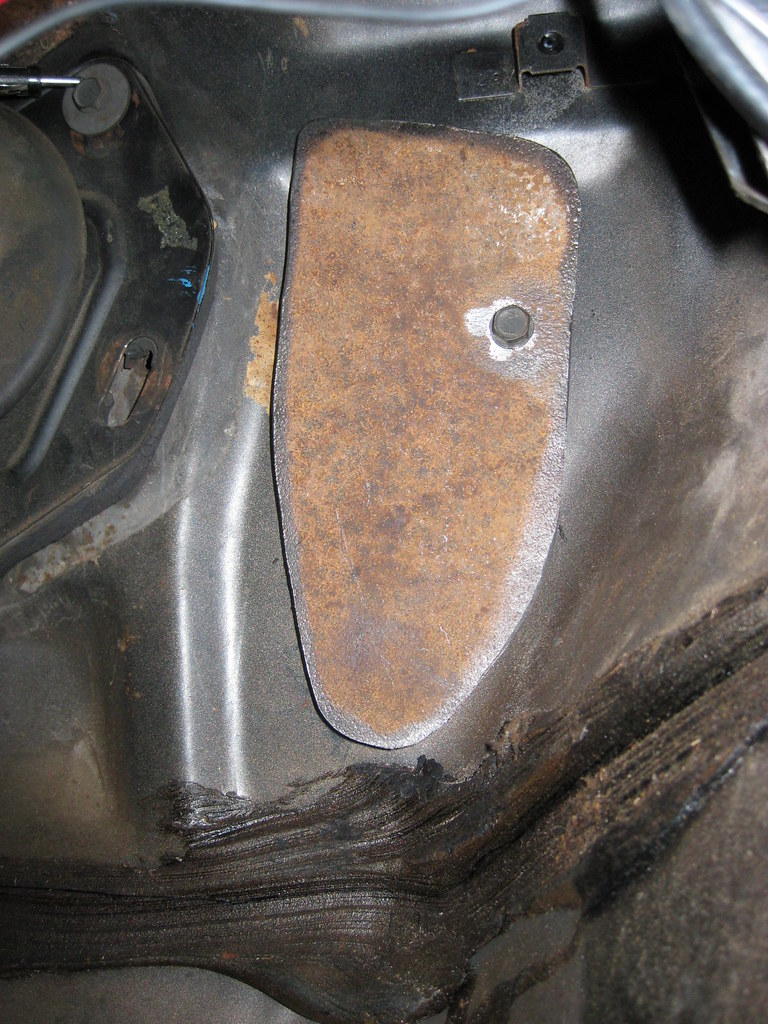
I started working on getting the new pedal mounted. This is the area I have to work with. The three humps below are where the old gas pedal assembly mounted. Because the firewall is not flat in this area and I also don't want to drill more holes in the firewall, the solution I came up with is to make a plate that will bolt to the original holes and then mount the new pedal assembly to the plate. I used a piece of paper to get a rough shape and then transferred that to cardboard.
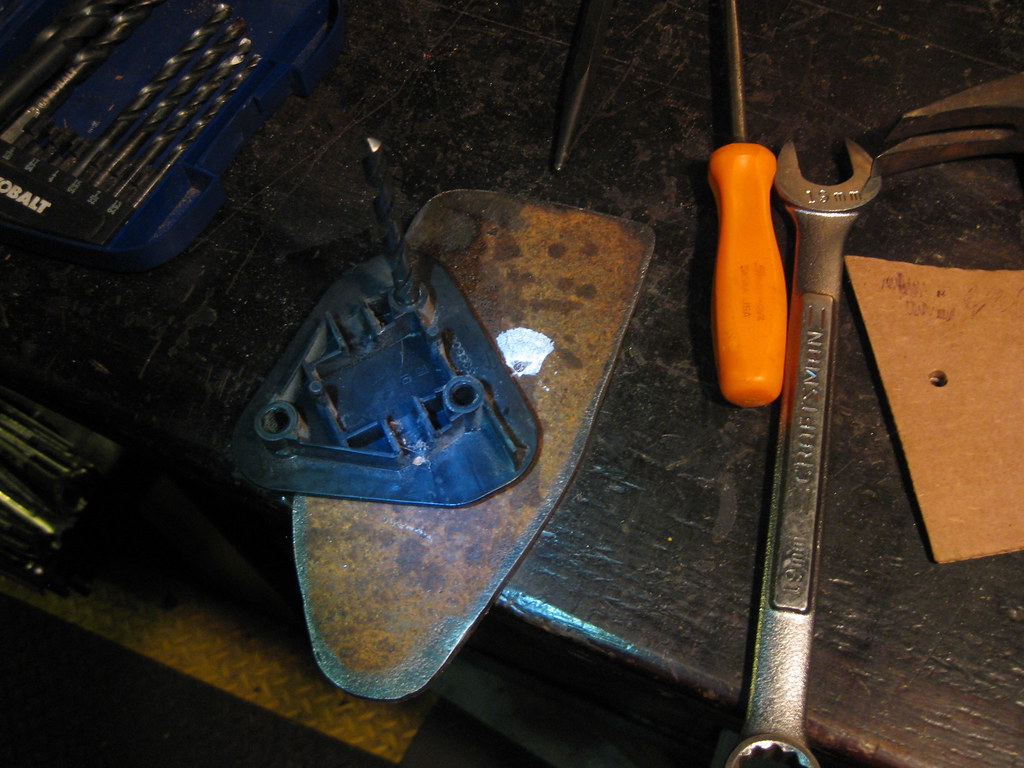
I got out the giant piece of 1/4 steel I got years ago at the scrapyard for practically no money. I've made all kinds of car parts out of this piece of steel and it's still bearing fruit. I was fortunate and found one of the existing sides already matched one of the angles I had made with the template.
This finished up yet another grinding wheel.
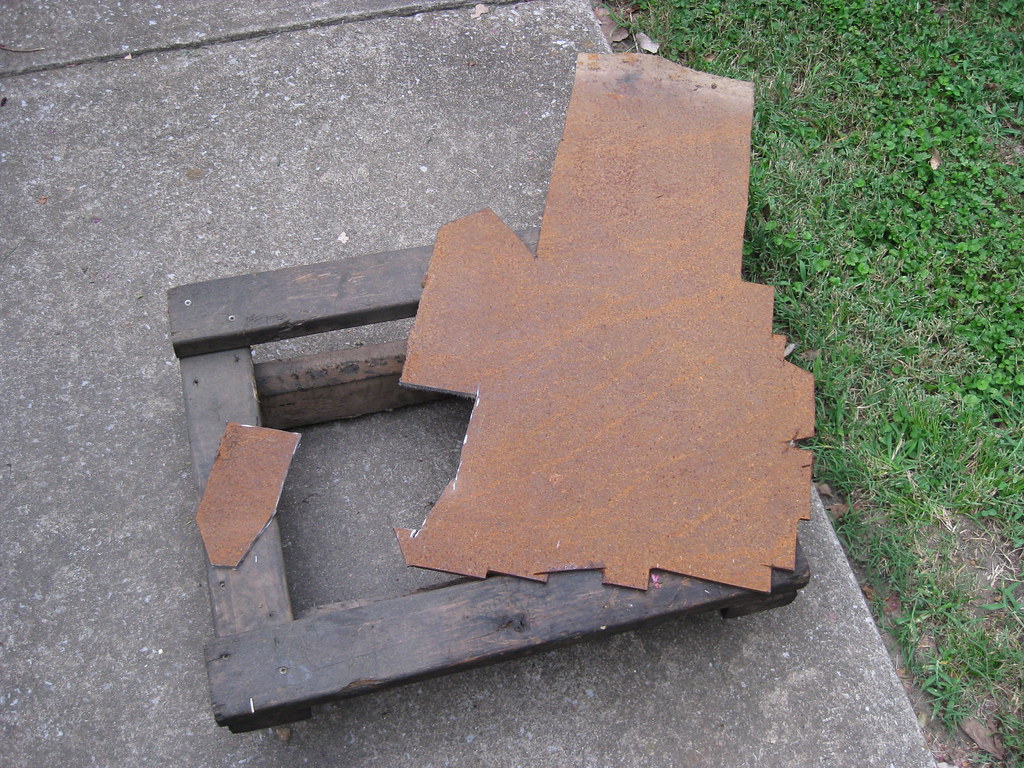
After lots of trips back and forth between the table and laying in the floorboard the final product slowly began to take shape.
The tricky part was transferring the hole pattern to the piece of steel plate. I was not able to fit a pen through the holes to mark the plate and I also didn't have anyone to hold the plate for me while I marked it even if I could. I taped a piece of cardboard to the firewall and marked the hole pattern from inside the car.
I then measured and drilled the first hole.
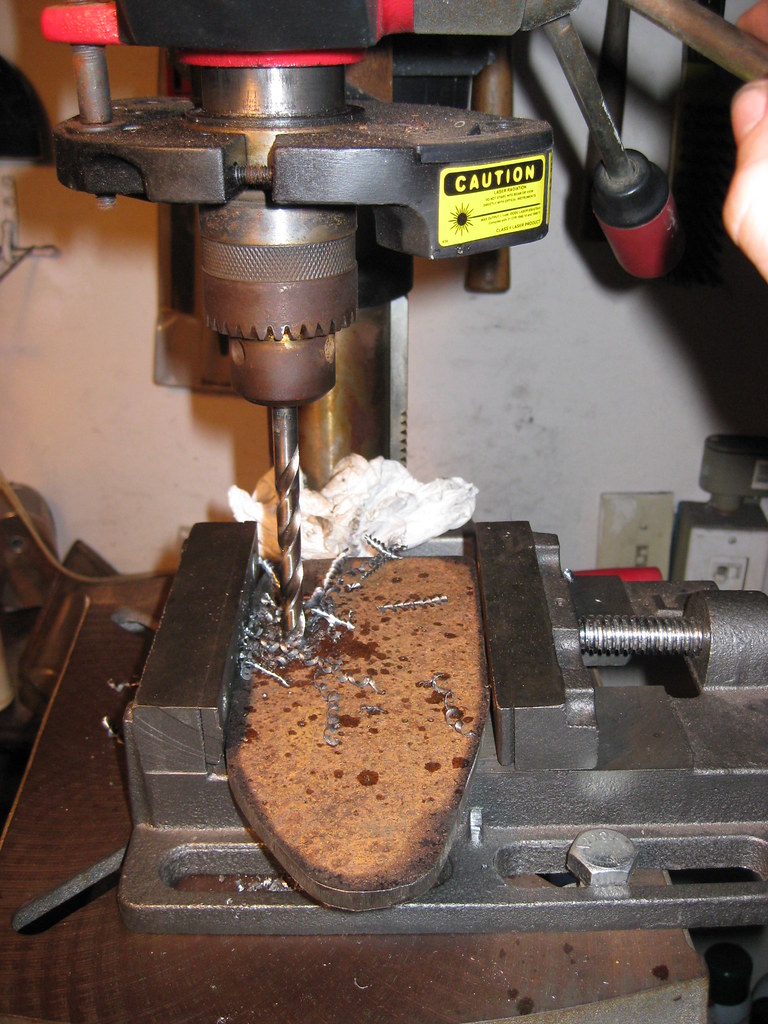
I used the first hole to hold the plate in it's location and left it loose enough to adjust back and forth until I had it positioned in just the right place. Then I used white fingernail polish on the back of the plate. I was able to get a small, pointed pick through one of the holes in the firewall and score the location on the white fingernail polish.
I then used the old pedal assembly to align the markings. I had to have the plate mounted in the car to get it clocked in the right position. After that I used the two holes to locate the 3rd hole and drilled it as well. I was tired at the end of the night I forgot to take a picture of the last step I got done for the night. The final plan will be to use small spacers between the firewall and plate and also spacers between the pedal assembly and plate, which will allow room for the nuts and bolts from each piece to fit.
After doing some research and getting a lot of opinions I decided to try to return the radiator which did not have a transmission cooler built in. It seems that the transmission cooler also heats the transmission fluid when it is cold causing the transmission to get up to temperature sooner which allows longevity of life of the unit. After considering this and the amount of fabrication it was going to take to get an external transmission cooler to fit in the limited space I have I decided to try if I could swap out the radiator. Fortunately, because of the Holley debacle with the AC compressor I had established a relationship with a tech support at the vendor so I called that extension and they worked with me. I hadn't installed the radiator, other than just sitting it in the car to measure for mounts, so I was able to return it. I am currently awaiting the new radiator. I also painted the bottom radiator mounts but will have to wait for the new radiator to get here before I know exactly how many layers of rubber to glue to the bottom. I had to do two oil change and tire rotations and get some personal business done today so I was yet again unable to make it to the scrapyard to try to find some metal for the upper radiator mount.