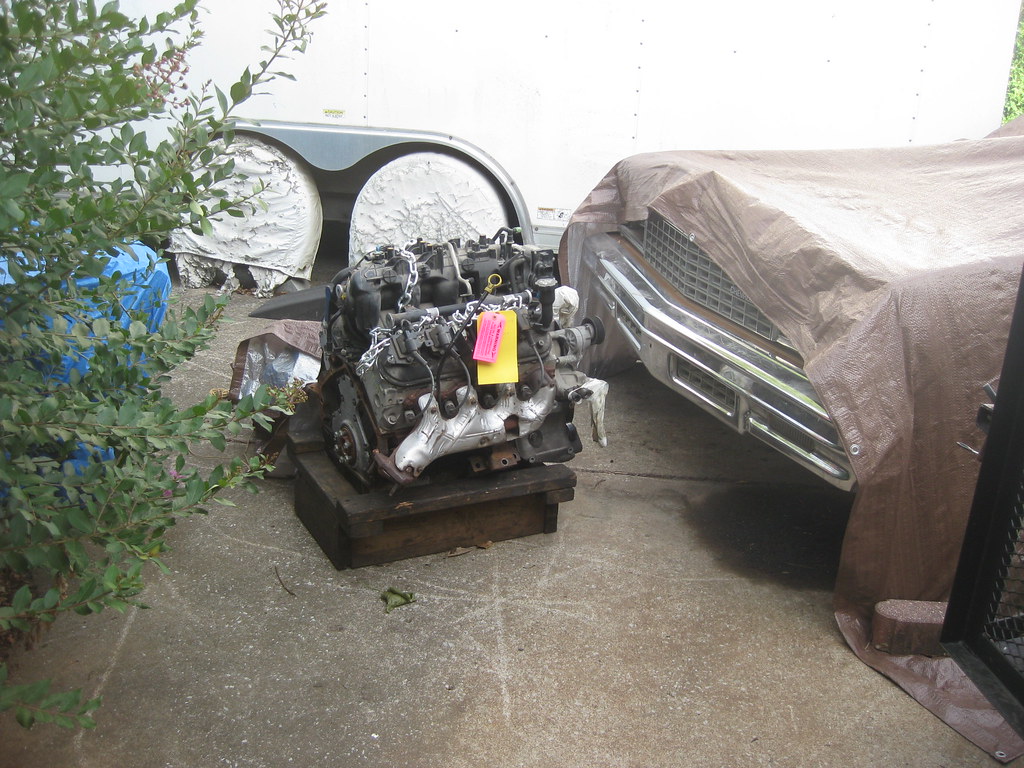
This is where the engine lived, placed by the tractor, protected by a tarp, until the new parts came in.
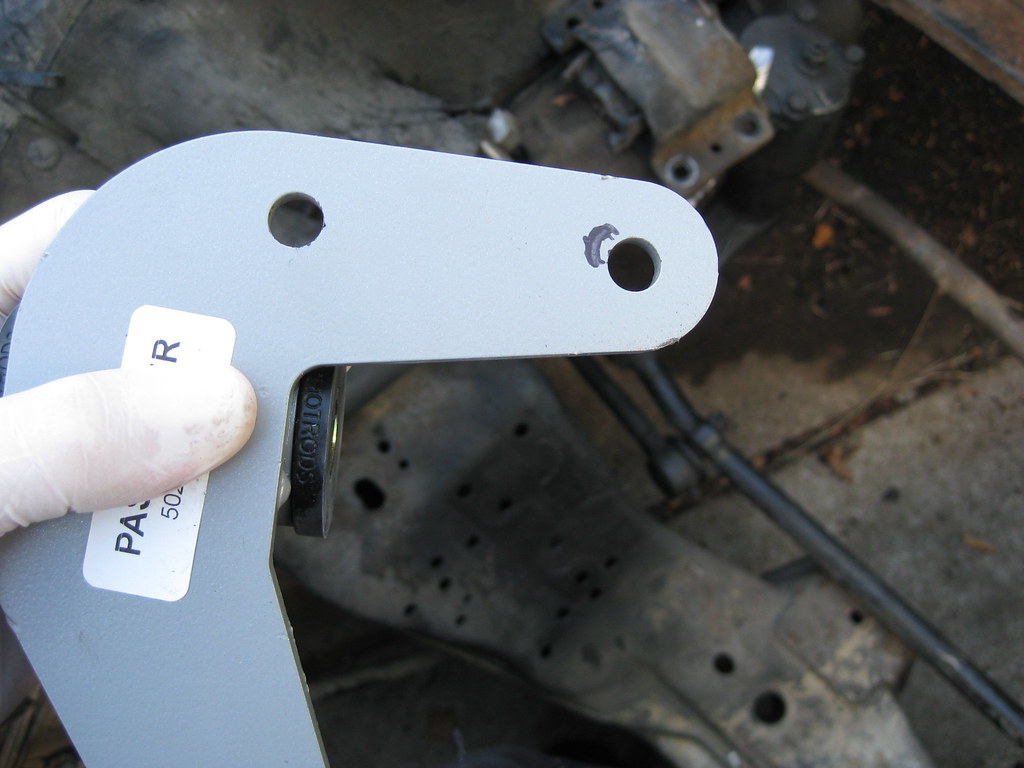
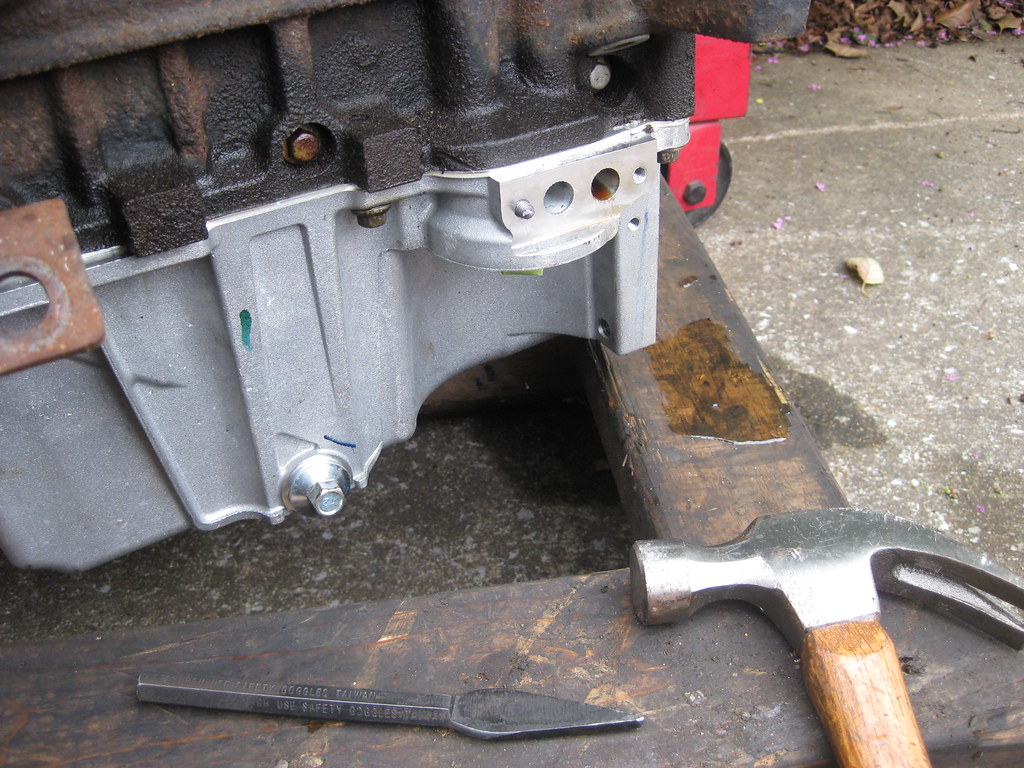
The BRP engine mounts did not fit as they were supposed to. I tried every combination of holes possible and there was nothing that would work. This picture shows how far off the bolt hole was.
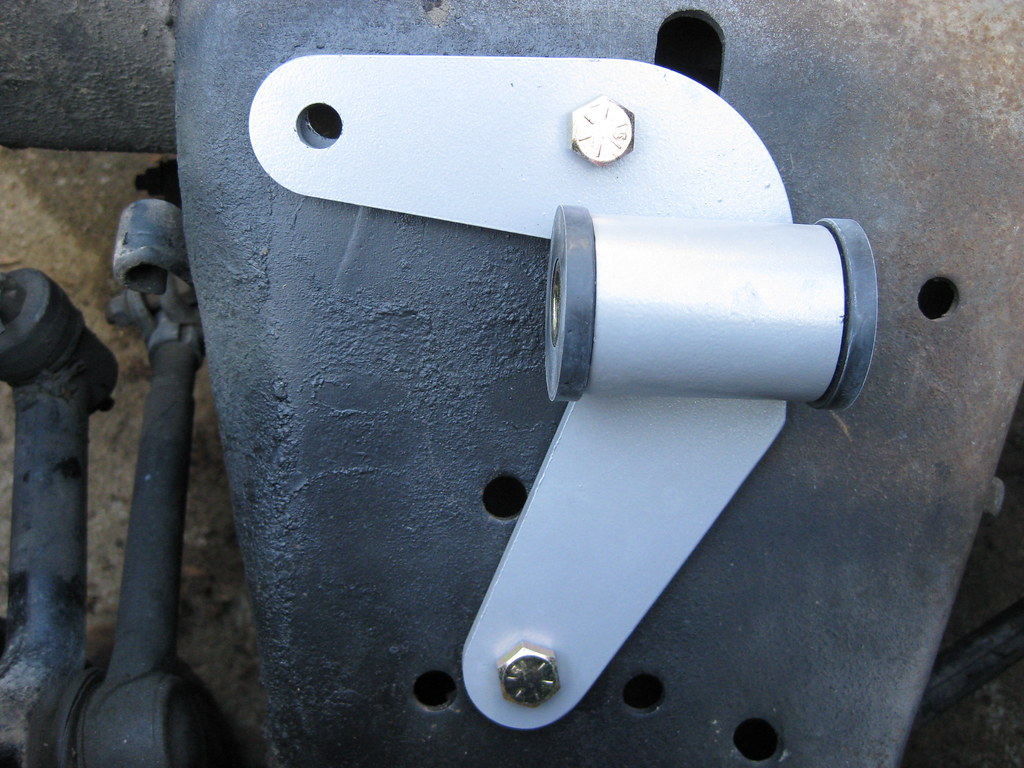
I was able to indicate with a marker from the backside where to drill for the motor mount. I called the company and they instructed me to install the engine and get the fitment to determine which top hole I should drill out. For the amount of money this kit cost, this should absolutely not happen.
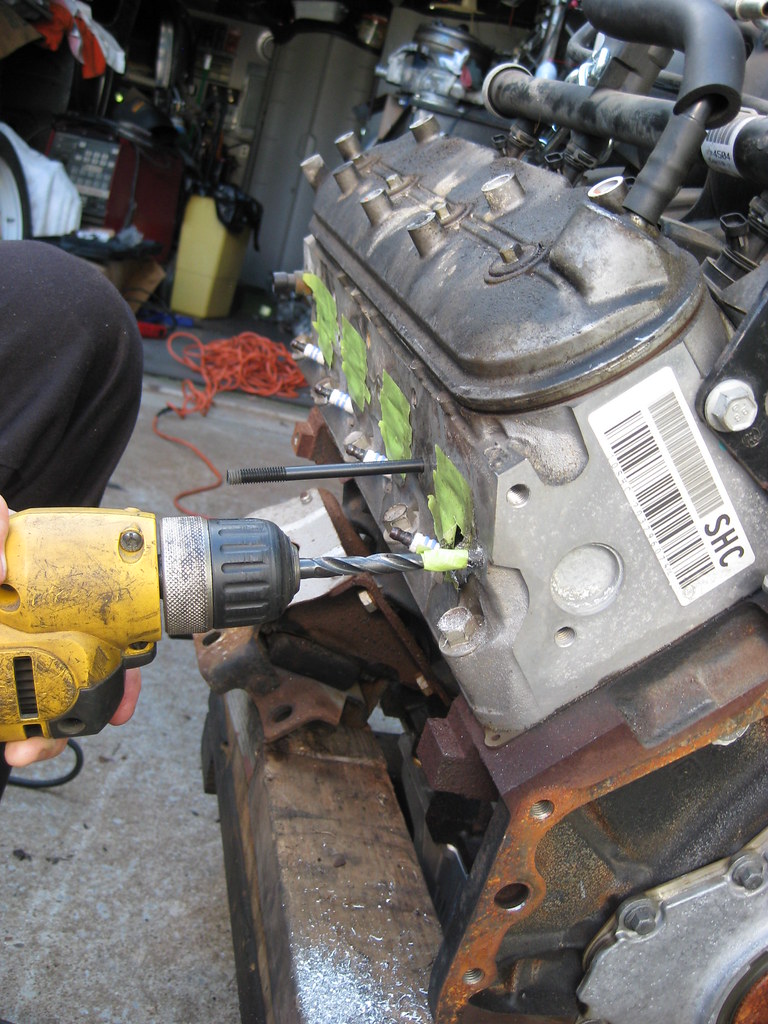
With off-set hole drilling like this, the drill press helps a lot.
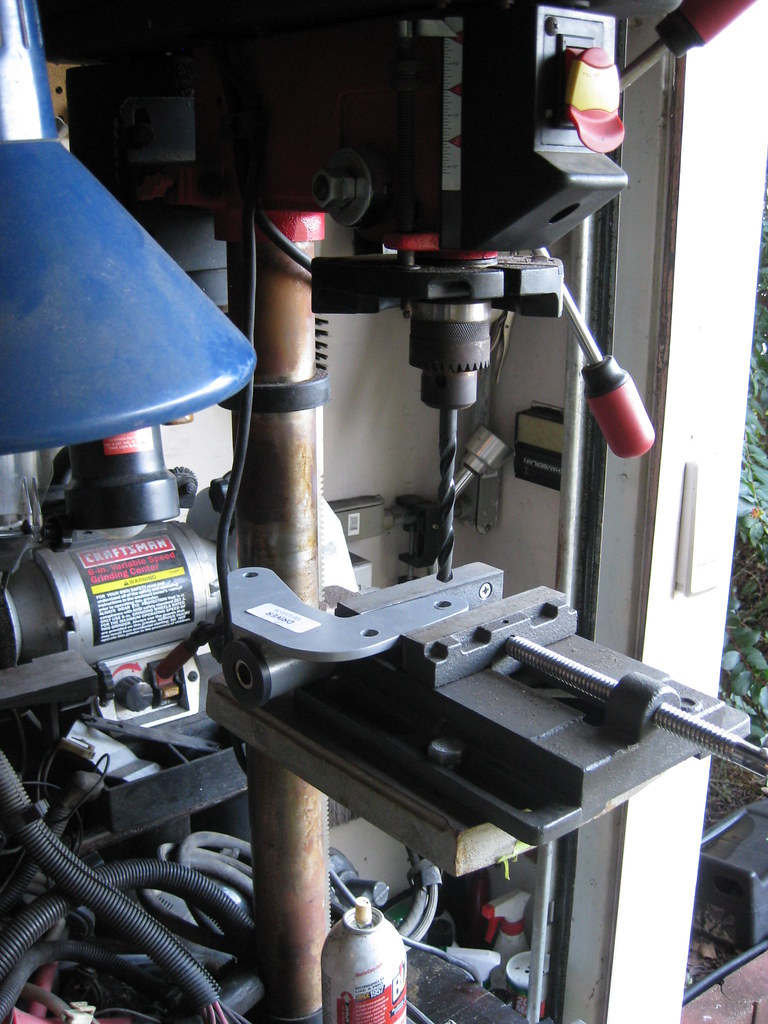
However, the drill press still can quite finish the job because of the way the new hole was offset inside the old hole. I have to use a file to get the finishing touches.

After quite a bit of work, they fit.
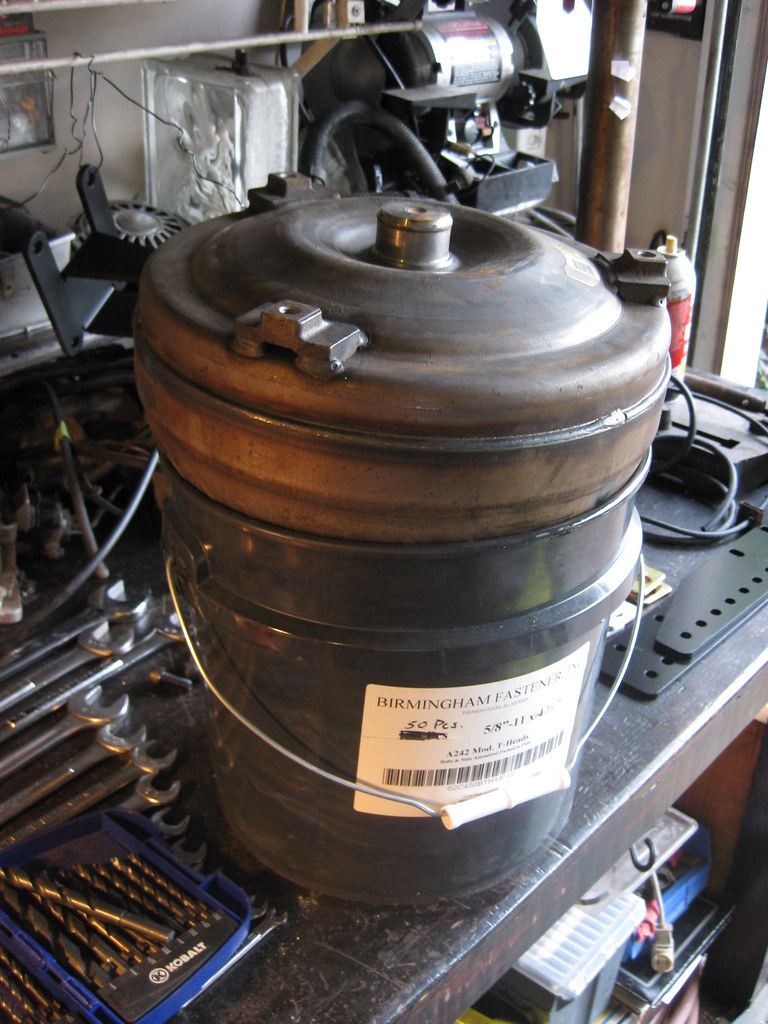
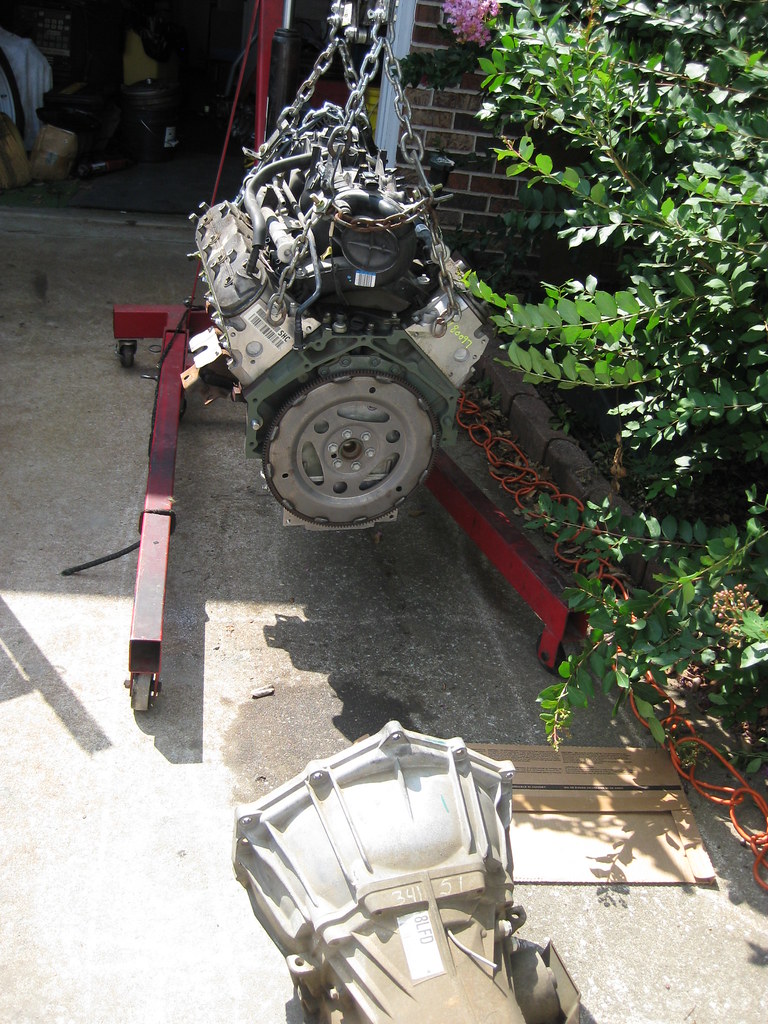
I drained the torque converter from the new transmission in anticipation of the installation.
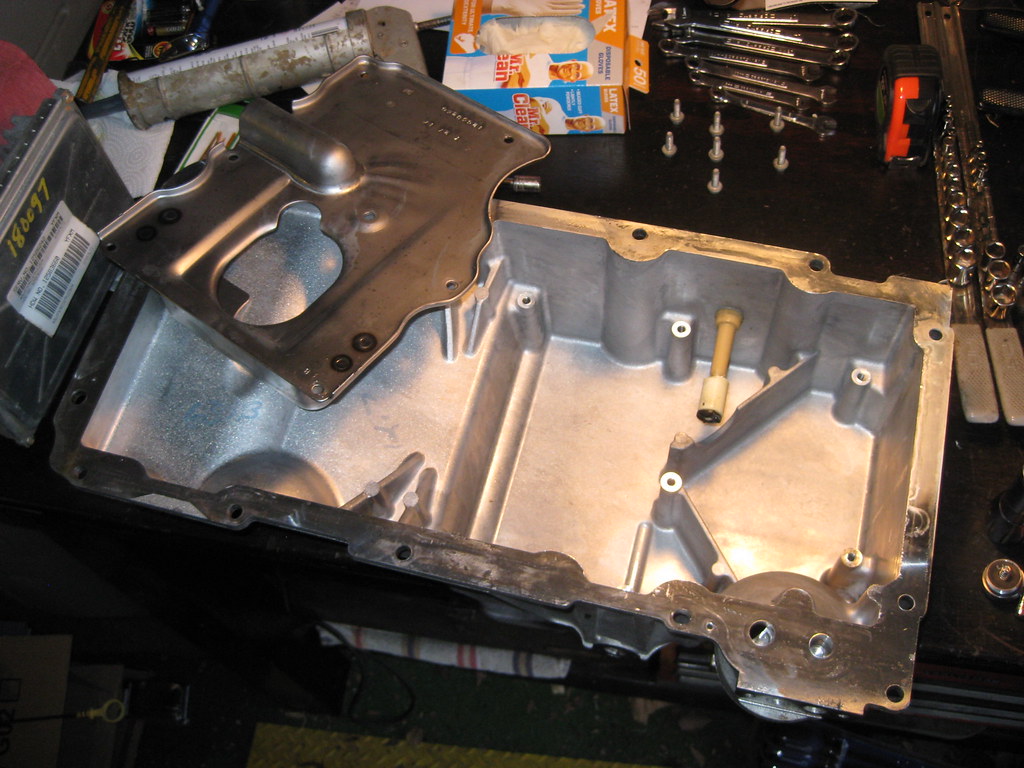
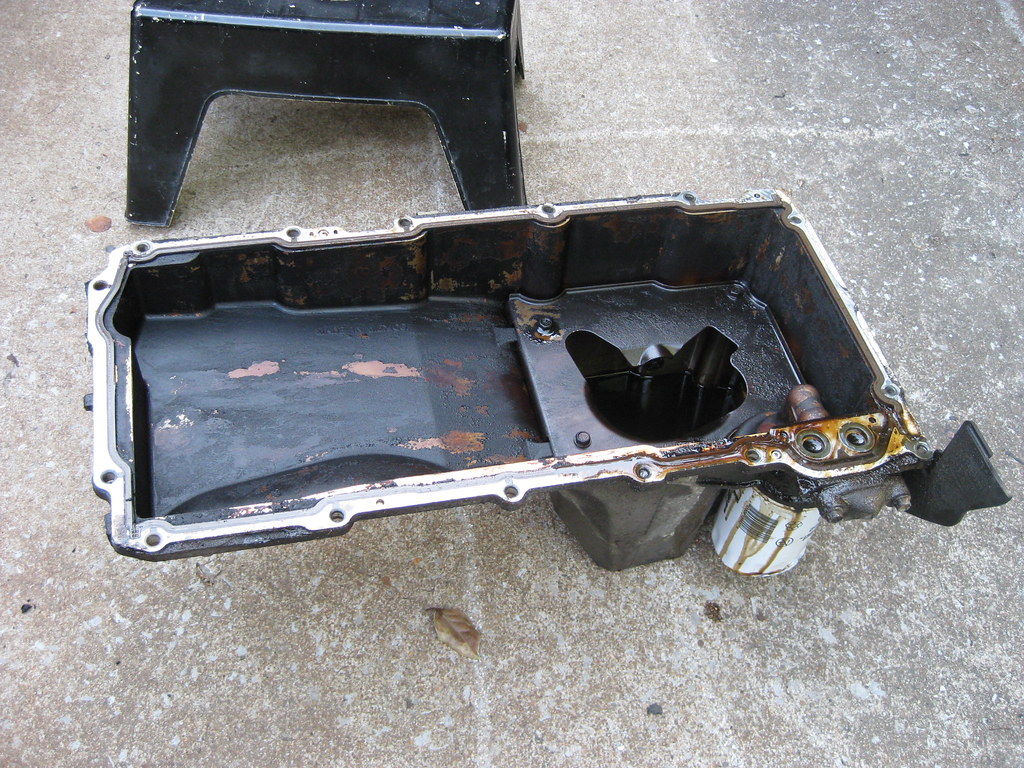
I ordered a new oil pan from a 1998-2002 GM F-body. This would be a V8 Camaro Z-28 or Pontiac Trans Am. I also ordered a new gasket. If I only knew then what I know now.
With the new oil pan in, I began removing some components off of the motor for installation.
The old oil pan from the 5.3 sits much lower than the F-Body pans. This causes the bottom of the pan to sit too far below the frame of the car, leaving it vulnerable to damage and thus catastrophic engine failure.
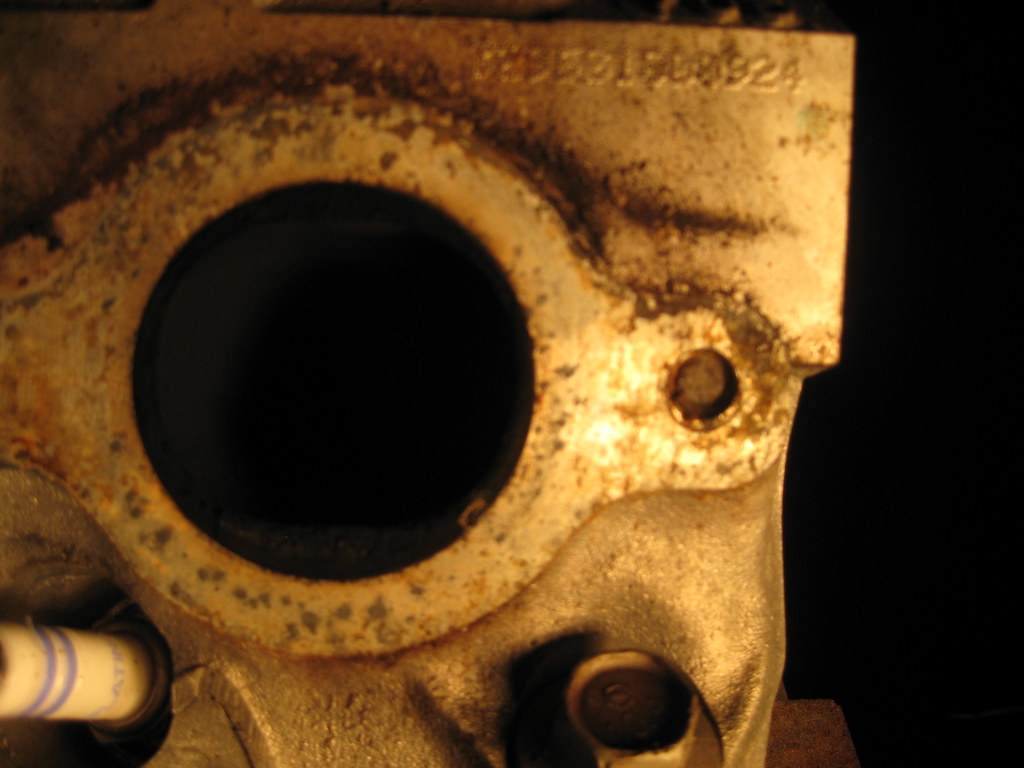
When I removed the exhaust manifolds I found that the rear driver side bolt was already broken off inside the block. That was unfortunate, but not entirely unexpected for an exhaust manifold bolt.
I got the new oil sump installed with the new, ridiculously expensive o-ring gasket, then this happened. This is the oil cooler block-off plate on the oil pan. I was using the torque wrench and tightened the bolts down evenly. The first bolt went on fine but the torque wrench didn't click on the second bolt. I started thinking something was wrong, so I tested the torque wrench on another bolt and it clicked fine. I went back and it did not click on the oil pan bolt. I went back and forth about three times until finally I determined something was wrong and I was turning way too hard for such a small bolt. Trusting the wrench more than myself, I decided to go just a little further to see if I could get the click, and that's when it snapped off. It was very late at night and this was the last bolt I had to finish the oil pan installation. It was disgusting.
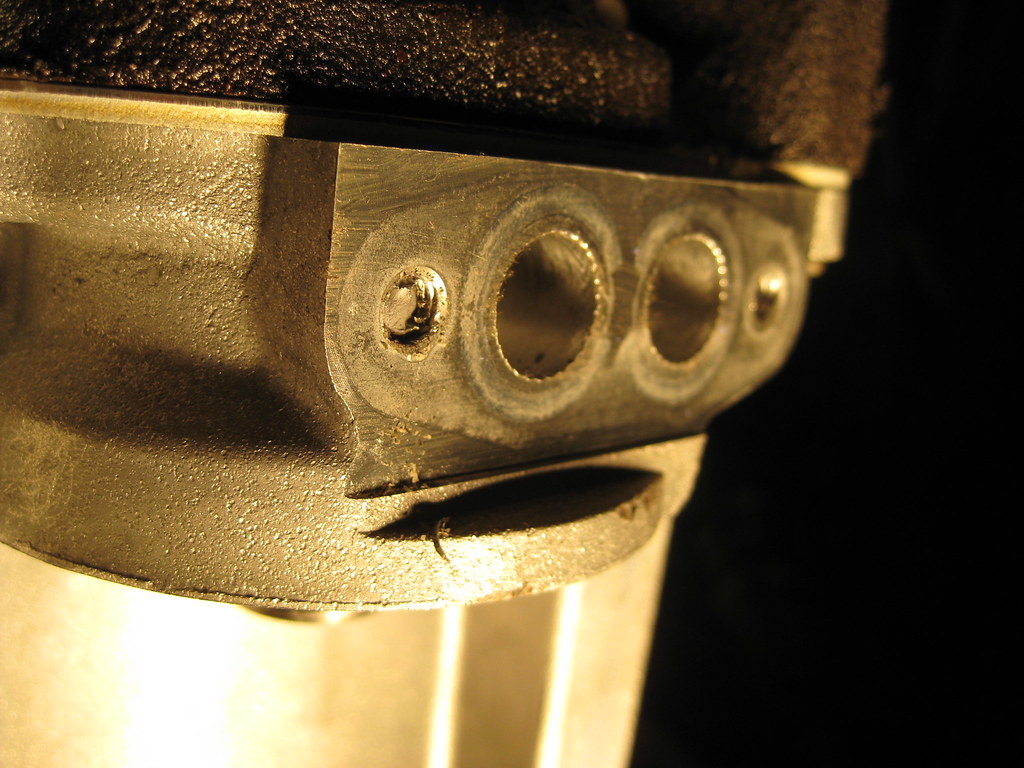
Because the bolt was not rusted and the head was broken off there was no tension on the threads. I was very fortunate that a chisel and hammer was able to get enough bite to slowly turn the broken off bolt until I had enough sticking out to get some pliers to get a grip and pulled it the rest of the way out.
The exhaust manifold bolt was another story. I first applied a liberal amount of BP Blaster, heat and a hammer to try to break the rust bond loose. I attempted to build up weld on the end of the bolt (the heads are aluminum) so that I could then weld a nut on the end and turn it with a wrench. This effort was in vain and after a lot of time spent on this I moved on to drilling out the broken bolt. I purchased a heli-coil kit for the hole. A heli-coil is a series of threads which is screwed into an oversized, threaded hole after broken bolts or stripped threads are drilled out which allows the original bolt size to be reused.
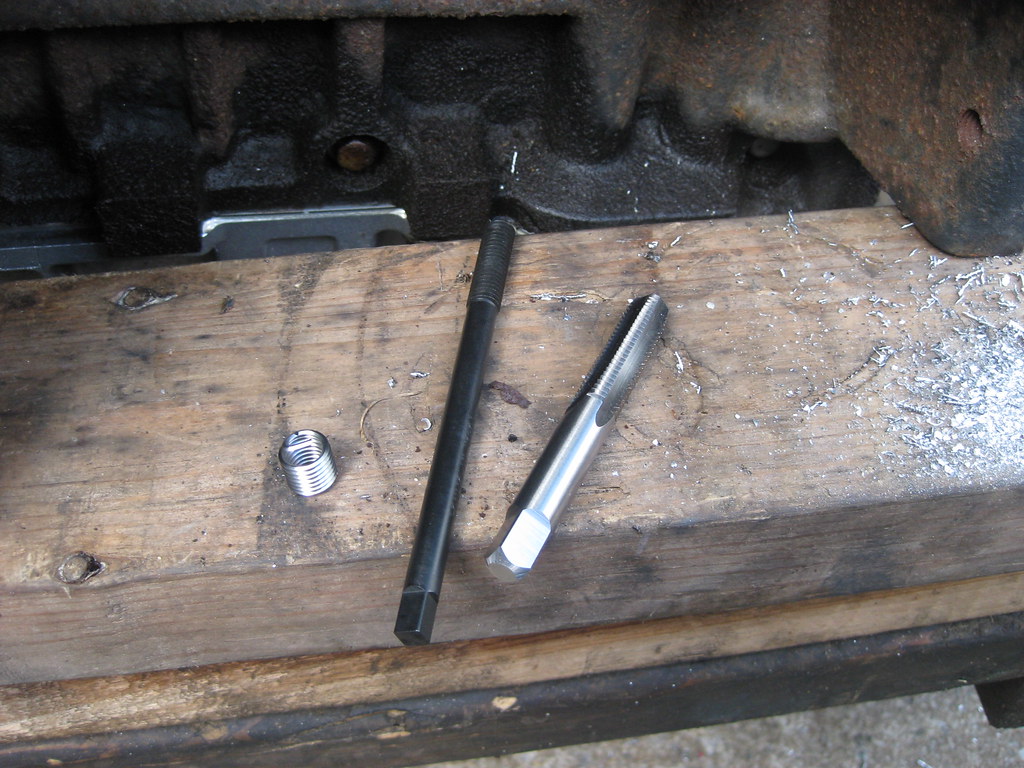
I drilled out the broken bolt, using tape on the bit to ensure I drilled to the right depth and a stud in the adjacent bolt hole to aid as a guide in drilling the new hole as straight as possible.
After drilling the new hole, I used the supplied tap that comes with the kit. I then inserted the heli-coil into the oversized, newly tapped hole. I applied a very small amount of blue loctite. Some people say definitely apply loctite, some people say definitely do not. I chose to add a very small amount. Loctite helps hold threads so they do not back out once installed.

Drilling straight in the hole was very difficult because the bolt was broken off inside the hole and the end of the bolt was not a flat surface, which caused the drill bit to want to walk. I used a punch to help center the bit as much as possible, but it was not a perfect effort. Breaking the tang off of the back of the heli-coil finished the process. It's not particularly pretty, but it worked.

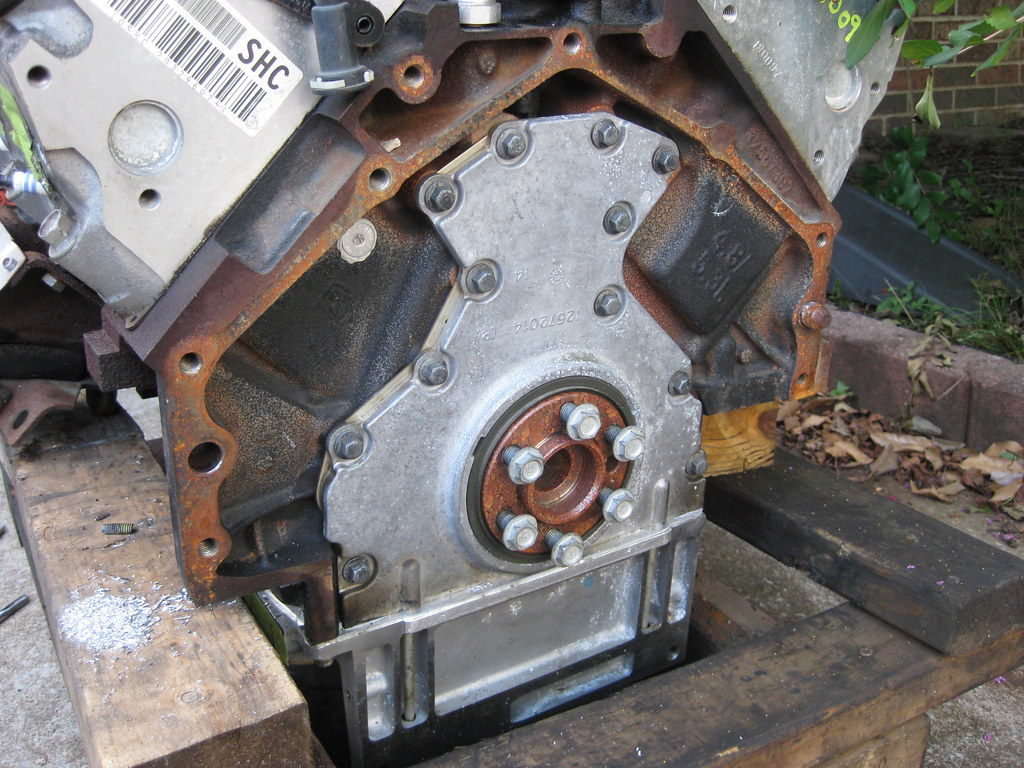
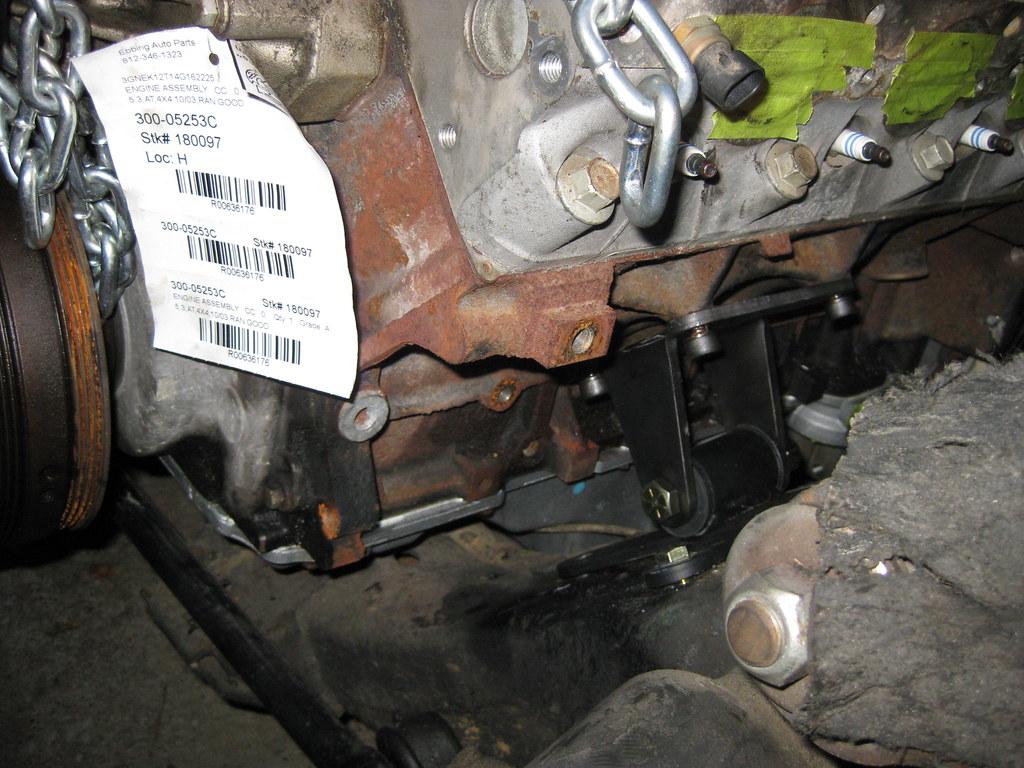
The mating surfaces of the engine block that bolt to the transmission and crank surfaces that bolt to the flywheel had surface rust that I wanted to clean away. I couldn't find my air grinder for the longest time until I remembered I had loaned it out and forgot to retrieve it. At this time I also noticed, unfortunately for the first time, that one of the transmission alignment dowels for the engine block was missing. I ended up having to drive to the nearest GM dealership and pay five dollars for a new one, which caused a delay in progress.
With the back of the block cleaned up and primered and the new dowel pin in place I got the transmission ready to be attached to the motor. After spending a while trying to determine the correct torque specs for all the different bolts I attached the flywheel, again using blue loctite. I noticed that the flywheel dowel was missing as well but a search on the internet revealed that many motors either didn't use a dowel originally or the dowel isn't necessary so I opted to leave it off. I filled the torque converter with new transmission fluid and installed it on the transmission. These converters must install with 3 successive clicks while spinning the converter. When the converter is approximately 1 1/8 inches behind the mounting pads of the bellhousing it is properly in place. Failure to locate the converter in this way will end up in broken parts and spent money.
The mounting hardware for the bellhousing and the torque converter to flywheel bolts are special hardware. I ordered them online and awaited their arrival. I also spent a significant amount of time researching what anti-seize to use when putting aluminum against steel. I found there are as many opinions about this as there are people. Apparently the copper anti-seize I typically use is bad for applications in which aluminum will be against steel. I ended up using an Aluminum-based anti-seize for the dowel pins and blue loctite for the bellhousing and torque converter bolts. The torque converter bolts were difficult to access and required a universal joint and an extension in order to use the torque wrench. Because of my previous experience with the torque converter I was very afraid these bolts were going to snap. They seemed to be torquing down in a strange way. I successively tightened them down in very small increments, scared all along the way that they were going to snap off. The wrench had to be held in exactly the right position for it to click as it was supposed to.

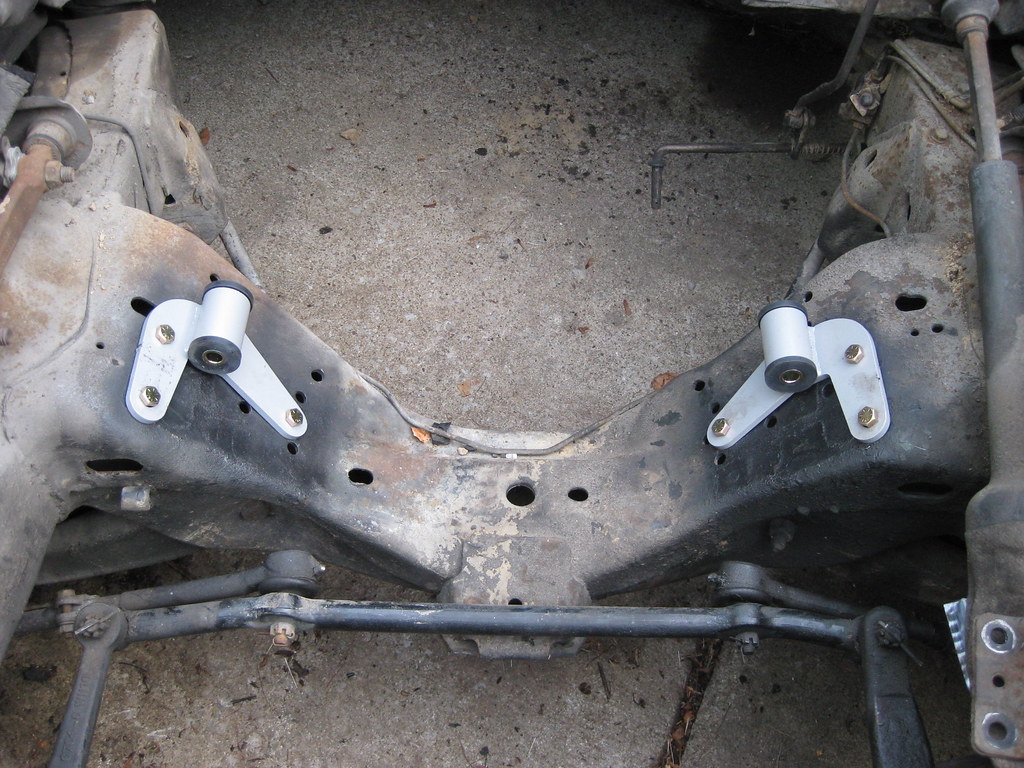
I first attempted to install the BRP transmission mounts but found their incomplete instructions to be prohibitive. I had previously had to use my wife's social media account to send them a message about further detail on installation. They did response, however the picture and explanation sent still wasn't completely sufficient to explain the installation. I later found that despite their claims that no drilling is necessary for this kit, one huge reason why I purchased this specific kit, drilling is in fact going to be necessary for not only the engine mounts, but also for new holes in the frame for a part of the transmission mount. I also ended up painting the parts black.
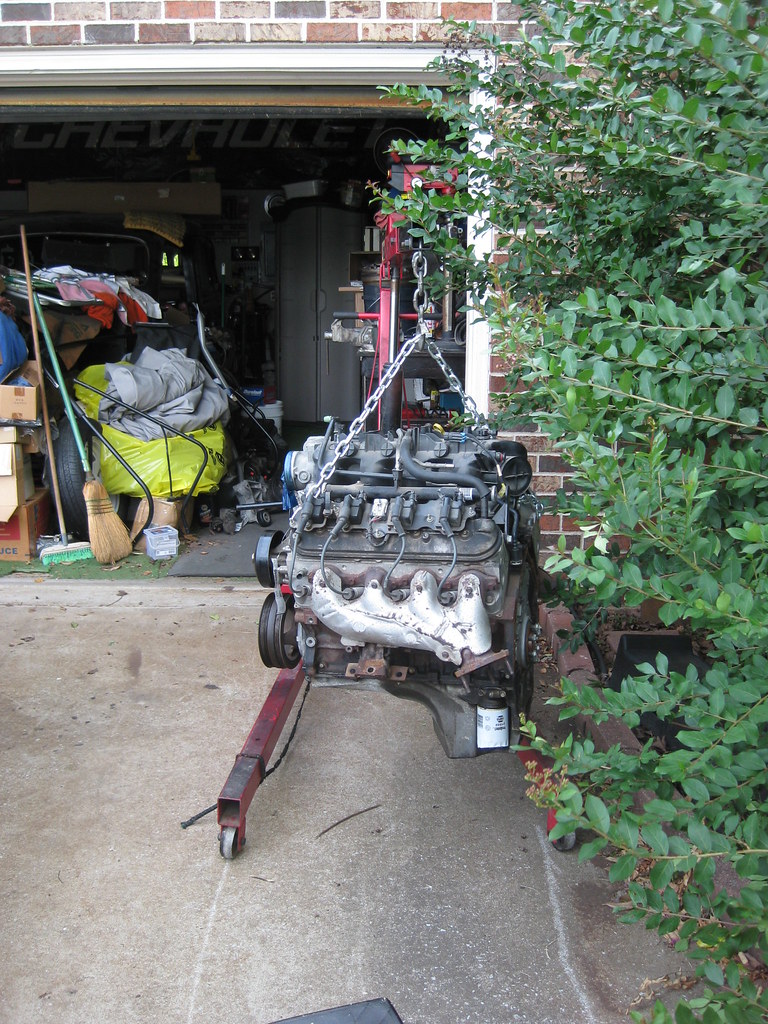
Fortunately, dad stopped by and offered to help with the installation. I really didn't want to have to remove the intake manifold and worry about the problem of something going wrong with the re-installation. In order to get the block-leveler to fit with the intake on I had to hook chains to the chains on the leveler, which meant I had to go purchase new grade 8 bolts to fit it all together. We probably spent longer getting the hoist to lift the engine without damaging the intake than if we had just removed the intake.
We would end up fighting this thing until 12:30 that night. The engine hoist was hitting the front bumper and wouldn't go back far enough to position the engine so it would go in the car. To make a very, very long story short we ended up using a series of jack and hoist positions and a lot of pushing and grunting and after several hours managed to shoehorn it in. To say things were tight would be an understatement.

For a while, we had an audience.

After playing with the engine placement and transmission alignment with the hoist and jack for a very long time we finally relented that the engine, with the F-Body oil pan, will not fit. The sump area of the oil pan hit the crossmember, not allowing the engine to move far enough to the front of the car. The engine mounts will not line up with the holes in the frame. We did finally get one engine mount bolt in, but that was all. According to what I have read, this engine mount kit will allow me to keep all the original drive accessory components in their original locations, like the copressor and alternator. Because of this, new motor mounts were an option I wanted to reserve as a last resort.
The next day I was destroyed. Between this and other responsibilities and projects which had to be completed that day I ended up working outside in the heat between 18 and 19 hours that day and ended up getting overheated. The next day we examined the measurements in the daylight to try to determine a solution. I determined there were two other oil pans which may solve my problem. The issue is that they are a trade off of benefits. One has plenty of front oil sump clearance, but has limited clearance on top of the crossmemeber. The other has plenty of room over the crossmember but has less room on the front of the sump. After a lot of reading on the internet I decided to go with the Holley 302-3 oil pan. Before ordering this pan I contacted an acquaintance to see if he would be able to modify and weld the aluminum pan just in case I needed a bit more clearance. He said yes so I ordered the pan and am currently awaiting its arrival.

The one bolt that could.
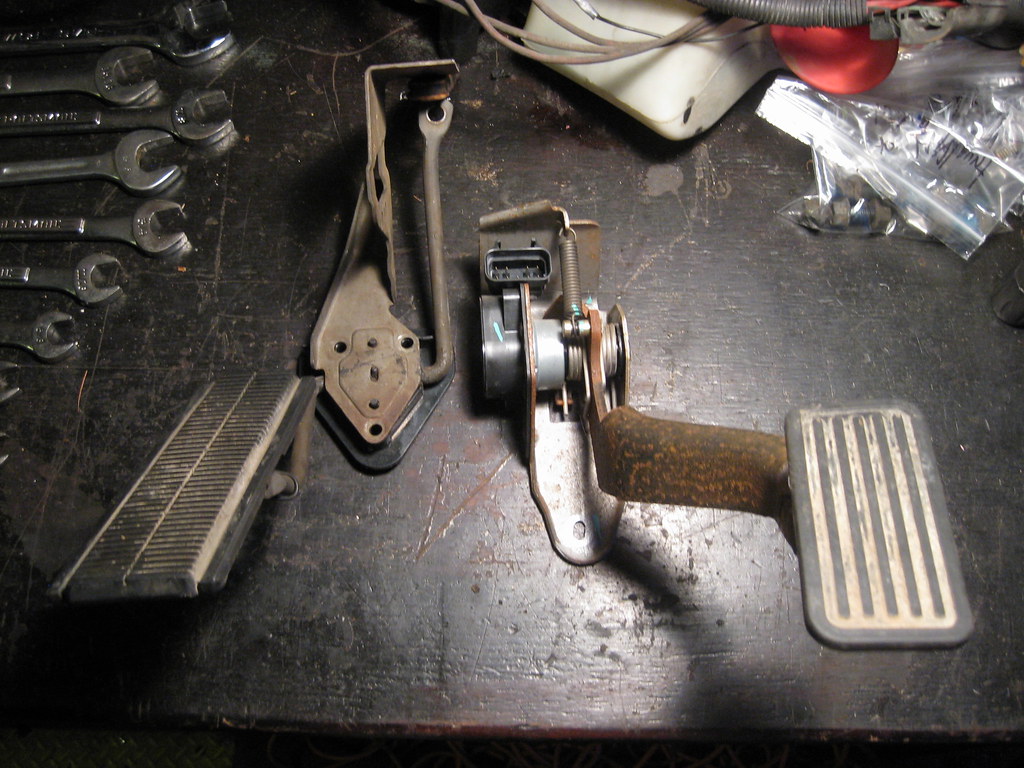
A project in the waits is modifying the electronic drive-by-wire (dbw) pedal. As you can see the original pedal (left) is oriented completely opposite of the new dbw pedal (right). I will have to cut and weld the new pedal arm to align it properly. This project will have to wait until I finish up the oil pan and install the new fuel pump/sending unit and accompanying lines and hardware.