I had forgotten how long metal fabrication can take. I was again surprised at how few pictures can sum up hours of work. The below pictures took several days, including one full Saturday.
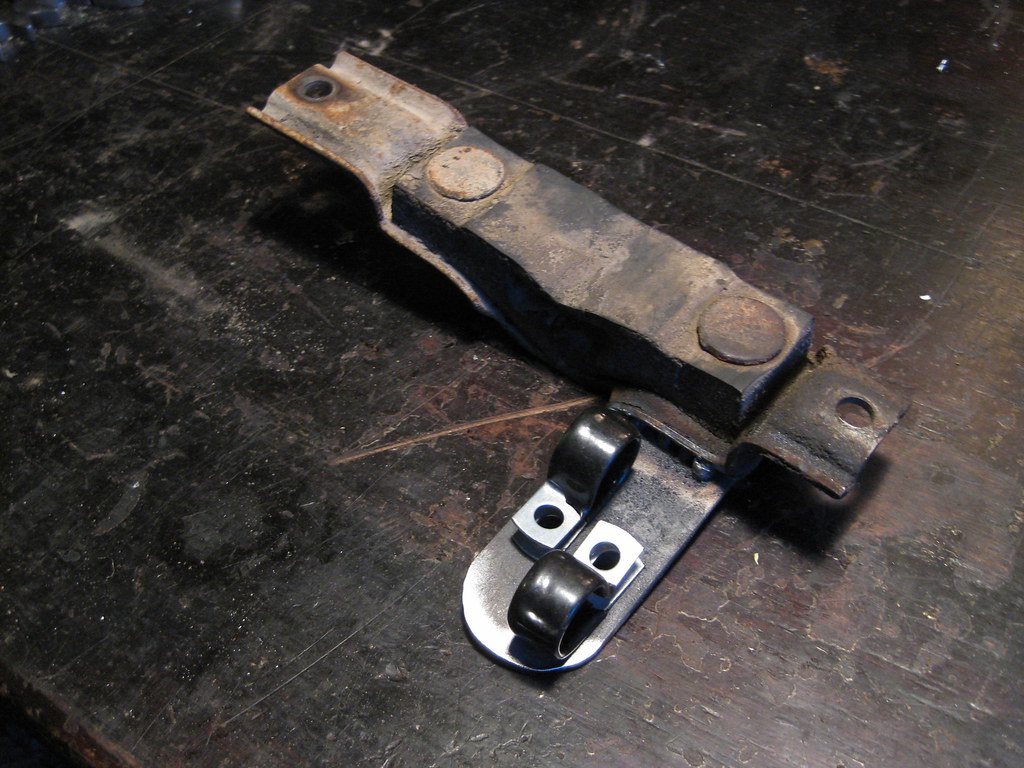
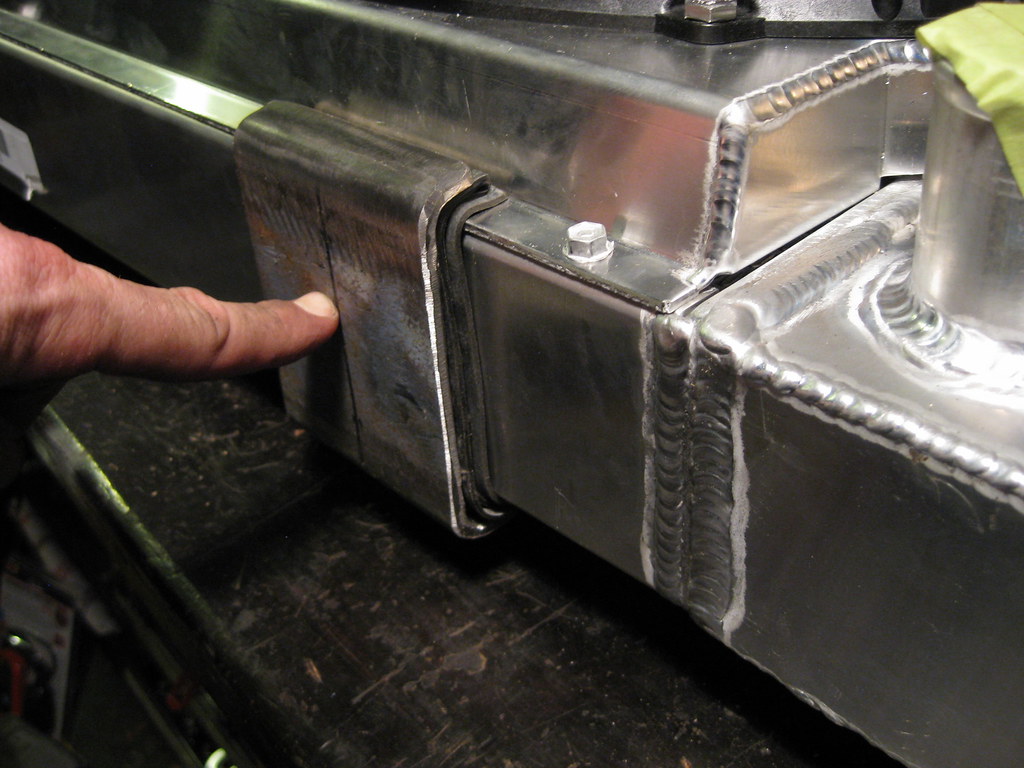
I removed the old exhaust hanger so that I could add a mounting bracket for the fuel lines.
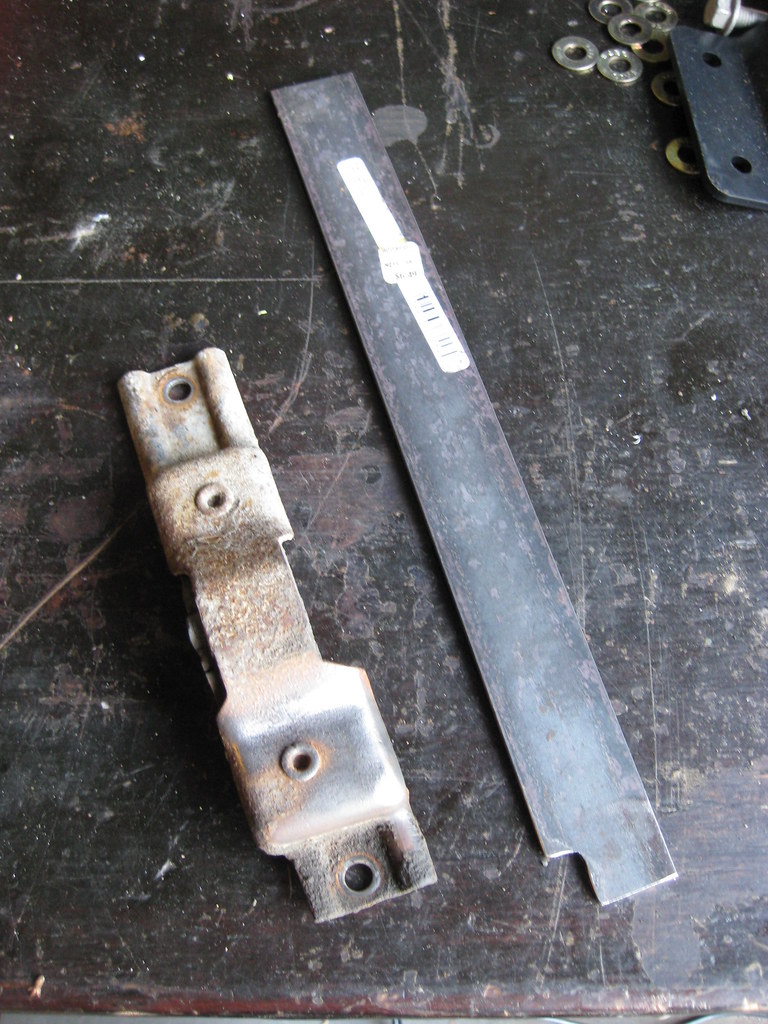
After after a lot of grinding dust, it looked like this. I will paint this and all of the other parts at one time when I have them finished.
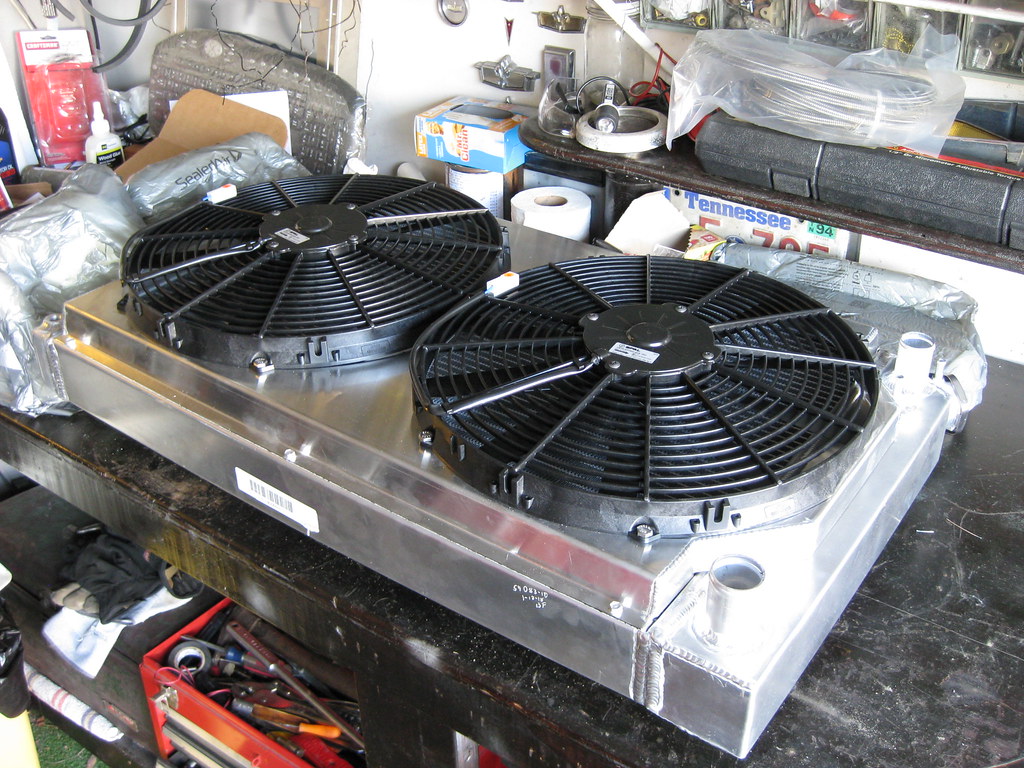
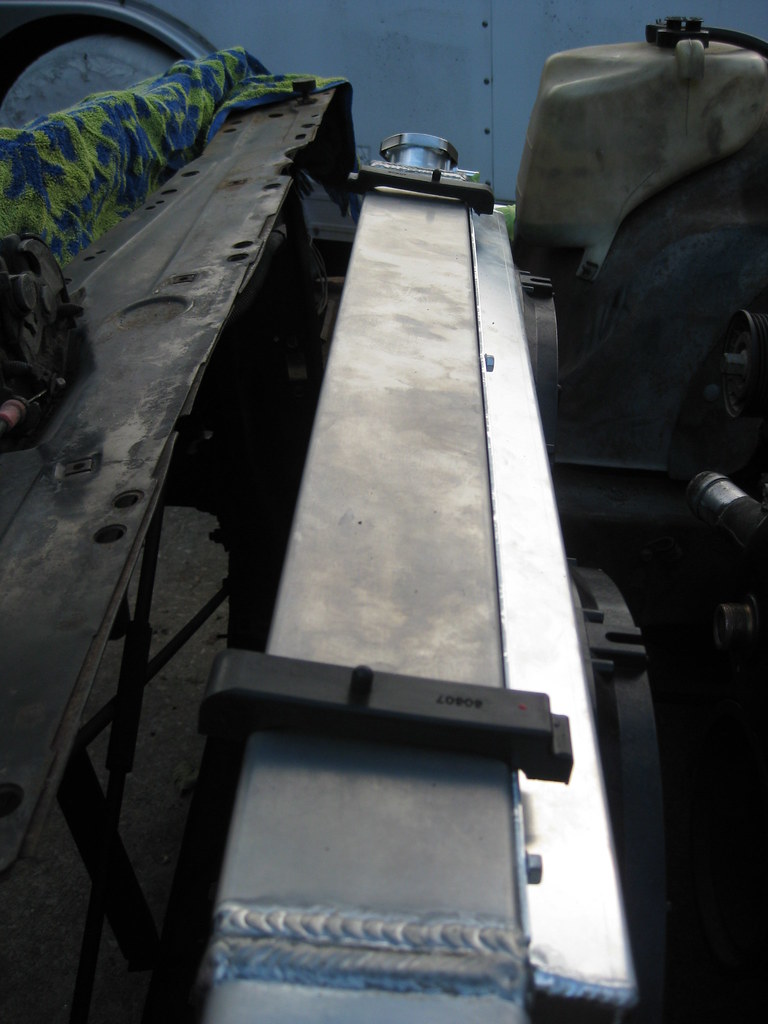
It was time to make the mounting brackets for the radiator. This part was particularly difficult for me to wrap my head around. There seem to be as many ways to mount a radiator as there are people, however I wanted to do it correctly. I tend to believe that if the frame flexes under torsion then hard-mounting the radiator would put undue stress on the aluminum welds of the piece. I wanted to dampen the radiator with rubber mounts as the automobile manufacturers do.
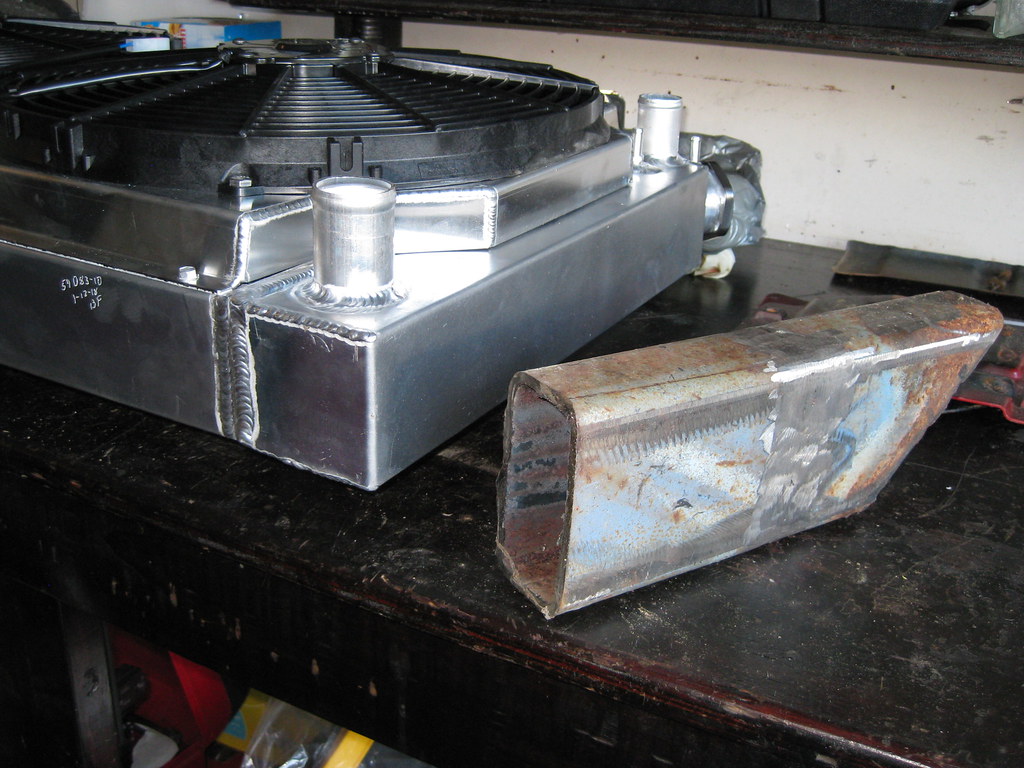
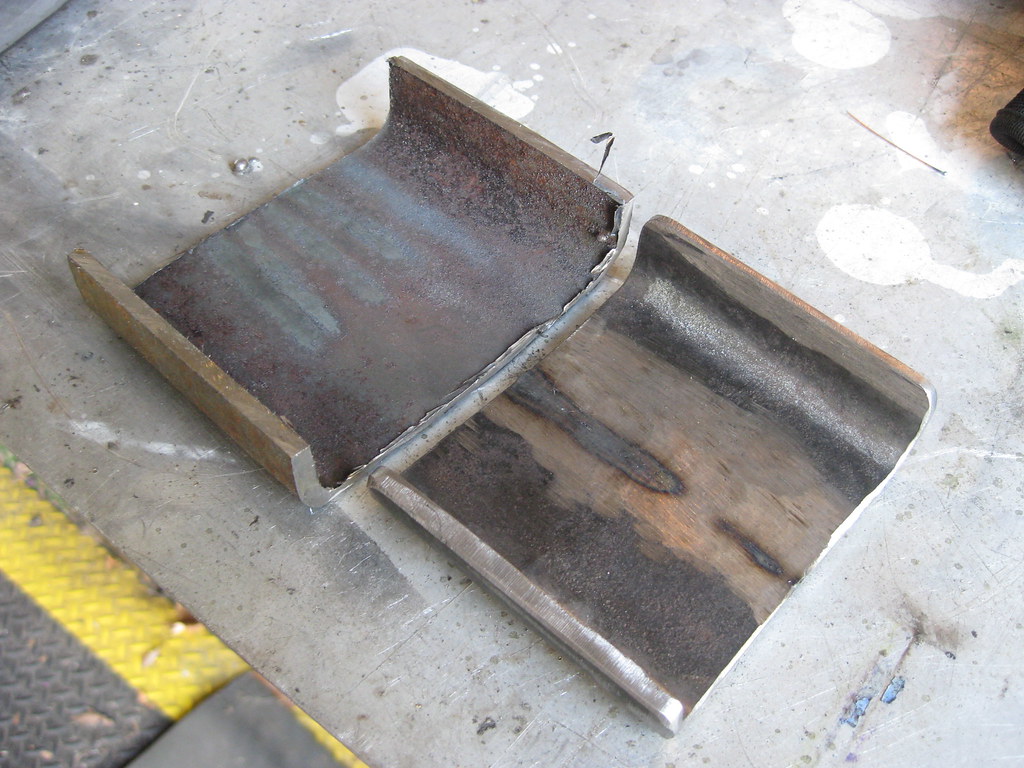
I scrounged through my scrap metal pile and found this piece. This was the very first piece of scrap metal I got at the scrapyard when I first got my welder to use for practice. I had probably cut this thing in half and put it back together 3 or 4 times, as well as laid a lot of beads on top of it. It was pretty close to the right shape and size to make bottom radiator supports.
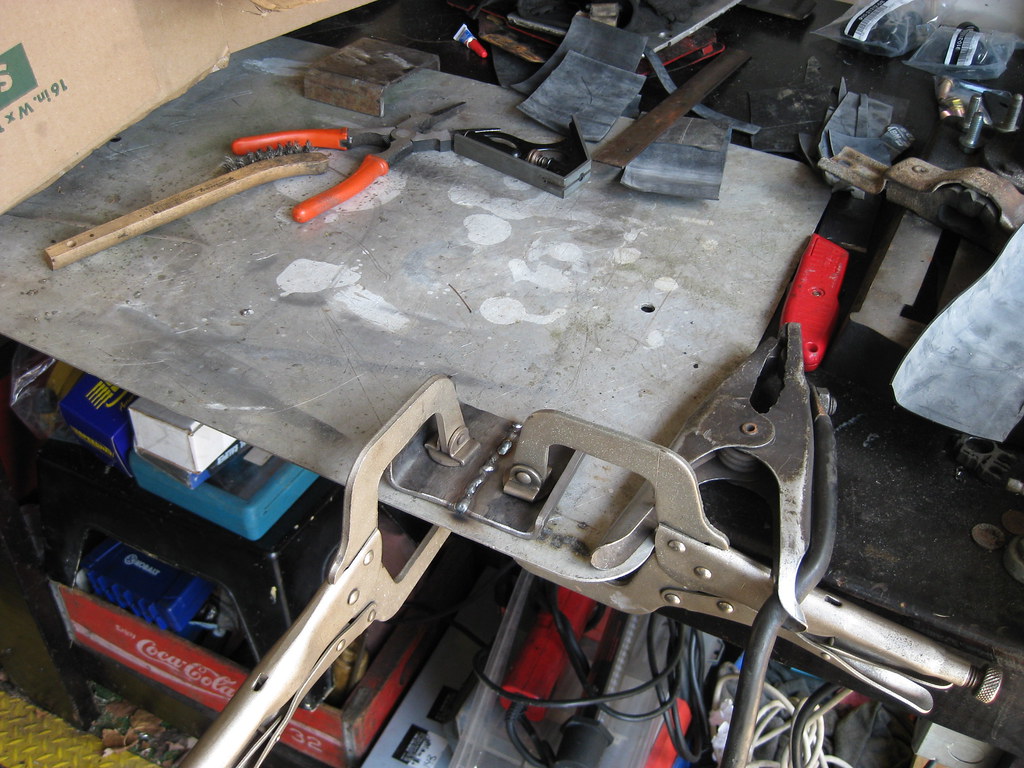
I made some measurements and started burning through some grinding wheels.
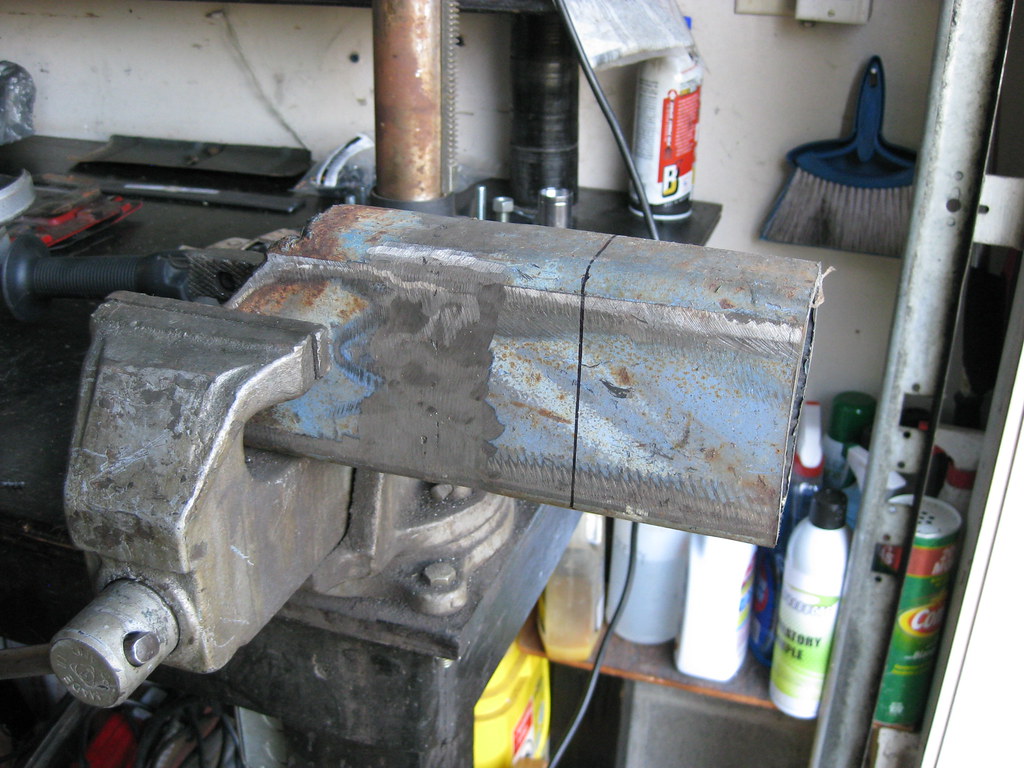
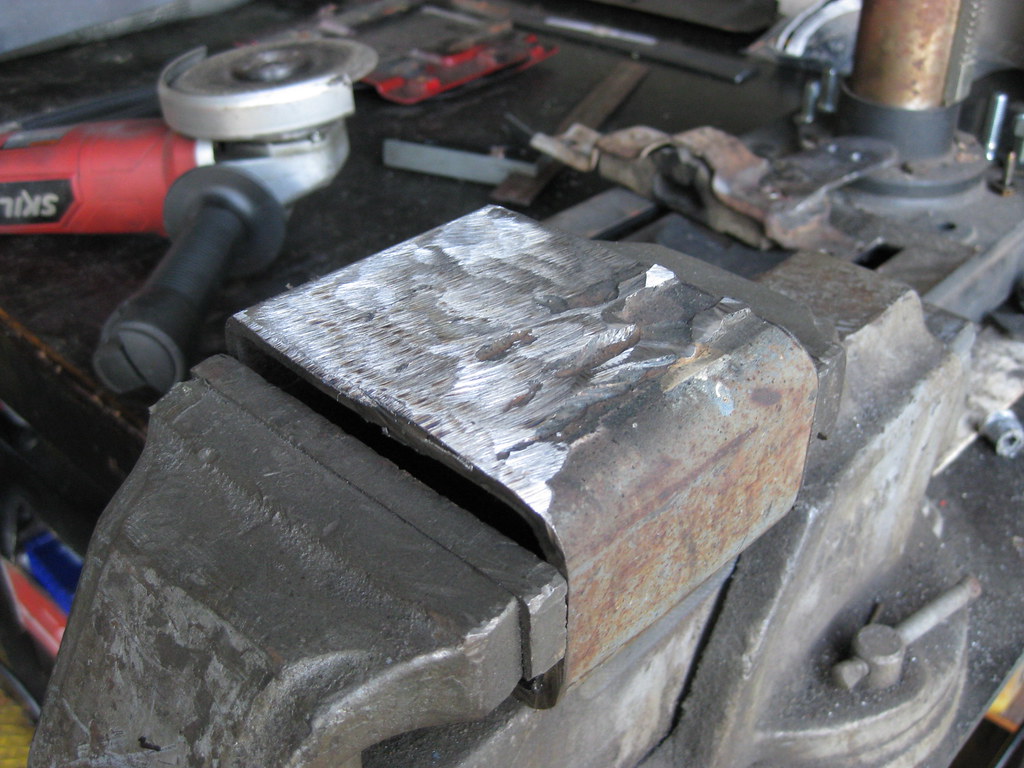
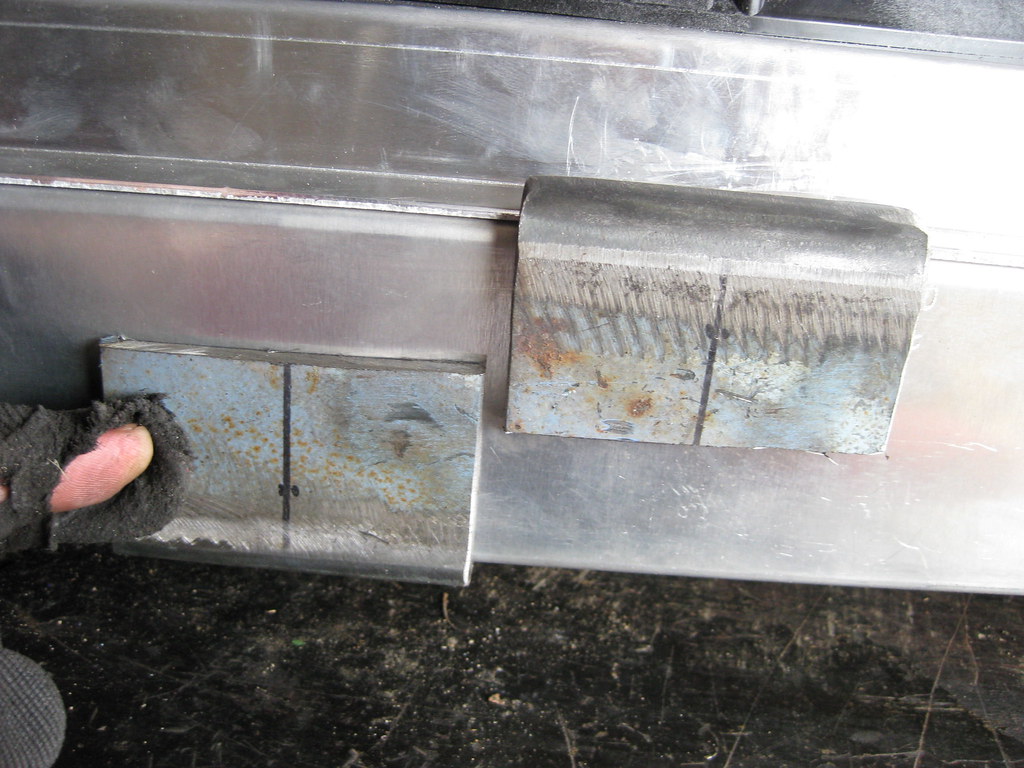
I had a lot of grinding to do to smooth out all of the old practice beads I had put down.
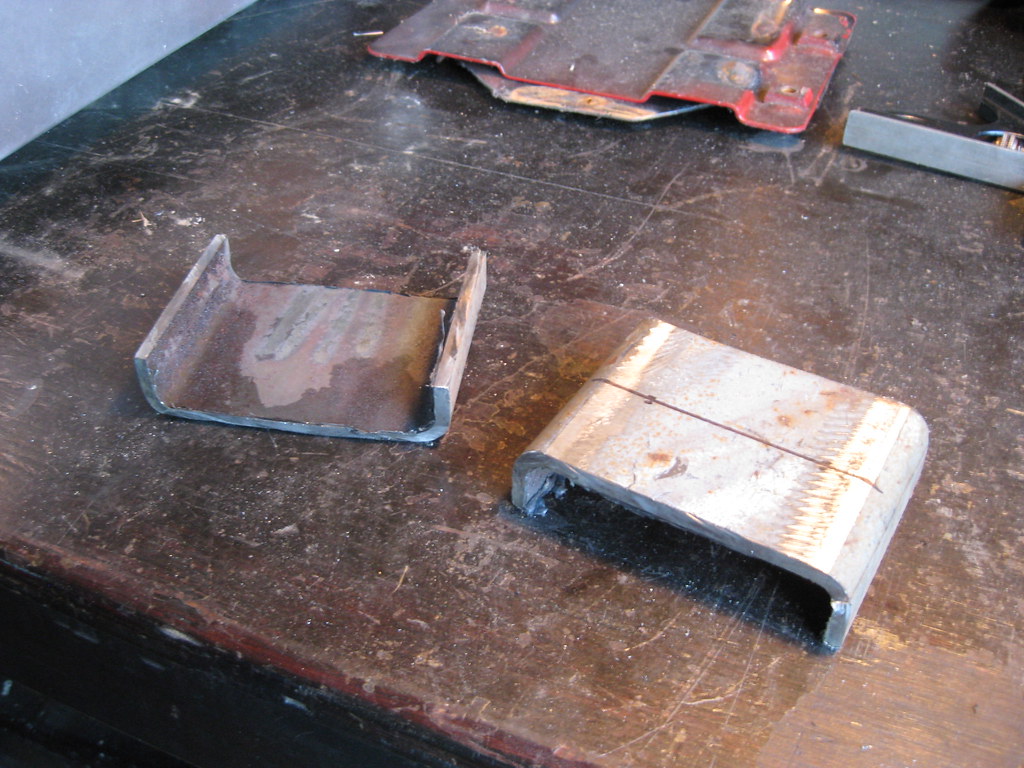
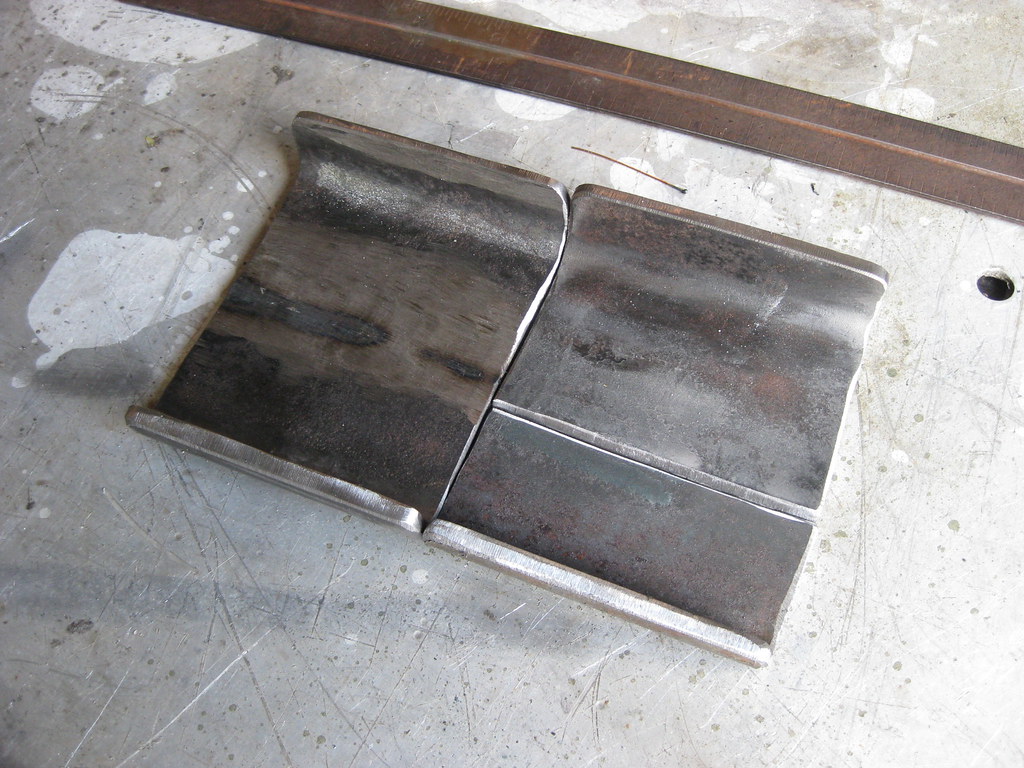
I ended up with these two pieces.
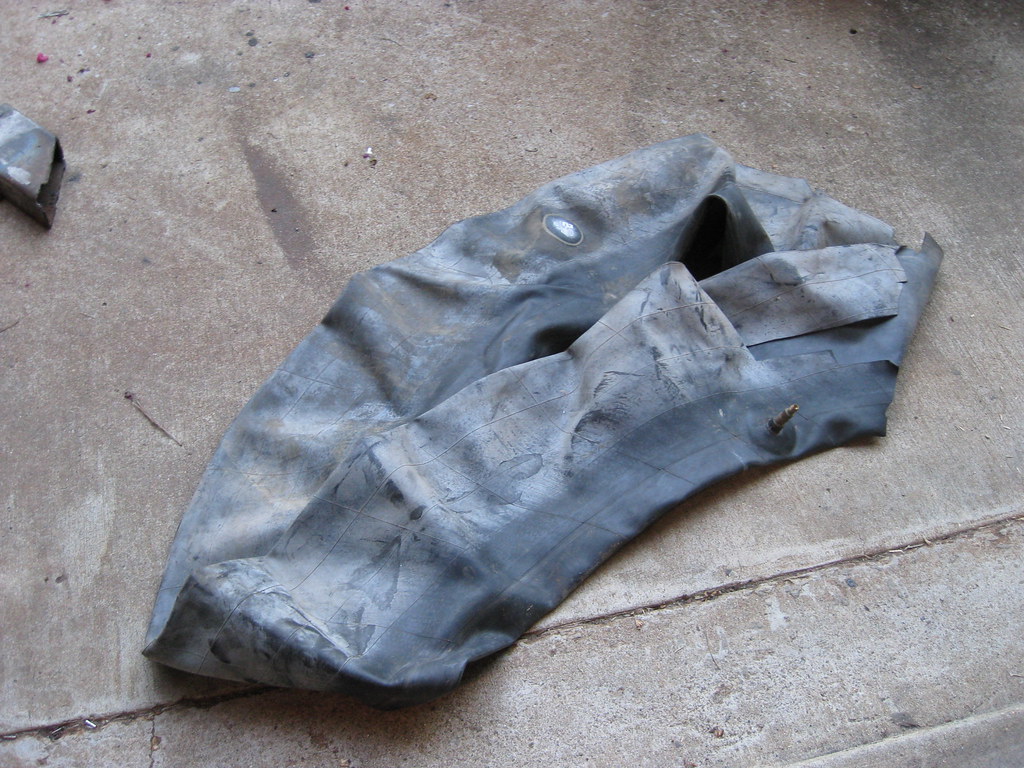
Several years ago I got some inner-tubes from a dump truck tire to use for a project. I plan to use these again to insulate the steel on the bottom mounts from touching the aluminum on the radiator. Aside from providing a cushion, the rubber will prevent the two dissimilar metals from reacting with one another.
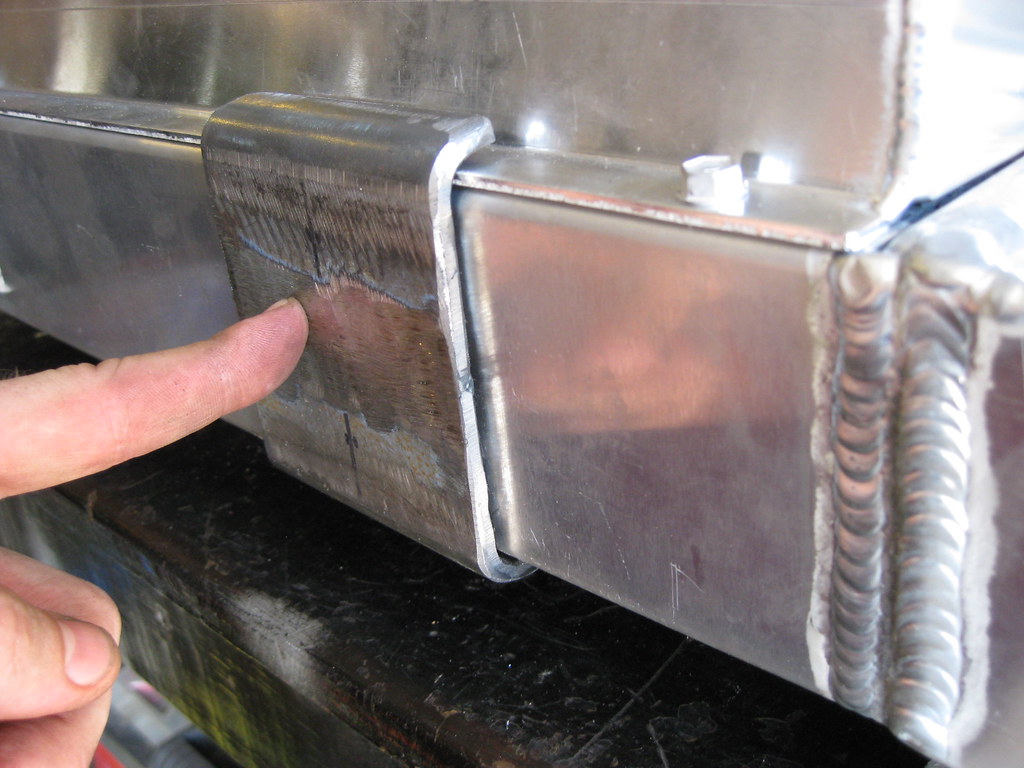
The first test fitting revealed that the length of the bracket was just a bit too large. I could have made it work by adding more pieces of rubber, as shown below, but after thinking it over I realized this was not the correct way to fix the problem and I needed to make it right. The size pictured below would require 4 pieces of rubber, with one piece being cut long and folder over on itself on each end in order to secure the radiator with no movement or play.
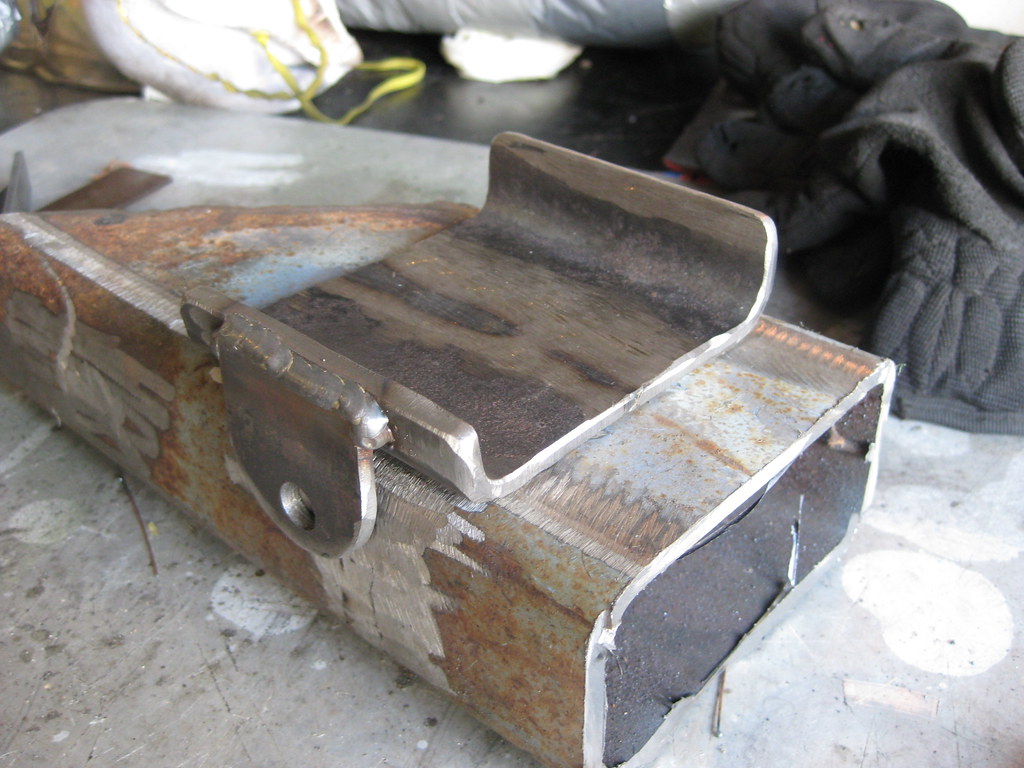
I had to cut almost this much out of the middle of the bracket.
This is a much better and more secure fit, leaving enough room for two pieces of rubber.
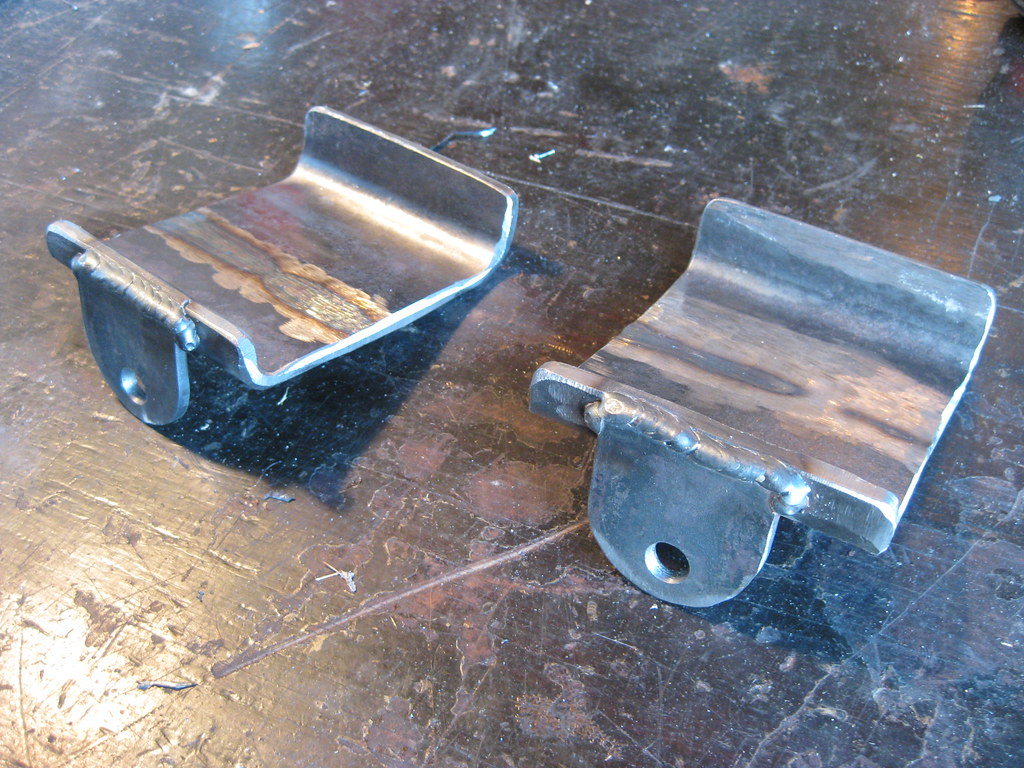
The second piece went quicker because I could use the first as a template.
After a lot more test fitting, grinding and drilling, this was the finished result of the new bracket shape.
After finishing the other one all that will be left is primer, paint and gluing the rubber into the mounts.
Then I moved on to the top. I thought I had stored these rubber insulators from a previous project with some other parts in my dad's barn loft. After going over there and searching everywhere I found they had been less than 5 feet from me the whole time in my garage.
After considering several different types of bracket options for the top I made a rough cardboard template to get an idea of what kinds of bends I would need and to see if I would like the overall shape. My next step will be to try to find someone that will let me use a metal break.
