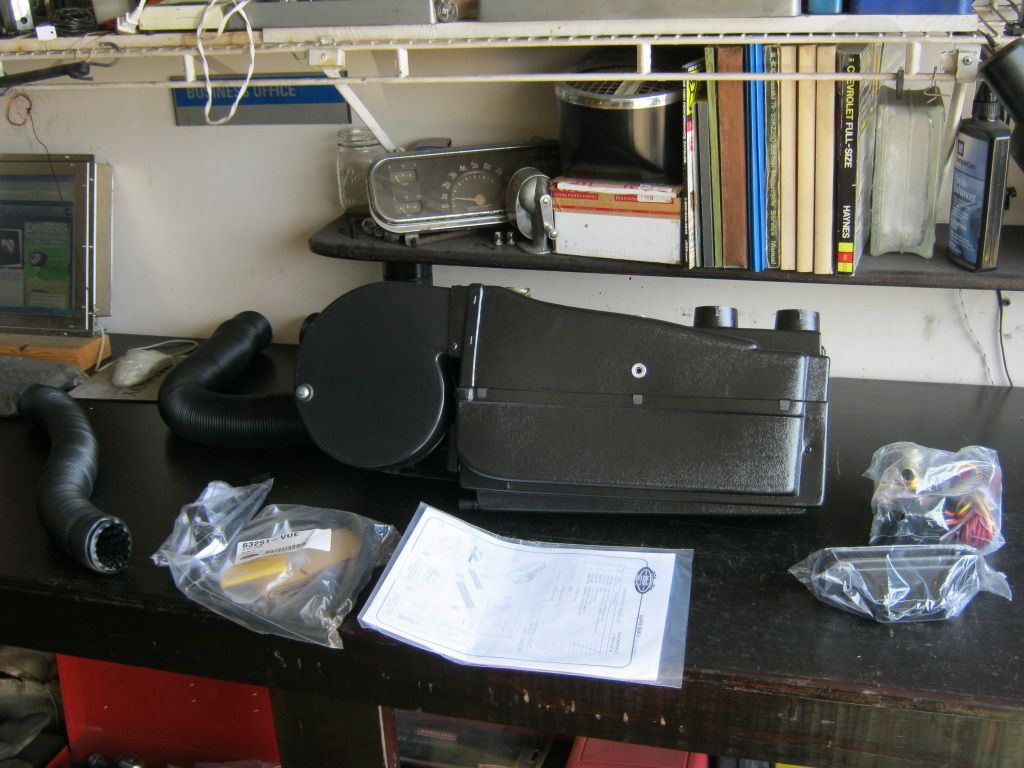
Here is everything that came in the Vintage Air box.
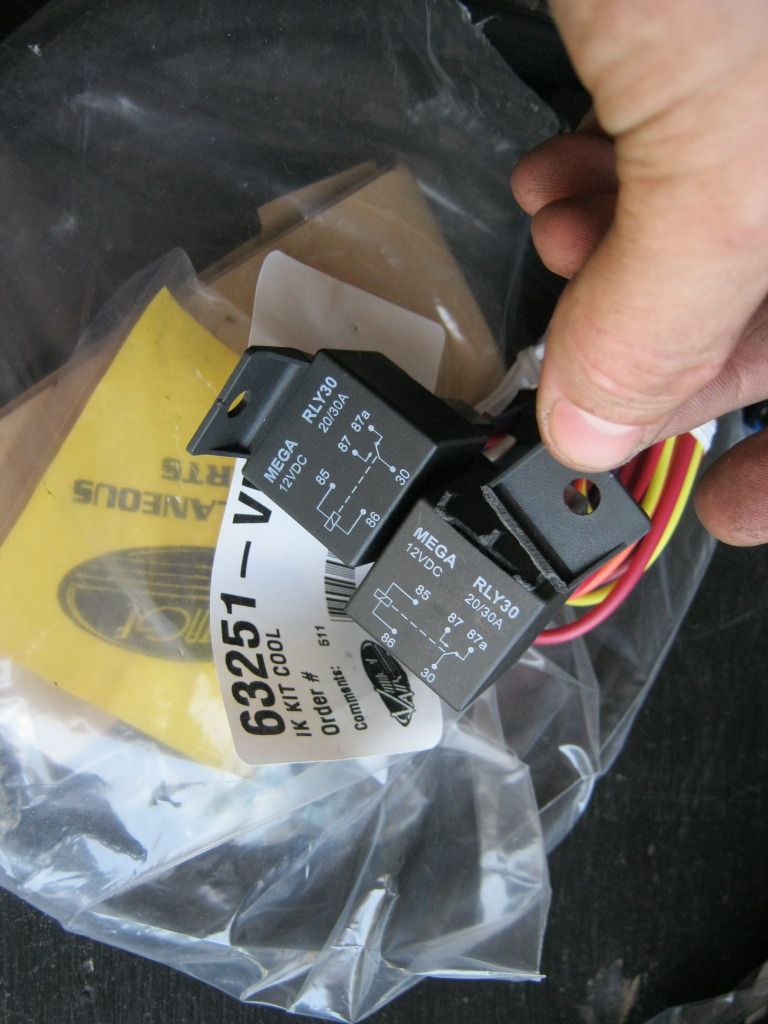
I looked through the parts to make sure everything was there and noticed that one of the relays was broken before I took it out of the bag. One of the reasons I went with Vintage Air is that much of what I read praises their customer support. I called Vintage Air and they said they would ship out a new relay free of charge.
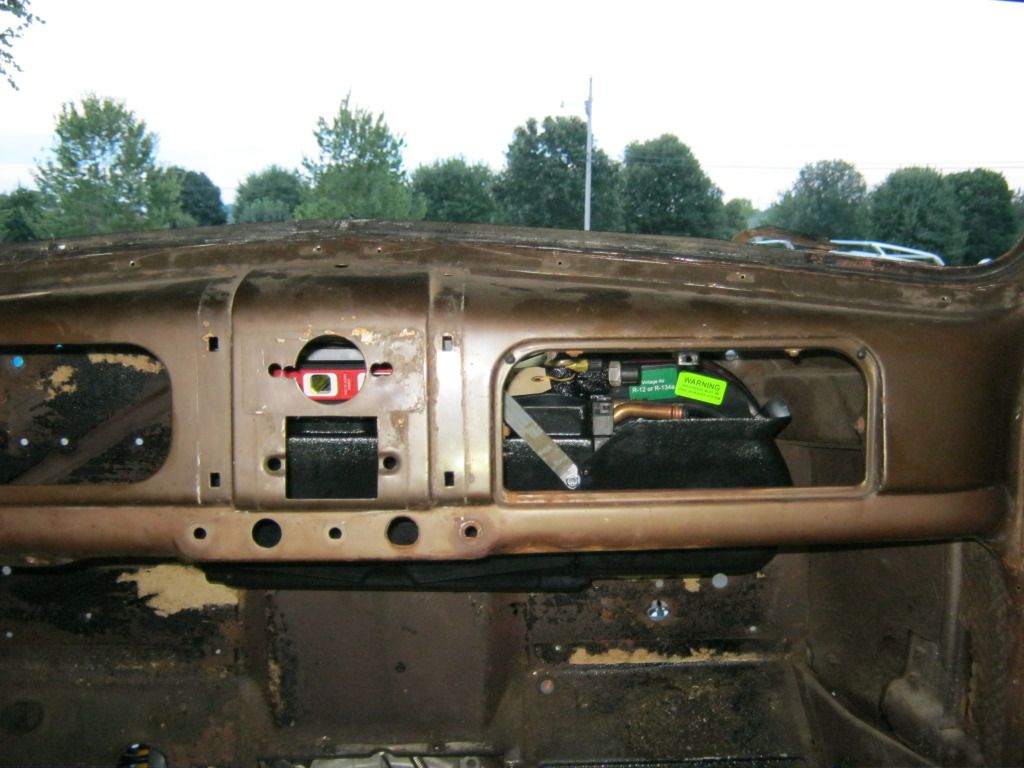
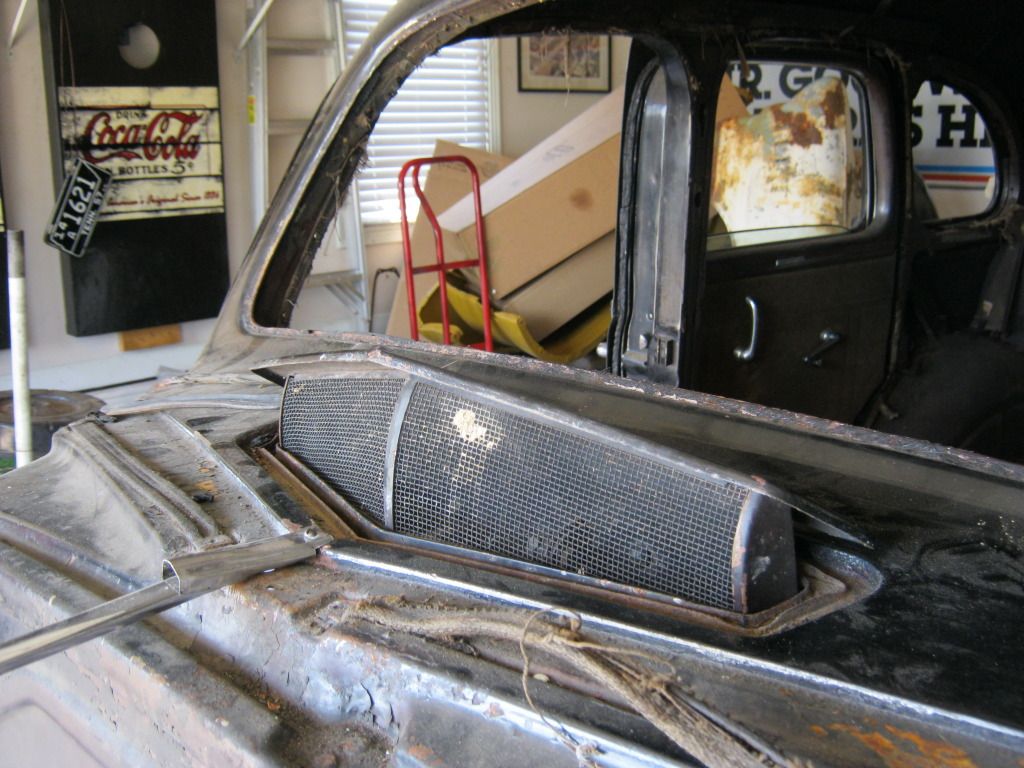
I installed the cowl vent so I would know how to place the under dash unit.
Here it is from under the dash. This simple mechanism is actually very ingenious in the way it functions. It has a couple of pivot points but also had a separate arm that rotates and uses a spring loaded ball to give the vent several options of how far you can open it and it will stay. Because of the design the last part of closing the arm causes the geometry of the arm to change so that the leverage then pulls the lid down tight against the seal.
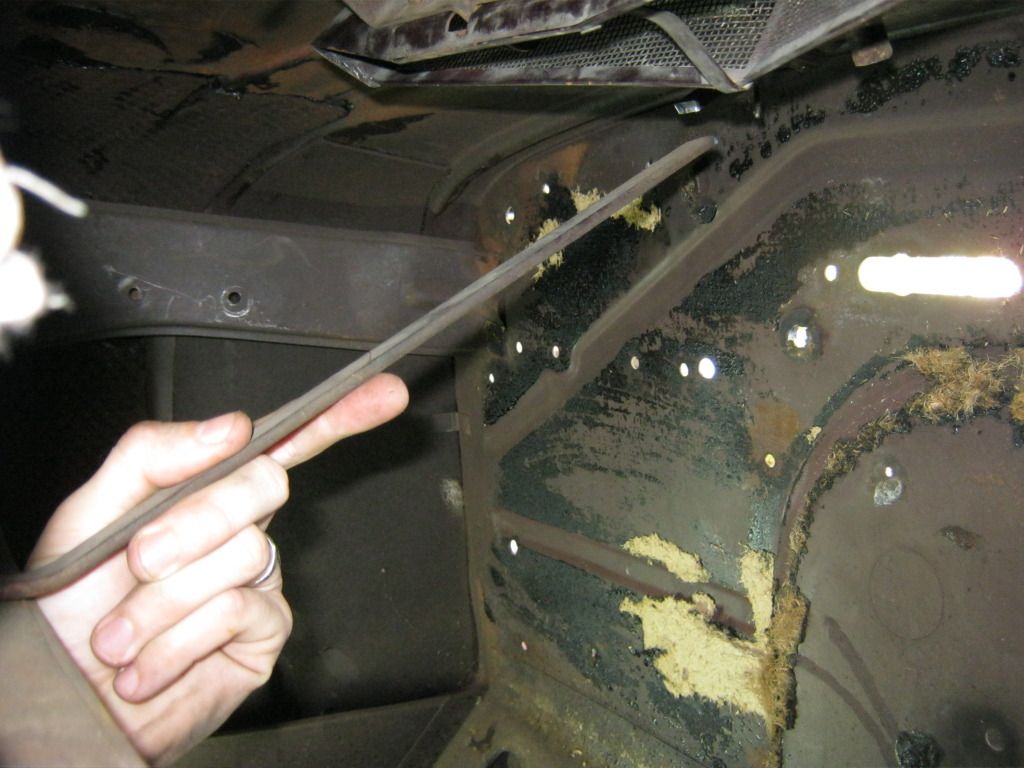
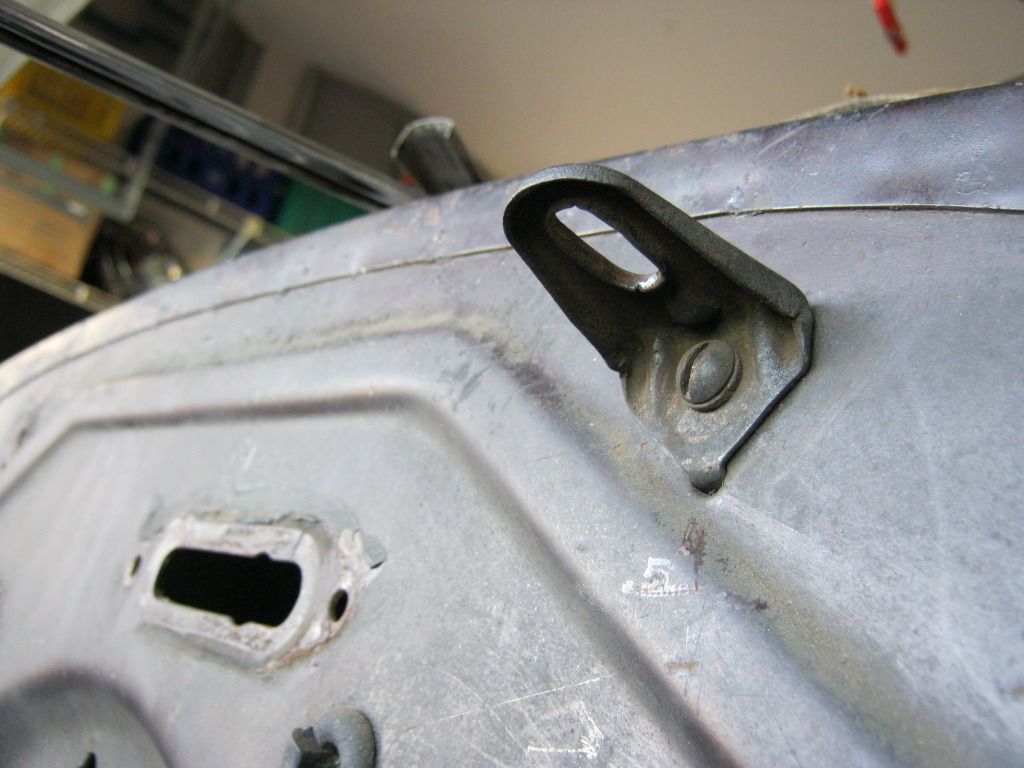
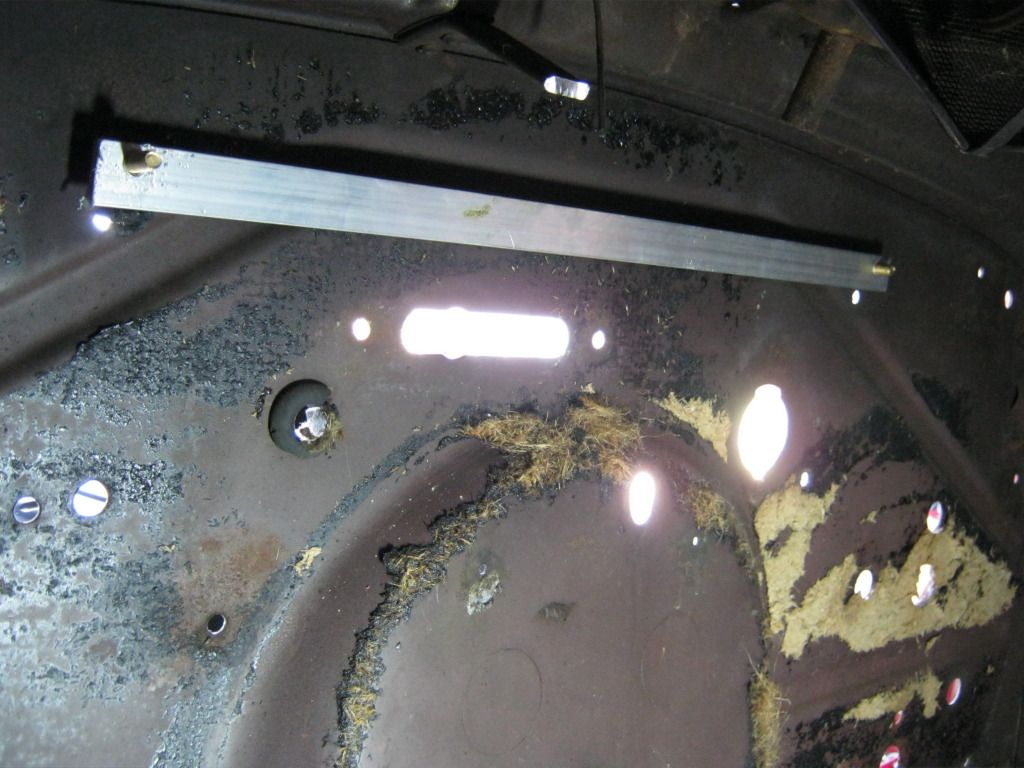
I had first mistakenly thought this brace was held in place by the screw on top of the cowl that holds the cowl seal down. I later realized there were two rivets that hold this brace in place and because I didn't want to remove the rivets it meant that I would have to cut the brace, possibly to weld it back in a different location.
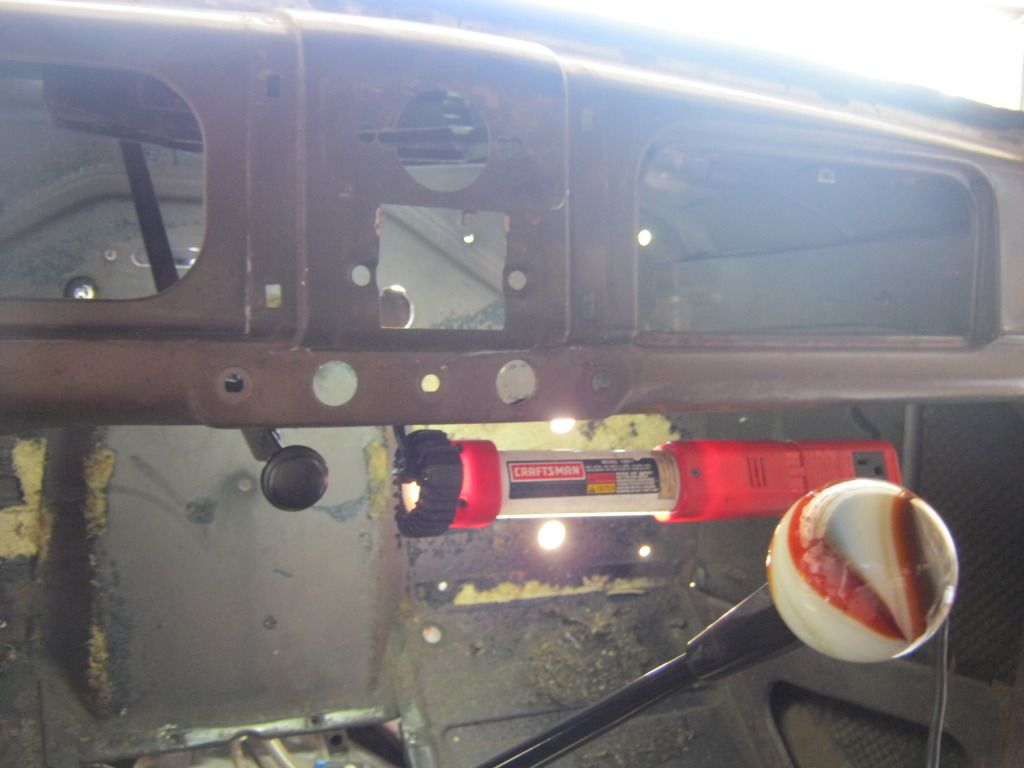
This is the position the handle stays when the vent is closed
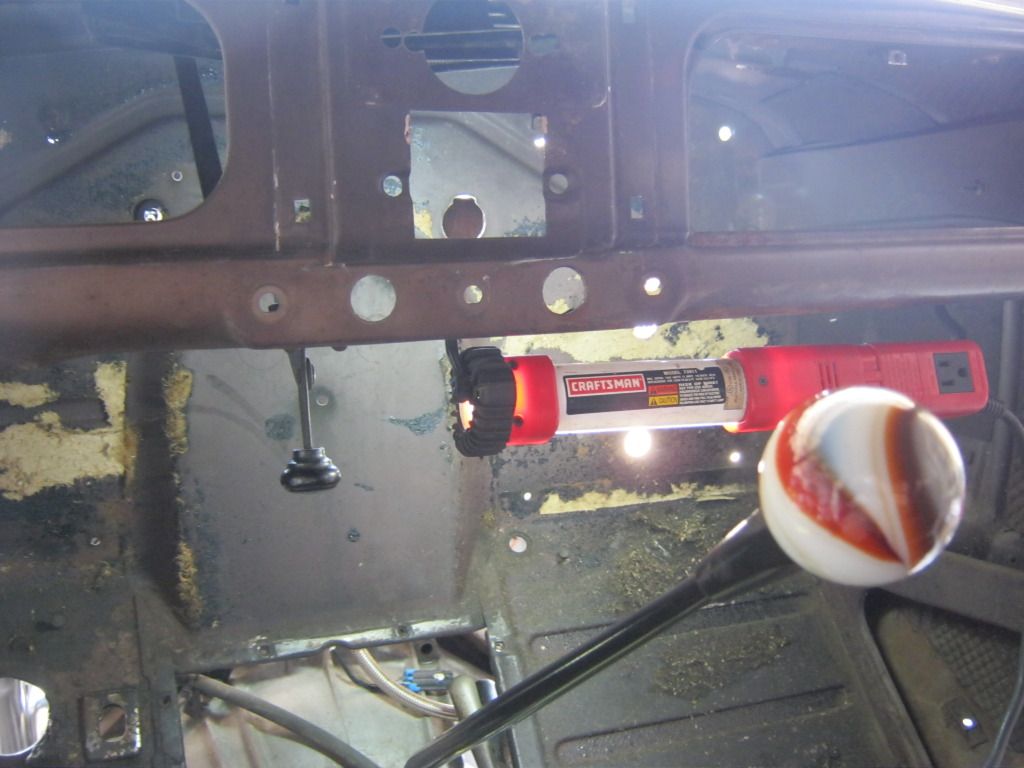
And this is the position when it is open
I love these vents. I think they're one of the greatest functional design elements on the car. Dad has a '61 Corvette that has one of these vents and it does wonders for cooling down the lower part of the car when you would prefer to have fresh air come into the car. I understand that these are often times rusted out, as well as the tube that drains the water from the area, however this one is in great shape.
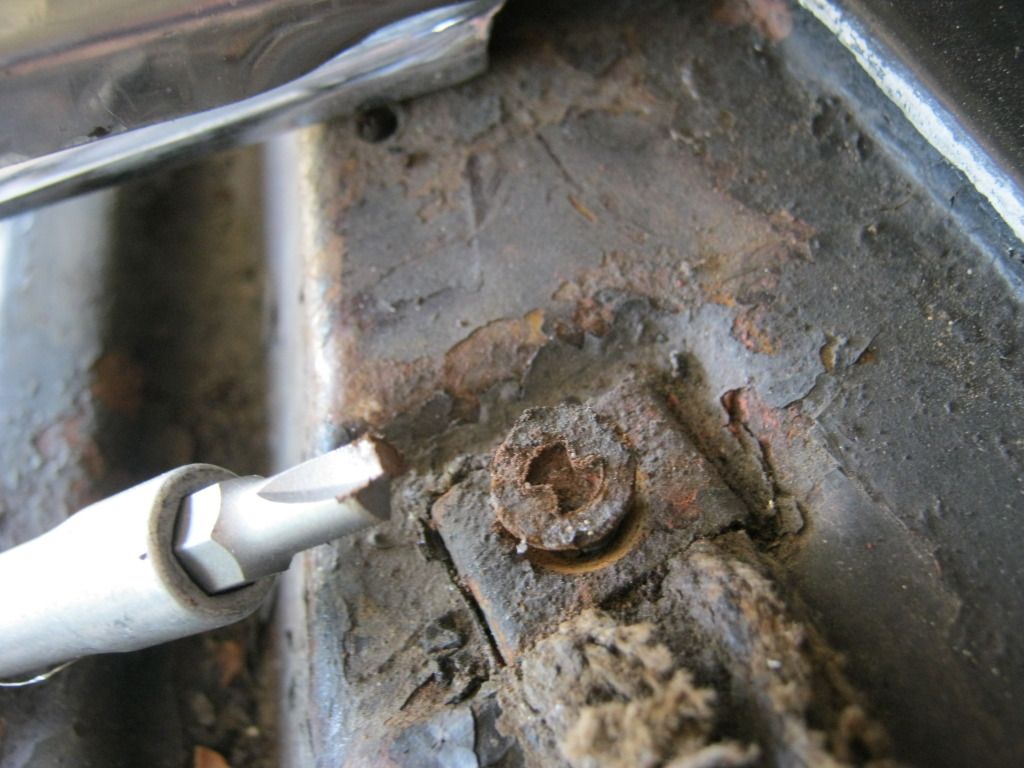
Here is the screw up top that I first thought held the brace in. I had to buy this special insert that goes into the nut driver to remove it. It wasn't a loss, though, because this screw, and the others like it, will have to be removed anyway.
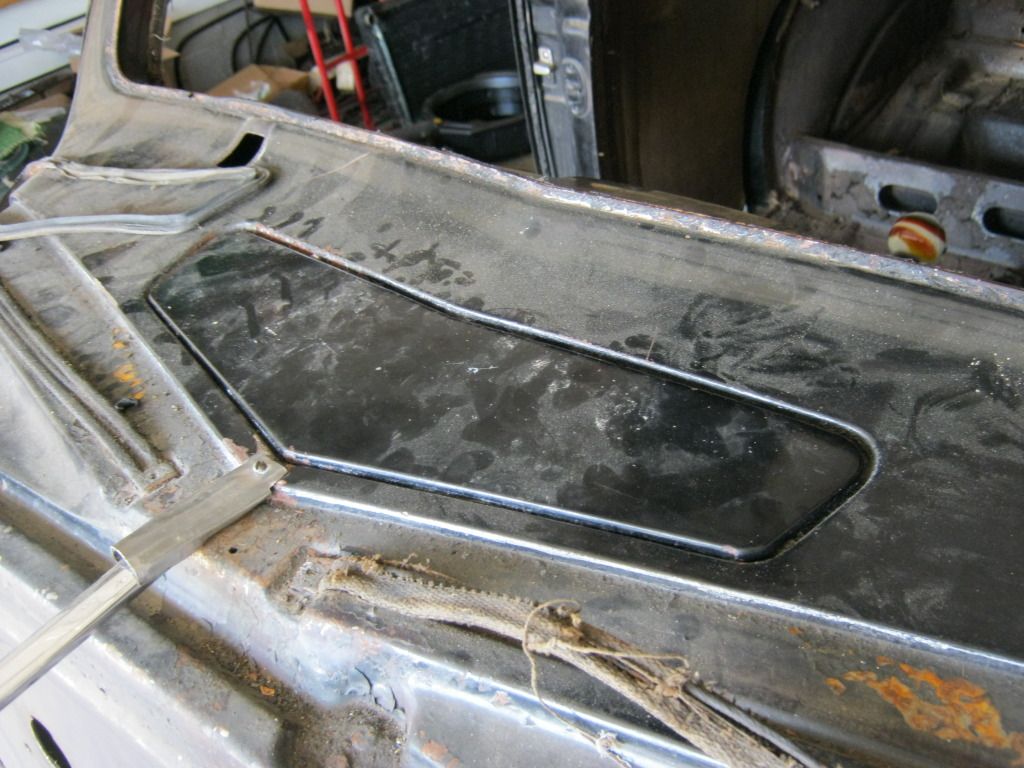
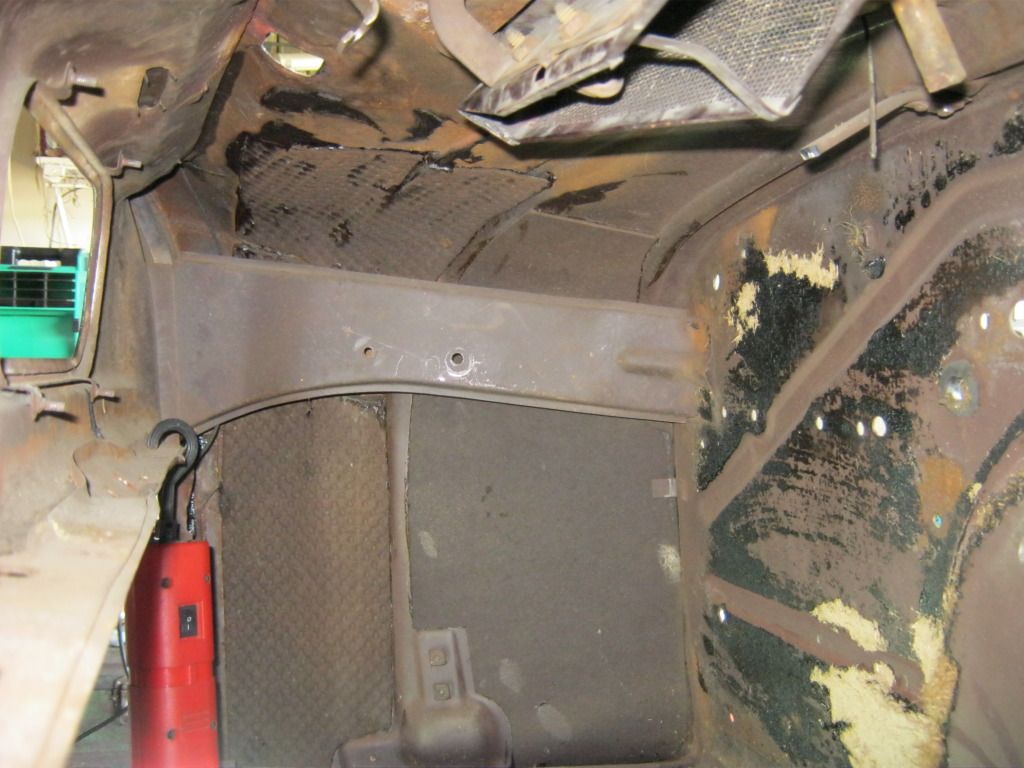
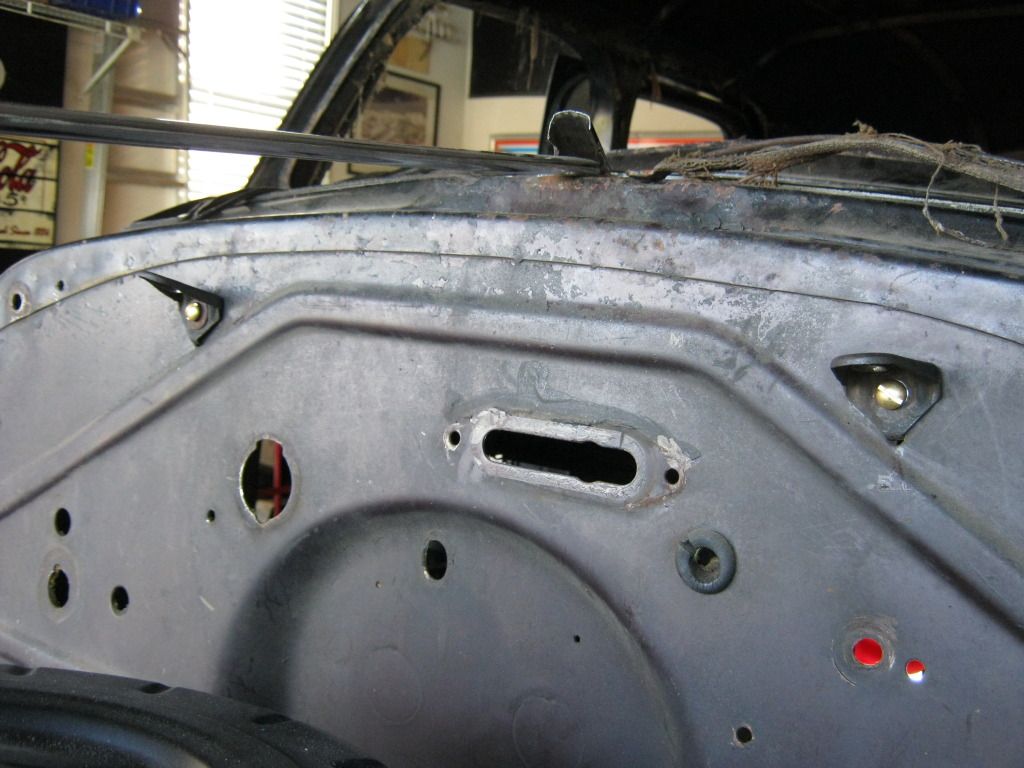
Here is where the under dash brace was
And now I have ample room to place the air box.
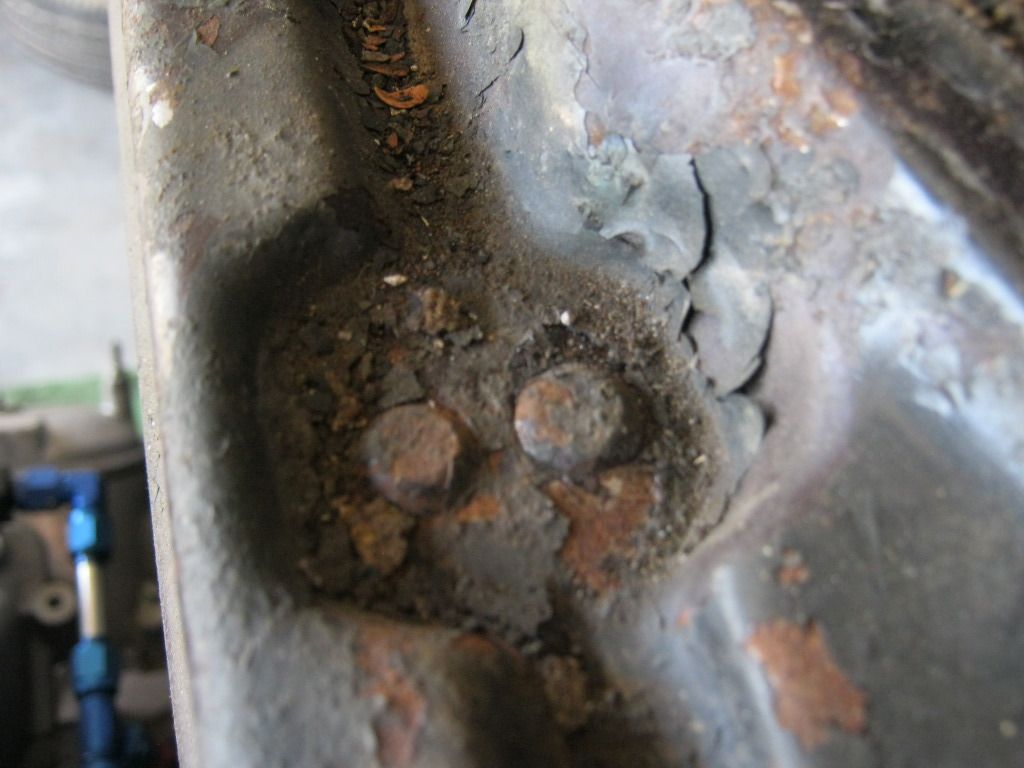
Here are the two rivets that held the brace to the cowl. Because they are well sealed I do not want to mess with them and cut them out to create a new possible trouble area that could leak in the future.
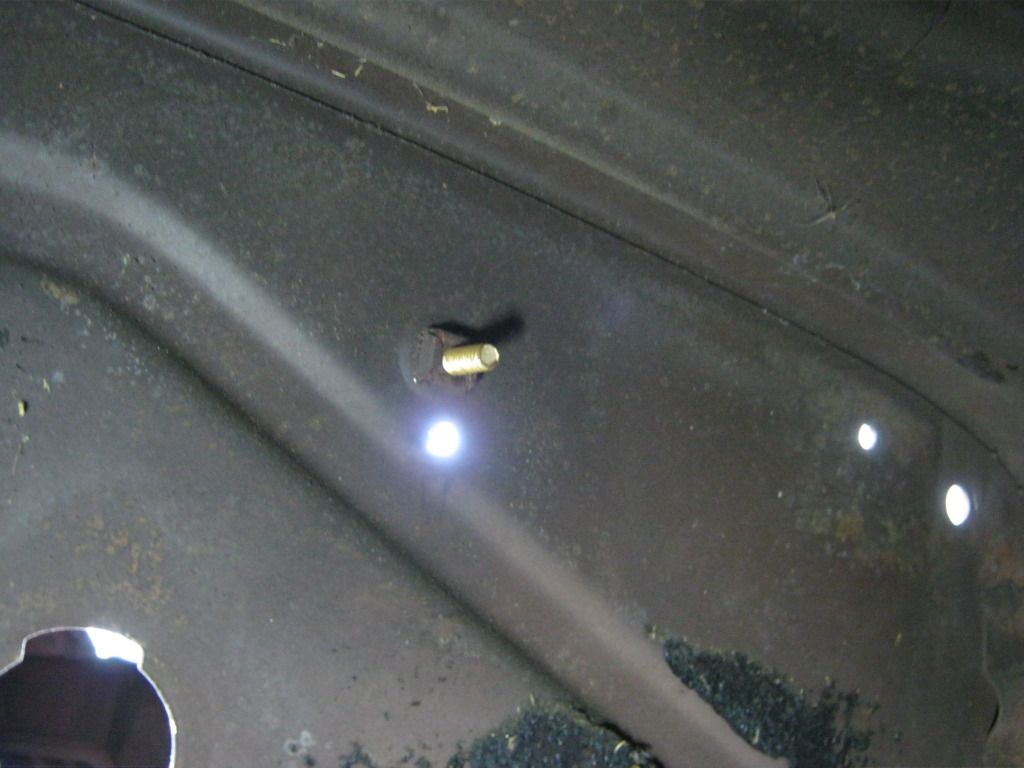
The directions for mounting the air unit called for drilling holes in the firewall, but the firewall already has enough holes in it so I decided to go a different route. These mounts are held in the firewall with screws that have nuts welded onto the back of the firewall.
So I went to the hardware store and got longer screws that would give me some thread sticking through the back side.

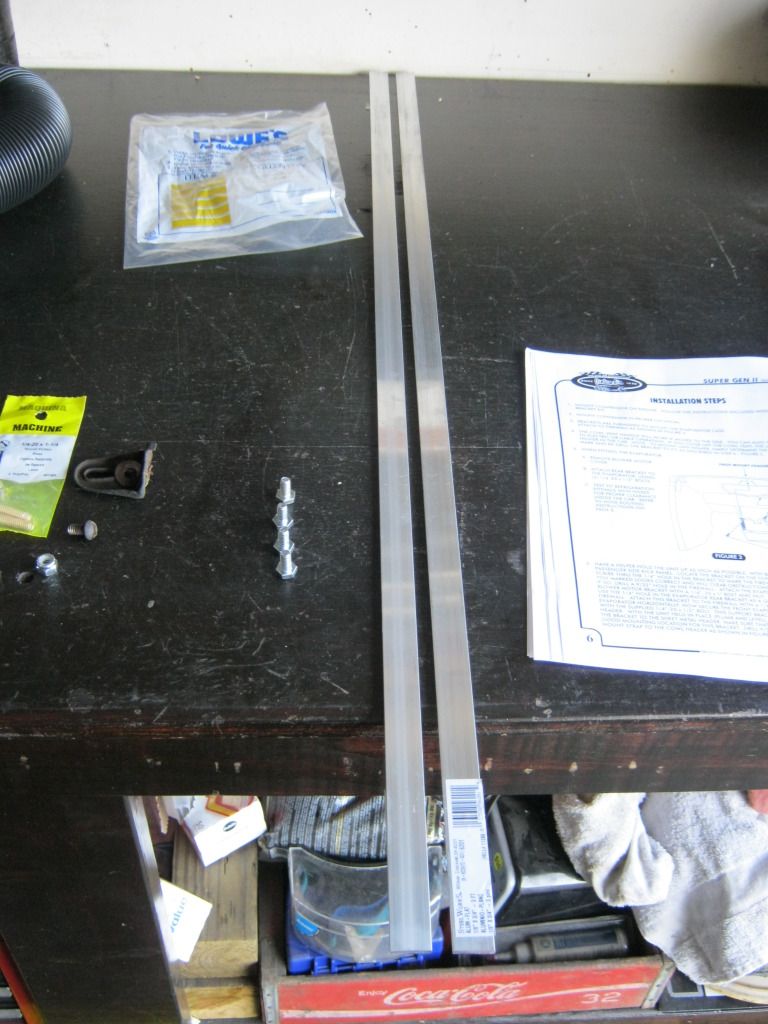
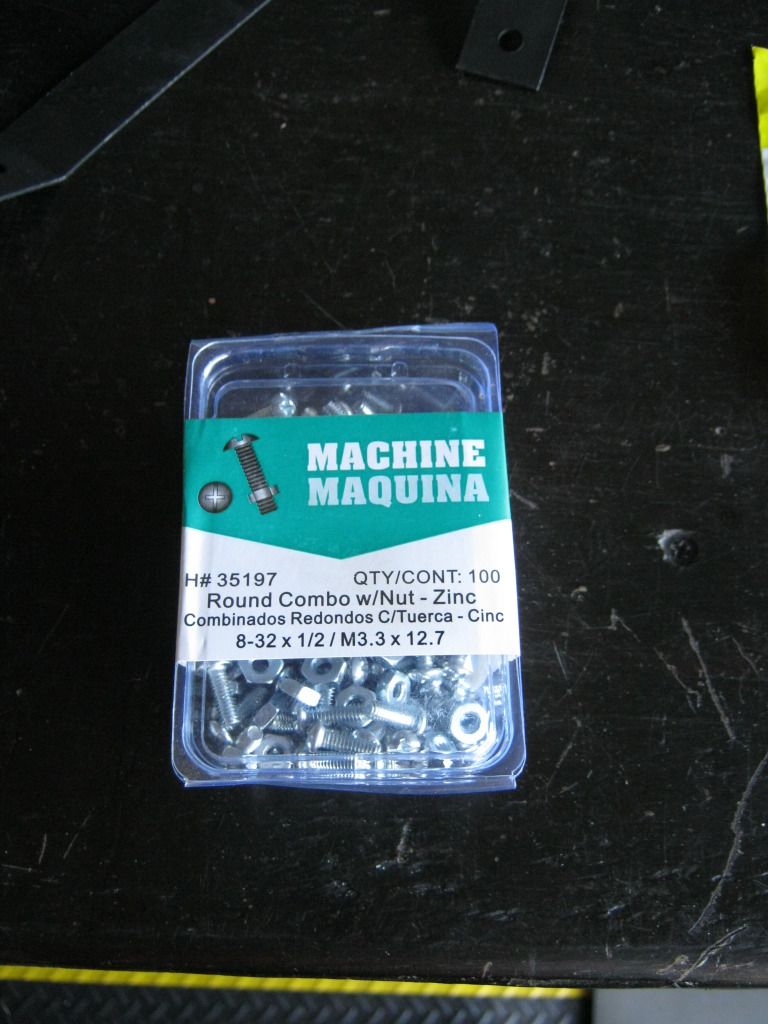
While I was there I also picked up some steel straps and some extra nuts and bolts to mount everything with. I also picked up the extra screws that were supposed to, but did not, come in with the kit.
With the longer screws installed, this is what I had under the firewall
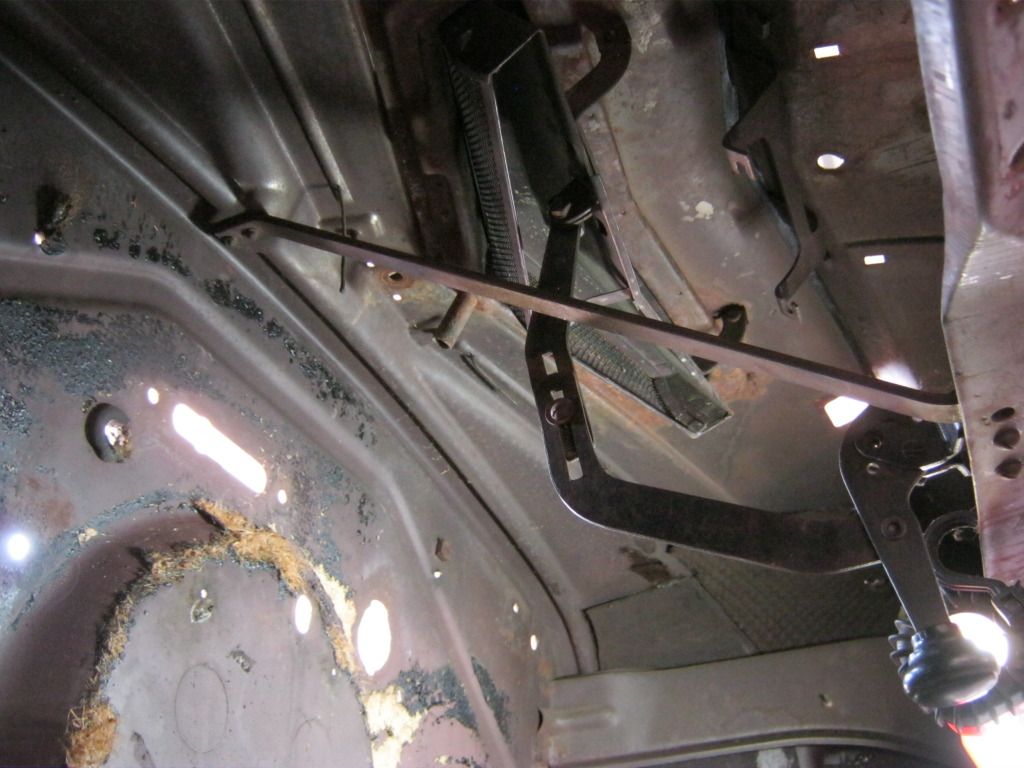
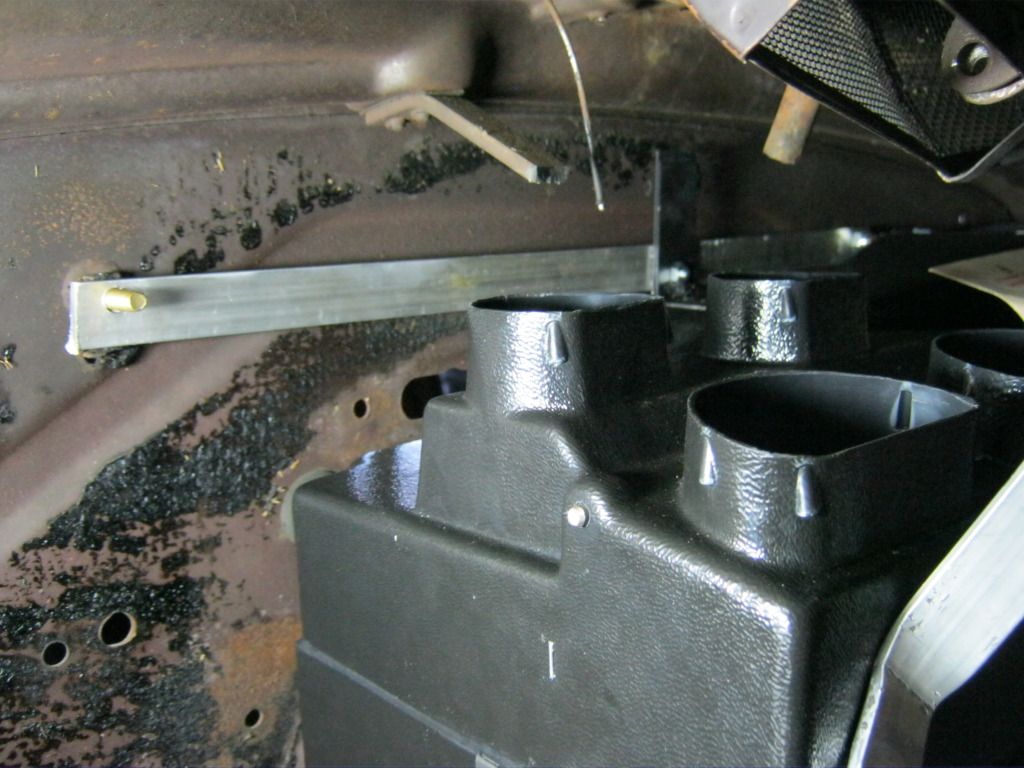
Which then, after some measuring, cutting and drilling, allowed me to install this cross brace that I'll use to hang the rear mount for the air box. I bought two lock nuts but the girl forgot to put one in the bag so now I'm one short.
From the outside it looks the same as it did, except now with shiny brass screws.
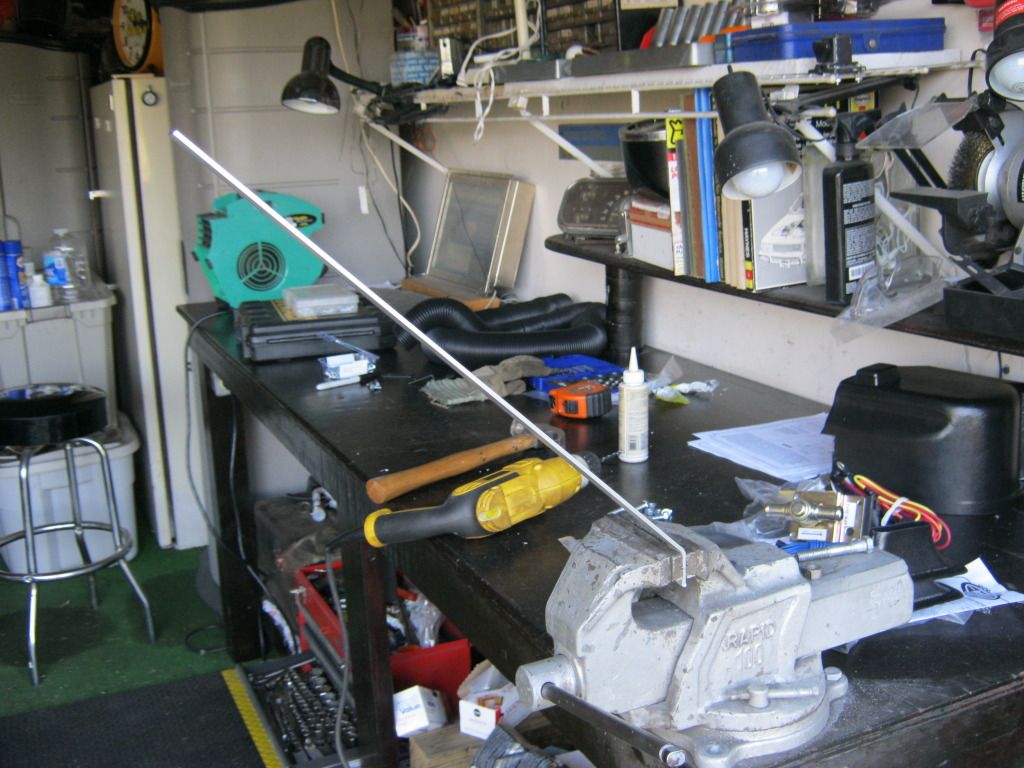
And then it came time to bend and measure and bend and fit and bend and fit and bend and fit and mark and drill some holes and then bend and fit and bend and fit until finally the driver side mount looked like this
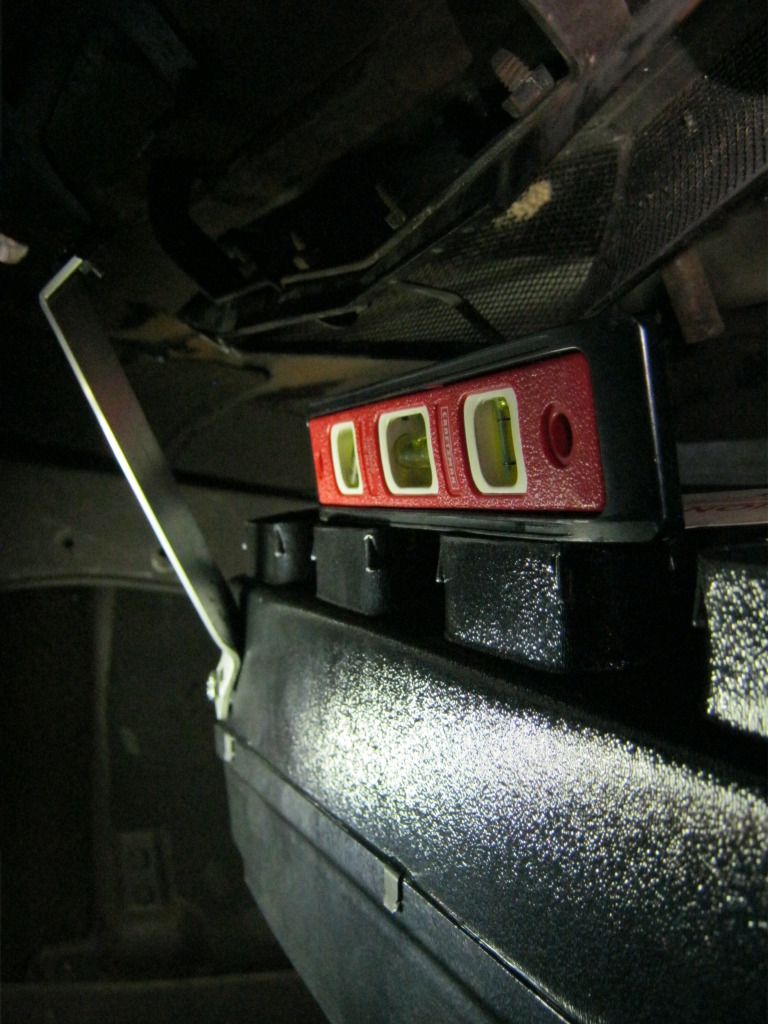
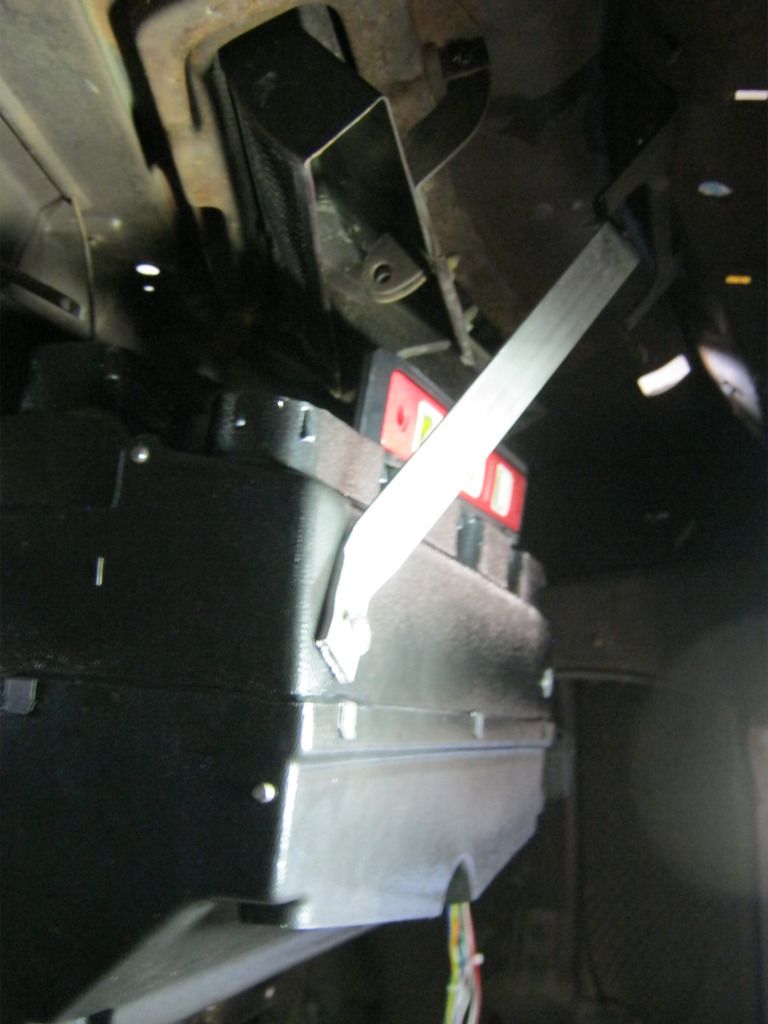
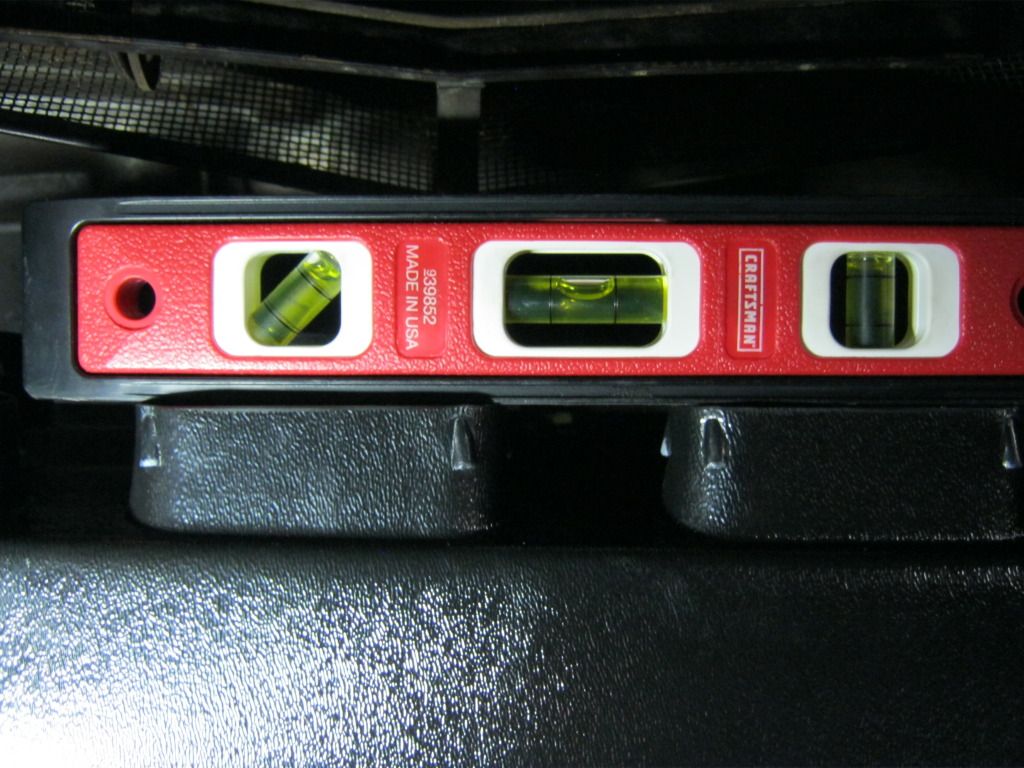
I checked again to make sure the car is level so I would know the level was correct. Not too bad.
And then onto the passenger side, with some more bending and measuring and drilling and bending and bending until this happened. After I got the final fitment I took the braces off and rounded off the corners and made sure the right side fit when the blower motor cover was put on.
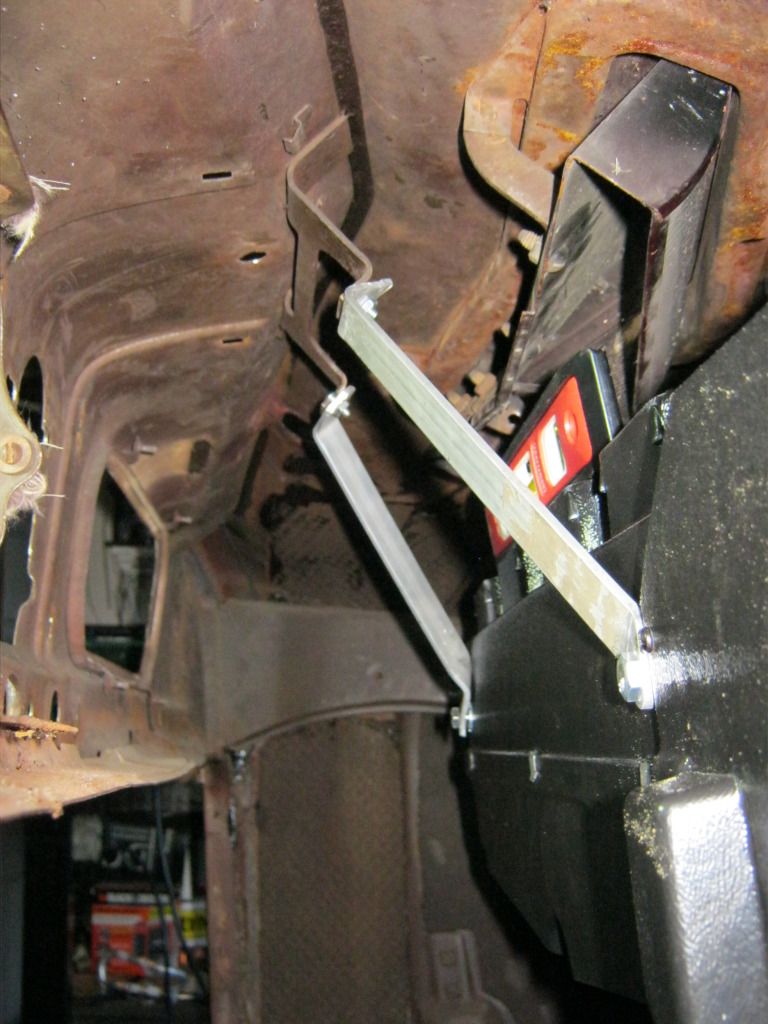
Here's the finished product
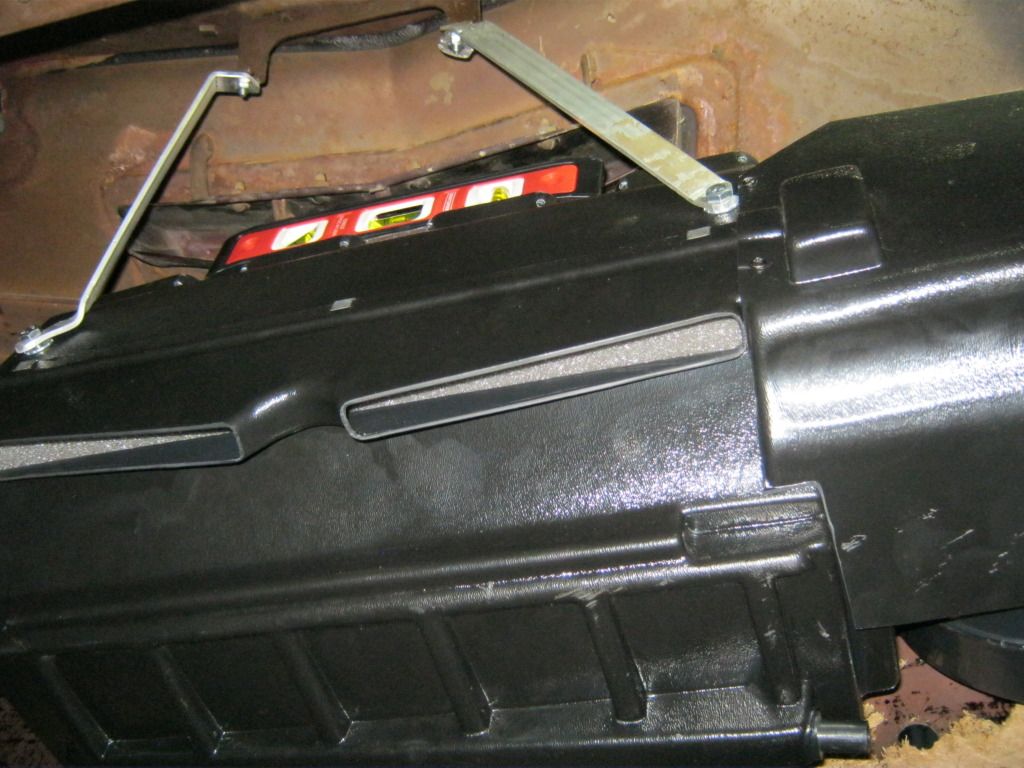
And a shot of the brace in the rear
I was pretty happy with how far up I was able to get the unit to go without hitting the cowl vent. It's much less visible than I had anticipated. I just hope I won't have to end up moving it down when I start fitting other things up under the dash.