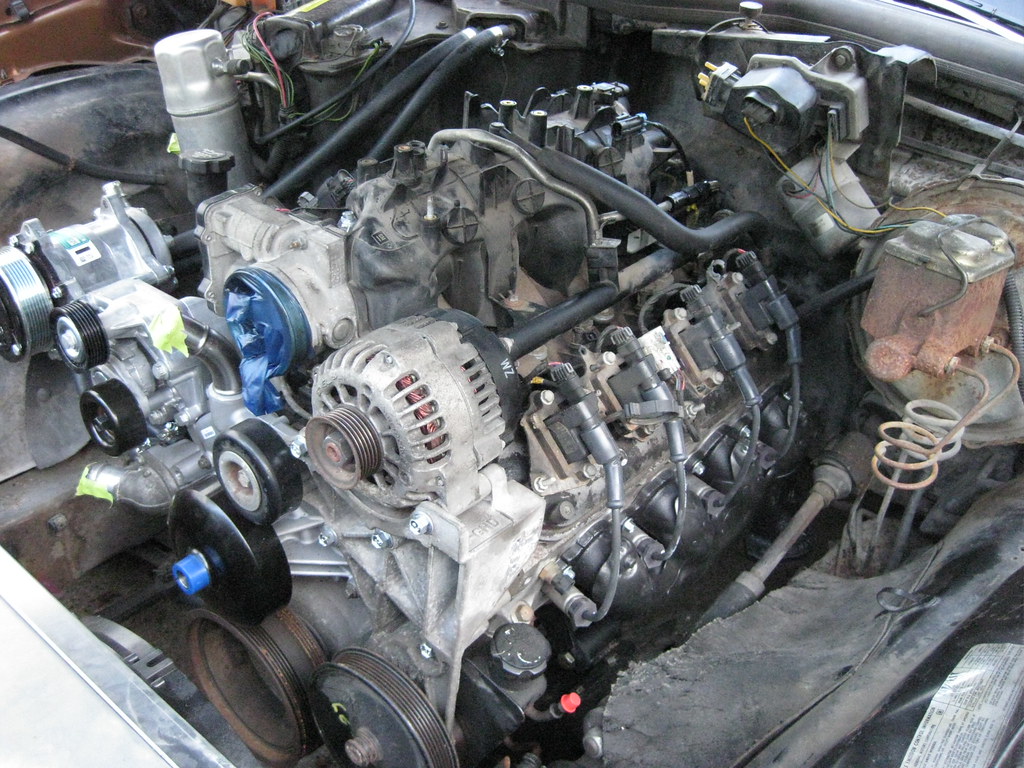
I have spent a tremendous amount of the little time I have researching things online, but I don't have a lot of pictures to show for it. The investment of new neuron connections seem to be something that is only evident in future payoffs. I've just been having to spend 10 minutes here or 5 minutes there during the week and then stay up late and try to read as much as I can from the internet about what steps to take next. These 18 and 19 hour days are getting tiresome but the end is in sight.
I found out my PCM does not have the correct hardware which would allow my air conditioner setup to be operated by the PCM in the way that I would like it to, so I'm going to have to get a different one. This project is so far over budget at this point it feels like telling the surgeon amputating a gangrenous toe to go ahead and take the pelvis.
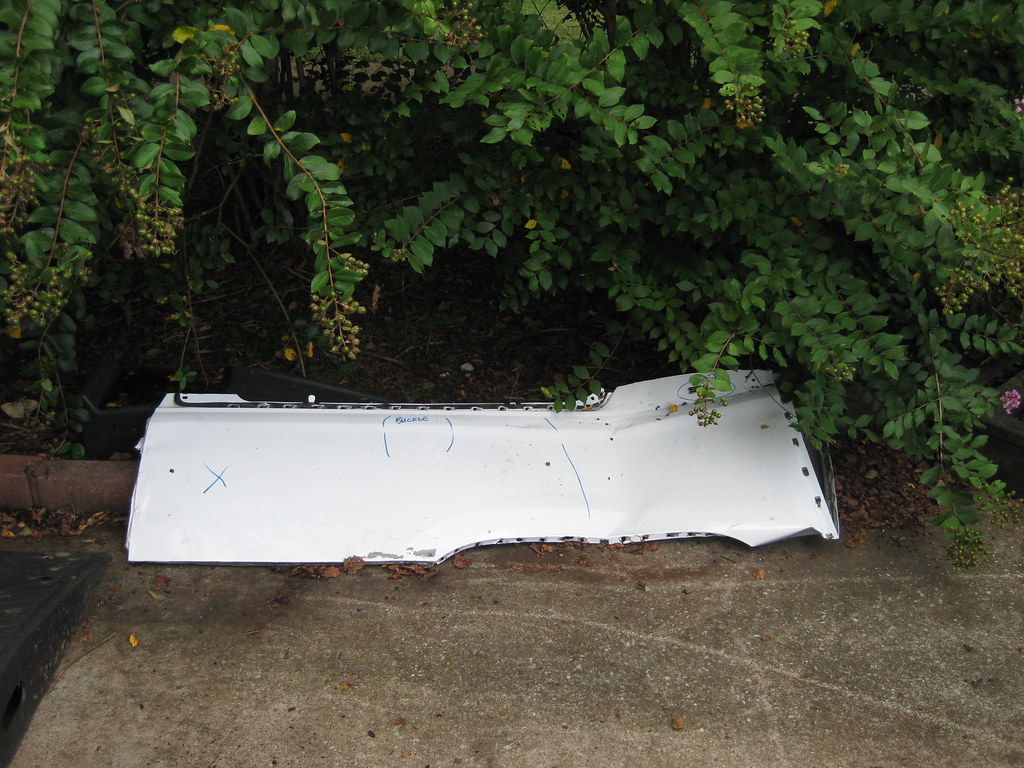
I haven't been able to find any steel the size I need to make the upper radiator mount. I have been scrounging through the scrap piles of local body shops and the scrapyard trying to find something I could use. Most of the metal on cars today is so thin it's barely able to be used as panels on cars, least of all structural support. If I had a bead-roller it would open up a lot of doors to make thinner metal sturdier. I did end up getting the quarter panel below from a Tahoe or Suburban. I'll use this, somehow, to make the air dams that will keep the air from bypassing the condenser and radiator. I haven't figured that part out yet, but I know it has to be done, so I'll have to make it works somehow.
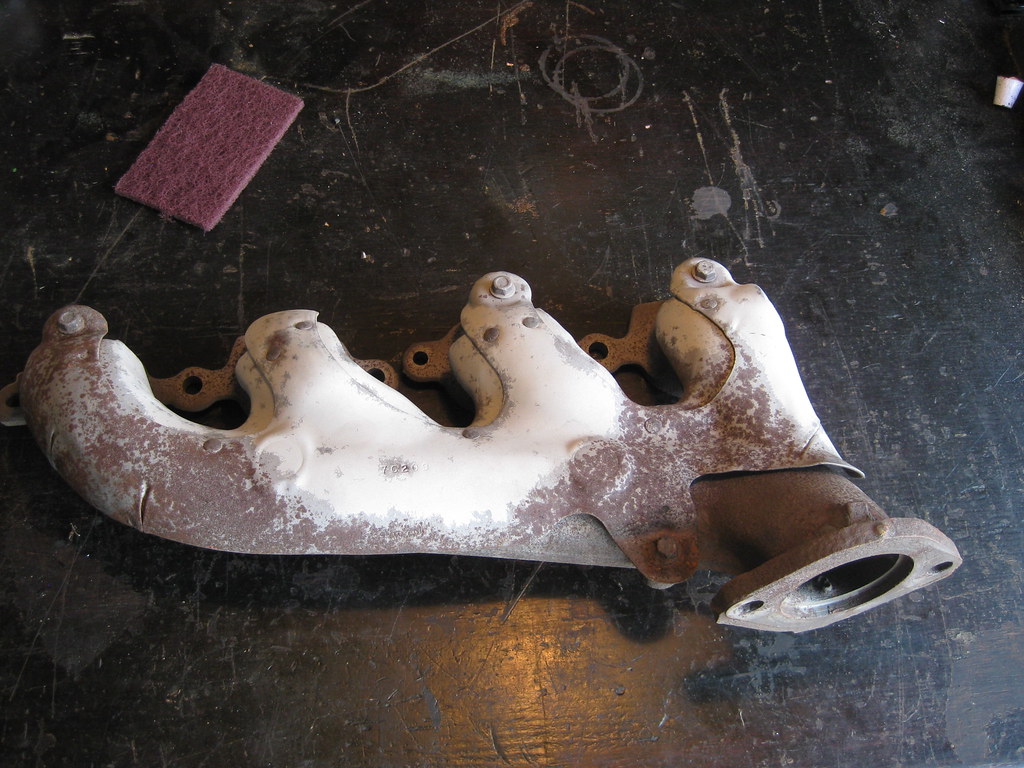
I finally got tired of people flaking out about manifolds and just bought a set of 5th generation Camaro manifolds, hoping they would fit. The set I bought looked pretty rough in the pictures, but the person I bought them from was nice enough to sand blast them before shipping them. I sanded them down further and prepped them for paint.
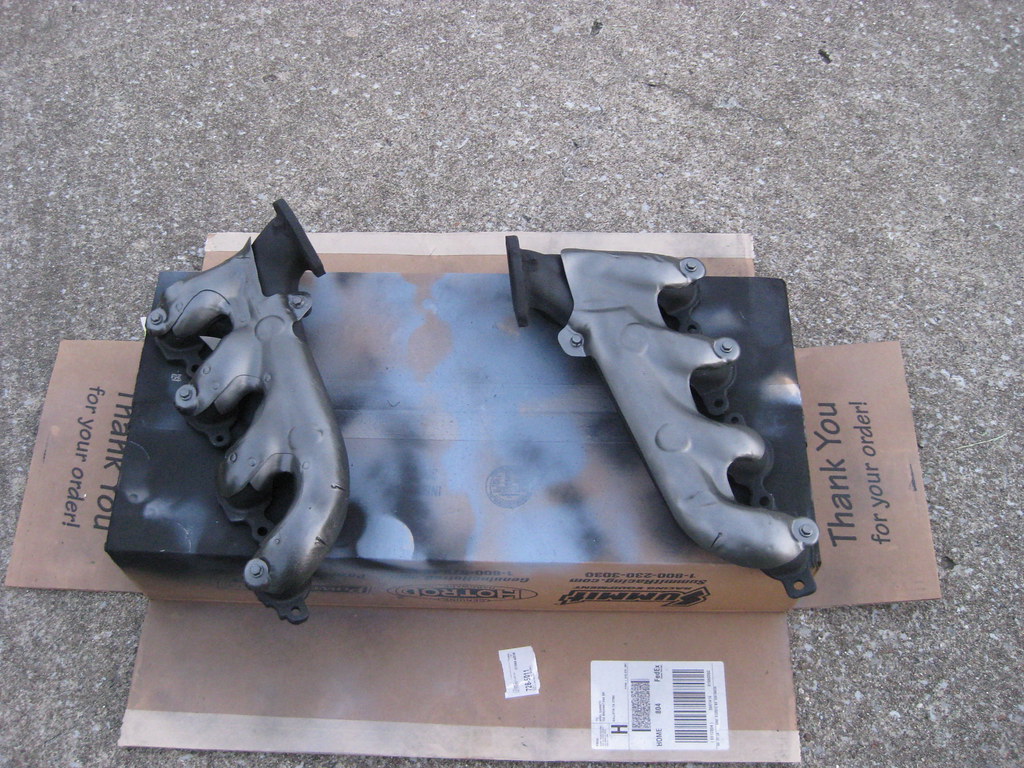
Header paint is expensive. That's all I've got to say about that. I had originally planned to paint the heat shields silver to more closely match what they originally looked like, but I already had this cast grey in the heat resistant paint so I used it. I was surprised to find that I actually like this color combination better. It's a bit more low key and blends in better with the crusty looking engine and engine bay. I was not about to try to remove the head shields and deal with all the broken bolts so I had to tape everything off, which took a long time. It kept springing up summer showers while I was trying to paint, so that also delayed things.
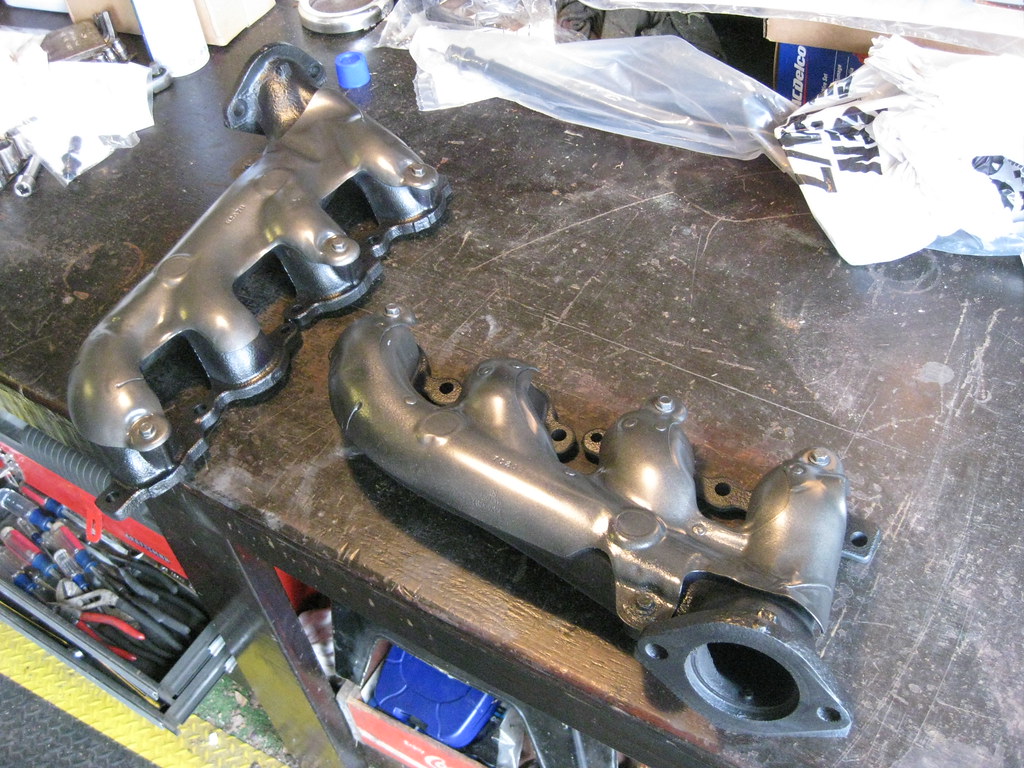
I painted the manifolds black because I figured they would blend in better as they aged. I ended up putting on two coats of "very high heat" resistant primer, two coats of basecoat and two coats of clear coat. I'm not sure, but I hope that will prolong the typical manifold paint flaking that always takes place. Or maybe the paint will be too thick and it'll all fall off. Only time will tell. I coated the inside of the tubes as well at the advice of someone I met in the store buying the paint. Maybe it will help cut down on the heat and paint flaking, or maybe not. Again, I didn't figure it would hurt anything and time will tell.
I got a lot of small things mounted like the evap solenoid block off plate, the coils, new spark plugs and coil wires, the exhaust manifolds, the starter, etc. One of my new plug wires was bad so I've had to order a single one from the dealer. They must be made out of gold. $$$.
The exhaust manifold on the driver side fits great.
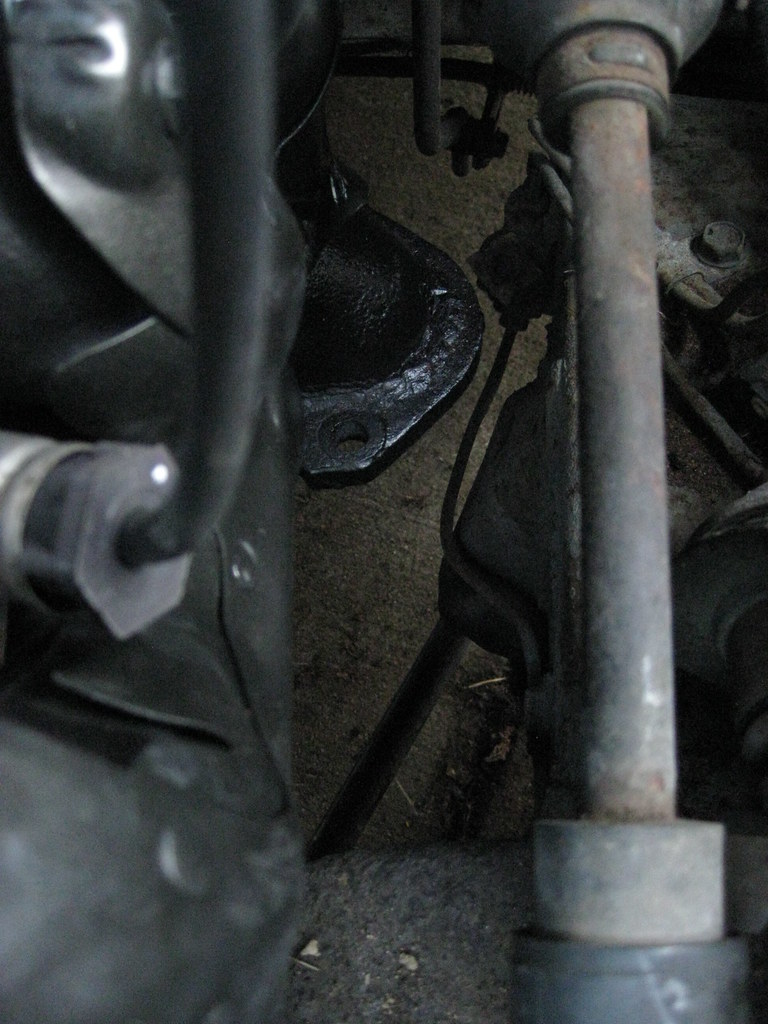
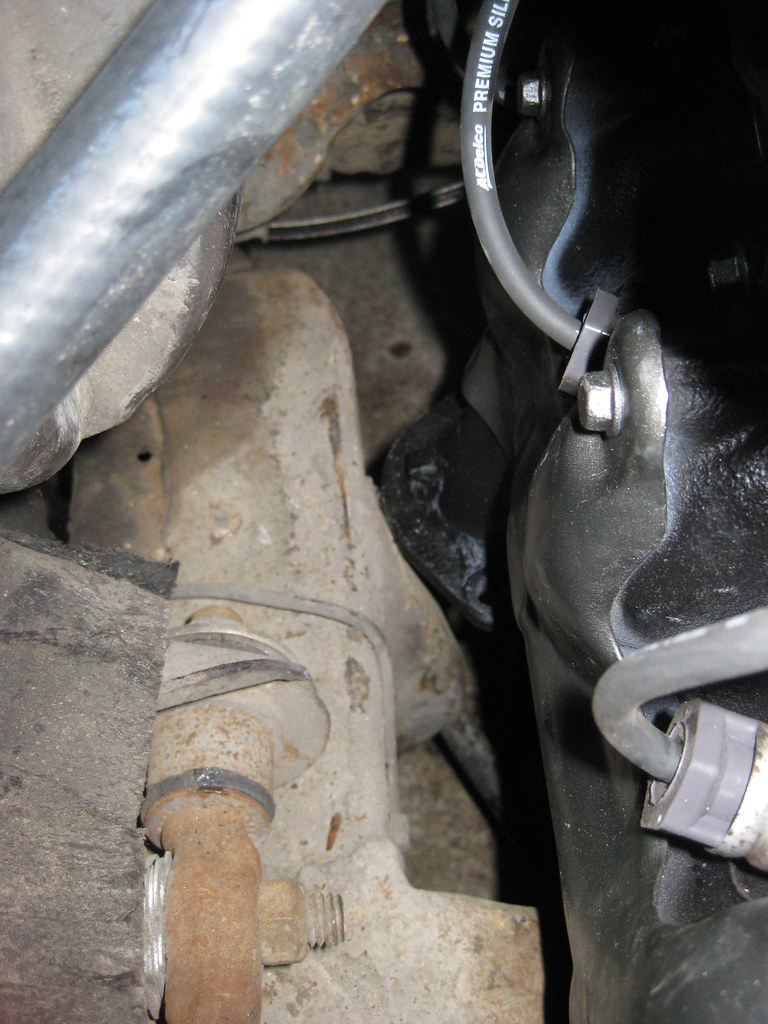
The passenger side is either touching the frame, or it's so close it would have to be measured in microns. I'm not sure how much of this flange I can grind off without effecting the way the exhaust will mount together, so I'm going to let the exhaust shop handle this to their liking.
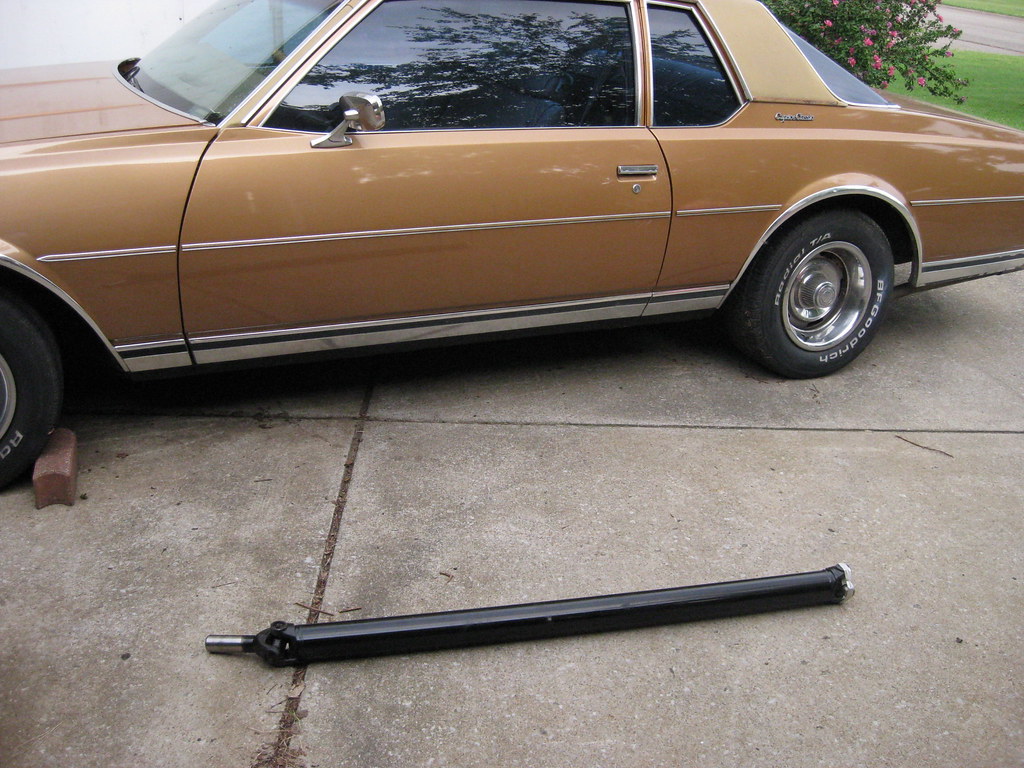
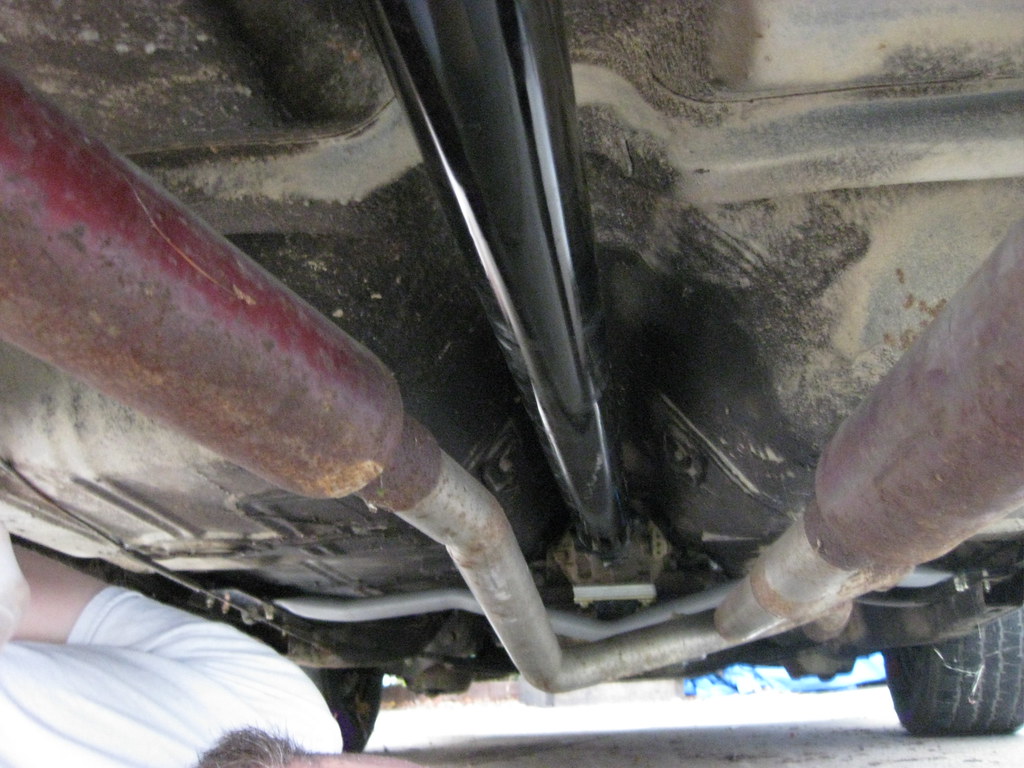
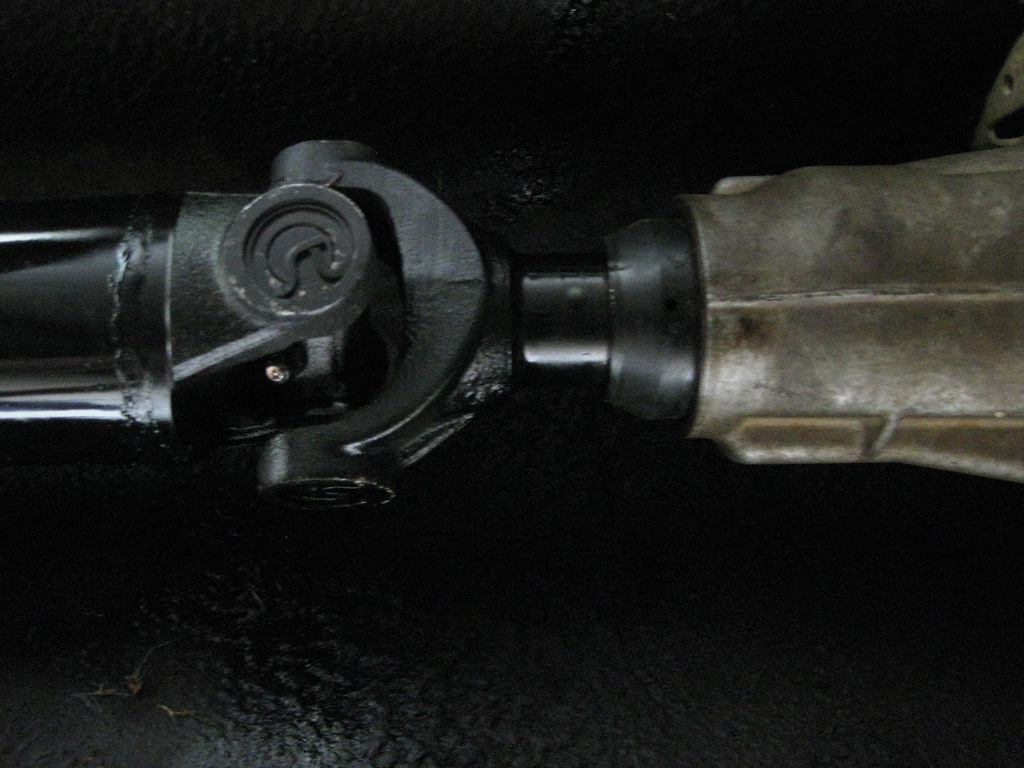
One great thing about having a father that's retired is he can run and get parts during normal business hours. Dad dropped off my transmission yoke at the driveshaft shop and then picked it up when they had made a new driveshaft to my specifications.
I think I jacked the car up and took this measurement around 5 times, on 5 different days. Each time I would think I had the measurement taken in the correct way and then I would learn something new that made me realize I needed to remeasure or double check what I had done. I installed the driveshaft holding my breath and it fit exactly right. Relief.
The yoke had just the right about of run out. Now I just hope the BRP transmission mount got the driveline angle correct, as it was advertised to do. My experience with the rest of their products on this car has left me less than confident.
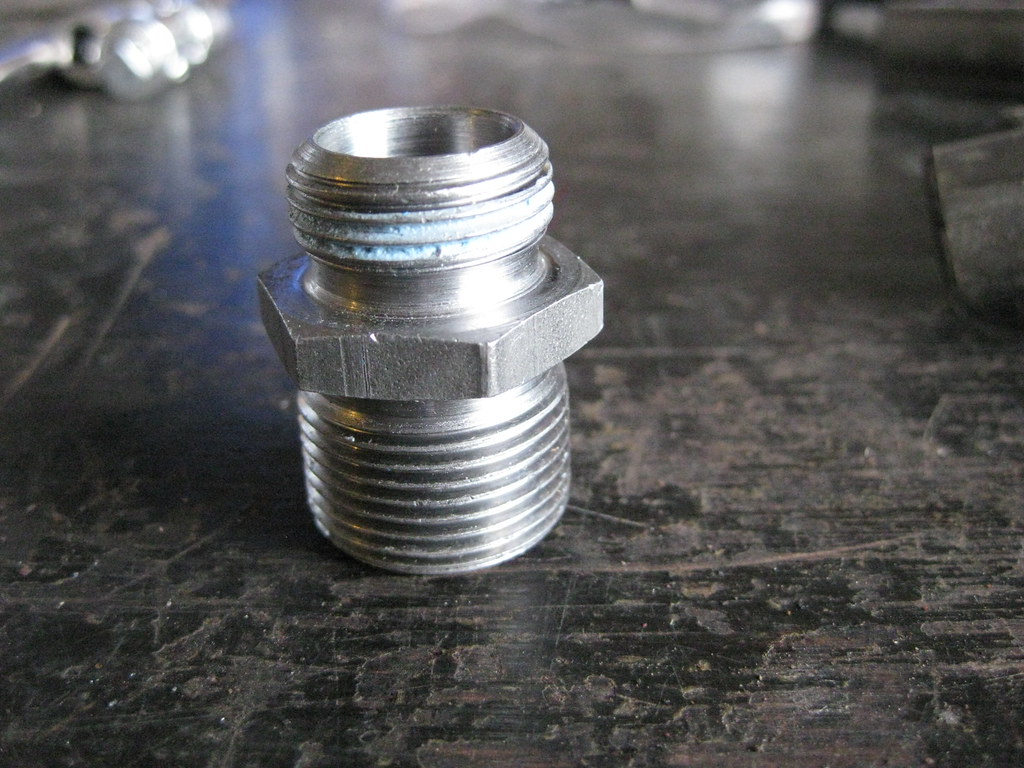
I bought an oil filter for a 2004 Avalanche, because that's what kind of engine I have in the car. I got home, filled it full of oil and realized, I have a 2004 Avalanche engine in my car, but the oil pan for that engine is now sitting in a barn. I have a Holley oil pan on the engine. So I gave the oil filter to dad for his next oil change on his Suburban and bought the correct oil filter, a PF48. When I went to install the oil filter it suddenly occurred to me that there's nothing to screw it to. Go back in time to earlier in this story and I purchased the Holley oil pan, which comes with two provisions for turbos, if one were so included to add them. I'm not using turbos so I plugged the holes with the provided plugs. I had assumed at that time, without thinking, that the piece pictured below was an adapter for a turbo. Fast forward to me looking at the oil pan like a calf at a dried up sow and I immediately realized that piece was the oil filter adapter, but where had I put it? At this point my entire garage looks like that jar of loose screws and nuts that old men always have in their shop and I had no idea where I had put this thing. Was it in one of the boxes I'd stored in the barns far away? Was it in dad's barn? Was it in some random box in my garage? I had no idea. I ruminated on this for quite a while and finally gave up and as so often happens when you have succumb to defeat, suddenly it occurred to me that I thought I had wrapped this piece up and put it in a storage pin sitting over my workbench. When I looked, it was right where I thought it might be. What a relief. 40 foot pounds later (and 1/4 turn past hand tight on the filter), I had an oil filter on the car.
My childrens' babysitter called in late last night with a stomach bug so I had to take off work and keep them. I used this time to take a field trip to the steel supply store in Nashville and picked up two pieces of 1/8" steel, which they cut to my specifications. Unfortunately, they didn't have a metal brake. I'll use one of these two pieces for the upper radiator mount. I'm still not sure how I'm going to get the piece bent into shape, but at least I have the steel now. The other piece will be a mount for the PCM and new fusebox.
I spent a ridiculous amount of time reading about what kind of fusebox I would want to order for my needs for this car. There is so much information it is entirely overwhelming. Fortunately I found a superb write up online about this very topic. I printed out every page of the write up and put it in a 3-ring binder and have been using it like an encyclopedia for a pre-internet research final due at 8:00 am tomorrow. I was up past midnight one night trying to figure out all the correct connectors and pieces I would need to order and how they would fit together. After looking at my options I have decided on a way to mount the PCM that I believe will not only be the cleanest appearing installation, but may also still allow me to run the air filter over to the driver side of the engine.
