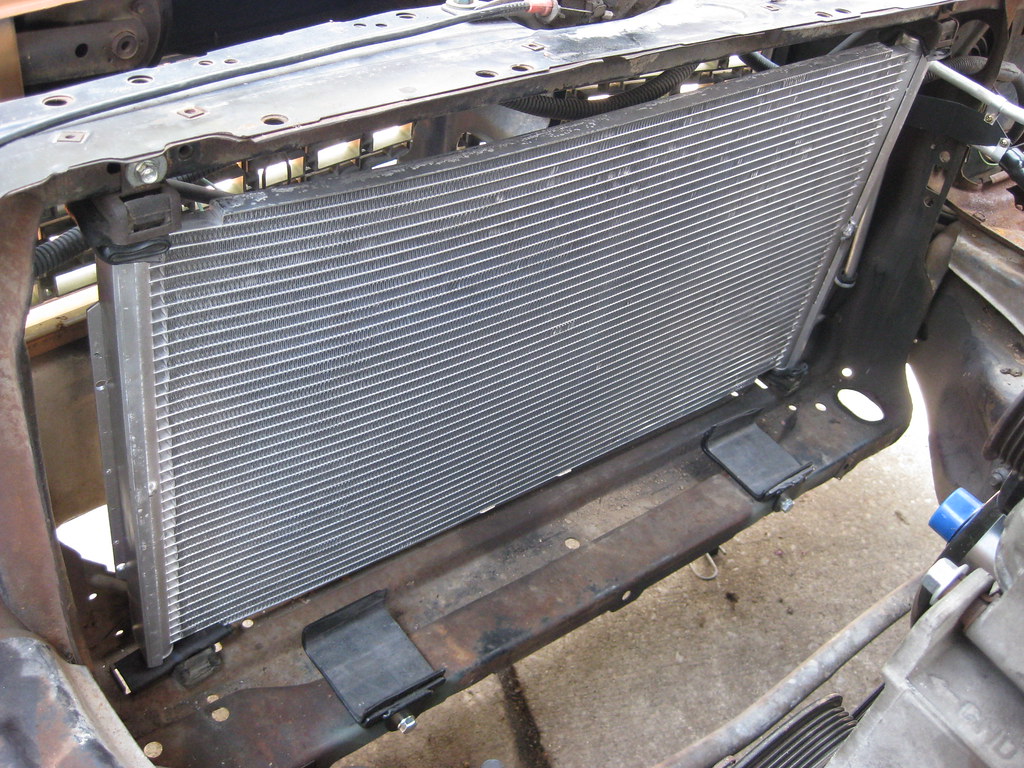
Upon some advice I ended up ordering a condenser for a 1996 Caprice. It was a much better option than the universal condenser I was previously considering. This condenser already has the hardlines run in the correct location. This unit was a bit shorter in height than the previous unit. I was able to reuse the original rubber mounting cushions. I had to relocate the upper driver side mount toward the fender. Because this area is boxed I had to drill a hole and use a self tapping screw. It took quite a long time getting the exact combination of location and extra rubber correct. In the end it mounted tight and secure.
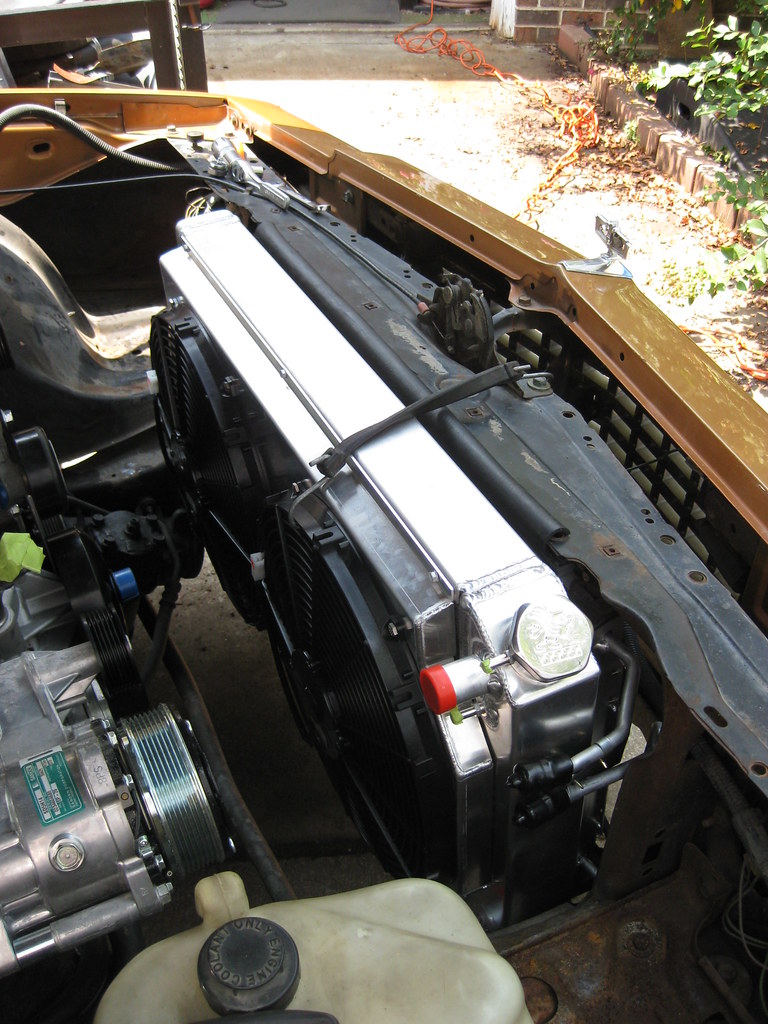
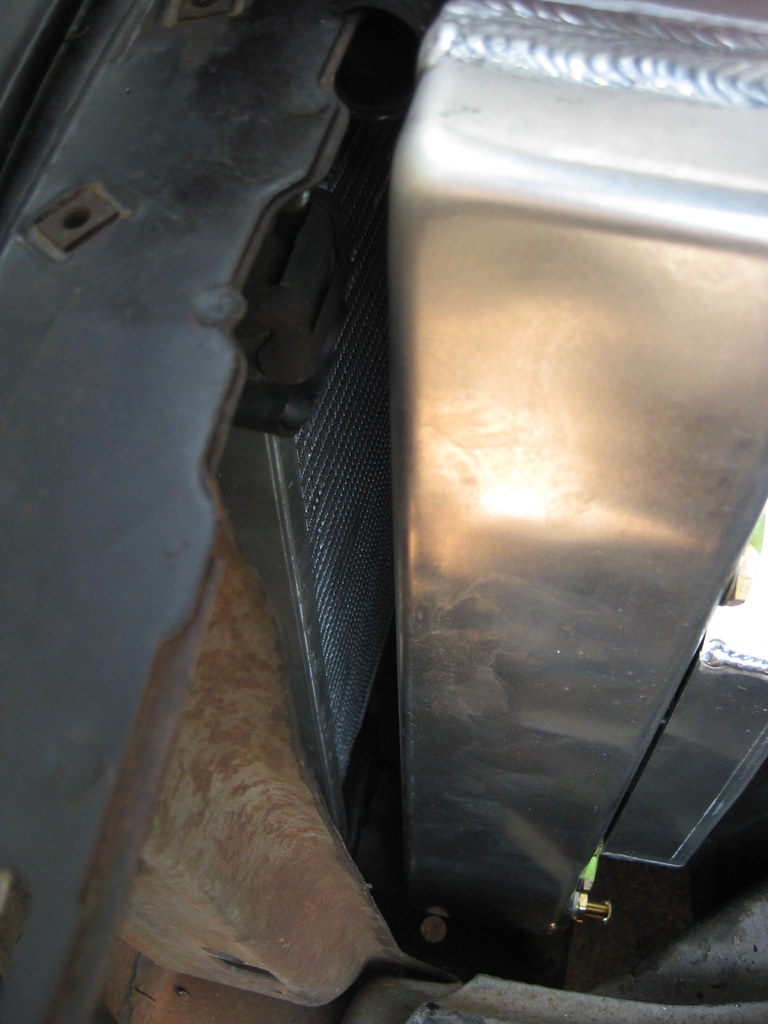
After a lot of trial and error I ended up marking and putting the lower radiator mounts on the radiator and then installing them together. As you can see below the condenser lines fit just right. I still haven't figured out a good solution for the upper mount. I can't find a piece of steel the right size to make something and I cannot find a metal break. I also cut a piece of heater core hose as a cushion between the core support and the radiator, just in case.
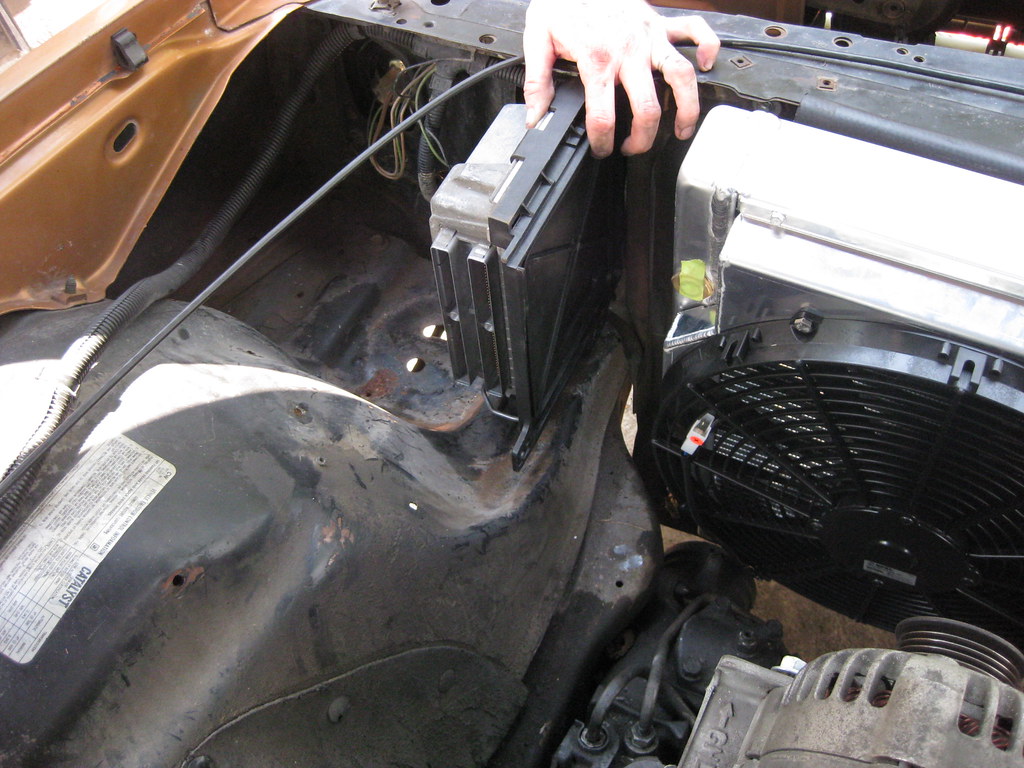
The PCM mount came in while I was working. I was hoping to mount the PCM tucked away and hidden in this location, but after test fitting it I realized that this option isn't going to work. It would also cause an extensive amount of modification to the wiring harness.
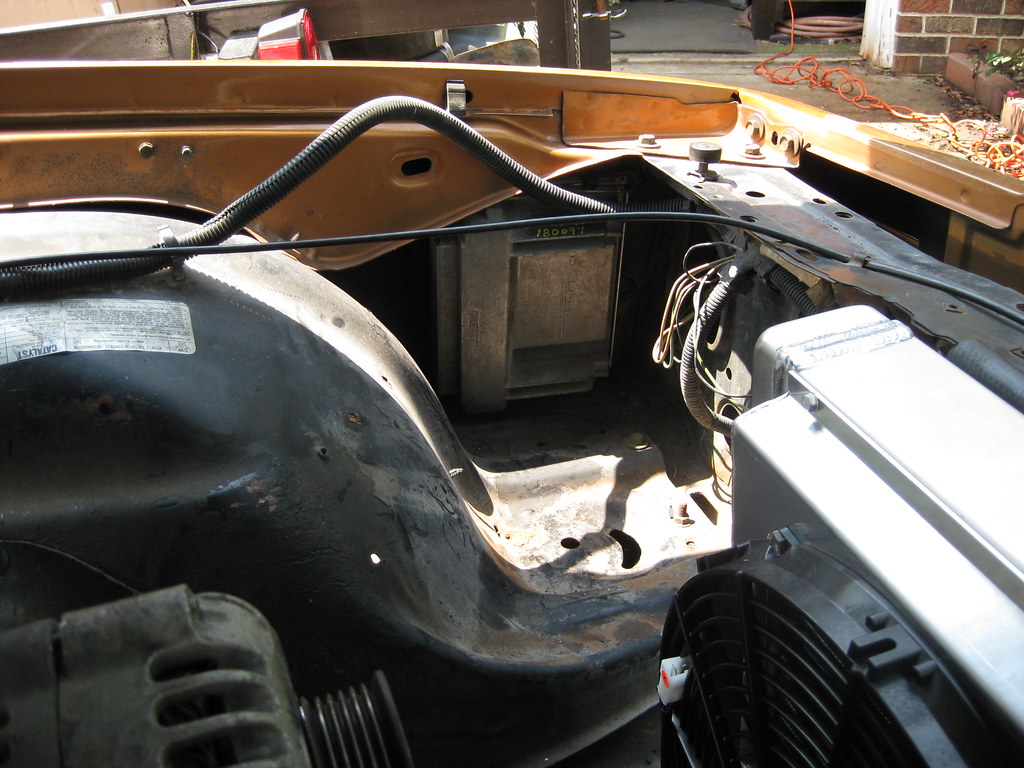
This leaves me with a lot of less desirable options for locations of the PCM. This seems to be the best option so far for several reasons, but I'm not sure how I feel about it being this close to the radiator.
The radiator and condenser have a gap of a little over an inch, which is more than ideal, but it is as close as I can get them and seems to be close to the original distance. I will need to add some air dams to keep the air going through the condenser.
I took the gear selector fork off of the old 350 turbo transmission and it fit on the 4L60E. At first it seemed certain it wasn't going to fit but after a lot of coaxing it finally came together. I'll have to remove it one more time to install the neutral safety switch when it comes in.

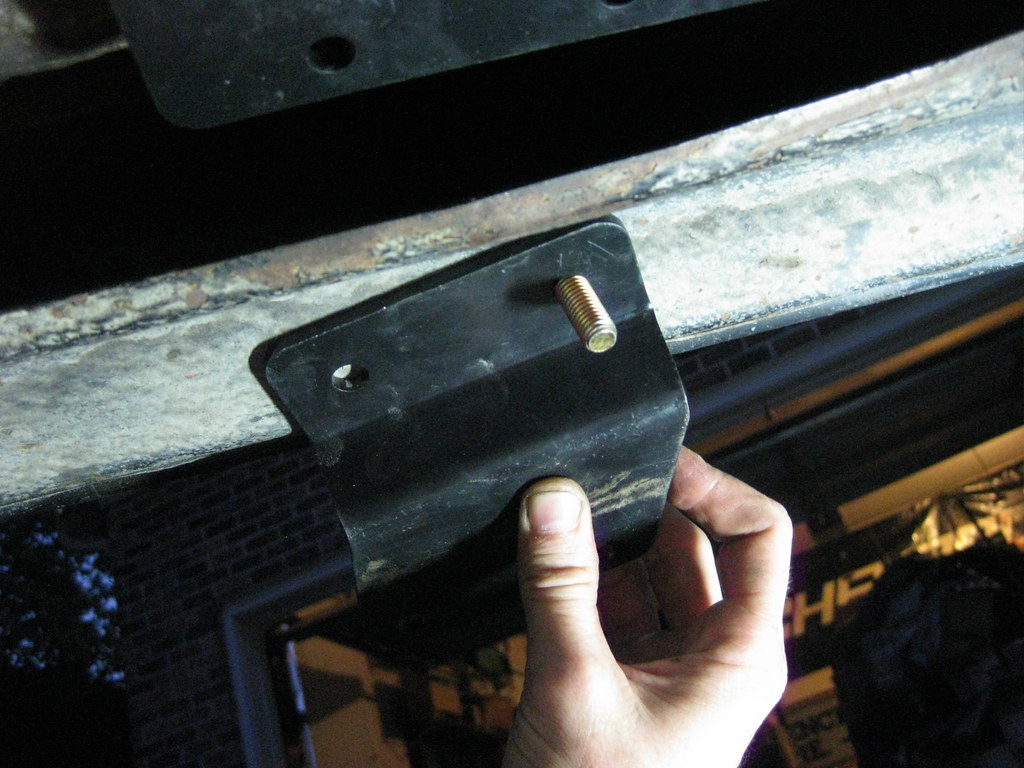
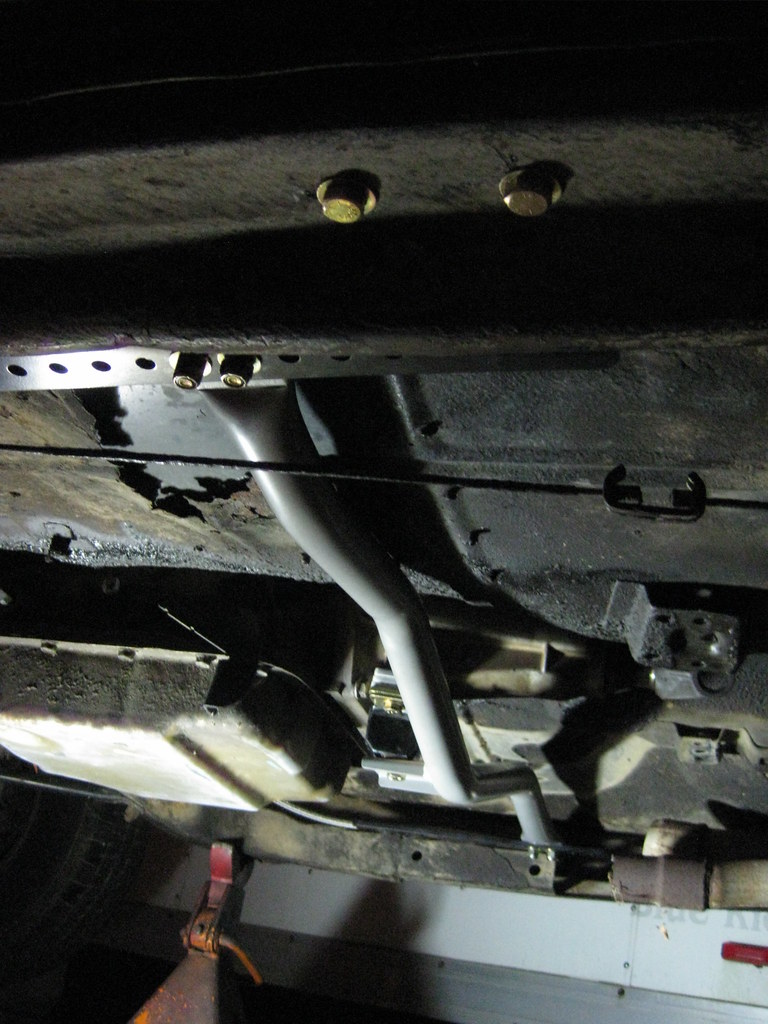
I finally got the BRP transmission crossmember fully mounted. I continually regret purchasing this kit. The crossmember kit is essentially a universal kit. The bolts in the center transmission mount were too short. When I contacted the company they told me to just go buy longer bolts. The transmission crossmember requires an extra bracket on the driver side. The instructions with the kit, which must be downloaded in a PDF from the internet, do not include this extra bracket and show pictures of a different crossmember that is longer and do not require the extra piece. When I looked up instructions for different types of cars it does include this extra bracket. Also, the bracket does not fit the car as instructed. Given all of this I began to suspect I was sent the wrong kit. I contact the company again and they informed me that this correct and to ignore the crossmember in the directions. Also, the bracket shown requires holes to be drilled in the frame, but it mounts on top of the frame. This means there's no way to located or mark where the holes should be. I ended up having to hold my finger in the hole on top of the frame where the bracket will mount and try to match that location with my other finger on the bottom of the frame. I've had three people look at the instructions and try to understand how this piece should be installed and none of them can figure it out. I eventually just took the piece, ignored the instructions, and found a way to make it fit.

I then disassembled the extra bracket and used it to help locate the second bracket hole by holding it under the frame. I basically used a punch to draw an arc indicating the possible locations for the second hole and then reinstalled everything correctly, held my finger over the hole and guessed the best location. Again, the reason I ordered this kit is that is appeared, because of the description and instructions which I viewed ahead of time, that it would require no drilling or modification.
At long last, everything was bolted up and tightened down.
There are quite a few pieces on order that I'm waiting to come in. This thing is starting to look like a driveable car.