A couple weeks ago I was working on the The Clam and I had a small pain in my left arm for part of the day. This is somewhat typical because when you work on cars you get small cuts and tend to scoot around on concrete where sharp things lie around, so I didn't think much of it. Eventually, my left arm started to go numb from my shoulder to my elbow. I took notice and found that a bristle from a steel brush was sticking out of the back of my arm. I came in and had April pull it out. When she did it turned out to be about 1/2" in my muscle. Having had this experience in my mind, I finally finished the switch for the rear window and tailgate. While I was lying in the rear of the car attempting to hook the switch back up I reached to plug the wires back in and felt a pain in the back of my arm much as I had before. I assumed something in the carpet was sticking me so I searched and couldn't find anything. Again I began installing the switch and it began to stick me again. I searched and found nothing. It happened again so I began searching in my shirt, in the carpet of the car and in my arm. Nothing. This went on for about 10 minutes and I grew more and more frustrated each time. I finally came to the realization that my attempt to fix the switch had resulted in the casing of the switch making contact with its electrical prongs, causing the electricity to flow through my arm and out to a small chrome strip my arm was lying on.
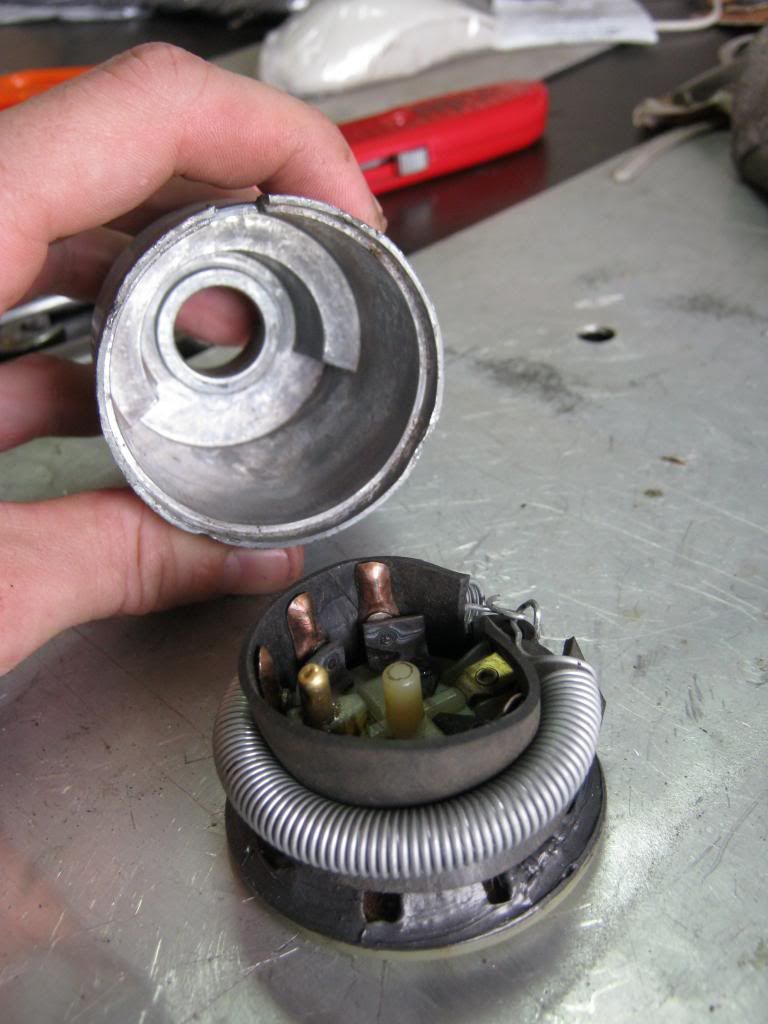
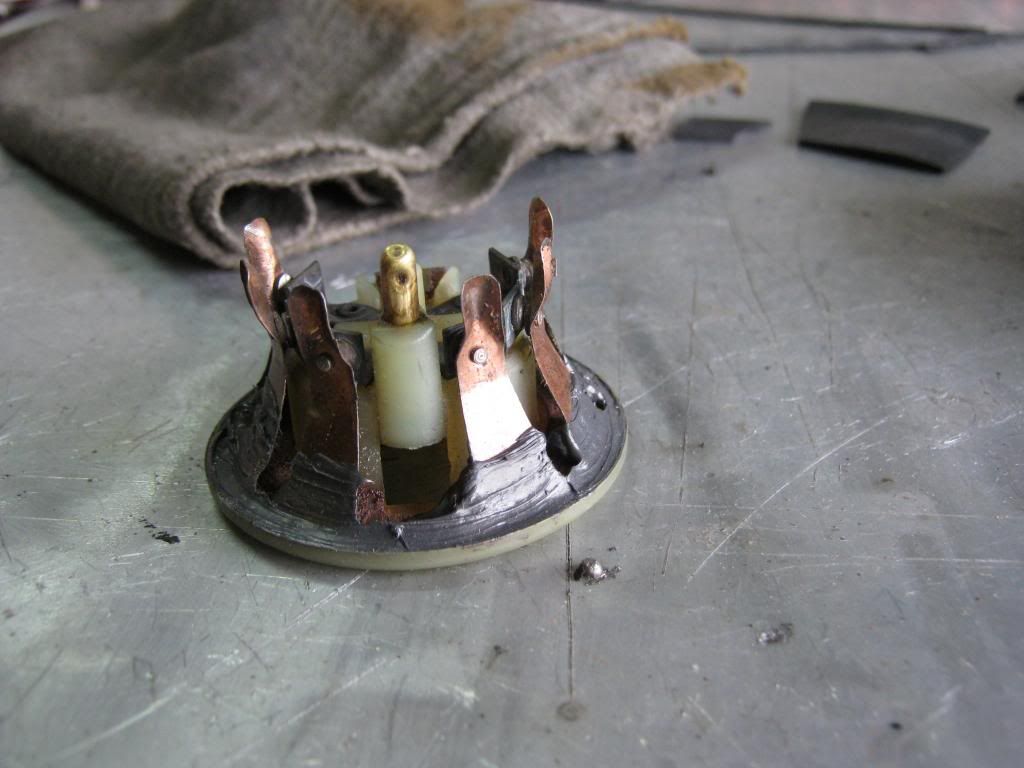
I finally fixed the switch. It took several iterations to find a setup that worked correctly. This was one of the earlier attempts. The spring was too large in diameter as well as it allowed the outside of the encasement to become electrified.
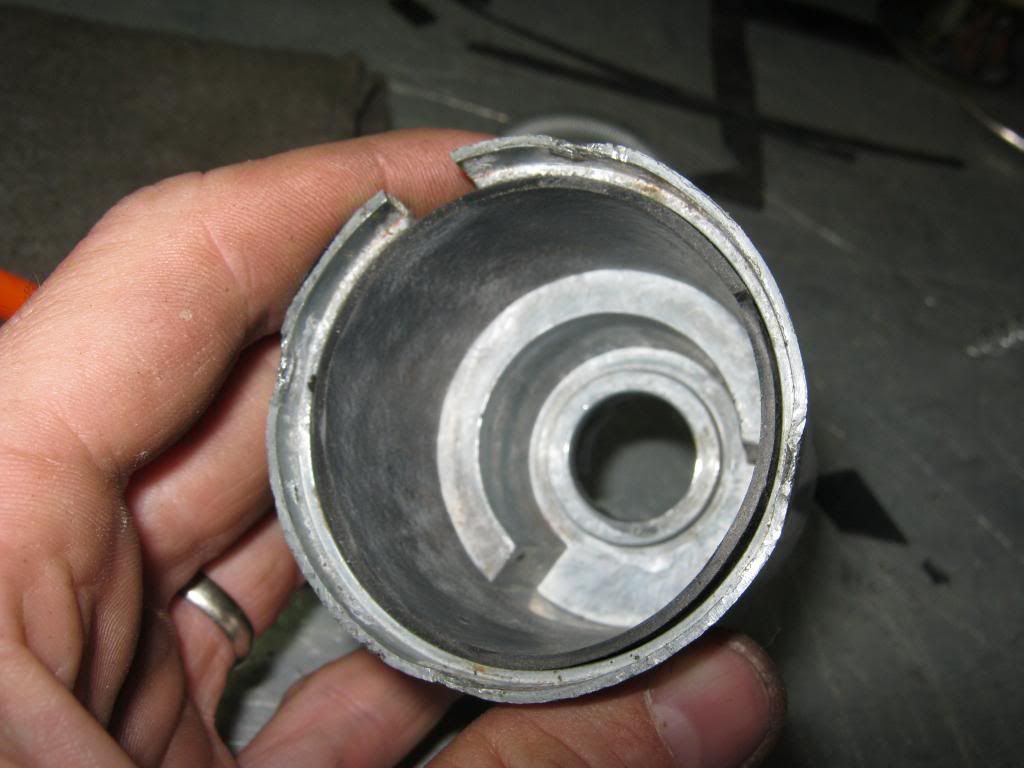
In my final iteration I used RTV to insulate the bottom of the switch.
I also used some rubber, cut to perfectly fit inside the encasement which would insulate it from any bicep-electrifying shocks.
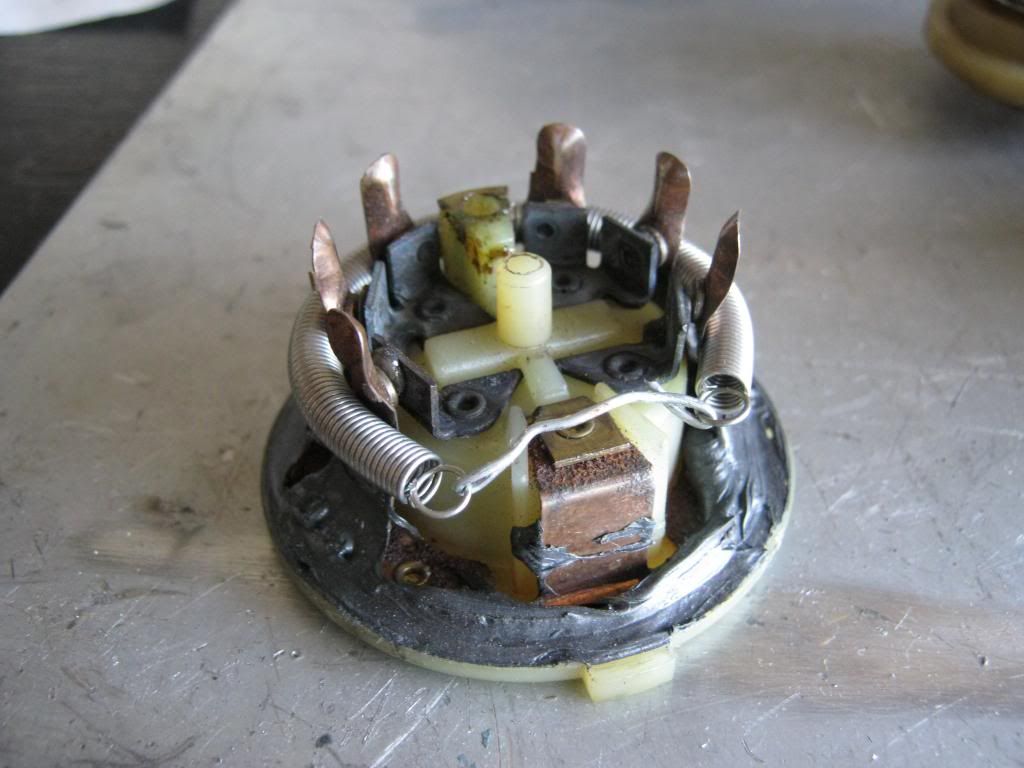
I also got a smaller spring and used wire to create the right length which gave the right amount of tension on the spring. This final design worked perfectly. Unfortunately, as I was taking the pieces into town one day a small dowel with a spring on the end, which is part of another piece not pictured, was lost. This piece is impossible to find so I have accepted that it is gone forever. Fortunately the lost piece does not effect operation. It only gave some tension to the turning of the key, allowing the operator to feel 6 different positions. As the switch is now, you cannot feel a definitive click in each position, but the operation of the window or tailgate can be observed to know which position the key is in. This is not the same spring I previously pictured that gave the resistance to the key when turned. It is still in place and operational.
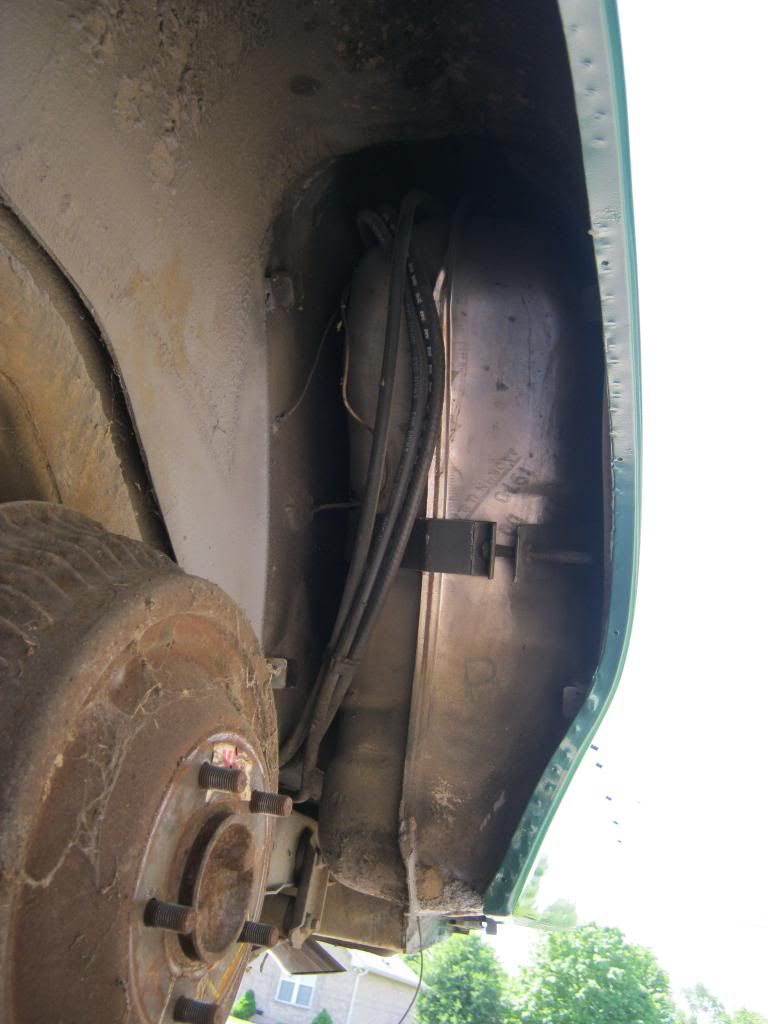
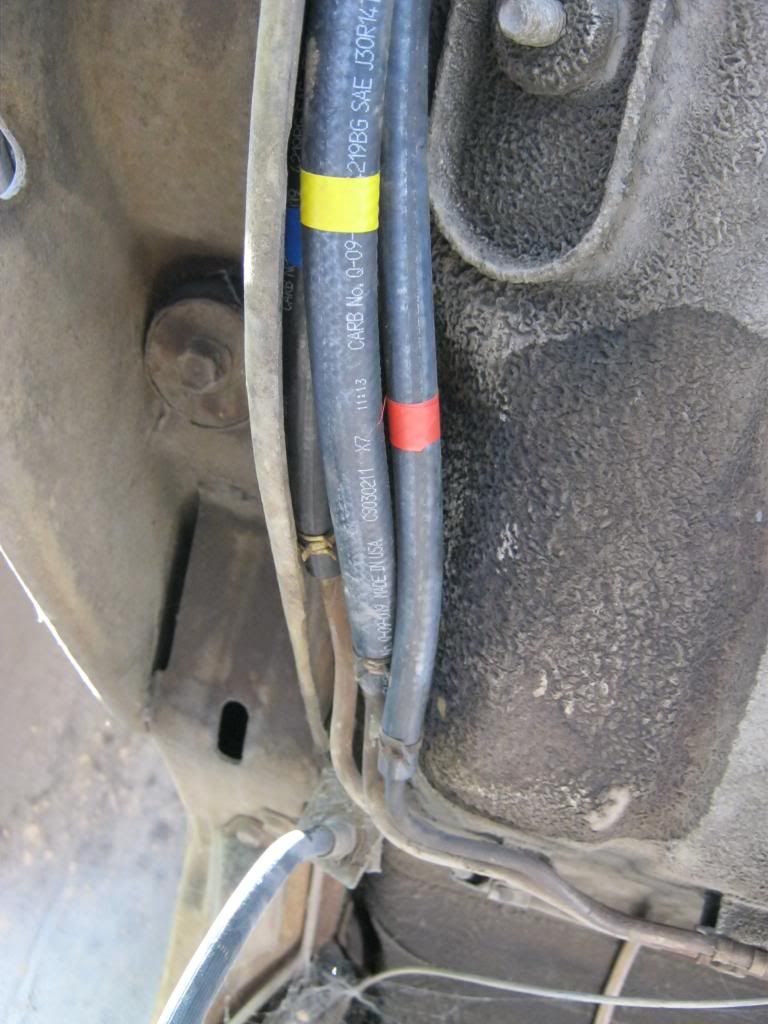
After the car ran April had noticed a decent sized gas leak in the rear. It turned out to be these old gas lines coming from the gas tank. The gas tank in this car is housed inside the rear, driver side quarter panel. The rear of the wheel well is an access panel so it made it much easier to access the lines.
The three hoses all connected right next to one another. I labeled both ends of each hose to make sure I did not mix them up, then made a chart to explain which color corresponded to which size and where to install the new hoses.
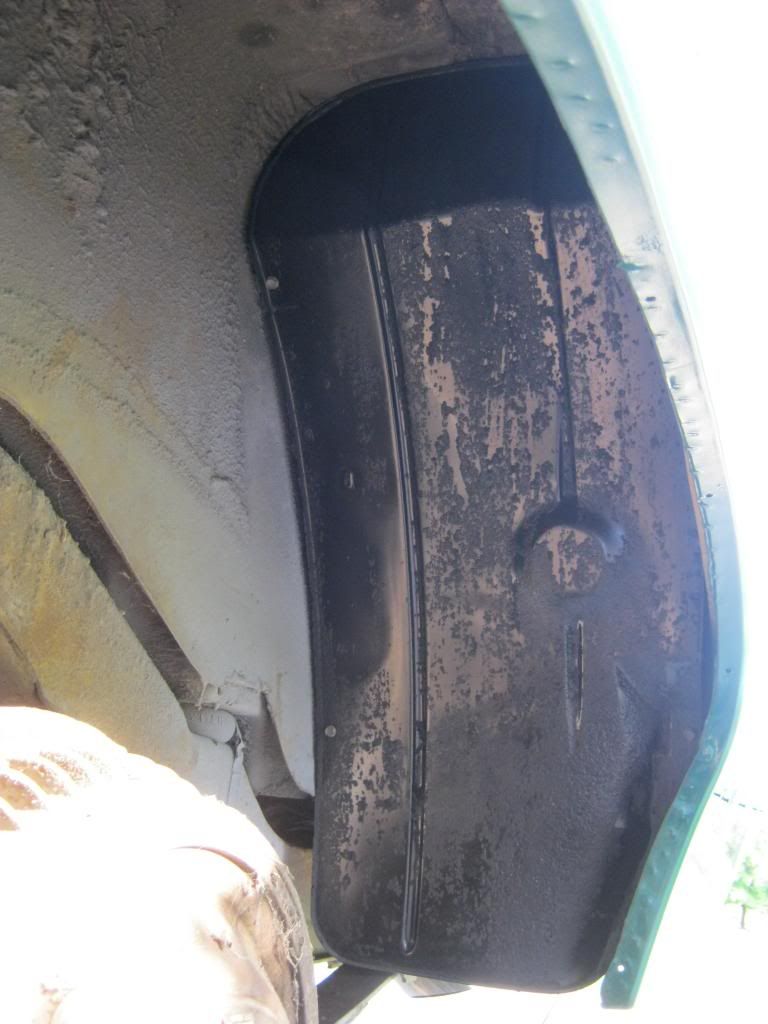
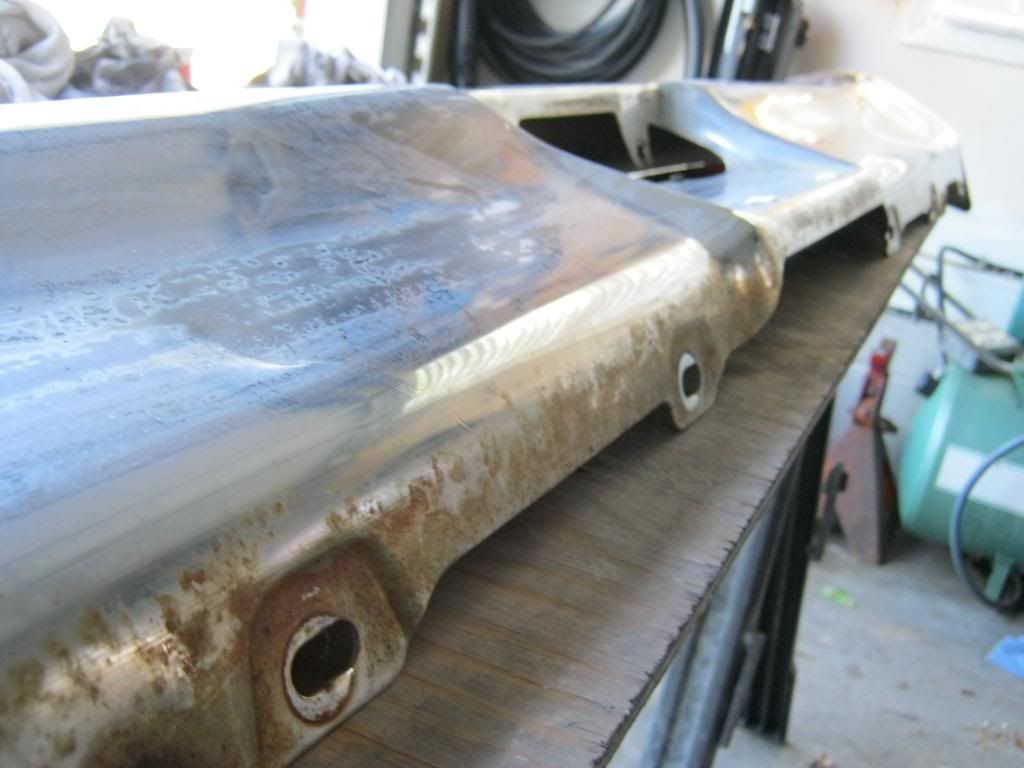
Since the plan is to eventually paint the underside of the car I went ahead and cleaned and painted this panel while it was out. Here it is reinstalled.
I had needed to bleed the brakes for several days but I was having trouble finding anyone to pump the pedal. Fortunately, Nick stopped by one day while he had a few hours to kill and offered to help.
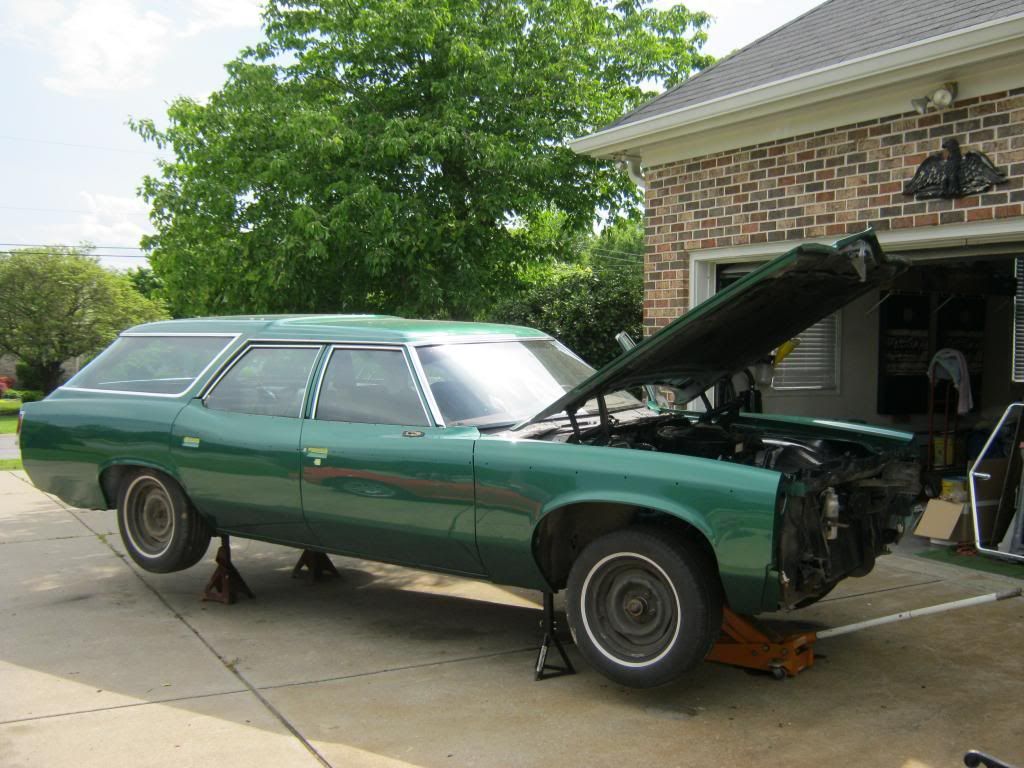
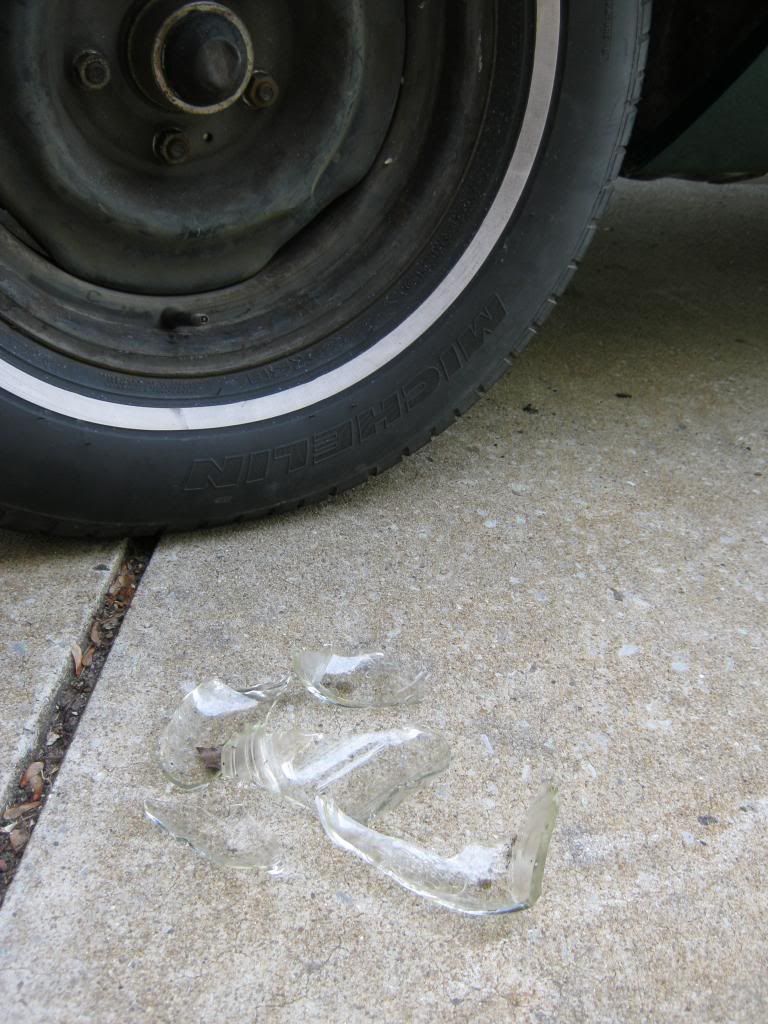
When we finished we took the car for a first test drive around the block. As we were backing from the driveway we heard some strange noises, but decided it must be the springs resettling from being jacked up for so long. As we turned a corner we heard glass shattering. I looked under the car and saw brake fluid all over the ground. We headed back, thinking the brakes had a catastrophic failure, and then I heard metal hit the ground and more glass. The metal turned out to be a wrench. What had happened was this: I drained the fluid from each wheel into a mason jar. We had such trouble with the final wheel, the front driver's side, I forgot to remove the wrench and mason jar, which was resting on the lower A-arm. When we turned the corner there was enough flex in the suspension to crush the jar. Fortunately, there was no problems with the breaks, though I did have to go clean up some glass in the road. Most of it had fallen into the car's suspension.
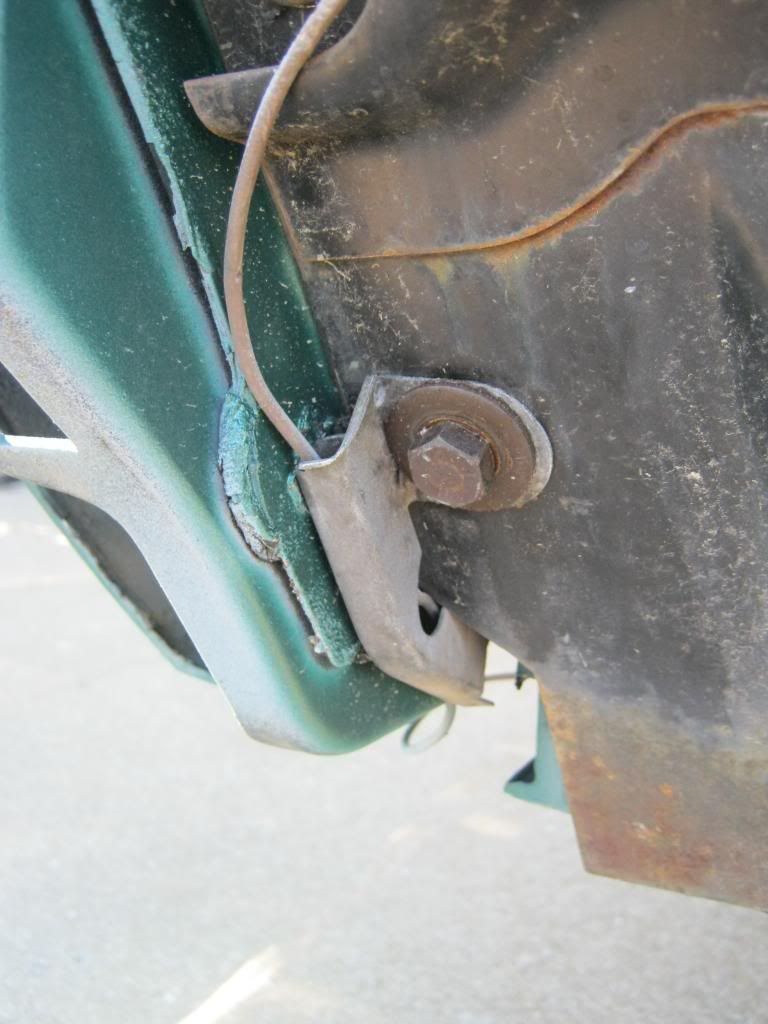
I prepared to reinstall the rear bumper. I finally determined this piece was installed as shown in the picture. It guides the wire for the license plate wire, which I ran after I fixed and rewired.
The rear bumper had quite a bit of surface rust, all of which was removed using steel wool, chrome polish and a lot of rubbing.
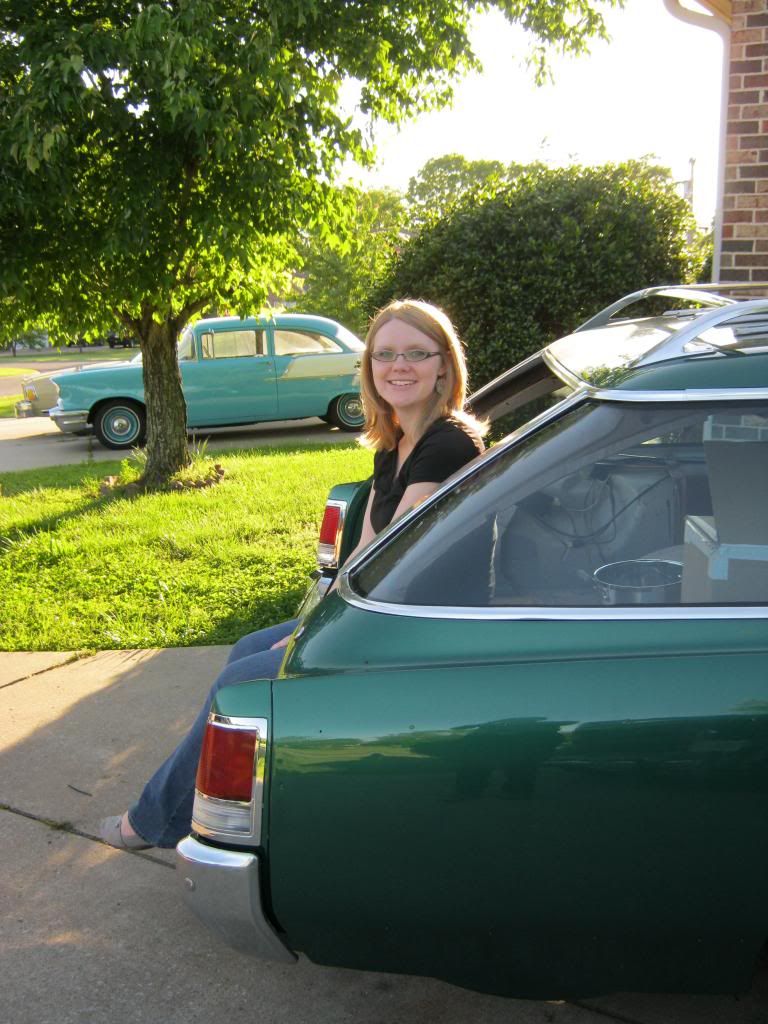
After helping me install the rear bumper, I was finally able to show April the now fully functional rear window and tailgate. She made use of the seating area.
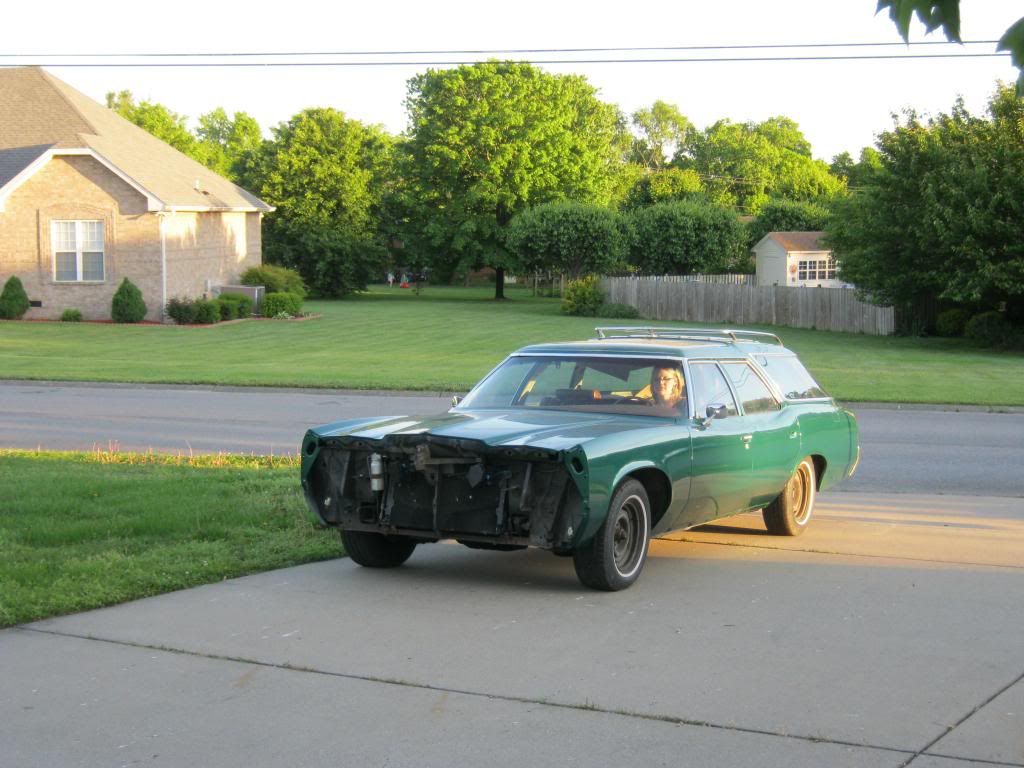
Then at the end of the day she took her very first drive when she moved it from the end of the driveway.
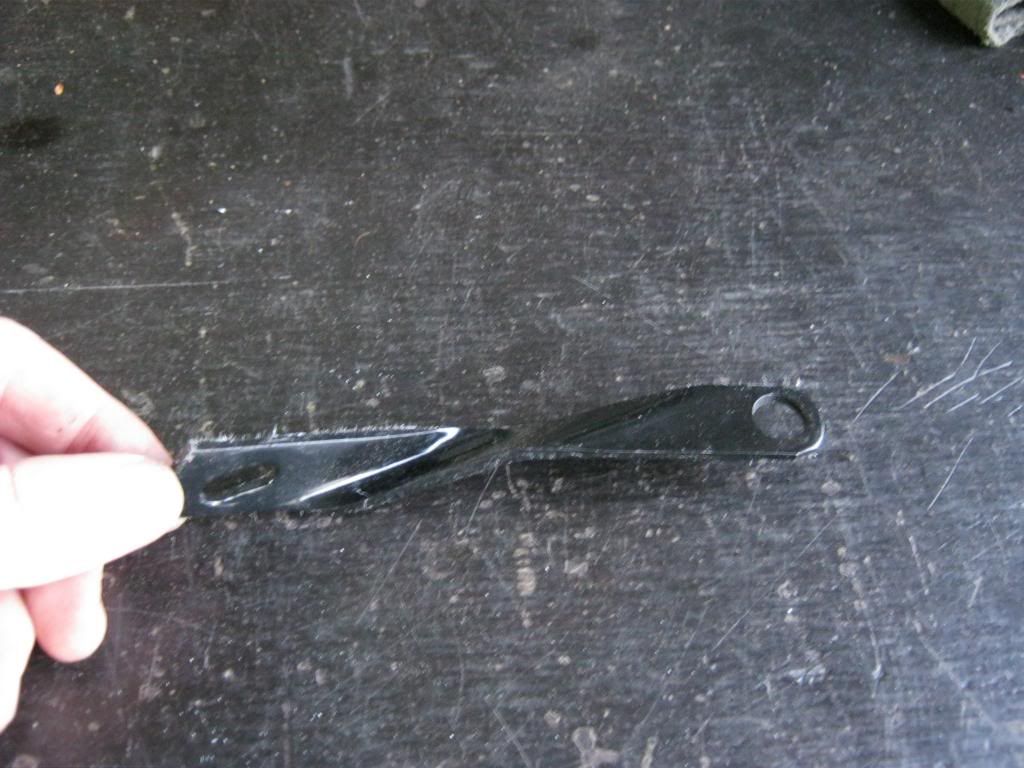
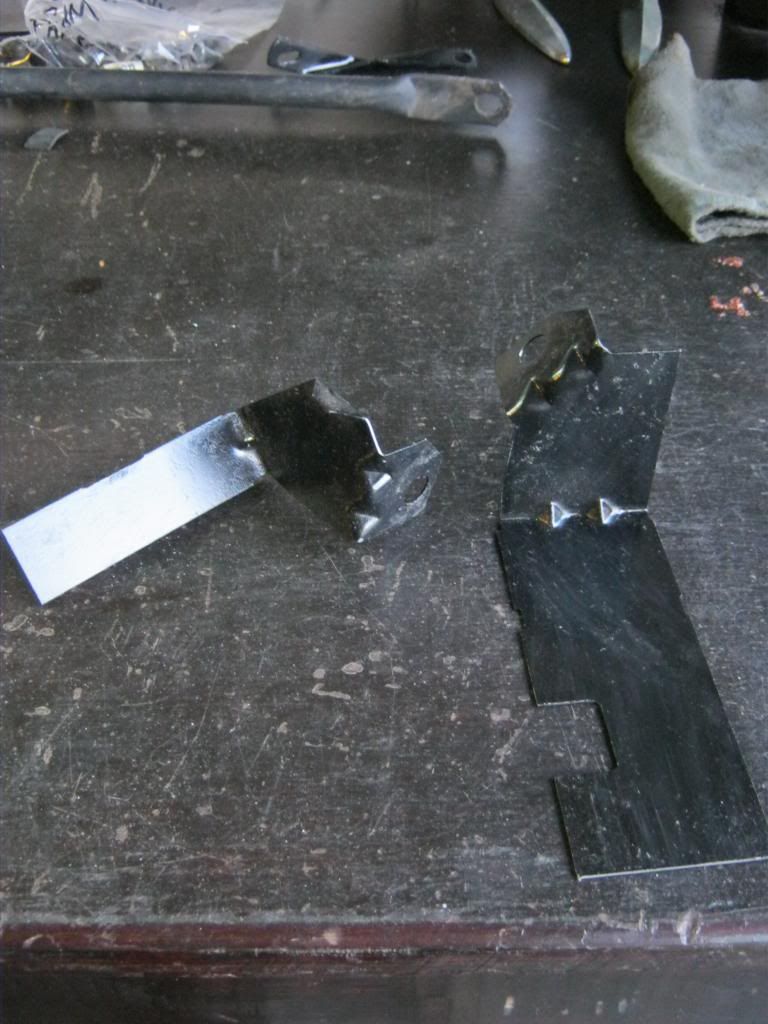
I had three parts left over and I could not determine what they were or where they went. After posting pictures of them on a Pontiac forum on the internet I found out that one was a brace for the starter. I have yet to determine with complete certainty what the others are, though some have guessed that they are spark plug holders.
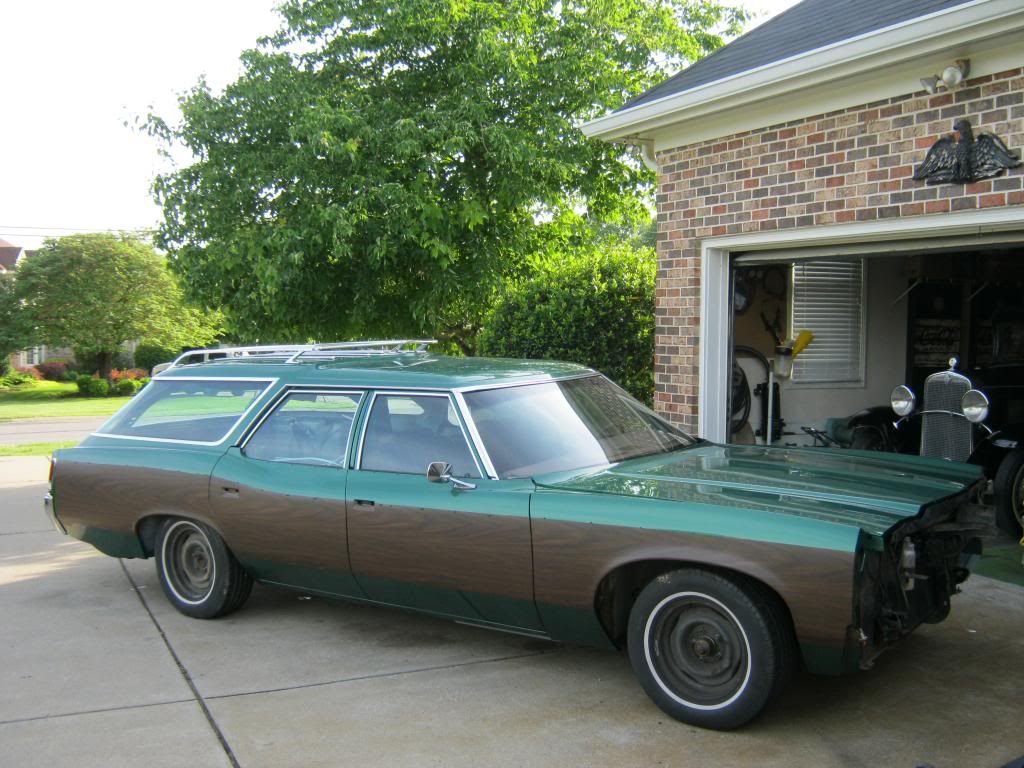
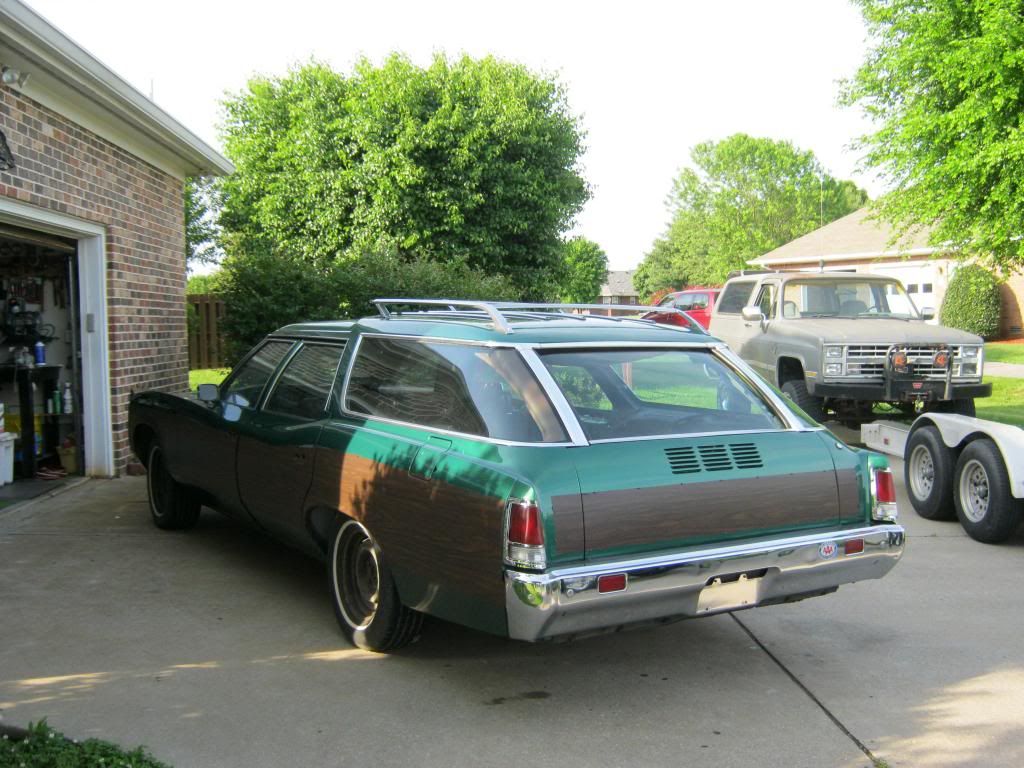
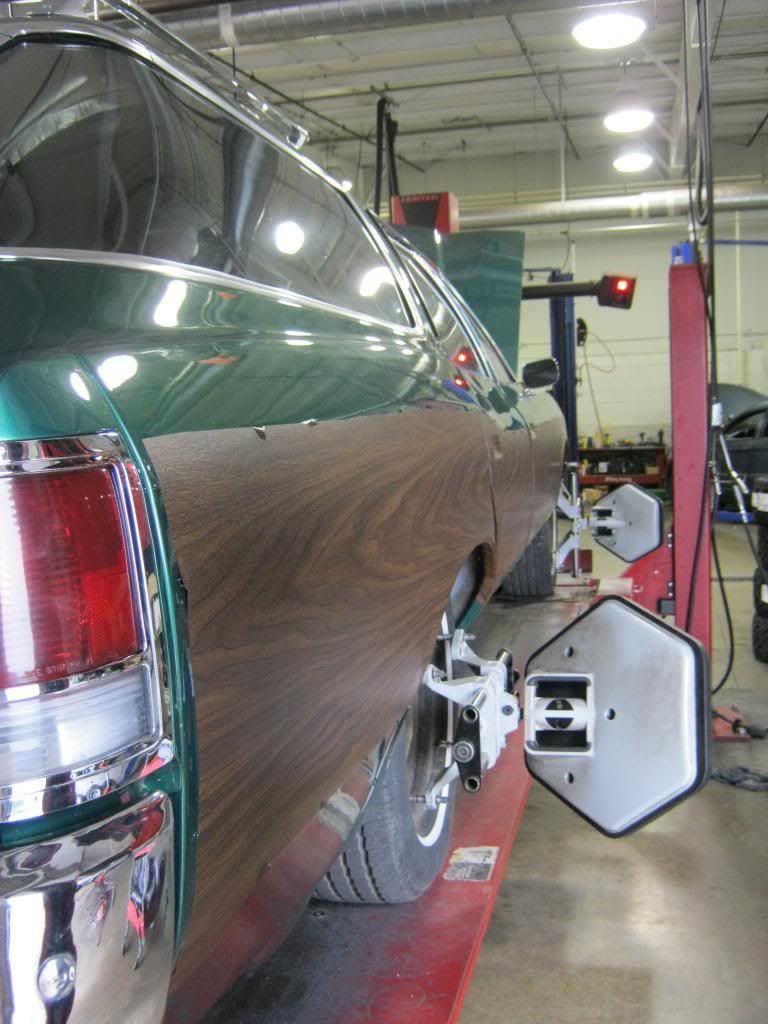
The car spent an entire week having the woodgrain applied. I went today to pick it up.
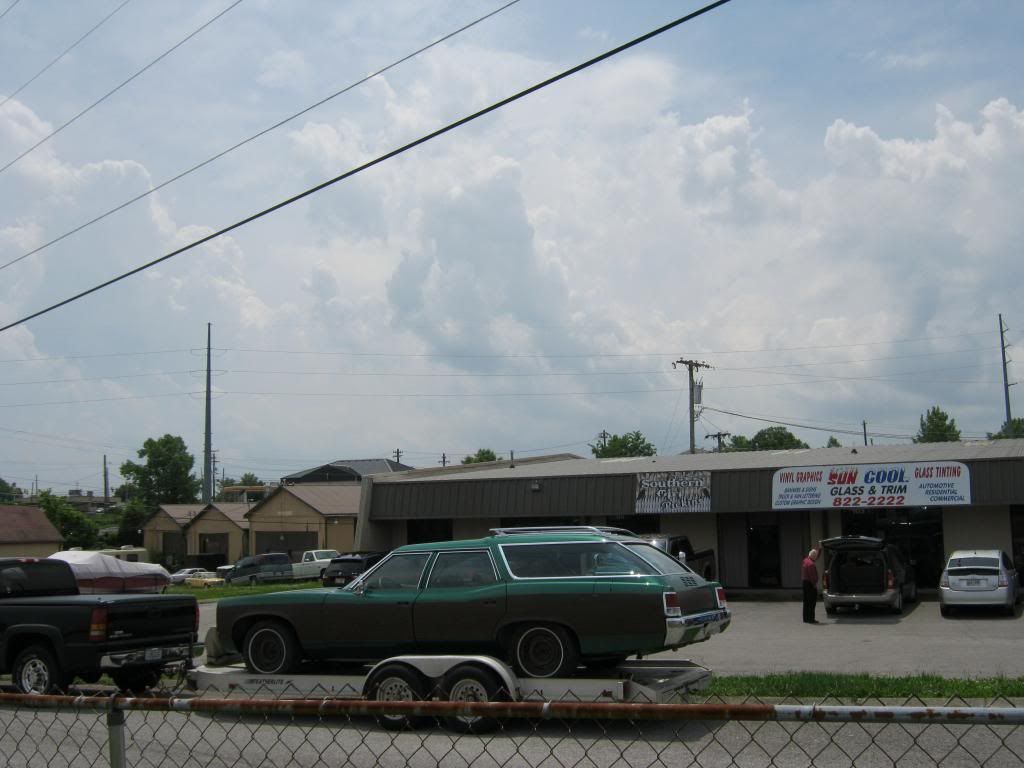
Robert, who installed the front suspension components, works at the Chrysler dealership. I scheduled an appointment before I went to pick up The Clam so I was able to stop by on the way back from getting the woodgain applied and he aligned it.
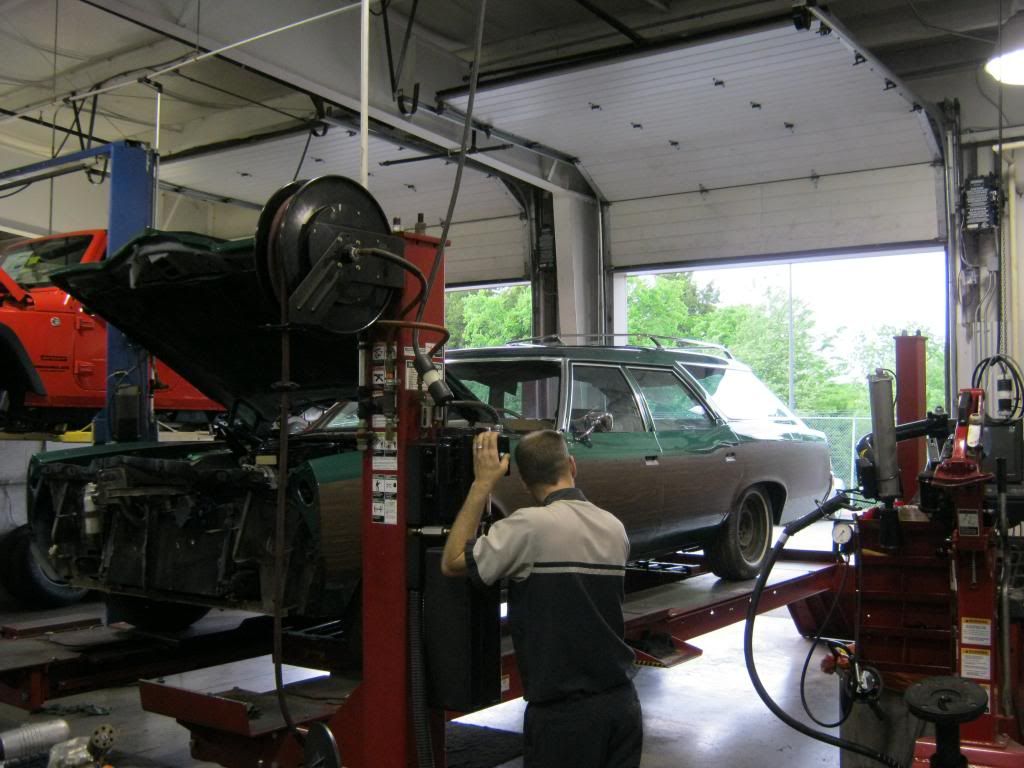
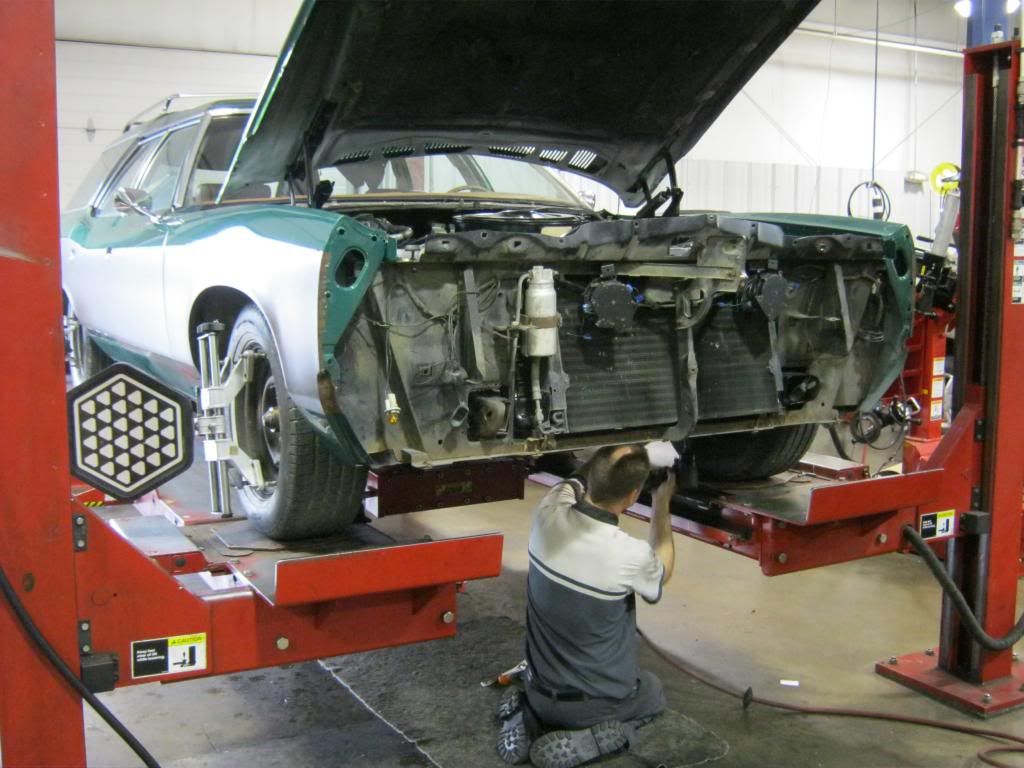
The alignment machine works by having these wings attached to the wheels, which detects light beams that come from arms mounted in front of the lift, as shown here in this picture.
I can now install all of the remaining components, including the front end, emblems, door handles and remaining trim. The woodgrain molding is still being powder coated and won't be available for another couple weeks. The guy who applied the woodgrain was unsure exactly how the moldings would be shaped in the corners so he left some extra material for me to trim away once I hold them up as a template. Better to have too much material than too little.