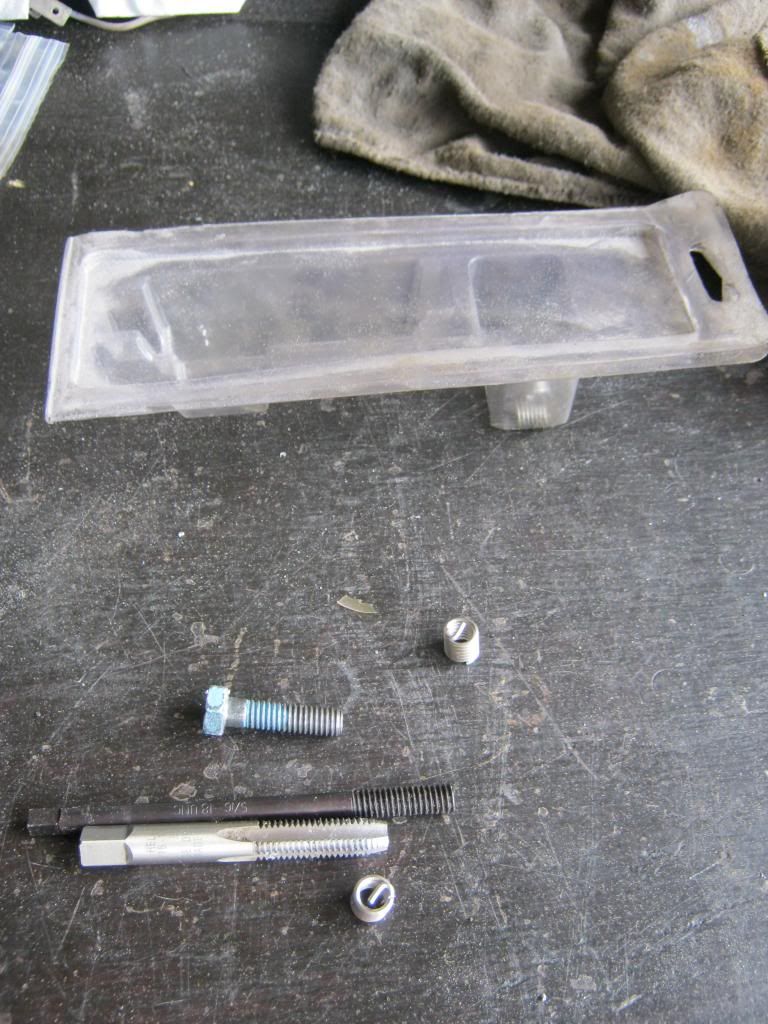
After carefully tapping the hole, which took a while because space was limited, I installed the helicoil.

It looks innocent enough...

I expected that to be the end of that. Not a huge setback. Then, I ran the bolt into the threads just to test it and as I tried to back it out it marred. After much ado attempting to back it out it ended up breaking off inside the cover. The fortunate part of this unfortunate event is that only the tip of the bolt broke off in the back of the hole. When I returned to the parts house the machinist recommended I install a stud with lock tight and use a nut on the end. Fortunately there were enough threads left in the bolt hole for this to work safely.

This problem took almost the entire day. That was two entire wasted days solving problems with the installation of parts that should have taken about 15 minutes a piece. The rain then delayed progress for several more days. I used this time to go down to the barn and get the '31 Chevy back together. A couple weeks ago some friends helped me sit the head that I had repaired back on the block. There was quite a bit of work left to do and since it was sheltered in the barn I was able to work on it while it rained.
I was walking around the Cracker Barrel restaurant one day and looked down to notice this chocolate bar. I couldn't believe that there was actually a Pontiac Grand Safari pictured on the wrapper. April was with some of her girlfriends so I figured with her chocolate pregnancy cravings and a picture of a Clamshell on the wrapper this would be a good opportunity to win husband of the year. The car pictured is a 1976 and The Clam is a '71, but they are still the same body style and close enough.

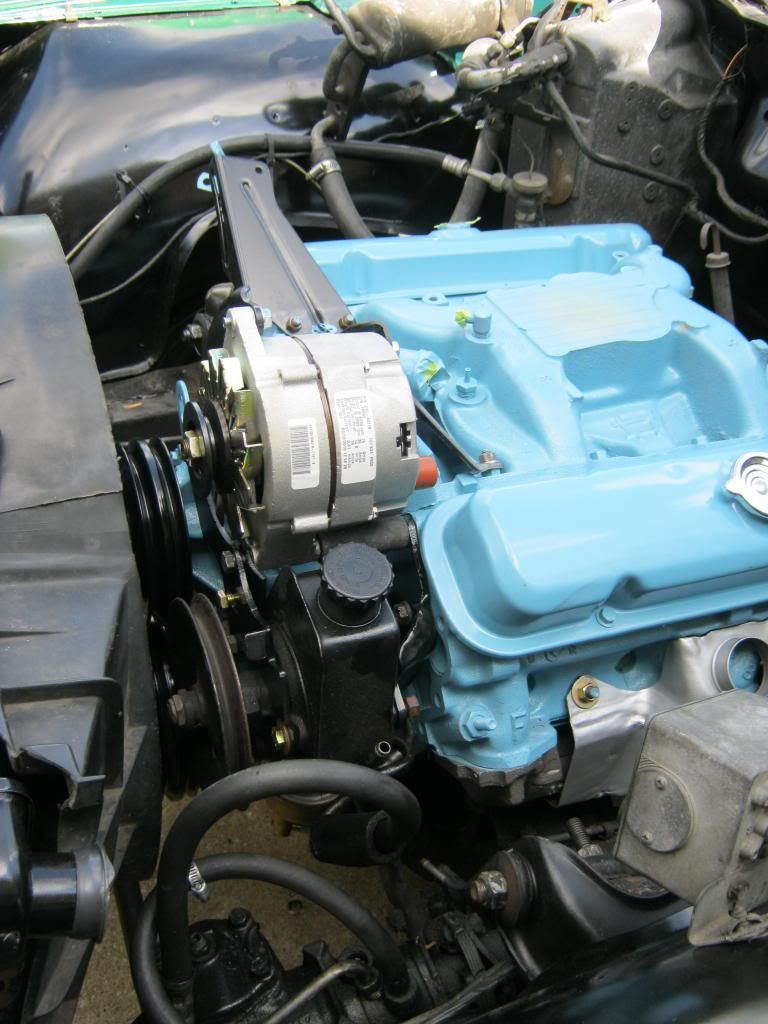
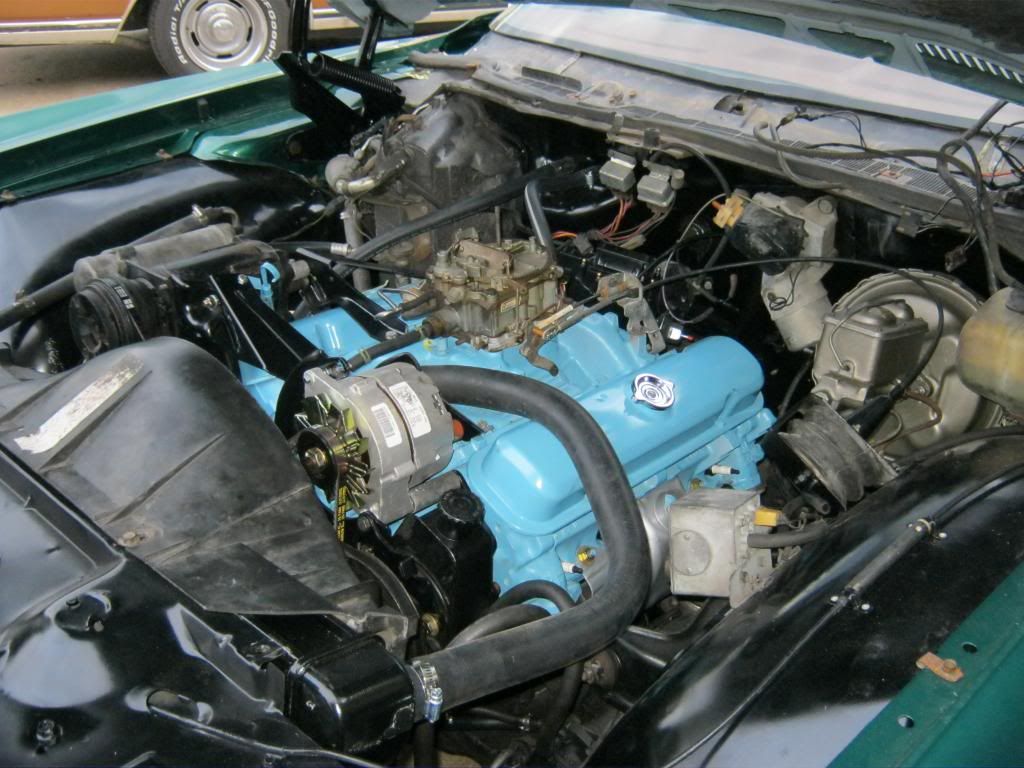
I was finally able to continue installing the remaining engine accessories. This was a very slow, tedious job because the brackets that hold the accessories are a complicated series of brackets stacked upon brackets with multi-layered bolts, some going through several brackets into the block and some going into other brackets already installed. The shop manual was somewhat helpful, but not in all areas. I went over to my dad's house and took some pictures of his Catalina for reference. Also, due to the nature of how some of the engine was disassembled outside of my garage, not all the bolts were bagged and labeled as I am accustomed to them being. New bolts and a couple of spacers had to be customized to fit the application to replace originals that have since been lost. Here I have installed all of the bolts but not tightened them up so that I can later install the belts.
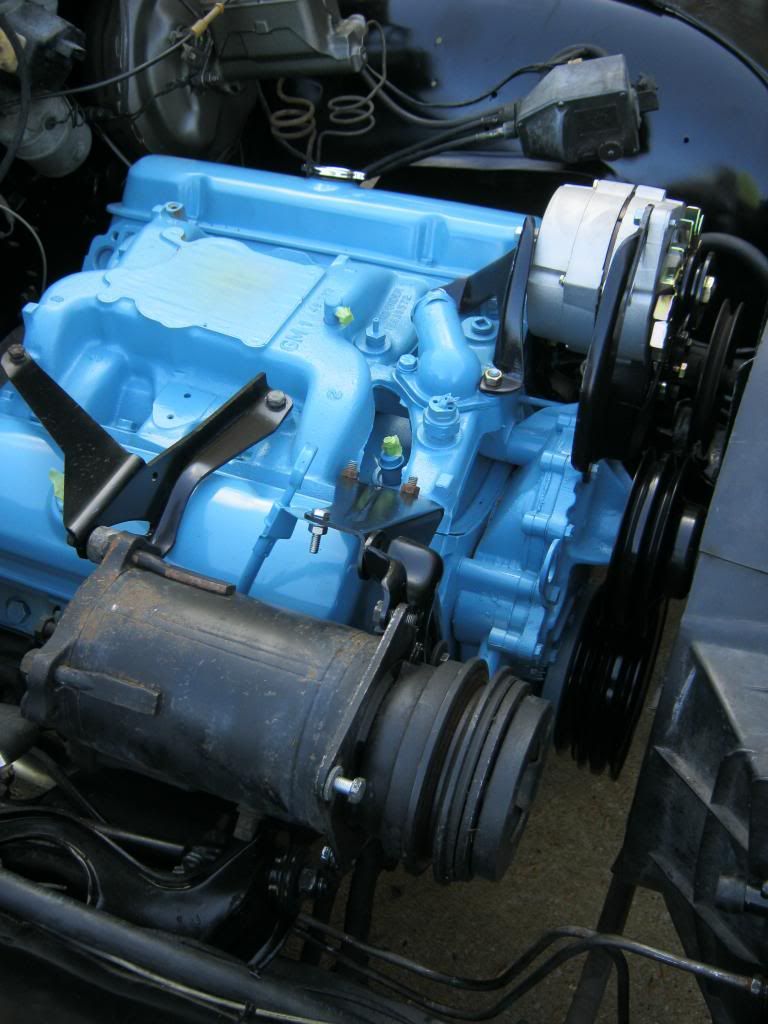
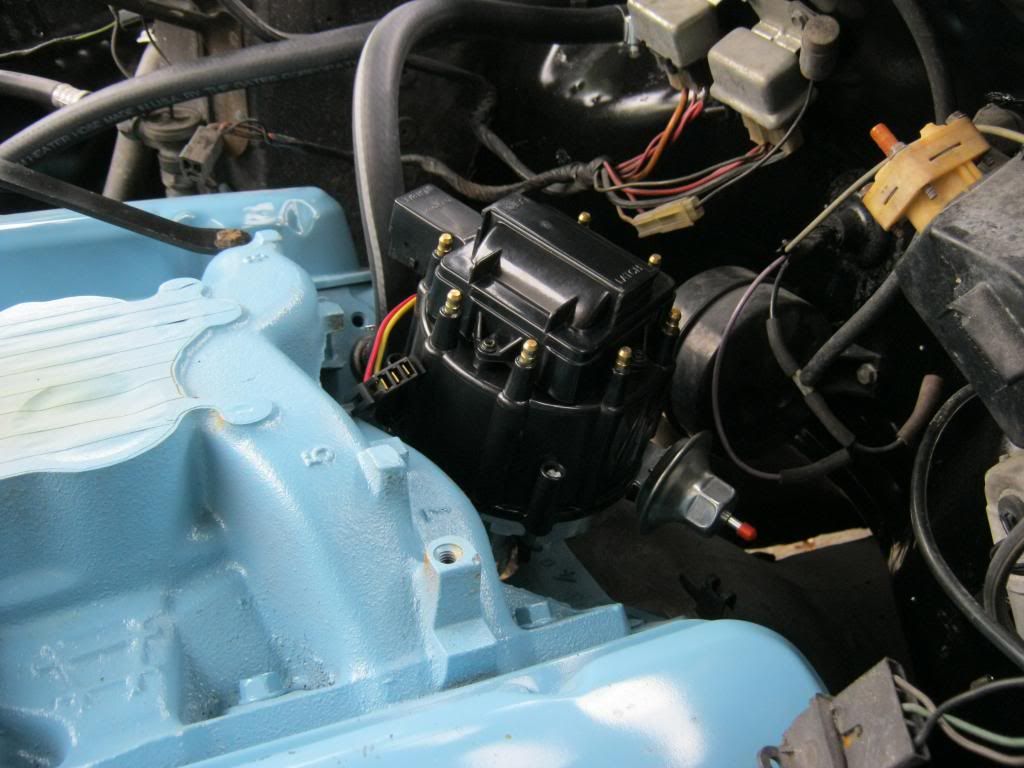
After i installed all of the brackets on the passenger side I had to remove them all again when I realized that two of the headbolts had been installed in the wrong place. The middle bolt with the threads sticking out of the top was originally swapped with the one in the very front of the head shown here. I had to remove them, re-torque them and then reinstall the jigsaw puzzle of bracketry.

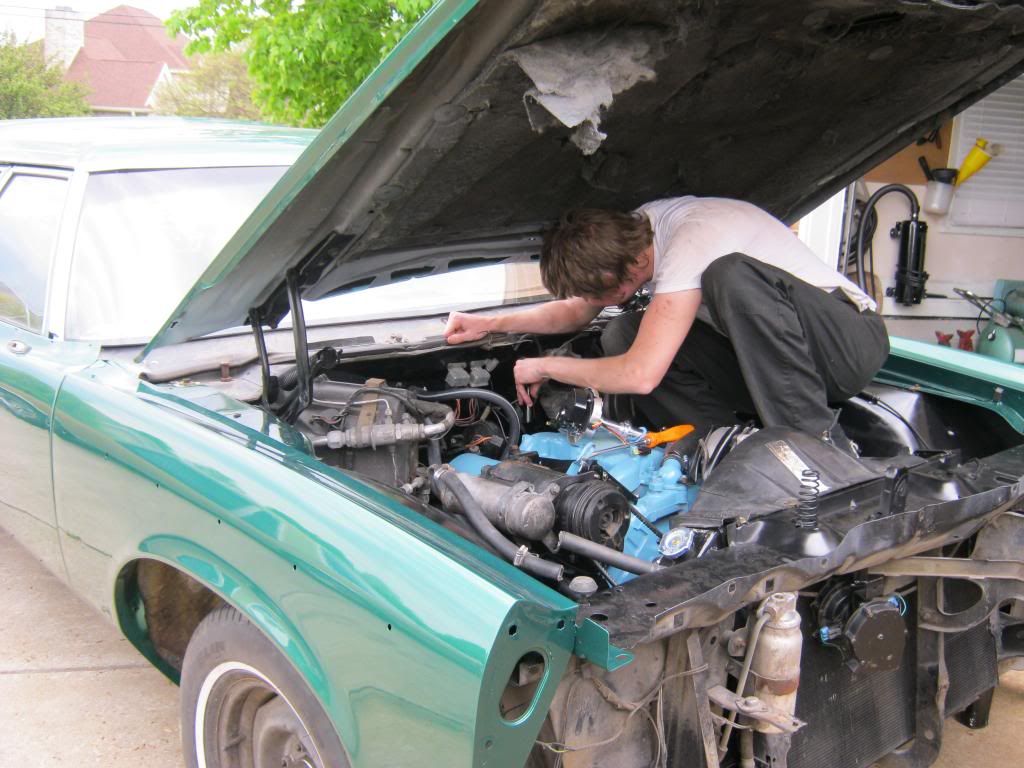
Unfortunately my friend Nick's motorcycle broke a chain so I went and picked him up. He happened to be close to where my father lives so we pushed his bike about 3/4 of a mile back to dad's house and left it in the garage. In return he helped me put the hood back on. April installed the bolts for us as we held the hood in place. Here, she finishes tightening the last hood bolt.

This PCV valve ended up being a huge pain. The old valve came out relatively easy but the old grommet was so brittle from age that it broke apart and a couple pieces fell inside the engine. It took a while but I finally got both pieces out.

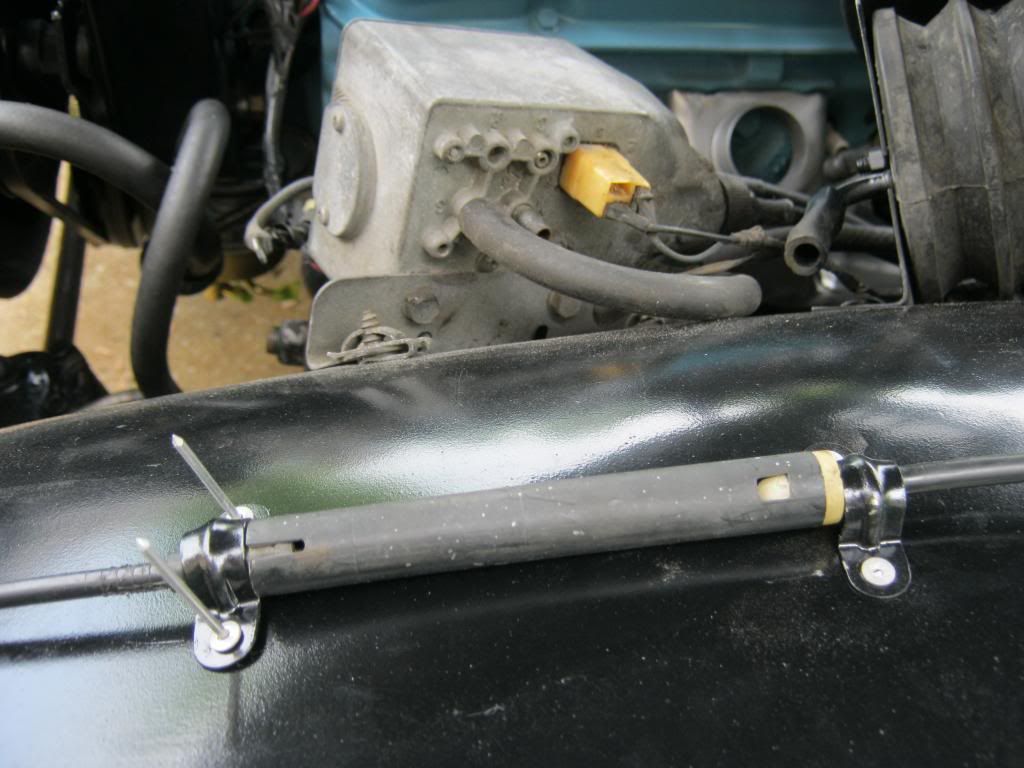
There were many small tasks that don't all bare reporting, but are very time consuming. For example, using the steel grinding wheel to clean these hood latch clamps, then primering them on both sides with self etching primer, then painting them black and then finding the right sized rivets and reinstalling them. Many small detailed things like this that eventually go unnoticed in the final product, when all combined, end up taking a lot of time.

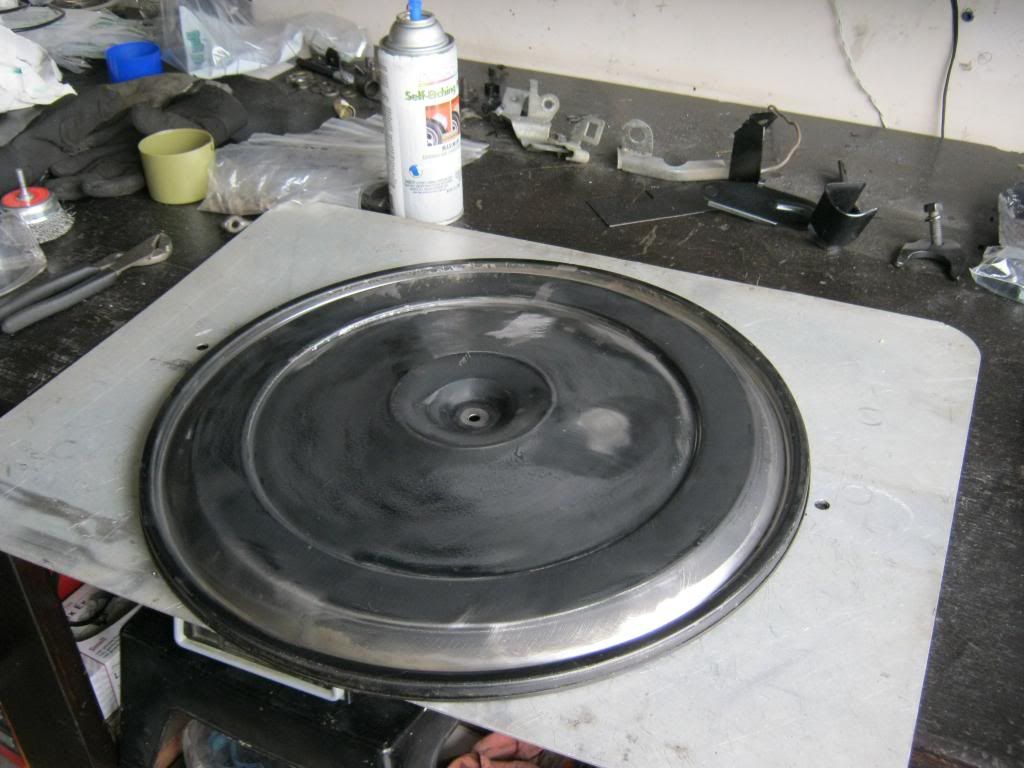
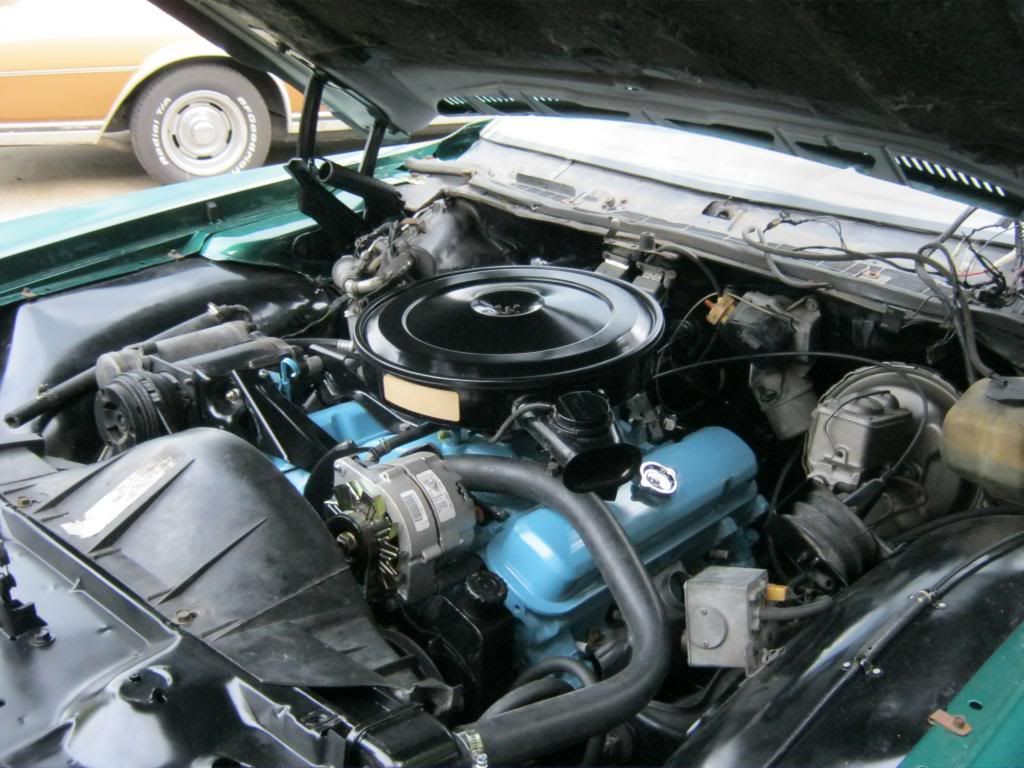
With most of the engine looking fairly new and fresh I couldn't sit the old, somewhat rusted air cleaner lid on top of it, so I used 400 grit sandpaper to prepare the surface and then used a steel brush bit in the drill to remove any of the surface rust that existed. Then came primer and paint.
The next problem came when I realized the new fuel pumps that are built do not have the same connection as the original. The original fuel pump had a 90 degree bend in the line that allowed the fuel line to connect with a double flared fitting. The new pump had a nut that came straight down with no bend. With the help of the guy at the parts house I found the fitting on the right to solve the problem.

As you can see here the line did not even come close to reaching where I have the new fitting installed.

This was the solution; I cut off the end of the steel fuel line and used rubber fuel line to connect to the new fitting on the pump, just like is used from the factory on the other end of the fuel line where it connects to the carburetor.

April snapped a picture of me after I crawled into the engine compartment to line up the oil pump and install the new electronic distributor. The engine compartment is so cavernous that I couldn't see the pump shaft without crawling inside.
It fell right into place the very first try. It was so easy I'm almost curious if something isn't right. The previous day I could not find anyone available to hold their finger in the #1 spark plug hole while I used a breaker bar underneath to turn the engine manually to align top dead center on the harmonic balancer. Fortunately when Nick helped me install the hood he also helped me check to make sure I was on the compression stroke, so I was able to sit the distributor in and know it was where it needed to be.
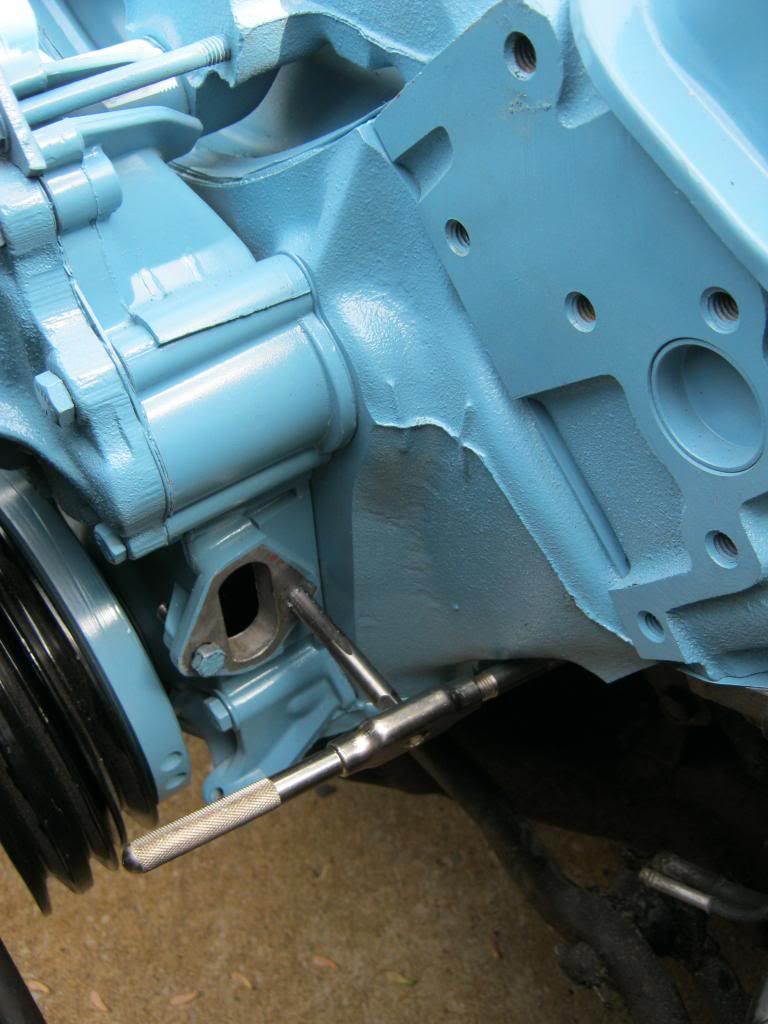
I found that, like with the head, a manifold bolt that also had threads sticking out the top was in the wrong place, which prohibited me from installing the throttle linkage. After removing the rear alternator bracket and swapping the bolts I was able to get the linkage where it needed to be.
There are still a few vacuum lines that need to be installed and the wiring harness needs to be hooked up. After that I'll install plug wires, run the wiring and relay for the new HEI ignition and install the wiring and relay for the new horns.
This hood gap is not acceptable so I'm going to need to find a way to adjust it. The problem is that the hood bolts to the fender, so if I move the fender in it would also move the hood with it. Another problem is that because of the close clearance with the door, the fender cannot move in any further.

After the engine runs I'll take it to get the front end aligned and to have the woodgrain installed.
