I started out one morning by gathering all my original moldings and laying them out accordingly beside the car. Then I got the new moldings and laid them beside the original moldings. Unfortunately these moldings were to a '74 Safari so the only interchangeable pieces turned out to be the front and rear doors and the one bottom piece on the rear of the front fender. I suppose we'll have to drive the car for a while with the missing pieces until I can find replacements. I am going to take them and have them powder coated because it is impossible to find a wrapping that matches the original woodgrain vinyl and I also don't want to paint them myself.

Then I moved on to sorting through the spaghetti that was the wiring harness as well as installing any related hardware such as the starter, relays, wiper motor, etc. It took quite some time to get everything hooked up, organized and to replace any broken connectors. The shop manual does not do a super great job of making this an easy process.
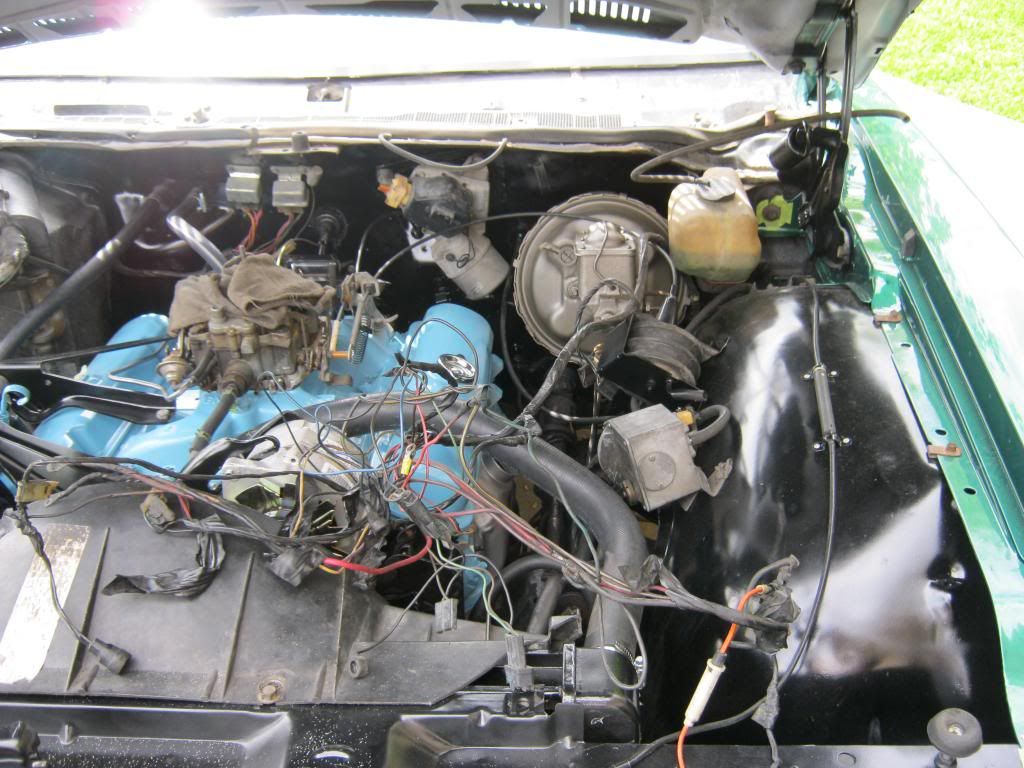
Next I moved on to wiring the new electronic ignition. It is generally accepted that HEI is more reliable and more efficient than the older, points style ignition. Since this will be April's primary car I wanted to make it as reliable as possible. Through a lot of research I determined what I considered to be the best way to power the HEI. Because the old distributor did not require a full 12 volts, it had a resistor wire built into the harness. The HEI does require a full 12 volts to operate correctly so I wired it directly to the battery using a relay activated by the old ignition wires. I mounted the relay back on the firewall, behind the distributor, beside a vacuum canister.
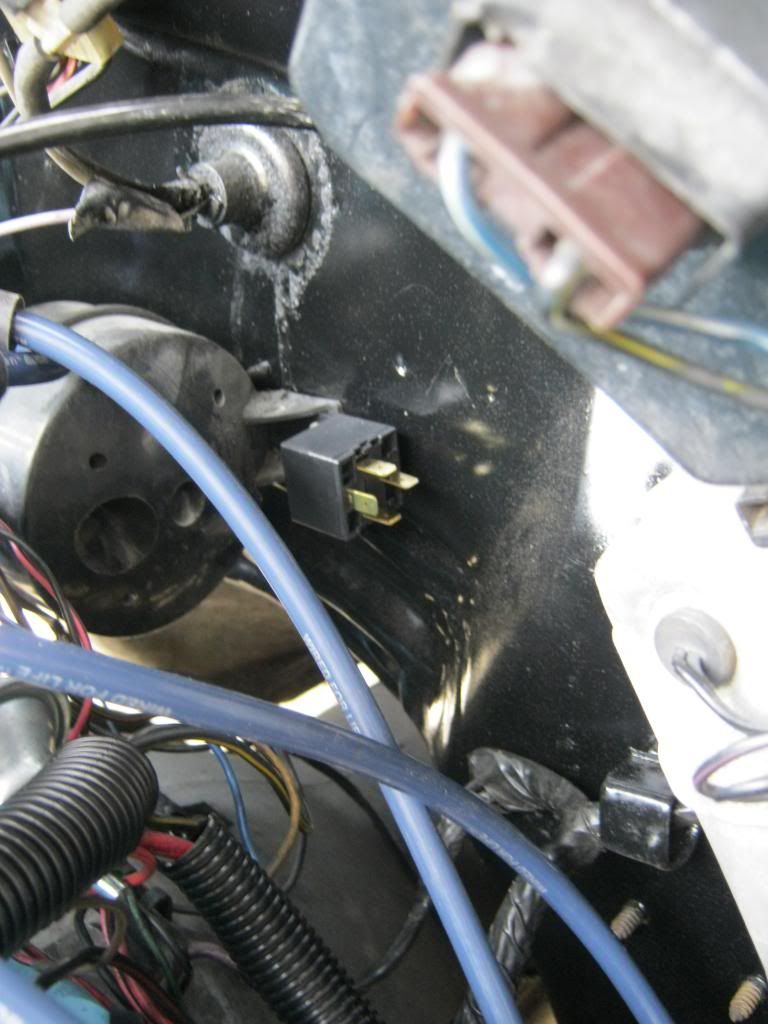
This is how the ignition is wired. I talked to several people that used 14 gauge wire, yet others said that 14 was not thick enough. Yet others said that it was enough as long as the engine is not a high RPM race engine. If the 14 gauge proves problematic, I will probably change it to 10 or 12 gauge. If not, I will still probably change it in the future just for the peace of mind.
I installed an inline fuse on the wire running to the battery. I ran the line following the existing wiring harness, making it almost unnoticeable unless someone knew to look for it.

Though the old distributor did not use a full 12 volts, it did use 12 full volts during cranking. This was accomplished by having a separate wire that was used when the ignition was in the cranking position. I used both wires, spliced together, to activate the relay.

The entire goal of this car has been to build a good quality driver and I have made a conscious effort to not get lost spend hours on small details. I did, however, decide that using heat shrink tubing on all my wiring was a good investment of time to protect the wires from the elements.

Next I moved on to the horns. After looking at my father's car I feared that the horn mounts I had fabricated earlier would interfere with the front header panel. I sat it in place and was very relieved to find that they just fit with about 1/4 to 1/2 inch of room to spare.

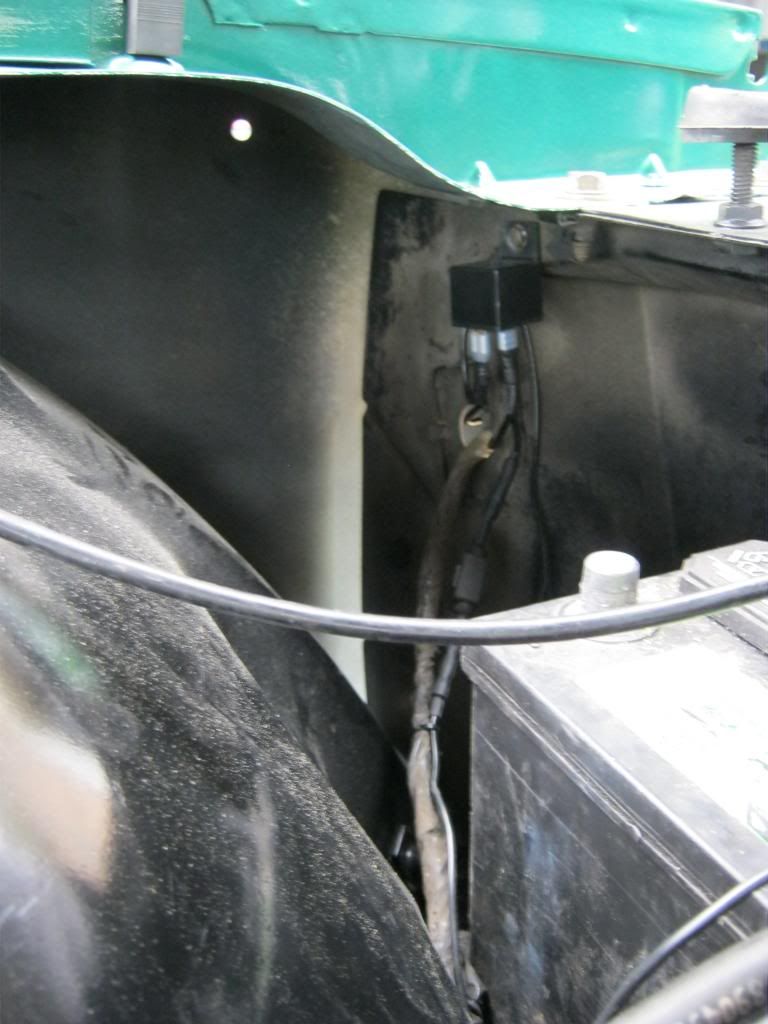
I used a relay for the 4 horns much like I did with the ignition system. The relay is activated by the original horn wire and is tucked inside the driver fender, away from the elements, mounted on the back of the core support using a preexisting ground wire bolt.
It took a couple hours to get the horns completely wired with heat shrink and grounded correctly. This is the drivers side and there are two more on the passenger side.

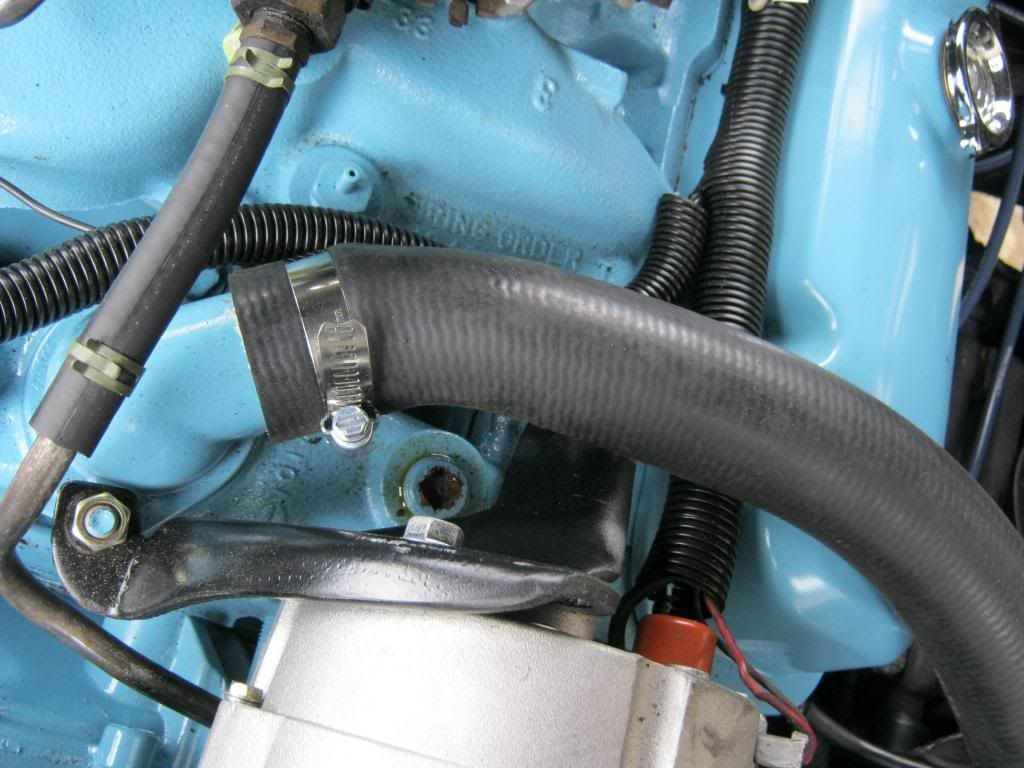
Next it was time to tackle the dreaded pipe plug. This is where the sending unit for the gauge would be if this car had one. Since I am installing gauges in the car this is where I need to put it. This plug was original and over the course of heating and cooling hundreds of times over the last 40 years it had become, essentially, welded into place. I attempted soaking it with PB Blaster to help break it loose.
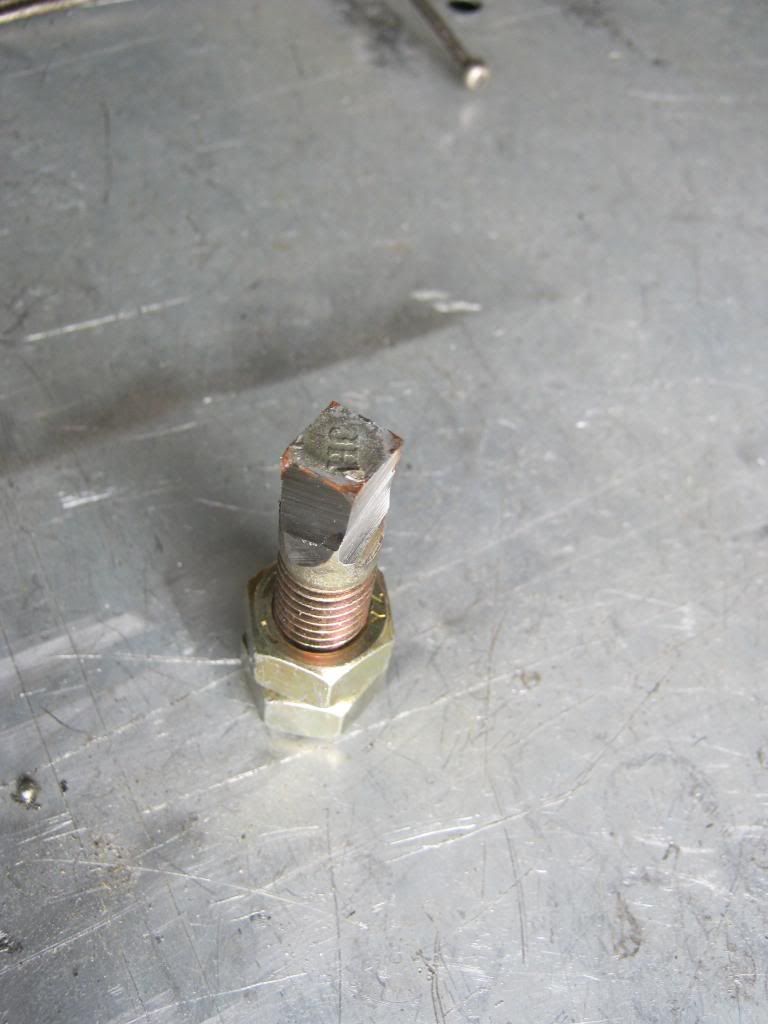
After realizing that a 3/8 drive extension wasn't going to work and after going all over town trying to find a pipe plug socket I finally had to end up making my own by taking a grade 8 bolt and grinding it down to fit. I then welded the two nuts on the end.

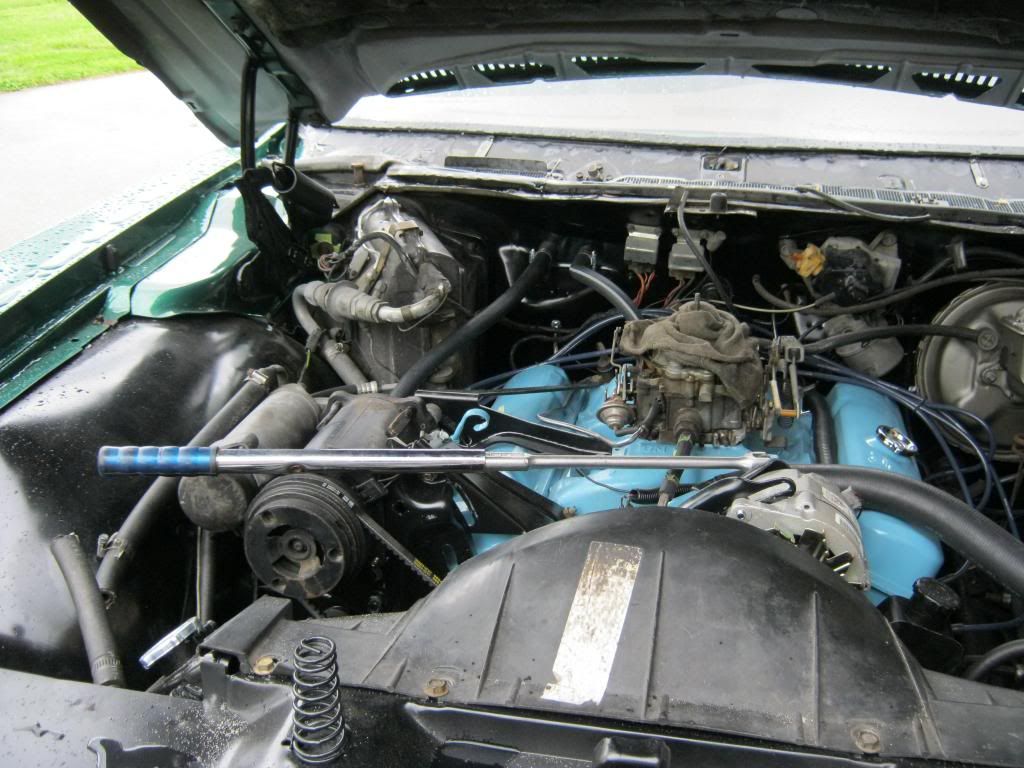
I used a breaker bar with an extension so that I could be more precise with the pressure. In the end, it didn't do any good. I don't have a torch, or I would have heated the manifold to help loosen it.
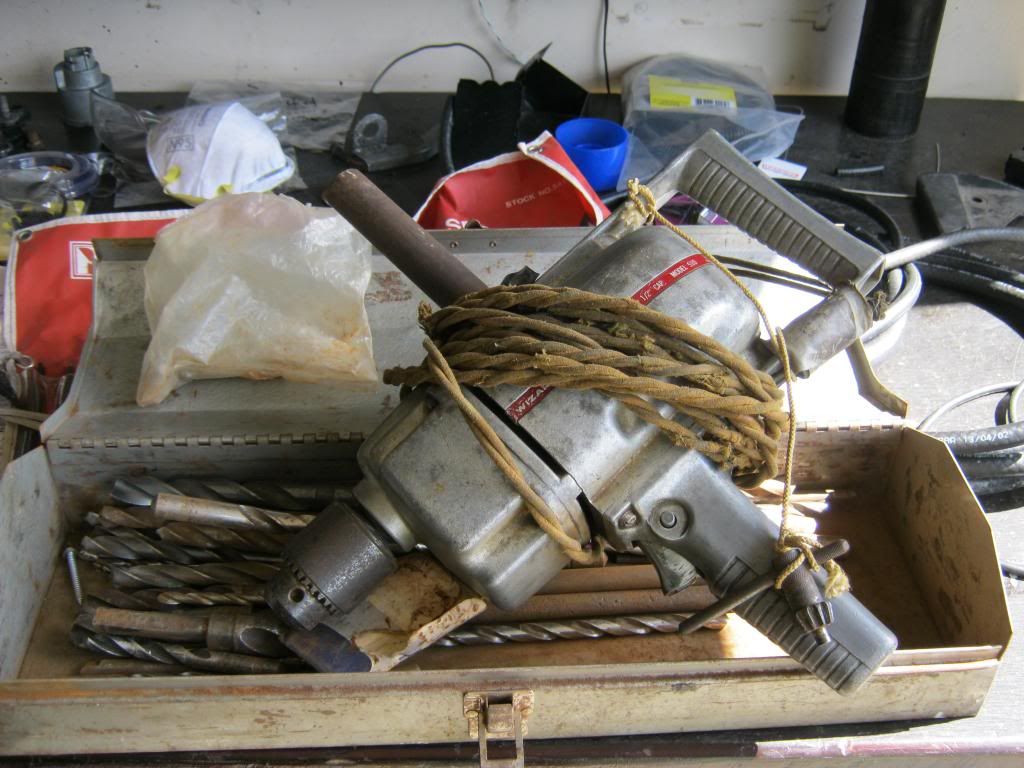
I decided I had to drill out the plug. After my drill did all the damage it could I had to go get dad's large drill to hold a bit big enough to extract the plug. Despite the damage to my manly credibility, I admit to being intimidated by this drill. It has enough torque to actually hurt you if it catches a snag.
After about half the morning was gone I ended up with a hole, minus the pipe plug.

This is all that remained of the once mighty pipe plug. Once I had drilled most of the center away I used a series of chisels to remove the remaining threads. Once fully removed I used magnets to retrieve the metal shards and shavings from inside the manifold.

I then went to the parts store to buy a 1/2 pipe thread tap. I was stunned to find that they wanted $20 for just this one tap. I ended up going to several different places before calling a friend of the family that does various home repairs. Once he had returned home I went to his house and he let me borrow his tap. After I tapped the hole I cleaned and repainted this area of the engine. It had taken a bit of a beating from all of the mounts, hoses, wires and drilling.

I mounted the gauges inside the car and ran the lines for the oil and temperature gauge through the firewall using the car's original grommet. Typically I would never use the cheap plastic line provide with the gauges for the oil pressure switch but these gauges are going to be temporary. There was a factory option for this car that offered gauges rather than warning lights. In '71 it was more rare than the warning lights so finding one is going to take some time. I just missed buying one and I found another but the man wants to try to rip me off to a laughable extent, so I'll wait until I come across another. Running these through the firewall was somewhat of a chore. In this picture, I have already removed a relay to give some extra room. When I went to reinstall the relay I dropped one of the screws down in the fender and spent what seemed like an eternity searching all down inside and under the car until I found it.

April was home at this point and she wanted to be present when I fired the engine for the first time. I tied up a few loose ends, reinstalled the alternator, hoses, etc. April filled the radiator with the garden hose to test for leaks so we don't waste any of the $12 a gallon anti-freeze. Before we tried to start the car April noticed water seeping from around the thermostat housing. An attempt at tightening the bolts didn't help. I would have to deal with this later. I cranked the car and the engine turned over. That was a good sign. Then I went to crank it again and nothing happened. I checked all the fuses and connections and nothing indicated that there should be a problem. I sat in the seat and remembered that the one time we drove this car almost 10 months ago it didn't want to start. After searching around that day I found the neutral safety switch, the switch on the steering column that is supposed to only let the car start when it is in Park or Neutral, was acting up. Remembering this I reached down and played with the switch and got the car to crank again. I poured a small amount of gas in the front two barrels of the carb and she fired right up. I had handed April a towel just in case a backfire set the under hood insulation on fire I could have something handy to grab to put it out. I had previously advanced the distributor just a small amount to get a decent start for the engine. It sounded very healthy and in fact I think the turbo mufflers are going to be a bit too loud. I went to turn the engine off and nothing happened. The car didn't diesel, but rather just kept running as though the key was still turned on. I had to smother the engine by putting a towel over the carb. I tried the car a second time and it fired up immediately, though the key still would not kill the engine. April noticed gas pouring from under the rear of the car. Closer inspection revealed one of the rubber gas hoses from the tank had split. I remembered that it was dripping when we drove the car last, but the last few months have turned it into a steady leak. I'll have to address this issue as well before the engine runs again. I will need to address these two issues and bleed the brakes, then I can load the car up and take it to have the woodgrain installed. Because the woodgrain wraps around the front of the fender, I must wait until it is installed before I can put on the front pieces of the body. Then I will have it aligned.
I was playing with the rear window and tailgate a couple nights ago and found that the rear switch doesn't work at all. It did work some the day we bought the car. I used a jumper wire in the harness and got the tailgate and window to open and close so I knew the problem had to be in the switch and not the harness or motors. The switch also did not have tension to return the key to the neutral position when turned to the left or right.
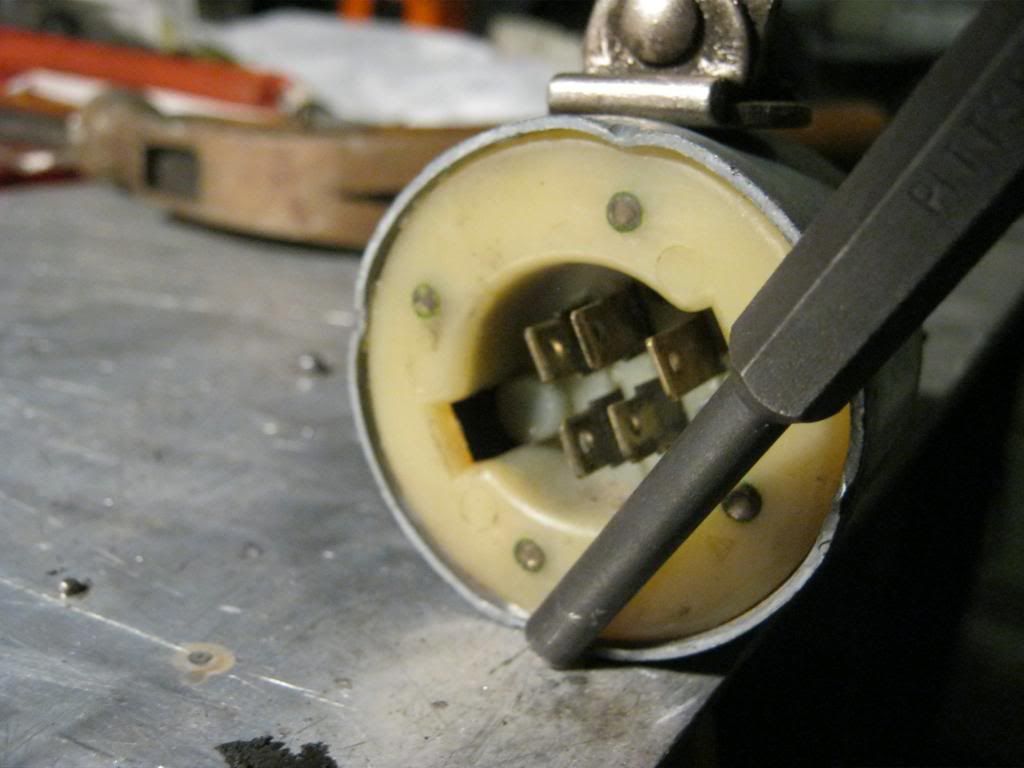
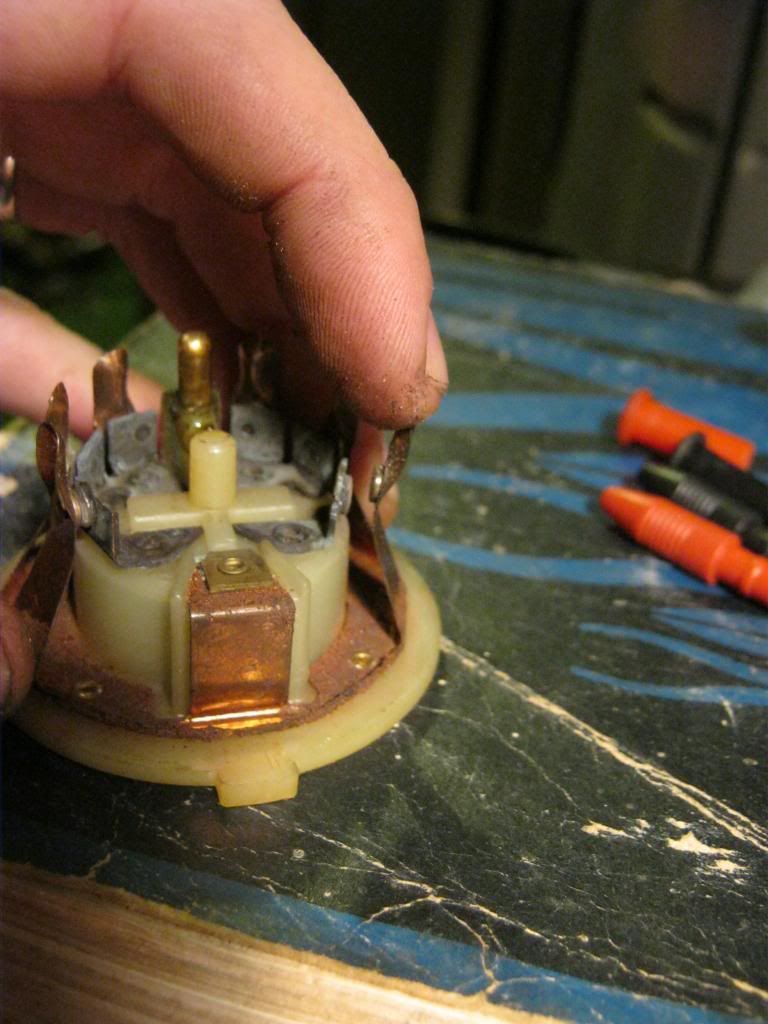
The yellow plastic is held in the encasement by these four areas that have been bent inwards. I used a punch to flatten them, allowing me to remove the innards.
These are the parts that came out.
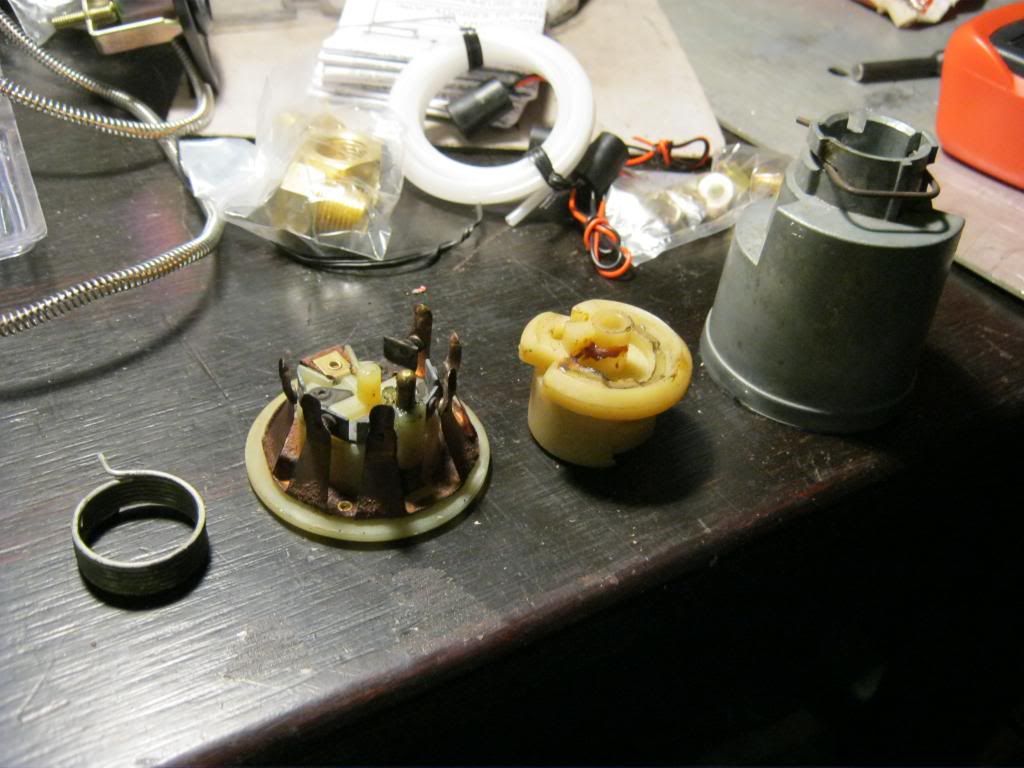
It seemed that the way the switch worked was that the plastic piece here in the foreground had tabs that would raise the prongs, breaking contact. When turned left or right, the indentions in the plastic would allow one or two specific tabs to make contact with a metal base and allow electricity to flow between the corresponding plugs on the back.
The problem is that the tabs have lost all their tension. They are supposed to push against the metal tabs so that when the plastic spins they will close when an indention comes around.
I have tried various different methods of bending the tabs so they will once again press against the contacts. Each time the tension only lasts a little while. Any time they are pushed back, that is where they stay. It appears that the oxidation that was present before I cleaned the tabs has left the metal very weak. I have reassembled the switch several times, but at some point at least one of the functions stops making contact. I have yet to come up with a solution short of drilling out the rivets and custom making an entire new ring of tabs but I have a few ideas I want to think about before getting too far into the fabrication of new parts.

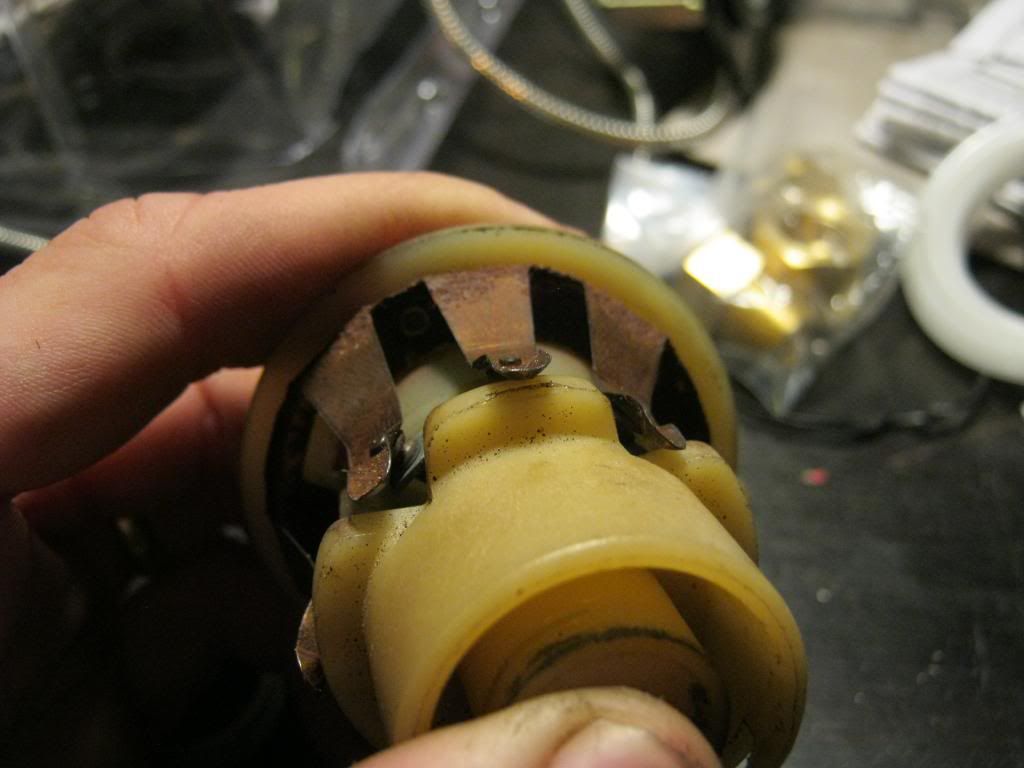
The solution to the tension on the turning key turned out to be simple, but it was not simple to figure out. Someone has apparently had this switch apart and when they reinstalled it they did so incorrectly. When I took the insides out of the switch the spring was loose inside and fell out. Because I had nothing to go by I spent quite a while determining if the spring had lost its tension or if had been installed incorrectly. I eventually came to the conclusion that once the spring is fully inserted into the this plastic piece, the bottom tab of the spring must be installed in the bottom slot to the right. Then the top tab of the spring must be tensioned and pulled backwards, approaching 360 degrees, and snapped into a grove in the upper slot. This allows an opposite force to be applied in either direction when the key is inserted into the tumblers, which are held in the middle of the plastic piece shown, and turned one direction or the other.
