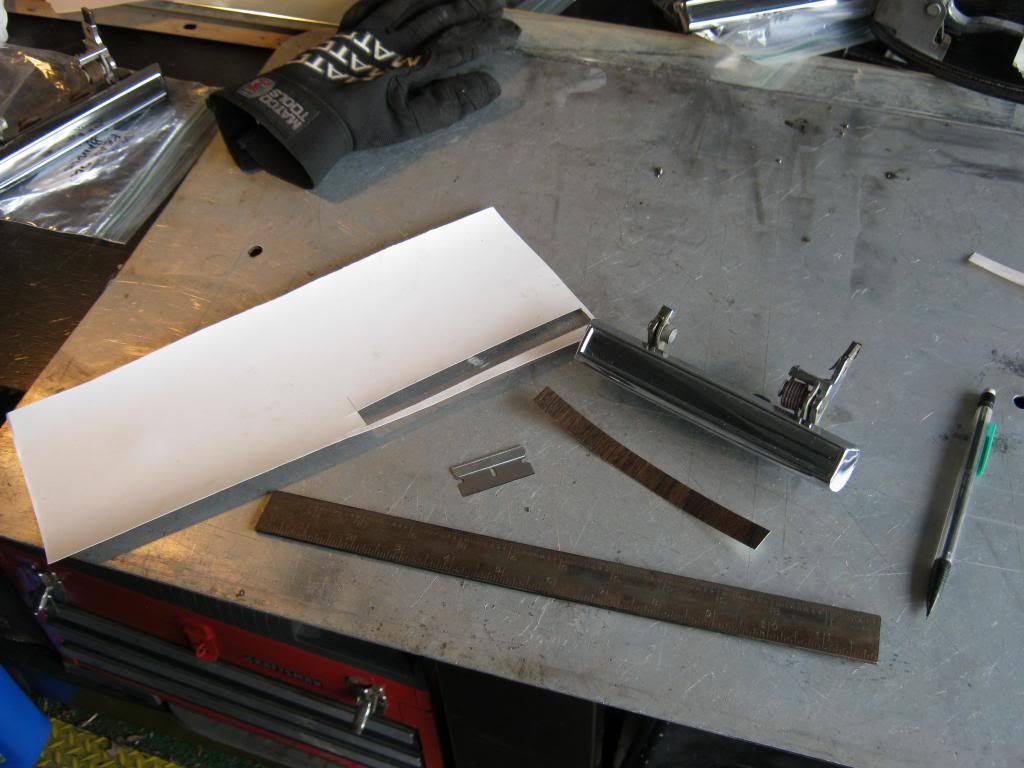
It didn't occur to me until I had the first piece cut that I had cut the piece with the woodgrain going the wrong direction. I wanted it to flow with the side of the car, not against it. The original square I cut out of the large, left-over woodgrain wasn't big enough for me to cut out the rectangles in the correct direction so I had to cut out another large square from my extra woodgrain and start again.
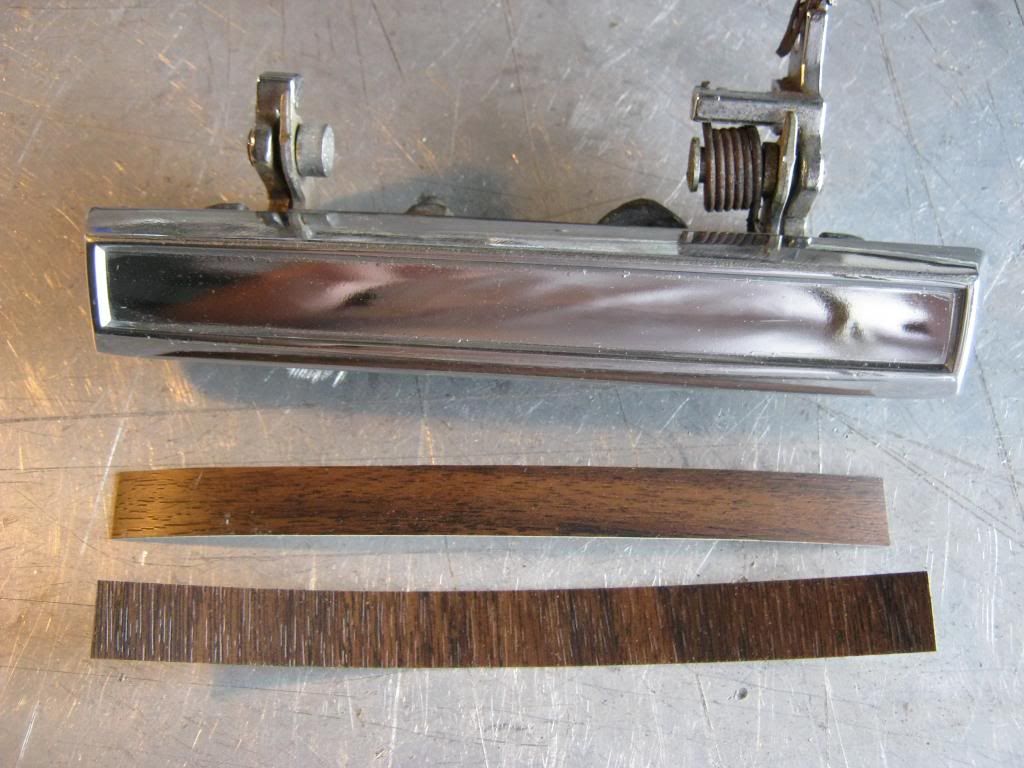
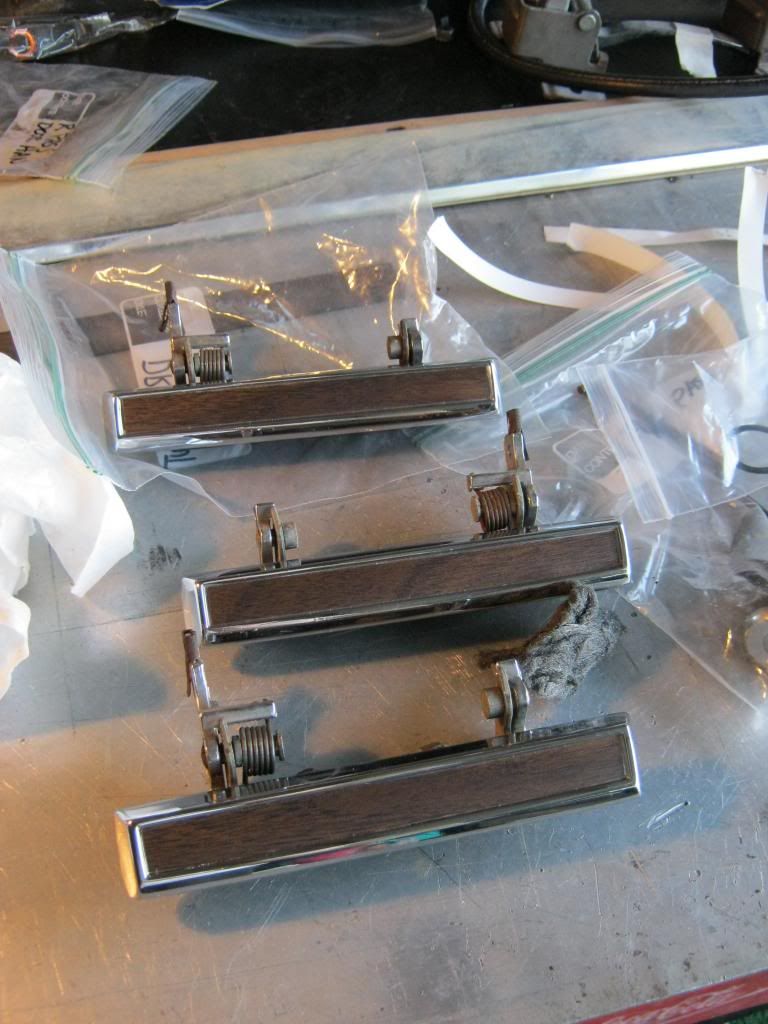
In the end I was glad I added the woodgrain. I think they turned out very well and really help dress out the look of the car after the handles were installed.
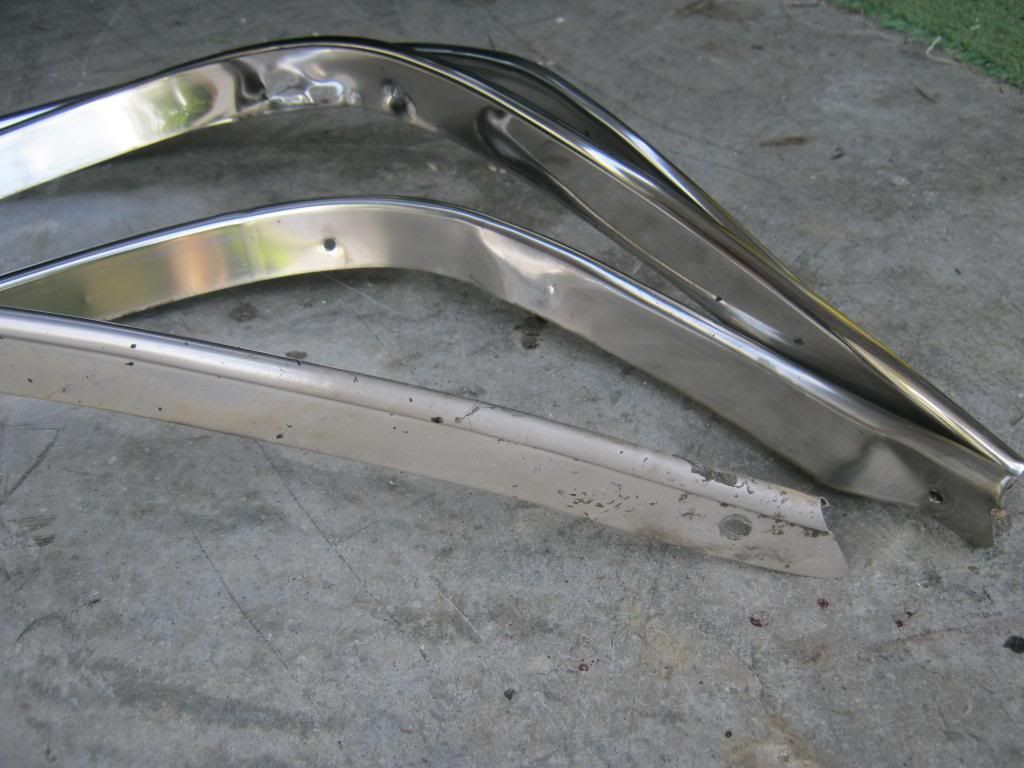
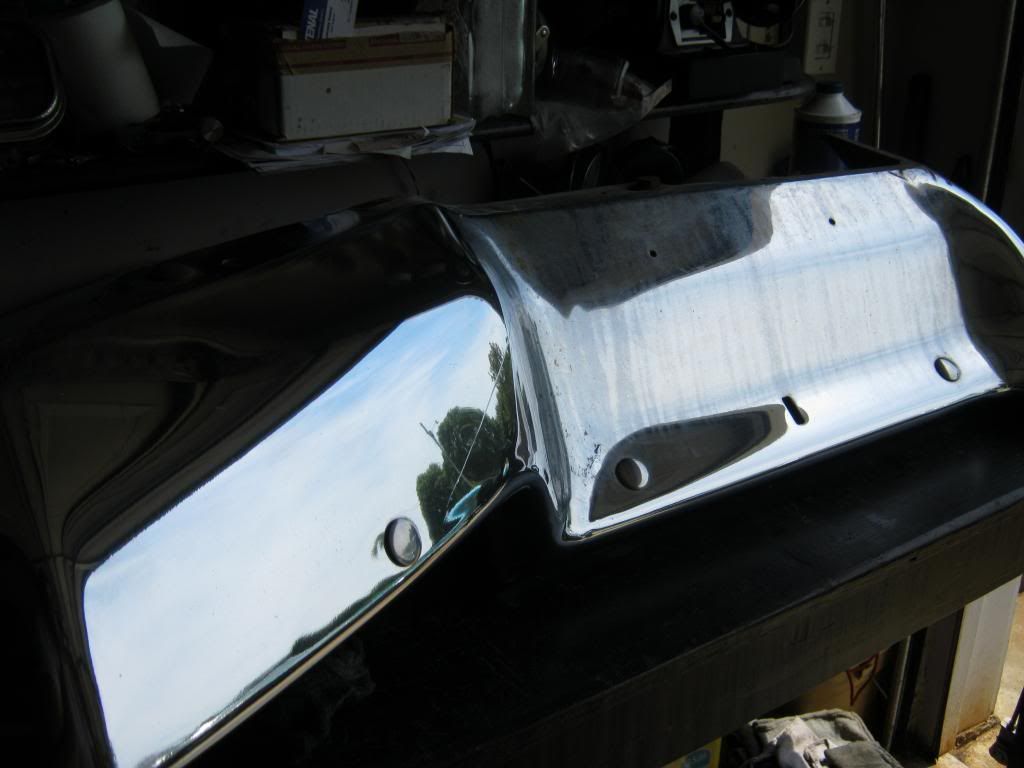
I spent almost an entire day polishing what was left of the remaining chrome and stainless trim. The wheel over moldings were in particularly bad shape, as this before and after picture shows. They had plenty of age old tar that had to be removed with powerful adhesive cleaner.
At long last, and with aching fingers, it was finished. Anything that wasn't chrome or stainless I cleaned with dish washing soap and April's toothbrush again. Hehe.
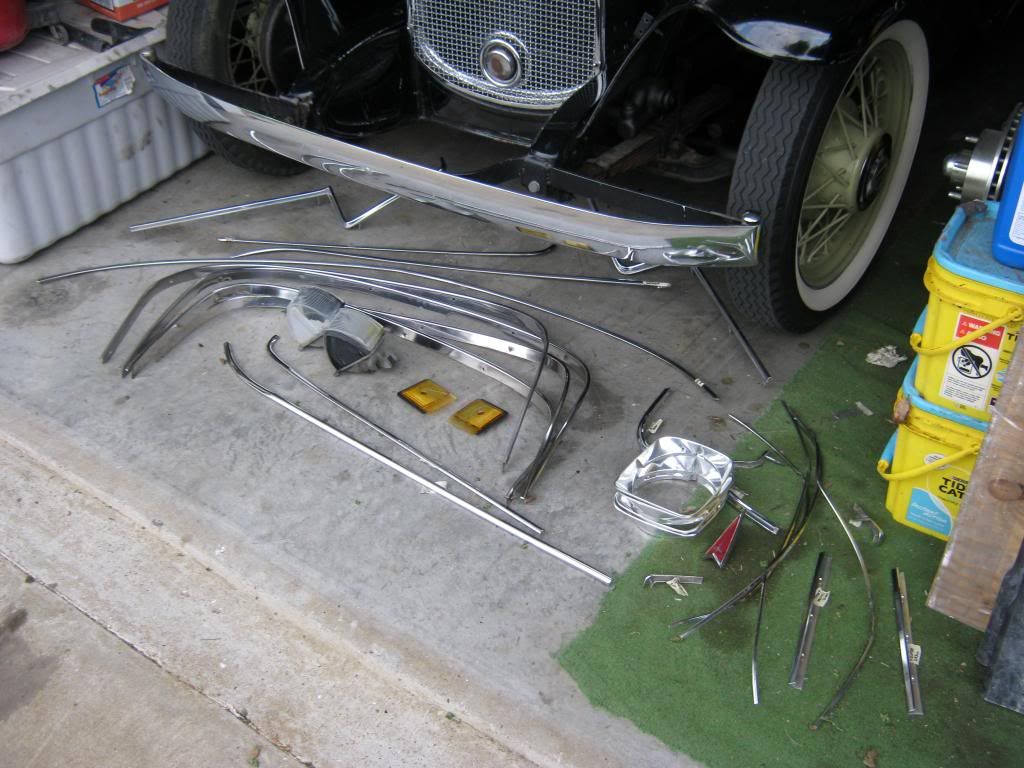
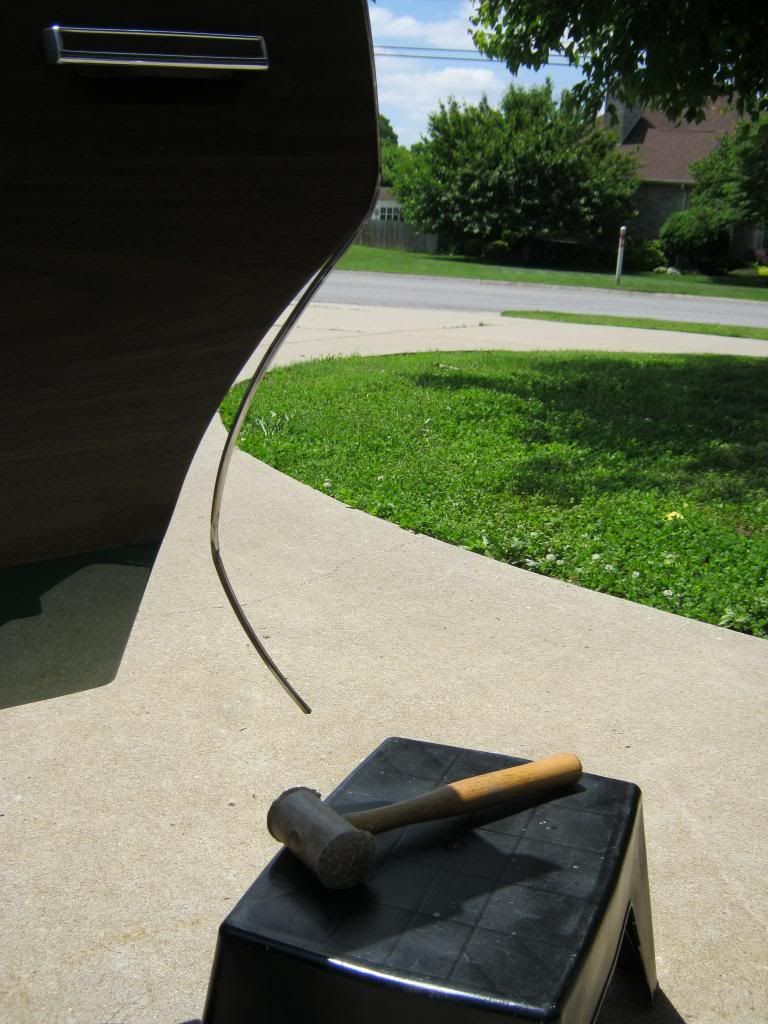
The door edge guards were bent out of shape and I expected them to be a terrible pain putting them back on. To my surprise, with a little encouragement from a soft hammer, they went right on with much less fuss than I had anticipated.
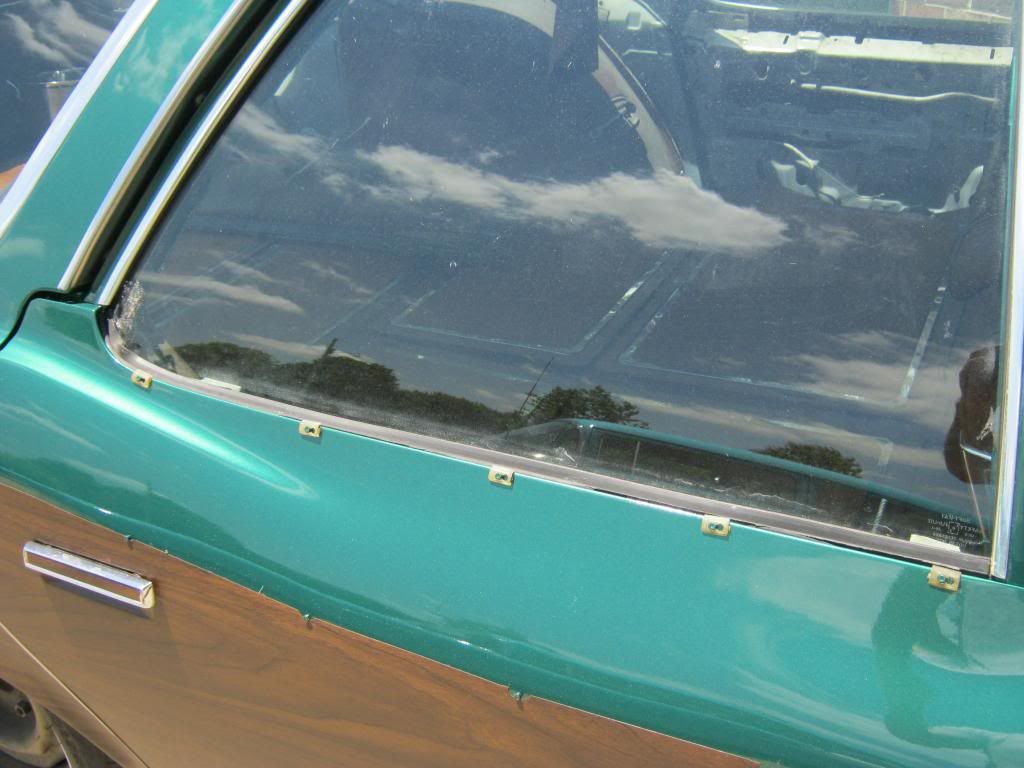
The top door trim was a pain, but by the last one I was starting to get the hang of it. One interesting thing I had not noticed before was that the passenger side had five clips, but the driver side only had four clips, yet they were shaped the same. I'm curious as to why it was designed this way.
The next day I began polishing the front bumper. This turned out to be a bigger job than I had thought. The bumper was dull and had some typical surface rust, but it also had what appeared to be typical dust and dirt, yet it did not wash or clean off easily. I had to take fine steel wool and really buff it out. It was tedious and took a long time, but I divided the bumper into sections and tackled them one at a time. When I finished I used chrome polish and buffed it with a polishing wheel attached to the drill. Here is a before and after picture where I have finished the left side and have yet to do the right side. This picture was after the steel wool but before the polish.
After fighting with the jack, front bumper, center grill piece and the alignment of all of these said pieces, I finally tightened it all into place. April just got home from a weekend vacation with several of her friends. Her last trip before our baby girl, Rose, is born.
I had to go to town to get some stainless steel screws. This was Memorial Day, so most stores were closed and I had to go across town. While I was gone April sanded, primered and painted the cowl-to-fender brace that I hadn't gotten to yet.
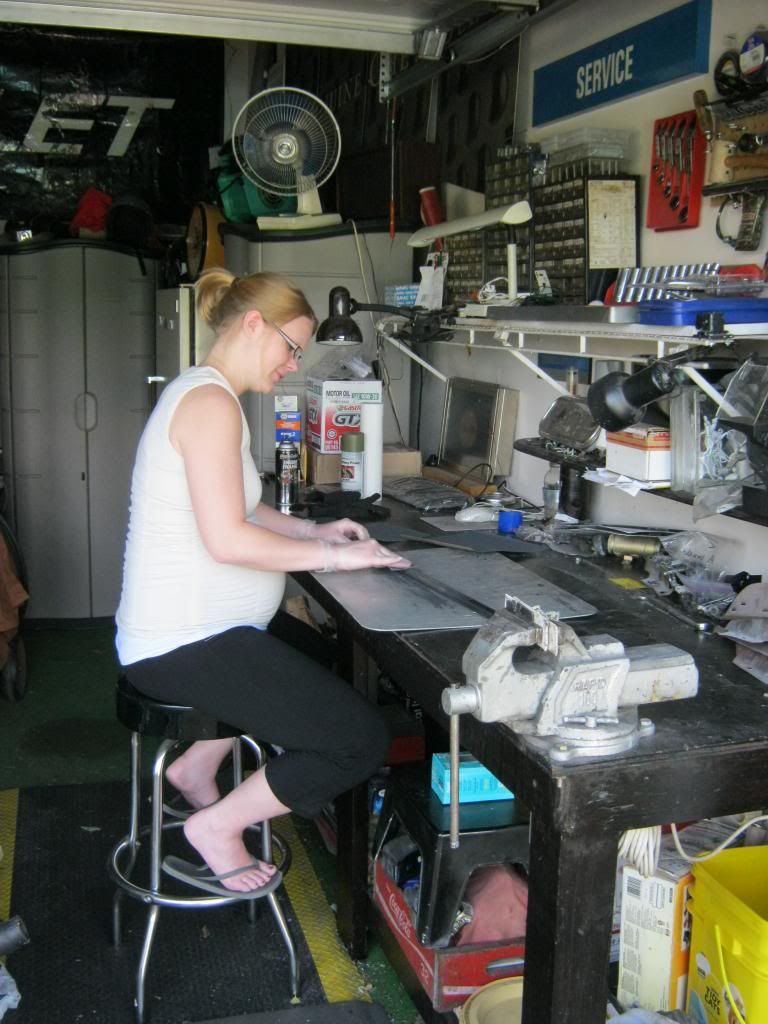
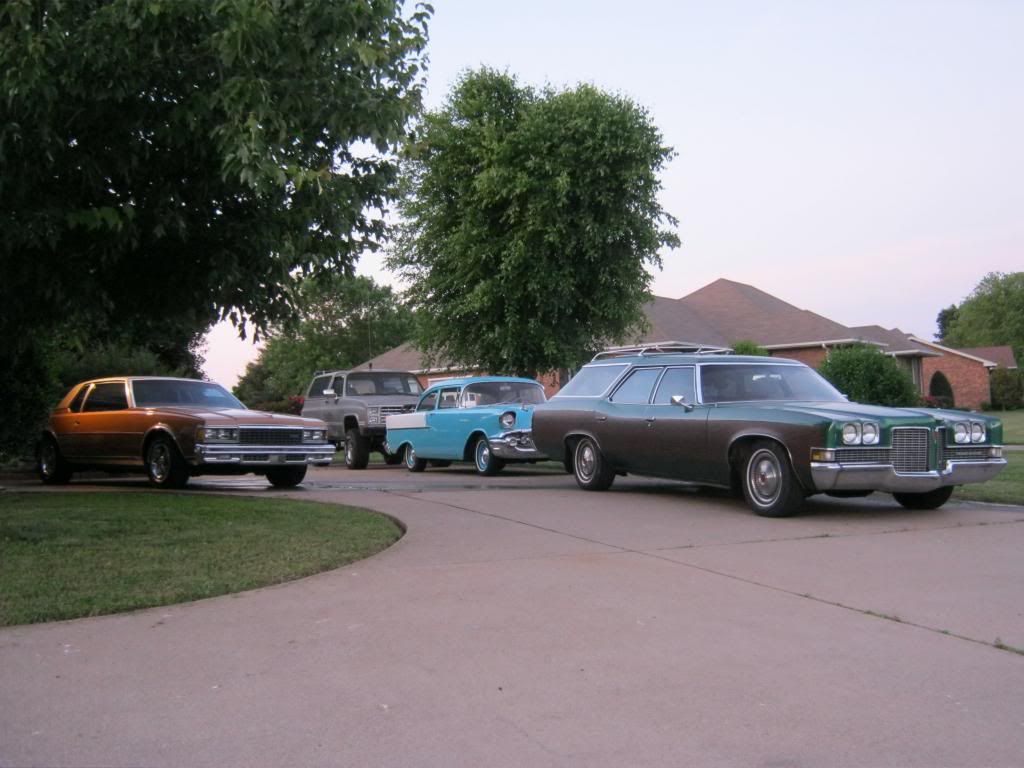
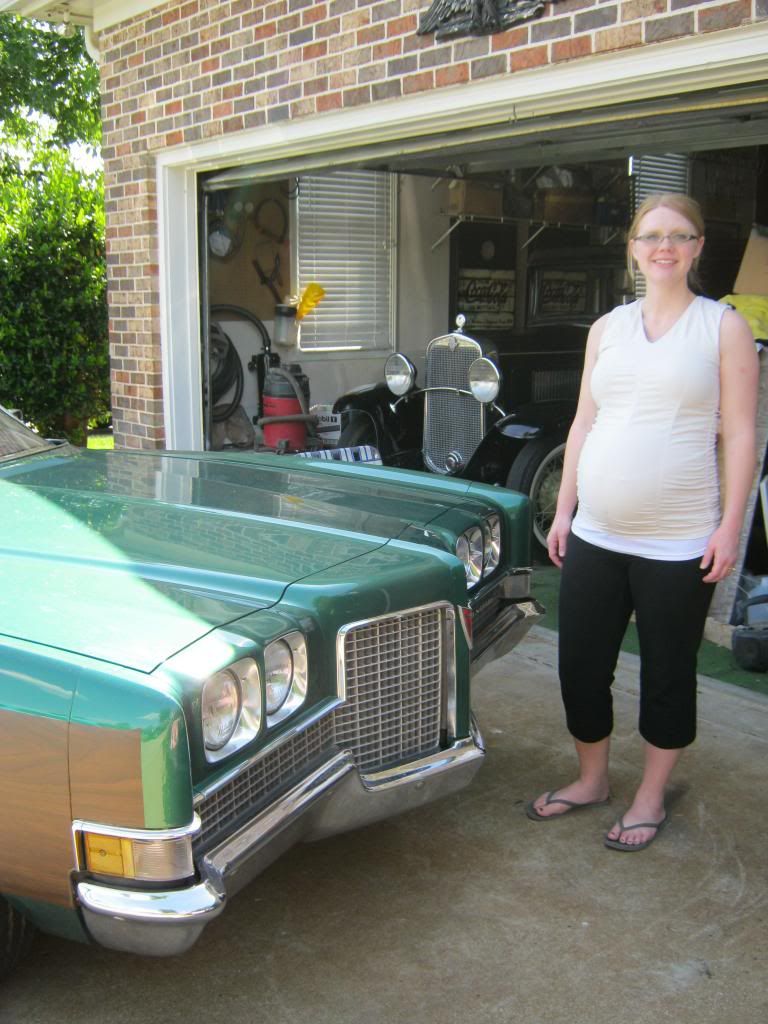
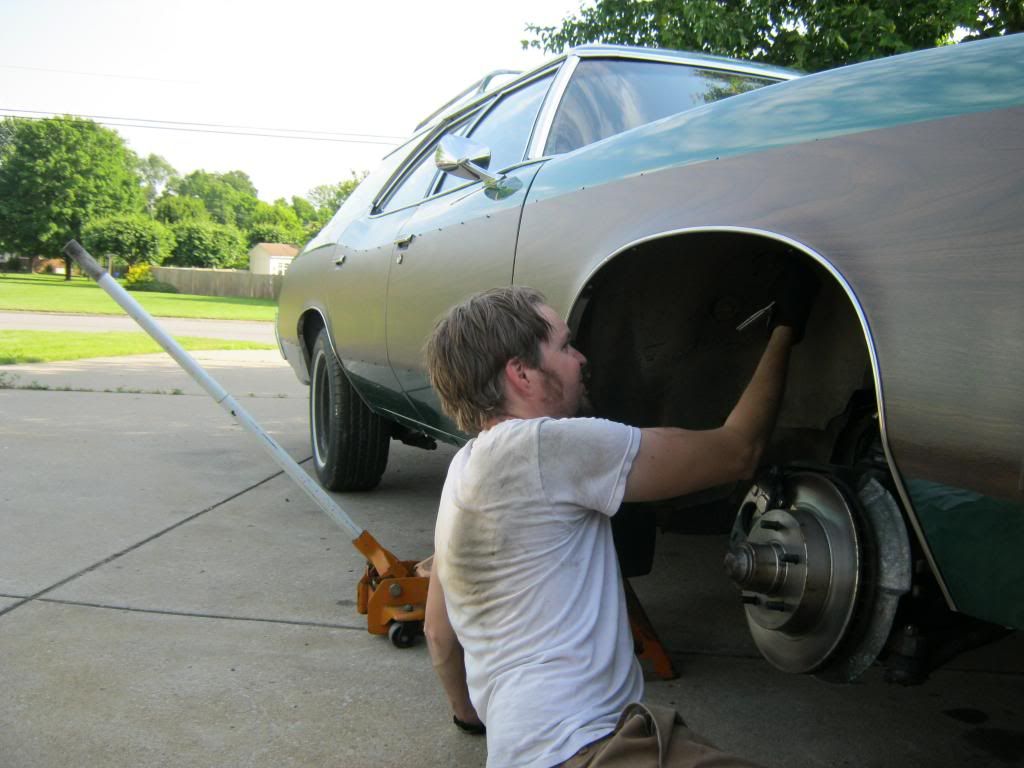
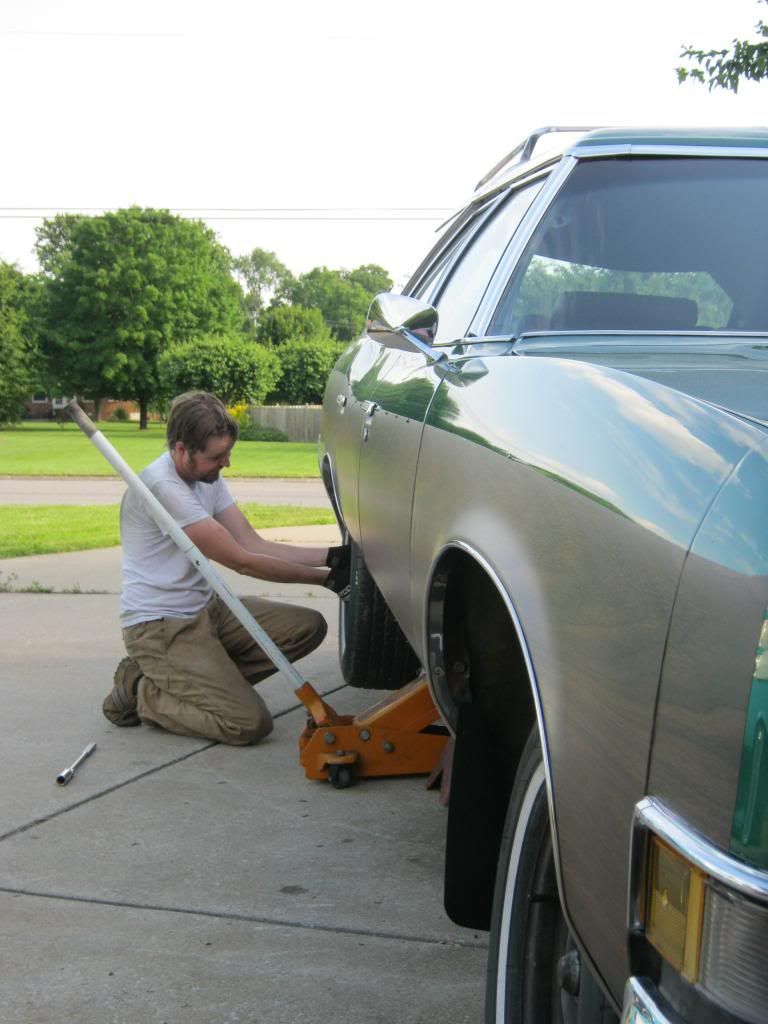
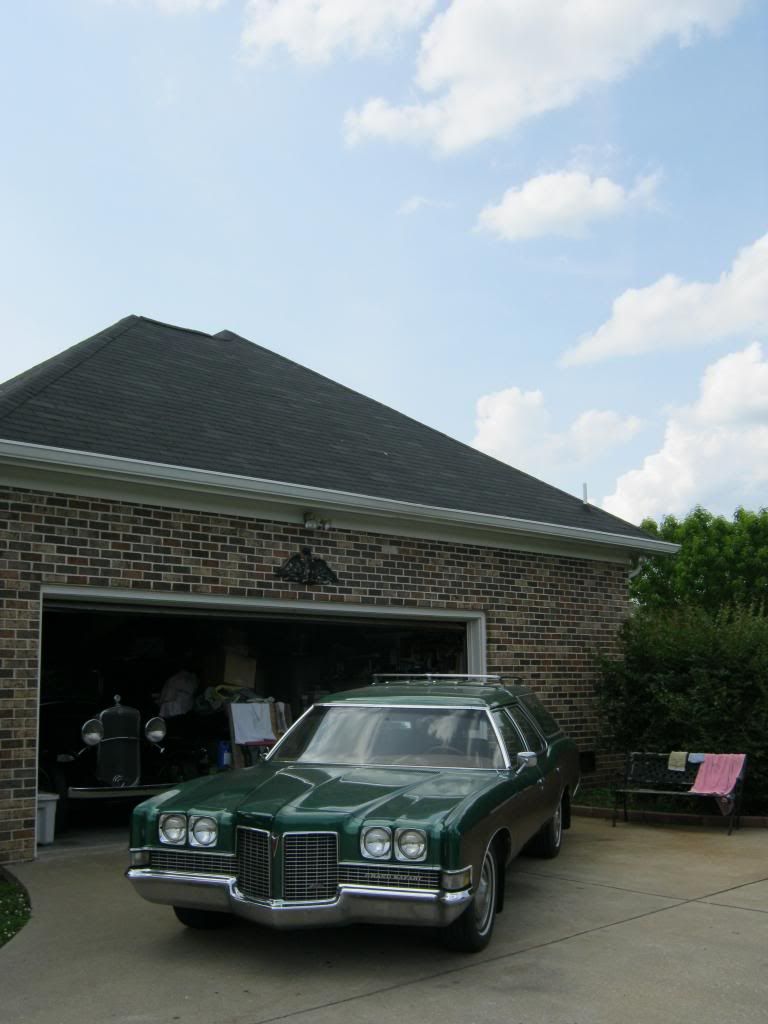
When I got back I installed the passenger side wheel over moldings and while I was at it I began installing the mud flaps I ordered. Though aesthetically speaking I would prefer to not have the mud flaps I decided to install them because of the protection they give the fenders. The bottom of these cars tuck in so far that the wheels throw any and everything onto the bottom of the doors and quarter panels. It doesn't take very long at all for these cars to be covered with rock chips. I found some original-appearing Pontiac mud flaps online and ordered they. They were a universal fit, so holes had to be drilled. Installing all four actually took quite a long time. It was necessary to remove each tire, install the first screw, replace the tire so the car could be set on the ground, adjust the mudflap to make it sit level, mark it, remove the tire again and drill the holes, and then reinstall the tire and hubcap. April sat outside and helped me make sure the flaps were level. At the absolute insistence of April, I have included a few pictures she took of me working on the car.
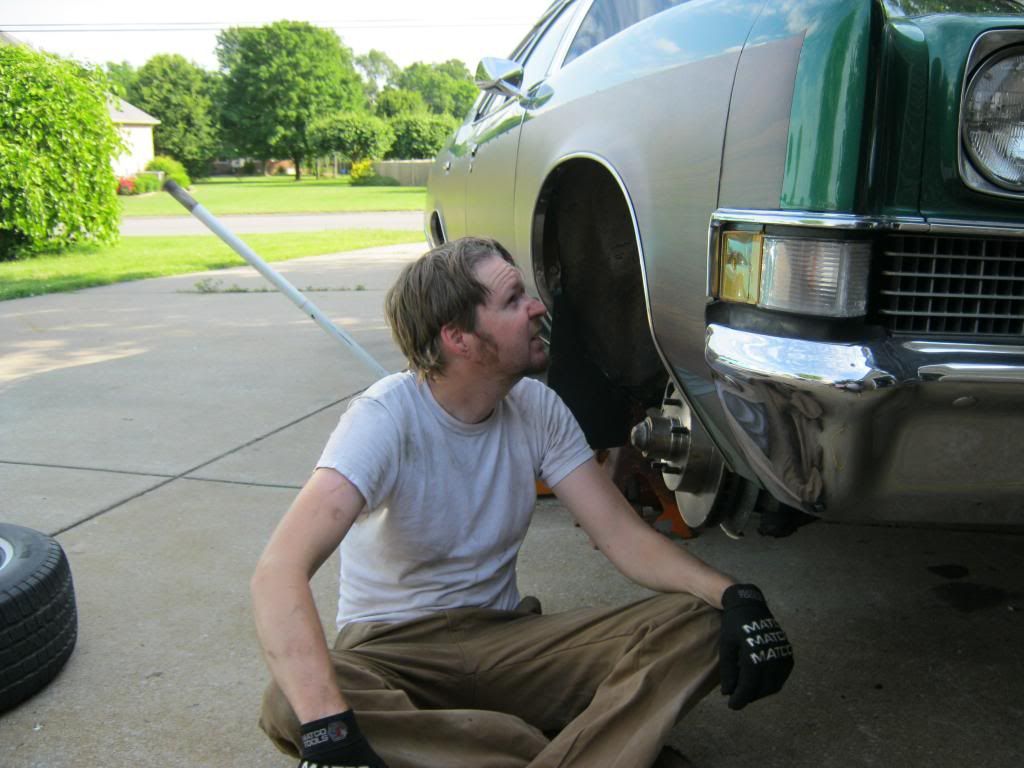
After having tackled the cumbersome bumper, this picture seemed to pretty much sum up how I felt about beginning the mudflap process.
Dad and Nick both happened to stop by at the same time the day before. The three of us worked on the final alignment of the hood and fenders. Once all of the bolts were tight, I removed them one at a time and removed the protective tape I had under the bolt heads. Because the hood and fenders were in their final position I was able to tighten all of the bolts that hold the inner fender to the fenders.
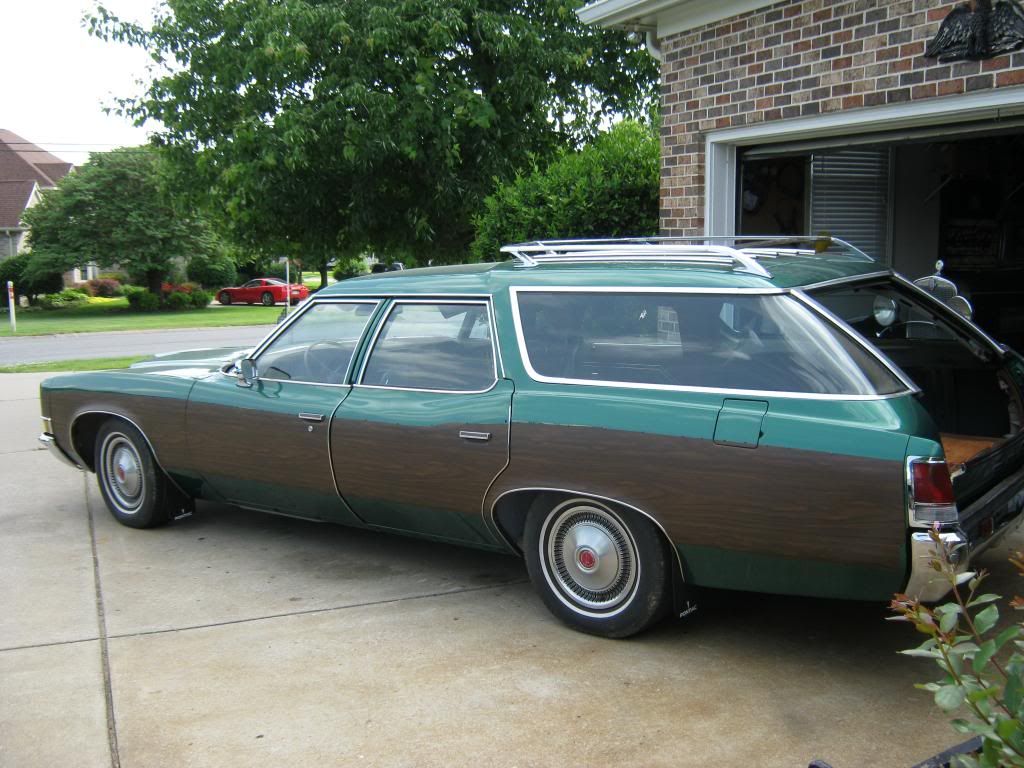
Mudflaps and various other trim pieces installed.
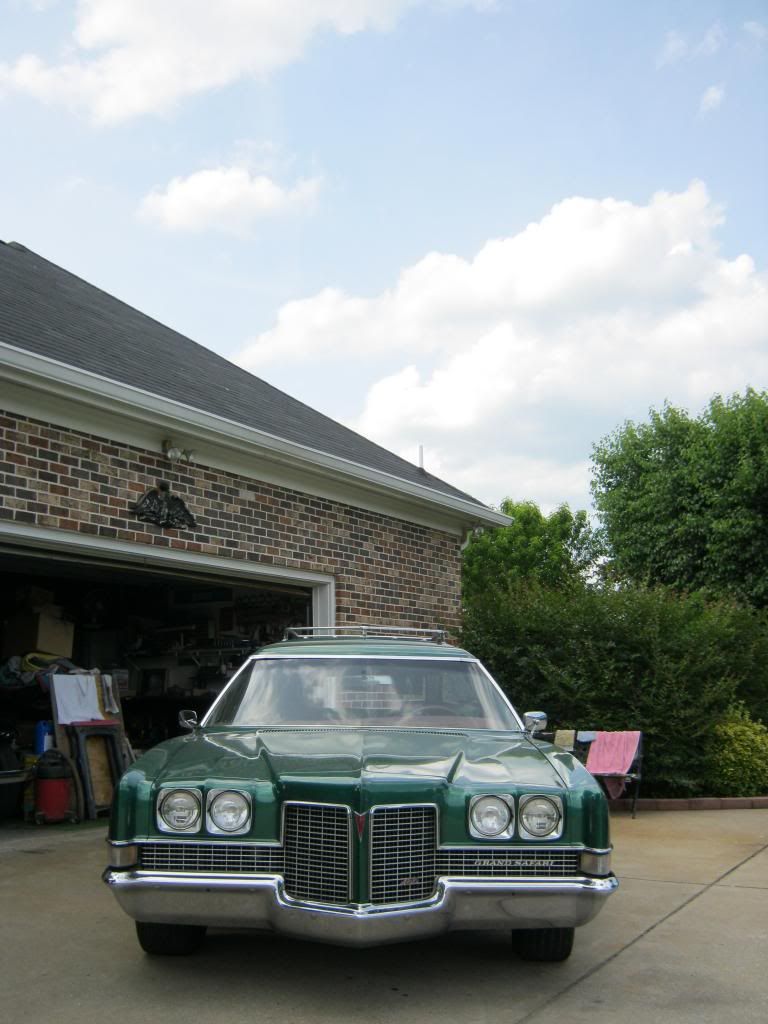
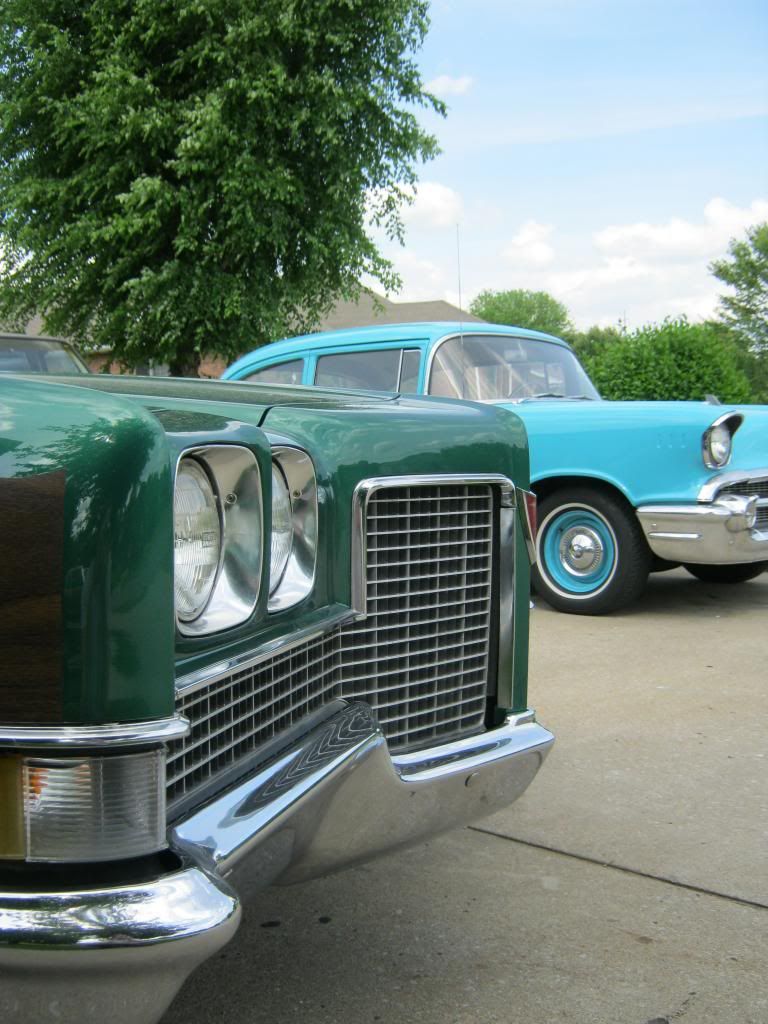
I've had to look at this thing with no front end for so long that I could sit and look at that grill and centerpiece with the Pontiac emblem finally in place all day long. Four new halogen headlights will light the way and all of the taillights, turn signals and brake nights now work.
I installed all of the door panels except for the driver's side. I'm going to have the arm wrest reupholstered, so I'll wait to install it until that is finished. April and I drove The Clam about 3 miles down the road to the guy who is going to install the headliner so he could see the car and give us an estimate. It was her first real maiden voyage. The engine has developed a ticking in the rear which I believe sounds like a loose torque converter or flywheel bolt. It sounds exactly like the noise I had in The Blazer when the same thing happened. I have yet to install the starter brace, so it is possible the starter teeth are beginning to make contact with the flywheel. Although less likely, it could also be an exhaust leak. At this point, I'm fairly certain that there is nothing internally wrong with the engine.
I have been pleased with the way the bodywork turned out, however after the woodgrain was applied it seemed as though the matte finished revealed a large, non-creased dent in the rear of the driver side quarter panel. I have been very confused because I didn't remember that dent being there and I thought for sure I would have fixed it. I specifically remember doing the bodywork in this area and I would surely have noticed a dent that large. It was the only spot on the car I was really not happy with. Dad came over today and I was explaining the dent to him and I suddenly remembered that before I did the body work in this area I had pushed the original dent out. I took the taillight out and sure enough the dent popped right out and is perfectly straight now. It turns out that when the guy put the woodgain on he had evidently pushed the dent back into the fender. I was very glad to see it gone. I hope to get a protective coat of wax applied soon.