The guys came today to install the windows. They both turned out to be really nice guys. They soon found out that the brand new clips I ordered were useless because even though I ordered the correct clips they are cheaply made and not shaped exactly right which made them have a loose fit which in turn would not allow the moldings to snap into place.
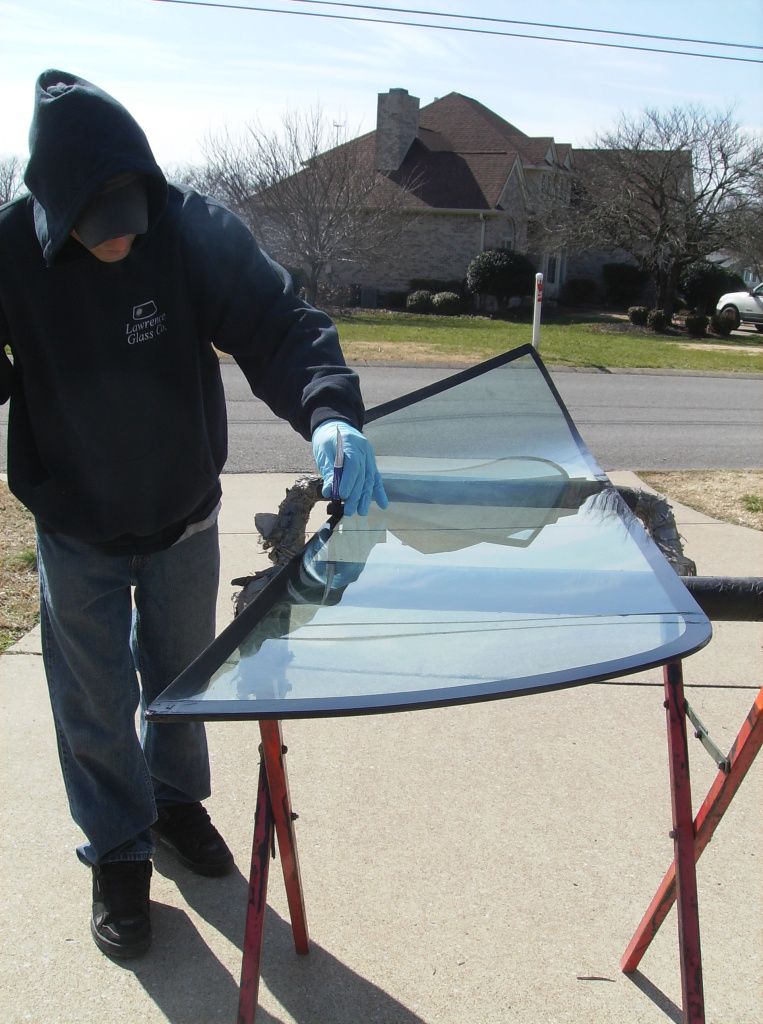
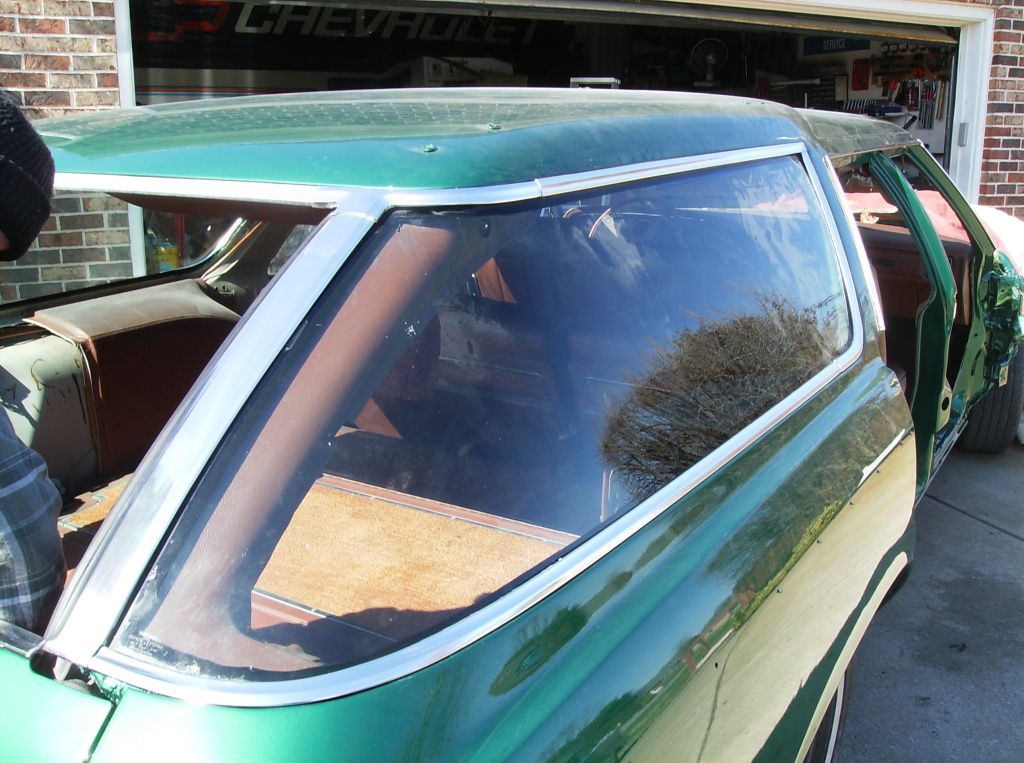
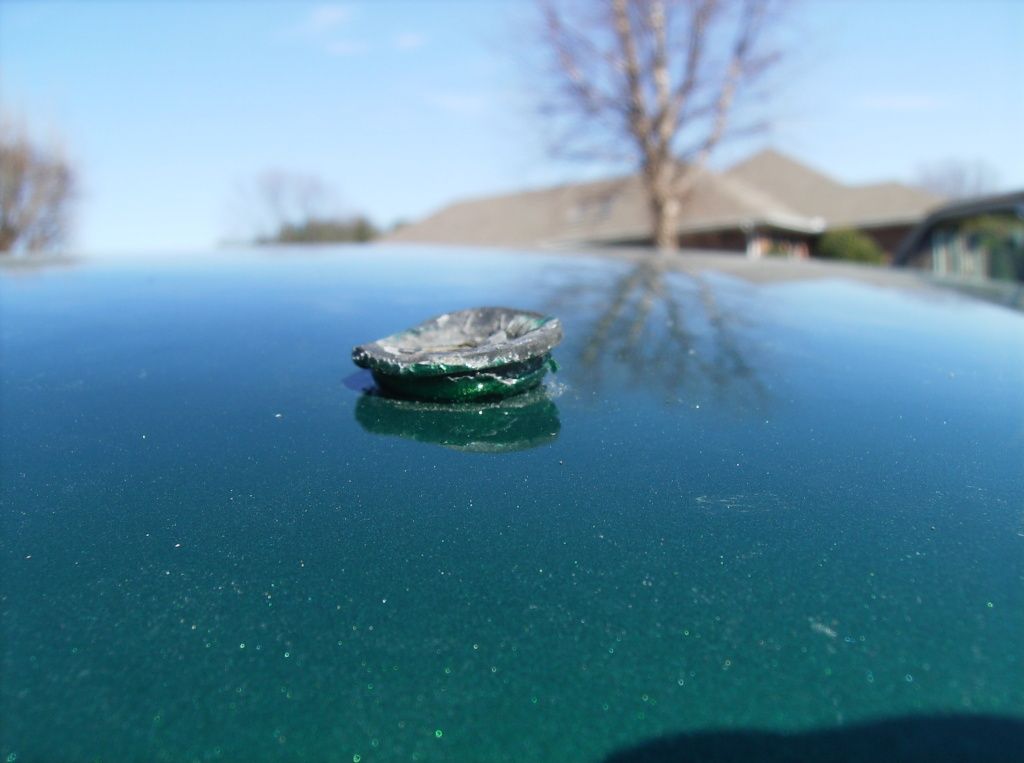
He applied a black coating over the windows' edge that protects the window glue by blocking the sun's UV rays. He explained to me that they legally are no longer allowed to use the same type of glue that was used originally on these cars. The new type of glue is much, much stronger.
Because the new clips were junk they had to use what was left of the old ones I had saved. Fortunately there were enough of the old ones to put in all the crucial places and have one for every other stud in the rest of the places. I hate the cheap Chinese made products that companies sell these days. Fortunately the glass guys said that the old clips fit good enough that they would hold the molding just as well.
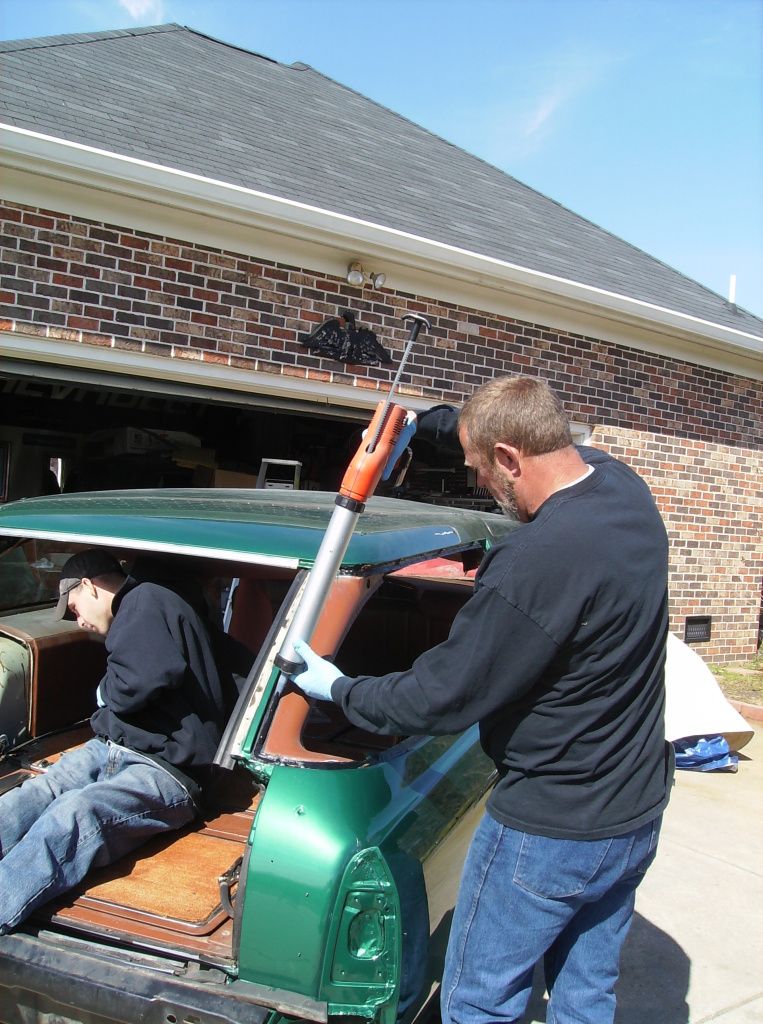
They had a big, battery powered gun that applied the black glue
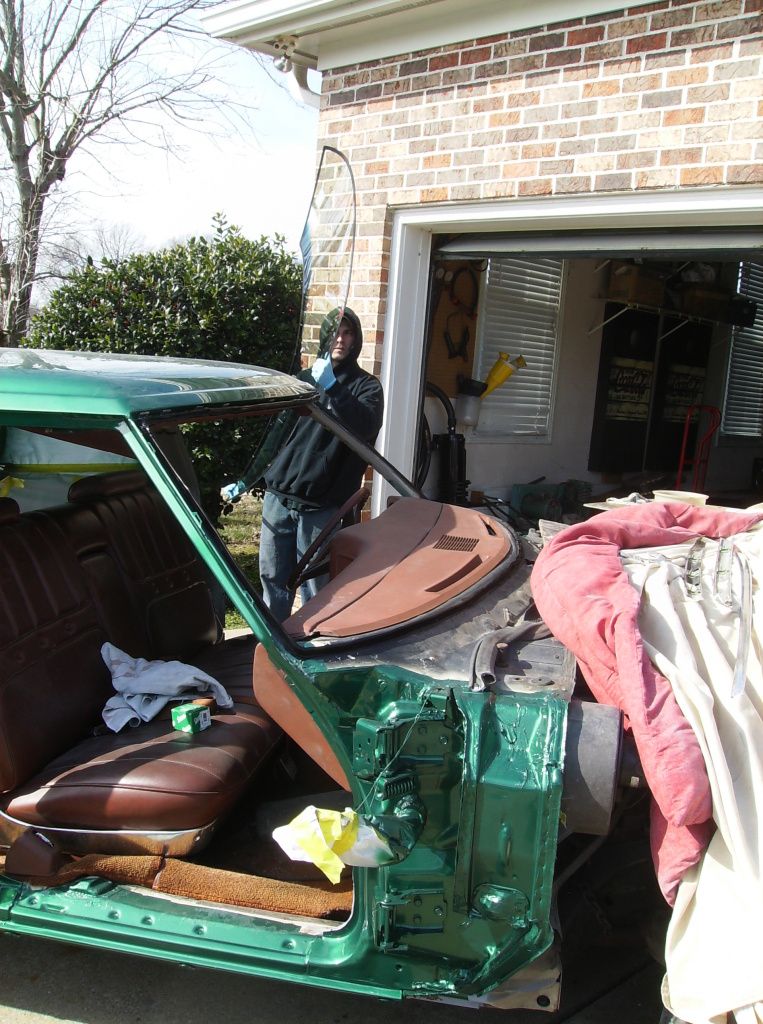
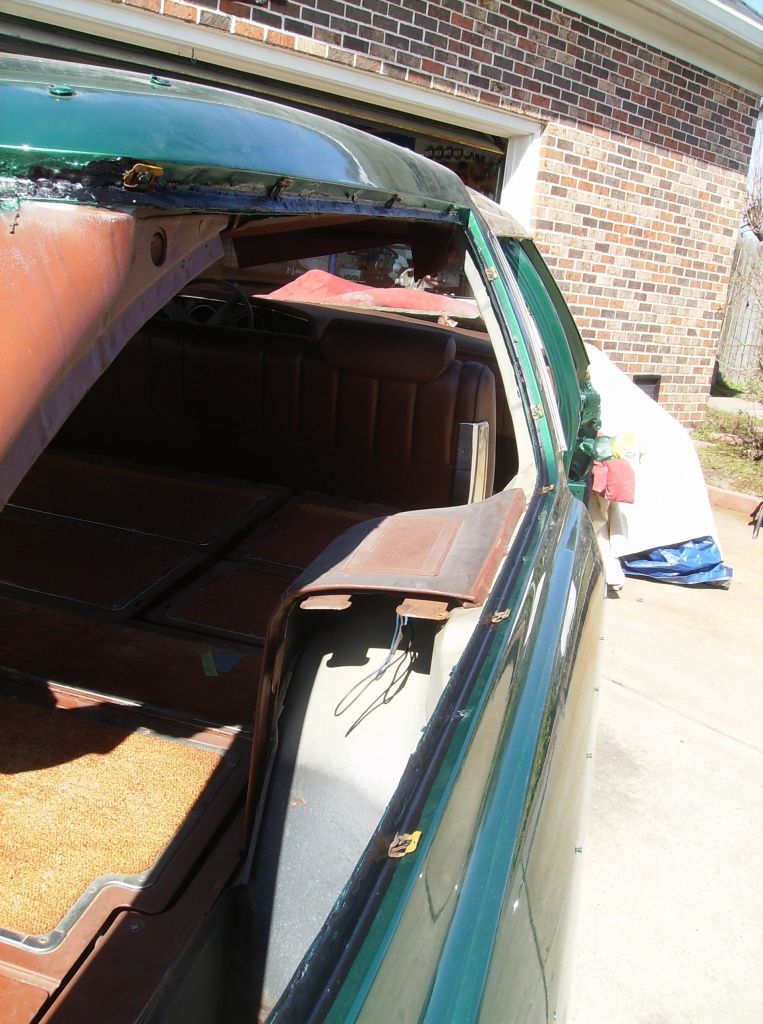
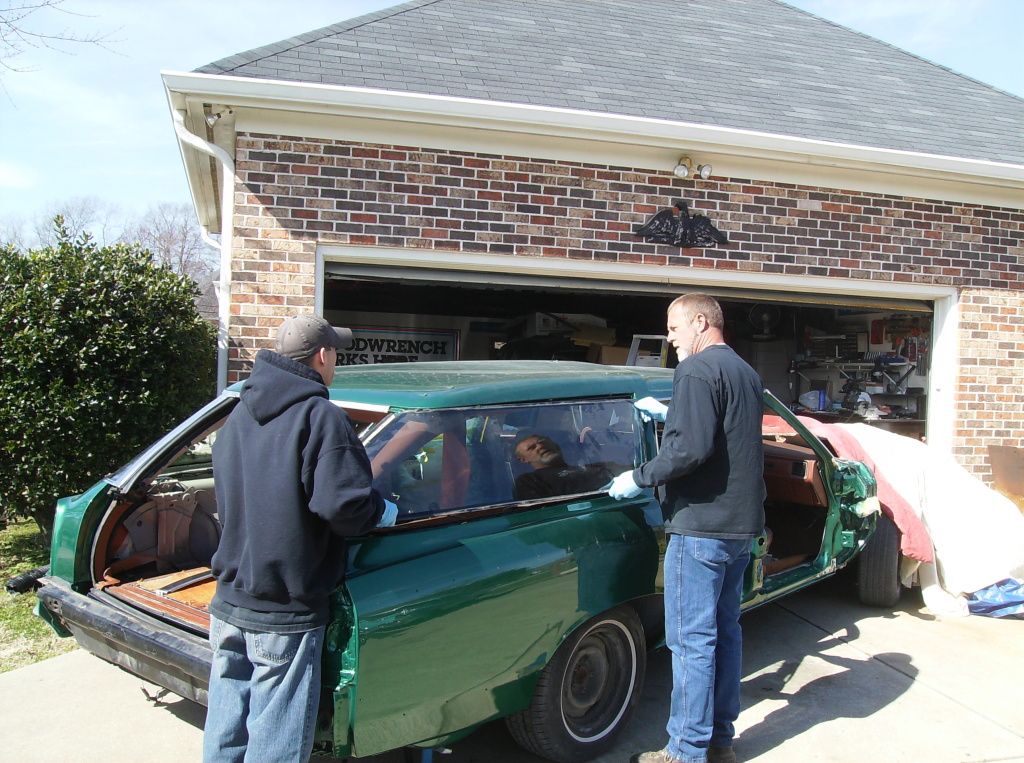
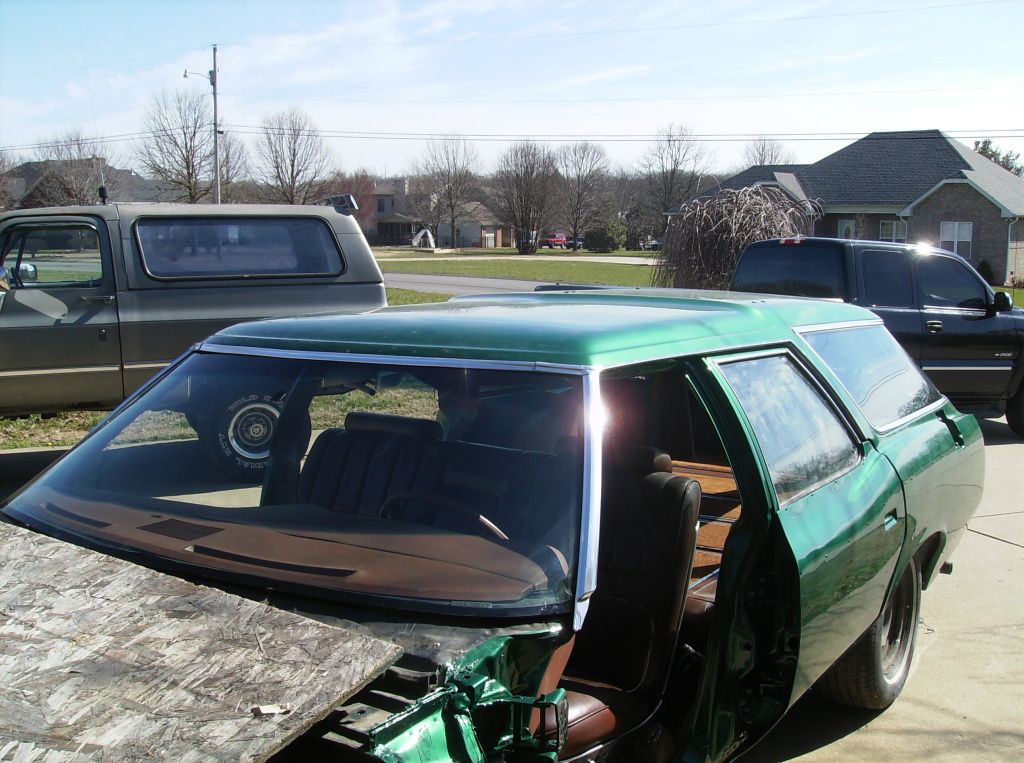
Then they placed the windows and pressed them in place
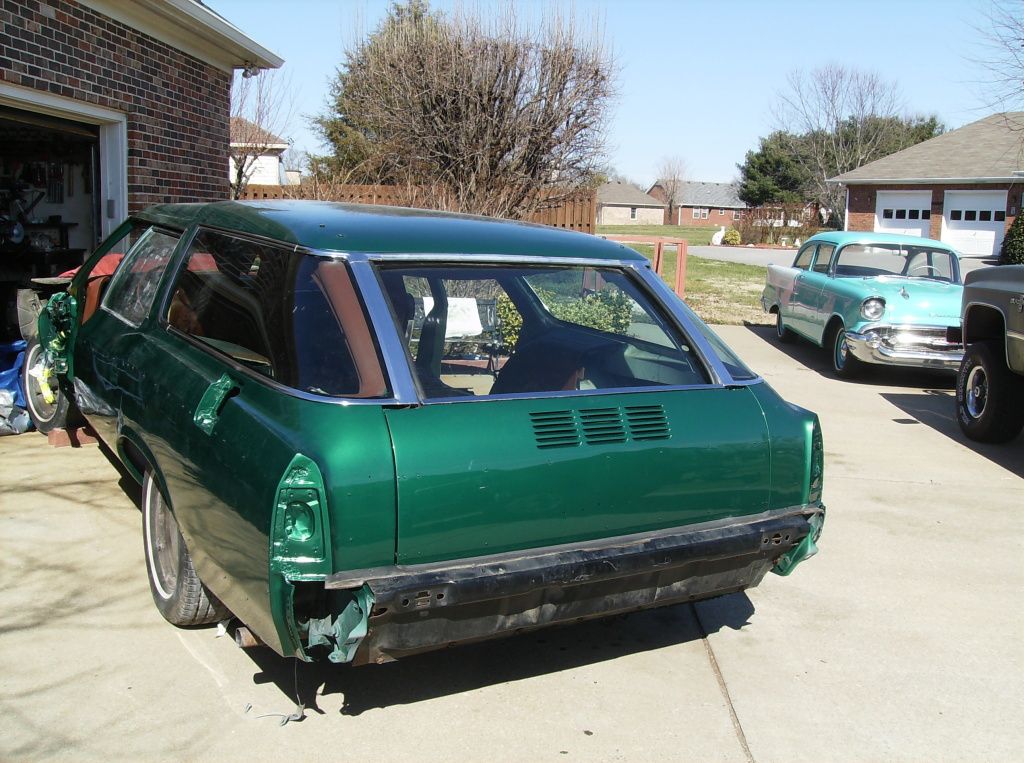
It's starting to look more and more like a car again
Because it was President's day April had the day off. After the window guys left it was lunch time. While April made lunch I starting removing the tape from the rubber luggage rack mounts. The tape had been covered with primer and paint which had made it harden like a rock, which in turn made it very difficult and time consuming to completely remove.
There was a storm moving in, with 100% chance of rain, so April and I covered the car up. The wind was blowing so hard and from so many different directions it was almost impossible for the two of us to get the car cover and tarp over the car and get it tied down. It took a while, but we eventually got it.
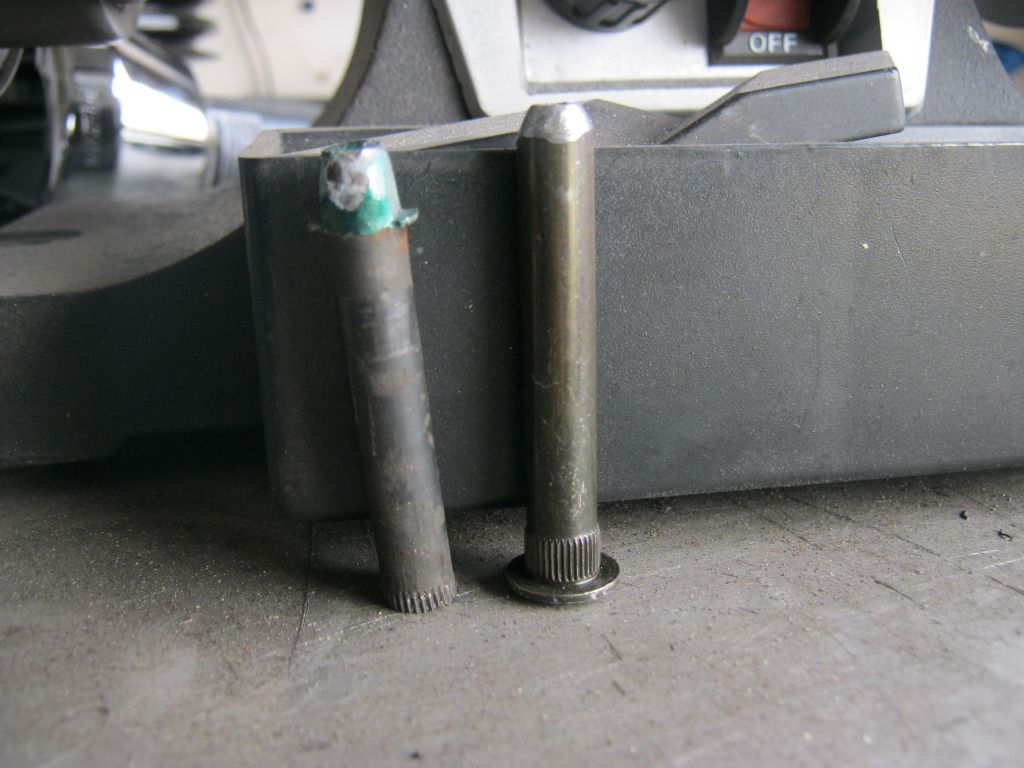
After lunch I went to the parts house and picked up some door pins. I wasn't able to grind the head off of the pin so I cut the middle section out so I could use a punch to hammer each side out

Although the computer at the parts house said that all the pins were the same I was not surprised to find that they were not. The bottom pin for the rear door is supposed to be smaller than the others so I had to mark the new pin, cut it and then bevel the end
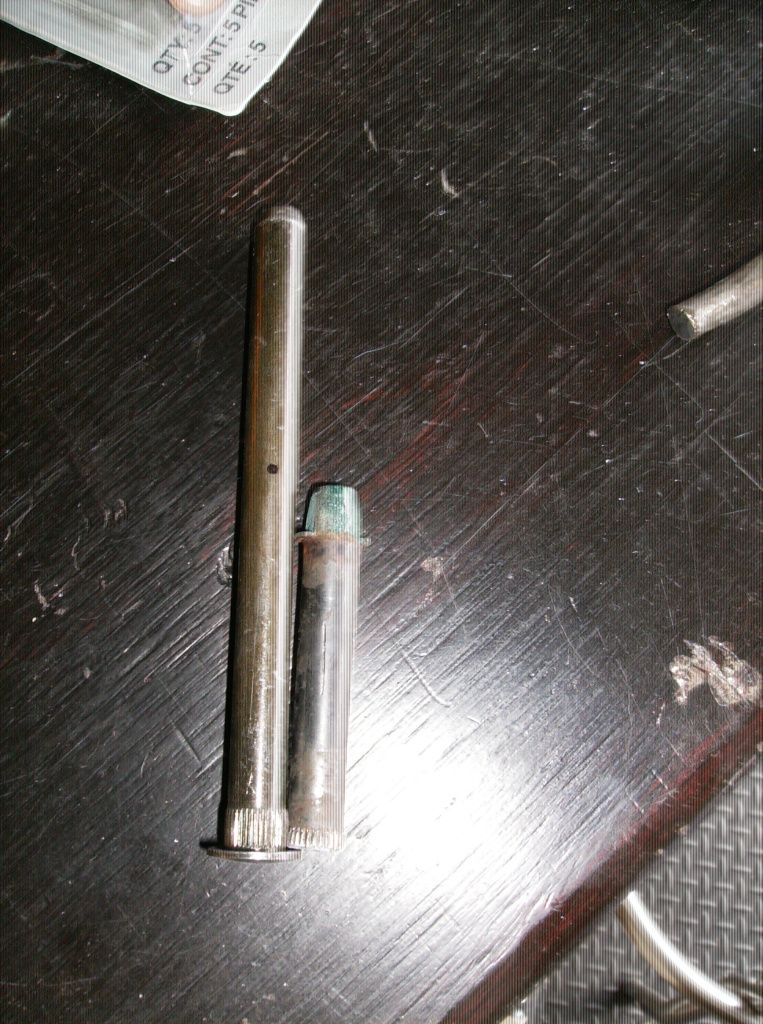
I had to chisel the head off of the bottom pin to remove it. If you take into account the height of the head, these old and new are now the same size
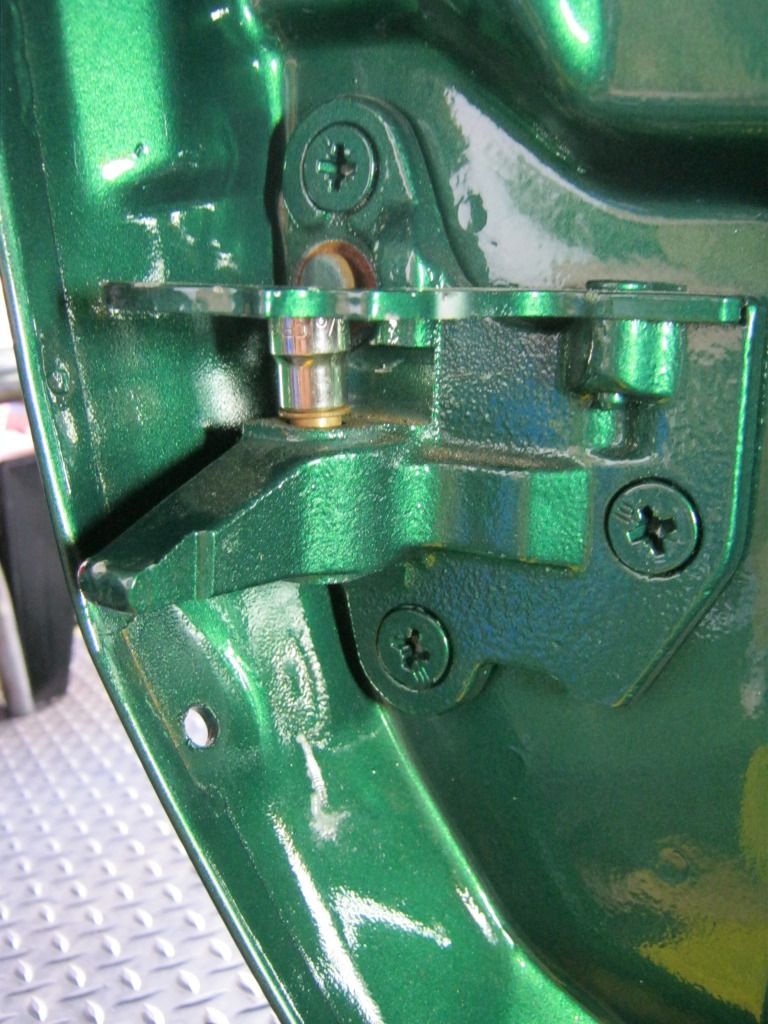
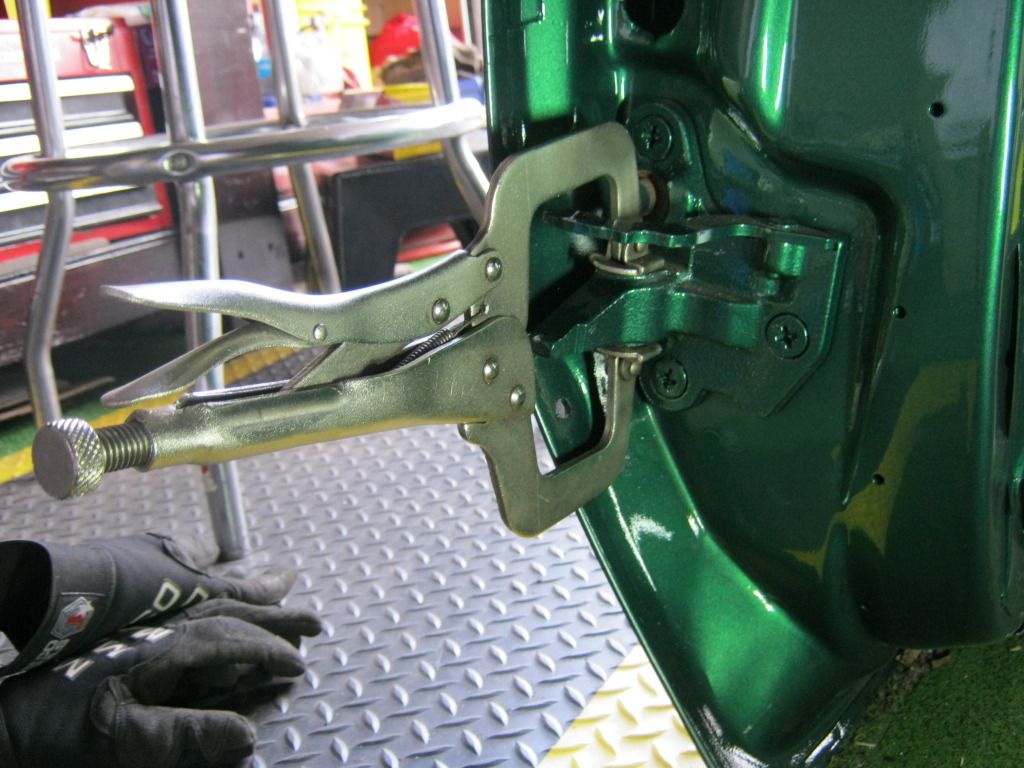
Removing the bottom pin was quite a challenge. Putting the bushings back in wasn't very difficult though. I used a socket to lightly hammer the top one into place and because I couldn't get access with a hammer for the bottom I used a pair of vise-clamps to squeeze the bottom one into place
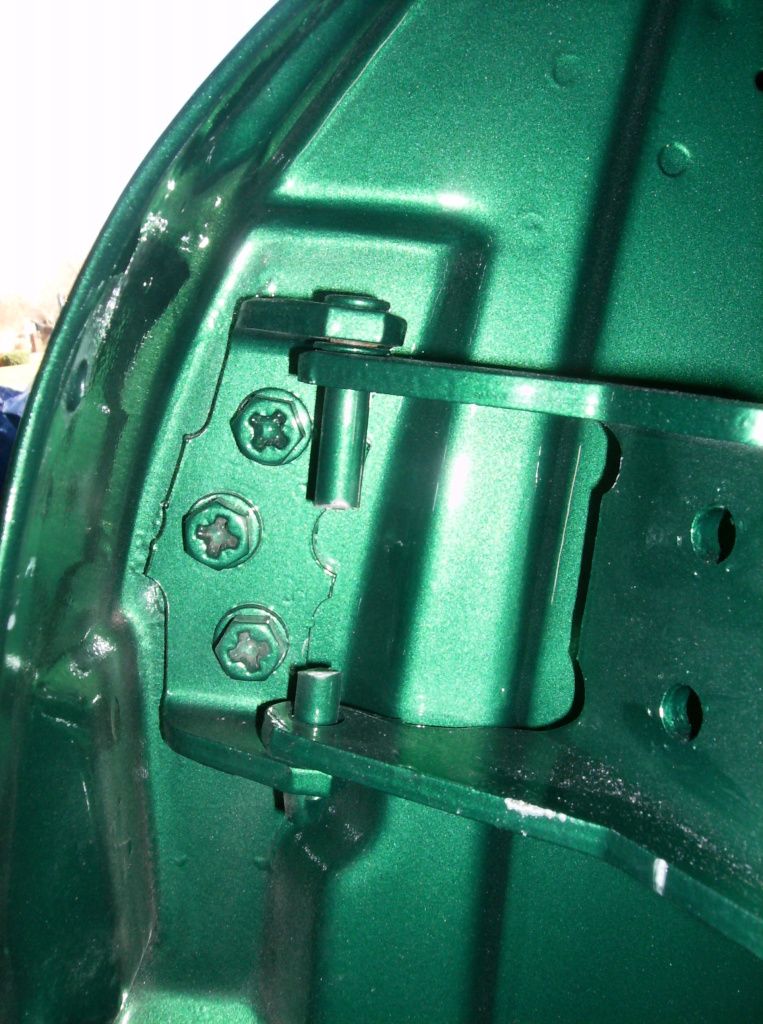
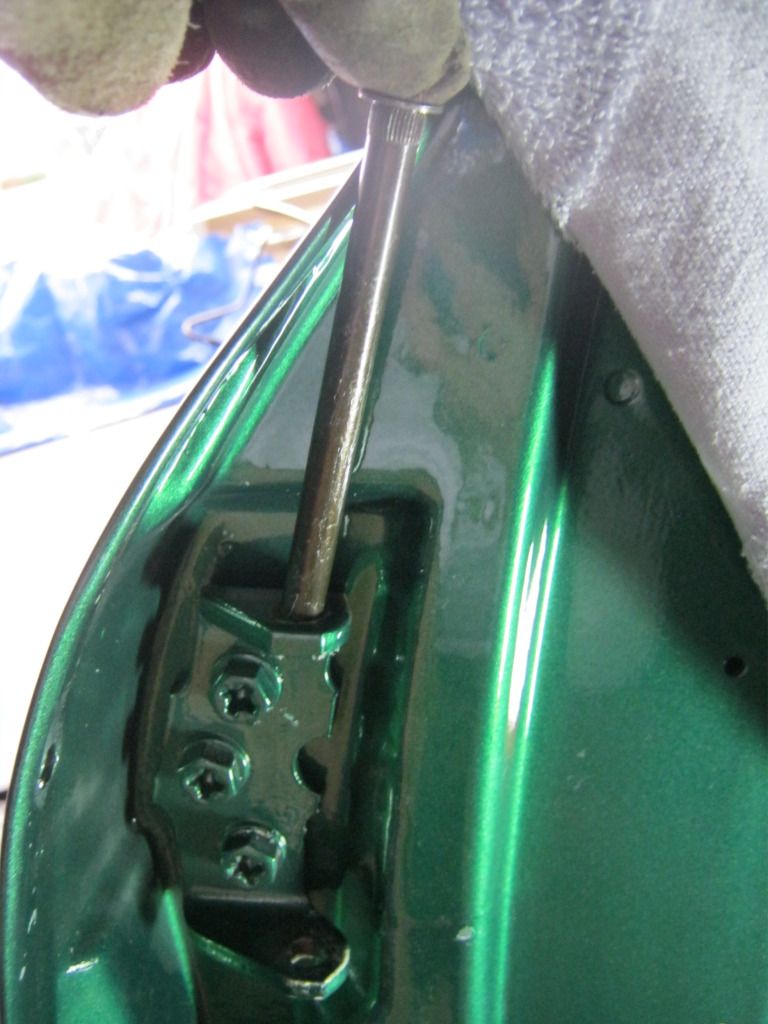
When it came time to replace the top pin I ran into another problem. Because of the curvature of the door I wasn't able to hammer the top pin into place. I had to remove this part of the hinge from the door, install the bushings and pins, and then reattach it all as a whole. It took a bit of time to get it lined back up exactly as it was, using the paint outline as a reference. If I didn't get it right I'll have trouble getting the door back where it should go.
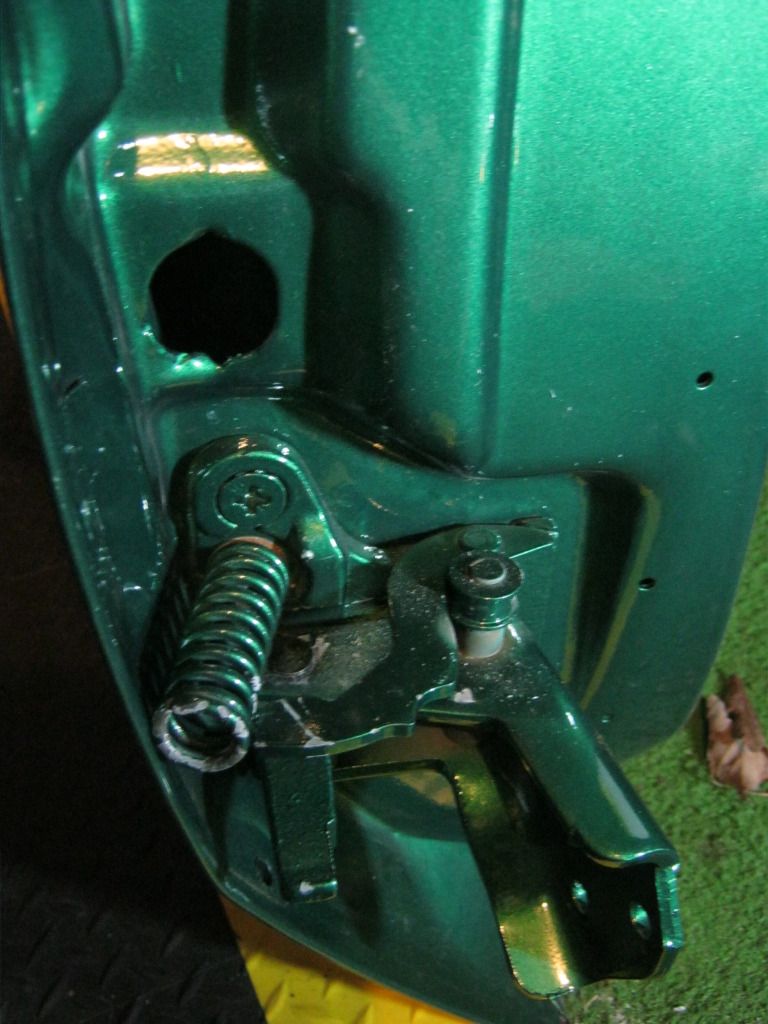
Despite trying every idea I could come up with, with every tool I had on hand, I couldn't find a way to get the spring back in. I even tried compressing it in the vise and holding it with zip ties, but that didn't work either. I'll have to borrow a tool used to compress them I suppose.