It has been pretty cold and wet the last few days so it has held up progress. Today I was finally able to get The Clam over to my house. I wouldn't say getting it into the driveway by myself was an easy job, but as it turned out it wasn't overly difficult either. First I dumped the car in the street.
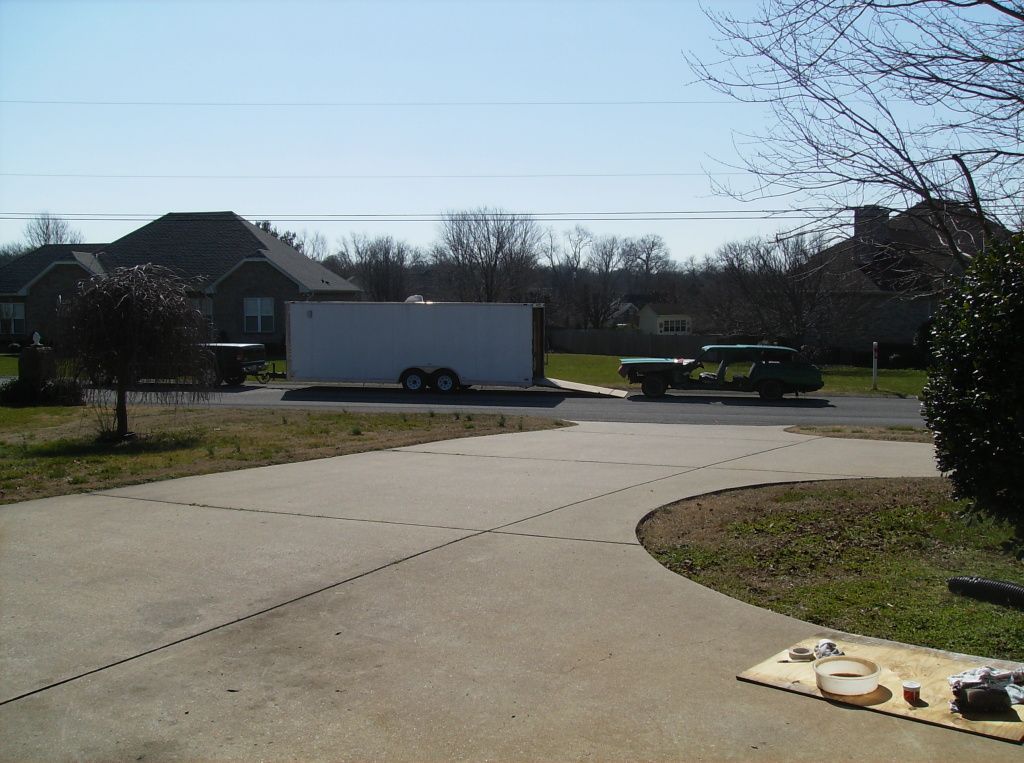
Then I pulled The Blazer back as far as I could into the driveway. I ran the cable out and winched The Clam up the hill little by little, making sure to go down and steer when necessary. As those familiar with using a winch will know, the rug is for safety. If the cable were to break it can sever arms and legs, or heads, which I can't imagine would feel very nice at all, so the rug stops the recoil.
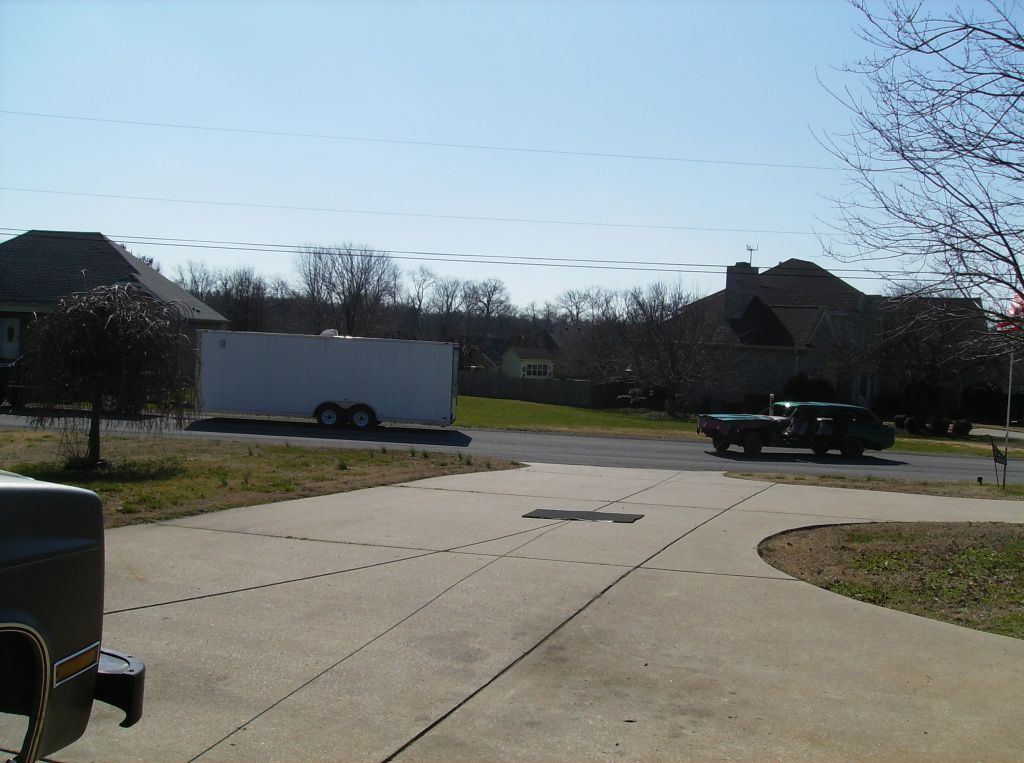
I pulled it up as far as I could. A little later on my neighbor Rick and his friend happened to be in Rick's driveway so I asked if they would mind helping me push the car the remaining few feet. Even though the hill doesn't look that steep in the pictures it was enough to prevent me from being able to push the car by myself. Also, the fact that the tires are low contributes to the fact the car is difficult to push.
If you own a clamshell wagon, this next part is very exciting. The rear window and tailgate seals have long plagued owners of these wagons. They are not reproduced, there is not a big enough demand to get a company to run a production of new ones, and once they deteriorate, which almost all have at this point, they leak water into the rear causing rust issues as well as ruining the electric motors and mechanisms that operate the tailgate and window. A member from Sweden that is part of the station wagon internet forum I am a part of discovered that the cowl/hood weatherstripping from a late 80's Chevrolet full size, G20 van can be modified and used as a substitute. After a little research I found that the van's weatherstripping is interchangeable with the trucks and blazeers that share the same bodystyle as my Blazer.
Yesterday, because it was raining and I couldn't get any real work done on the wagon I went to the Pull-A-Part yard and got three of these moldings. I found that the van weatherstripping actually requires a ratchet but the trucks of the same year are held on by plastic tabs. Because I had looked at The Blazer's weatherstrip before I left and had seen the plastic tabs I didn't take any sockets with me. Because of this, I didn't get any parts from the vans but that worked out just as well because after a close comparison I feel the truck weatherstripping is actually shaped better and it is much, much easier to remove. It essentially just pulls right off once you get one end started. These moldings are reproduced and I could have bought new ones however when these moldings are new they are rather large and round in shape. Once they have been on a truck several years, smashed by the hood being closed, they take on a shape that not only fits the car better but actually is aesthetically much better shaped for the portion that can be seen from the outside of the window.
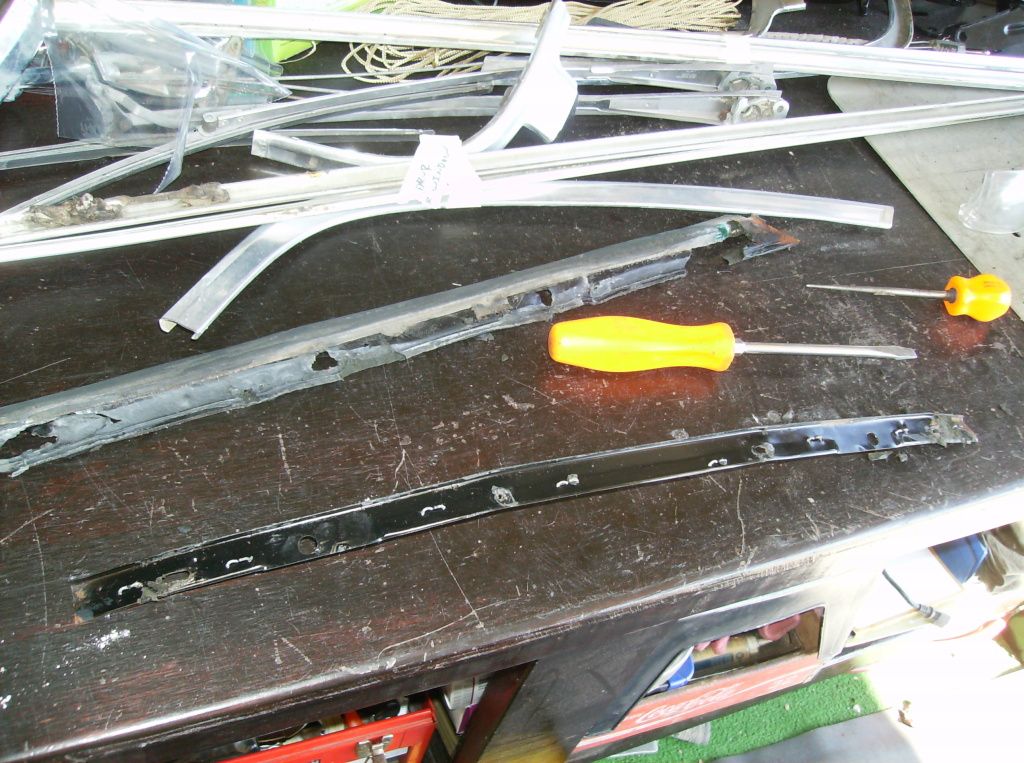
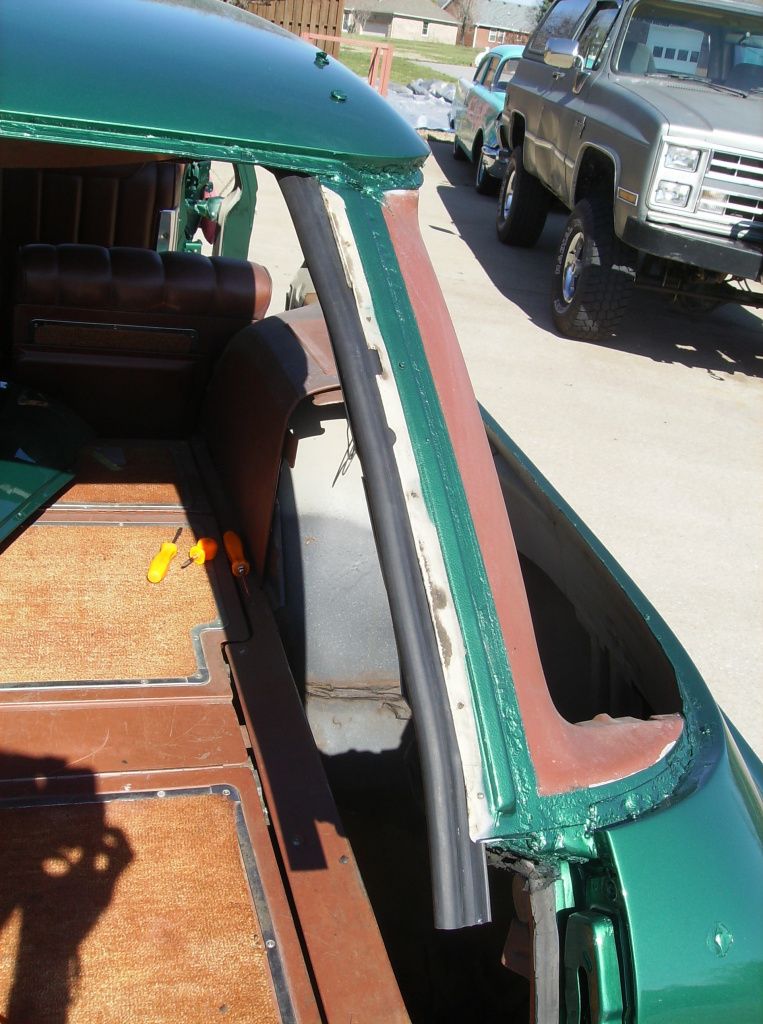
The old rubber is held to the car by a metal plate that mounts to the inside of the rear pillars with screws that go from the inside of the car out through the rear pillars. I used the original screws because I had been warned that using screws that were too long would leave dents in the chrome trim that will eventually cover the rear pillars.
When you remove the old rubber and clean it off the metal plate this is what you end up with.
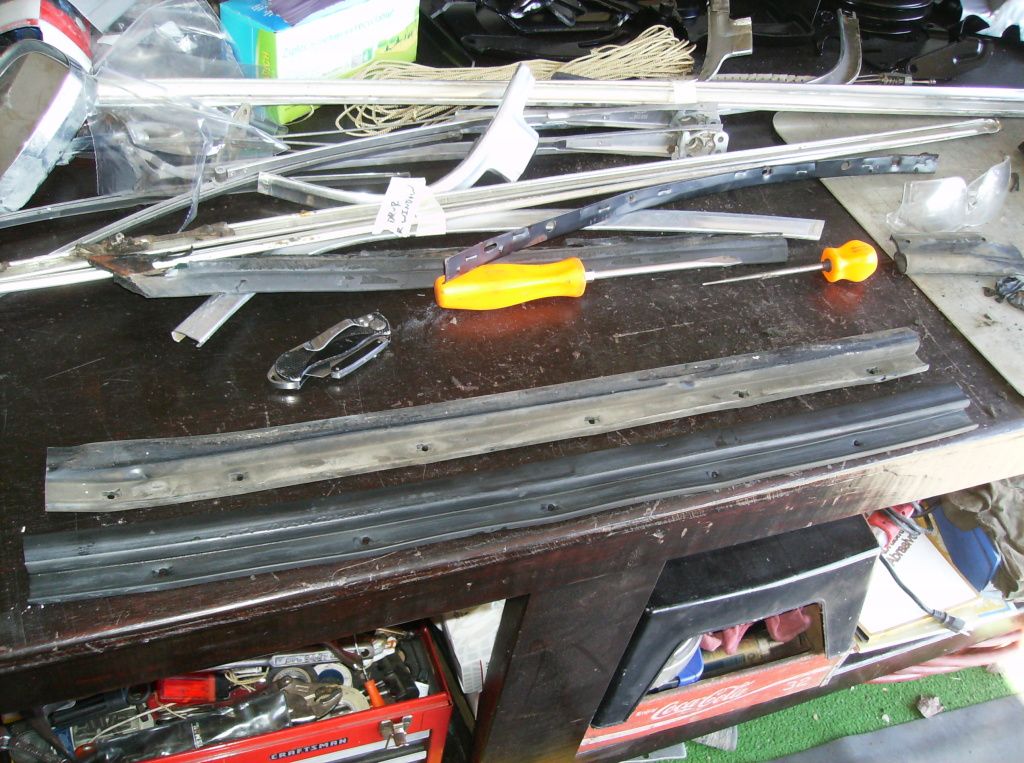
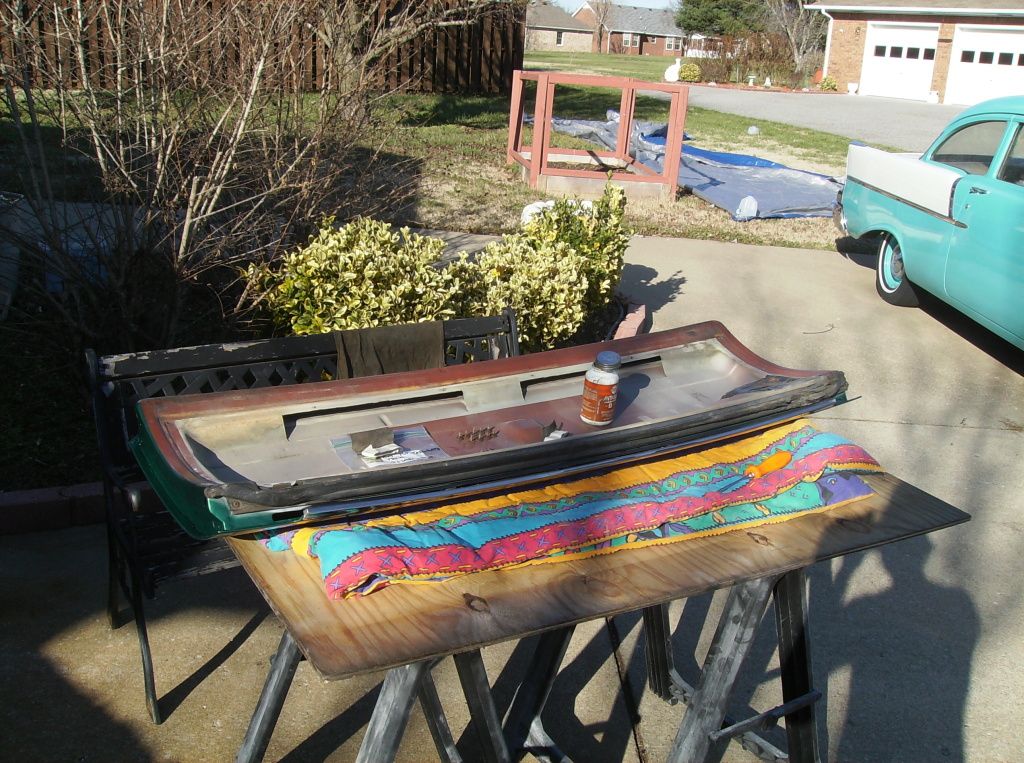
Even though these rubber moldings are pretty old they have remained in good shape because of their original location on the trucks. They are mounted to the bottom of the hood, tucked up under nice and safe and away from any real sun or water damage. After cutting one piece to the right length I used a little soap and water and it looked almost as good as a brand new piece. Here is a picture of a dirty piece next to one I just cleaned.
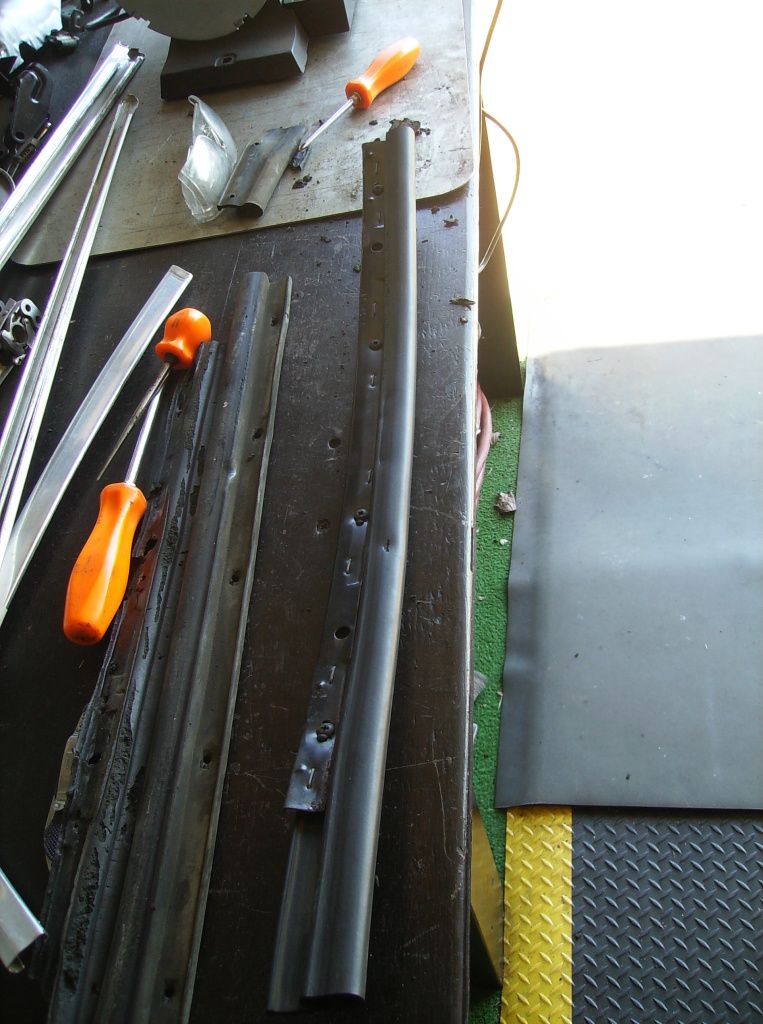
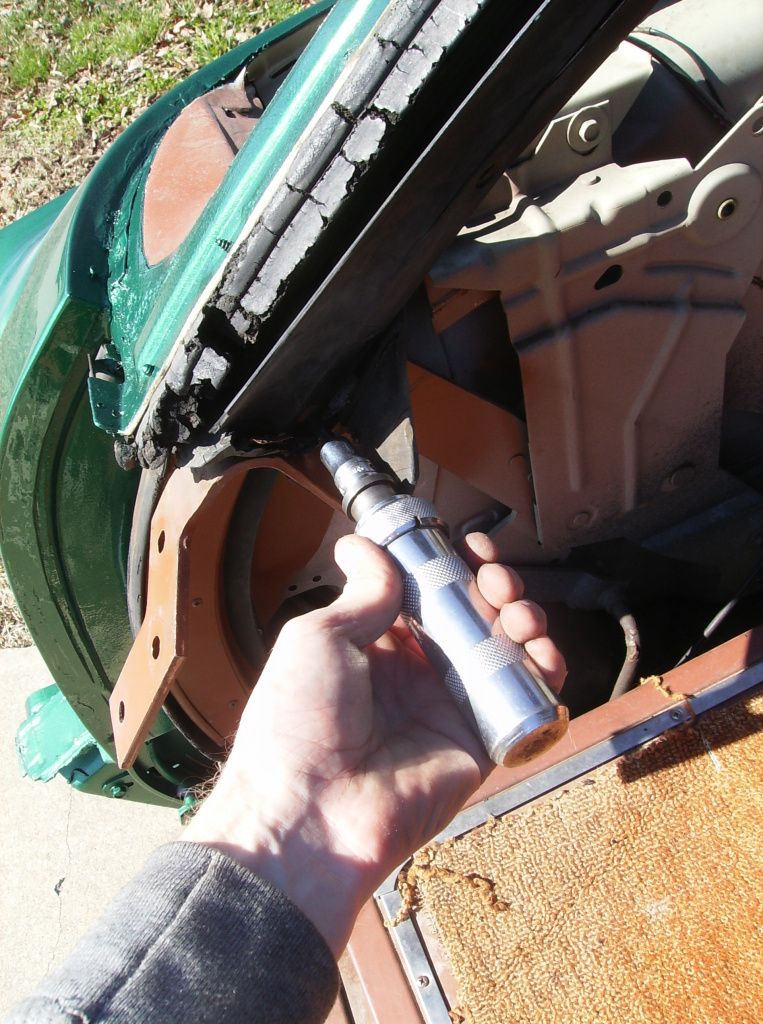
I used a marker to locate where the holes for the screws should be and used the sharp tool in this picture to poke holes in the correct locations. After that I screwed the metal bracket onto the rubber before mounting. It was important to pay attention to the orientation of the metal plate and the rubber on the original piece before removing it so that the new rubber piece will follow the same direction as much as possible. I left extra material on the end of the bottom side so that I can trim it to an exact fit later on when I can determine where the tailgate will meet with this part of the rubber.
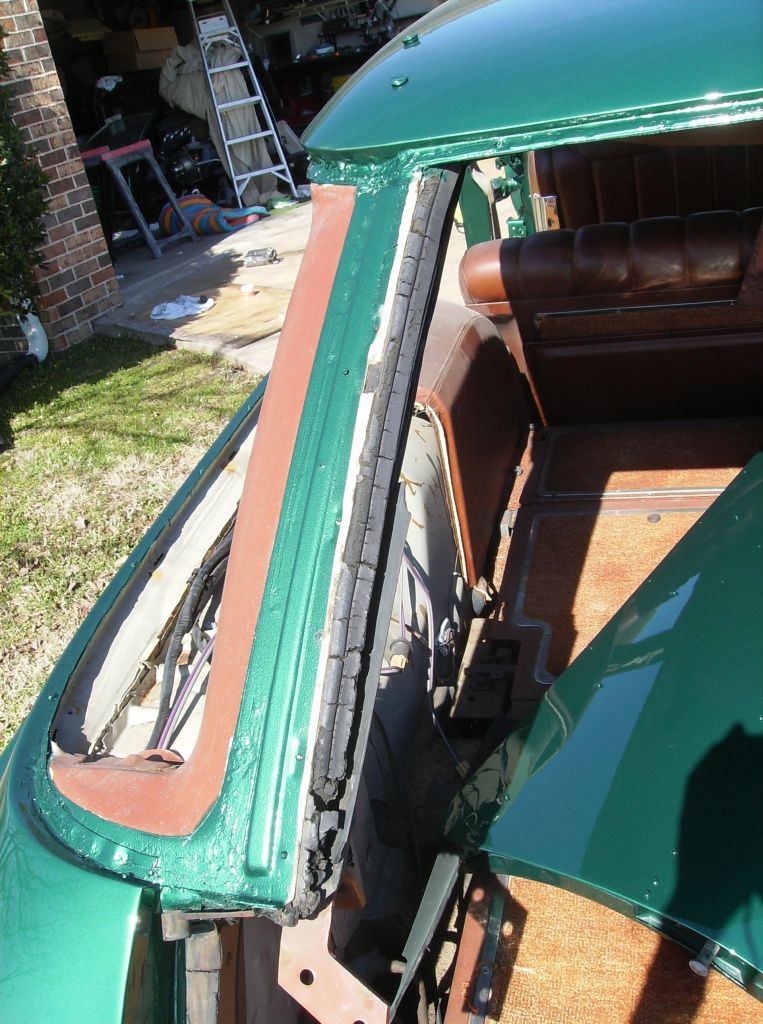
Here is a before and after picture of the driver's side before I replaced it and the passenger side after I replaced it.
The reason the driver side interior rubber trim piece was still attached on the driver's side was because I couldn't remove this screw when I was over at the barn due to the fact that the head of the screw wanted to strip out. The impact made easy work of it back at the house.
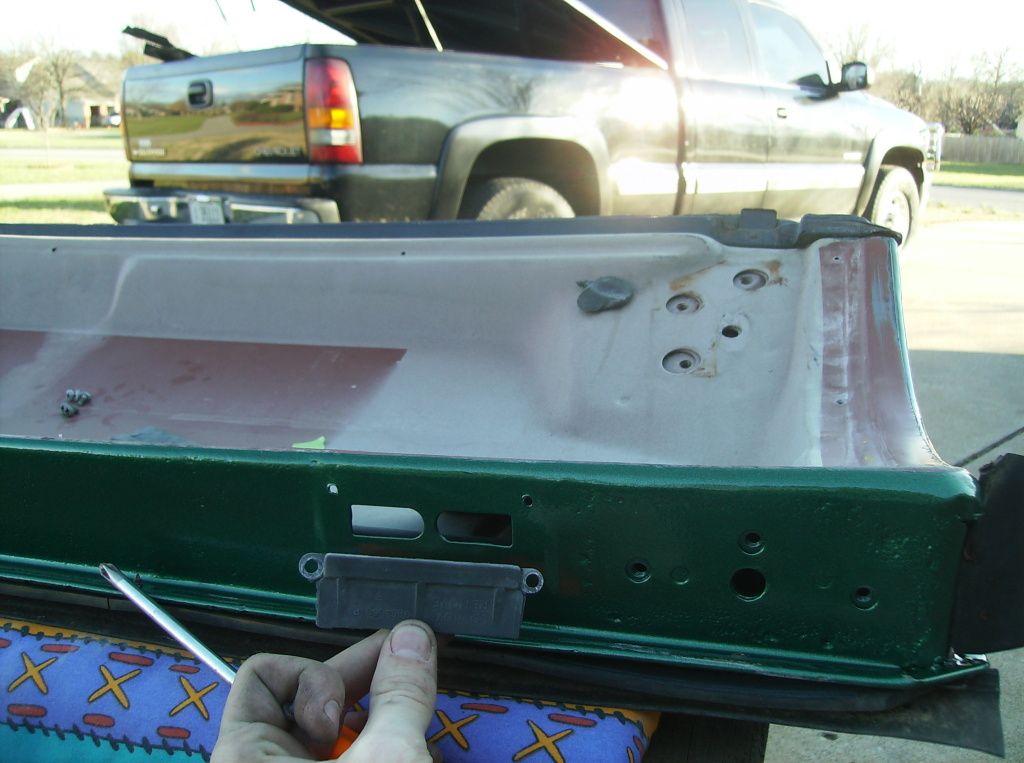
With all that finished I began putting all the pieces back on the tailgate. This was the very first step in the process of reassembly and it felt good to finally be going in that direction rather than taking things apart.
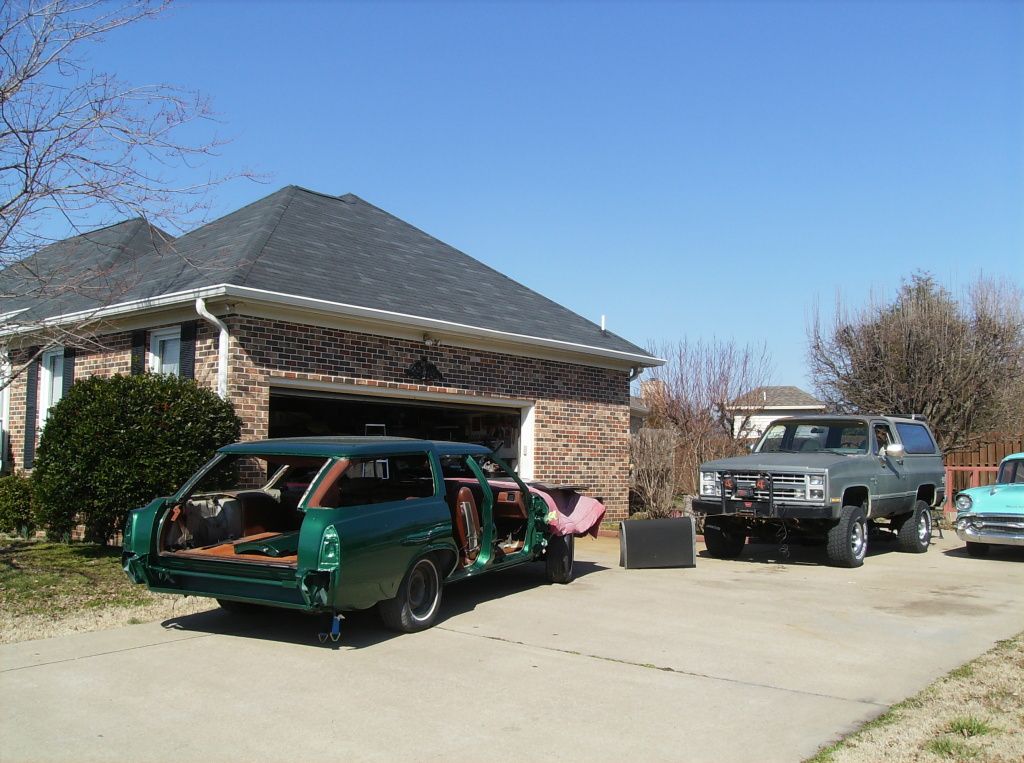
While I was working on the tailgate my neighbor Craig stopped by to check out the new paint job. He restores old motorcycles and is currently restoring a 60's Toyota Land Cruiser, one of only two Japanese vehicles ever worth not spitting on in my opinion. While he was there he helped me move the hood into the garage and sit it safely on some foam.
Fortunately, past me had left detailed instructions on where each part went and which screws to use. I'm glad that he was aware how little I'm able to remember when it comes time to put these things back together.
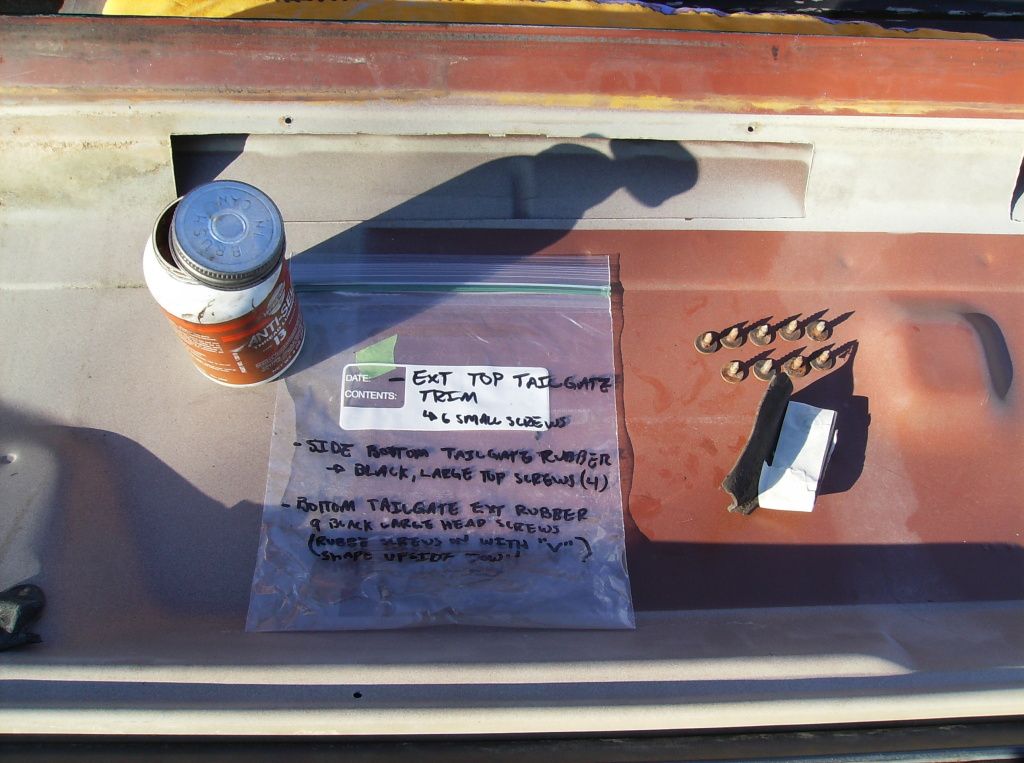
I actually have no memory what so ever of these pieces being on the tailgate. The bag I had them in let me know they went on the bottom sides of the tailgate, but I couldn't remember which way they went or which side they went on. After I took the tape off I saw that past me had left present me a "P" and "D" on each one, indicating passenger and driver sides. Even though sometimes we don't get along, past me can sometimes be pretty smart. Future me is more of a wildcard. I never know what that guy is going to do.
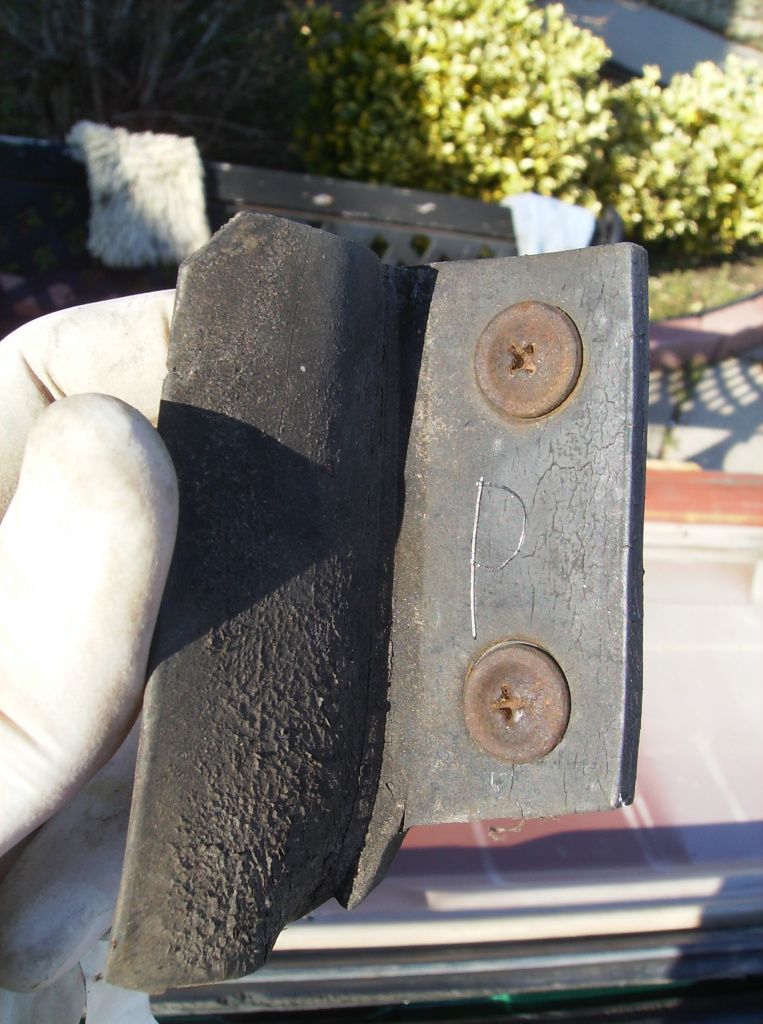
I don't really know what these pieces do but they have "Do Not Remove" stamped into them with raised letters. It seemed that the tailgate could drain any water that might get in it much better if these weren't there but I suppose because of the warning I should trust whoever went to the trouble to put it there and put them back.
I used steel wool and polish to get the top piece of chrome on the tailgate nice and shiny but I couldn't locate the bottom piece of rubber shaped like a "V" that the bag of screws had mentioned. I headed over to my dad's barn to look for it and before I got out of the neighborhood The Blazer just quit very abruptly, as though I had cut the key off, with no sputtering or any other warning. My best guess is that this must be something electrical. I walked back to the house and took the Camaro over to the barn and found the missing piece. As April got home Nick came over to check out the new paint job. I borrowed my dad's truck and the three of us went to tow it back to my driveway. Unfortunately I couldn't find the keys to The Blazer anywhere. Finally I found them at my dad's house. When I left the Camaro there to borrow his truck the keys to the Camaro and The Blazer had stuck together and were there in a drawer. After finally getting The Blazer back to the house Nick helped me push it the rest of the way up the driveway and it was a good thing he was there because it took everything both of us had to get it up the hill while April steered.
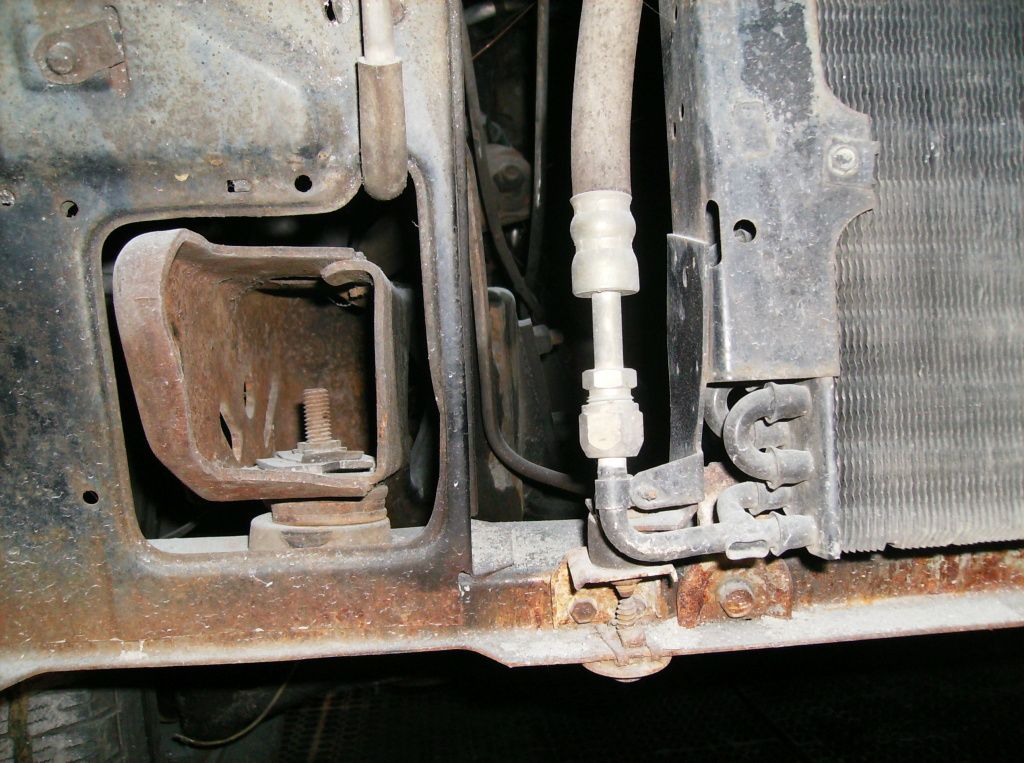
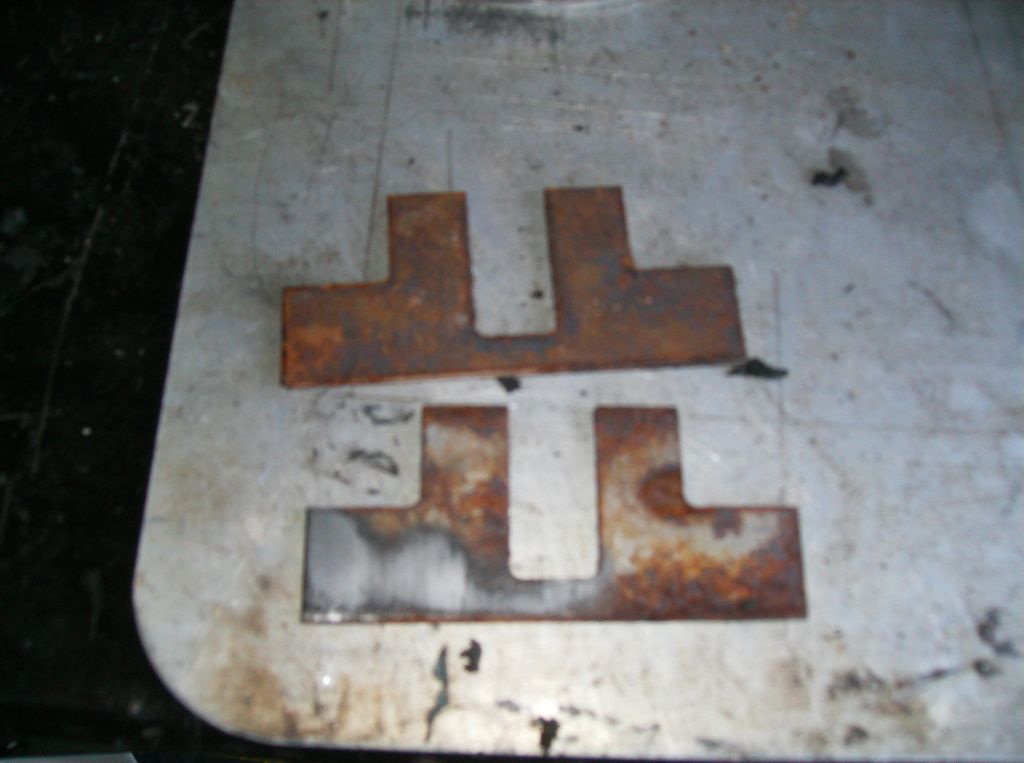
The shims that go between the arm that lifts the tailgate and the tailgate itself were rusted. I didn't want this rust causing any issues so I polished the rust off and put on some primer and paint.
By this time the day was ending and it was getting very cold. April helped me cover The Clam with a car cover and then I put a huge tarp over it.
I called the company that will install the windows a couple days ago. They said that they want to put the moldings back on the windows to ensure they have the window aligned correctly so that meant I had to have the window clips on hand before they show up. I ordered the clips online and they showed up today so hopefully if I call tomorrow they can show up Monday to install the windows.