I have learned two important lessons. Pitted rust can only be truly fixed by using a blasting media, in my case, sand, and then filled with body filler. You can also cut out the metal, but that's not what I was planning to do. Many people try to do this fix by using chemicals to treat the rust. I attempted this upon advice I had gotten but have since learned this is not the appropriate way to handle rust issues like this.
You can see the purple chemical that is supposed to neutralize the rust.
The headlight bucket/nose, front corner pieces and center grill divider are all fiberglass so I water sanded them with 180 grit paper and then went to 400 grit. It was cold and rainy and my socks got wet, which probably helped get me sick.
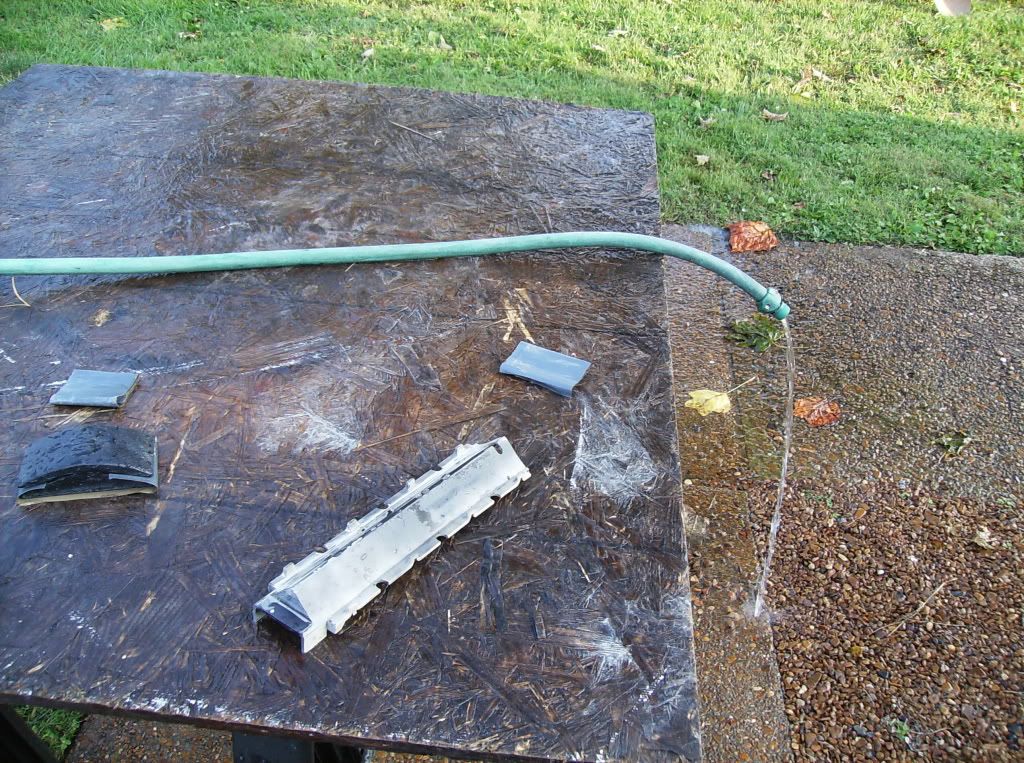
I ordered this small sandblaster. This will allow me to spot-sand only the areas that need attention, which are the areas which have surface rust or small pitting. There aren't many, but what is present must be treated or it will ruin the new paint very quickly by causing it to bubble and pop within a few months of being applied.

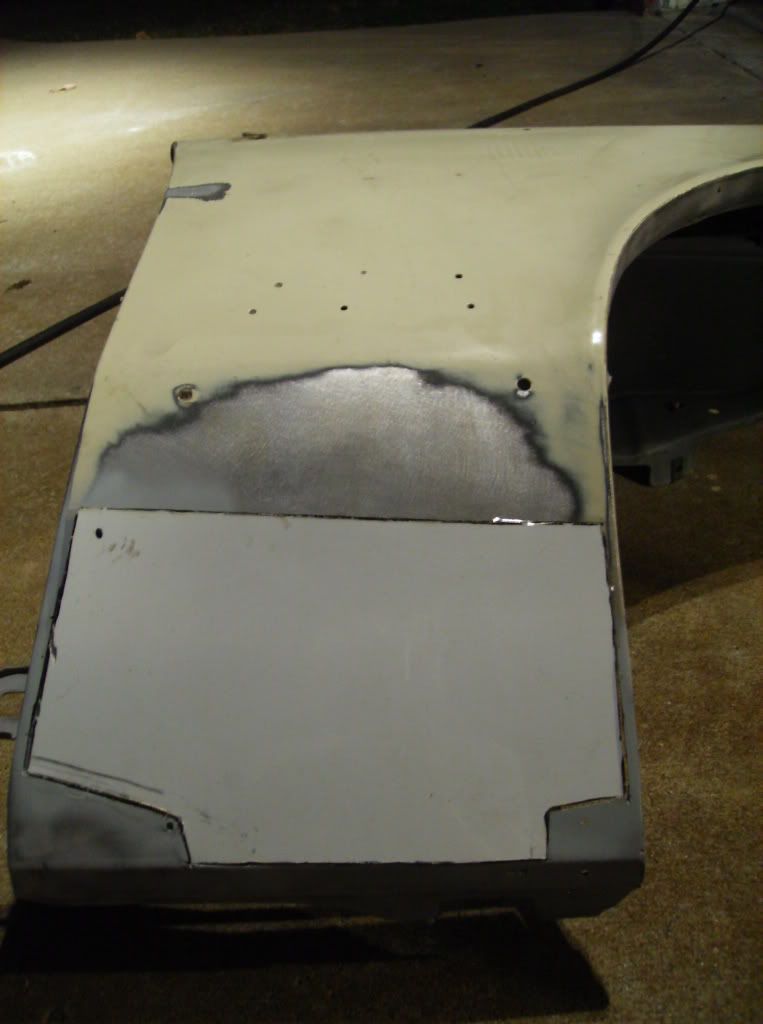
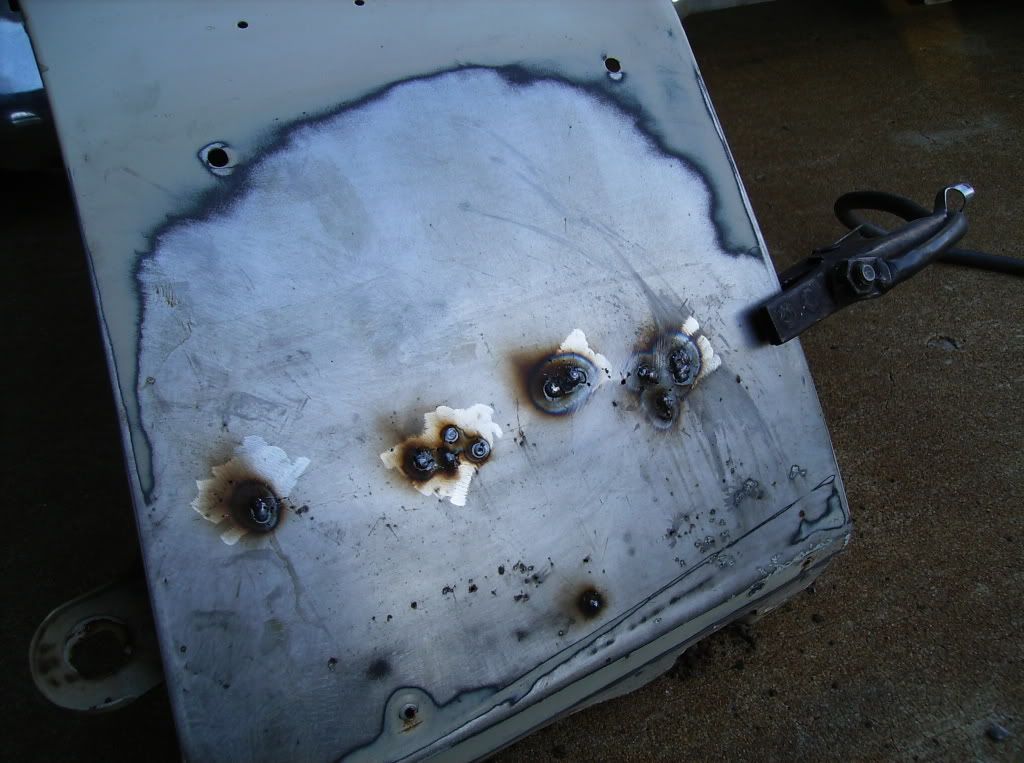
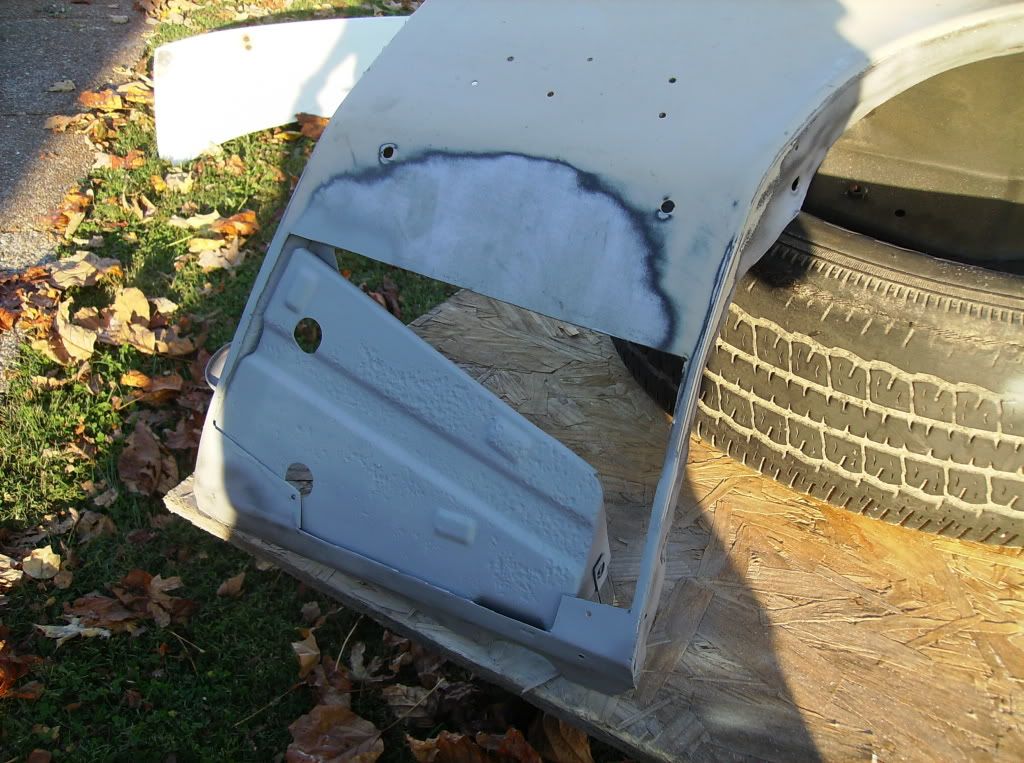
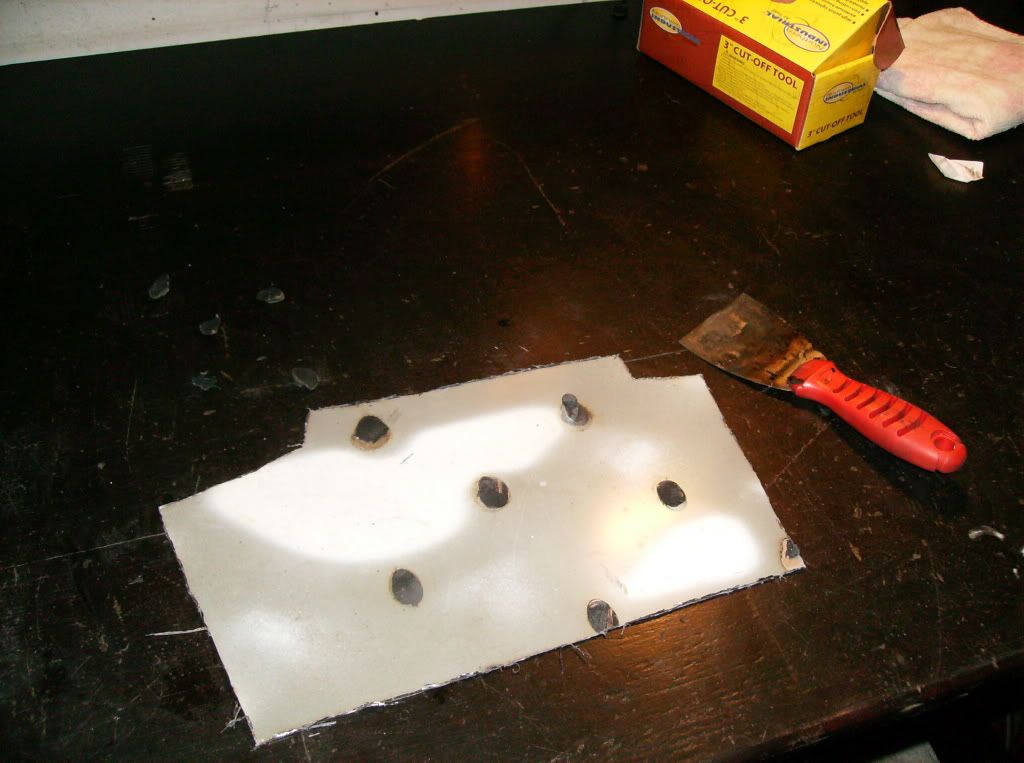
The only location on the entire car that had any rust through was on the bottom of one of the fenders. This is where I ran into trouble. I attempted to weld the small holes closed because if you try to bondo over even small holes it will allow moisture to eventually ruin the bondo and it will crack or bubble the new paint. No matter how low I had the welder set the metal would instantly burn through. This was because it had become very thin thanks to the rust that was hiding behind it. I eventually gave up attempting to weld the holes shut. What would happen is that you would create a small hole and then have to chase it to try to fill it which would then burn more metal away, causing much more weld material than should be necessary.
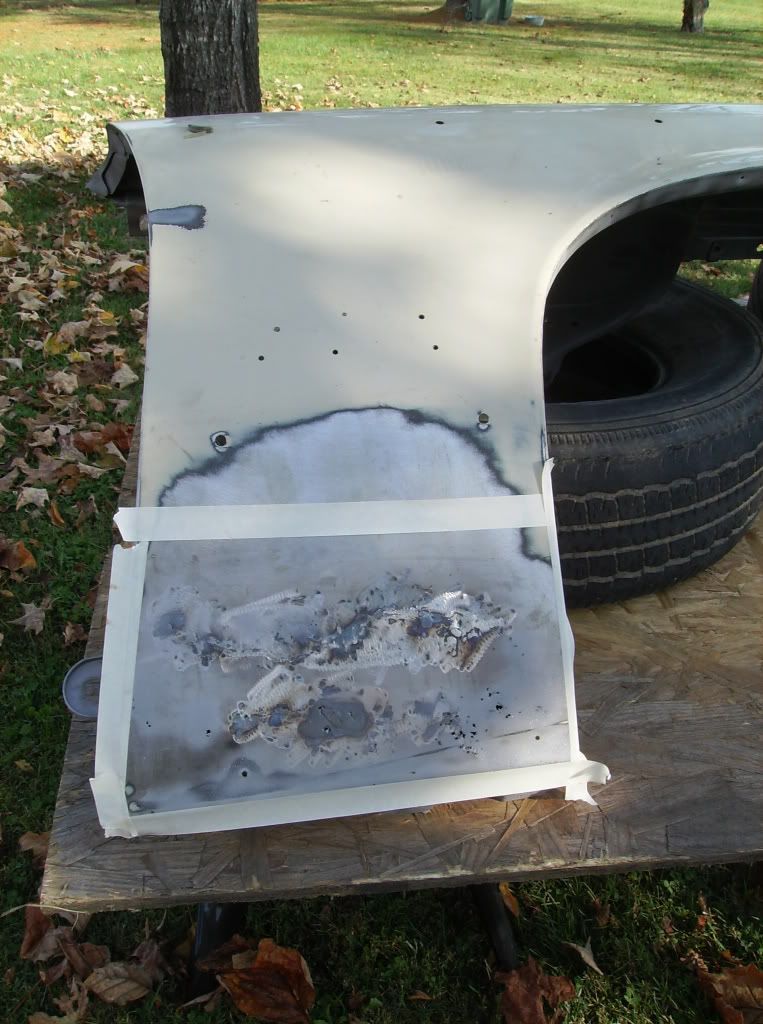
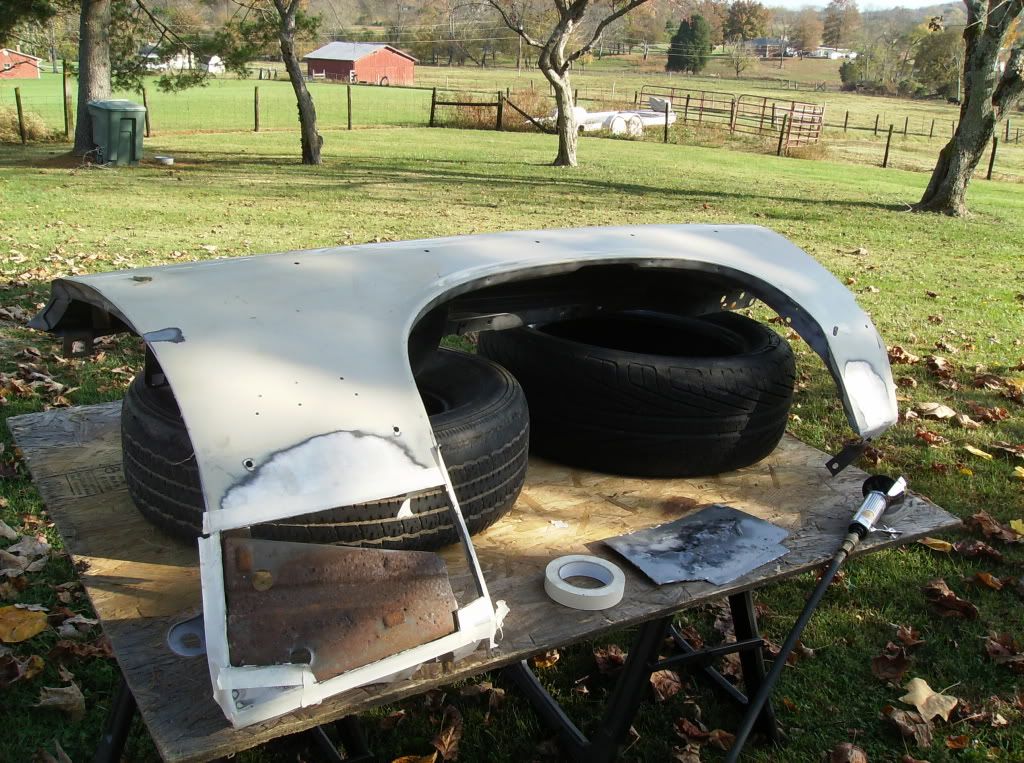
Bodywork can be very confusing. There seem to be as many opinions on how to do it as there are people who do it. I prefer to do things the best way and the right way and I've found that many people prefer the "just good enough" way. I was recommended to a local body guy by two people so I went to talk to him and ask him some questions. He explained what I feared, that this panel must be cut out and replaced. Unfortunately I didn't have a cut off wheel so that meant I had to stop progress and head about 15 miles away and go buy one. I am in somewhat of a hurry because it's very nice and sunny this week, which is very helpful because I'm still recovering from being sick, but next week is supposed to be cold and possibly rainy. I want to get as much done as possible.
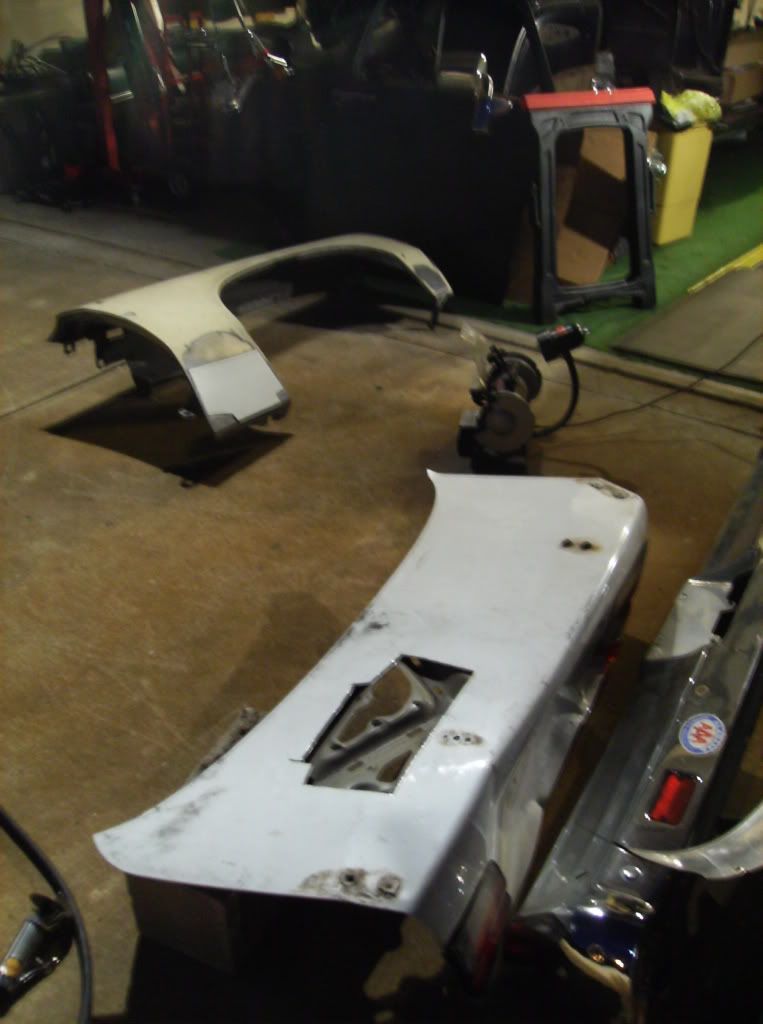
It took a while to get the piece cut out because I was using dad's portable air compressor which doesn't hold much air and only allow for a few seconds of cutting time until you must wait and let the pressure build back up.
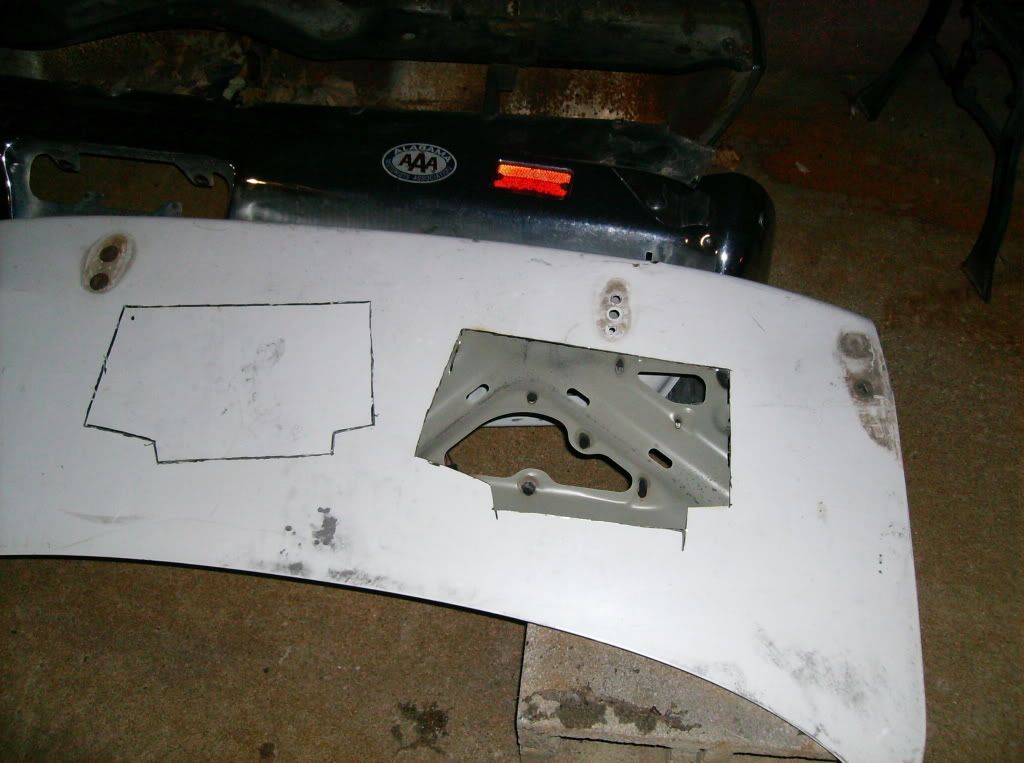
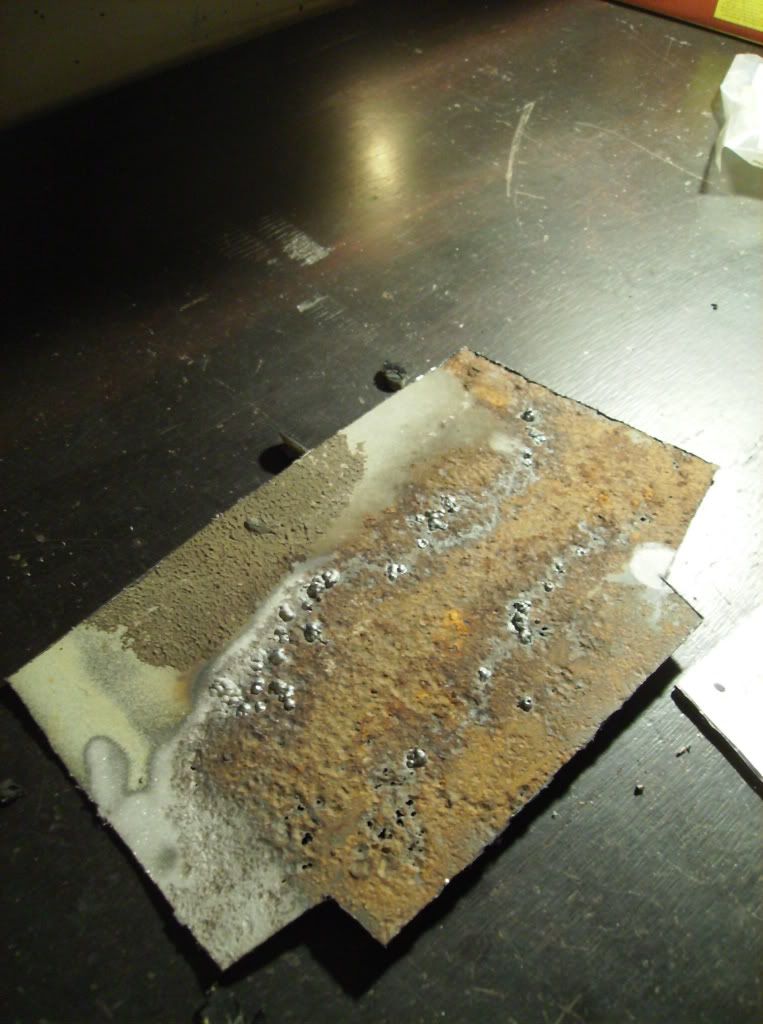
The reason I couldn't go behind the panel and repair the rust that way is due to the brace that is on the backside of the fender in this area. It is what had caused the rust in the first place. You can see it here now that the area is cut away and the rust is exposed.

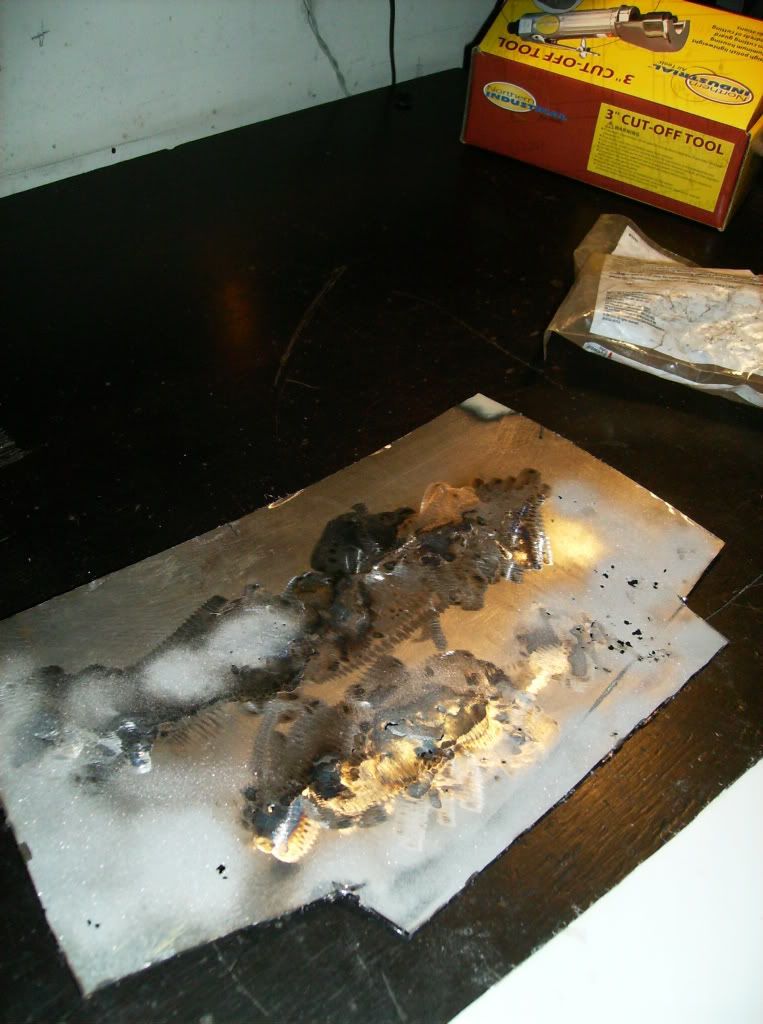
After I sandblasted the rusty brace back to bare metal I prepped it with cleaner and then primered it.
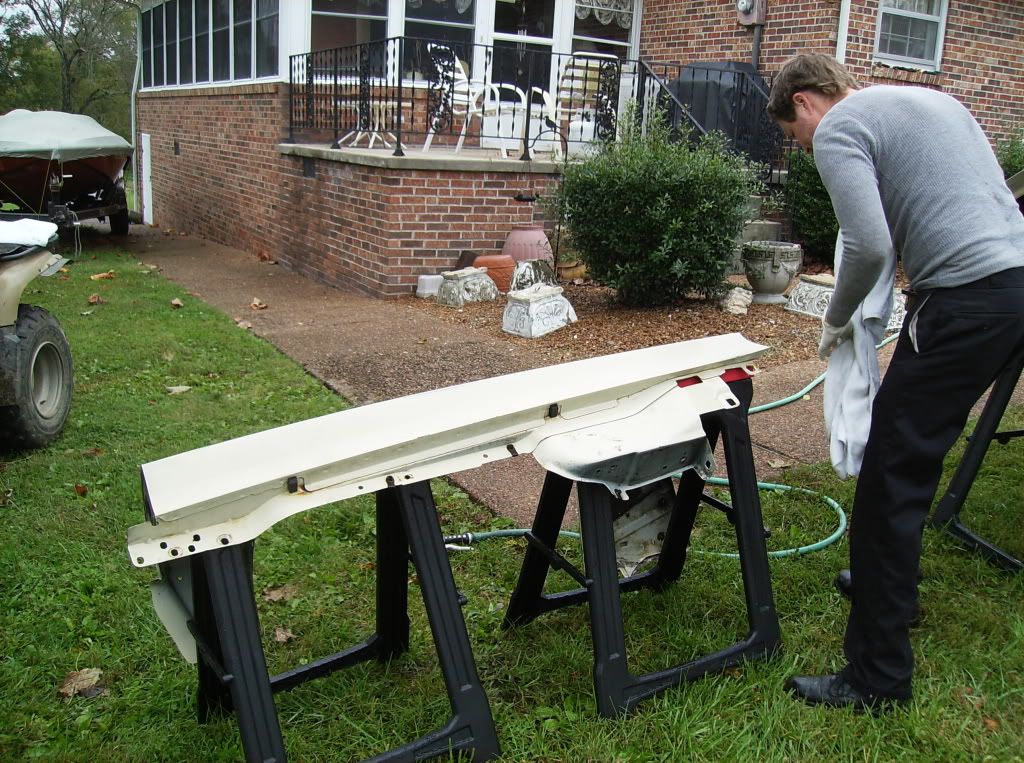
The body man I talked to was very nice and even took time out of his day to come over and look at my fender and show me some techniques that would help. He even gave me an old trunk they were going to throw away to use as scrap sheet metal. It would have been better if I could have left the fender bolted to the car, he said, for support, however because my car is stuck in dad's barn and he doesn't have a 220 outlet I can't bring my welder over to do any welding. It must all be done at my house.
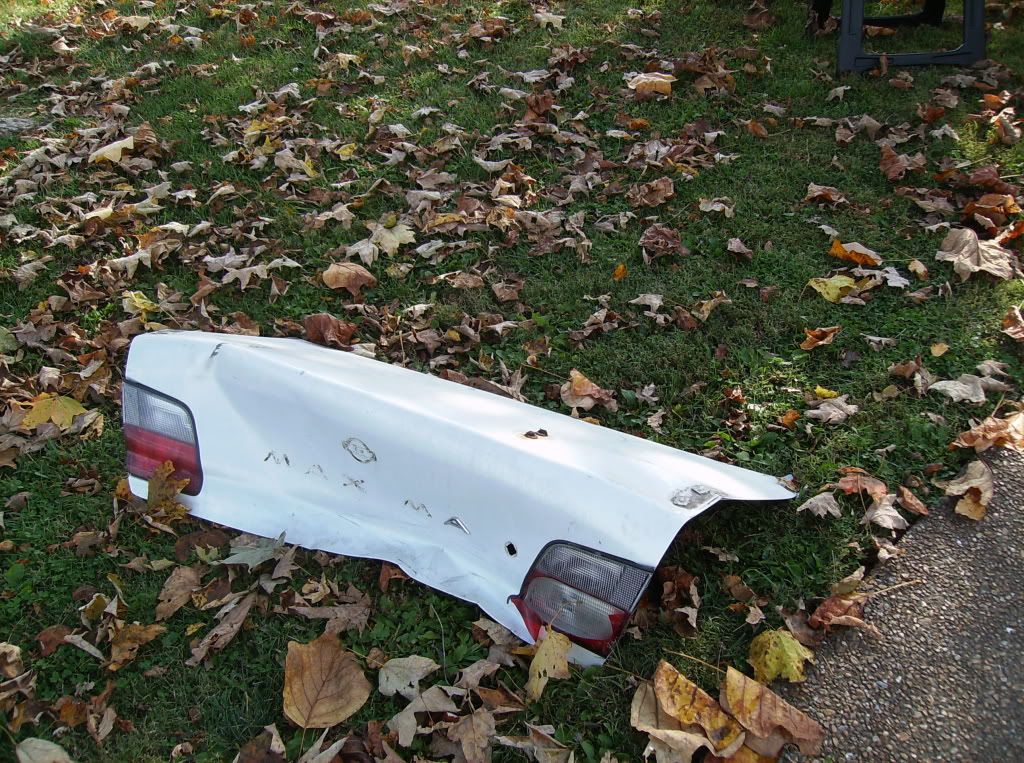
I shudder at the thought of there being Japanese car sheet metal on The Clam, but it will be our secret. I was just very thankful to have the metal to work with. I used the metal I cut out of the fender as a template.
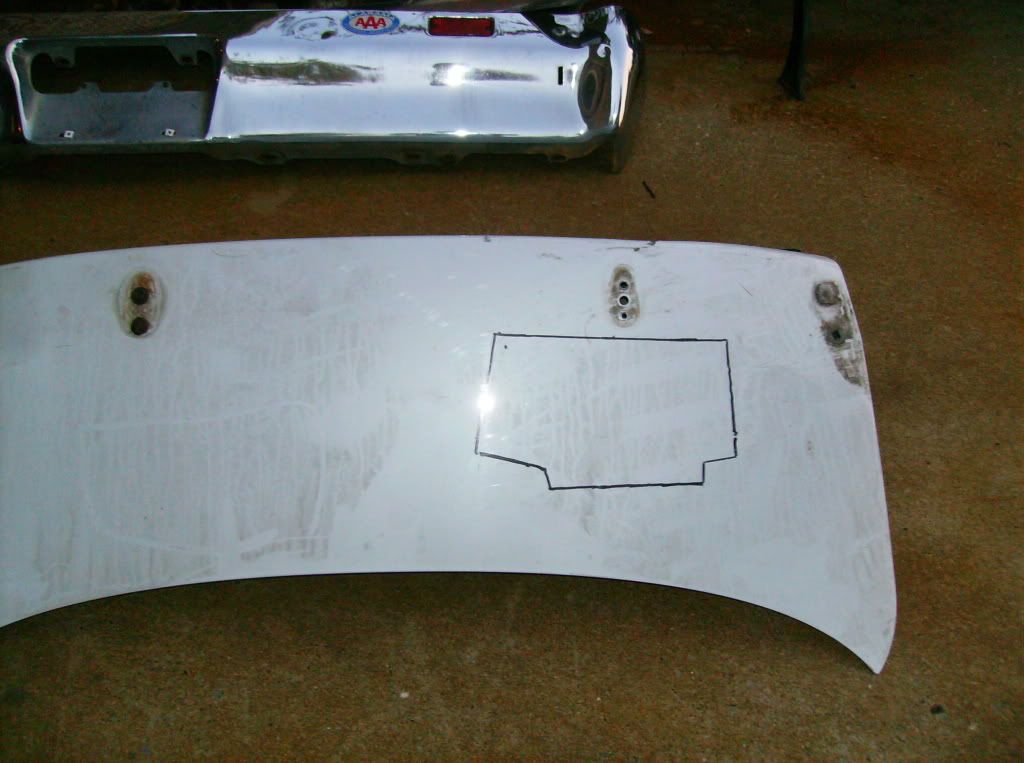
I cut the piece just slightly larger than the old to compensate for the width of the cutting wheel.
If you've ever wondered what the underside of the sheet metal of a trunk looks like, this is it. It had spots of rubber melted on the back to keep the metal from vibrating against the bracing on the backside of the trunk and making noise. They easily scraped off with a metal scraper.
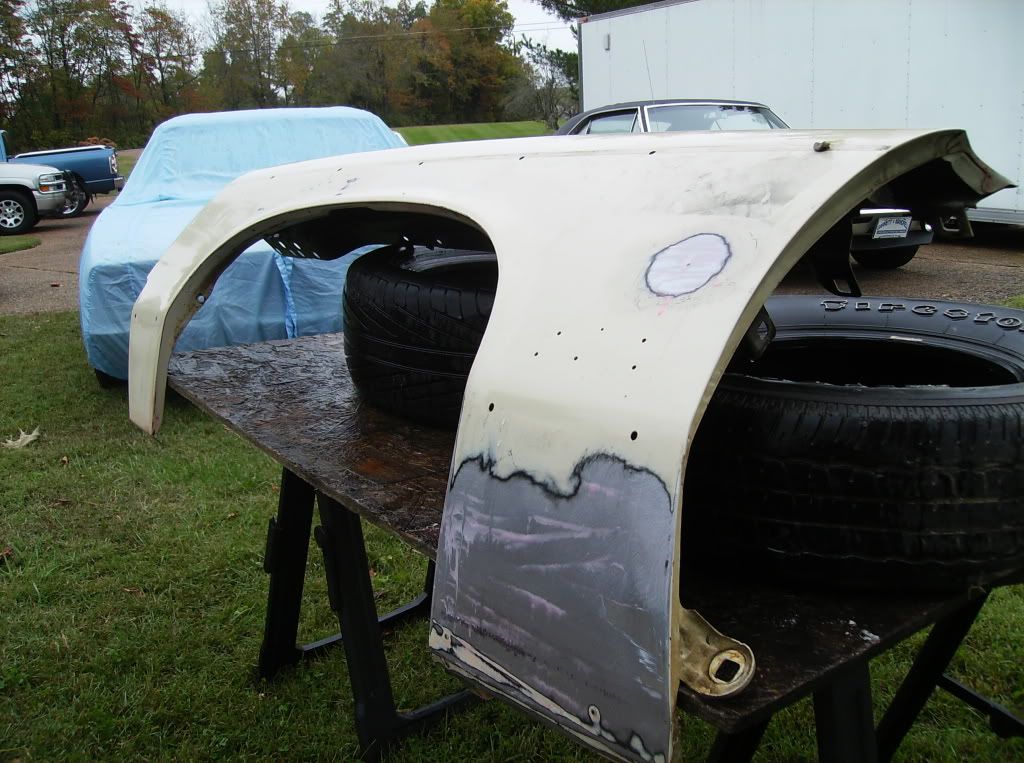
You can see how rusty the back side of the original panel was. Strangely, the other fender isn't rusted at all.
The old and the new
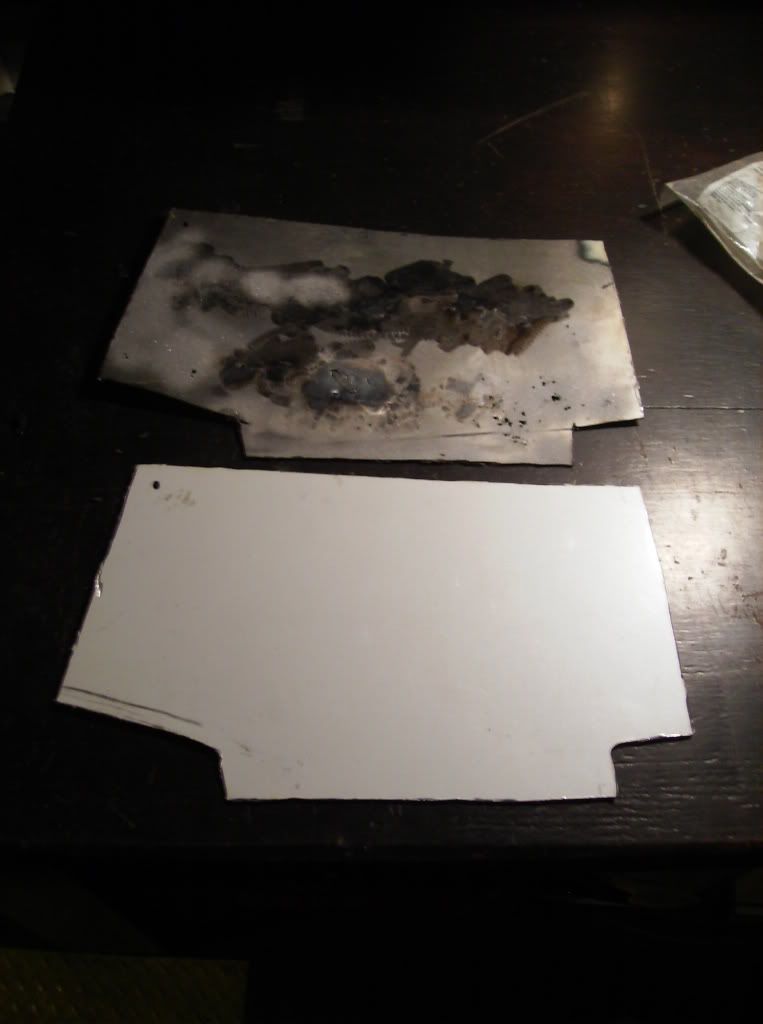
This is the first time I've made a patch panel and to be honest I'm pretty impressed with how well the fitment turned out. The hardest part is yet to come, however. That would be the welding, and that is what I intend to tackle tomorrow. Only one of them shows up in the picture but there are two small holes that the bottom trim screws into. To make sure they still mount to the same place I cut the panel out to leave these two holes in tact. There was no rust where they were so it seemed the wisest thing to do would be to leave them in place.