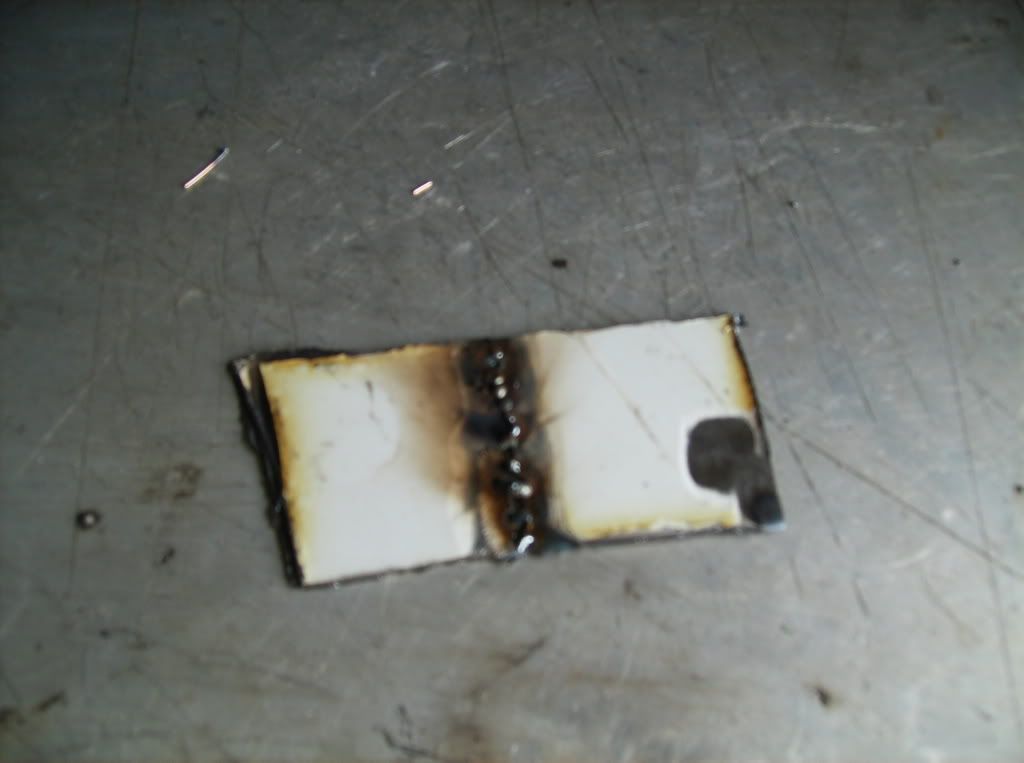
I cut a couple of pieces of scrap so that I could test different settings on the welder. This way I could hopefully be set up correctly when I started on the actual patch. Unfortunately, it still took some fine tuning, but it all turned out OK.
Because sheet metal is thin you cannot simply weld a solid line, or bead. If you do this it will cause the metal to absorb too much heat and then when it cools the metal will shrink, causing it to warp and crumble like a paper cup. The avoid this you have to make small, individual tack welds, alternating sides with each weld, to prevent heat buildup. You must continue to do this until all the tack welds form a solid line of weld all around the panel. Even with this method, you still must take your time and go slow and give time for the metal to cool. Because there is a slight curve to the fender I started one one side and aligned the panel at each new tack weld.
I was more than halfway done at this point and it was very tempting to want to just lay down a bead and finish up, but that would ruin all the work I'd done so far. There were a few places that blew straight through so I had to go back and fill them with the voltage on the welder turned down.
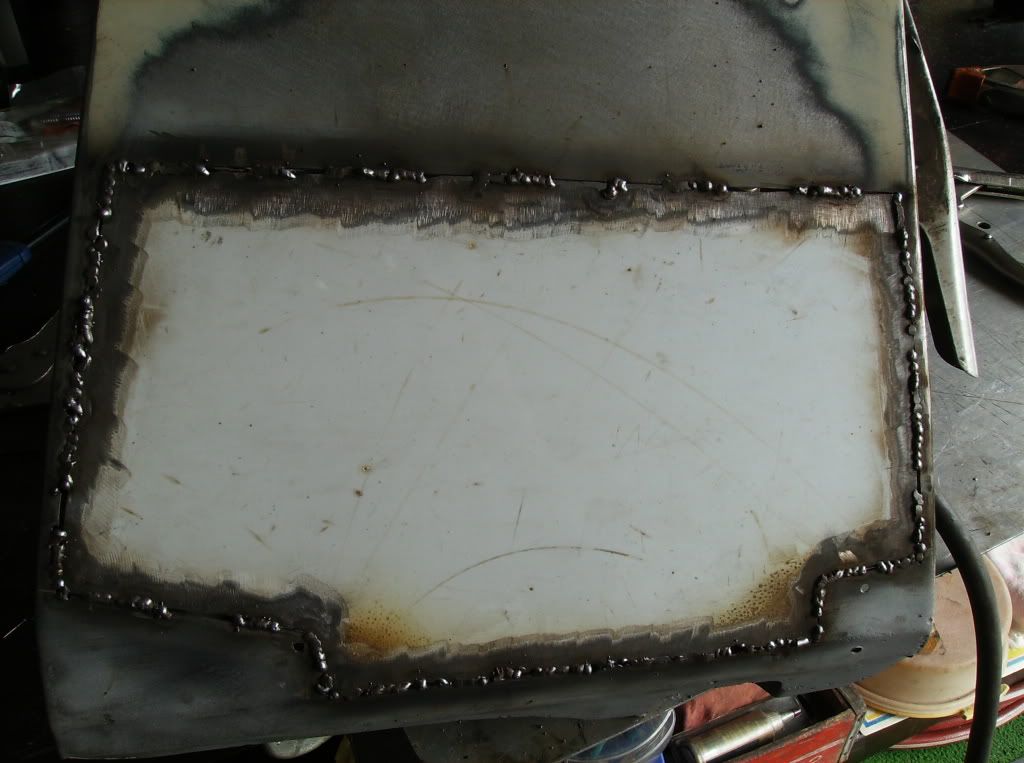
This is what it looked like when I finished the first go around. When it's time to grind the welds down, you still have to do a little at a time and go slowly. The grinding can also build up too much heat and cause the metal to warp. I would use my hand and feel the metal and when it would get slightly too warm to the touch I would let it cool. Once, the metal was much too hot and instantly burned the palm of my hand. It hurt pretty bad, but not as bad as the two other burns I've had recently, the worst being when I lost balance when working on my motorcycle and before I could even think I reached to keep myself from falling over by grabbing the exhaust. Two of my fingers are still slightly numb.
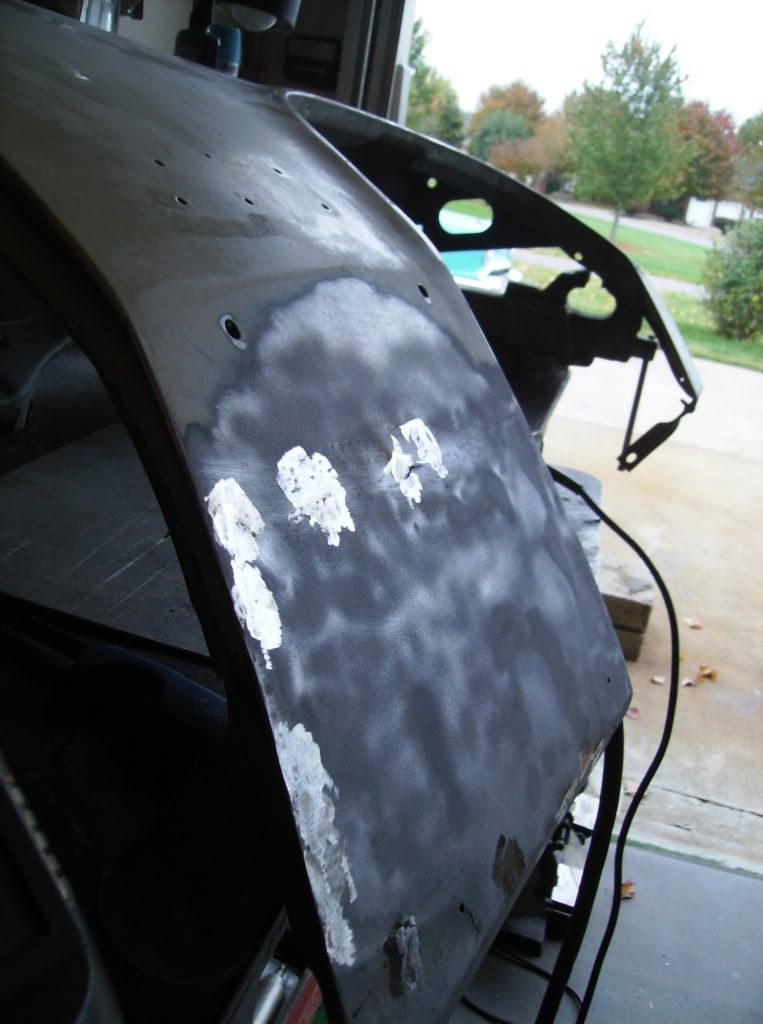
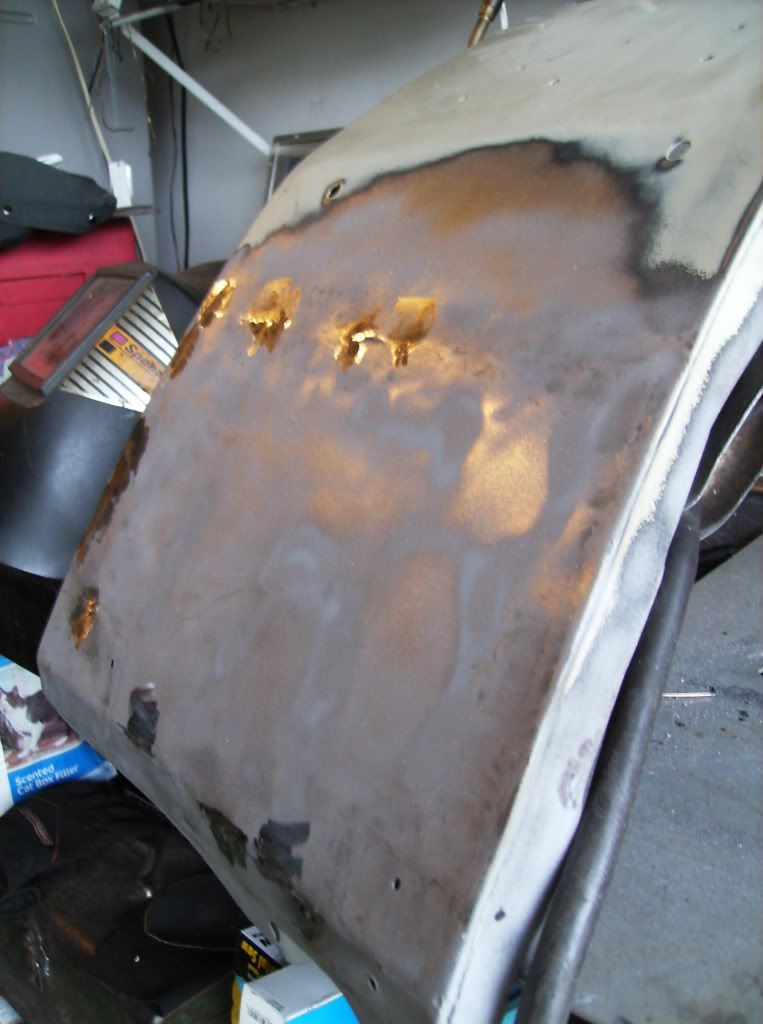
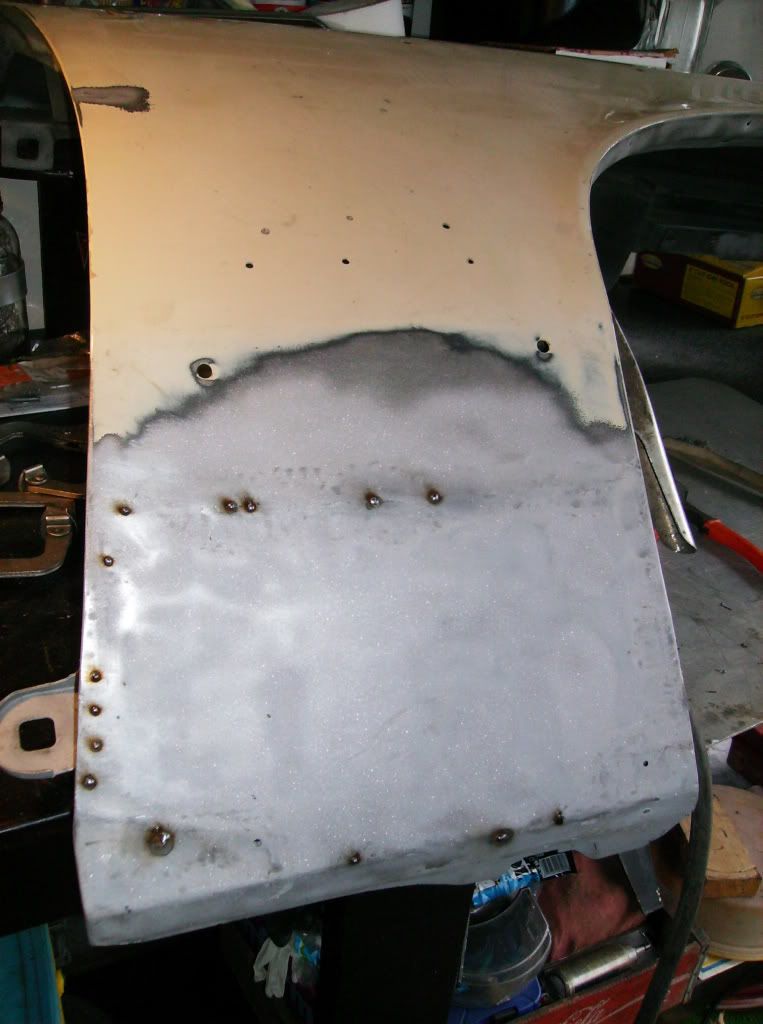
I will say one thing about the new car paint, it was very thick and very durable compared to the old car paint I've been used to dealing with. It was such a pain to remove that I just took the fender back over to dad's, where my mini-sand blaster was, and I sand blasted it off. Even the blaster was having a time with it, due to the small capacity of sand it can hold and the small compressor I was using, so I used 80 grit paper and the DA sander I borrowed from Gary, the guy who built the 455 engine, and sanded it down, then finally went back over it with the sand blaster. The sand blaster turns everything the same color and reveals any pinholes that are left. I found a few and welded them up.
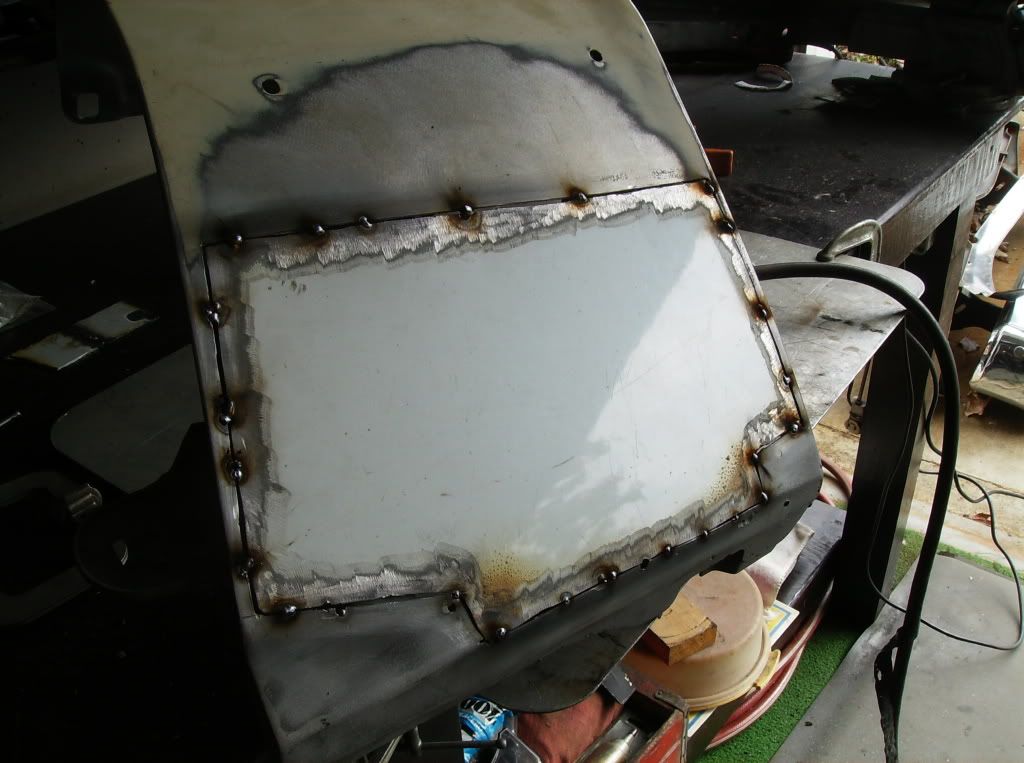
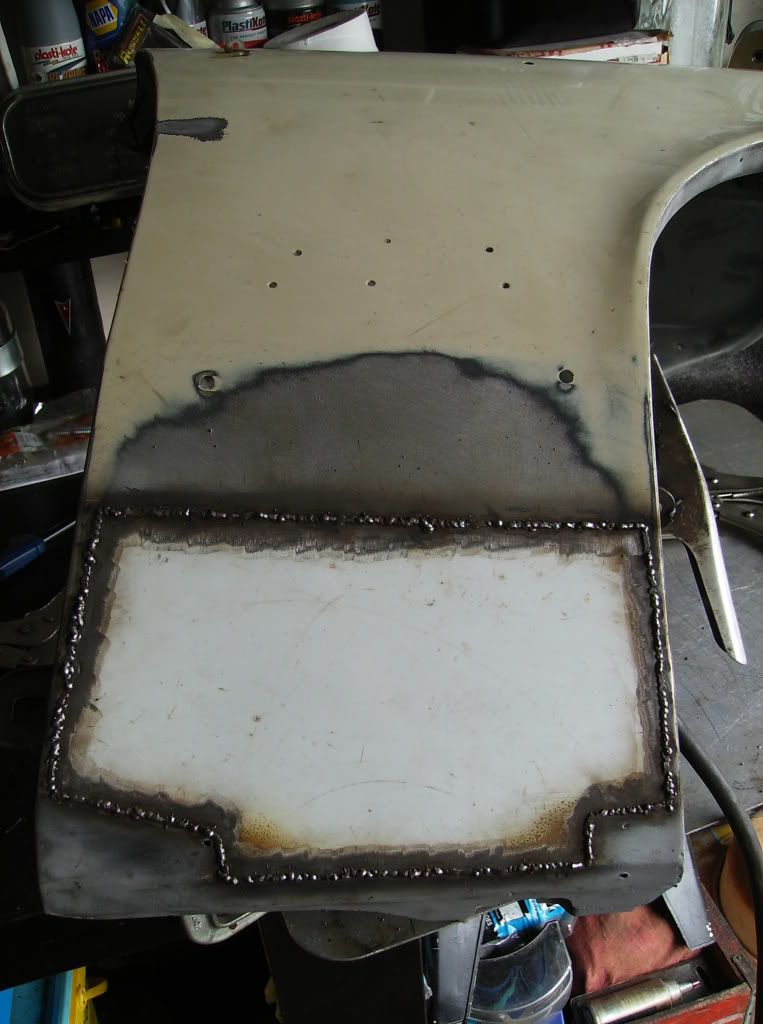
Then I used the angle grinder to grind them back down. The grinder makes the metal shine and the sand blaster makes the metal dull, so where I ground each weld down it left a shiny spot. This is how you can tell your welds are perfectly flat. When you move the grinder over them and it leaves a perfectly flat trace you know you have smoothed it out correctly. Notice that the shape of the patch panel has left the original holes for the clips that will hold the chrome molding on. If I had eliminated those holes it would have been a lot of extra work finding exactly where to drill the new ones.
Considering that this was my first patch panel and it's something I've always been too intimidated to try, until now when it became necessary, I think it came out very well. I took it down to the previously mentioned body shop and the guy there said he thought it was a really nice job, so that alleviated my fears and hopefully it won't all fall out the first time we drive down the road.