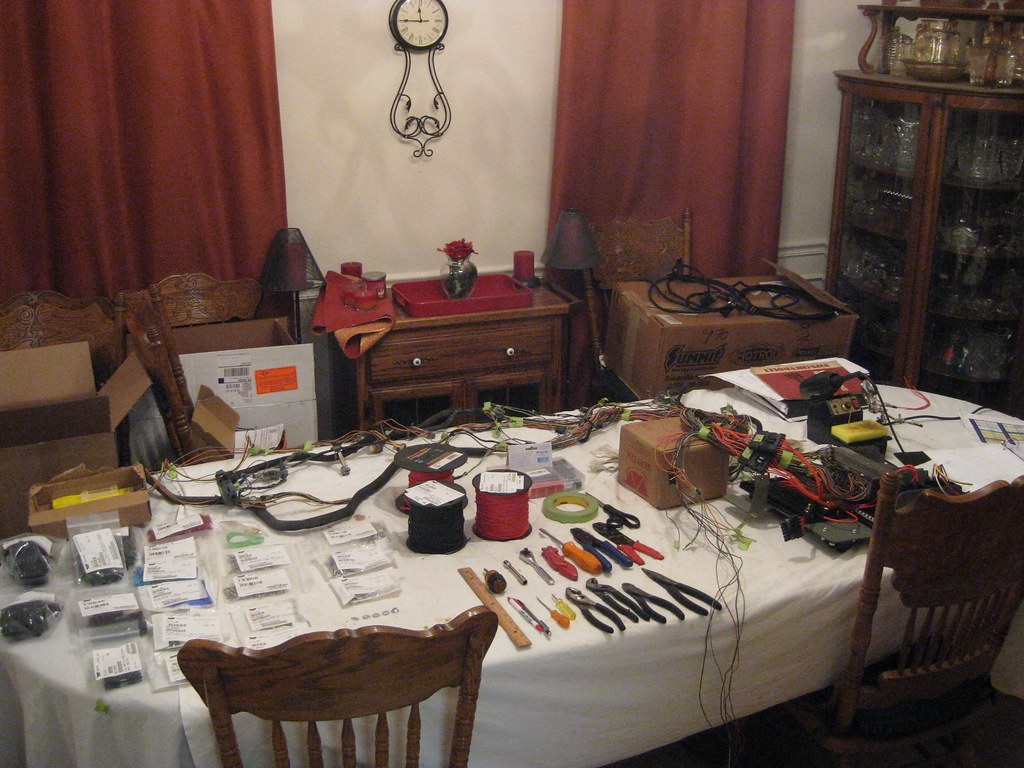
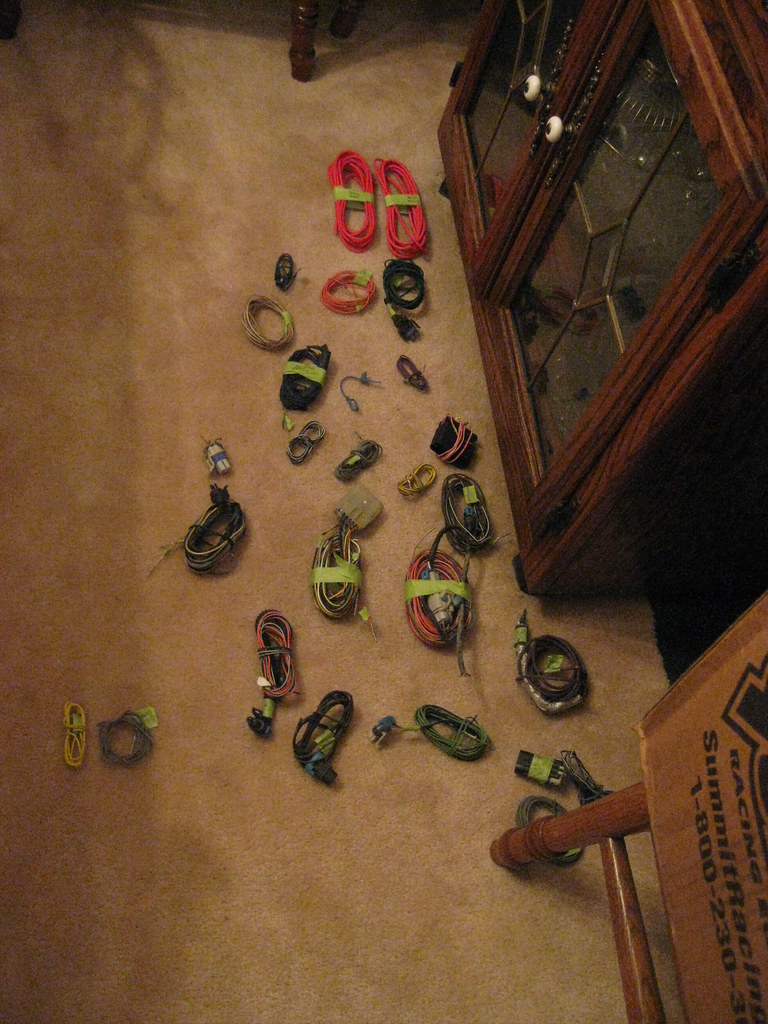
I've gotten to the point where I've had to add a few wires to the harness connector. I kept all of wires I removed from the harness because many of them had the connection on them that fits into the PCM, so I was able to repurpose those wires for things like the air conditioner and electric fans.
After weeks upon weeks of working in heat that was too hot I was unfortunately not surprised to find it was actually cold this weekend. I had to wear a jacket and a hat when just last weekend it was in the high 90s. It seems like the last few years we have skipped fall.
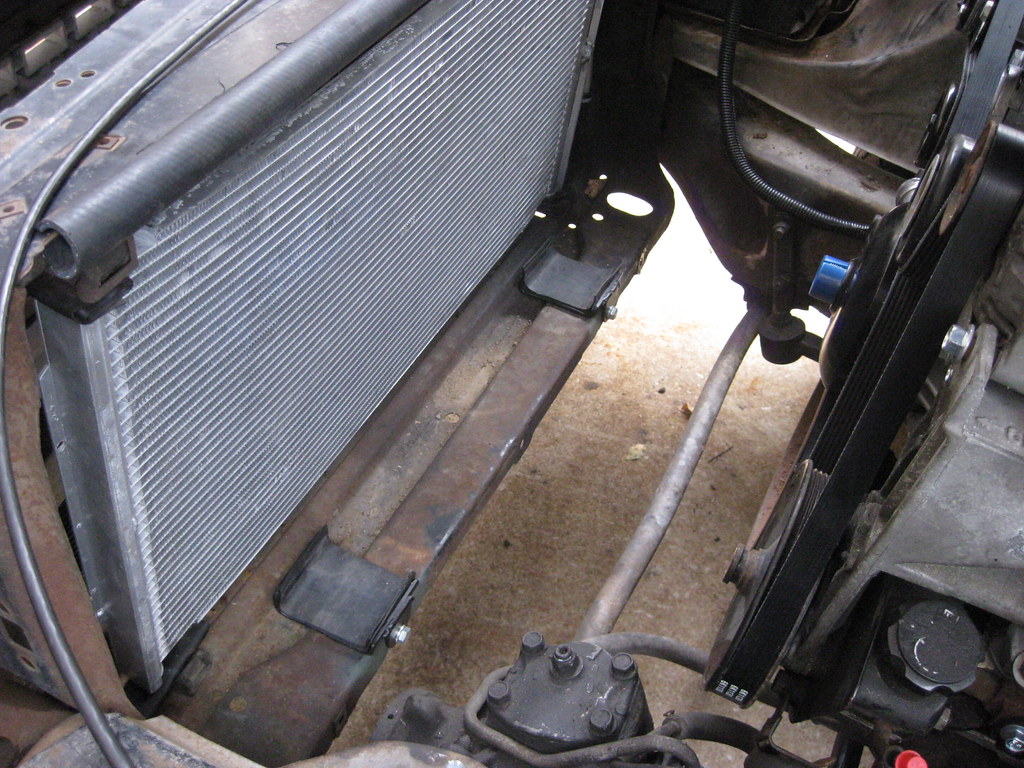
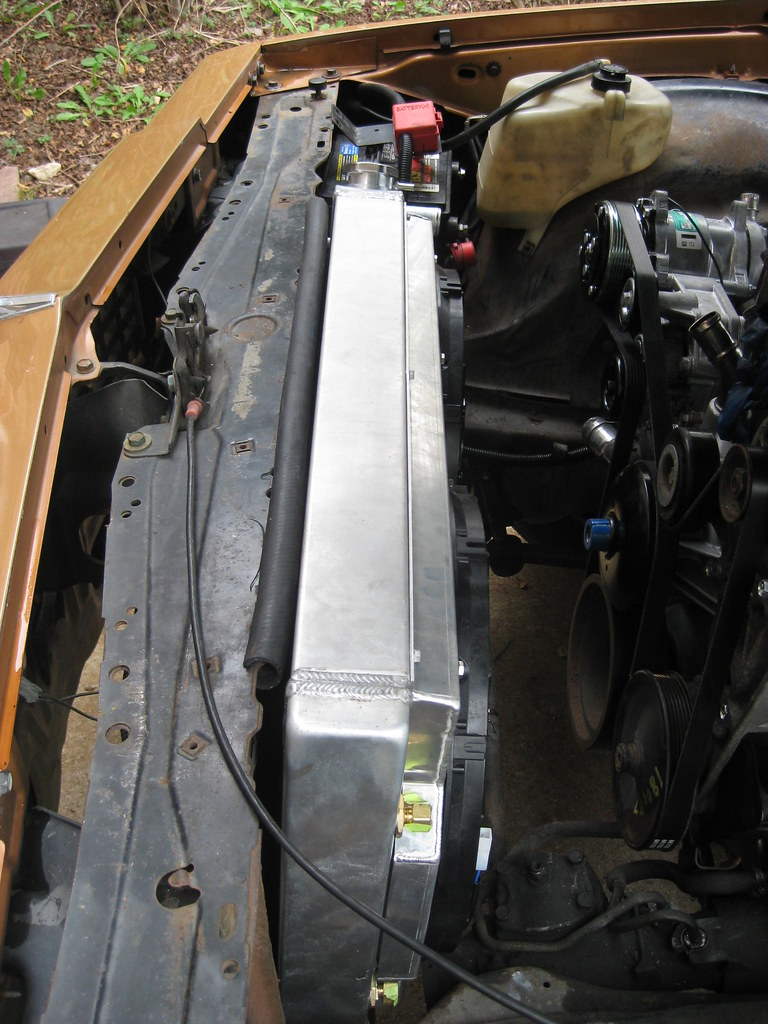
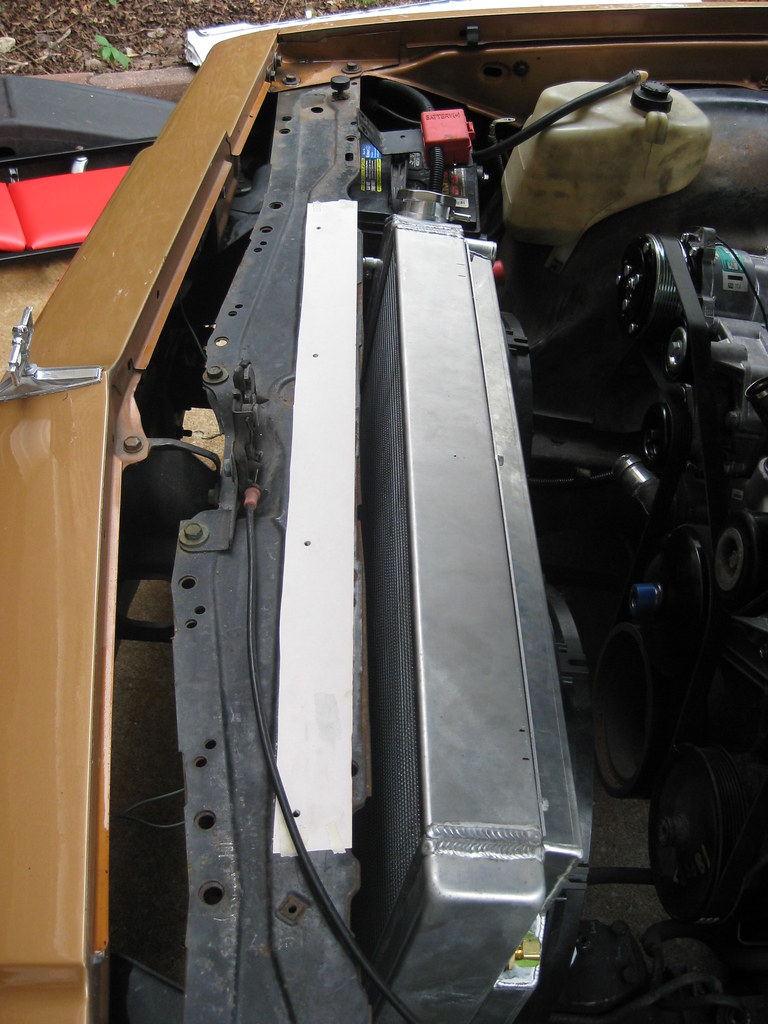
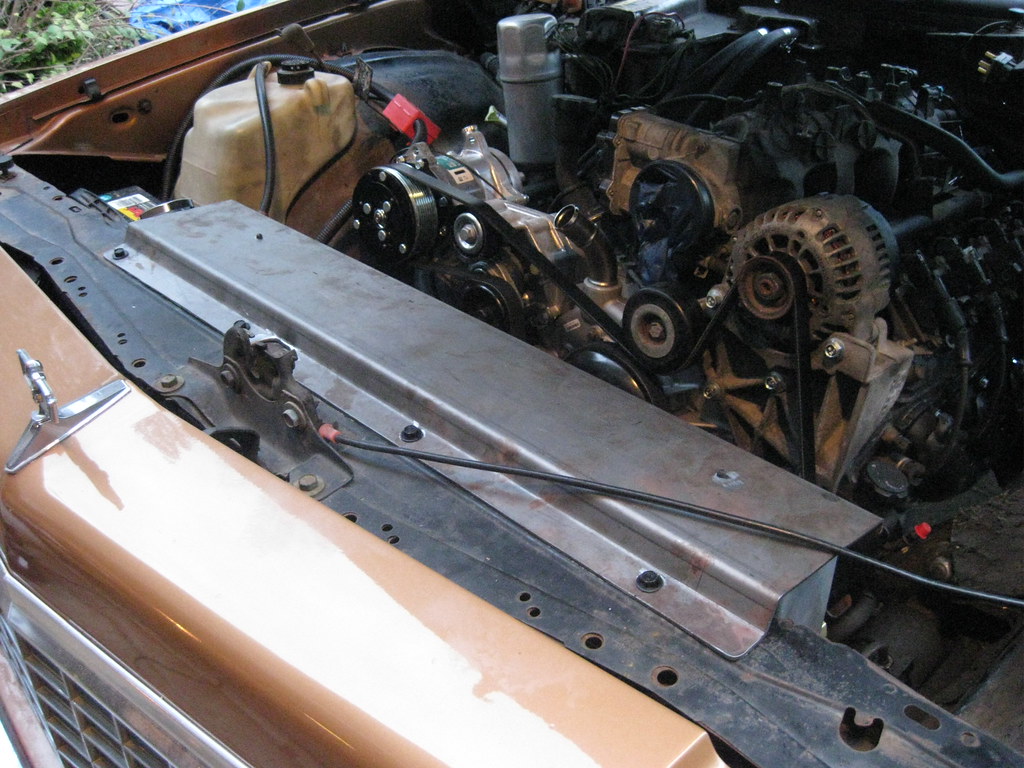
When I have spare moments I tend to sit and think about what I have left on the build. I began thinking about how the lower mounts on the radiator cause it to lean back toward the engine. It leans with enough force that it was putting some amount of strain on the upper radiator mounts when I was test fitting them. Ideally, there should be no fore or aft tension on the radiator mount. I tried to think of a way to remedy this without modifying the lower mounts but I ultimately decided I would have to remove the mounts and reweld the mounting tabs to set the radiator back. I really, really did not want to have to dig back into that project again, but I knew I had to to make it right. There was a chance the vibration from the road (or the temptation to show the girls how dad used to jump the railroad tracks) could cause the radiator to come loose from the upper mount. When I pulled the radiator out I found that the mounts were actually sitting flat against the lower radiator support. The solution was to take vise grips and to bend the entire lower support, which not only worked perfectly, but also was a much, much easier and time saving solution.
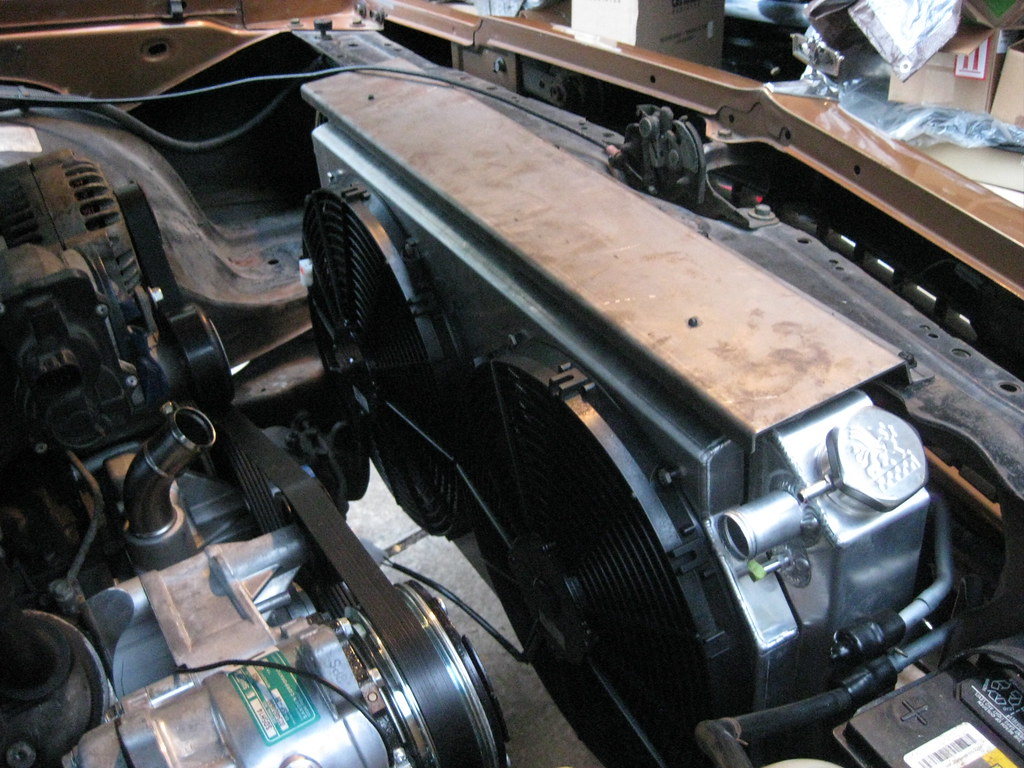
The end result is that the radiator now sits in a neutral location right against the rubber I put against the core support. This will put a lot less stress on the mounts because to pull the radiator back to where it needed to be previously took quite a bit of force.
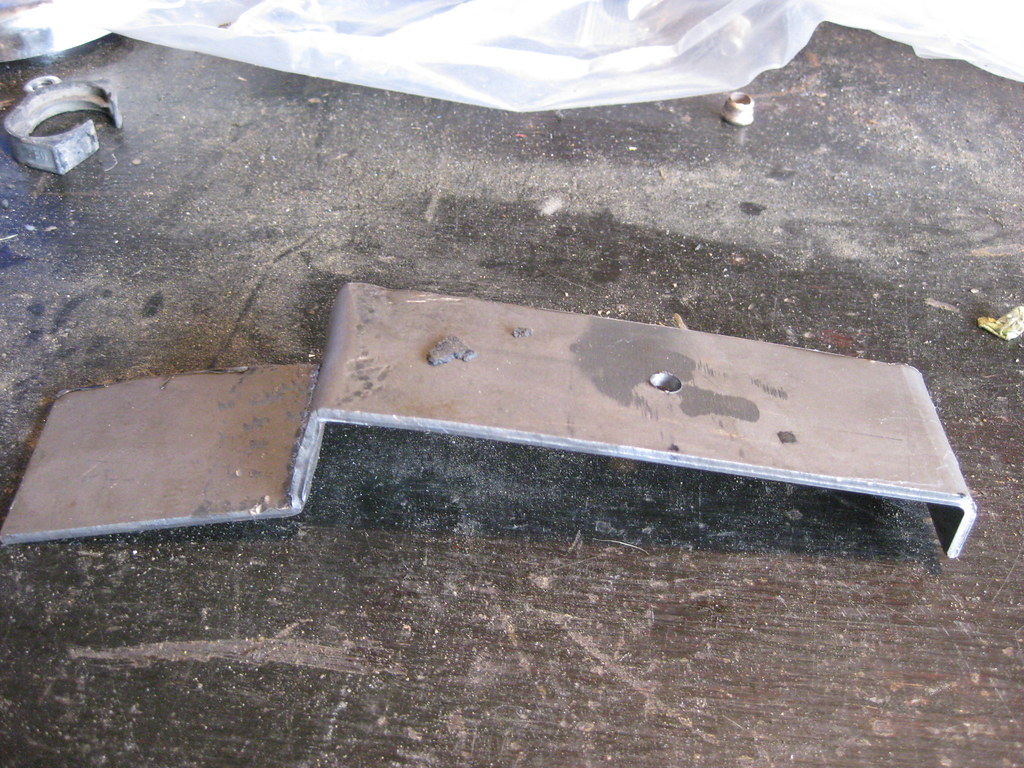
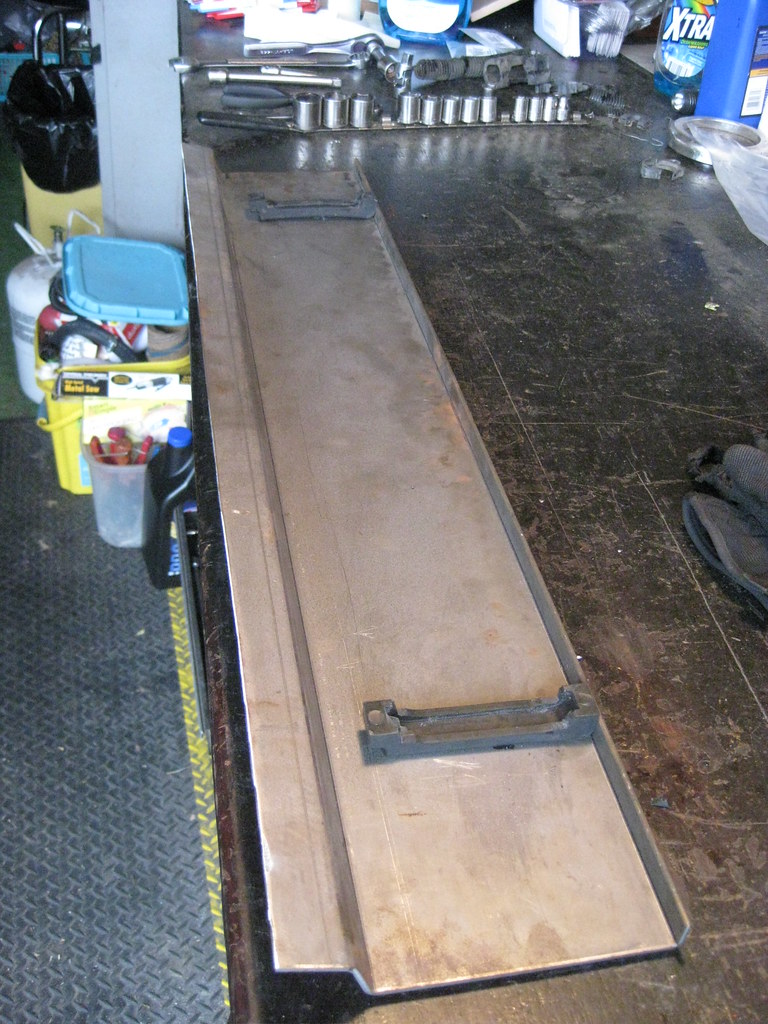
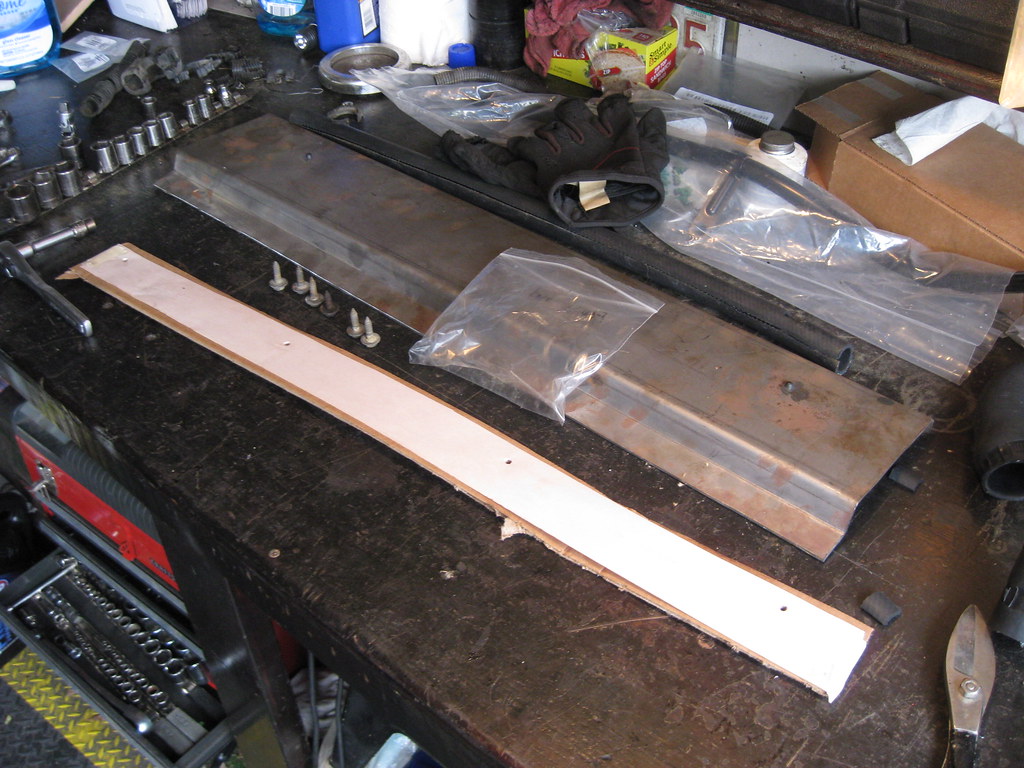
Remembering back, I had previously had the metal shop bend the metal for the upper radiator mount but the rise was not at the correct angle. I cut off the extra length of the upper radiator mount and made a template with a hammer and vise to get it close to the shape I needed the larger piece to be. I took both pieces back to the metal shop and they rebent it to match the template.
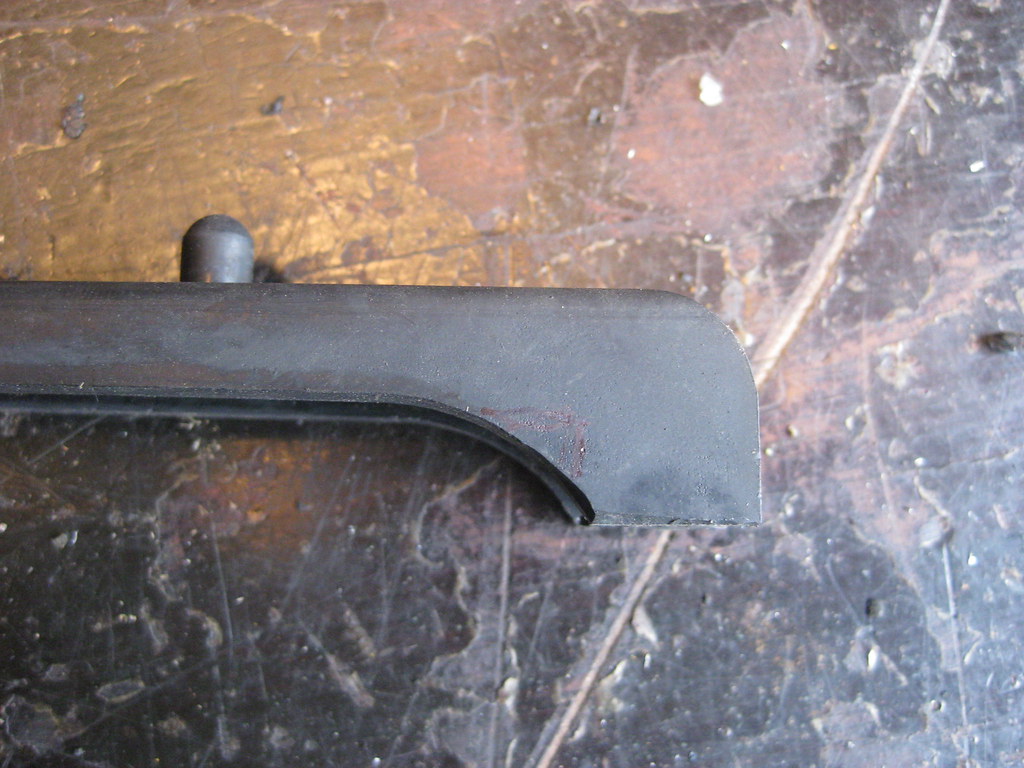
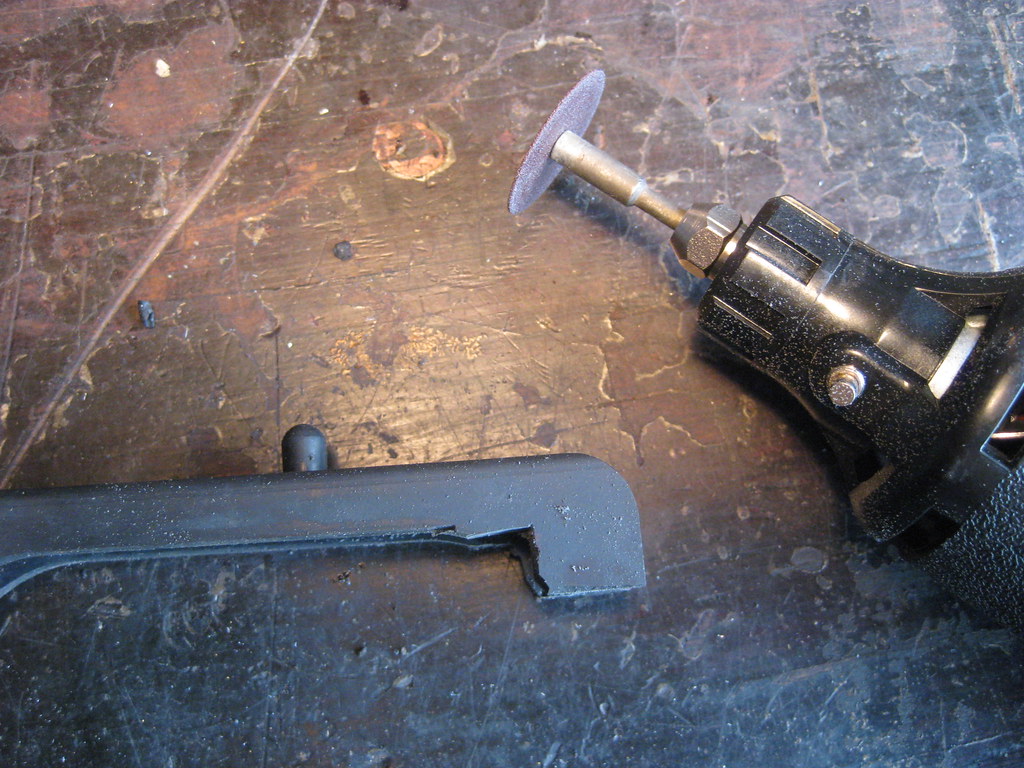
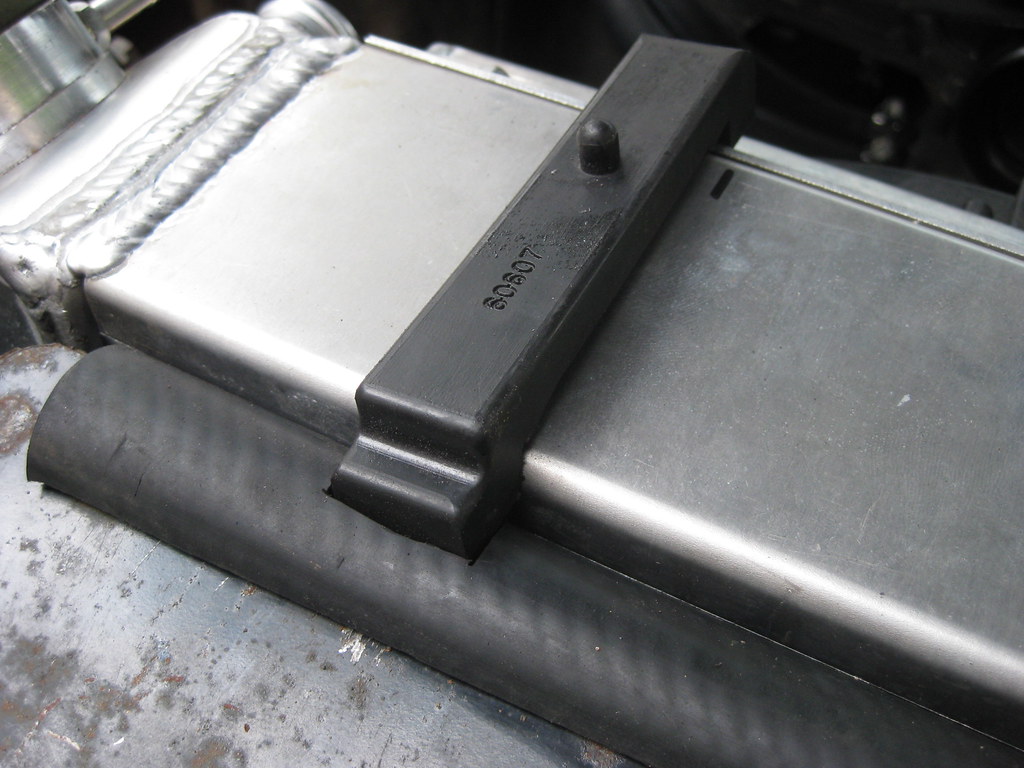
The shape of the rubber isolaters was not allowing as tight of a grip on the radiator as I would prefer so I drew out some lines and gave the corners more of a right angle.
I can't remember what estate or yard sale I picked up this electric dremel, but it is about 100% better than the old pneumatic one I had.
I trimmed the front and back of the isolators and the fitment and grip afterward was much better.
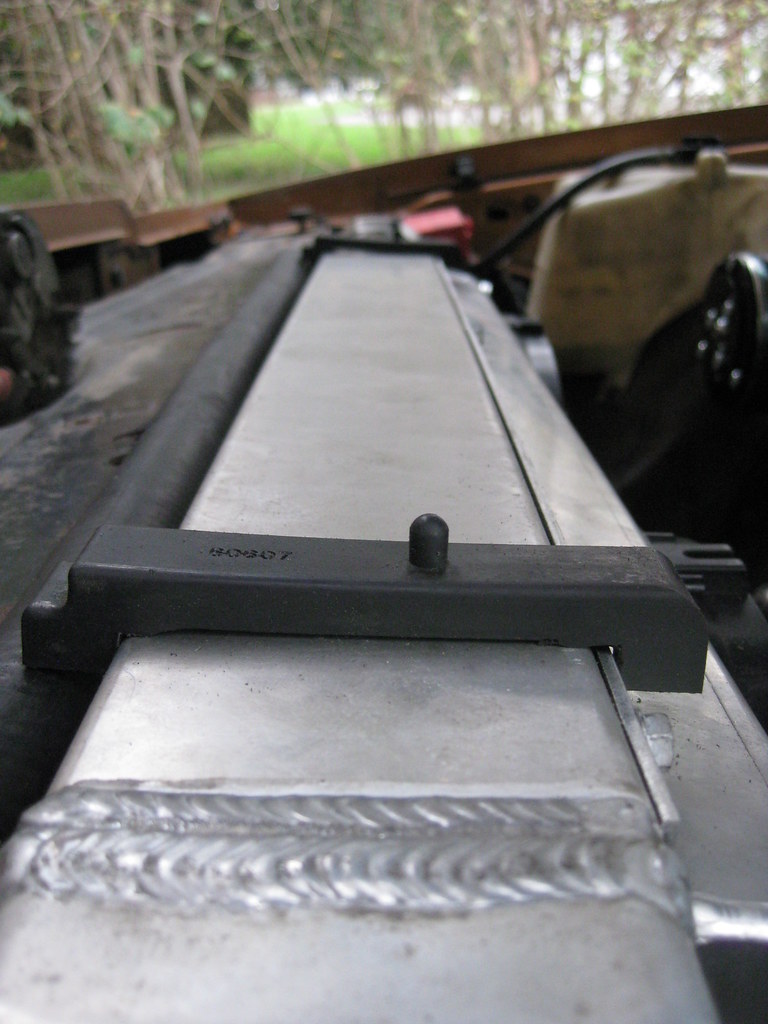
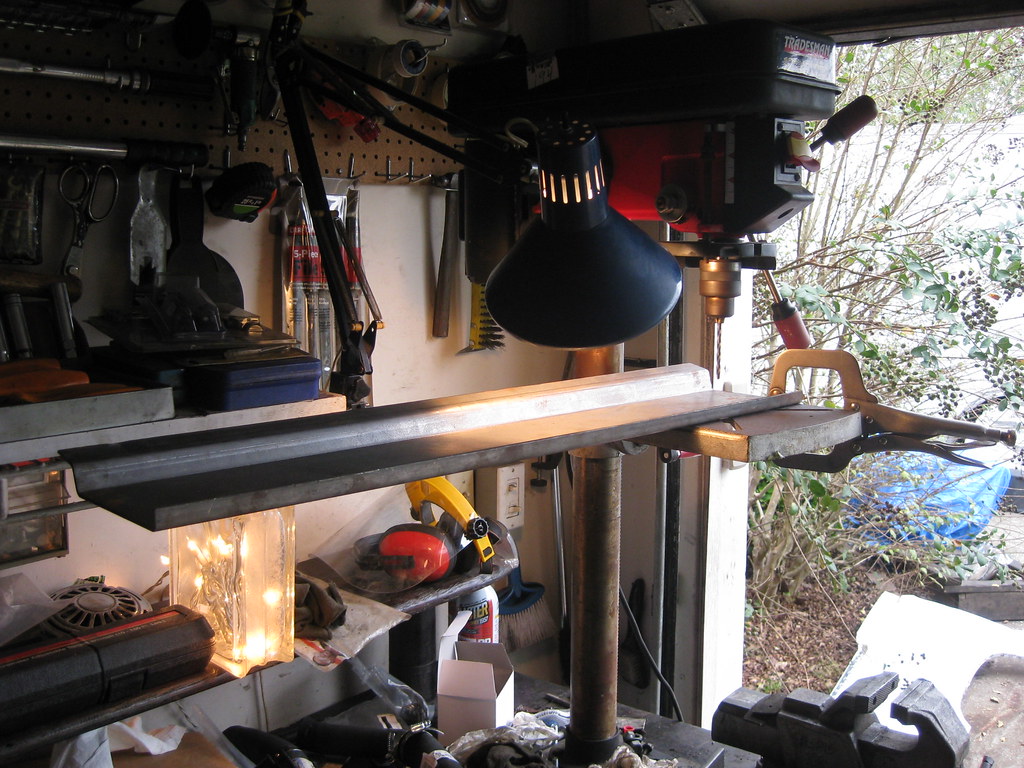
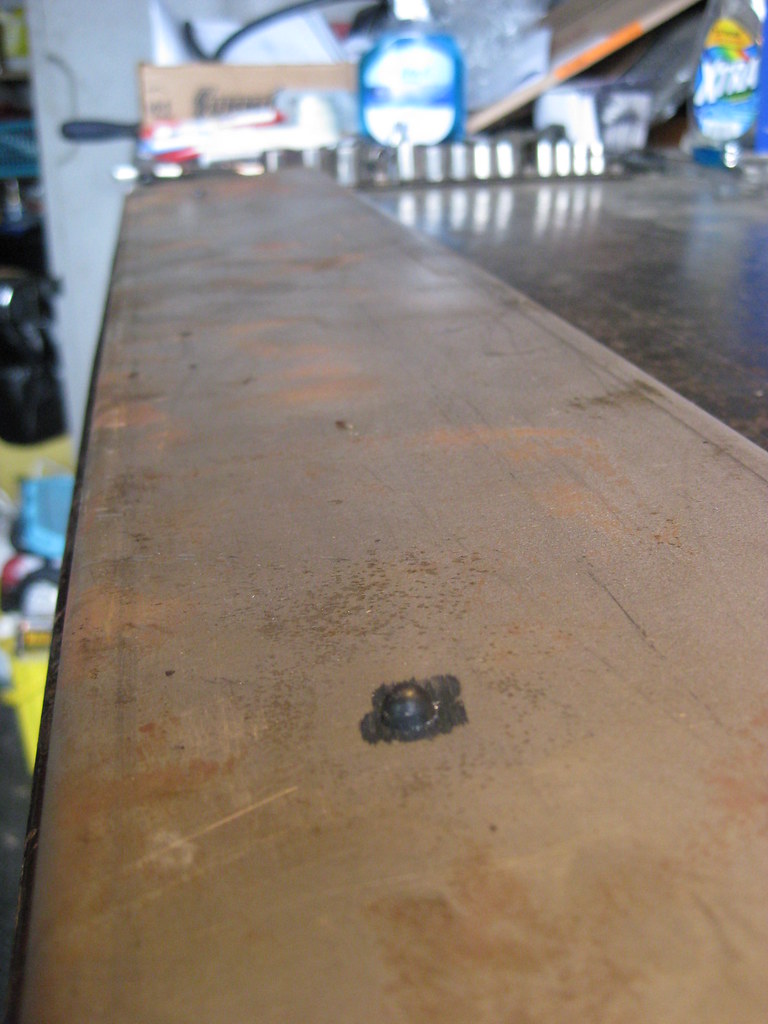
Then I had to drill the holes for the isolator mounts. These had to be in the exact right location so that the turn down on the back of the mount would hold the isolator in place and the hole would hold the nipple in place as well.
Fortunately they turned out good and I was glad because I was not looking forward to welding those holes up and starting over.
Measure 200 times and cut once with a grimace, then ask someone else to look because you don't have the nerve.
Then I trimmed a section out of the rubber on the core support for better fitment and support.
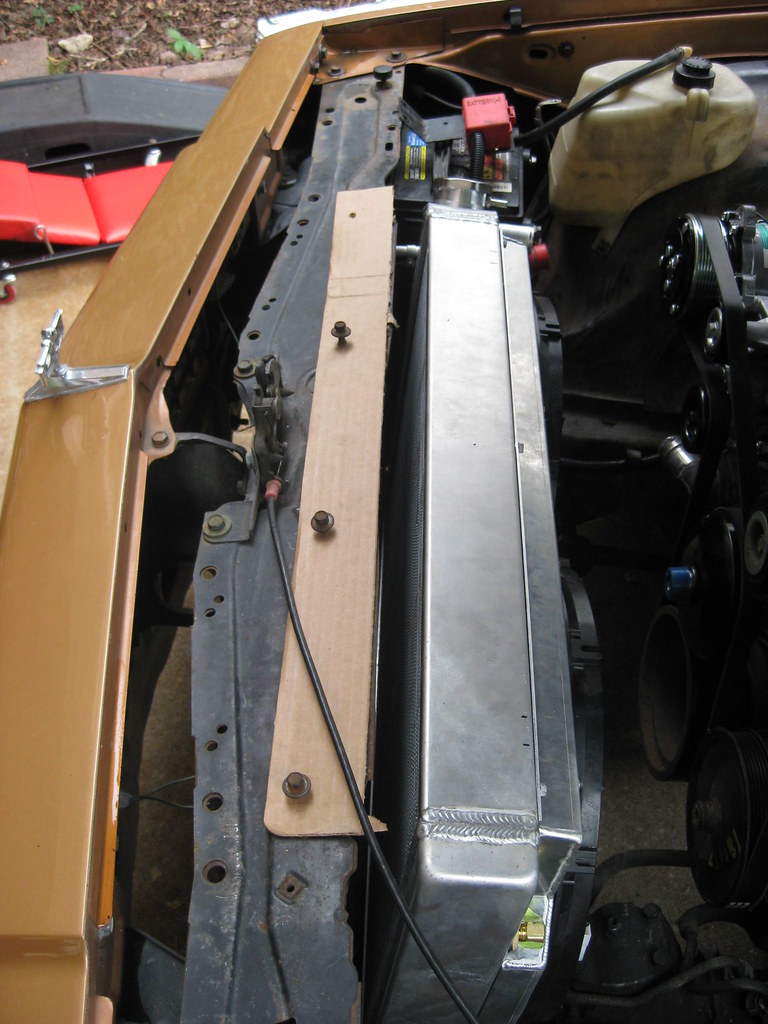
Next I had to drill the holes that would hold the radiator mount in place. The problem here was that the holes in the core support were all boxed in and I couldn't reach underneath to mark where the holes were onto a piece of cardboard. I taped a piece of paper on the area and punched the holes into the paper.
Then I transferred the holes in the paper into a piece of cardboard.
Then I test fit the cardboard to make sure they were correct. One bolt was missing and two others didn't want to thread very good so I had to run to the hardware store and got four new boolts.
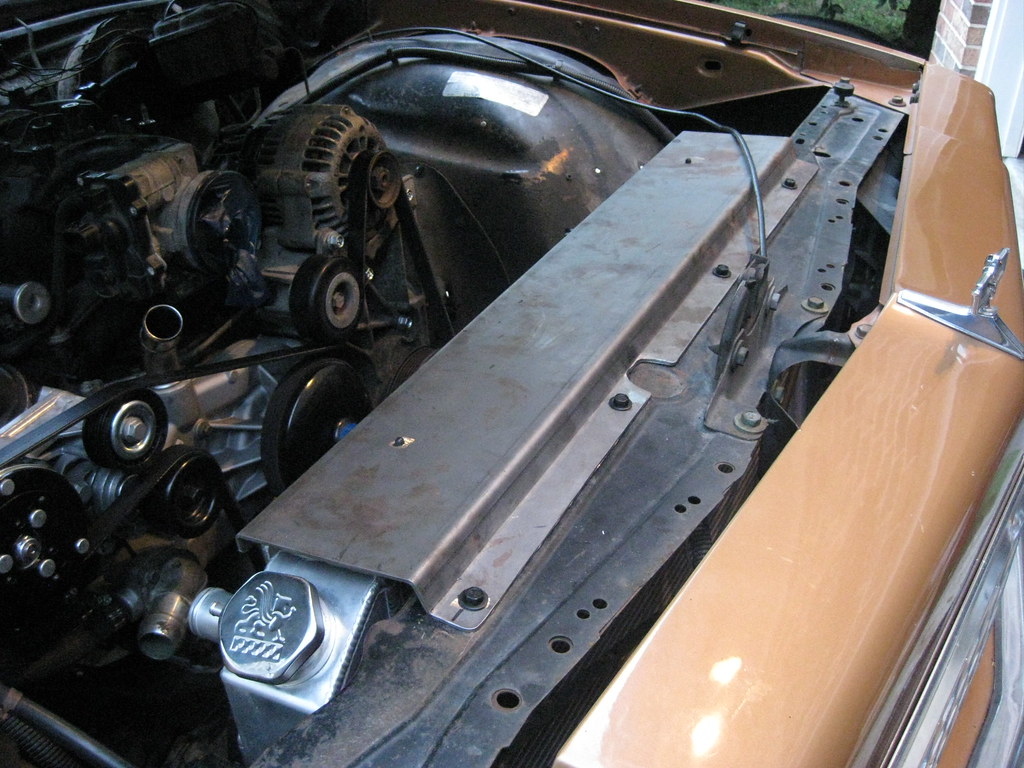
Then I transferred the cardboard onto the mount. I had to locate the far left and right hole and the middle two would fall in line. I also made a cutout for the hood spring, which on this car is attached to the hood rather than the core support. At long last, it was finished, and it fit and it hold the radiator very secure.
I couldn't have imagined how difficult, start to finish, this simple piece would have been. Aside from making the template, finding the steel and then finding a way to get it bent and then getting it bent to the right shape. Adding the time I've spent looking through scrapyards and trash dumpsters behind body shops to the trip into the city to buy the steel and then looking at different metal brakes, researching how to modify and upgrade them to bend 1/8" steel and ditching this idea and then calling no less than 10 people or companies trying to find a way to get it bent I can't even count the hours I have in this piece and early trips before work in the morning to the metal shop. If I had it to do over, now that I have it all figured out, it wouldn't take 1/10 of that time.
It would have been easier to run two arms over the top and mounted the radiator that way, but I like the look of these type mounts much better. Also, many of the other mounts I have seen are hard-mounted straight from the core support into the radiator with no rubber isolators. That may work fine on weekend toys but on a car I've had for 21 years and plan to continue to daily drive for several hundred thousand miles on I feel this was a better long term solution. I really wanted to laser cut a Caprice emblem on the top with etched colored glass under the holes and then put two colored LEDs under the mount that would have come on when the hood was raised but in my effort to again not go overboard I had to decide not to. I haven't yet decided if I want to have some bead rolls put into the piece. The piece is sturdy enough that I don't need them for strength, but if I decide I want to later it will be easy enough to remove the four bolts and have the metal shop run some beads.
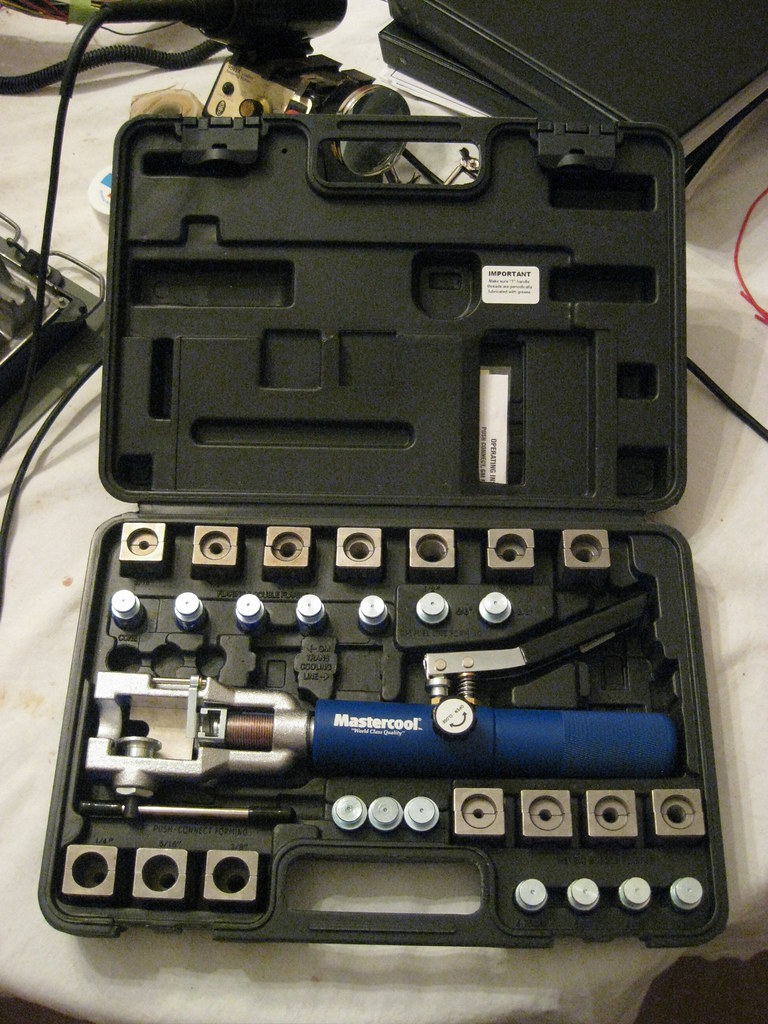
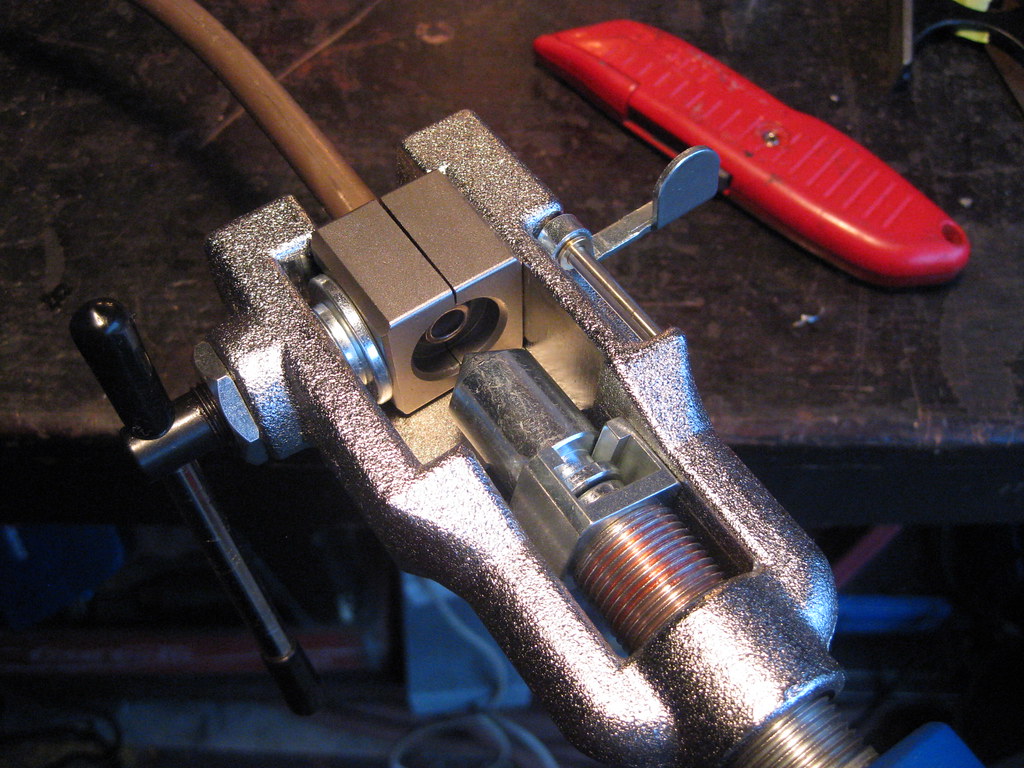
The brake flaring tool finally came in. This is the most money I have ever spent on a tool, and hopefully ever will, but after every rental flaring tool in town proved to be garbage I knew I had to buy a decent one. Over the years I've done enough hose fittings to know I'll do more. Just last year the 60 Cadillac had to have two new front wheel cylinders (which was done in haste and not documented in this blog) and I had to cut the line off the care and reflare it. This would have made that job very easy and would have allowed me to do it on the car. I also know that when I spent all the time it's going to take to bend these transmission lines and snake them all the way back to the transmission I'm not going to want to risk a bad flare ruining the whole line and it was important it be made right the first time. After years of frustration I am finished using garbage flaring tools.
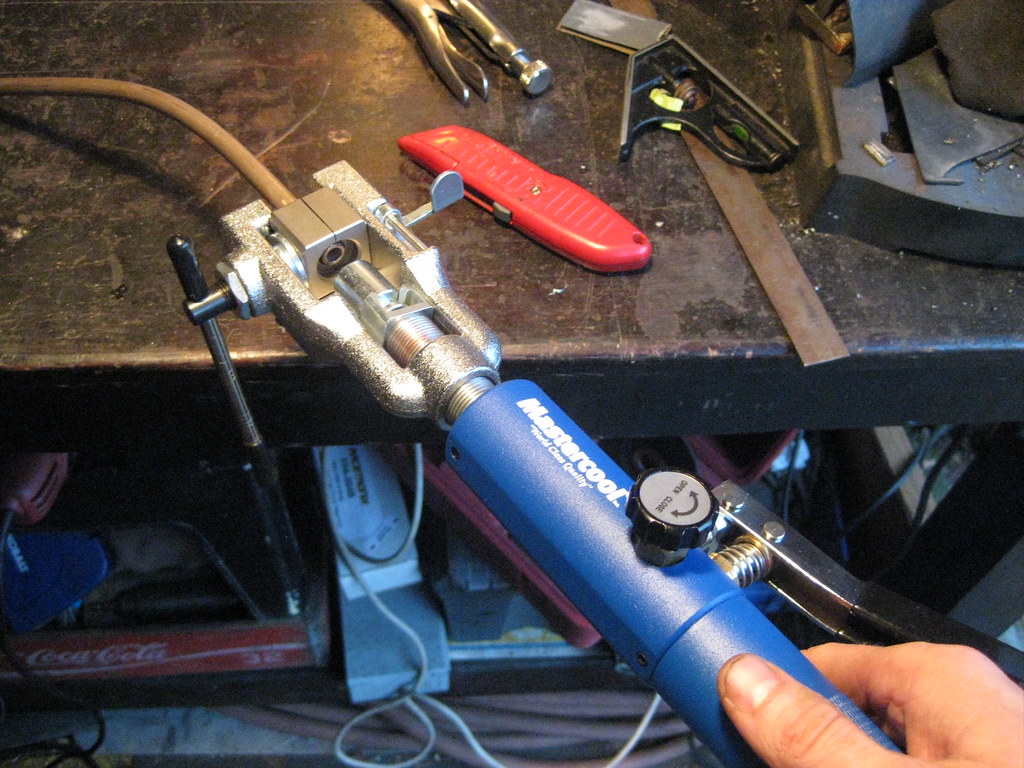
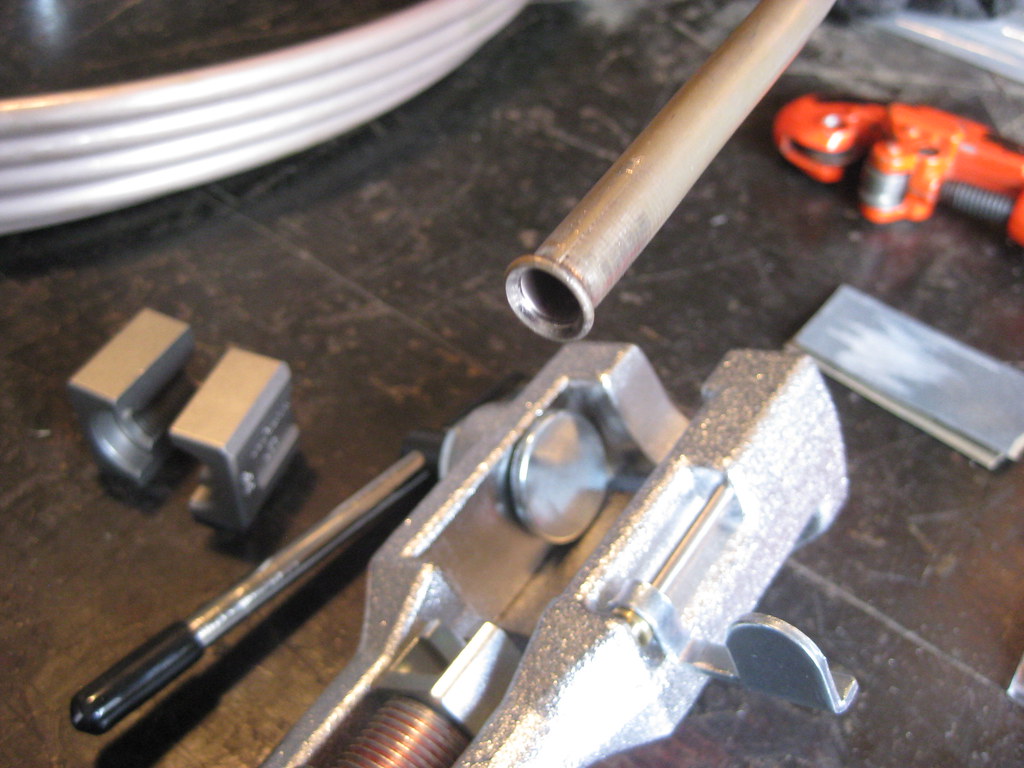
The tool works like this. Clamp the right size die around the line. Put in the first fitting and squeeze the hydraulic line.
Release it and install the second fitting and repeat the process.
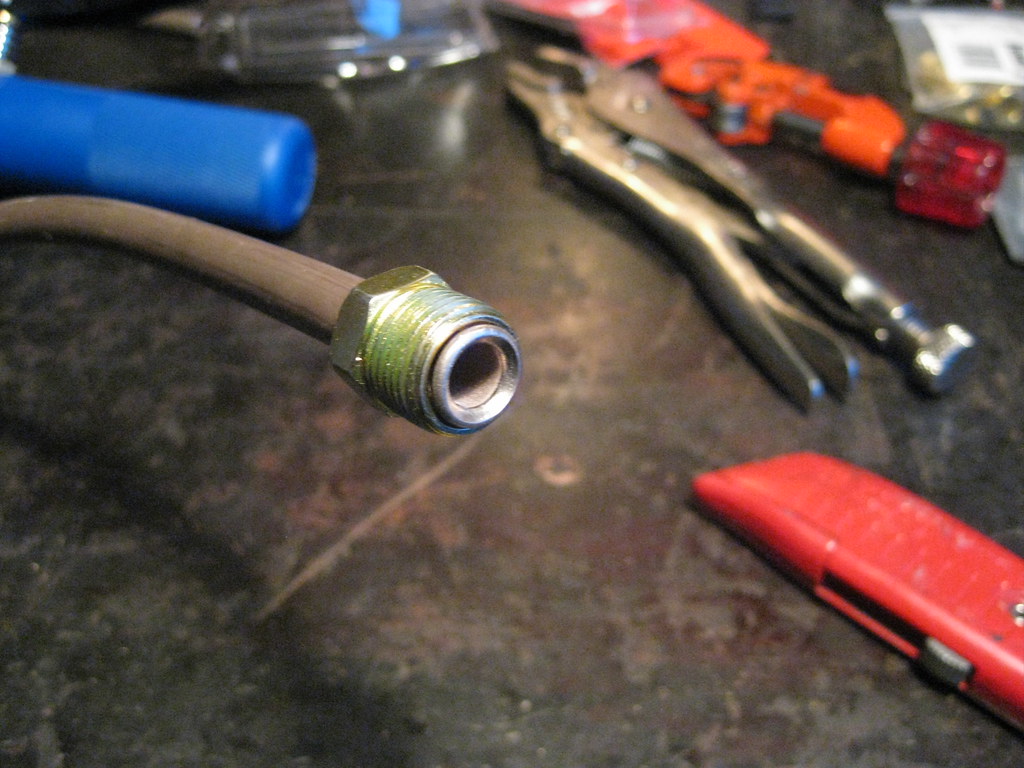
Every time it makes a perfect flare. And yes, by the time I got the line bent and was ready for the second flare I was losing daylight and in a hurry and frustrated from the difficulty of bending line and forgot to put the fitting on the flare not once, but twice.
In the end for me this was well worth it. It also does a lot of other types of fittings as well.
When it came time to bend the line I first tried using a coat hanger and then match those angles. Since I didn't know how long the line needed to be, and I was afraid of running out, I had to try to bend the line while keeping all the rest coiled on the end. I found that doing this as one person was practically impossible. I had bought this bending tool at a parts house when I was running all the line on the '37 Chevrolet. This tool was utter garbage and broke almost immediately back then when I first got it. I kept parts of it thinking I might use them in the future. It again proved to be virtually useless. I think I put about 50 miles on my creeper trying to determine the best route to run the lines. I finally was able to get one of the lines bent and fully installed. Once I finish the second I can install the transmission dipstick and have the exhaust installed as well.
