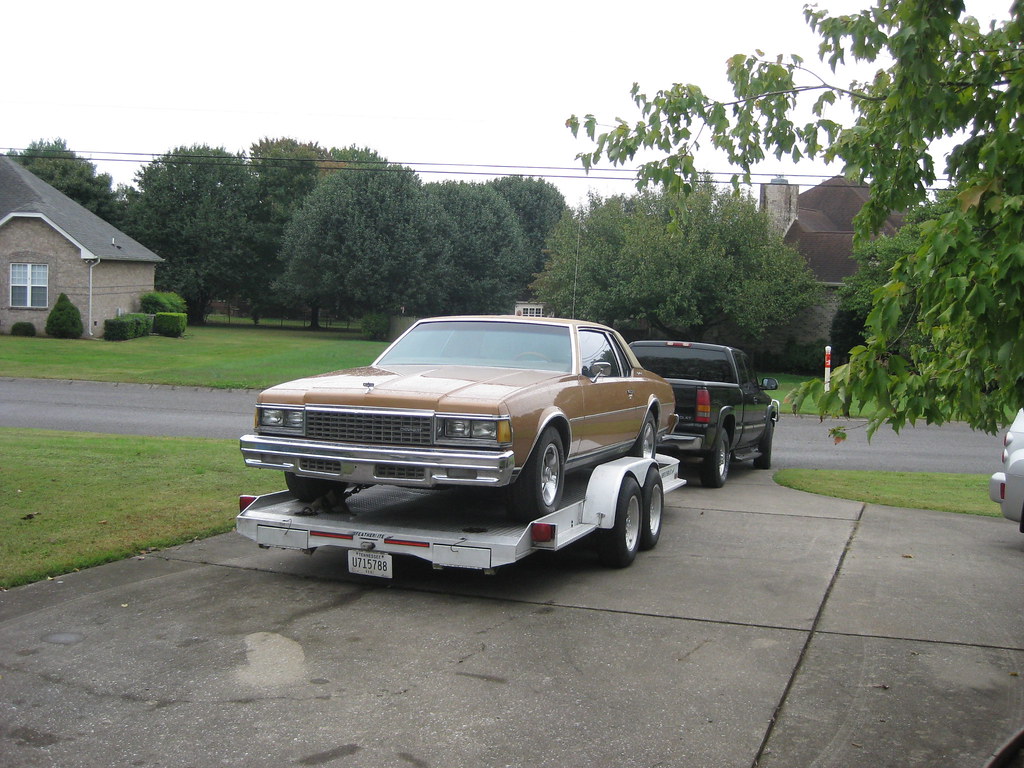
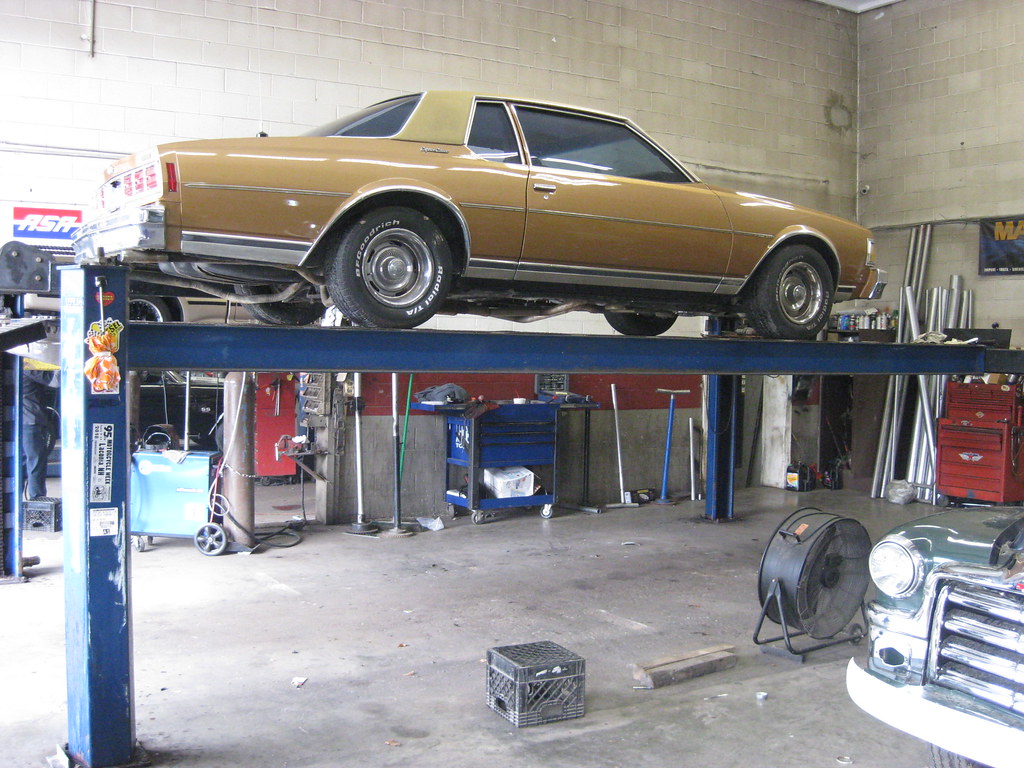
The shop is at the top of a small hill, until you consider pushing a car up the hill, then it becomes a very long mountain. Fortunately I was able to back the trailer up to the lift and pull the ramps out right onto the lift. Pushing the car wasn't difficult at all, not that I was actually pushing; I was steering at that point.
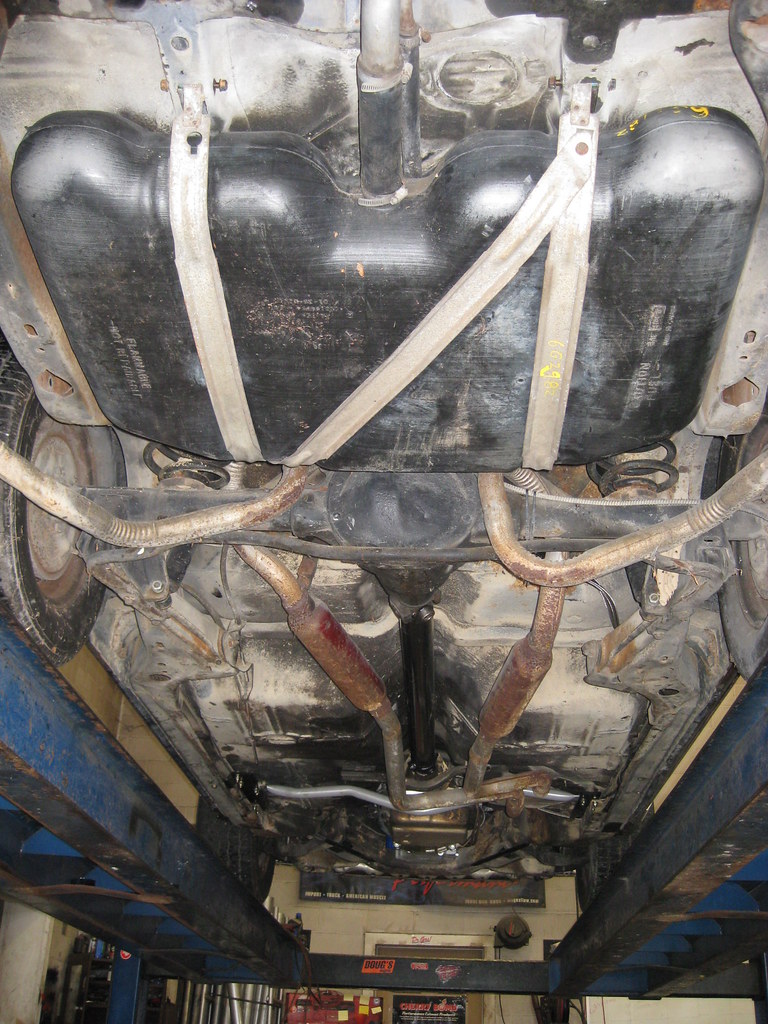
Here's a shot of the new gas tank and the old glass pack exhaust. This same shop put these on about 20 years ago. It was a very big deal for me to be able to get dual exhaust on The Caprice back then. I had access to what most would consider some pretty cool cars of the day, but I wasn't interested in them and loved this Caprice. It used to be a loaner car for Dad's dealership and when I found it, it was on the back lot with weeds grown all around it and was soon to be on its way to the junkyard. I really loved the look of the car, but at the time almost no one at all appreciated these cars, and this certainly wasn't even a nice example of one. I used to get made fun of quite a lot for driving it. My parents thought my love of this car was some kind of teenage rebellion of sorts because I chose it over something nice, but I never actually went through any teenage rebellion phases and just really loved this particular car. As a result, Dad never let me modify or spend money on the car because he didn't like it and thought it was a waste of money, so when I finally convinced him to let me put dual exhaust with glass packs on it it was a big deal. Also at some point someone had traded in a Chevrolet S10 with 7 inch rallies on it and I convinced him to let me swap them onto my car and take the hubcaps and whitewalls off. Eventually I used that as a segue to getting some 8 inch Corvette rallies and white letter tires. Years later someone with a body shop owed Dad a favor so I actually was able to get the car painted. I'll miss the sound of the old glass packs. Sometimes I would come home on summer weekend nights and sit behind the car and listen to the true dual idle out the pipes for a little while. It wasn't fast at all but it had a nice sound to it.
I don't have any photos of the finished exhaust because I wasn't there when they finish it. Because of my work schedule I'm not in town when the shop is open. Dad went by on Monday and picked the car up and we unloaded that night at the house.
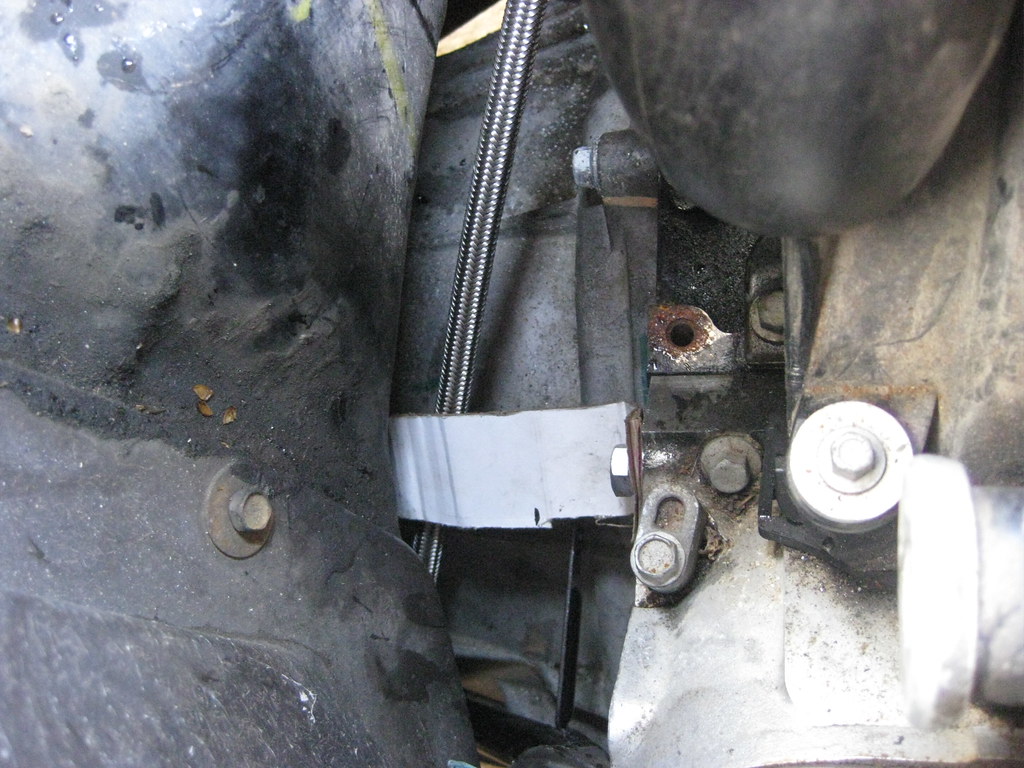
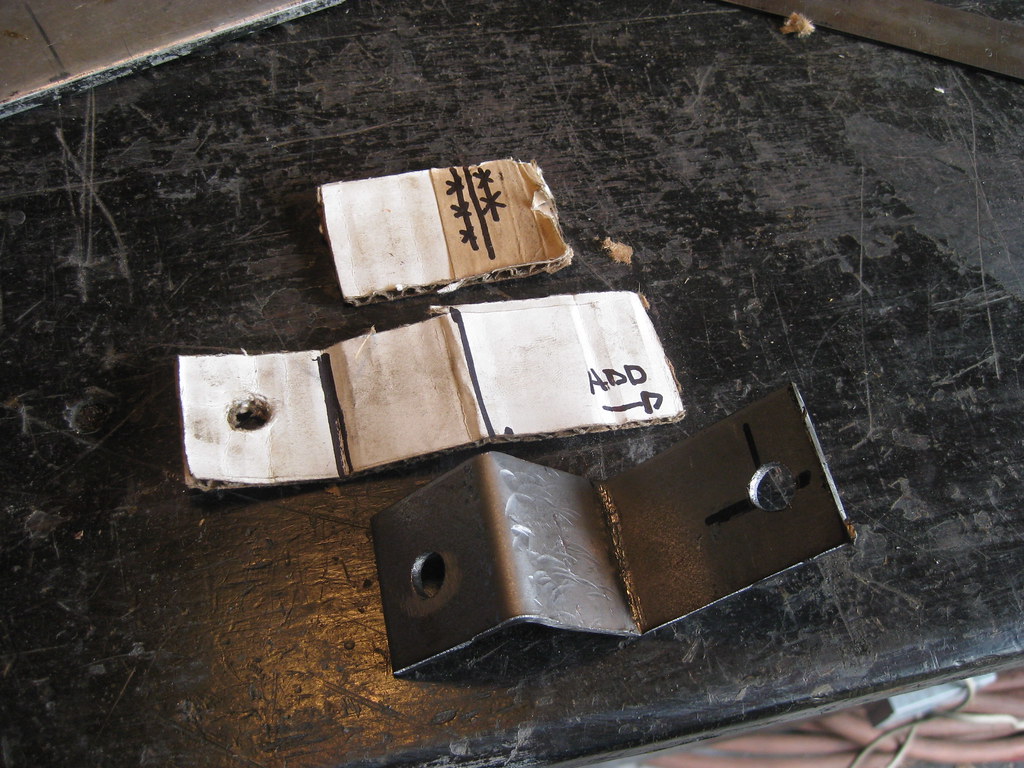
The aftermarket transmission dipstick wasn't made exactly correct (no surprise) and the mounts wouldn't fit, so I had to make my own. I started by bolting a piece of cardboard to the block to use as a template.
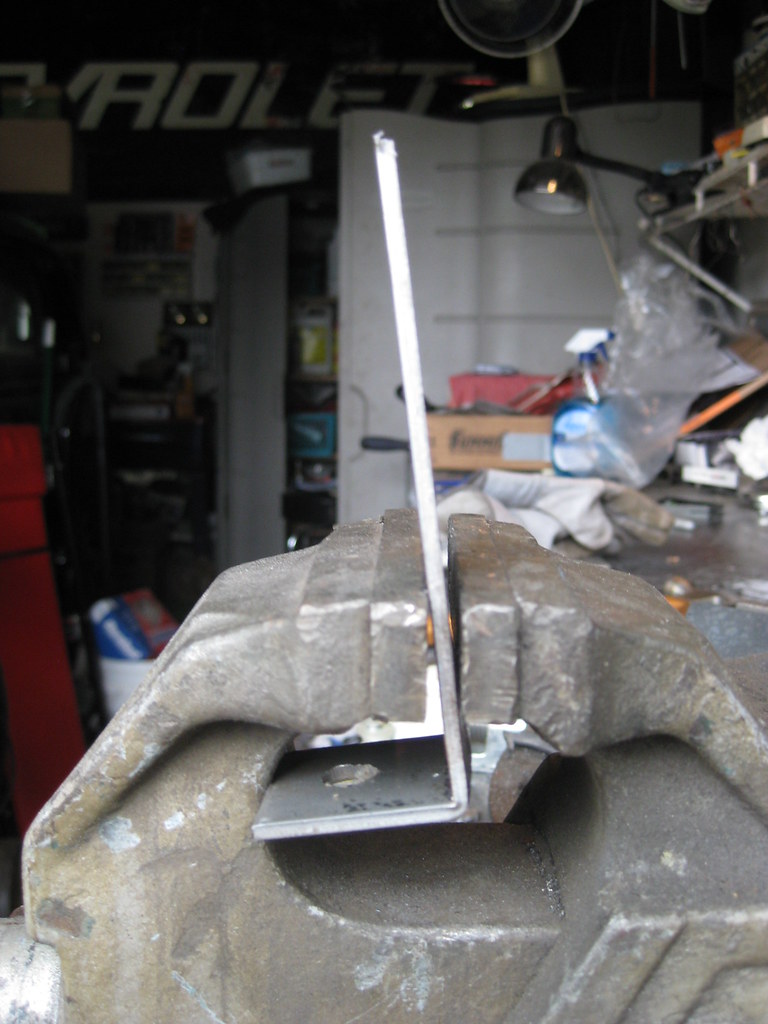
Anything over a single bend is difficult to impossible with my small vice. I used some of the leftover 1/8" steel from the upper radiator mount, which I intentionally ordered large because I figured a need would arise for the excess. This setup doesn't make good looking bends, but they're passable for this project.
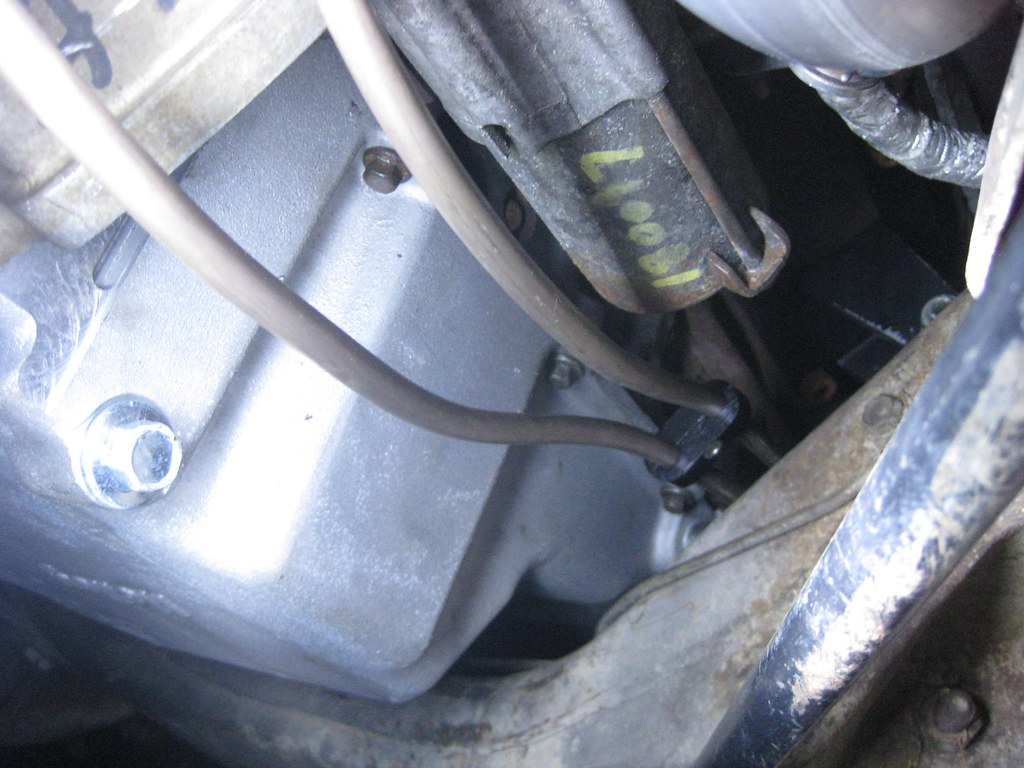
I had to mark where to drill the second hold for the dipstick tube, which was very difficult because there was a lot of play in the tube so I had to mark its entire travel and also getting the marker between the firewall and tube was a task in and of itself. I located where the hole needed to be with a punch.
And then I had to transfer that mark to the other side of the mount so I could put the piece in the drill press.
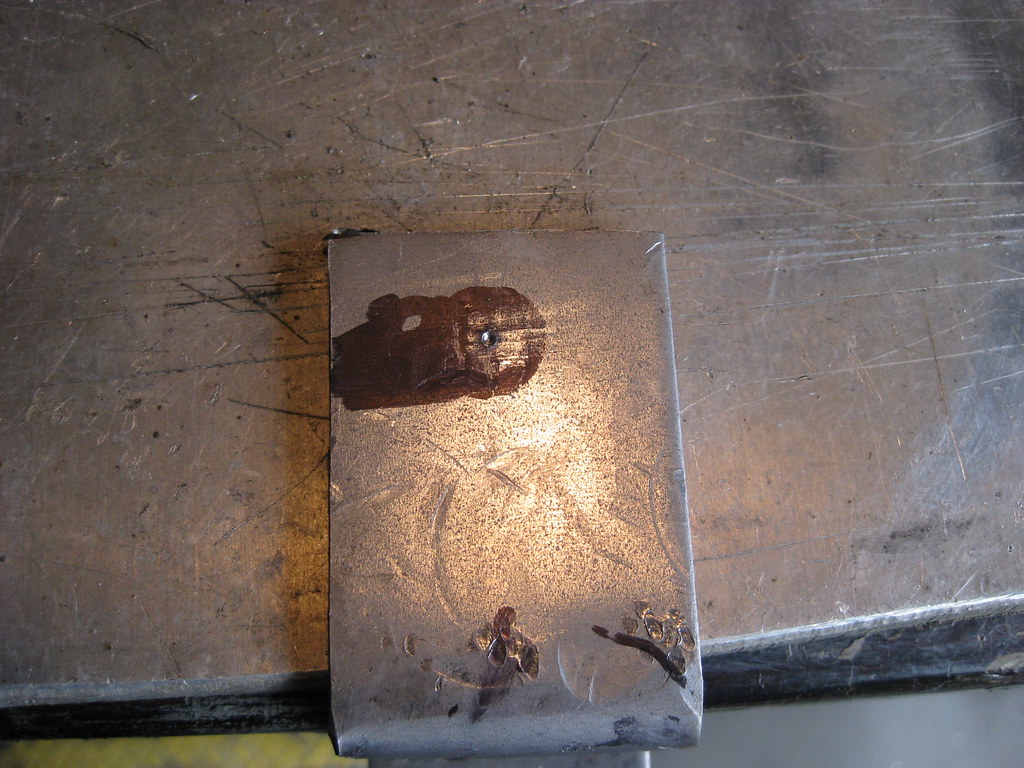
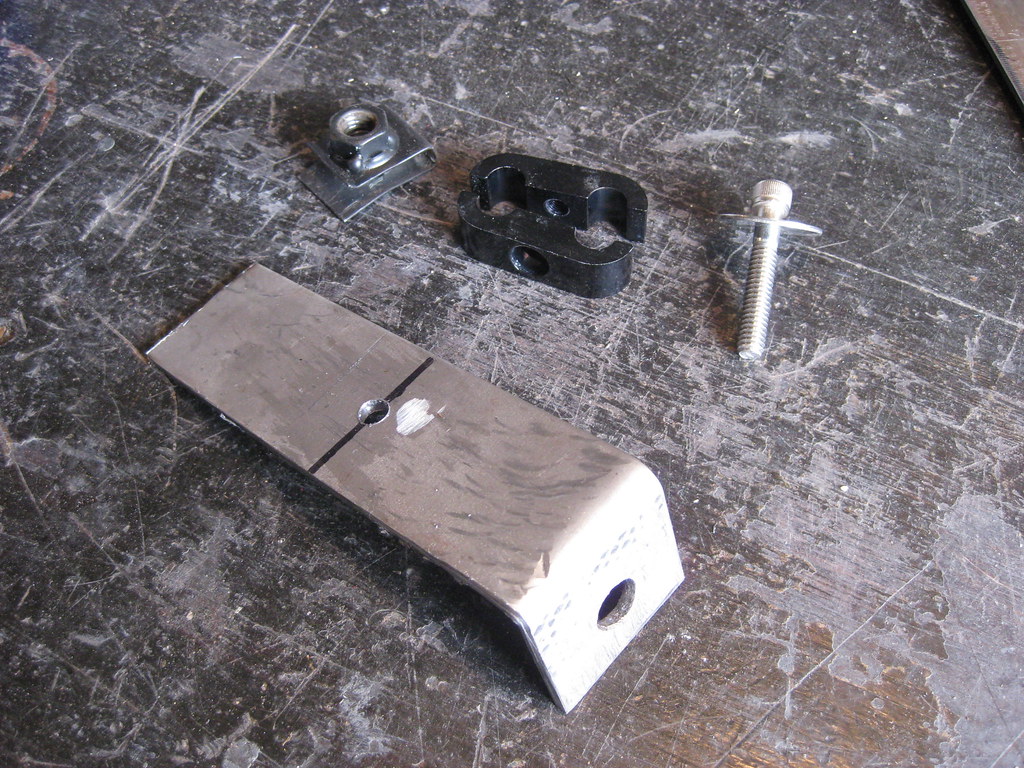
I eventually got all of the bends and holes where they needed to be.
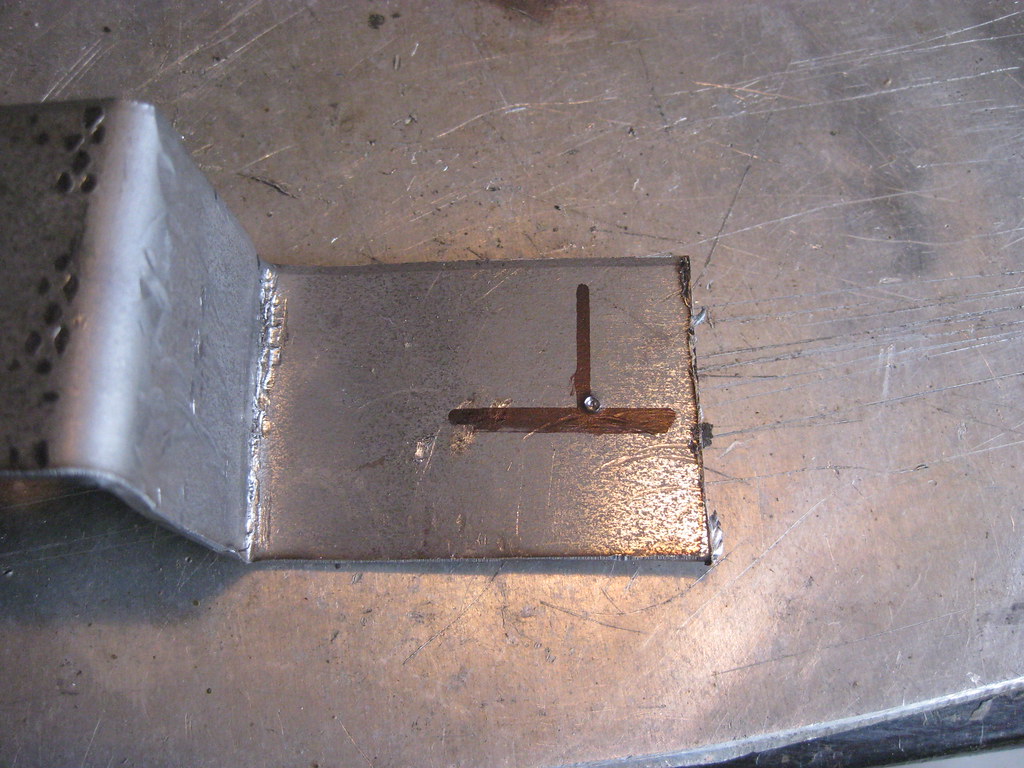
Primered, painted, and ready to install. It still surprises me how long it takes to make things like this. I think I ended up having about 4 hours just in this mount, mostly because of the difficulty of measuring the bends and holes in such a compact and difficult to reach space.

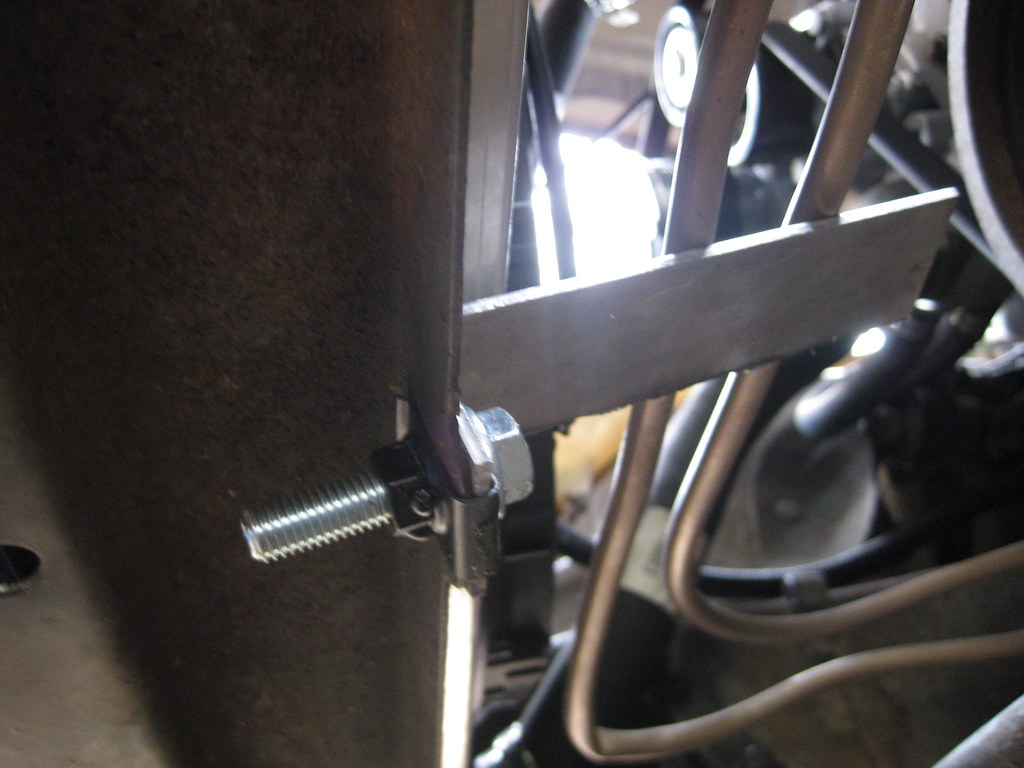
I had to cut down a couple bolts to make everything work, but the hard part was getting everything tightened down. I think I had to crawl under and pick up the bolt or my wrench no less than 8 times.

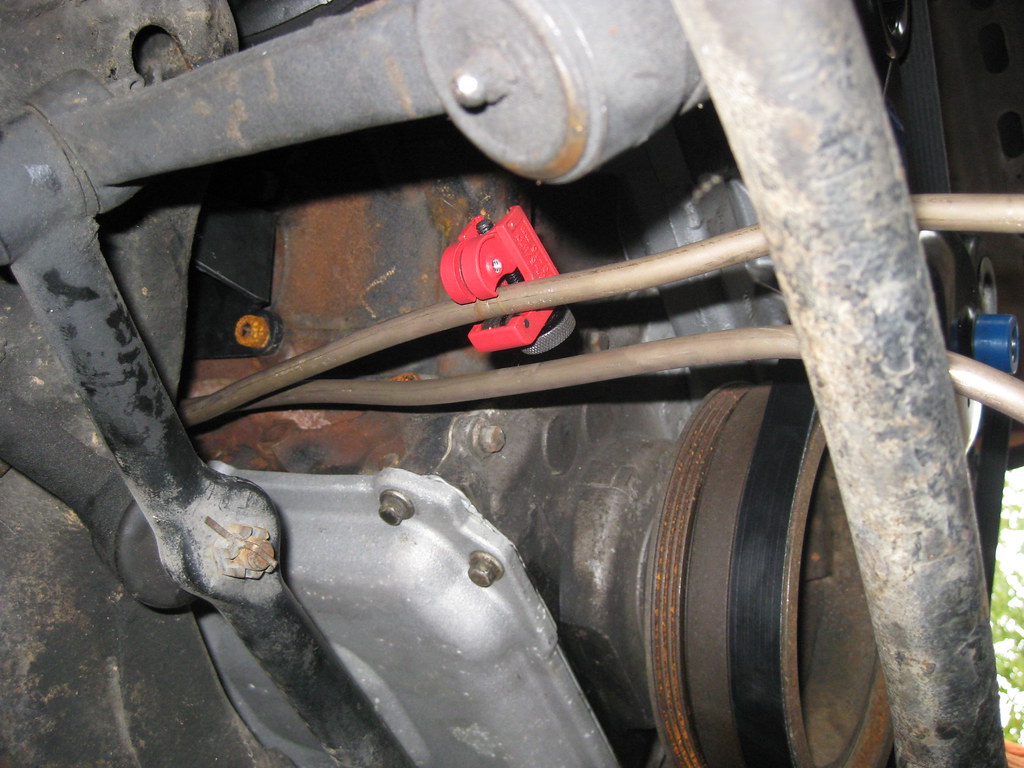
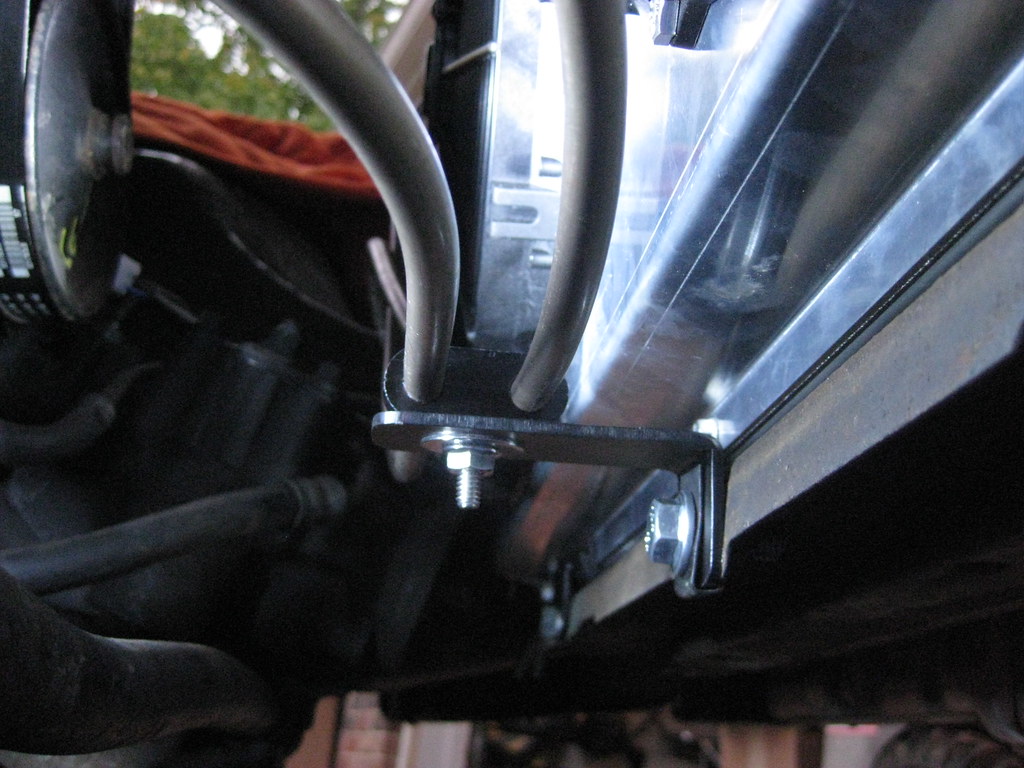
I also had to make a mount for the transmission lines. I ordered some line clamps. That body clip I had welded and painted for the fender and then found out I didn't need ended up being the perfect solution to for this mount.
I mocked everything into place several times and drilled the holes for the line clamps and shortened the bolt. I had bought a couple of these flanged bolts for something else but ended up not needing them.
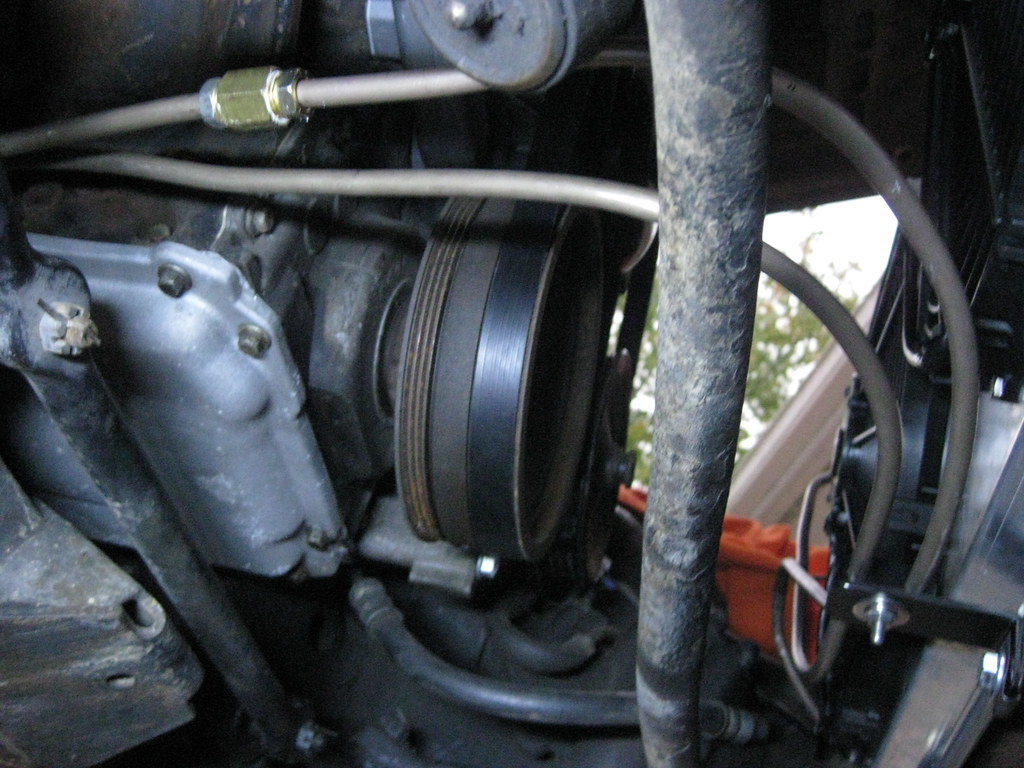
I was in a hurry last Saturday morning when I made this transmission line because I had to get the car to the exhaust shop before 12 and I needed the line to be in place so the shop would know where to run the exhaust pipes.
I ended up kinking the line so I knew I would have to replace it.
I knew immediately when it happened I had ruined the line. I was pulling gently and all at once it gave away and bent. I'm also not very good at this, so that doesn't help either. This copper aluminum line is very nice to work with, but kinks very easily.
There was also a smaller kink on the same line closer to the radiator so I replaced the entire line from here forward.
I made sure to put fittings on the lines immediately so I wouldn't forget.

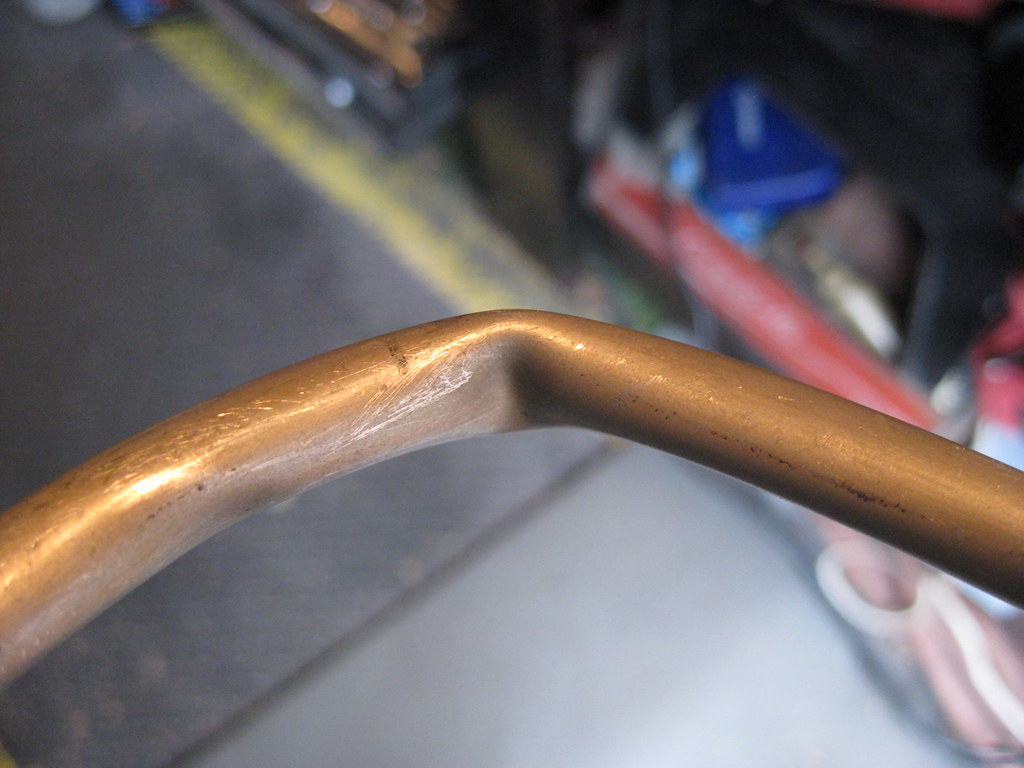
The rear section of the line would not come out without taking a lot of the bends out and reshaping it to reinstall. Fitting the flaring tool was very tight, but it was possible. It would not have worked with the traditional flaring tools I had been using. I can't say enough about how great this tool has been. I don't even worry about how the flare is going to turn out because it has yet to make anything other than a perfectly round flare.
I used the old line as a template and April helped me hold the excess roll of line while I bent it into shape. Because of the tight fit of the lower line near the radiator there is practically zero room for error in the shape.
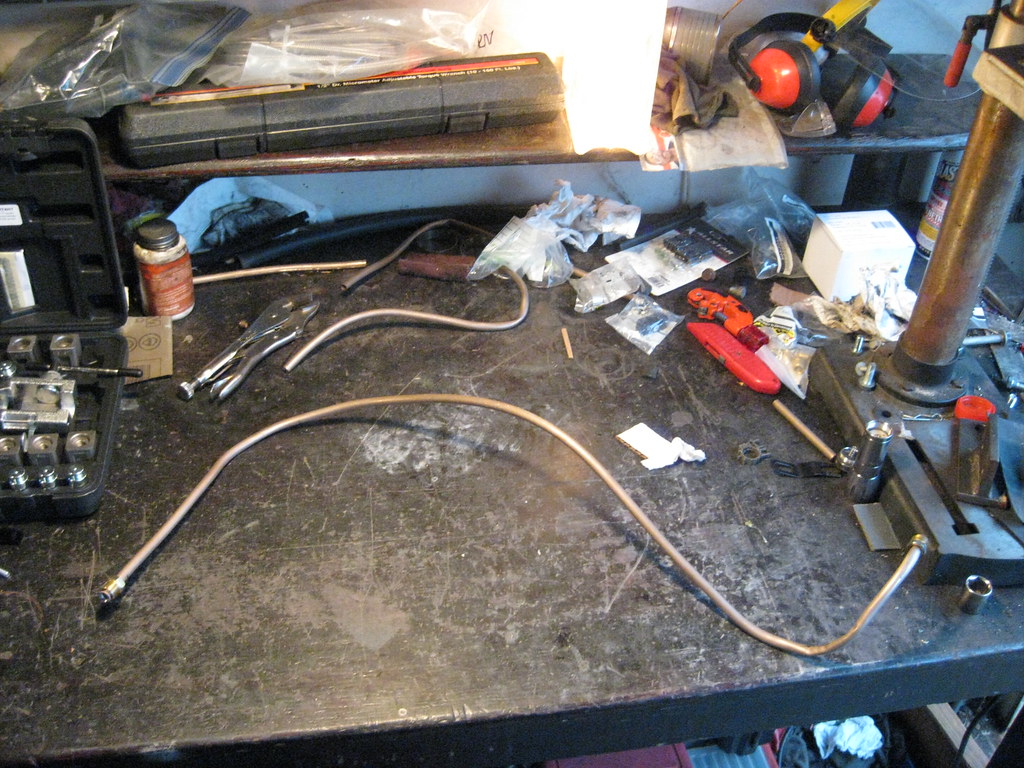
I had anticipated this earlier in the week and ordered some female flared fittings.
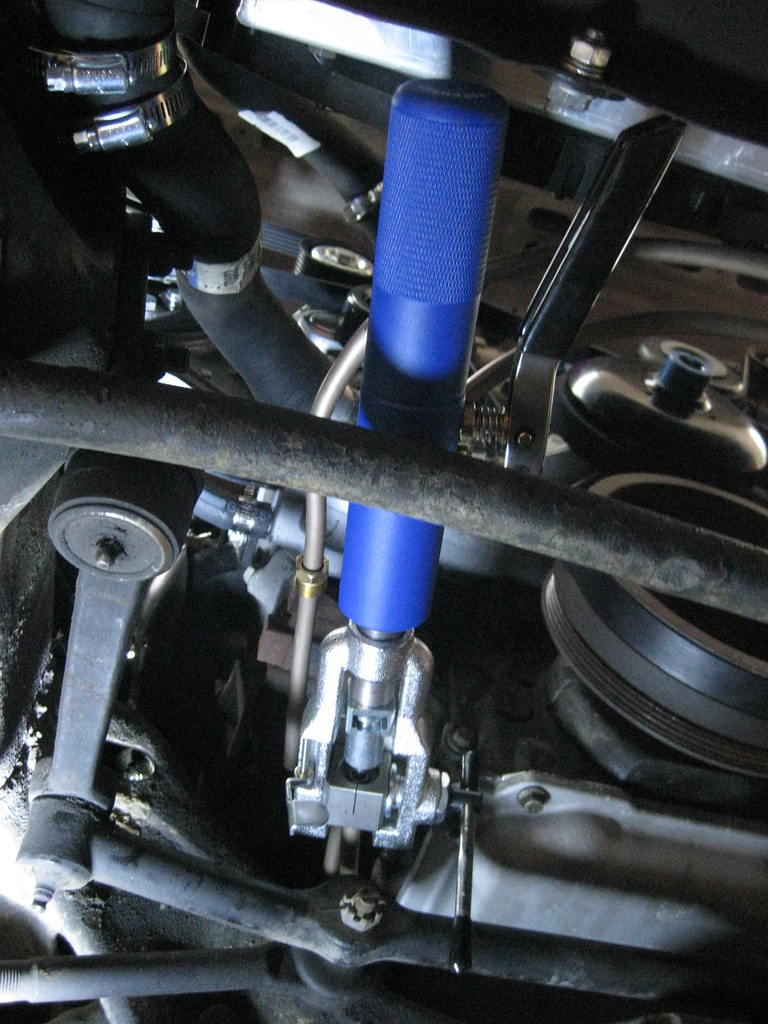
The finished mount ended up like this. The 1/8" steel provided a very study mount.
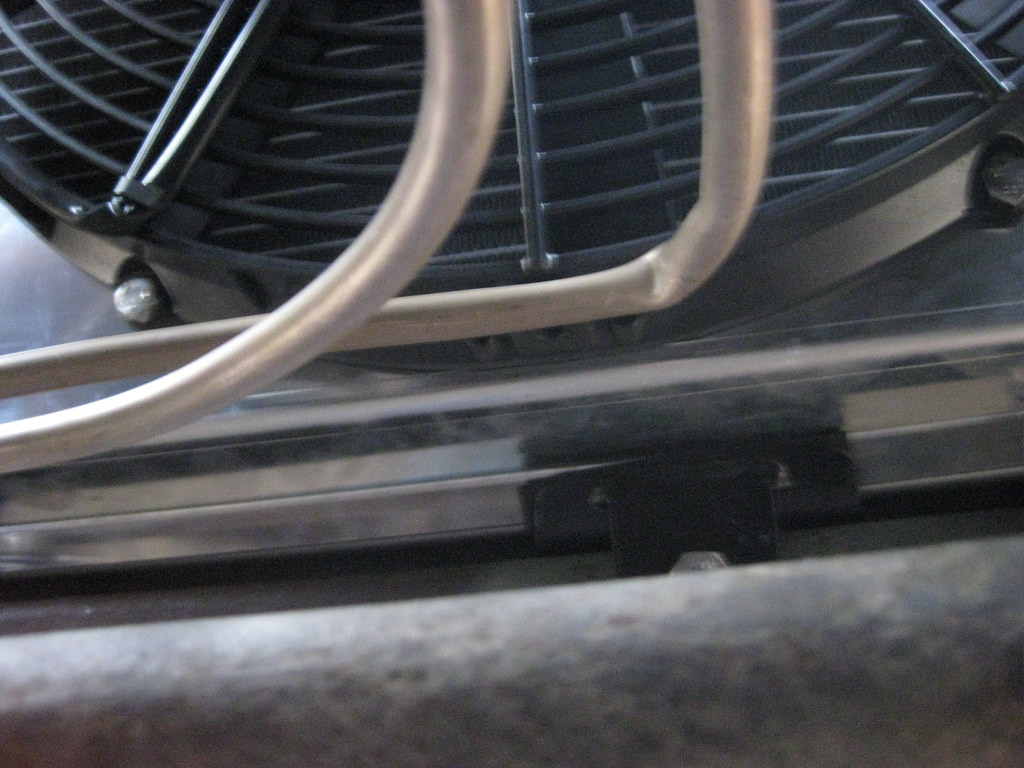
And here are the lines after the final installation. I would really like to have tucked them in closer and put some tighter bends in them but this is the best I could do with the tools and skill that I have. I was running out of line and didn't have enough to experiment with. I'm curious if the air intake tube will have enough room to fit behind these.
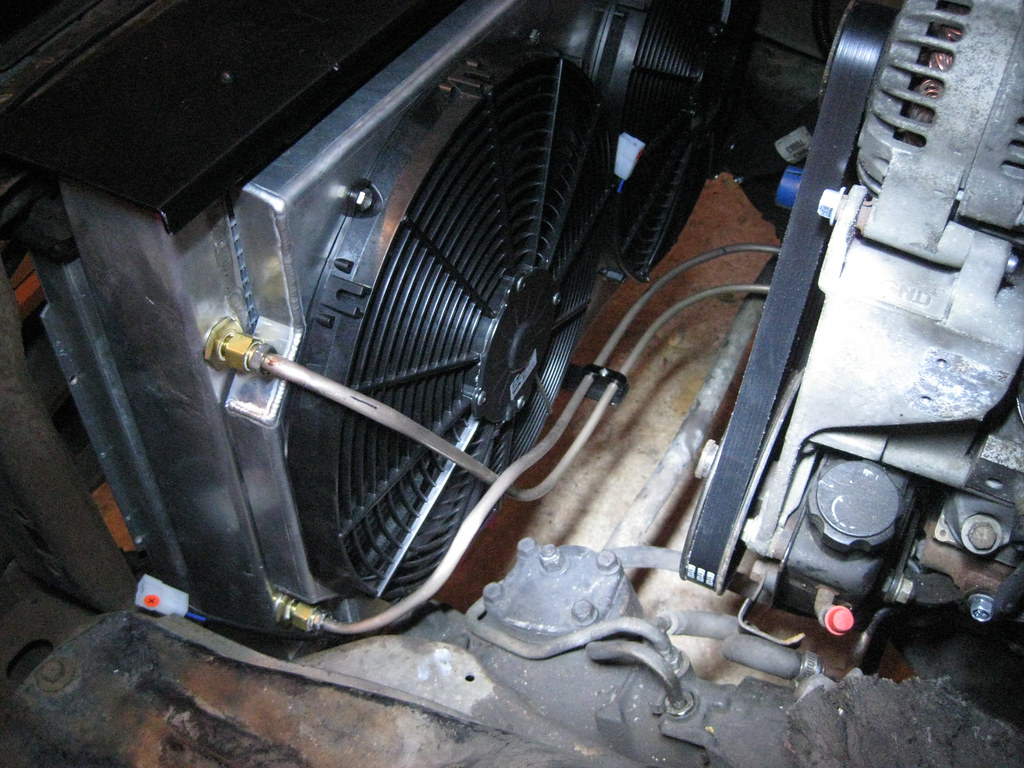
Finally, a kink-free turn. I would like to have been able to get the lines to look more symmetrical but I think it would take more than what I have available to make them look factory perfect.
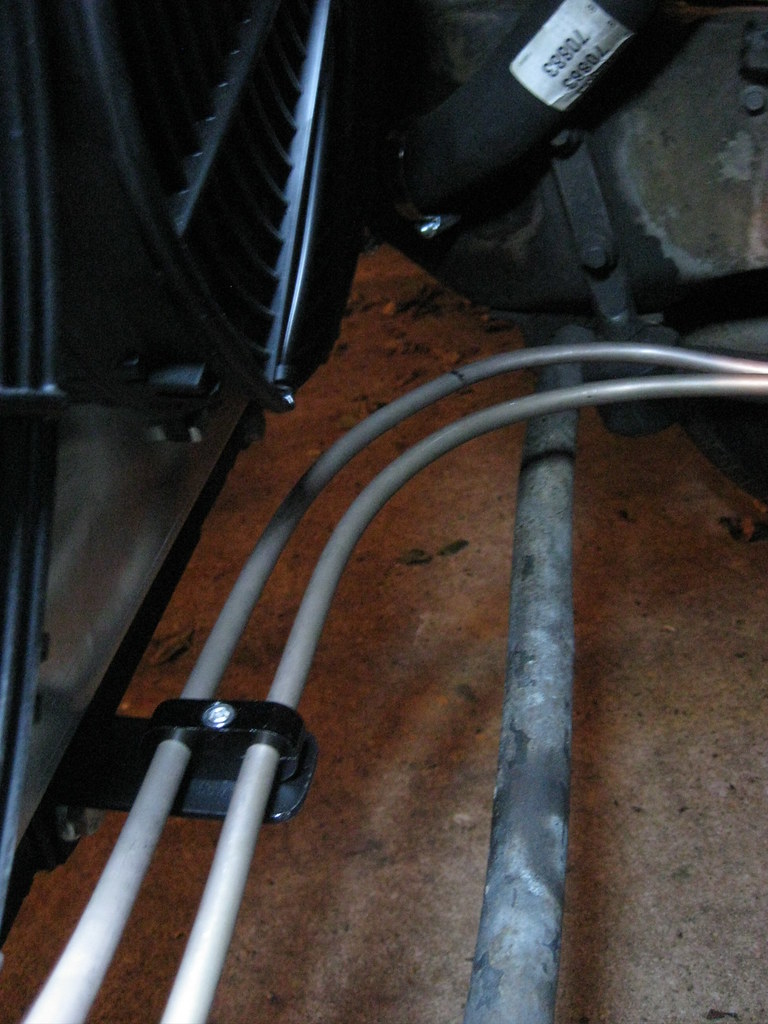
I ordered the line clamps in a two pack. I installed the other here which now has given the lines more stability and they do not make contact with anything around them even under vibration.