After a lot of welding, grinding and shaping the panel finally began to resemble a window corner. One of the difficulties was the fact that I couldn't weld anywhere close to the lead or it would melt so I had to create a divot to be fixed later at the bodyshop. Originally lead was used to build the panel up be smooth and the height it should be. I welded the patch panel in and then had to grind away all of the lead down to the metal underneath. Then I had to fill the height difference between where my patch panel was and where the metal was underneath. Then I had to taper that metal down to the base metal. Then I had to grind the lead so that it also tapered down to the metal also. Since I couldn't get close to the lead with the welder, the only way to fix this area would be to re-lead the entire area, or leave as much lead as I can and fix the rest with body filler. This is why there is a divot on the left side of the patch. At the bottom I ground away all of the lead and built the area back up with weld. The bottom of the patch was very difficult because that was an area where two thin pieces of metal came together and had to be welded into one piece. All I had was a large angle grinder and getting it into the corner and under the lip proved to be a challenge. One day I hope to have a proper air compressor so that I can use smaller, pneumatic tools that will allow shaping and accessing areas like this much easier than a cumbersome angle grinder.
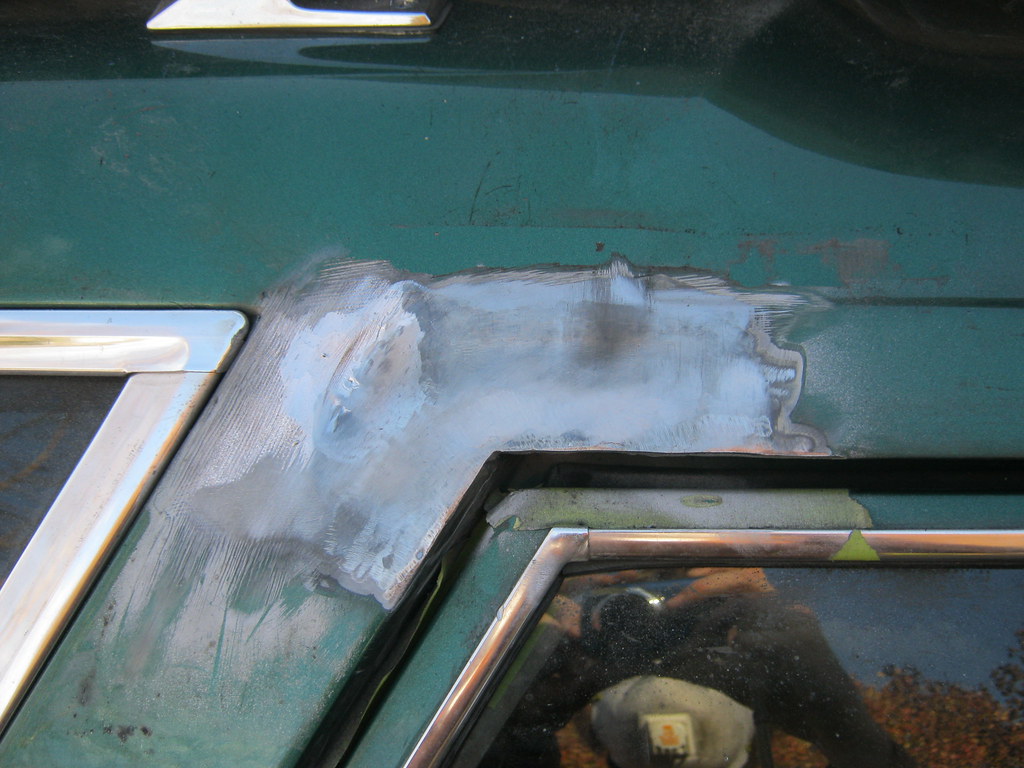
The areas with the scuffed marks are where I used the wire brush to remove the paint and primer and lead. This will be feathered later during the bodywork. For now I just want to get everything coated with primer and protected.
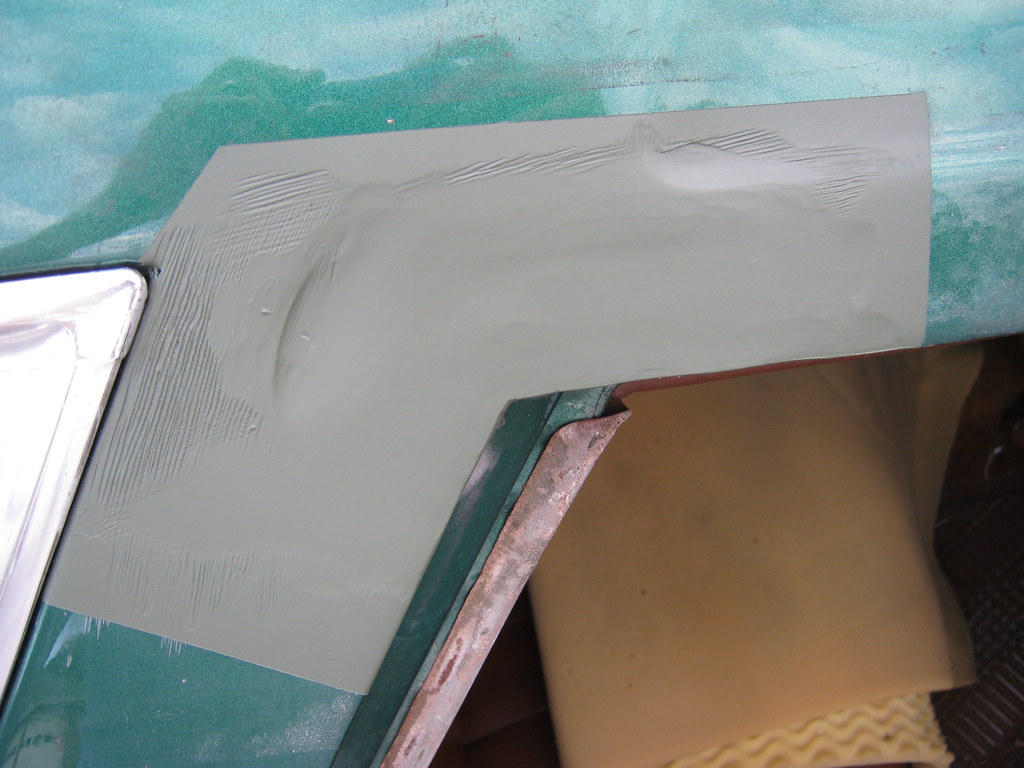
The pictures were making it look better than it was. I wanted to get a picture that represented how the panel actually turned out. I prefer to have panels that require almost no filler afterwards, but in this case it was almost impossible. Some of the uneven surface is the sharp transition of the old primer and paint, as well as the indented, L-shaped body line. Next will be the lower dogleg in front of the passenger rear wheel.
