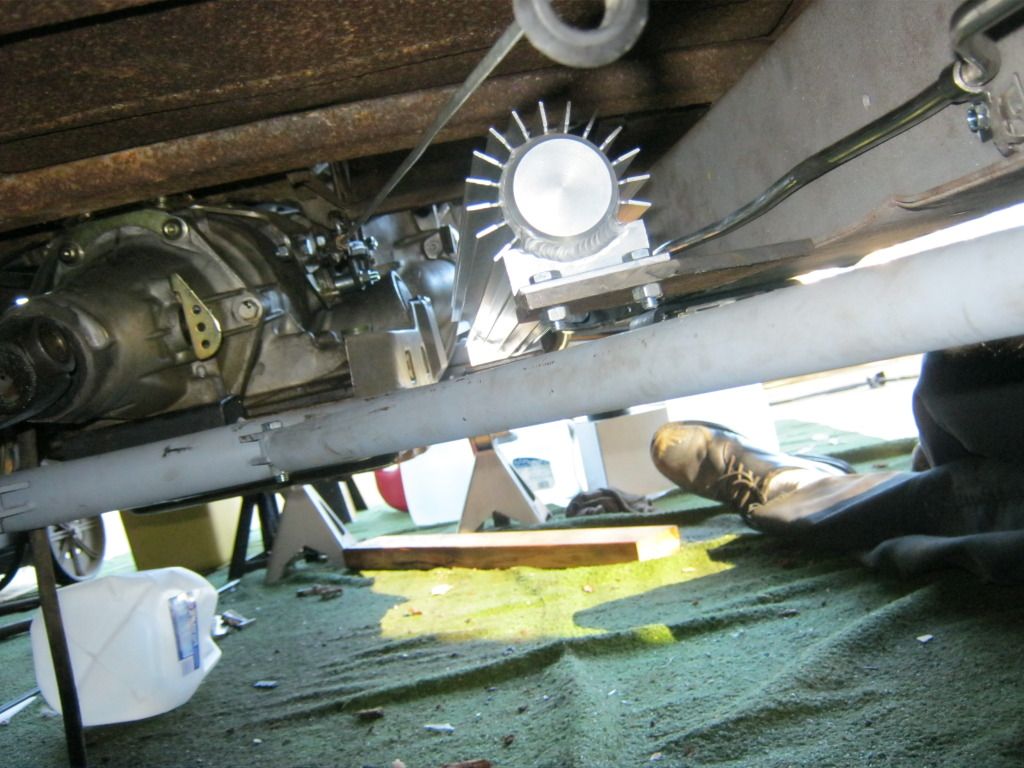
I had to get a little creative with the clamps and vise-grips, but I eventually got it held in place to weld. I've been having trouble the last two days getting the welder set correctly. My welds have not been as good as I would like them to be and I can't figure out why just yet.
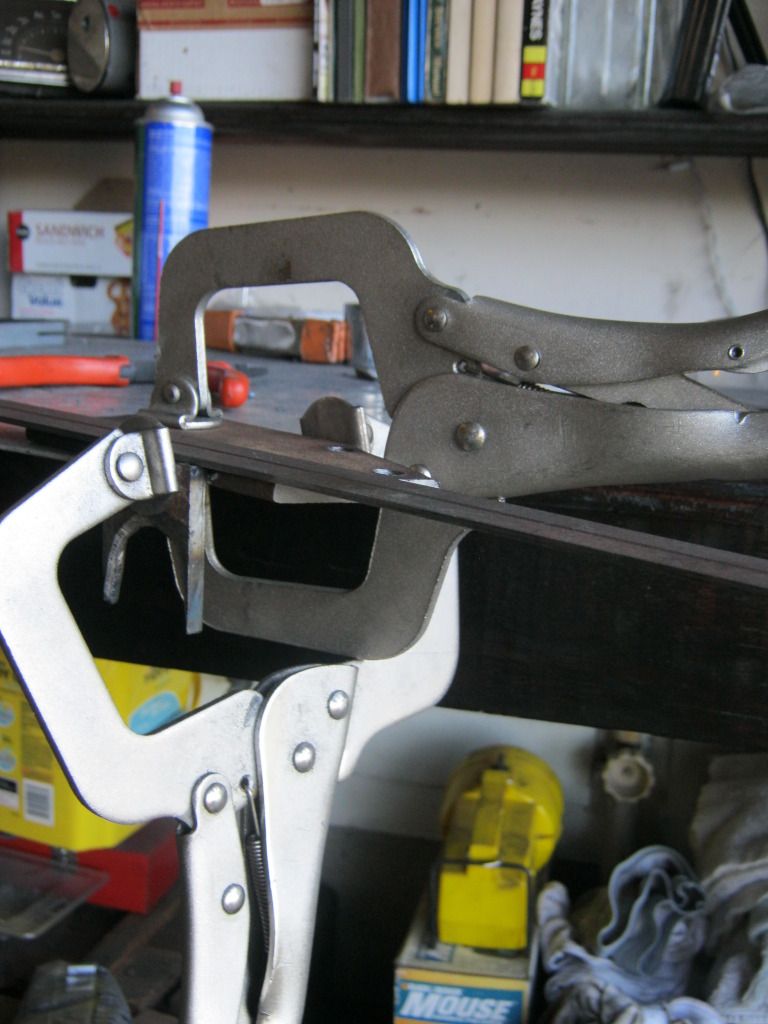
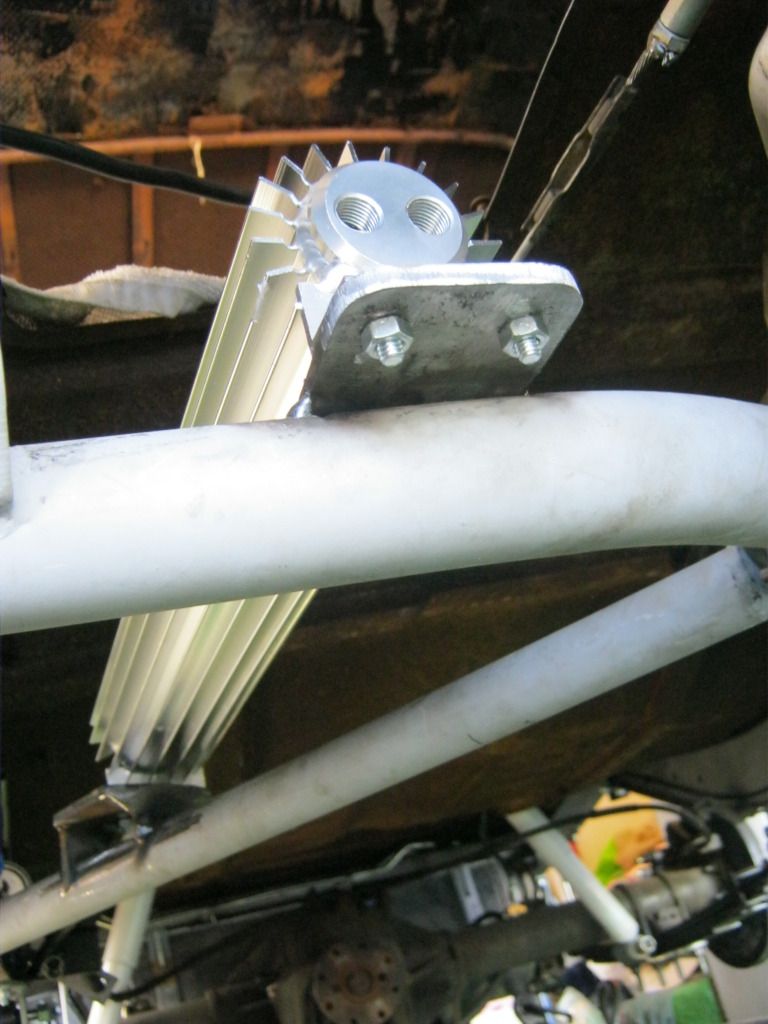
I had to cut a half circle out of each leg so it could sit on top of the round support arm. Grinding the primer off of the the support arm under the car was probably the hardest part.
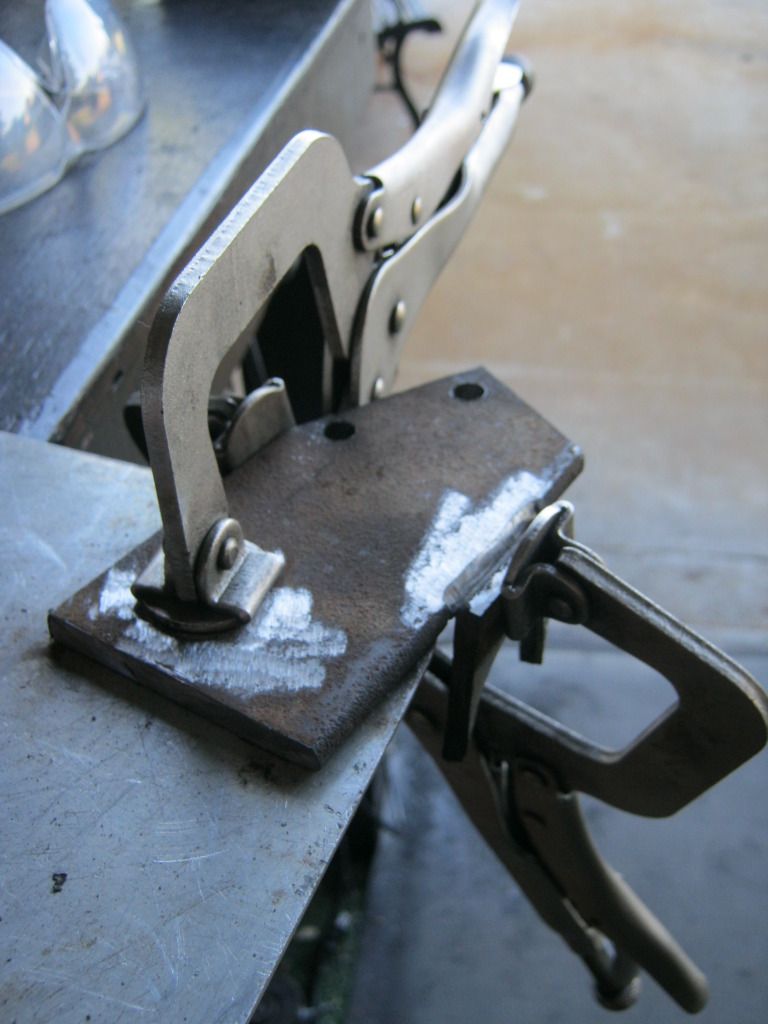
I only tack welded the rear mount in place, and I was only barely able to do that. It looks like there is a lot of room to get under the car and weld it but in reality it's almost impossible to do anything but lay flat and look around. I'll finish these up when I take the car back apart.
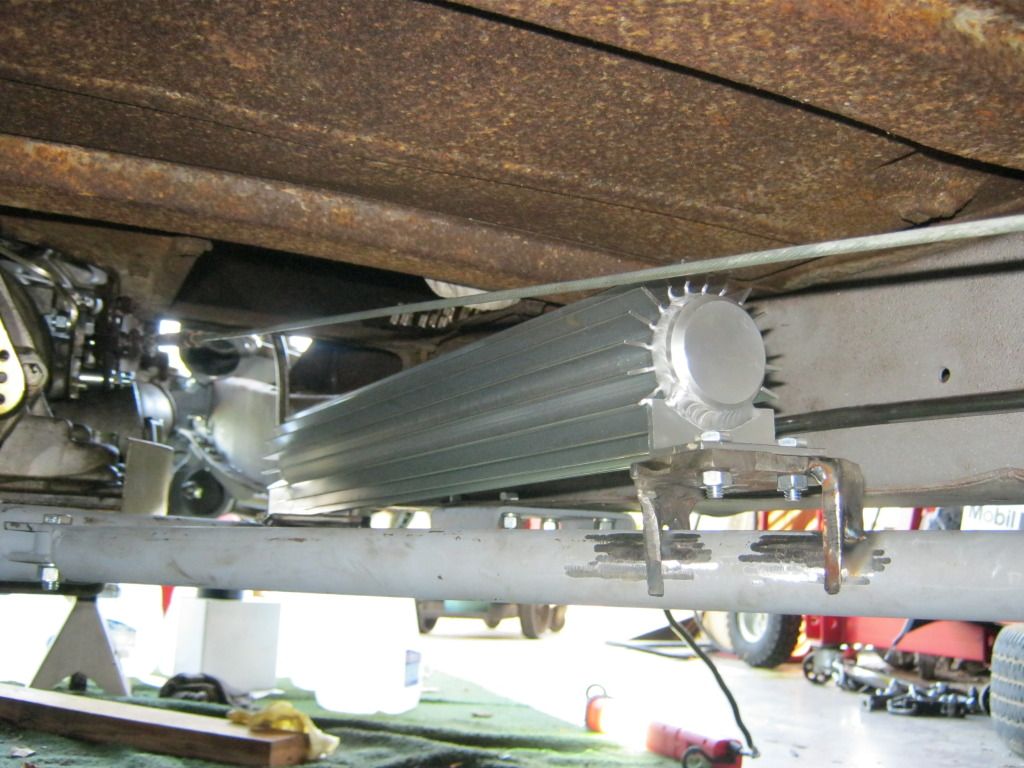
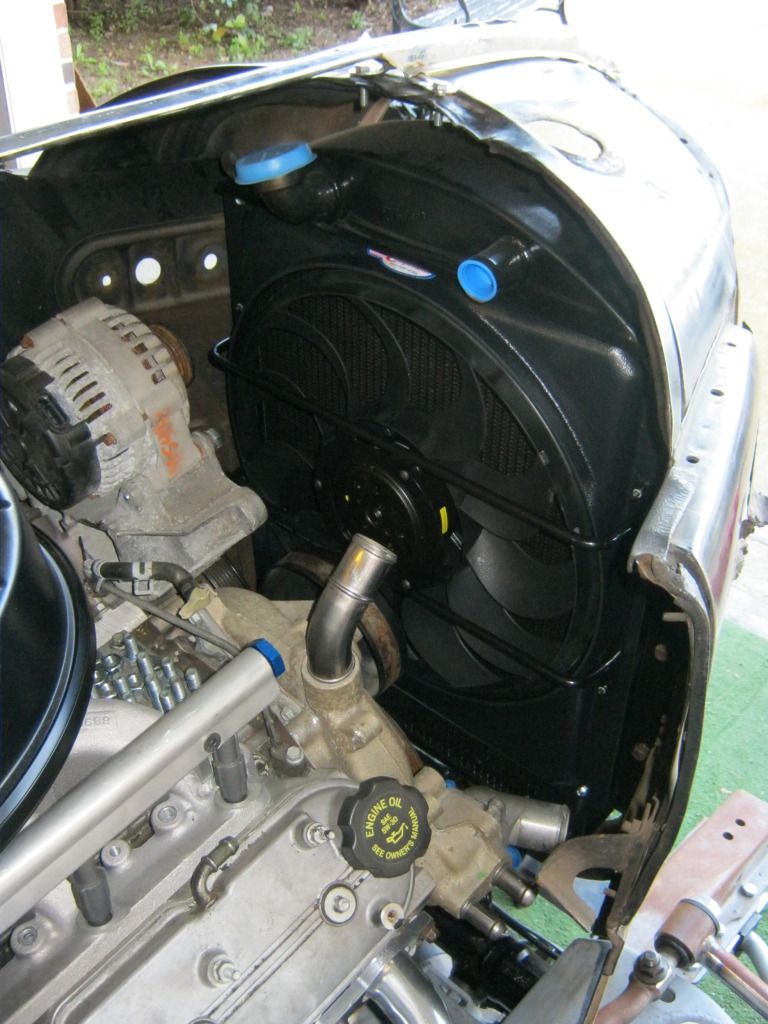
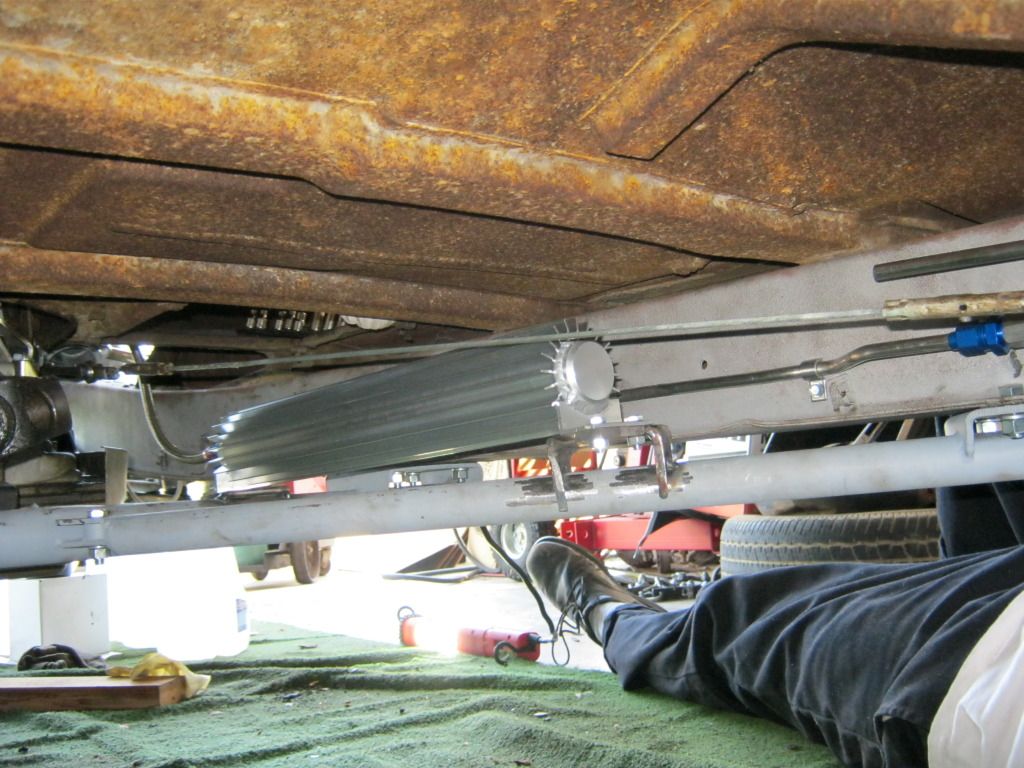
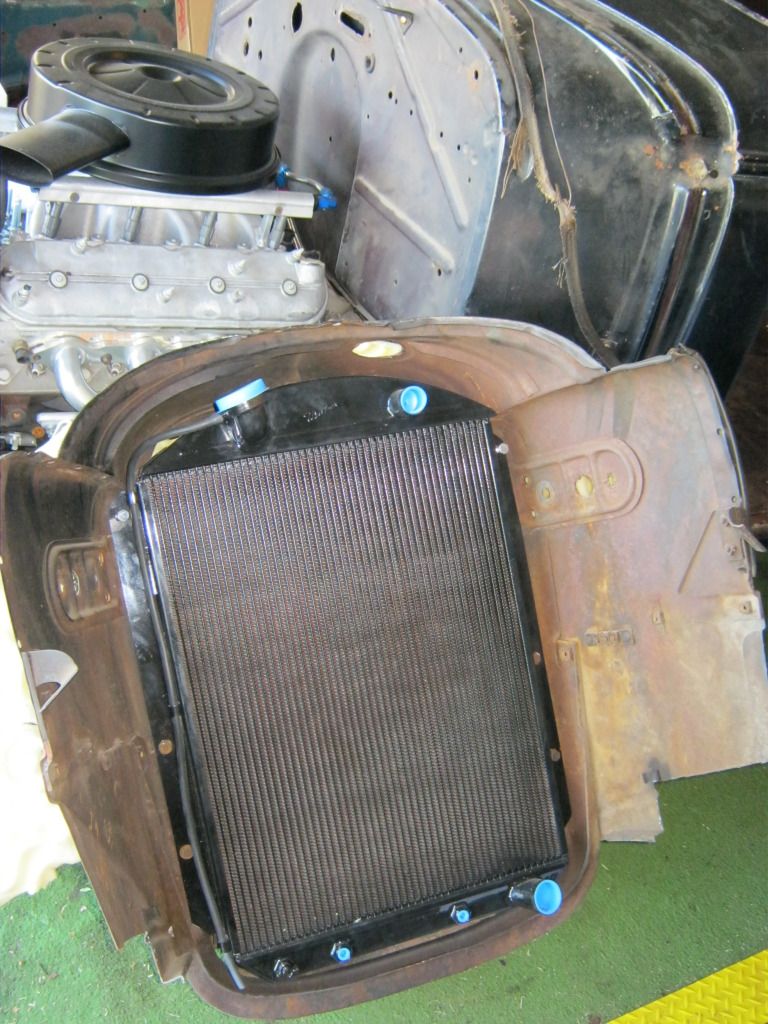
Here's the finished, for now, product from the front. The fittings for the cooler weren't right so I'll have to wait until I get the right fittings to cut the line and plumb it.
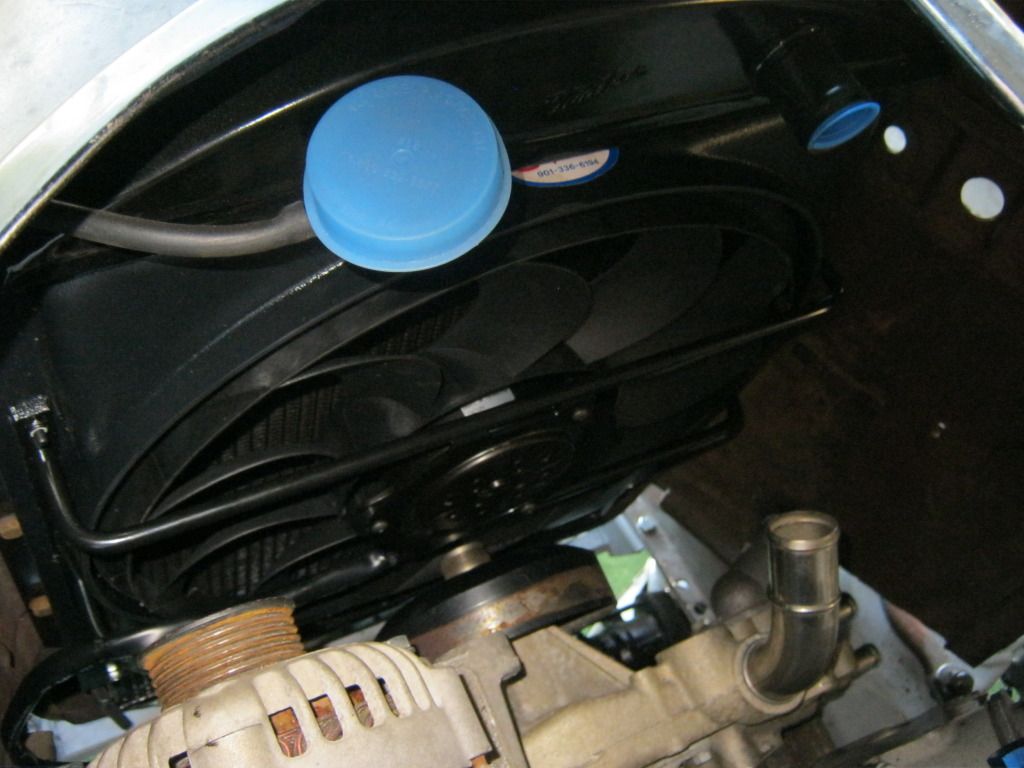
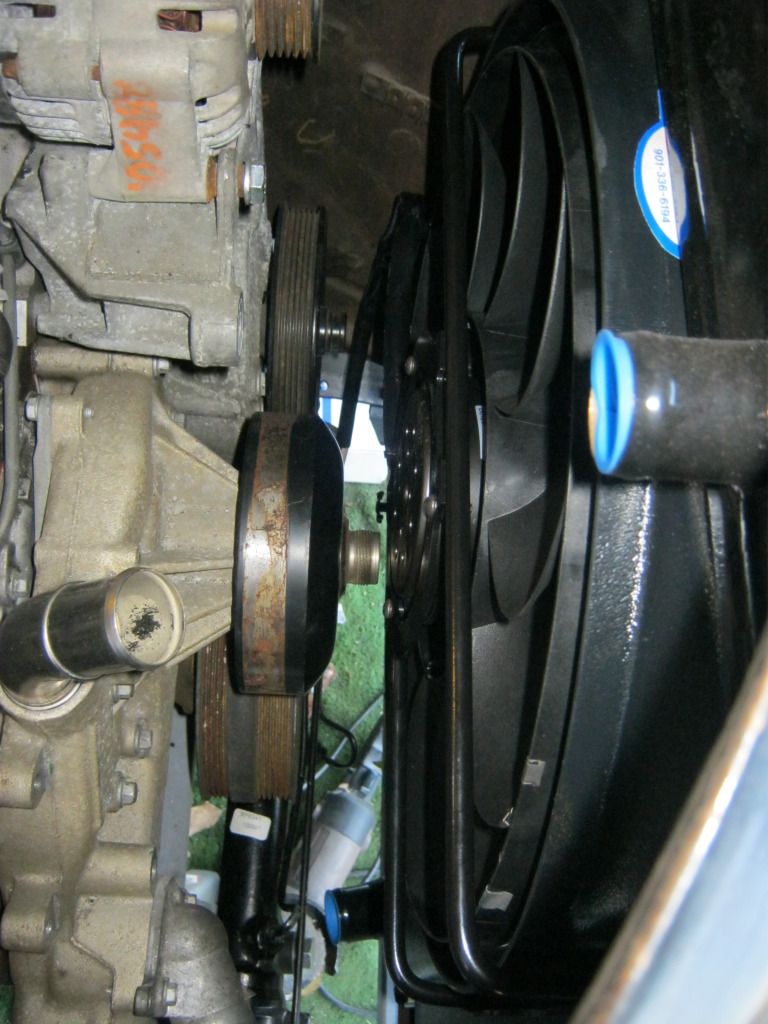
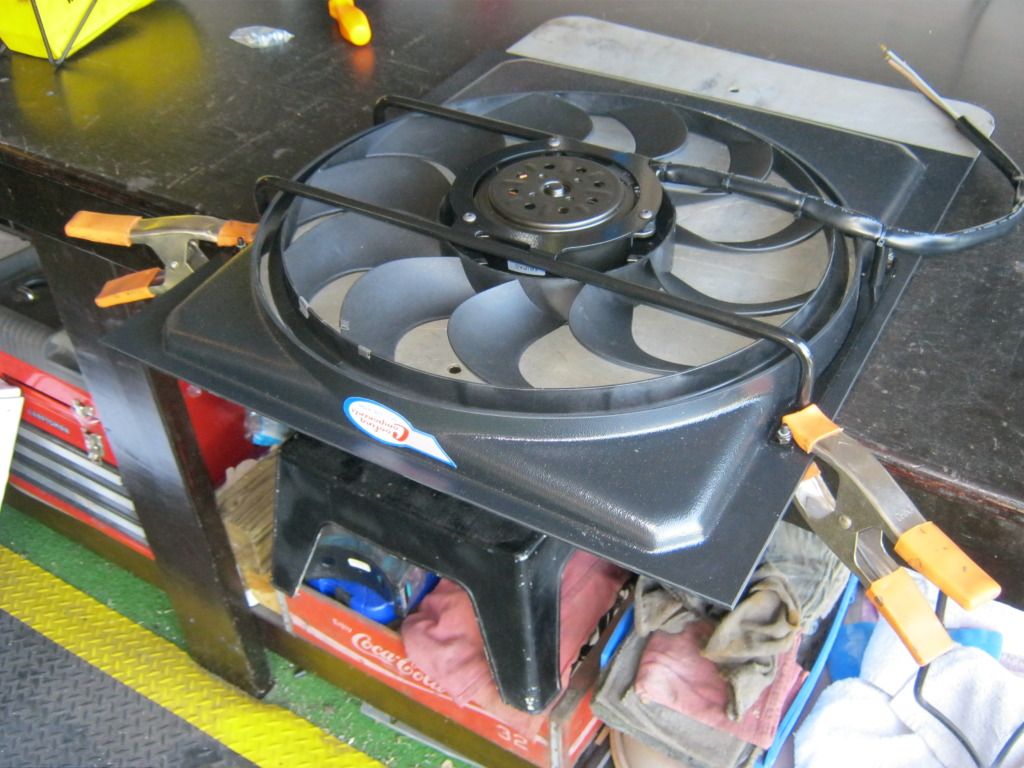
I then moved on to the radiator cooling fan. The big question was would it fit between the pulley and the radiator without rubbing or hitting anything.
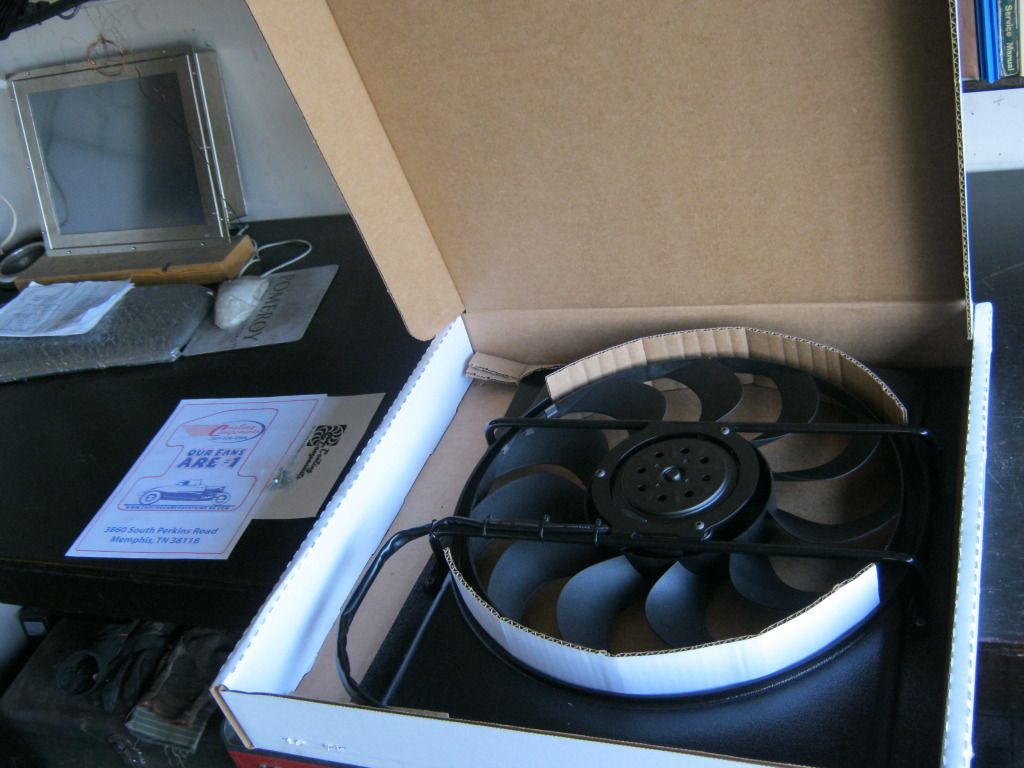
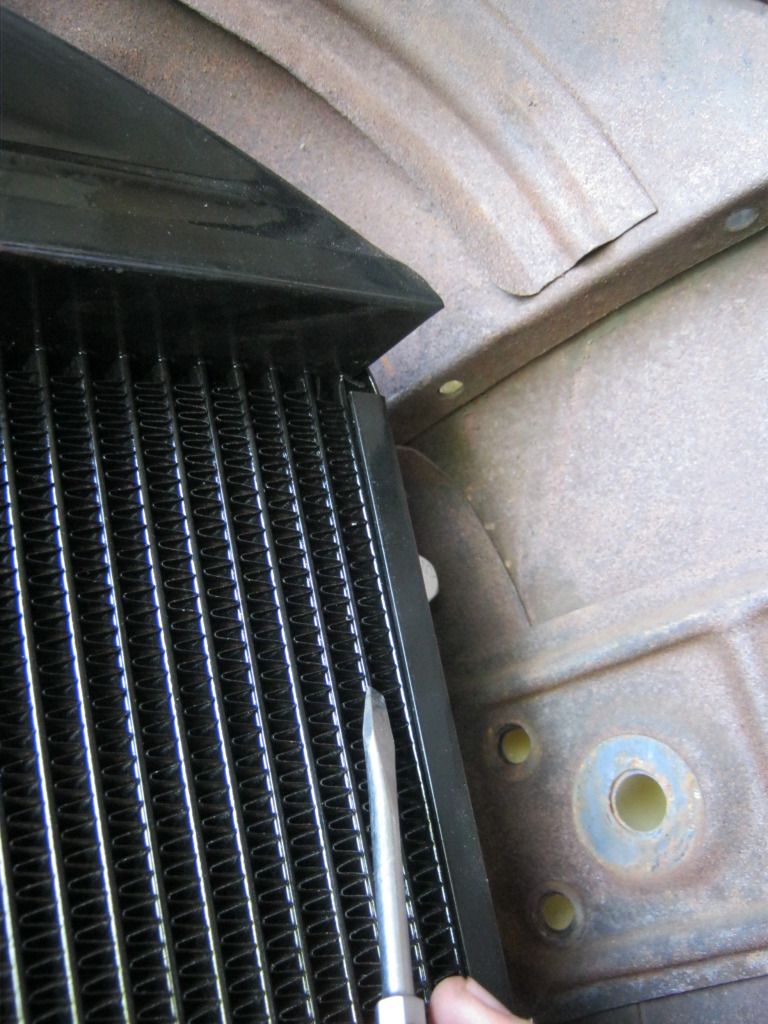
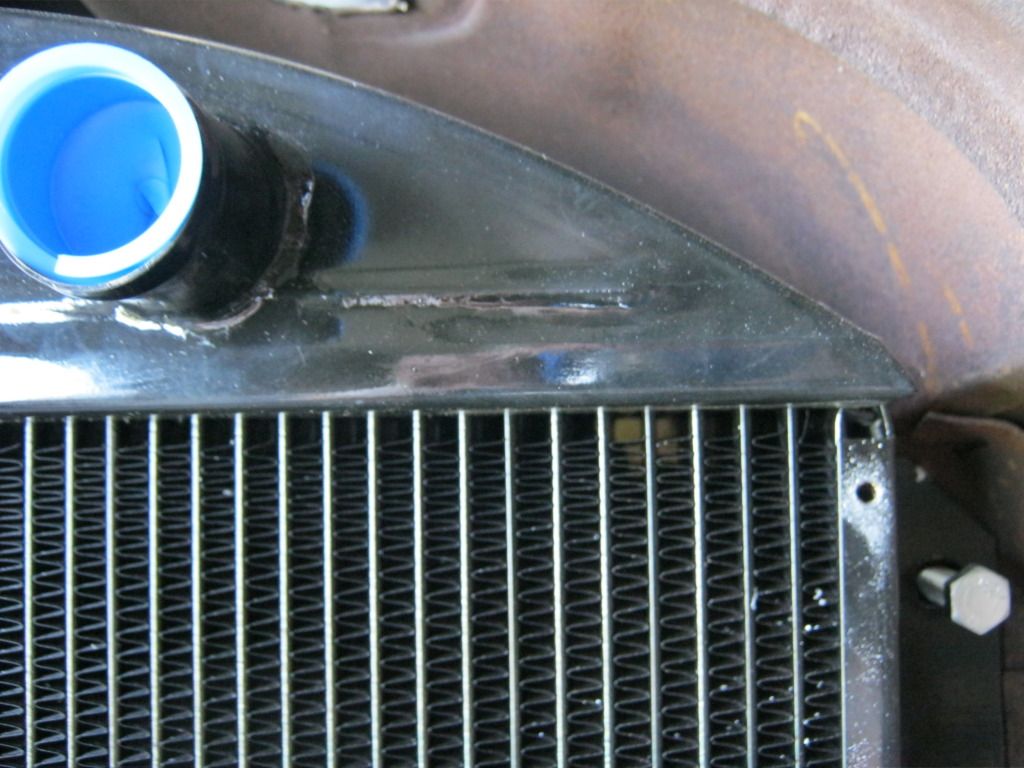
There were no installation instructions with the unit because each install is always custom. I talked to the man from the cooling fan company in person at the Street Rod Nationals in Louisville Kentucky just a month or so ago, but I still called the company to make sure I was on the right track. There is a metal tab that is bent around the rear of the radiator just to the right of where the head of the screwdriver is in the picture below. According to the company, it's OK to drill into the radiator at this point because these rows of fins are supposed to be soldered and capped off. Besides the fact that this is terrifying on such an expensive, brand new radiator, if I'm going to drill into a radiator I was going to have to hear the go ahead straight from the company that made the radiator, Walker. I called them and they said to go ahead. Reluctantly, and still somewhat in disbelief, I went ahead.
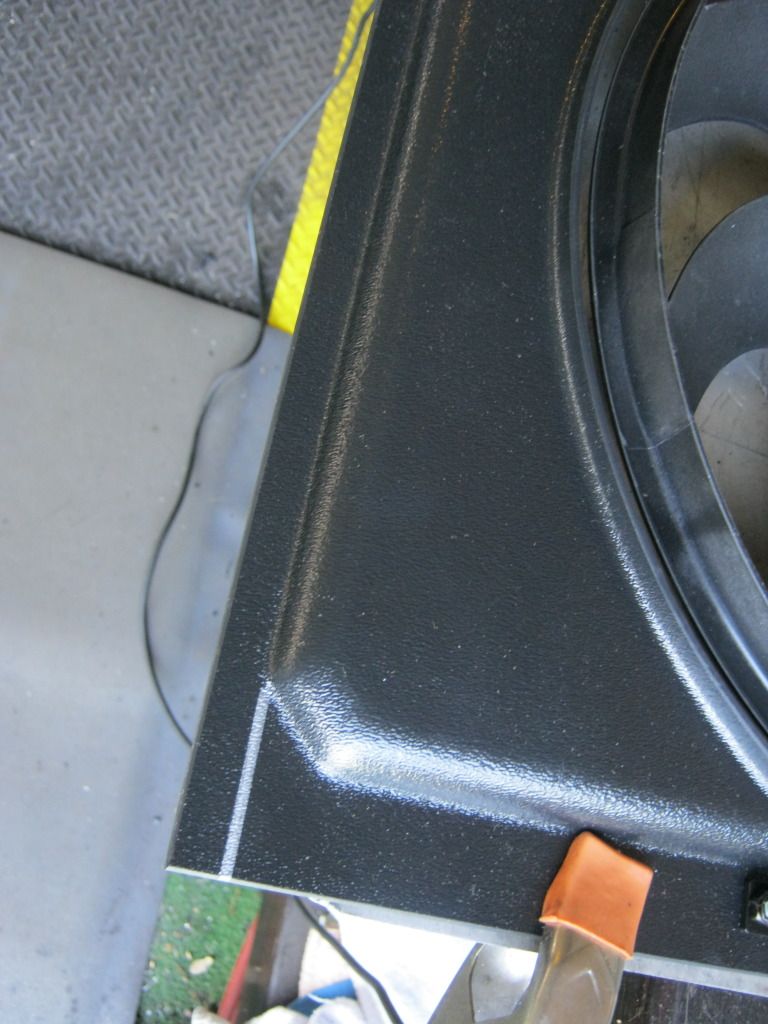
First, for better cooling, they said to trim the top and bottom edges of the plastic fan shroud. I used a the grinding wheel to get the straightest cut I could. Unfortunately, this of course melted the plastic rather than giving it a perfectly crisp cut.
This was a job for the magical silver sharpee, so I used it to make a straight line to cut by.
I did this to the top and bottom
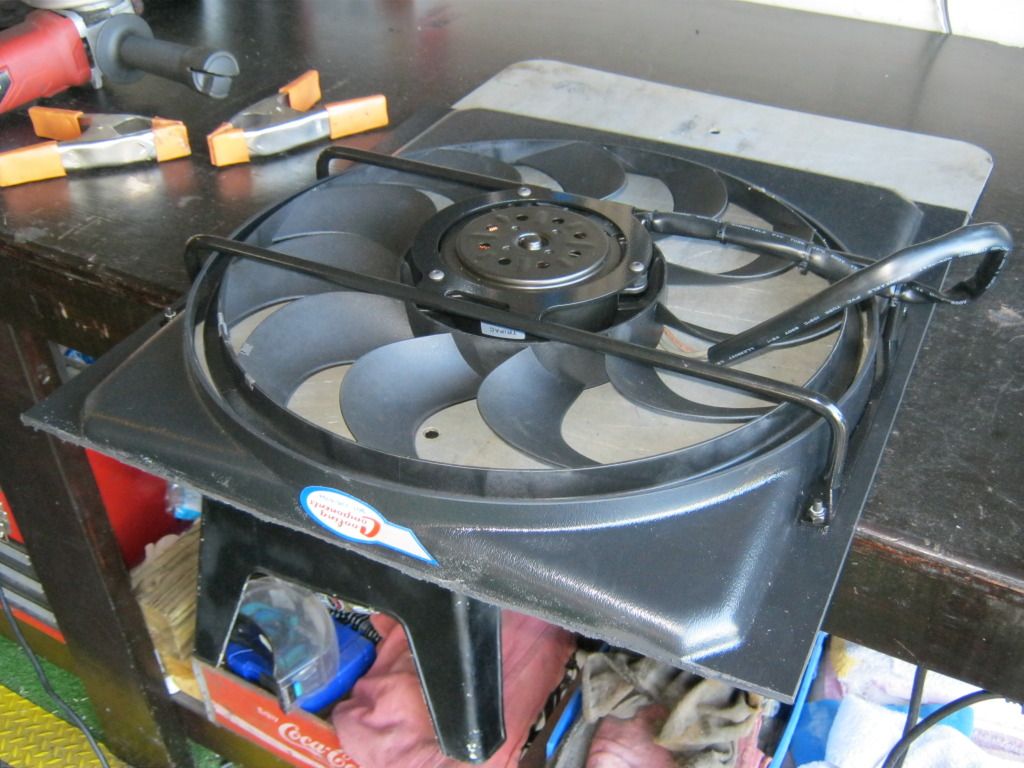
Then after trimming the top and bottom I measured and drilled two oversized holes for the four provided sheet metal screws
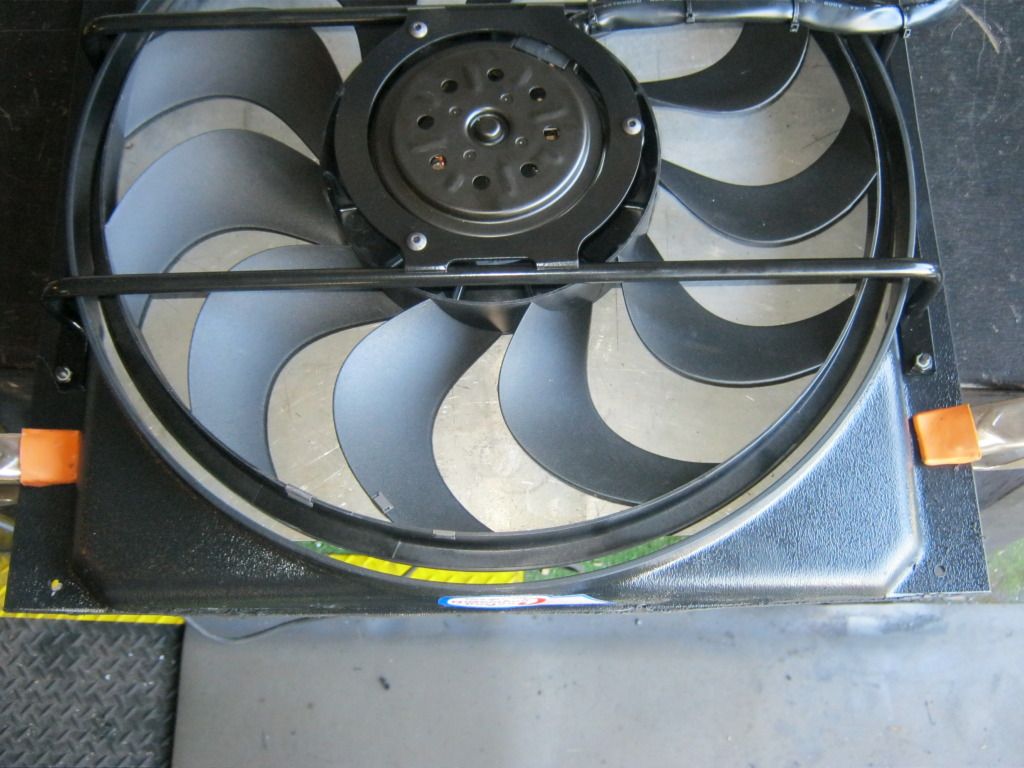
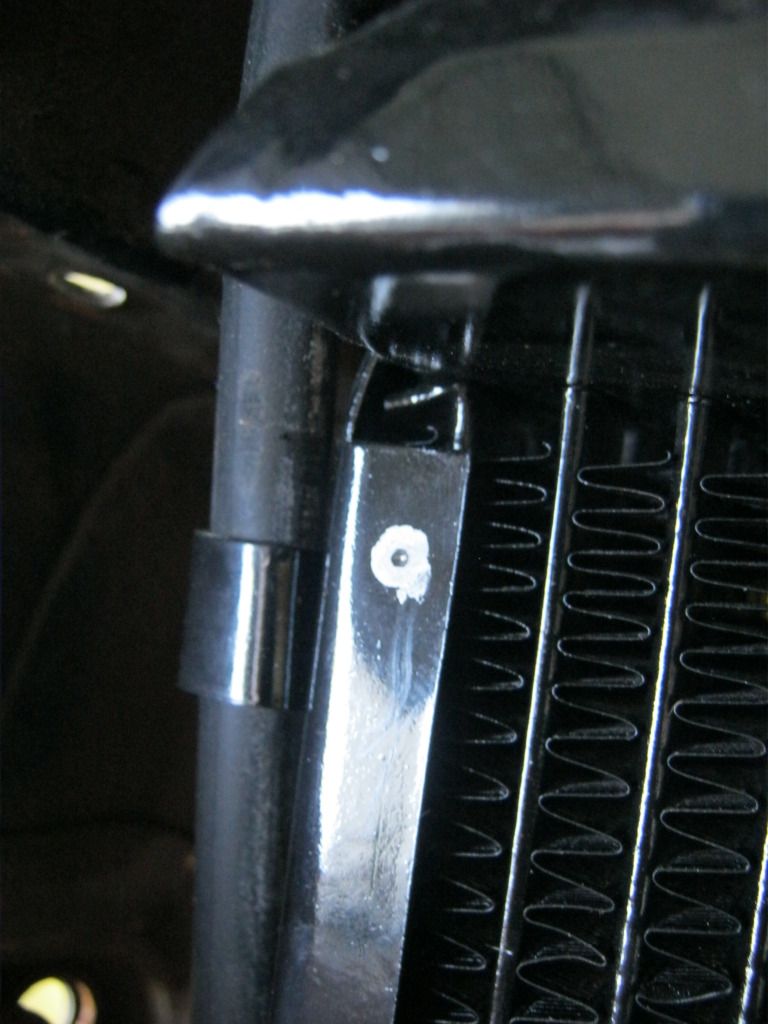
After that, I drilled the top two holes, one at a time. I first held the fan up, marked the first hole, drilled it, and then mounted the fan to mark the second hole. I marked and drilled the bottom two holes at the same time. This was my first, very reluctant hole.
I used a punch to try to minimize the drill bit from walking around. This was the one hole that scared me the worst. When the drill finally went through the metal it punched deeper than I wanted into the fins. If it leaks I'll be going back to the company with it.
I had been really dreading doing this installation but the actual mounting process was one of the easiest jobs I've done yet. When I called Walker they told me to mount the fan as high as possible.
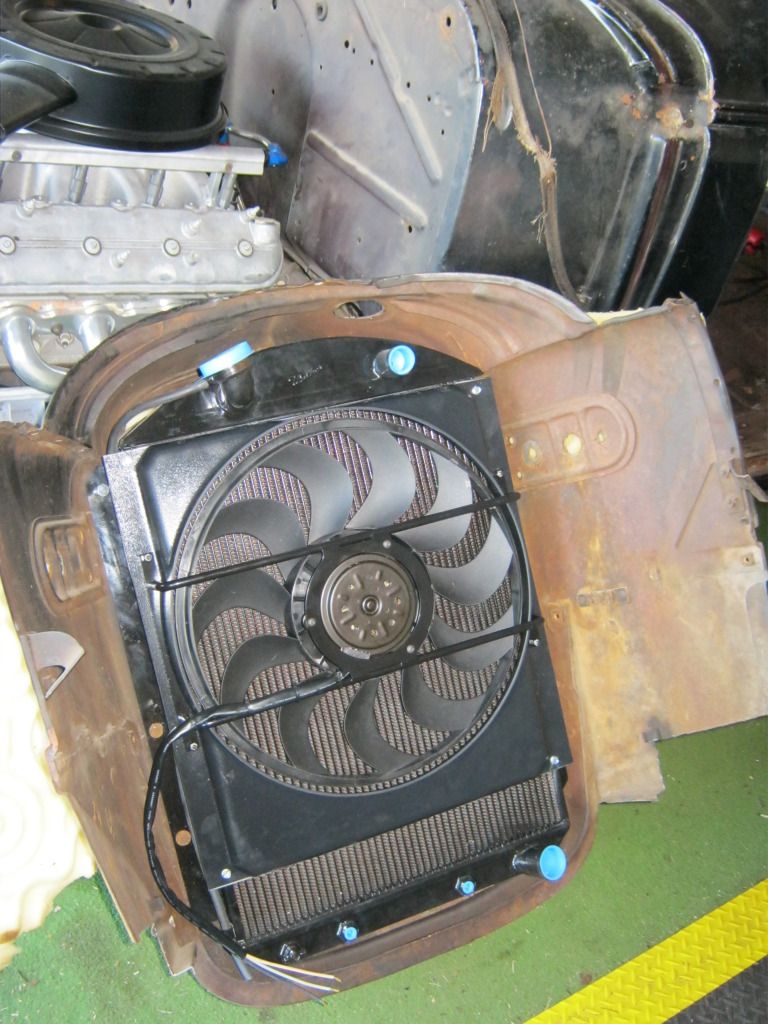
Here it is installed. It fits, but there is definitely not much room to play with.