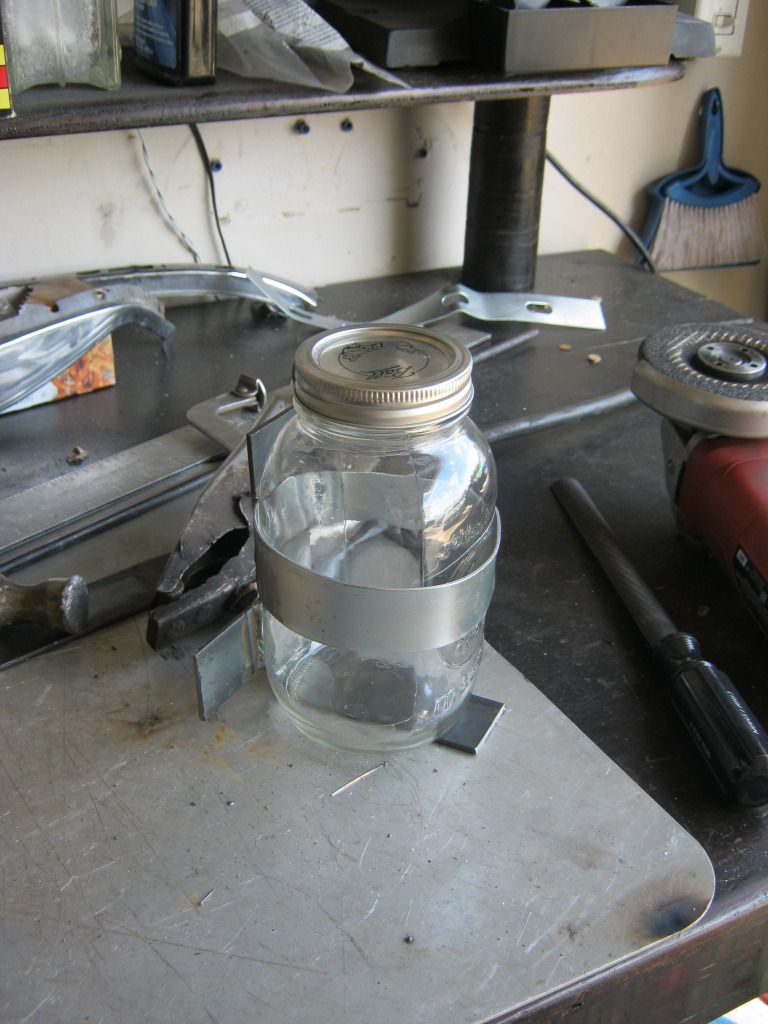
Before I moved on to more work with the '37 I had to get my '31 out of the barn. A person in town hired me to drive in their daughter's wedding, which would be great except for the overheating problem I've been having due to the water pump. I hope it's only a water pump issue. At this point, it's showing signs it could possibly be a cracked head, but it definitely is not helped by the pump. These old style pumps don't use bearings like newer pumps and instead use packing, a graphite type material that is squeezed around the pump shaft and sandwiched tight with a nut on the front of the pump. Though I have rebuilt mine twice now, the kits available aren't always perfect and can allow air into the cooling system, which is the problem I'm having. This causes the engine to blow coolant out of the overflow hose even when the car is not overheating, which quickly causes the car to overheat. I have had plans to make a homemade recovery/overflow jug for the '31 for some time now and this seemed like the necessary time to get it done. Unfortunately after I made it the car was spewing coolant so bad it became unnecessary because the jug wouldn't be enough to help at this point. So I have it made and I'll eventually install it, but only after the new style pumps made with bearings are finished with their production and I can buy and install one on the old engine.
I decided to use an old mason jar as a recovery jug. It seemed to look right at home with the '31. I used some scrap steel I had left over and one extra gas tank strap to make the mason jar mount.
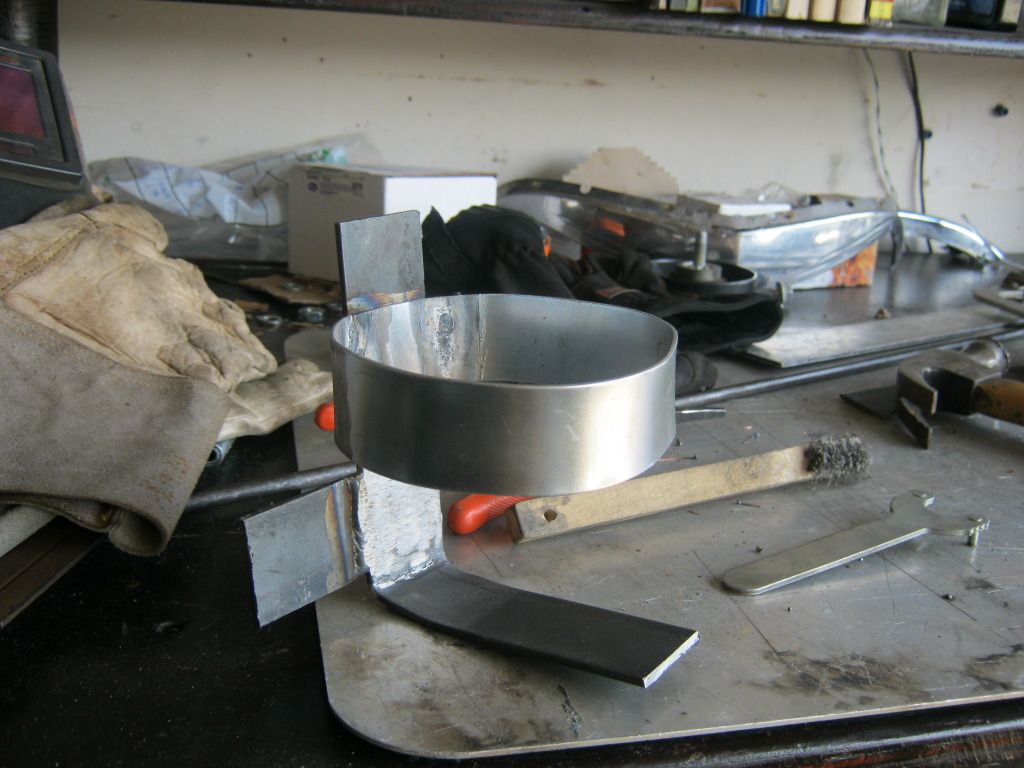

It wasn't easy getting the strap into the right shape and size to create a snug fit that would allow the glass to be steady and not break but at the same time allow it to slide out by simply pulling on it. I will eventually add a thin rubber strip to the bottom plate for the jar to sit on.
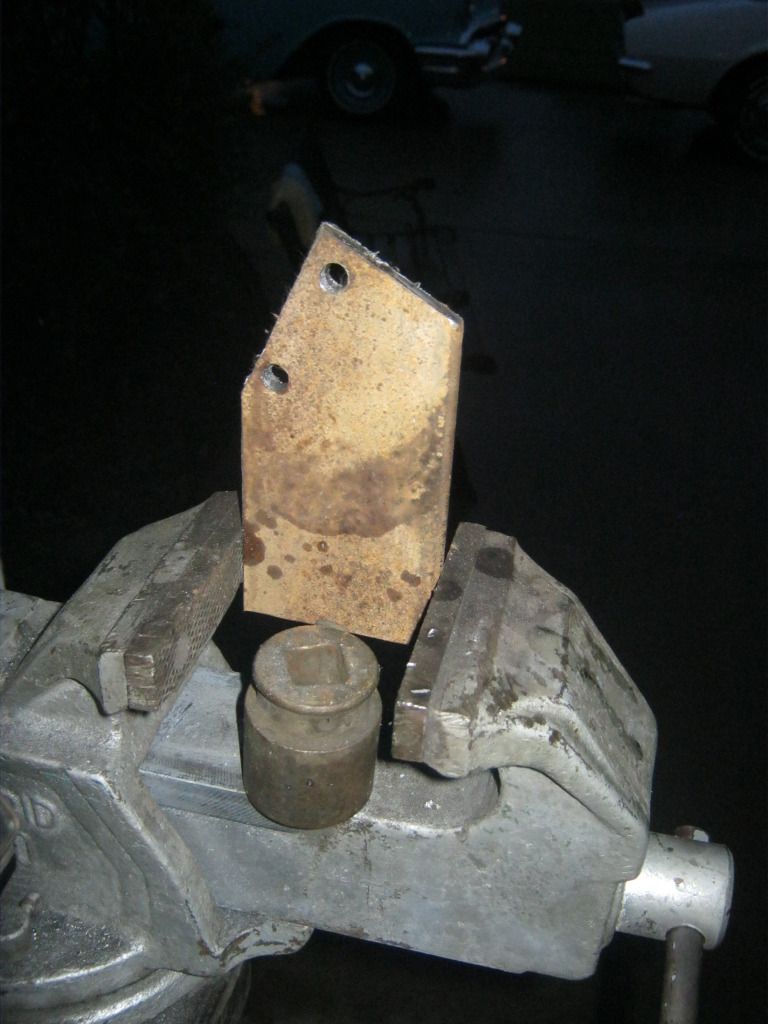
It was time to move on to the parking brake mount. I had put this step off until after I had the air conditioner mounted under the dash so I would know where the right placement for the parking brake handle would be. There were two holes on the side of the shifter mount. These holes are actually there for a parking brake mount, however the mount that is offered is overly expensive and doesn't fit my application. The holes, however, came in very handy for making my mount.
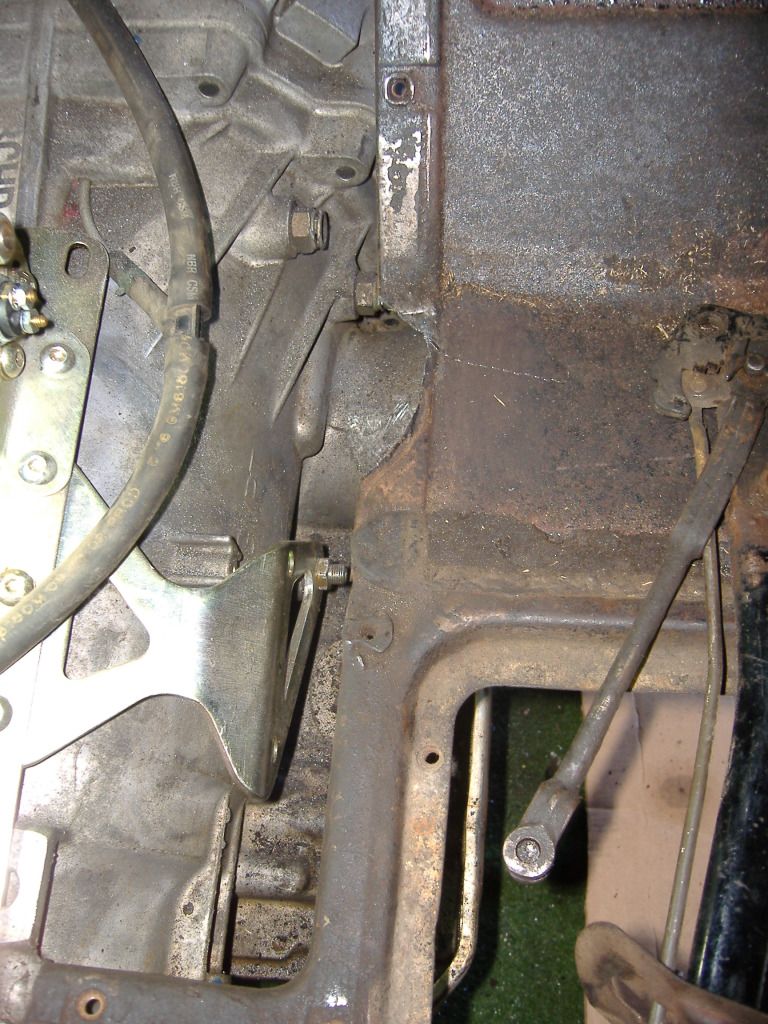
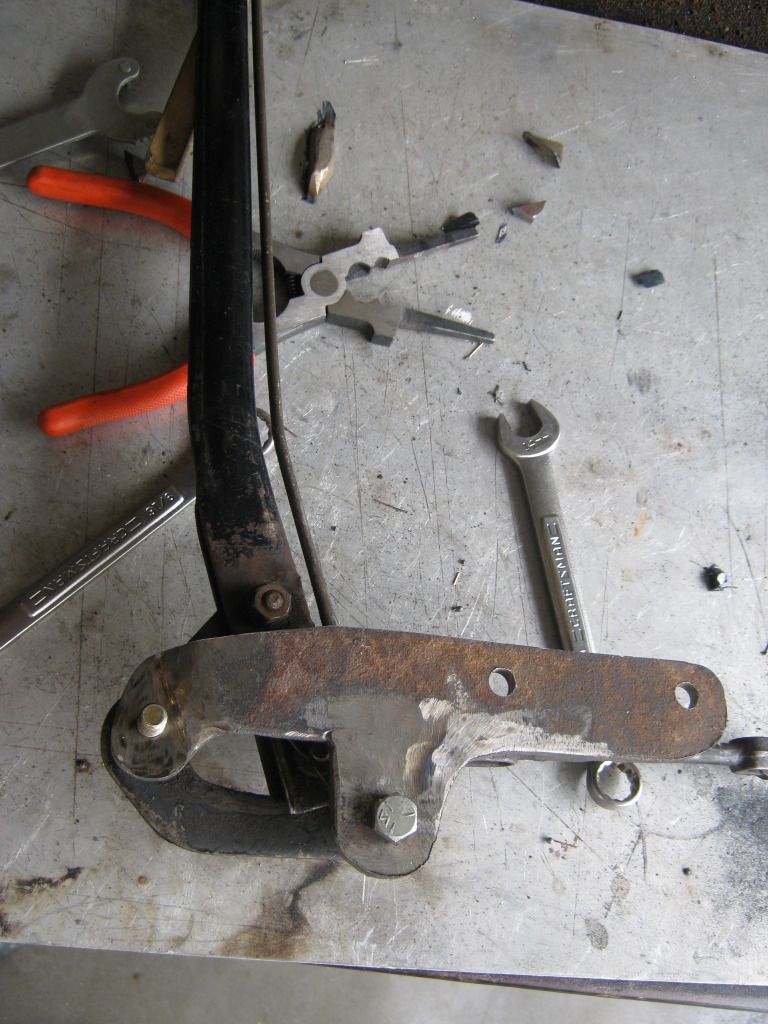
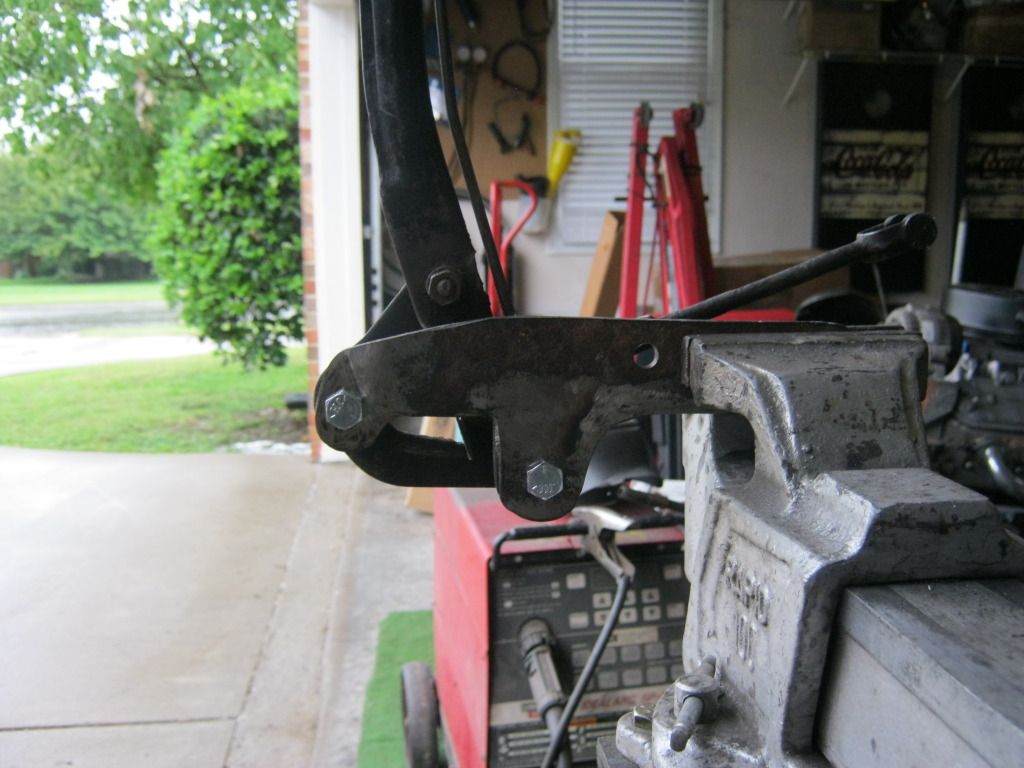
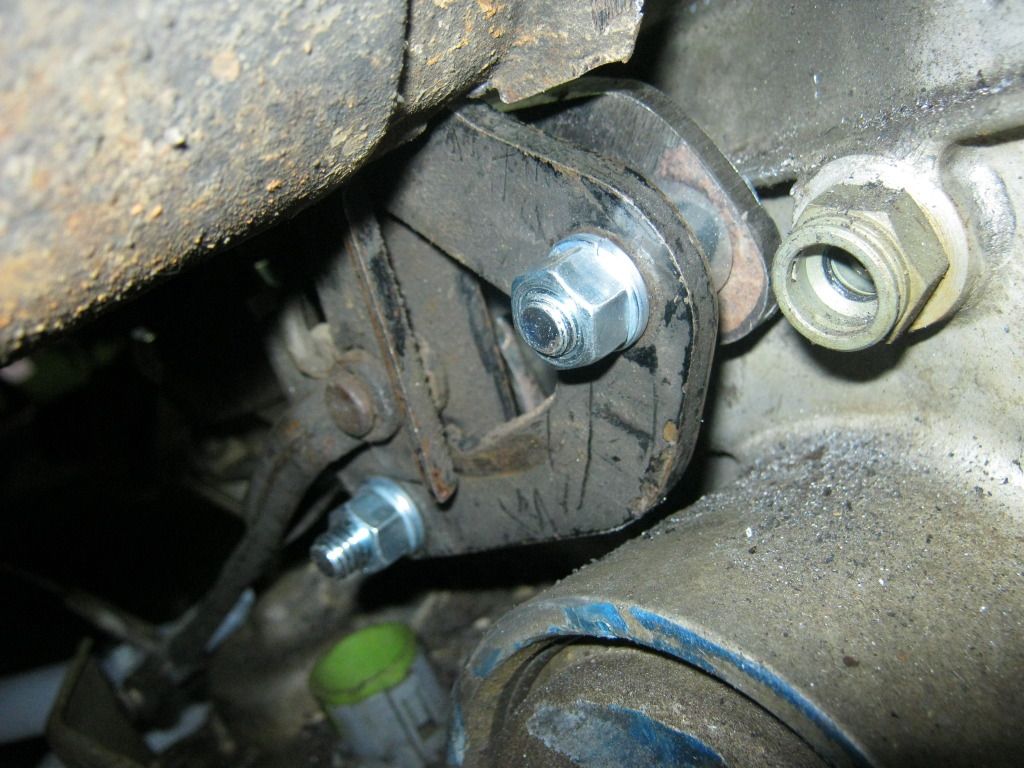
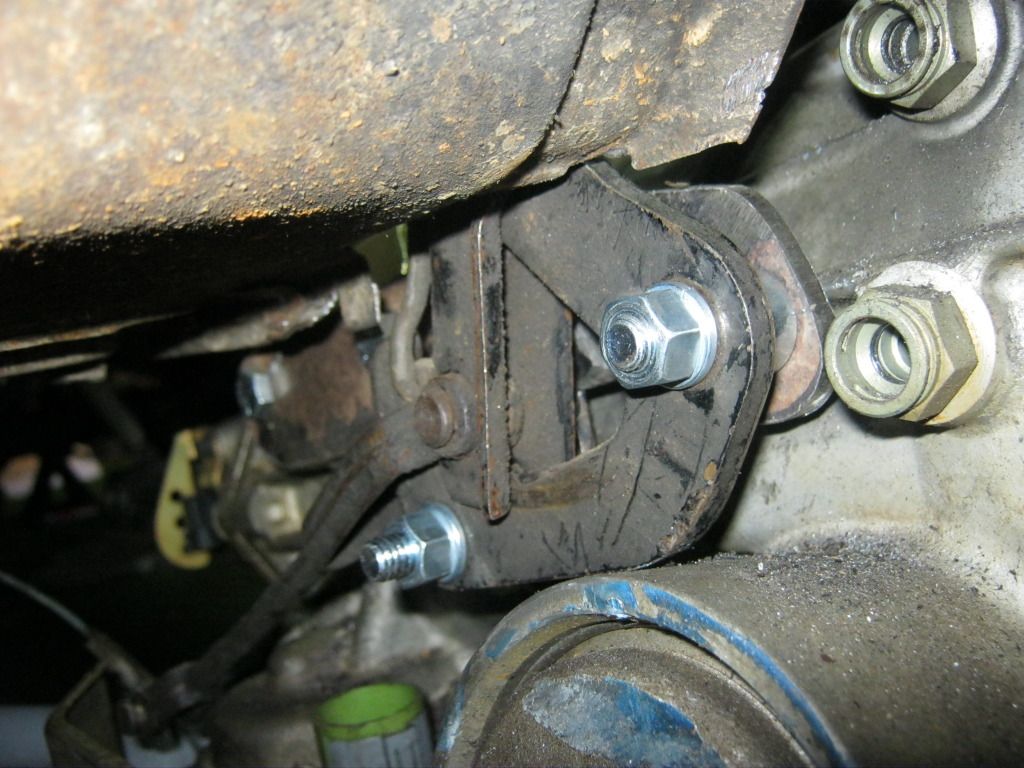
After making cardboard templates I used a large piece of steel I got from the scrapyard to cut out a length of metal for the mount. After getting the holes drilled I was able to get the measurements of where to weld the tab for the rear mount of the bracket assembly. Pictures can't describe how difficult it was to hold the entire assembly in place and try to mark measurements in the tight and cramped area I had to work with. A 3rd arm would have really come in handy. The gold bolt on the left is where the bracket must extend to.
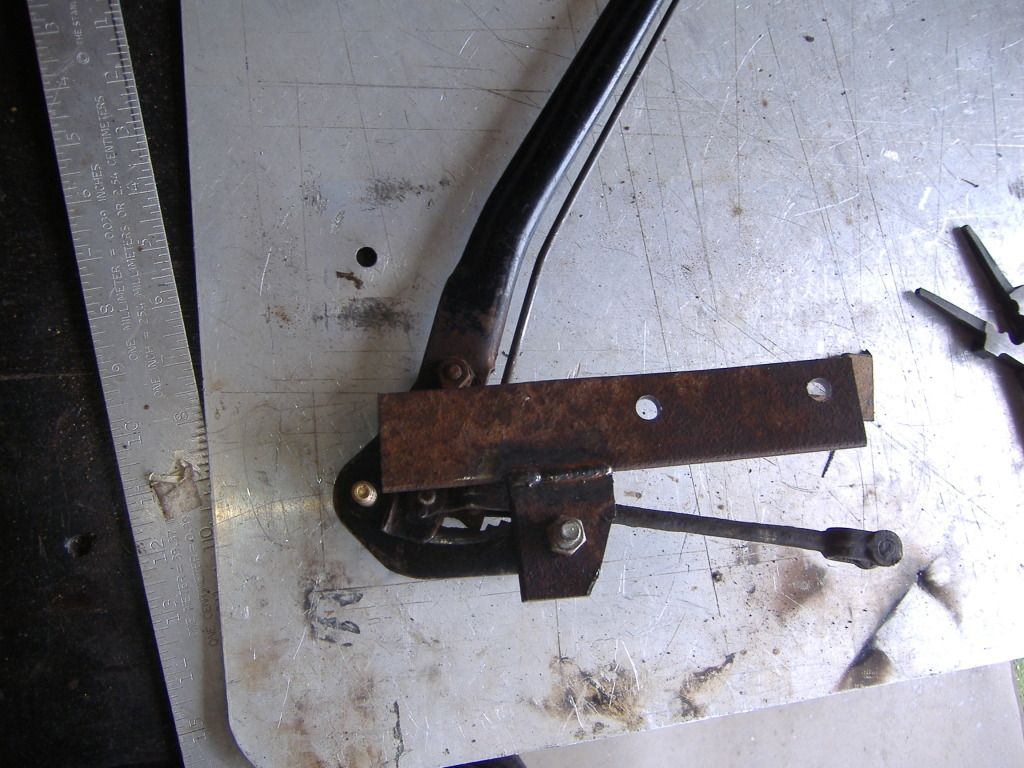
I had to stop the bracket from going all the way to the front because the transmission bell housing flares out and prevented it from going all the way. I also couldn't just bent the bracket to go flat up against the parking brake assembly because when the parking brake is pulled down the arm would interfere with that location.
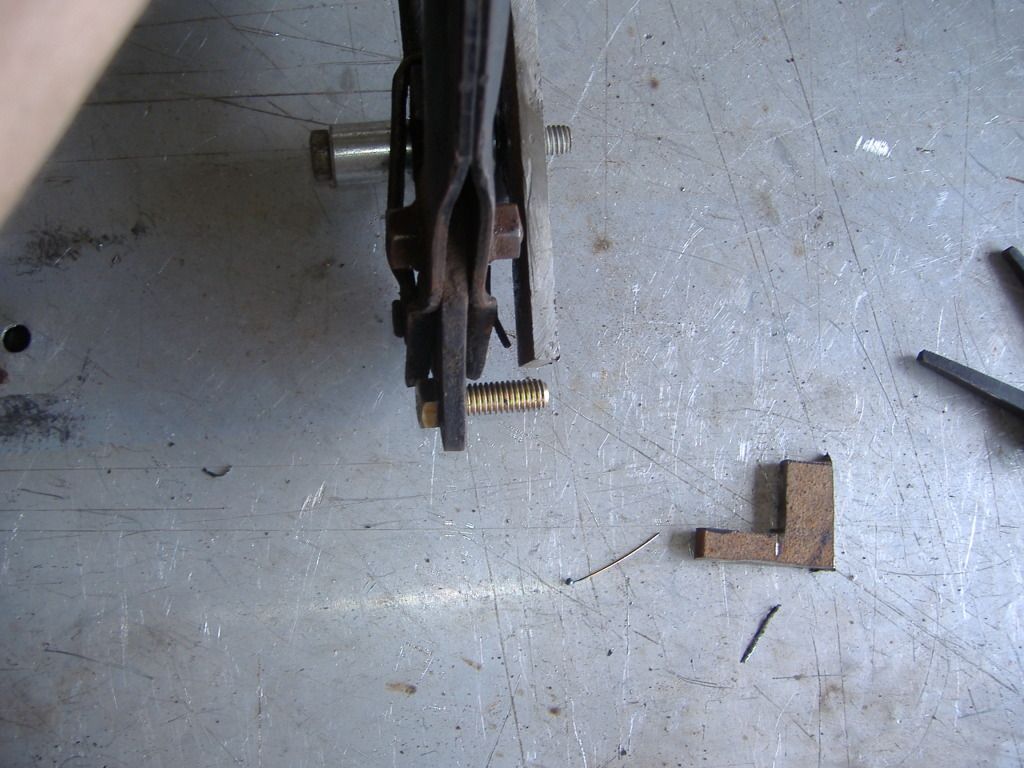
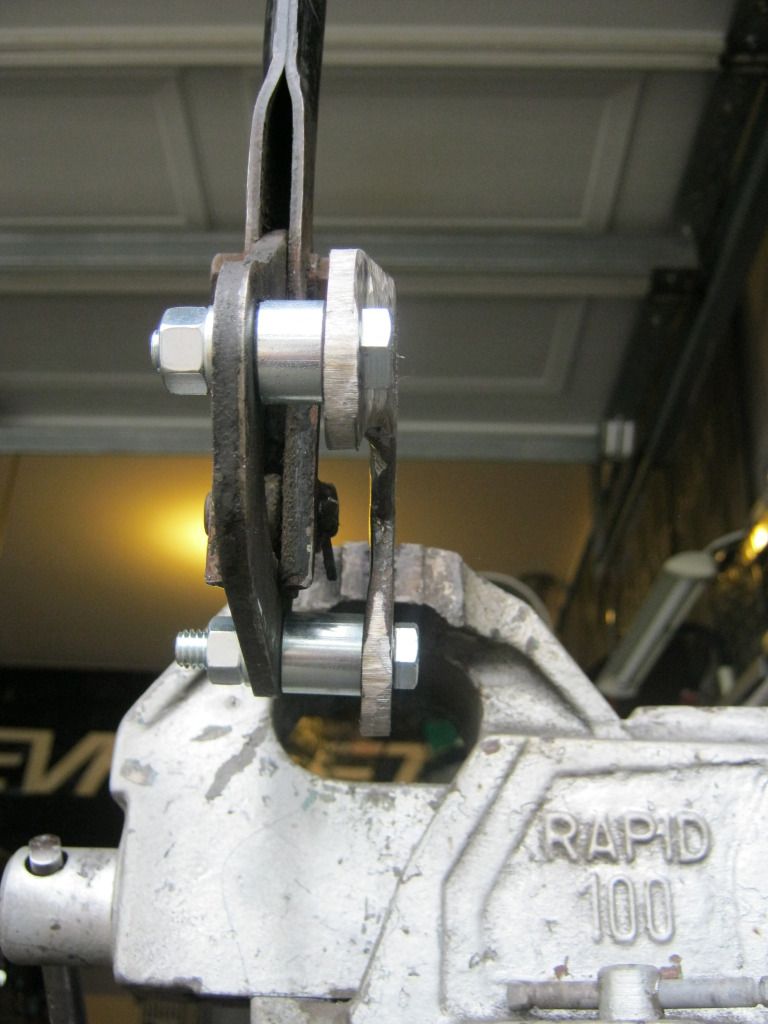
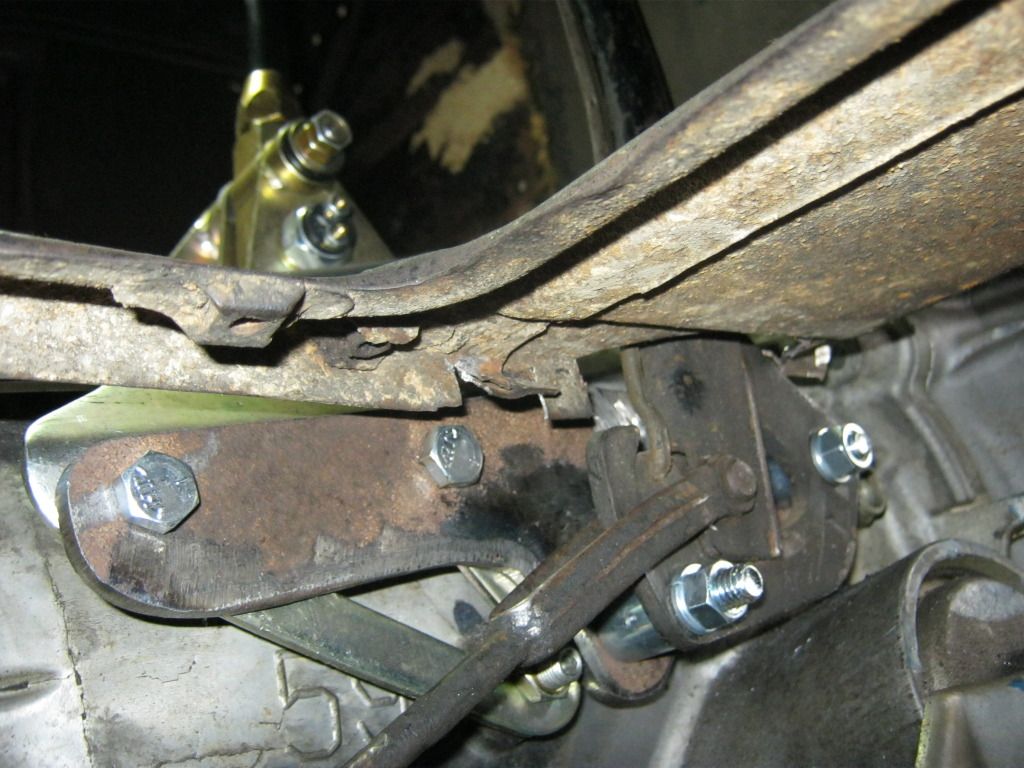
My solution was to weld another piece to the inside of the bracket and use a 1/2" spacer up front where a 3/4" spacer was used in the rear. This cleared the transmission and did not hit the parking brake assembly when the lever was moved throughout its range of motion. It was, however, very, very close.
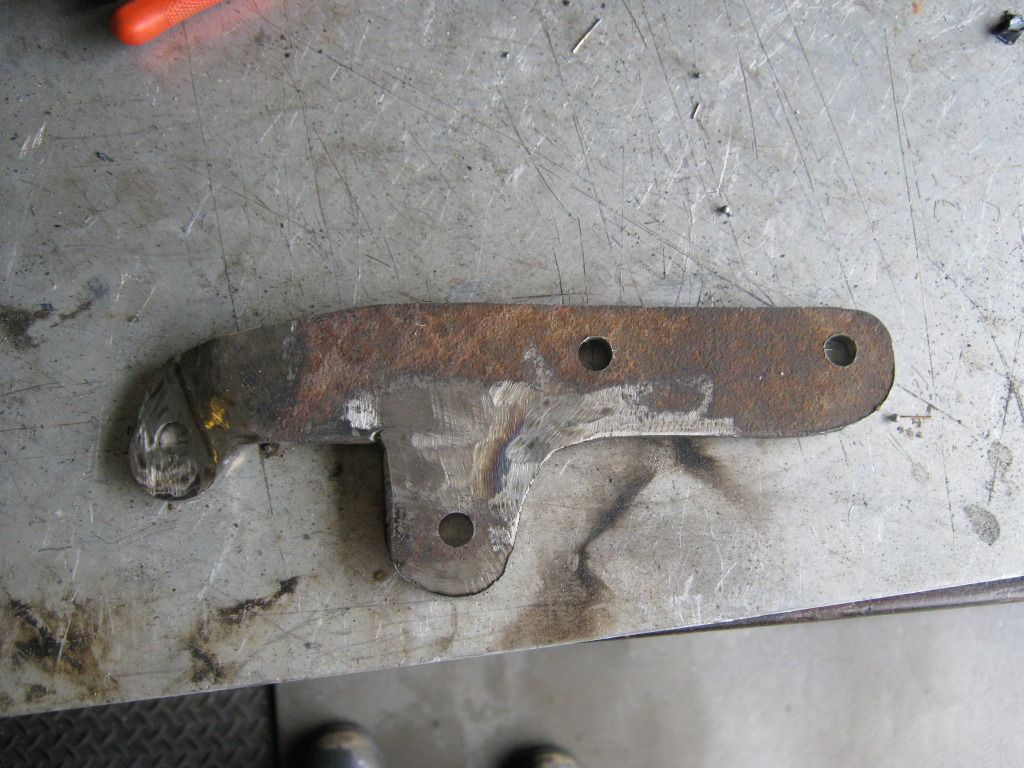
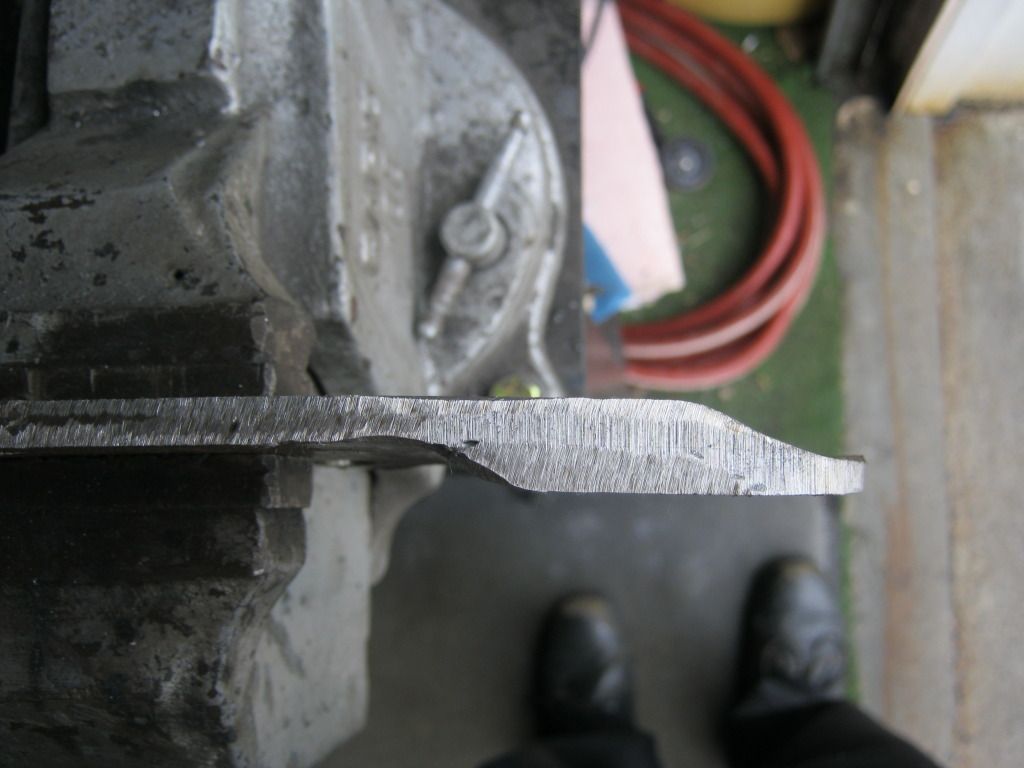
I had to grind a flat spot on the end for the bolt to mate up flush with the bracket. After some shaping, welding and grinding it ended up something like this.
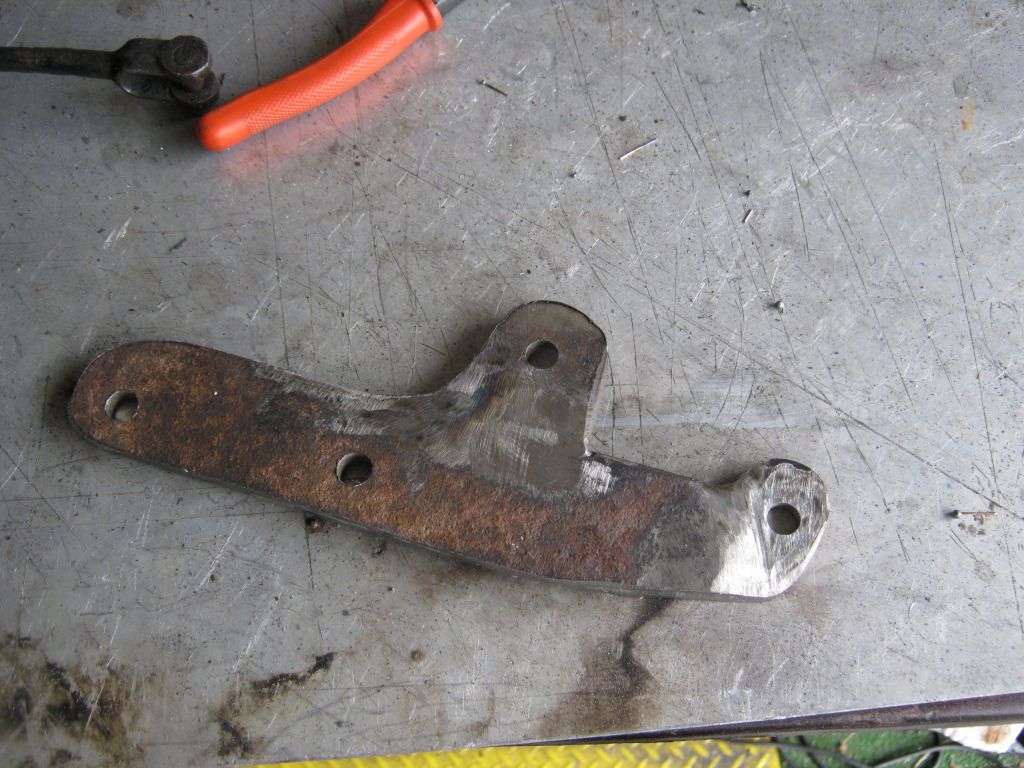
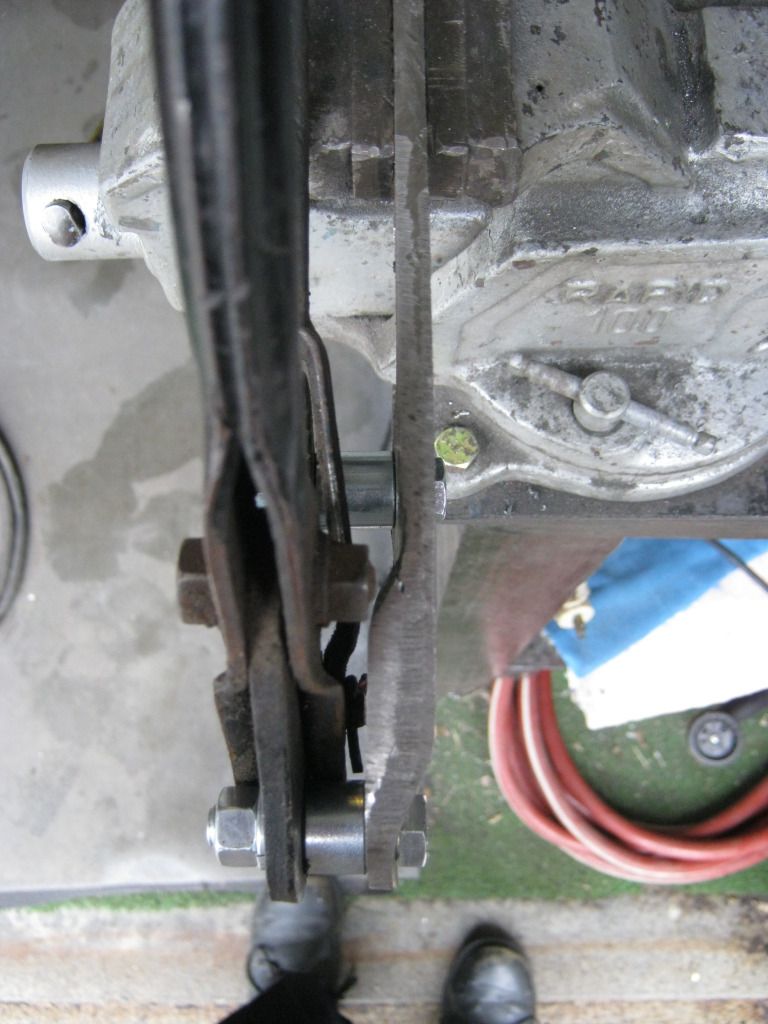
Here's a top view of the step-over that was necessary to miss all the objects in the way, like my shoes and that garden hose, hehe.
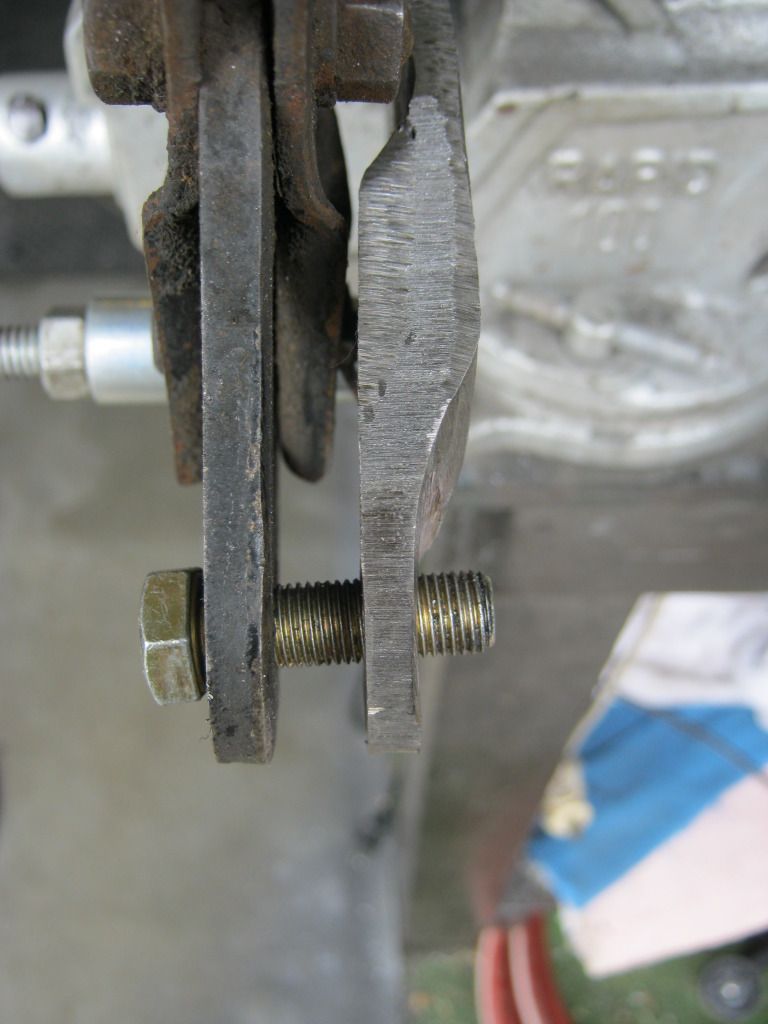
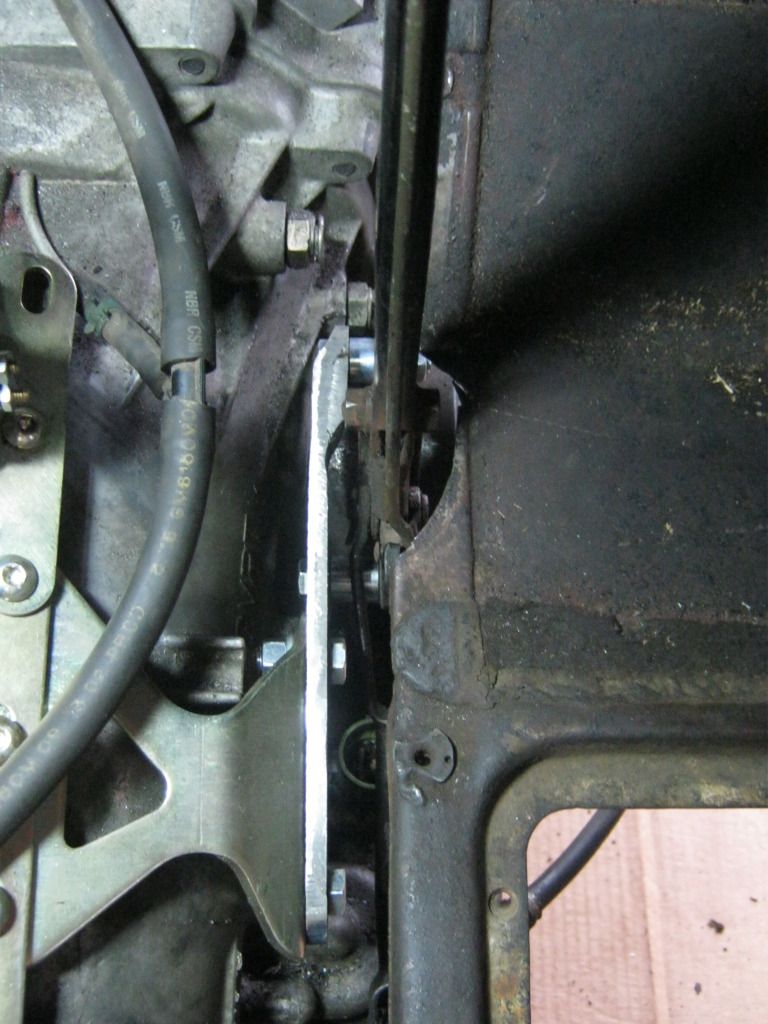
Here's the front mount before the spacer
Here's how it ended up after all the spacers were bolted up. The handle can now smoothly travel through its entire range of motion with no interference.

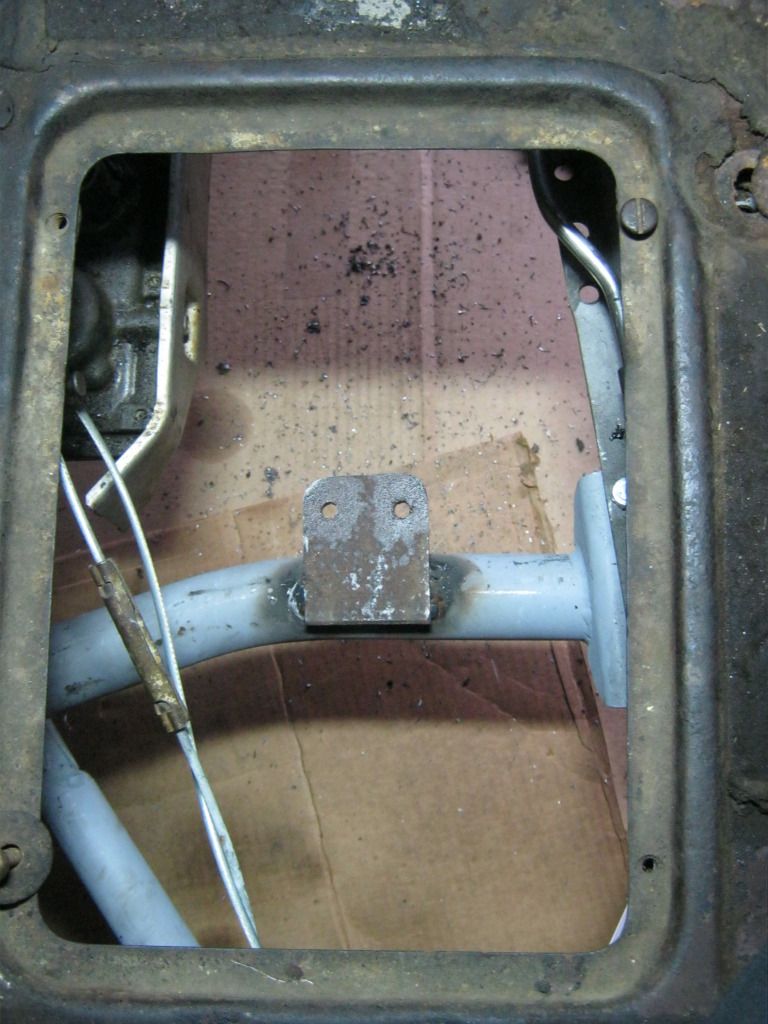
Here it is installed on the transmission. I had to trim some of the floorboard away. I'll clean this area up after I take the body back off and have better access to it. I'm still contemplating how I want to mount the cable to the parking brake assembly. There are many different ways to go about it.
And here's a view from below deck
There was very little room to play to make sure everything would work as it was supposed to and that the handle was positioned how I wanted it.
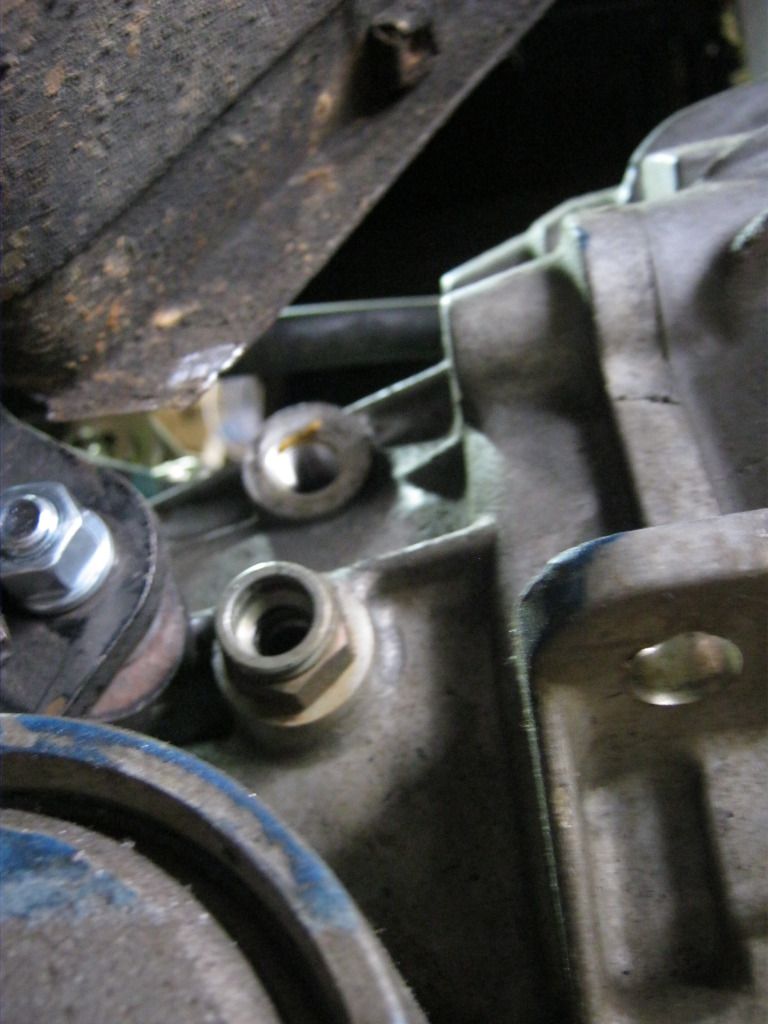
Here's a good shot of the location of the transmission inlet and outlet that I'll be working with later on. They are just to the right, top and bottom, of the parking brake assembly.
This whole process took about two days. I had to finish this project so that I could find the alignment on the parking brake cable. This would show me where I could mount the transmission cooler.
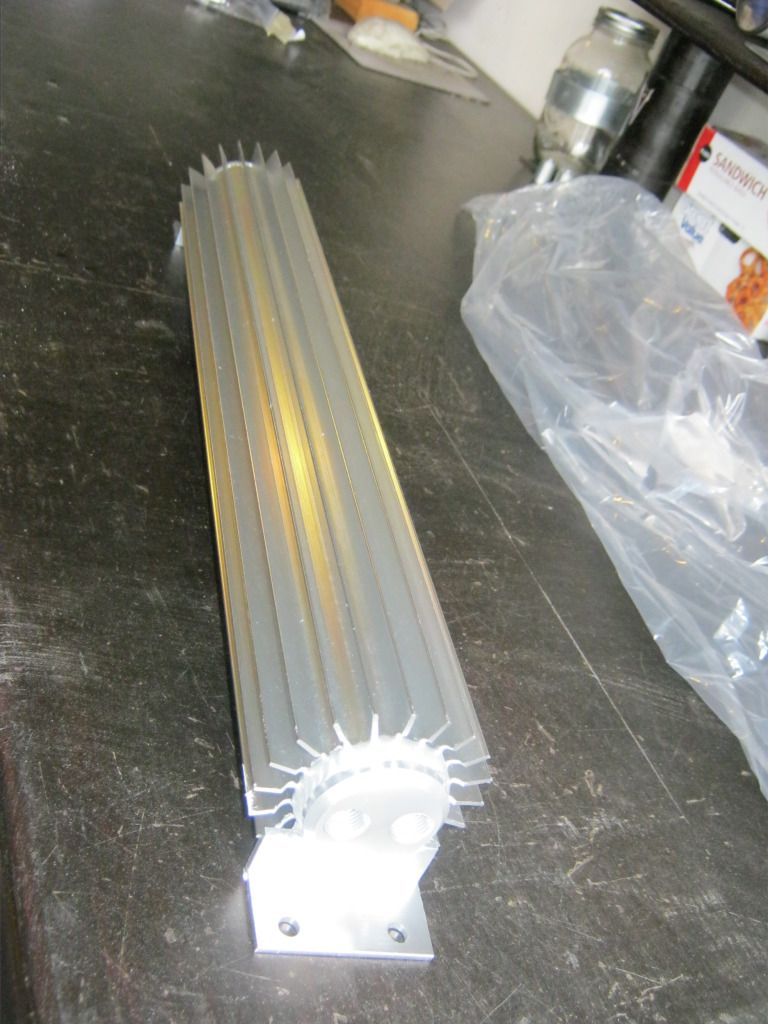
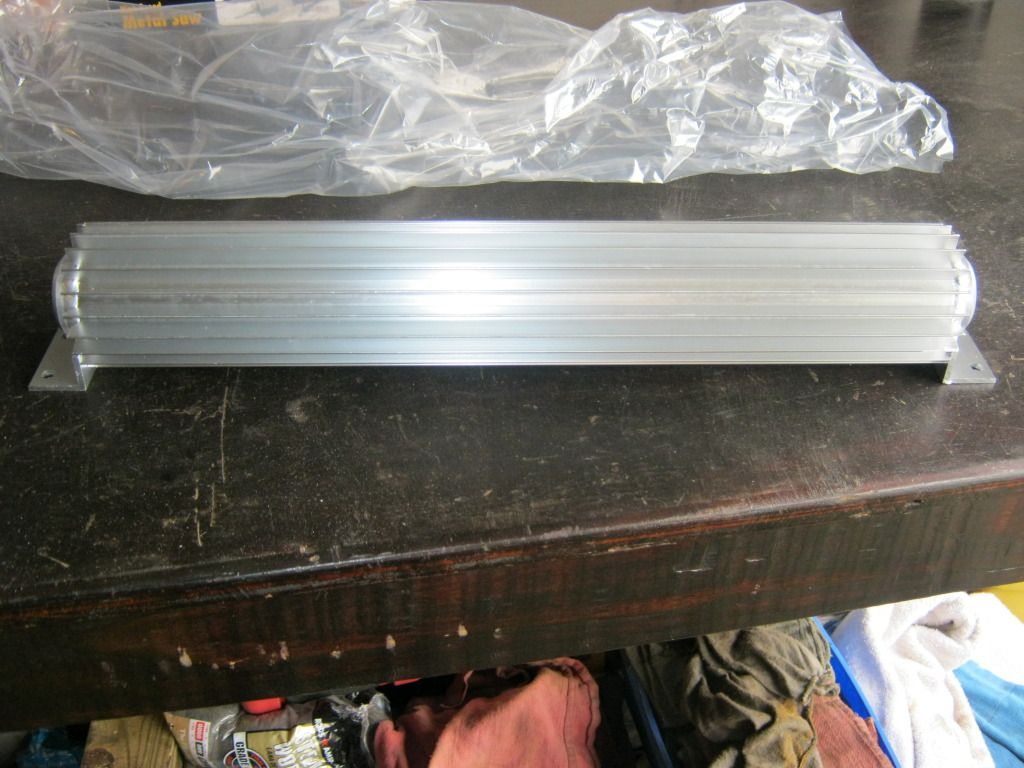
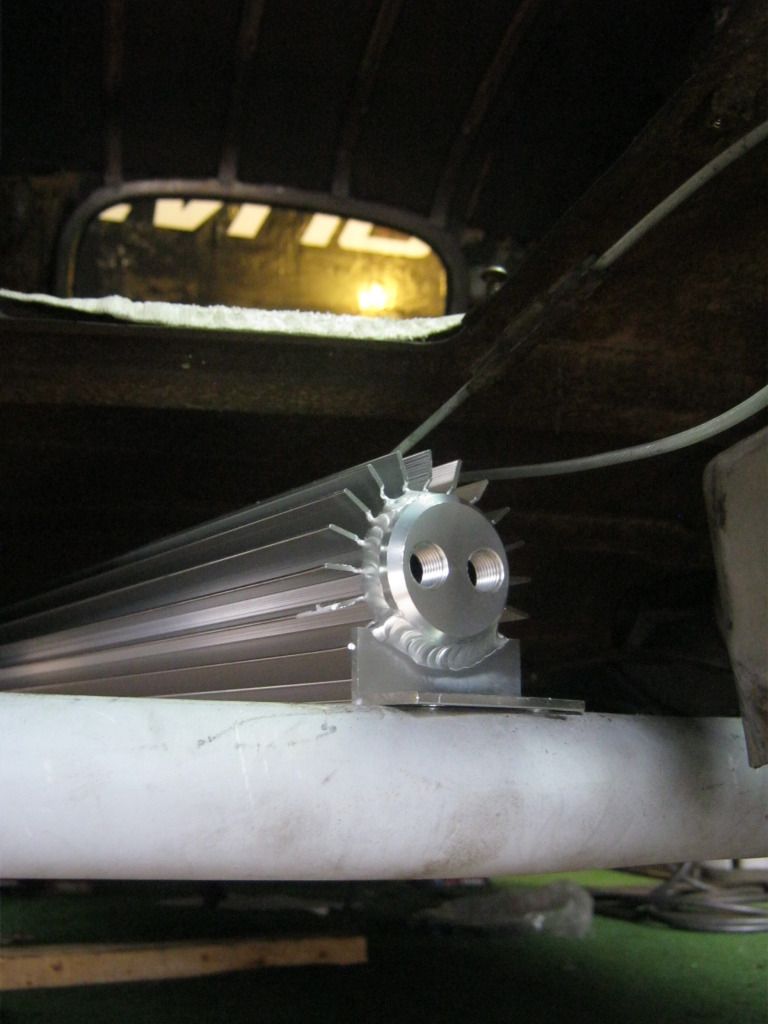
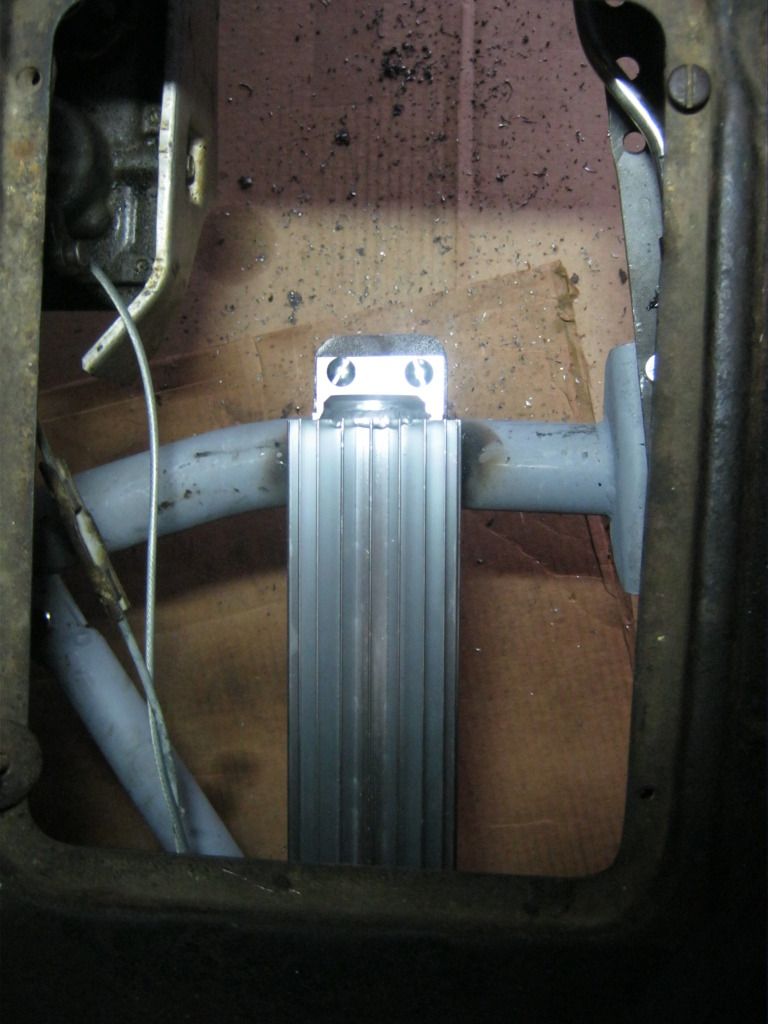
Bill suggested running an external transmission cooler to keep as much heat as possible out of the radiator. Since he has been building hot rods and street rods for 50 years and I've been building them since March of this year, I thought I might take his advice. This is a finned aluminum unit that I can mount anywhere I like and then run two steel braided lines with AN fittings from the transmission. I plan to keep it close to the transmission so as to keep the lines short. This will also be much easier than running hard transmission lines all the way up to the radiator through an engine compartment that will already be overcrowded.
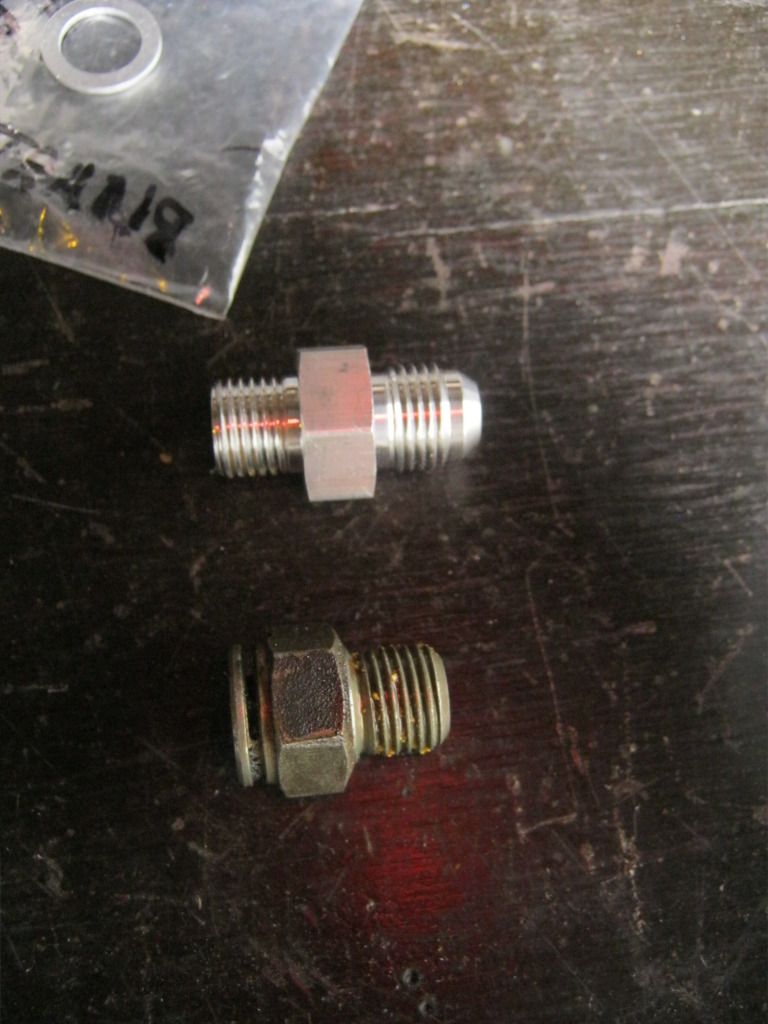
First I took the old fittings out of the transmission and replaced them with the new fittings. I had to trim a little bit more of the floorboard so that the line will fit. The top is the new fitting, the bottom is the original fitting.
The cooler will mount somewhere here on the crossmember. The problem is that I want to keep it as far away from the fuel line as possible to keep heat away, but I can't go too far because it will interfere with the parking brake cable.
After doing a lot of mock up and taking measurements, I cut another piece of steel and welded it to the crossmember. I did a bit more than tack weld it because I would be putting quite a bit of stress on this piece while drilling the holes in the steel but I didn't weld it completely. I was barely able to get the end of the welder in to get these small welds finished. I'll complete the welds when I take the crossmember back out before I send it to be powder coated.
It will mount like this, under the floorboard where the battery used to be.
I got the rear mount cut and drilled but April called me in to dinner before I could mount it. That will have to wait until next time.