Saturday, March 23, 2019
A Living Gauge
Today was the first day of mowing for the year, time to get rid of the girls' old beds now that the bunk beds are done and also time to tackle the long awaited fuel gauge problem. I took the car to Matt (the tuner) late last night and he met me in a parking lot where he reset the fan settings now that I have changed the thermostat. We set the low speed fans to come on at 206 and go off at 200 and the high speed fans to come on at 215 and off at 207. This is basically 20 degrees cooler than stock for both the high and the low. He had tuned five cars that day and showed up in a late 70's Cutlass with an LS swap which had something around 550 horsepower. I held the laptop while he datalogged. I hadn't ridden in a G Body in a very long time and I'd forgotten how much smaller they are on the inside than The Caprice. After leaving Matt I had dropped The Caprice off at the tire shop because I had a bad tire out of balance that came in around 70 mph. They trued the tires and I picked it up around 10:30 on Saturday and brought it back to start on the fuel gauge issue.
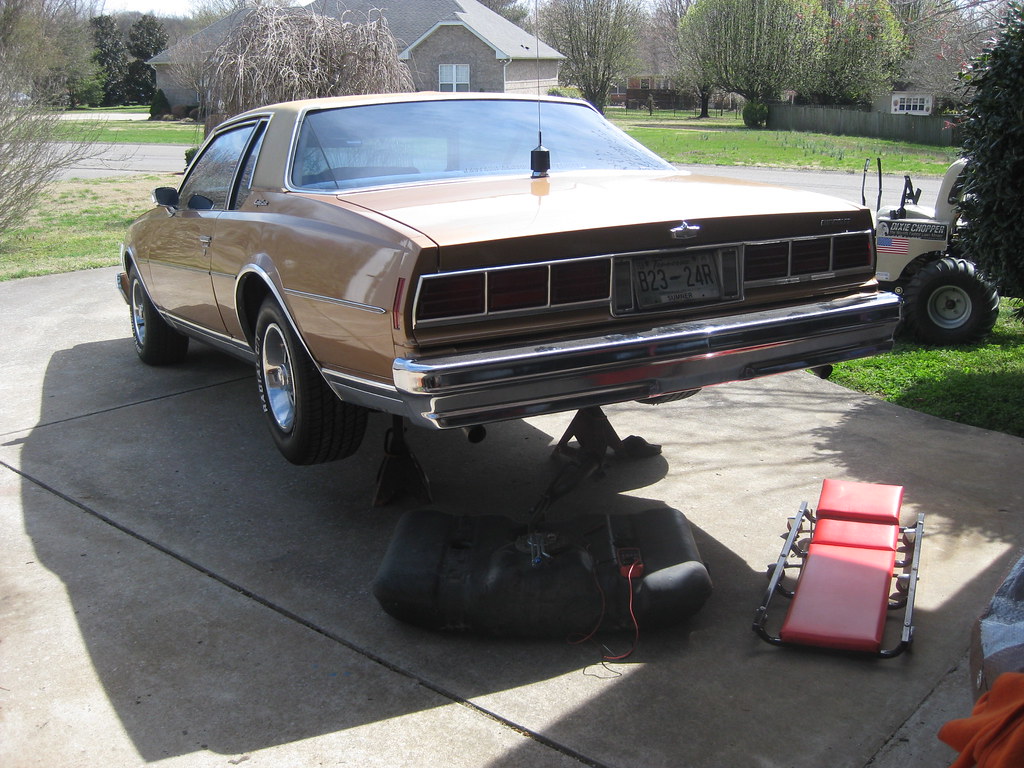
I first tested the Dakota Digital box to see if maybe when I crimped the wire in the box I missed and made contact on the insulation instead of the wire. That wasn't the case. The next connection in the system is where I ran the sender wire from the fuel pump harness over to the engine harness, and I covered that connection in black tape so I skipped it and went to the back to check the ohms. Zero. Typically when a gas gauge reads empty it means there is zero resistance in the wire, which means zero Ohms, which means there's usually a short somewhere. I went to the next connection back, and still nothing. I also noticed that not only did the sender wire read zero Ohms, it also had continuity with the frame, which meant it was grounding somewhere. After checking all of the connections the only thing left was to check the tank connection. I tried to do this by lowering the tank slightly in the front with a floor jack and block of wood, but there just wasn't enough room. I eventually had to drop the gas tank, which meant I had to remove that filler neck mount that I had just finally finished and got mounted last weekend. The tank was really heavy because it is a 20 gallon tank and I had just filled up before leaving work on Friday; not the optimal time to be messing with the gas tank.
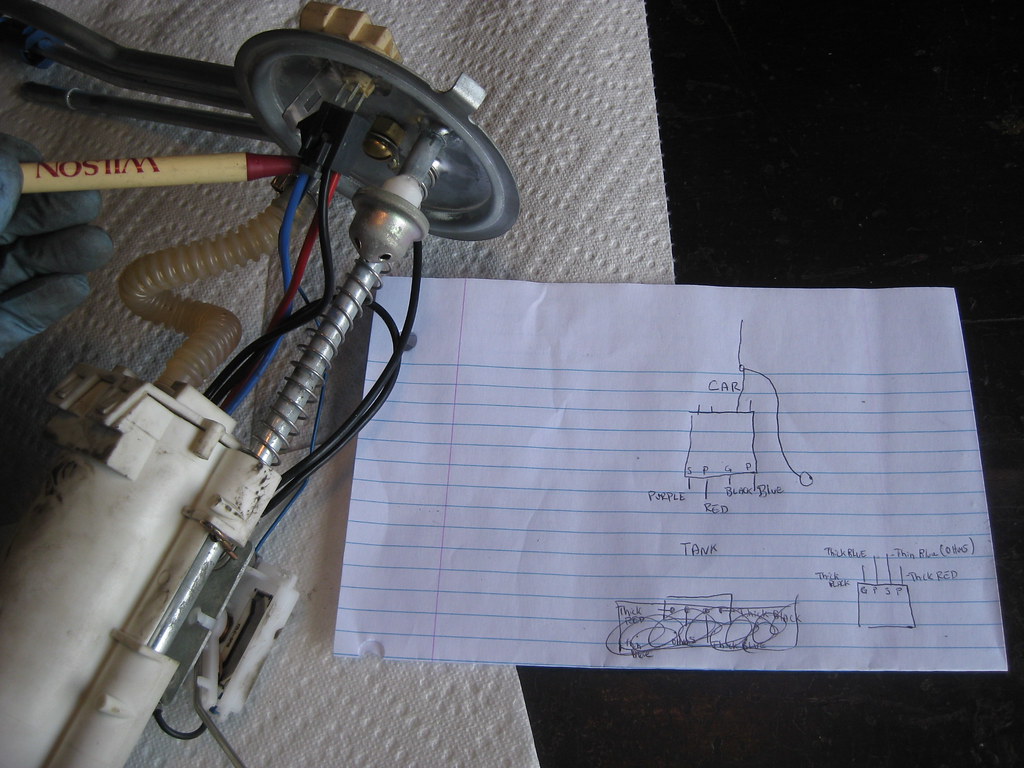
The whole issue with the wiring was very frustrating because I had purchased a Racetronix fuel pump and harness for the fuel pump and sender. I think I gave an overview of this earlier in the build, but they have the very frustrating policy of providing no instructions with their kit, which requires extensive modifications, and instead require you to join their private web forum to get instructions, which consists of a .pdf article that some guy had written. Also, if you ever express concern of lack of satisfaction for their product or lack of response on the forum, they ban you from the forum. On top of this, at the time I bought my kit they had made changes to their kit but this is not mentioned in the articles and the forum tech seemed completely unaware. I had to stop my work and read through all of the write ups and blog posts I had written on the topic to remember how and why I had to make the changes the way I did. Also, their "tech" person on the forum had given incorrect answers, but fortunately a member of an Impala forum helped me greatly in figuring it all out the first time around. After basically relearning this all over again I finally determined that when I had to re-pin the Racetronix bulkhead harness I had accidentally mixed up the locations of the ground and sender wire. I guess that would explain why the sending unit had a ground problem. The picture below shows a pen pointing to the harness in question and my elaborate drawing.
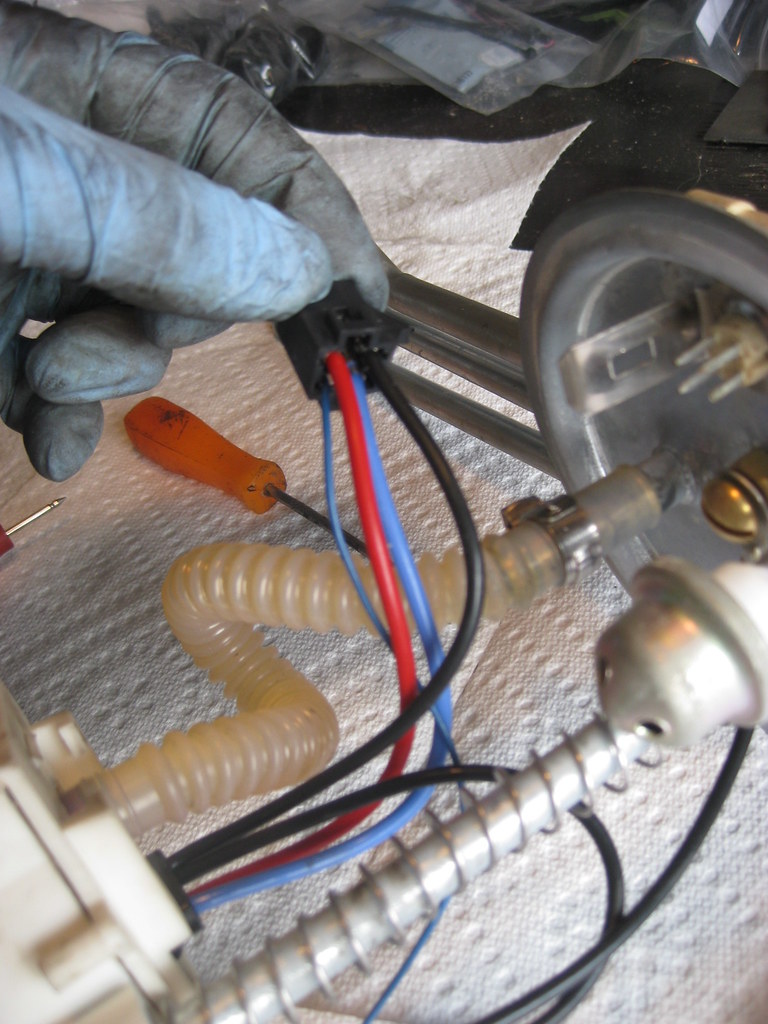
The original problem was made more confusing by the fact that the top side of the connector consists of 4 connectors in a row, while the bottom connectors are arranged in a square.
I swapped the ground wire and the small blue wire, which is for the sender. I still don't understand why the kit has redundant wires powering the pump. The thick blue and red wire both splice together in the connector at the bottom of the picture below. Until this point, I had forgotten how much modification this kit needed and how the customer is basically left to figure it out. The top of the fuel hanger must be drilled and a screw glued in the hole and the sending unit must have the rivets drilled out so new wires can be soldered on and some wires have to be replaced or cut because the kit has incorrect fittings. Also, a few wires have to be routed to new locations.
After all of this I made sure I won't forget a very stupid lesson. On all of the cars I typically work on (pre fuel injection) if you want to test a fuel gauge you can just turn the key on. On a fuel injected car, if you don't hook the fuel lines up, but you do hook the power wires up and turn the key on, gasoline shoots out of the top of the gas tank. I turned the key on and thought, "What's that splashing sound?," and then it hit me.
After all of this I modified the Dakota button that I mounted in my ashtray so the ashtray would slide in and out correctly and I also had to modify the button so I could remove it from the mount and turn it over so that the button on top would control the features on the top of the dash and the button on the bottom would control the features on the bottom.
While I was under the car I noticed the pinion seal had been leaking slightly, so I'll need to replace that in the near future. This has almost concluded the original goal of making the car a daily driver. Now that the gas gauge works I'll make the 4 hour trek to the bodyshop that is going to repair the rust under the old vinyl top.


