A couple of the lights were out and the turn signal light was burning all of the time. I am used to flashers flashing quickly when a light burns out, but apparently this one causes the light to stay on. I was expecting this to be a short because of the creek I submerged the car in the last time I drove it before the engine swap. When I replaced the bulb for the front parking light both parking lights started working correctly and the blinker worked correctly as well. The fuel gauge is still not working but I haven't had a chance to chase that down yet. I used a multi-meter to check the overcharging issue. According to the dash the car is charging at 15 volts, but checking at the alternator shows a max of 14.6 and 14.5 with all accessories on, so it seems the dash gauge is just reading .4 volts too high.
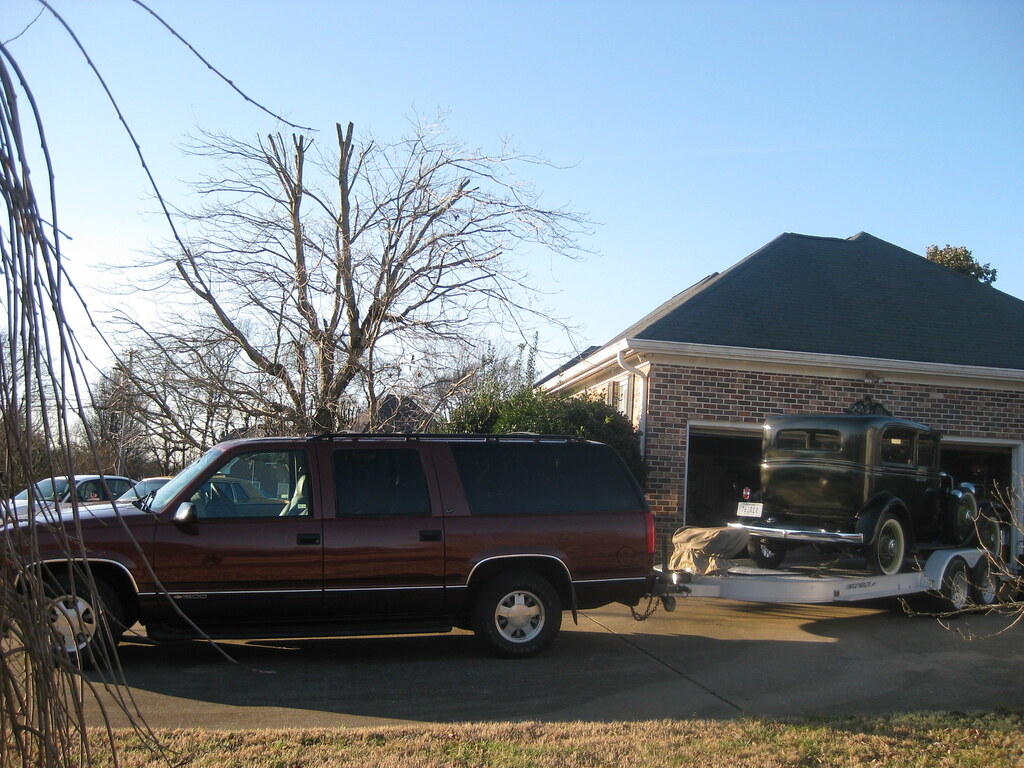
I lost one weekend because a friend was supposed to use one of his cars at a charity event and then couldn't make it so he asked me if I could fill in so I took the '31. Getting the car out and ready to haul to the event and then attending used up one whole weekend of progress. Fortunately The Caprice was mobile at that point so I didn't have to push it out of the way.
I haven't gotten a picture of the new exhaust system since it has been installed.
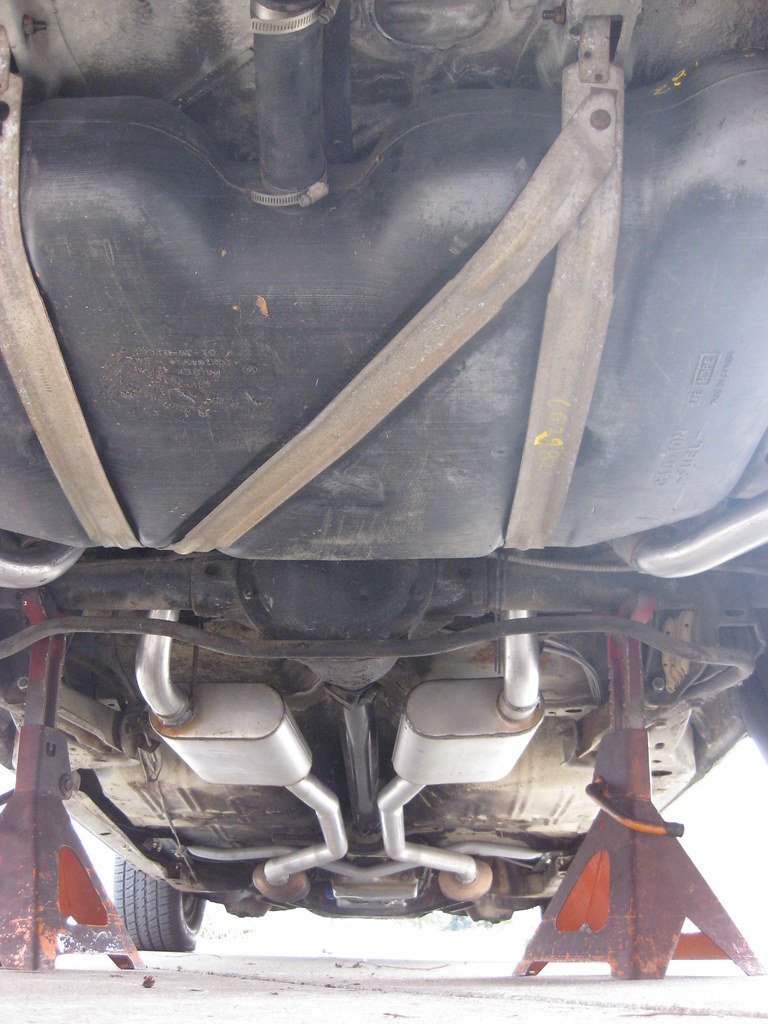
It has been raining a lot and the temperature has been in the teens so I haven't been able to work on the car during the weekdays. This Saturday, I started out addressing the exhaust manifold contacting the frame. I removed the exhaust from the manifold and was glad to find that it isn't actually contacting the frame, it just looks like it from the view from underneath, so I reinstalled the exhaust and put everything back. There were a couple small leaks resulting from the heat cycles so I got all of those tightened up.
The original gas tank filler neck was all steel so it didn't have a mount near the cap. The new gas tank has a rubber tube connecting the filler neck to the tank so it needs to be mounted near the cap. I don't want to weld brackets to the original body, which would work fine, but isn't really my preferred method.
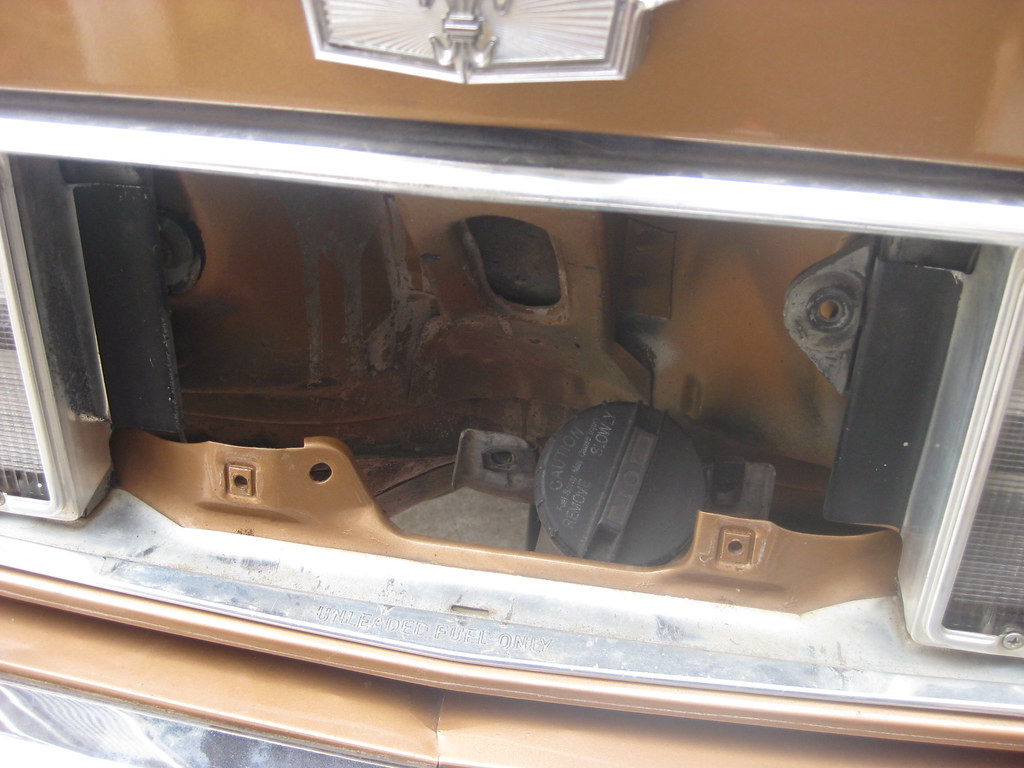
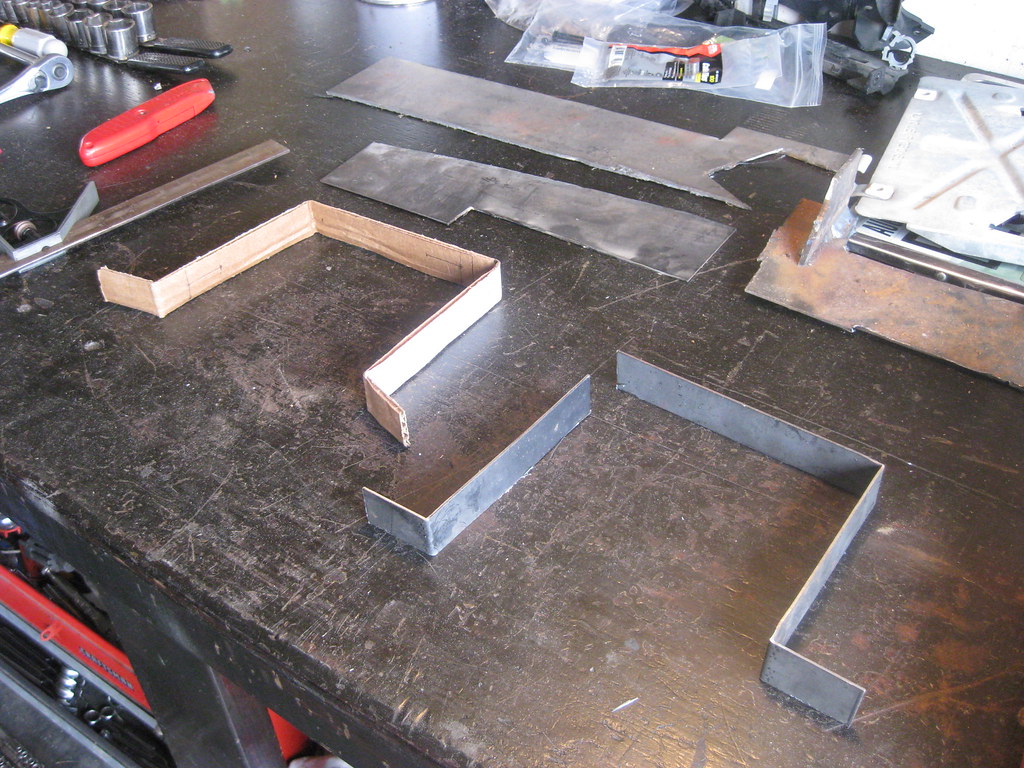
I had been looking at this area for quite a while hoping a good solution would come to me but there just isn't a good place to make a clean looking mount. I finally decided to make a mount that would screw into the existing holes in the top of the bumper and would then have two arms that would come up and mount to the tabs on the filler neck. The flat white piece in the picture below is a piece of aluminum siding trimmed and painted body color on top. These cars had a filler piece between the bumper and body made of rubber and almost all of them have crumbled and disappeared over time. This solution seems to work pretty good and unless you knew differently it appears stock from the top side. The bolts I'll be using for the mount are directly under the aluminum piece and hold the inner structure of the bumper to the outer chrome shell.
I started with a cardboard template. I didn't have a scrap piece of metal long enough to make the piece so I had to weld a couple pieces together.
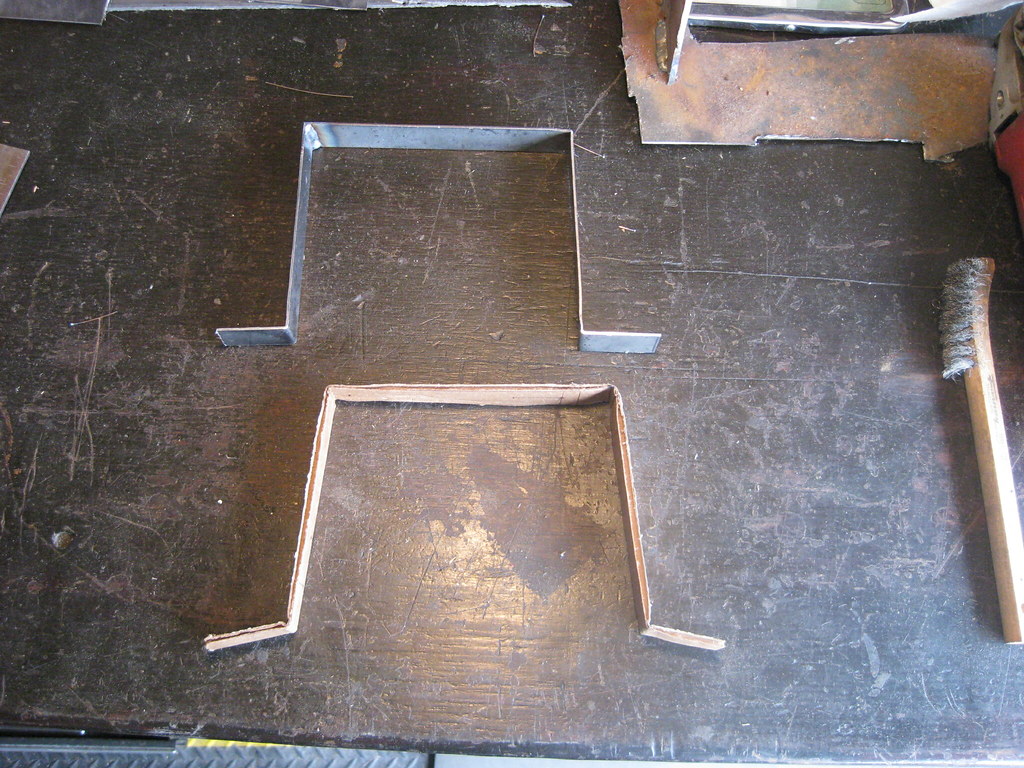
I normally like to grind all welds smooth and flat but on this piece I decided to only grind the outside. If this piece ends up with too much lateral flex I'll add a couple gussets. I had to stop here because things didn't go quite to plan. I will eventually have two arms coming off of this piece that will mount to the top of the filler neck but I had trouble getting one of the bolts out of the bumper.
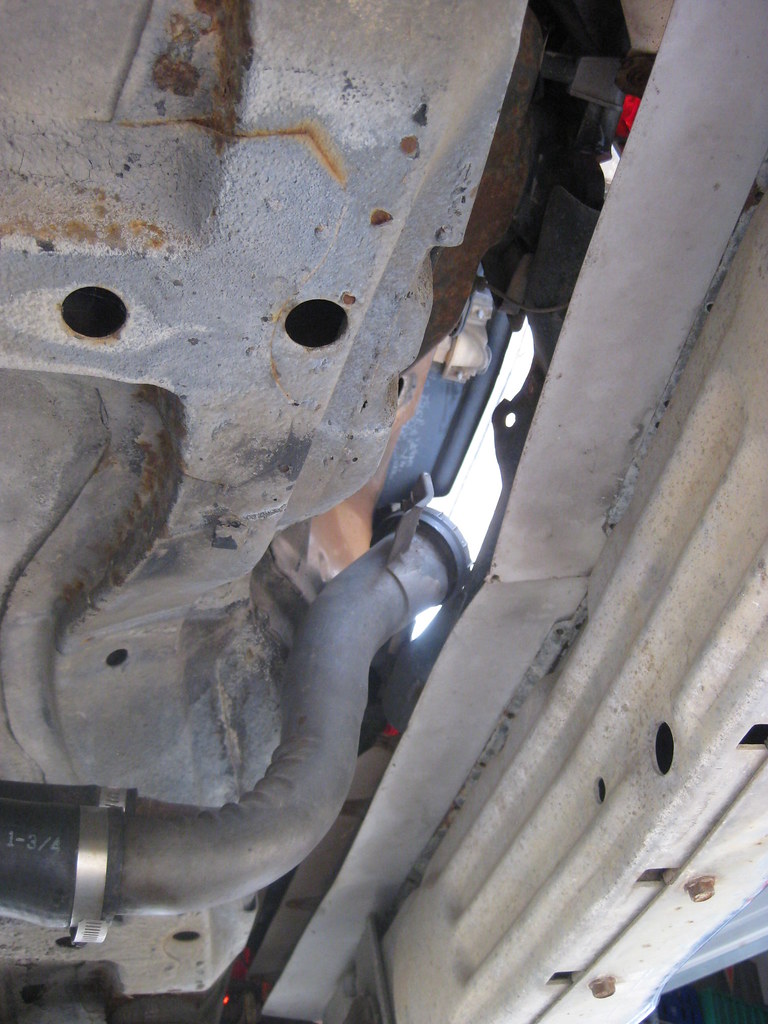
The first bolt came out fine but the second bolt wouldn't come out. They thread into place with metal clips that clamp inside the bumper, but this clip broke and is spinning inside the bumper. It's impossible to accurately explain but because of the way the inner structure of the bumper is made it is impossible to access this clip. The only way would be to remove the bumper and take all of the bolts out to remove the inner structure, which would mean grinding the head off of the afflicted bolt. This isn't a good option because I'm sure many more of these bolts will have the same problem of the clip breaking. Looking back at the picture from under the car will show that the inner structure of the bumper had a couple holes cut in it. I used a hole saw of a similar size to drill a hole in the appropriate place to give me at least some kind of access. Even then because of the unnecessarily intricate structure on the inside of the bumper it is not a straight shot. That is as far as I was able to get and I have yet to remove the clip. Even with the access hole it is very difficult to reach but I think if I can grind the head off and remove the bolt I can get my fingers in there to install a new bolt with a nut.
I took the car to pass emissions and it failed. It failed because the testing station said they could not get enough of a reading from the tailpipe. Essentially, they said that there isn't enough puff coming out of the tailpipe. I asked the guy if I could hold my foot on the gas and he said no. I have no exhaust leaks and the car is idling where it should. This entire emissions scam is such a waste of time and money and is super frustrating. I suppose I should be happy we don't have full inspections like some states do. I did make sure there was a probe in both tailpipes. I'll have to find another testing station where they aren't so ridiculous and I guess just hold my foot on the gas while they have the probes in.
I took the car to the tuner's house and he's going to drive it into his shop and tune it on the dyno. At 70 miles per house the car is turning 1450 rpm, which is way too low. The gearing, 2:41 I think, is way too high. I'm barely able to keep it at 65 because you can barely sit your foot on the gas and it speeds up. I did confirm that the torque converter is locking up and disengaging with the brake, so that's a relief. When I was in town this past weekend I heard a clicking noise when I had the hood up. I tracked the noise down to coming from the PMC/Relay/Air box. I looked into the issue and found that it is most likely a relay clicking, which was a relief because my first fear was that it was the PCM. The frequency was about 1 click per second. This is most likely due to the tune and the double fan. We knew that the fans would need to be addressed in the final tune but I didn't realize it could cause the fan relay to click. I'm not sure yet but from what I've read the PCM is trying to activate the recirculate door from the old Avalanche and a setting will need to be manually changed to the "fan 2" setting with the laptop. The good news is that the car ran great on the trip to the tuners, which was about 15 miles, some of that at interstate speeds. It doesn't seem to be overheating, has good oil pressure and voltage and currently doesn't have any leaks. The tuner is going to address some things like shift points, fans and throttle lag in the drive by wire. I'm anxious to see how the car will be after the final tune on the dyno.