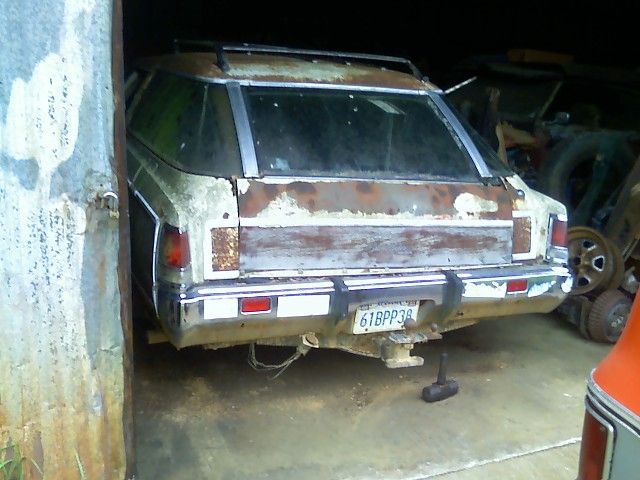
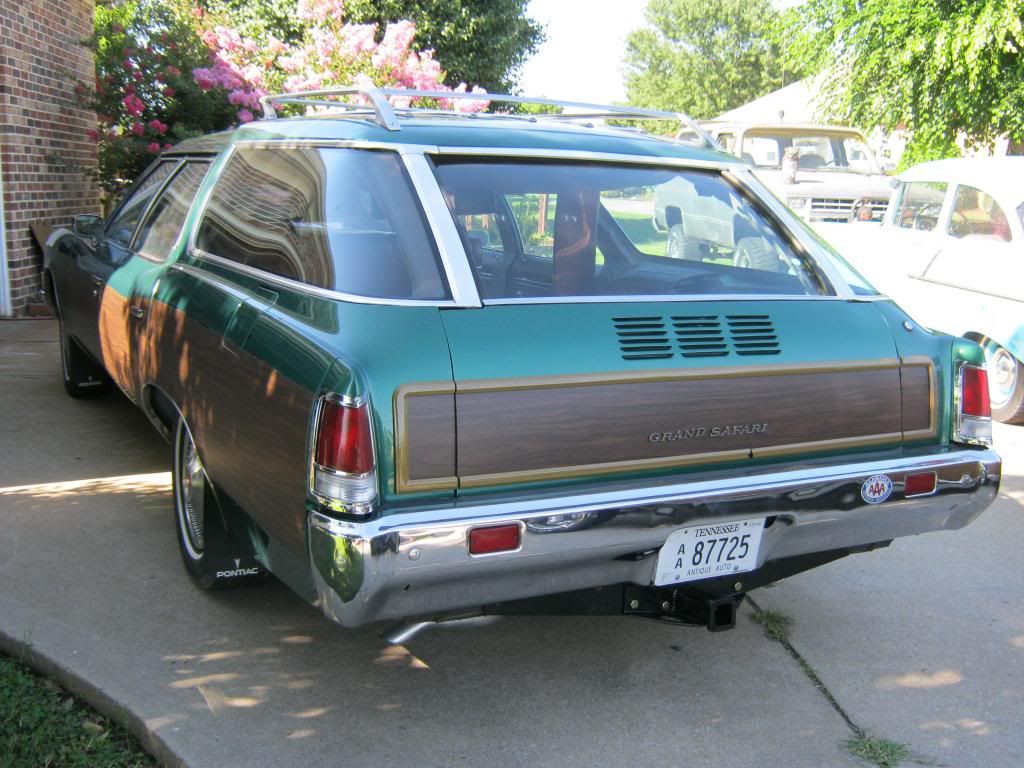
I had to call the powder coater and encourage them hurry along with the trailer hitch. After finishing the transmission I was not able to reattach the exhaust until I had the trailer hitch in place, which meant that I was not able to run the engine until the exhaust was in place, so everything was contingent on getting the hitch in place. They got it finished within a couple days of me explaining the situation. When I got the hitch back I found that it didn't fit, despite the fact that the guy I bought it from said it came from a Pontiac Safari. Here is a picture of the hitch and the car it is said to have come from.
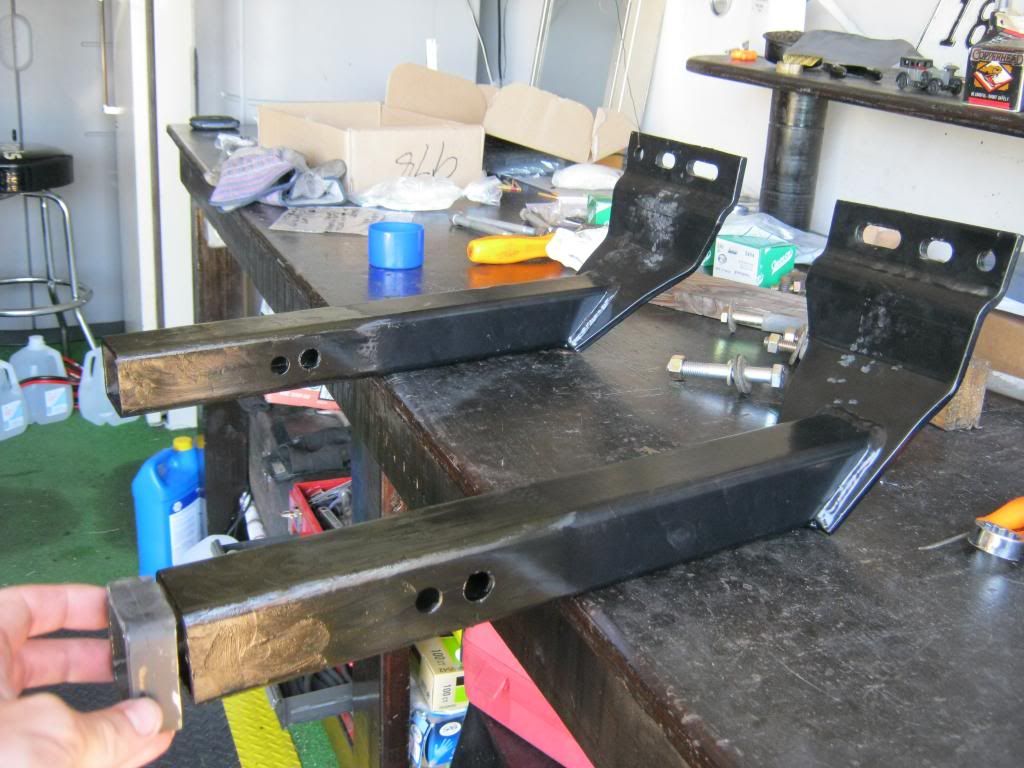
The pieces shown below slide into another part of the hitch and go up in between the framerails, mounting on the inside of each. I spent a significant amount of time trying different ways that they could have possibly mounted on the other car but several clues indicated without a doubt that they had bolted to the inside of the framerails of the other car. These pieces ended up being so long that even when pushed completely together, as I have done in the photo below, they were 1 inch too wide to fit up into the frame rails.
Each of these pieces slide into another receiver-type fitting. Because of the thick powder coating they did not want to fit and it took a good bit of work to get them sanded down to where they would once again slide inside of their housing. They would get stuck inside the housing and require lots of hammering to remove. In the picture below you can see how much I had to remove from the end of each piece. There is a lip on the inside of the frame rail so I had to remove enough to allow the pieces to slide together close enough to go inside of the lip and then slide back apart to bolt to the framerails. There are two bolts that go through the housing on each side, holding each piece in place. Because I had to modify this part of the hitch to slide closer together it meant that this hole no longer lined up. Because of legal liability issues no shop wanted to drill a hole in a trailer hitch, despite the fact that this particular hole is not load bearing and is also redundant due to the fact that theses pieces and held in place by the frame bolts. I found a friend of the family with a drill press and after I made some very careful measurements he drilled the holes with no problem.
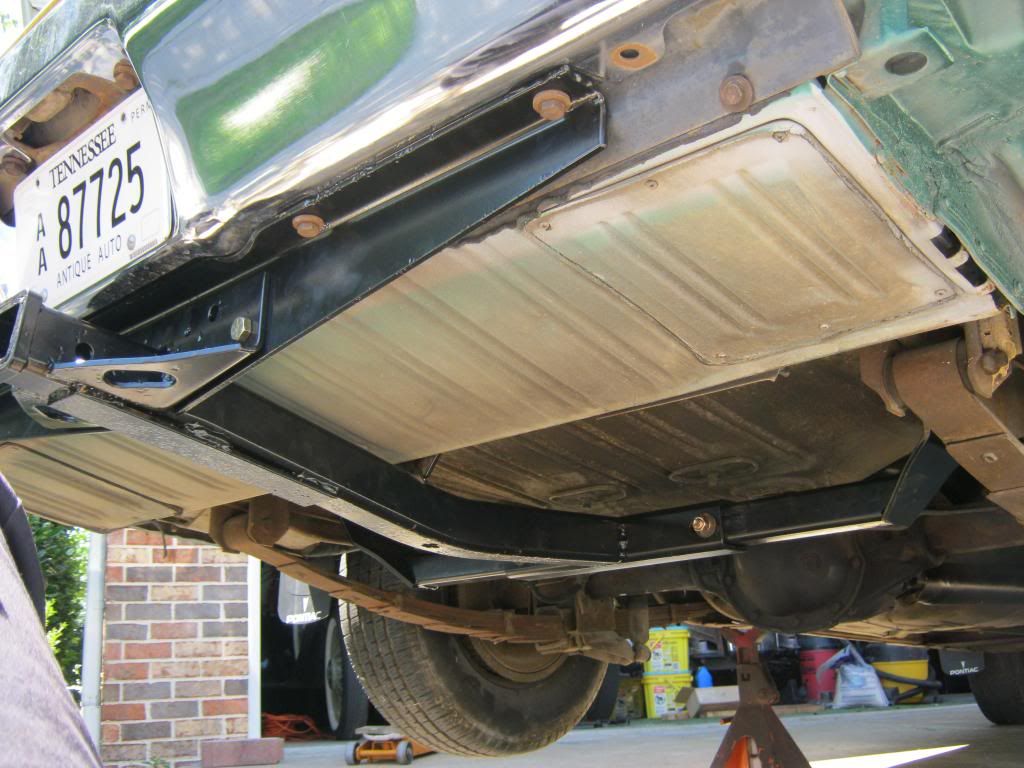
The first day that I attempted to put the hitch on Nick helped me lift the pieces in place. The second day, after all of the modifications had been made, I used the jack. The two pieces from the previous picture go toward the front of the car and mount left to right. The center piece has a mount that sticks up and goes between the storage tray for the tailgate and the frame and bolts to the frame. The rear of the hitch, near where the receiver hole is, bolts to a plate that itself bolts to the rear bumper. In this picture, this rear plate is already bolted to the bumper. The guy who sold me the hitch sent me all the hardware but I replaced it all with brand new, grade 8 bolts. It was somewhat expensive but I wanted to make absolutely certain that every bolt was as strong as it could be and top notch.
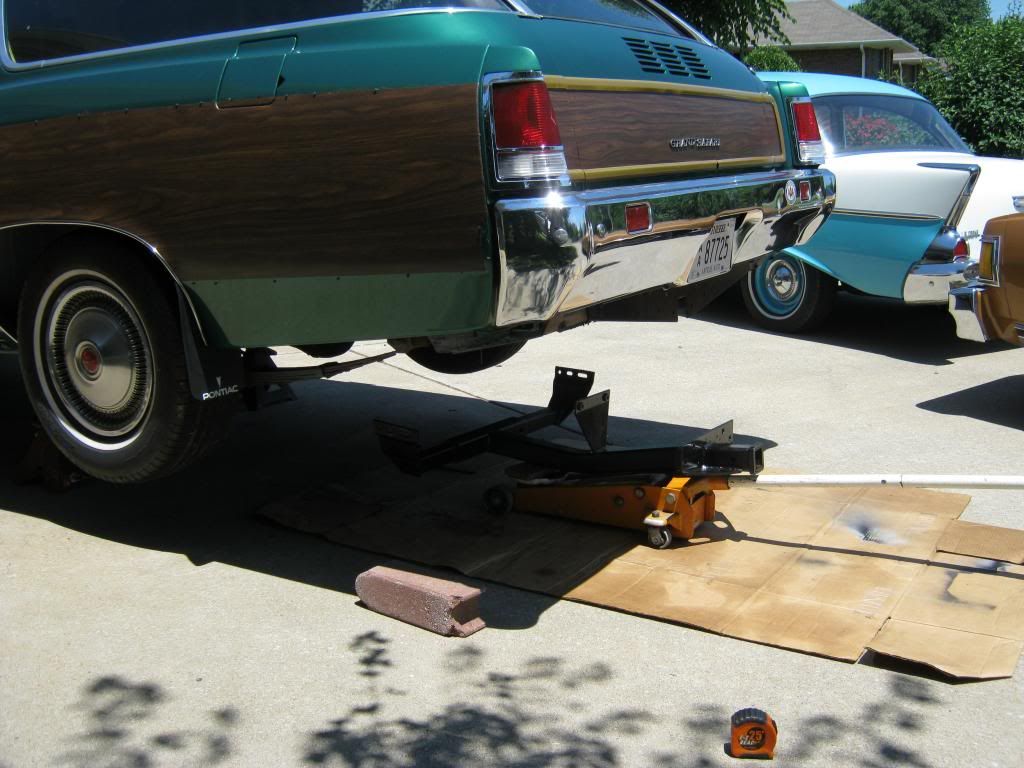
Here is a picture of the hitch in place. You can see the frontward pieces have been slid into the center piece and the new bolts slide through the new bolt holes. At this point the ends have also been bolted to the framerails. Also, you can see where the rearward plate bolts to the bumper and then to the receiver portion of the hitch.
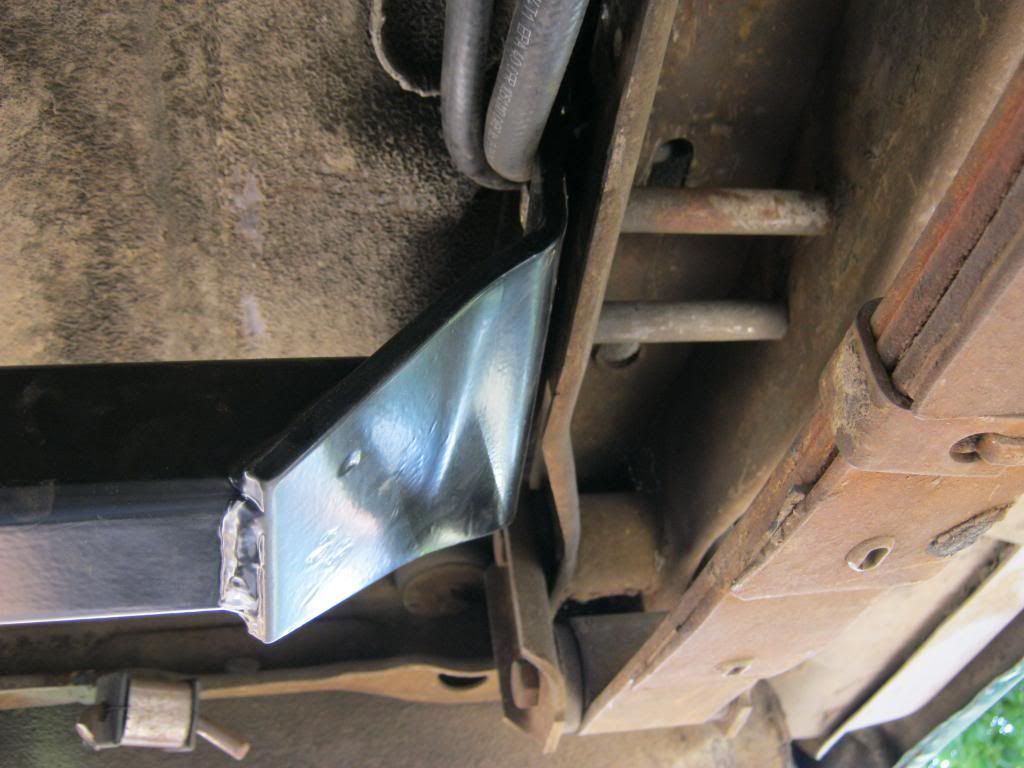
The frame is not fully boxed so these sleeves were installed around the bolts to give strength to the framerails and keep them from pulling together when the bolts were tightened. These sleeves were a very tight fit and had to be tapped into place with a hammer. Getting everything lined up and the bolts started took quite a bit of time and effort.
After I got the hitch installed I used wire to temporarily rehang the exhaust and took the car to the exhaust shop to have it put back to its proper place.
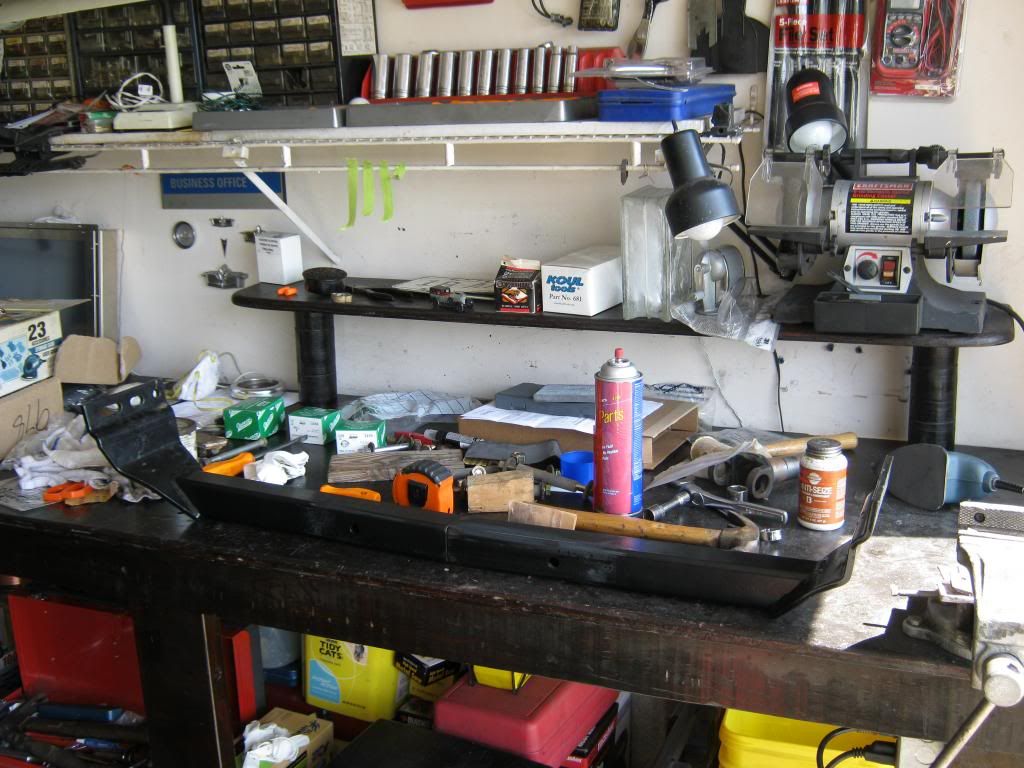
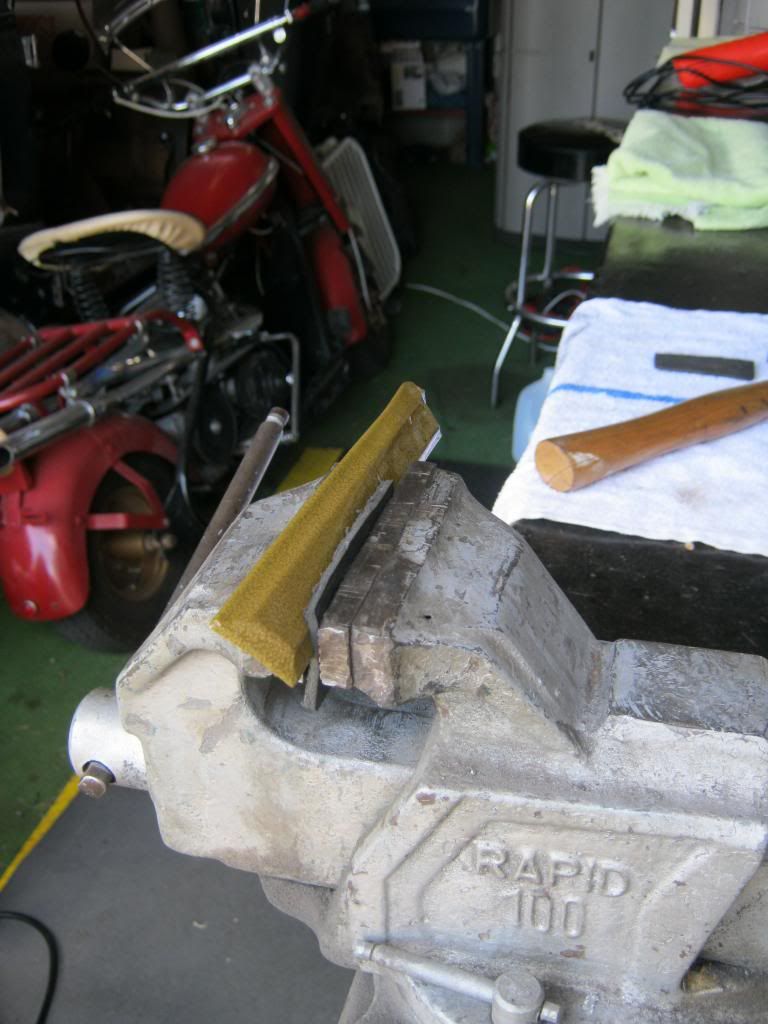
The final pieces of the trim were finally finished and eventually my order of body clips finally came in. Installing all of the trim was more than a one day exercise. A few pieces of the trim was all but smashed completely flat. I had to reshape these pieces every so slowly with the vice and some leather and a hammer. The hardest part was getting them to return to a shape that would still latch to the clips on the side of the body. Eventually, after a few days of working, I have everything back on the car except for the bottom aluminum rocker molding. The fender moldings and emblems required me to remove the lower fender bolts and pull the fender away from the car to get access and then realign the fenders. This picture is in the middle of making progress toward straightening the very front, driver side piece that goes in front of the wheel. It was probably in the worst shape of all of the pieces, being almost entirely paper flat in the beginning.
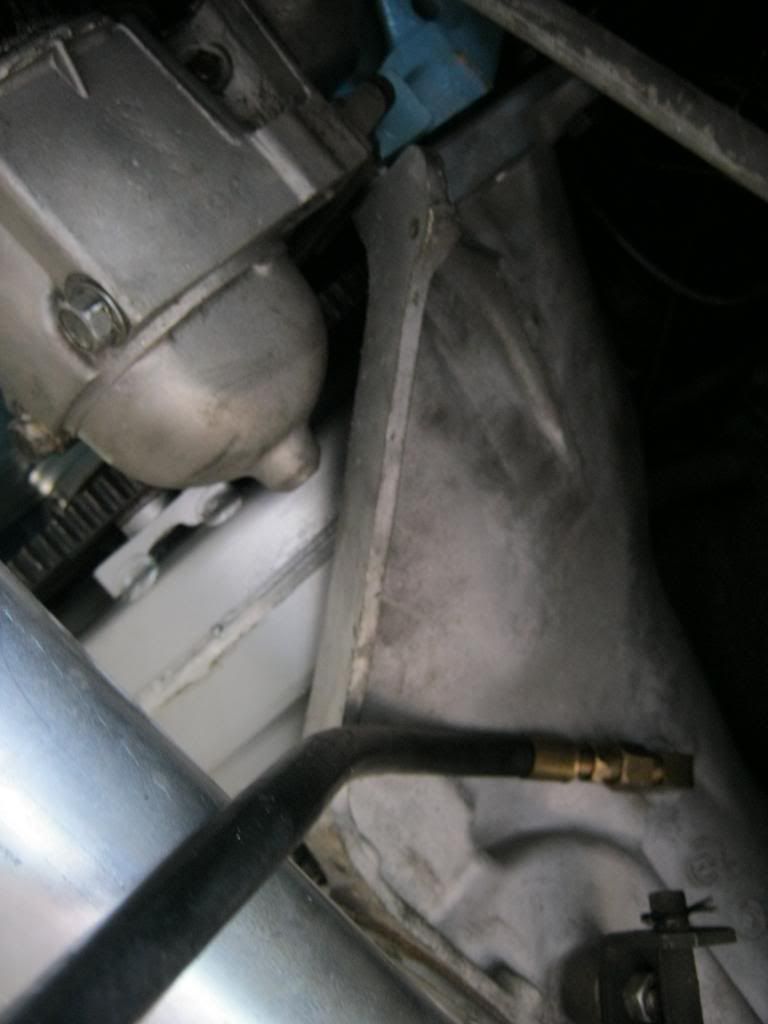
Because a 700R4 transmission is so particular about the pressure it must have I borrowed a transmission gauge from a friend that is a diesel mechanic to check the pressures before I drove the car any distance and risked damaging the transmission. I was interested in the operating pressures of the transmission, but most important was to make sure the initial pressures were within the acceptable range because if they aren't the transmission can be instantly damaged. After seemingly endless research on the internet I determined what the correct pressures would be. The transmission gauge came in a kit with three different gauges and many different fittings. After finally getting them together I was able to hook the line to the port in the driver side of the transmission. In all my research I also found that my transmission is a 1990, which means it is one of the desirable years in terms of what to look for when finding one to swap into an older vehicle. If I remember correctly the post 1987 transmissions are what is wanted and the pre '87 transmission are said best to be left alone.
There is a particular set of tests to perform and readings to be taken during each one, which makes doing these tests a two person job. Nick came over and using my timing light as an rpm gauge was able to rev the car to the appropriate rpms while holding the brakes when necessary as I handled the under-hood operations. I made a chart that I copied from the internet to record all of my findings, which ended up being three sets of readings from each gear, some with and without the TV cable connected. One of the most vital parts of the test is to ensure that the transmission shows an instant pressure increase the very moment there is any movement of the gas pedal. In a previous test drive, I unfortunately found that the transmission has a shudder between gears. I spent a lot of time researching this and also called the reputable transmission shop that rebuilt my trans. They said that with the type of 700R4 build that I have it is typical for the transmission to have some shudder for a few miles and since I haven't driven my car over two miles yet I wanted to make sure my pressure readings were within reason so that I didn't cause any damage as I attempted the break-in period. They said that if the problem persists they will make it right.
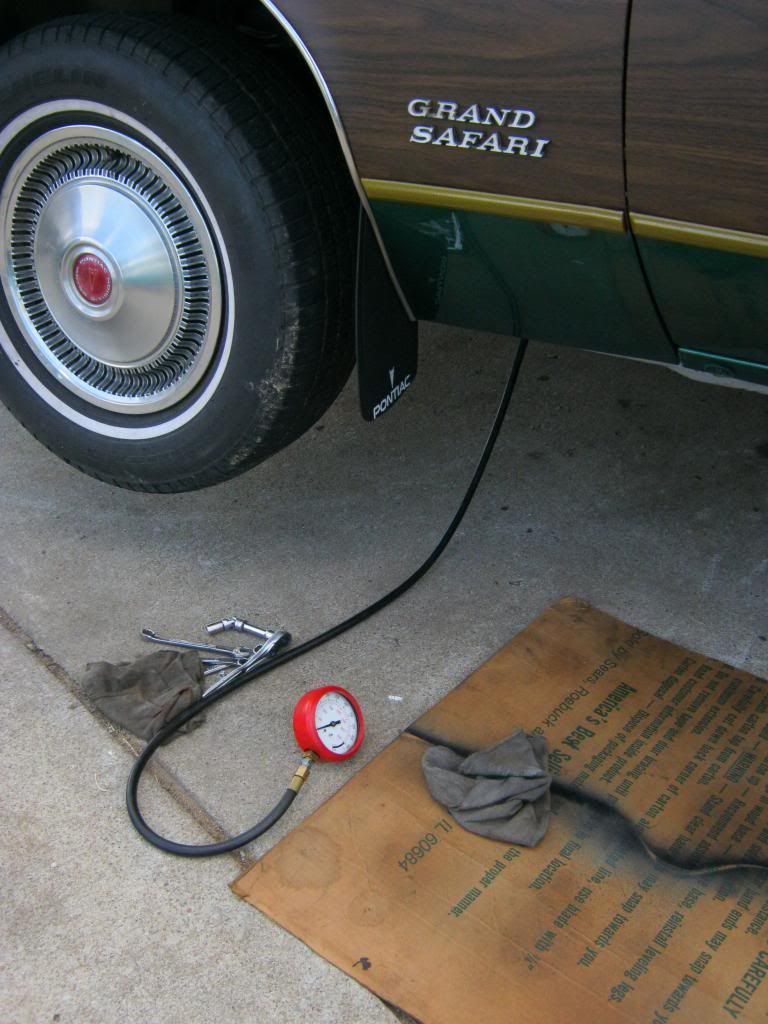
After finally getting and confirming all the readings for all of the gears of the transmission I rolled the windows down and prepared to drive The Clam into town for the first time on a test drive. No sooner than I had pulled out of the driveway I looked down and noticed the oil gauge was sitting on its peg at 0 psi. This is always an alarming thing to see. The car had just been idling for about 30 minutes while Nick and I tested the transmission and there had been no audible signs of any distress from the engine. I pulled back into the driveway after checking things over and cut the car off. I found that while the engine was hot the pressure would sit at 0 psi and if you hit the gas some it would go to 10 psi. While the engine was cold, it would hold 10 psi. Previously, I had 20 psi when hot and somewhere between 30 and 50 when cold.
I began doing research into all the different reasons that could cause this issue. Aside from the huge letdown of not getting to take my first test drive, I now had to accept that I could be facing catastrophic engine failure. I determined there were no kinks in the mechanical oil gauge line. I used the gauge my friend let me borrow and attached it to the oil gauge line. I was let down to see that my in-car gauge was functioning perfectly and the new gauge showed the exact same low pressure readings. After removing what was the hardest-to-remove oil filter I have ever experienced or heard of in my life, I replaced it with a new one. Still, the oil pressure was dangerously low, yet at no time did the engine give any audible signs of oil deprivation. I began to go onto forums online and also search the internet for as much information as I could about low oil problems with Pontiac 400 and 455 engines. I found that there are two valves in the oiling system on these engines. One is inside the oil pump and controls pressure and another is a bypass inside the filter housing. This filter housing bypass is designed to bypass the filter to allow pressure to the rest of the engine in the case of a filter becoming stopped up. I found an old Pontiac dealer service bulletin on the internet from the 1970s indicating to the GM mechanics at the time that low oil pressure had been a problem. It described making a block off plate for the filter housing and then cranking the car with the coil wire pulled, or the HEI ignition fuse pulled in my case, so that it would crank for 30 seconds without starting. In theory, this could flush out any debris that could be stuck in the ball-check valve in the oil pump.
I took the oil filter housing off and took the plate off the bottom to check the bypass spring. Everything looked fine.

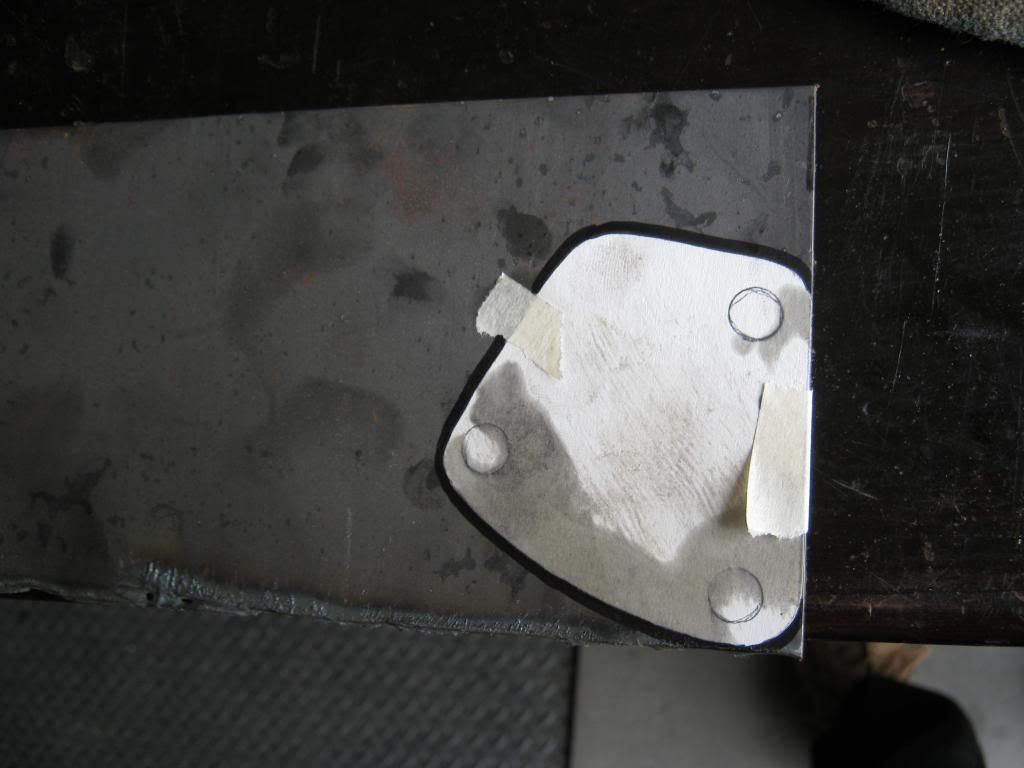
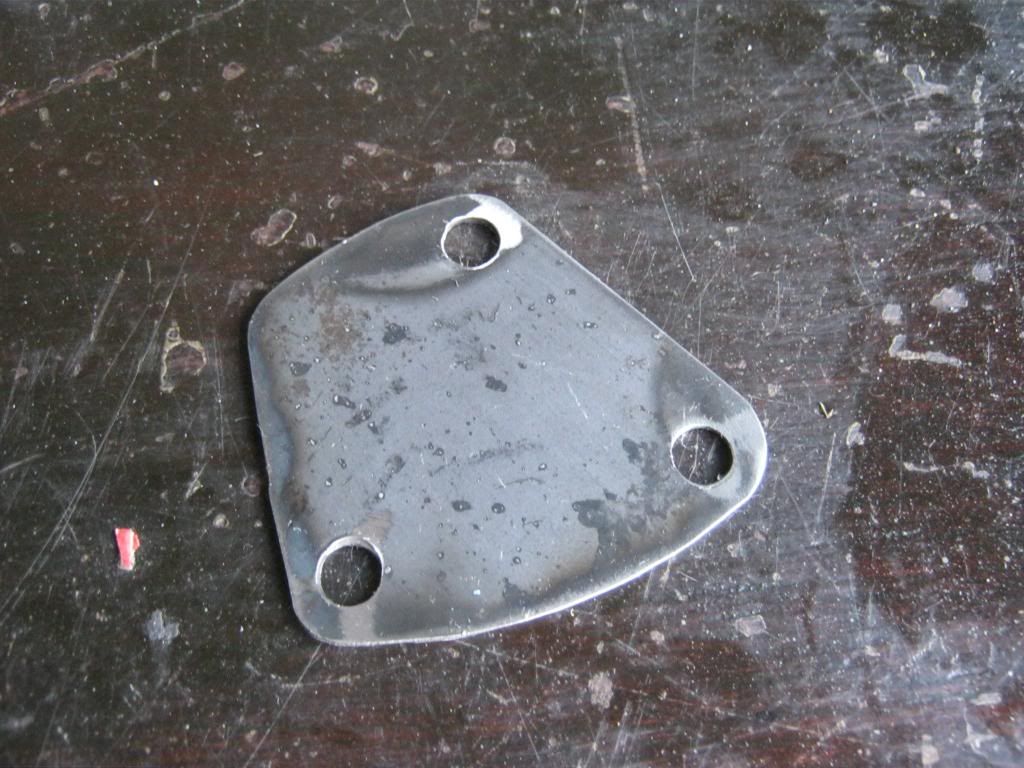
I happened to have some 1/16" steel so I made the plate as described in the service bulletin.
Unfortunately, this did not fix my problem either. My next step is going to be to remove the oil pump and check for debris clogging the ball-check valve. I truly hope to find something here because if there is not anything clogging this area it means I will have to pull the engine and have it torn apart to find the problem. Pulling the pan will be no small feat. Many recommend pulling the engine but given my particular circumstances that would be much more difficult for me. I am going to have to unbolt the block from the frame and raise the engine and lower it back on blocks. Hopefully this will give me enough room to finagle to pan out from under the engine and allow access, though messy with oil dripping all over the place, to the oil pump, where I can, hopefully, slide it past the crank and remove it.