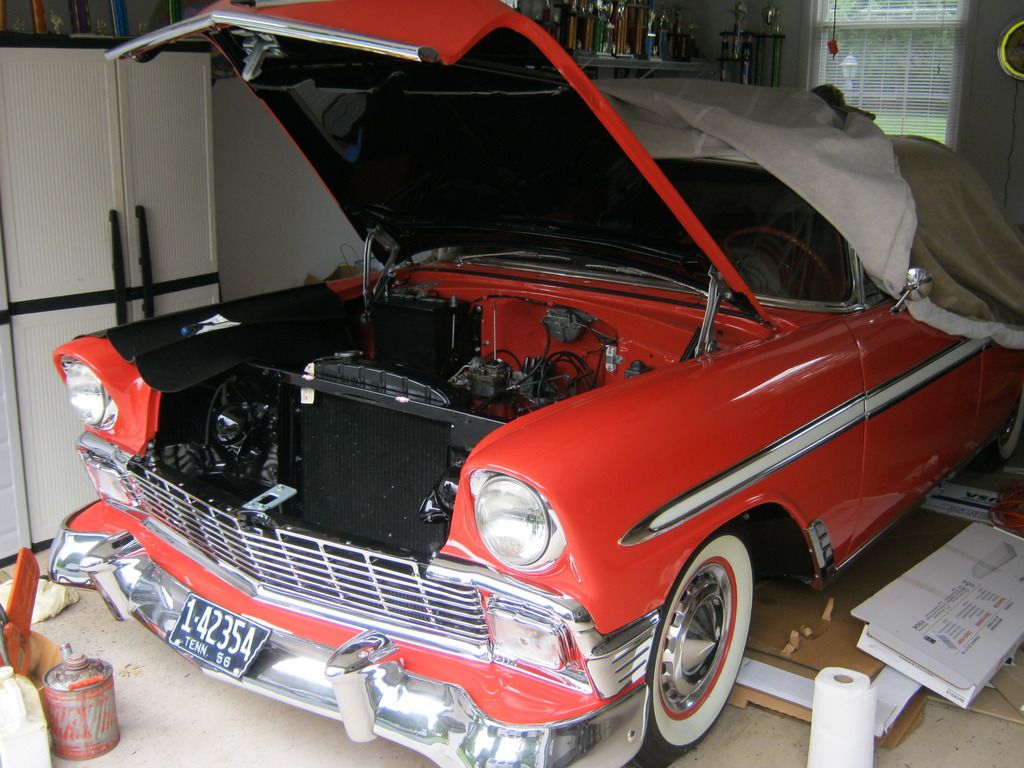
My cousin Woodson has had some health issues and has not been unable to put his '56 Bel Air two door hard top back together after removing the distributor to reset the timing. He did a frame-off, complete restoration several years ago, going back all original, and has was numerous awards with the car.
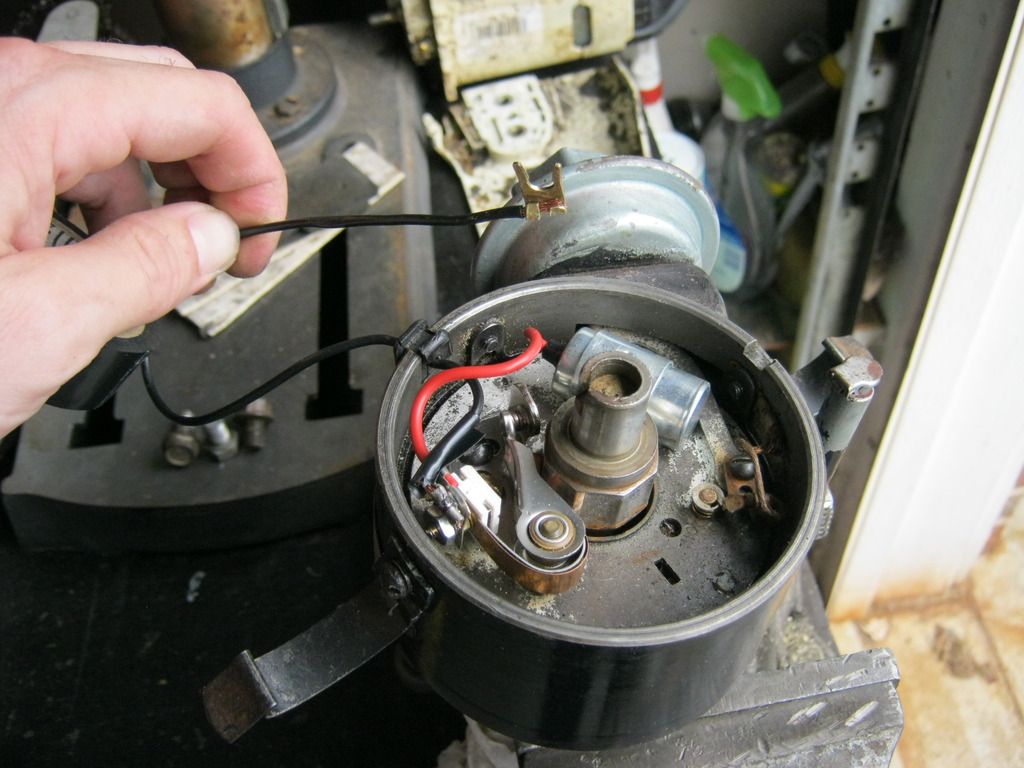
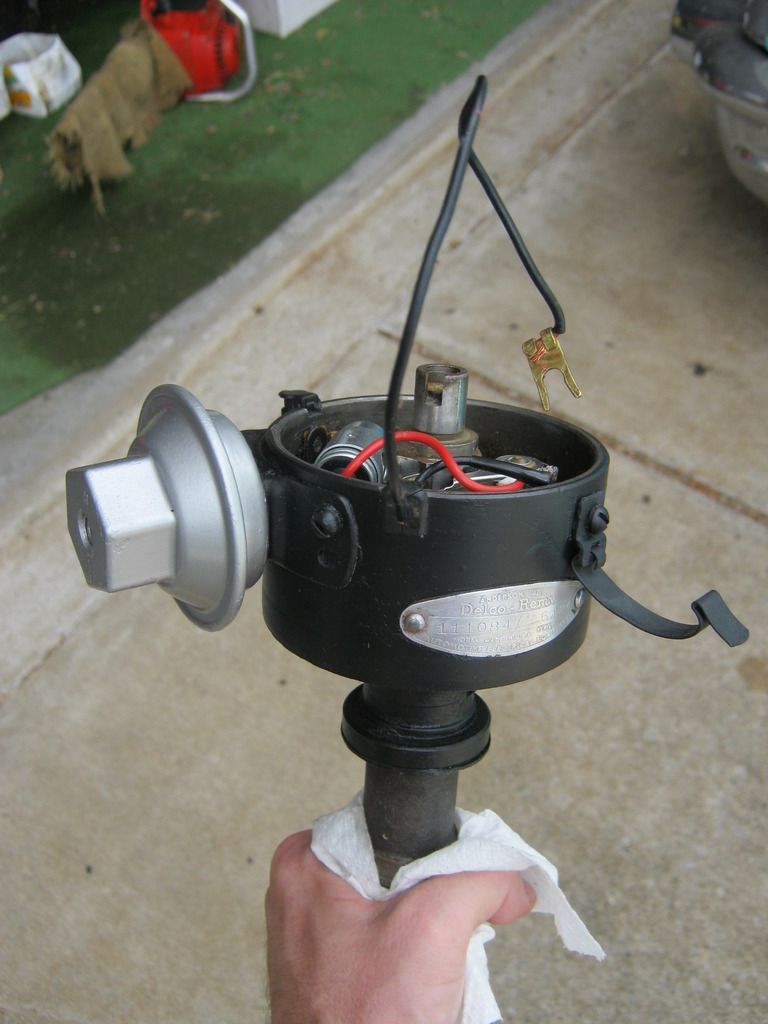
His brother had helped him partially reassemble the car several months ago. When I began reinstalling the plug wires I noticed that the wire from the distributor to the coil was only hanging on by a couple of strands.
As I mentioned, the wire was barely hanging on and sure enough, when I got home simply touching the wire caused it to break off.
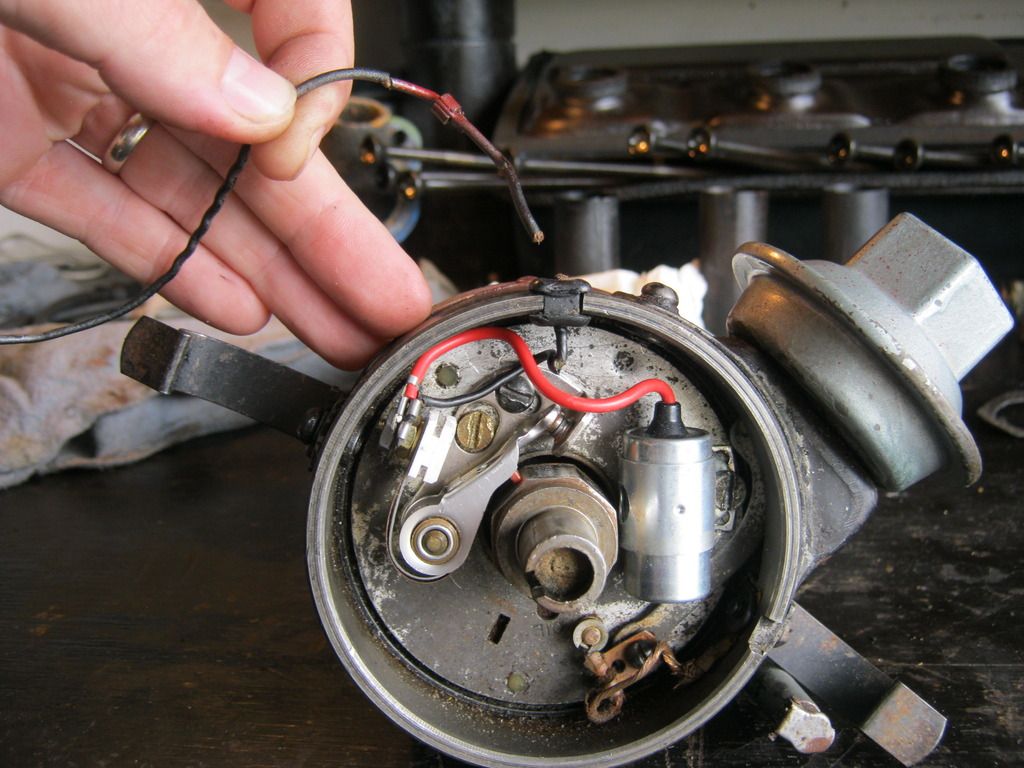
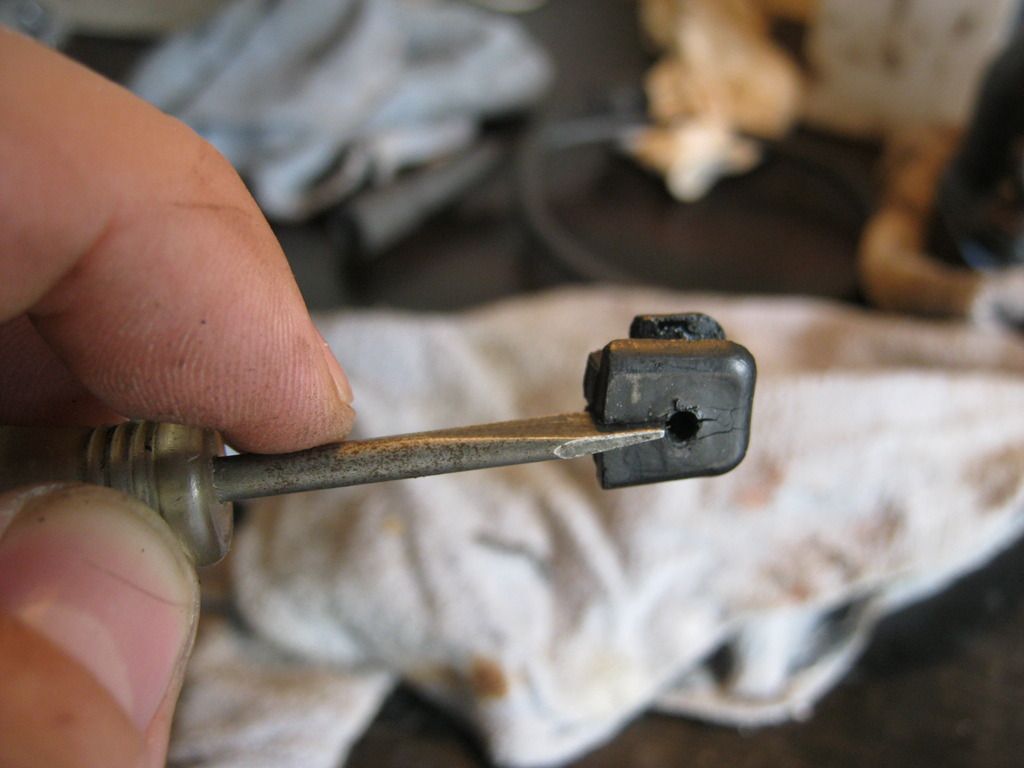
I asked him later and he said the car had recently acquired a missfire. This assuredly was at least part, if not all, of that problem. I have not replaced a rubber grommet in a distributor before and I was unsure how or if the wire could be removed without breaking the brittle, old rubber. I was able to remove the grommet and though it did sustain a small amount of damage, it was still intact and usable.
Rather than push the wire out and forcing a new wire in, I found that the grommet had a slit in the bottom which allowed easier access, however it was difficult work as the grommet wanted to split in half because it was so brittle.
Because so much of the car is all original I didn't want to put standard, hardware-store style connectors that would stick off the coil and look cheap and obviously unoriginal in appearance. I searched and was unable to find original replacement clips so I managed to take a razor blade and carefully pull the tabs back and reinstall a new wire in them. Fortunately, no tabs broke, but they certainly seemed as though they wanted to.
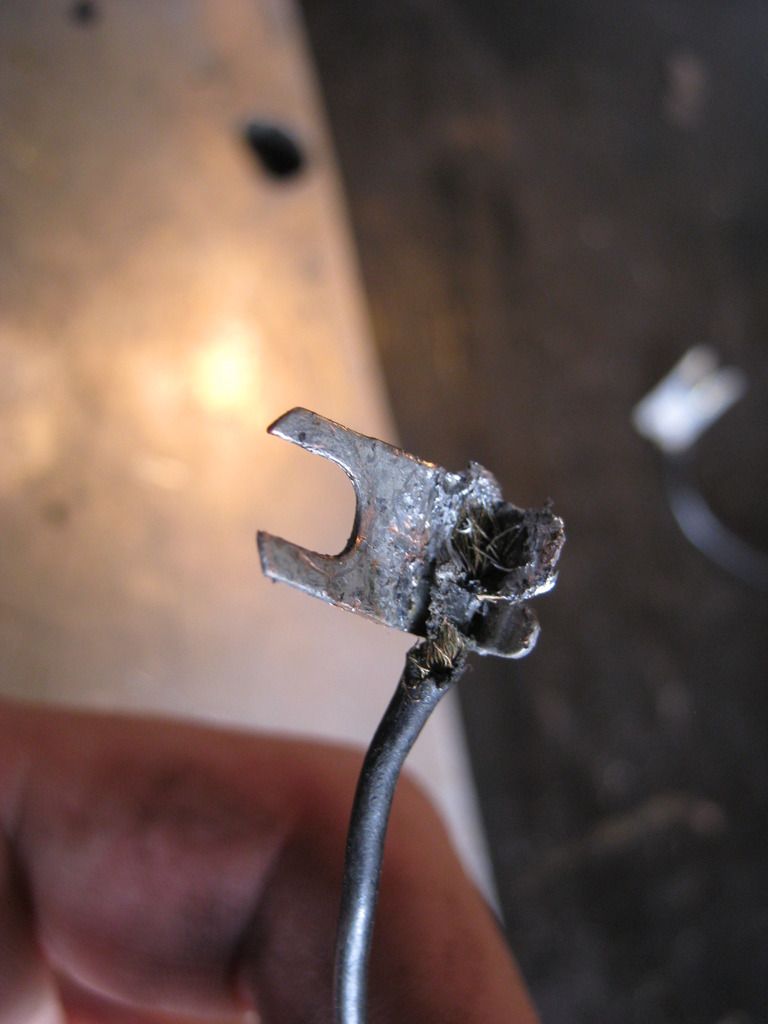
I polished the ends back to a shine and reinstalled everything.
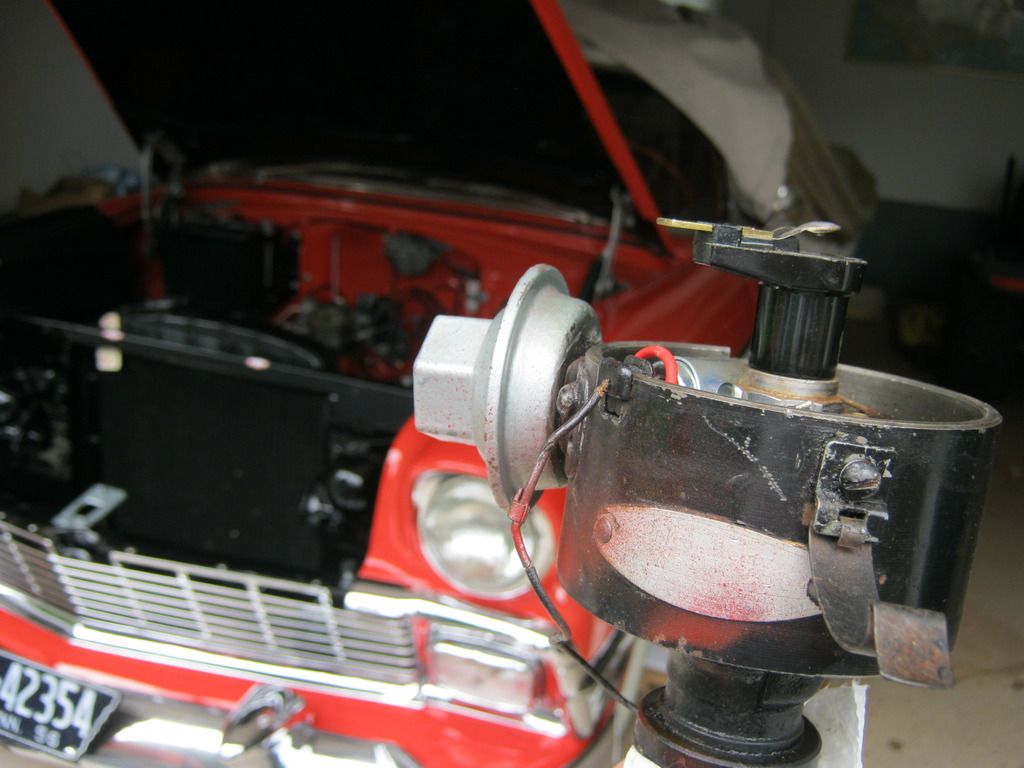
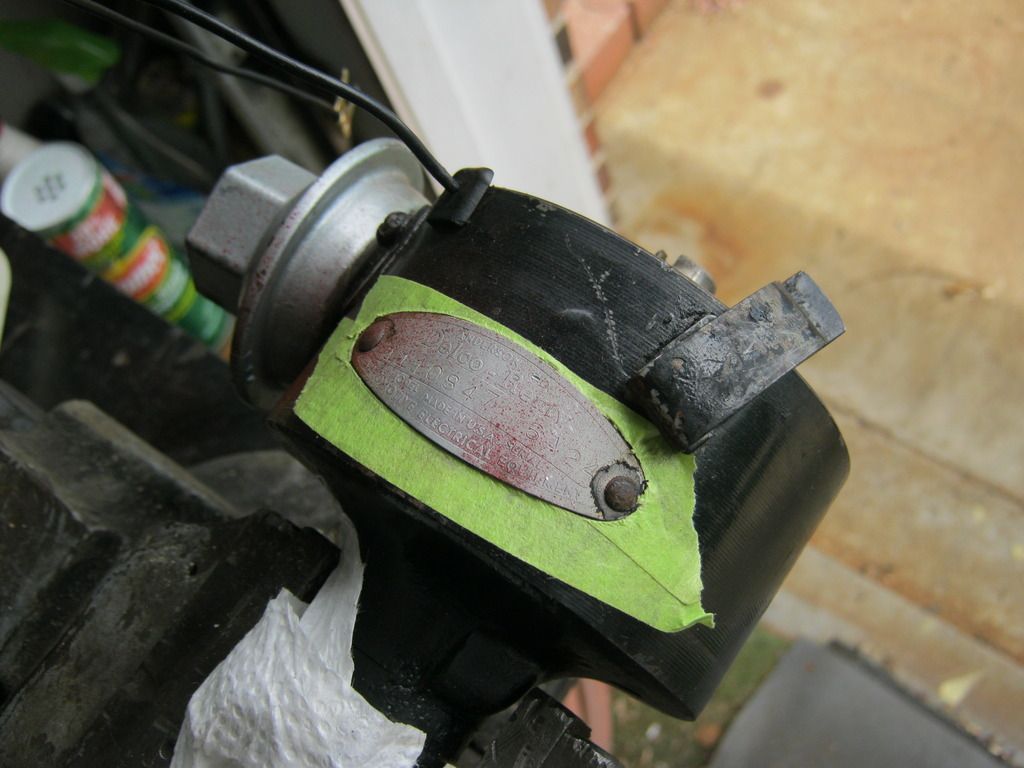
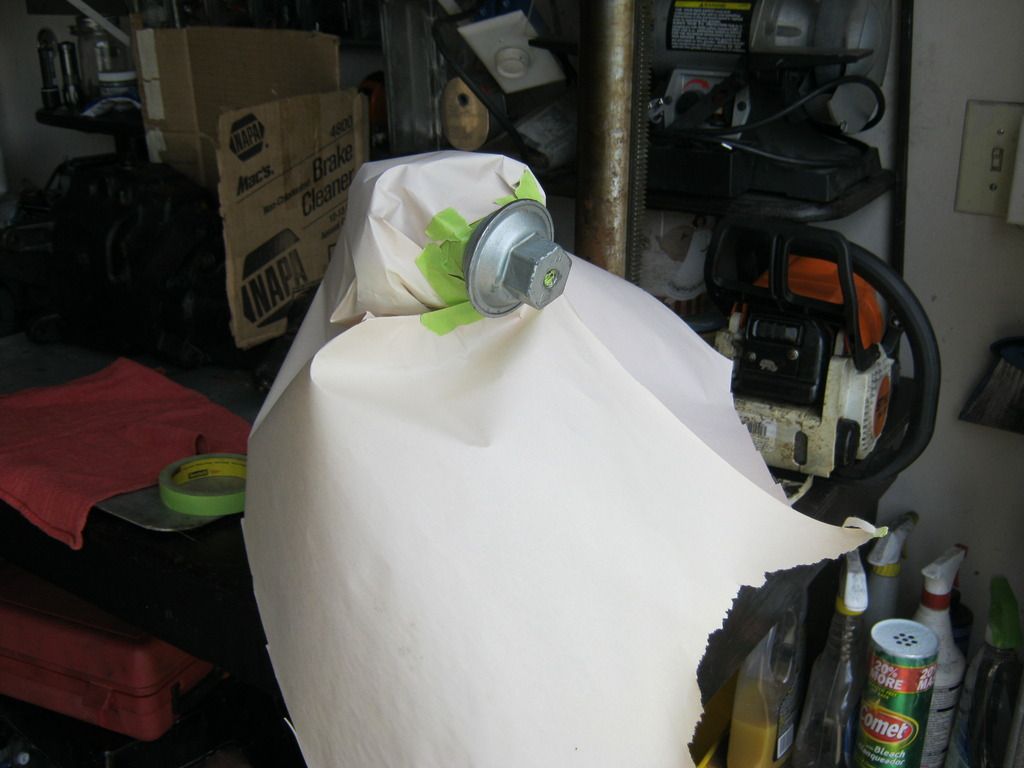
After checking the vacuum advance to make sure it wasn't seized and getting everything else fixed I just couldn't bring myself to install the distributor back into such a pretty engine compartment with such a dingy looking tag with overspray on it, so I taped it off and polished it with steel wool. If you're going to do it, do it right.
As the snowball continued, I realized I couldn't install the dirty housing back in the car as it was, so I taped everything off, cut it out with a razor blade and painted it black.
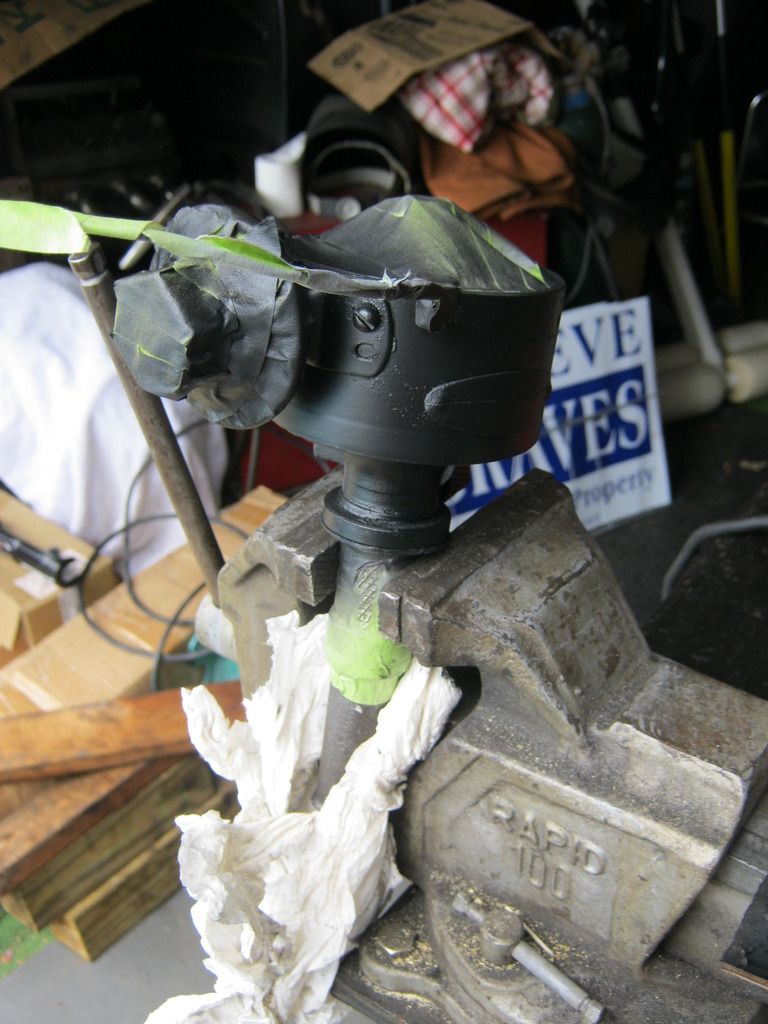
Of course then that meant I had to repaint the vacuum advance.
I reinstalled the distributor cap straps and took the tape off. Taking the tape off of a newly repainted project is always like what opening Christmas presents was like as a kid. Here's the finished project.
A few days later when I finally got to Woodson's house to reinstall the distributor I realized I had misplaced the rotor button. Not one store in town had a rotor button. One said that they had the button and cap, but when I got there I realized the computer was wrong and it was an incorrect application. I ordered a new button and a new distributor gasket, as I had noticed the gasket was damaged when I first removed the distributor. I'm waiting on the rotor button to come in on order before I can continue the reinstallation process.
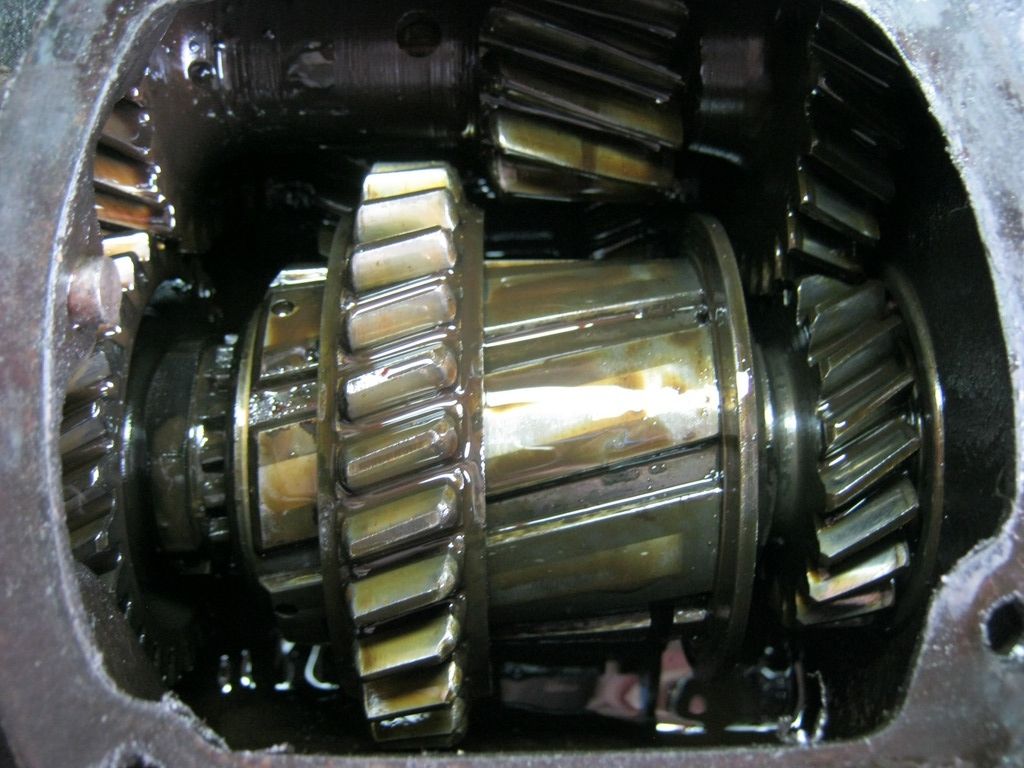
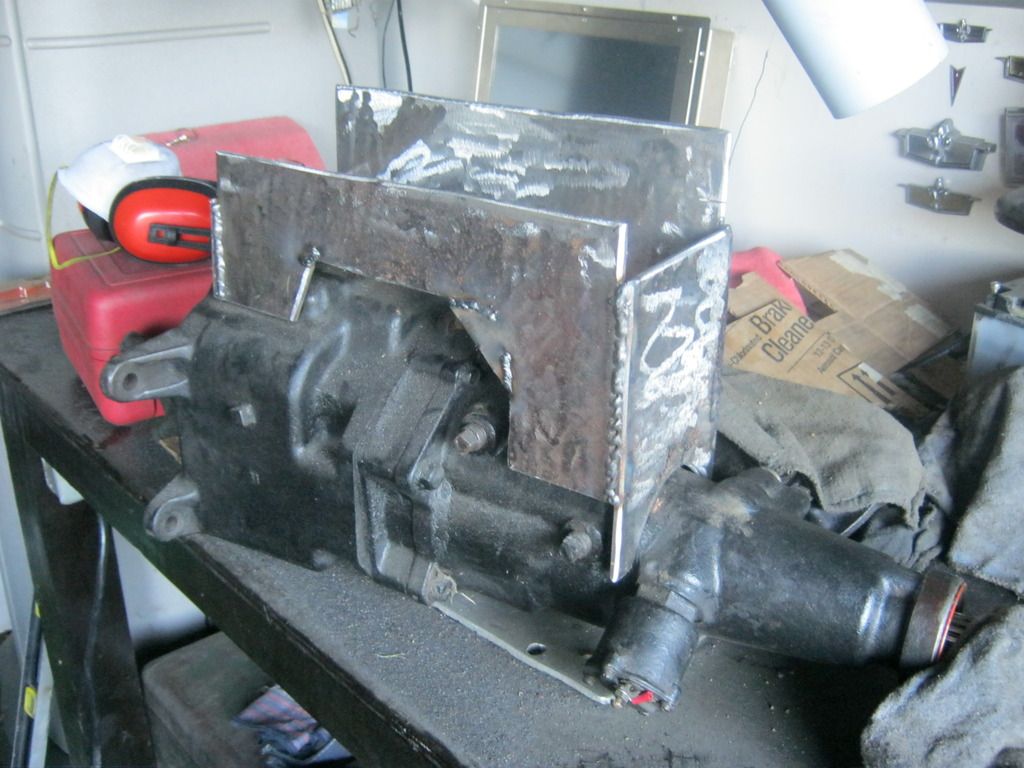
As I mentioned, the next project was happening at the same time as the distributor project and I worked on both as paint was drying or as time permitted. I took the side cover off of my new-to-me overdrive transmission for the '57. The overdrive transmissions, used from 1955-1957, were the same transmission as a regular 3-speed with a Borg Warner R-10 bolted on the back, which is essentially a set of planetary gears bolted onto the back of a regular transmission. The only difference in the shifting part of the transmission was a hole drilled in the case for the reverse lockout and a hole for gear oil drainage between the overdrive and shifting cases. The standard, 3-speed transmission was known as a Muncie 318. When it was an overdrive transmission, it was referred to as a Muncie 319. This information has been largely lost and people refer to these transmissions as Saginaws, 318 overdrives and every other manner of incorrect amalgamations conceivable. It took quite a while to eventually hash out the truth.
I opened up the side cover and inspected the internals to the best of my ability, which is admittedly minimal other than looking for chipped gears. The Achilles heel of these transmissions seems to be the synchros, which are only on 2nd and 3rd gear, and are apparently riveted or otherwise permanently attached to the gears, making their replacement either very difficult or impossible. This is what originally did in my last overdrive. The guy who previously was supposed to help me rebuild the first overdrive apparently didn't know as much as he let on and when reinstalled I have found it to not function correctly in several ways. I will eventually try to find the guts of a standard 318 and install them into my other, non-functional overdrive transmission, because the internals are the same from the 318 and 319.
After draining as much of the old gear oil as I could, I sprayed the inside with brake cleaner and cleaned it as thoroughly as I could.
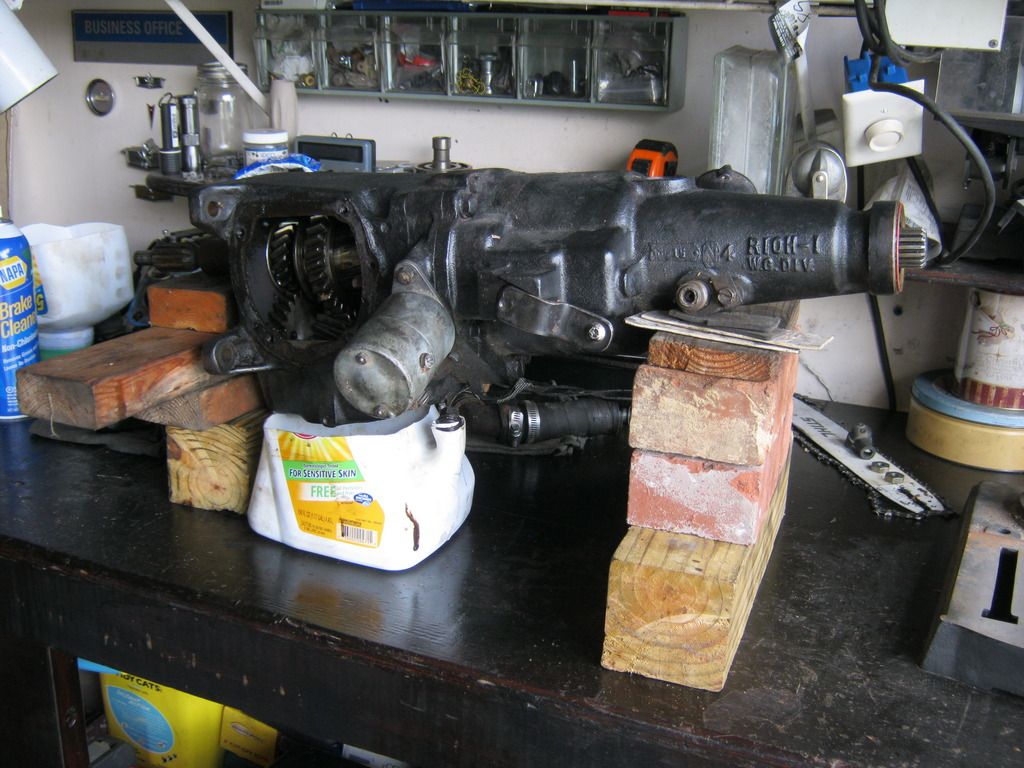
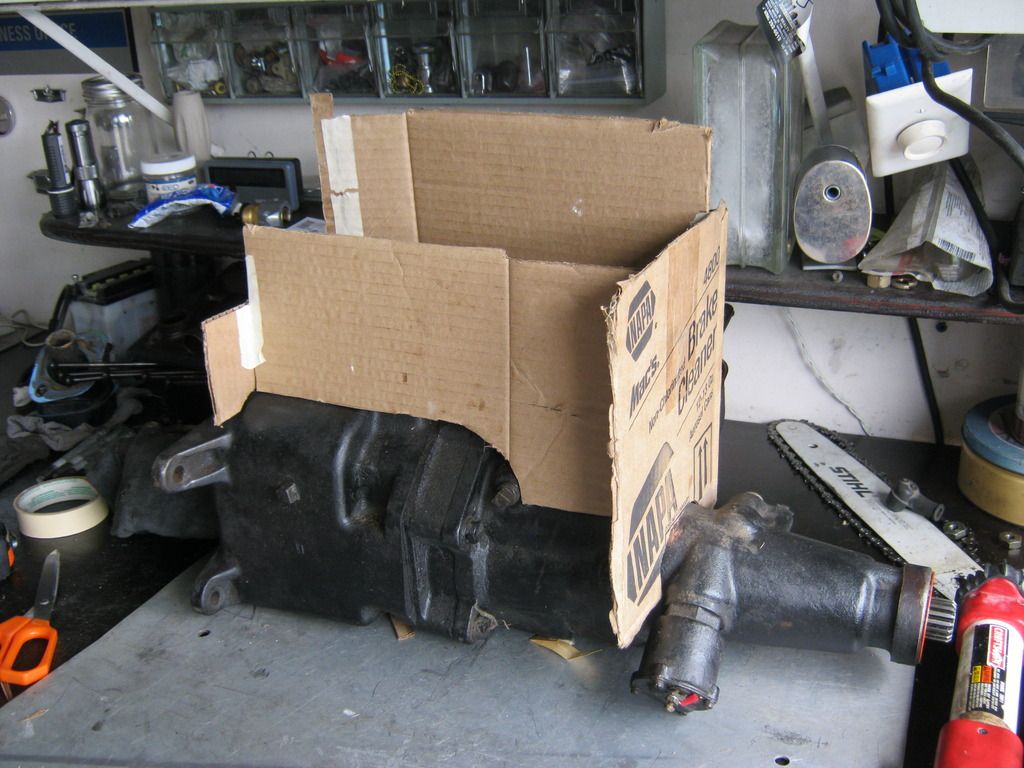
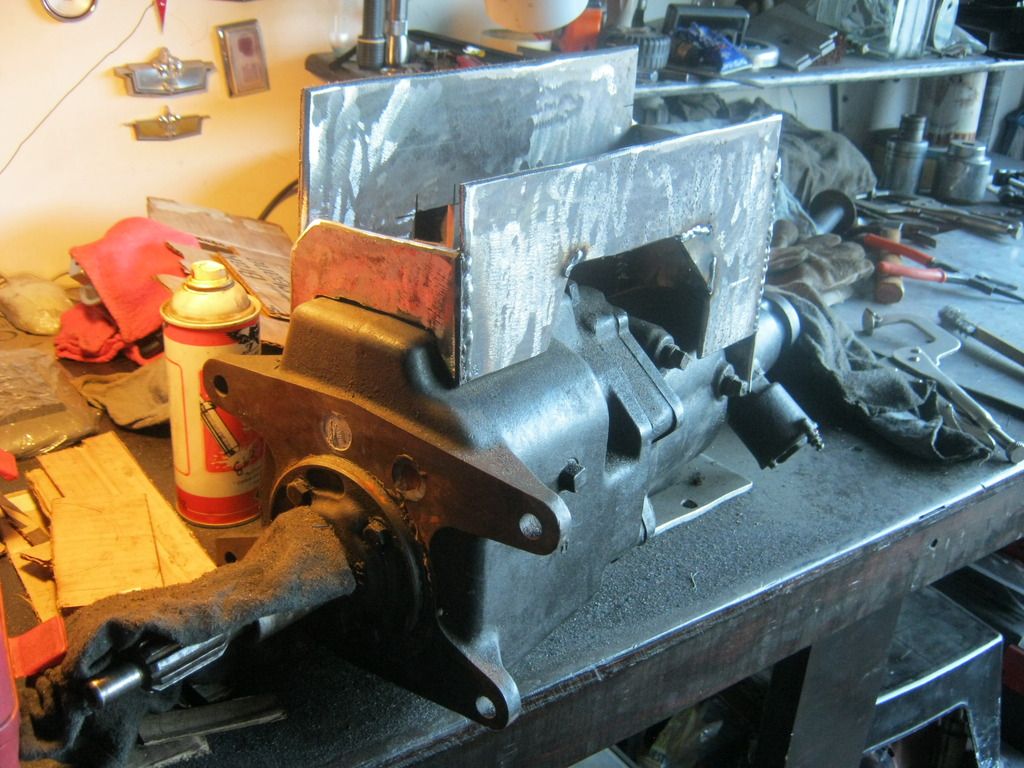
I am by no means an old man, however the last time I installed one of these transmissions myself I hurt my back. My back has begun to hurt more as I've gotten older and I decided that I am no longer willing to lay on my back, bench press one of these things over my head and wrestle them into place while laying on concrete. To remedy this I decided to make a mount for this transmission that will bolt onto my jack. I began by making some crude cardboard templates.
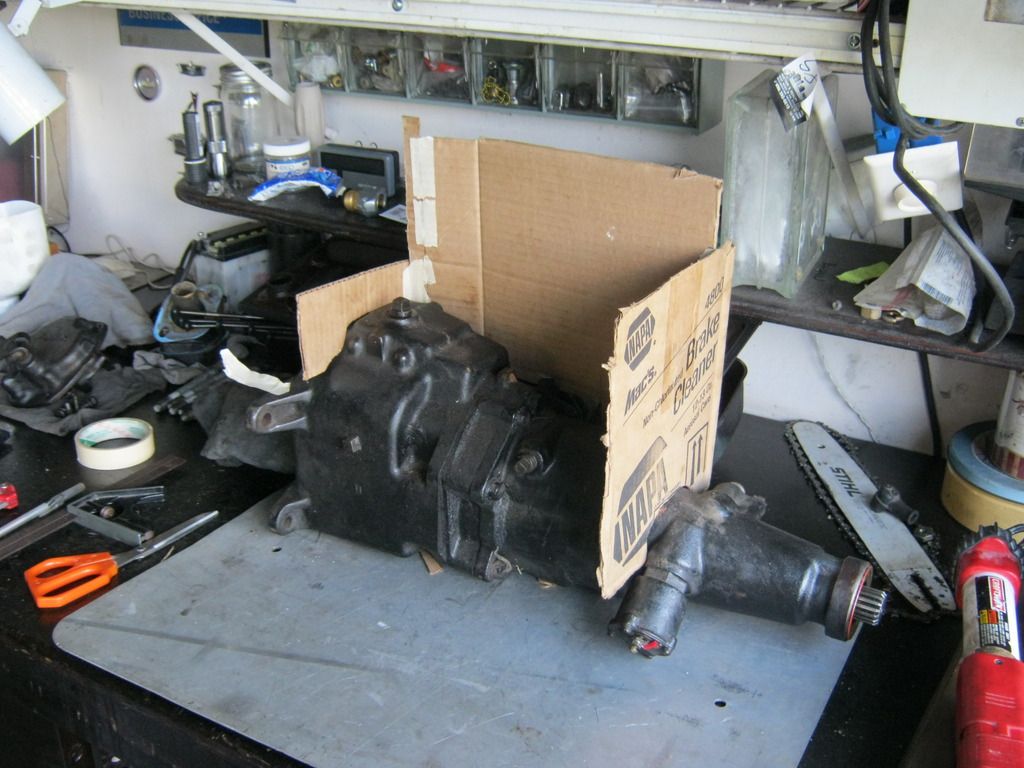
One great thing about this mount is that it is strictly utilitarian, will rarely ever be used (though when it is used, it will be very helpful) and will spend most of its life hidden away on a shelf or in a barn and that means I don't have to worry about how it looks or making it pretty.
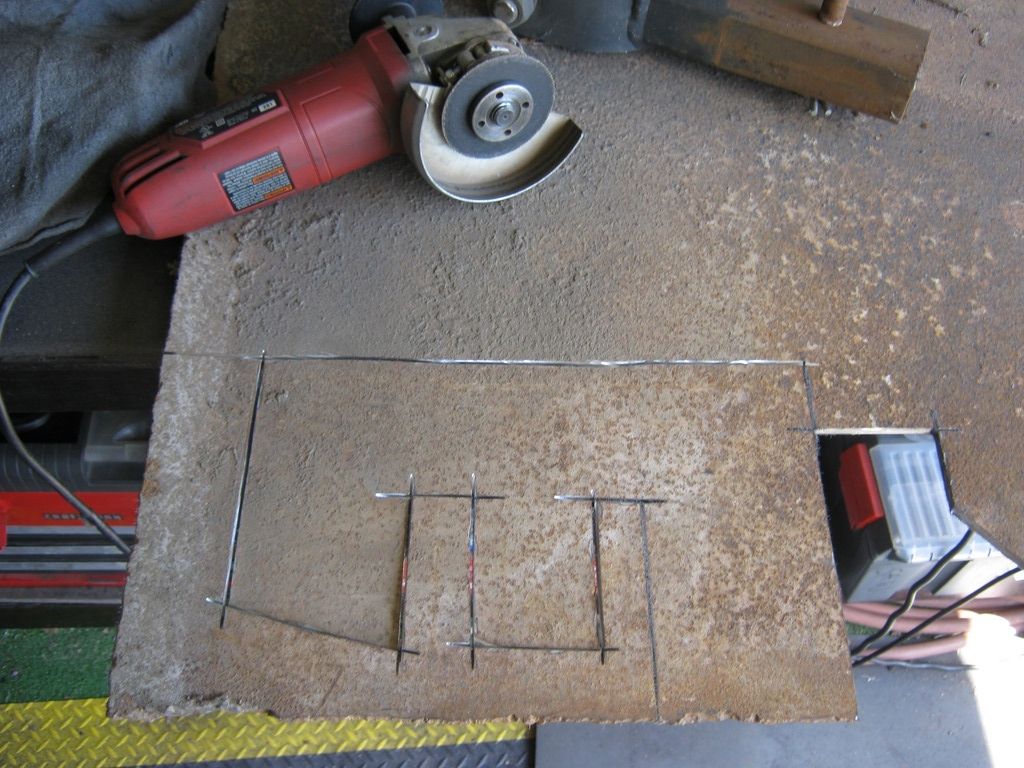
I began cutting away on some 1/4" steel. This stuff really uses up a bunch of cutting discs. This is such a messy job. I will hopefully have a separate place to do these types of jobs so that it will not mess up my workspace as much. Also, I one day hope to have a plasma cutter, which would essentially turn this job into cutting soft butter.
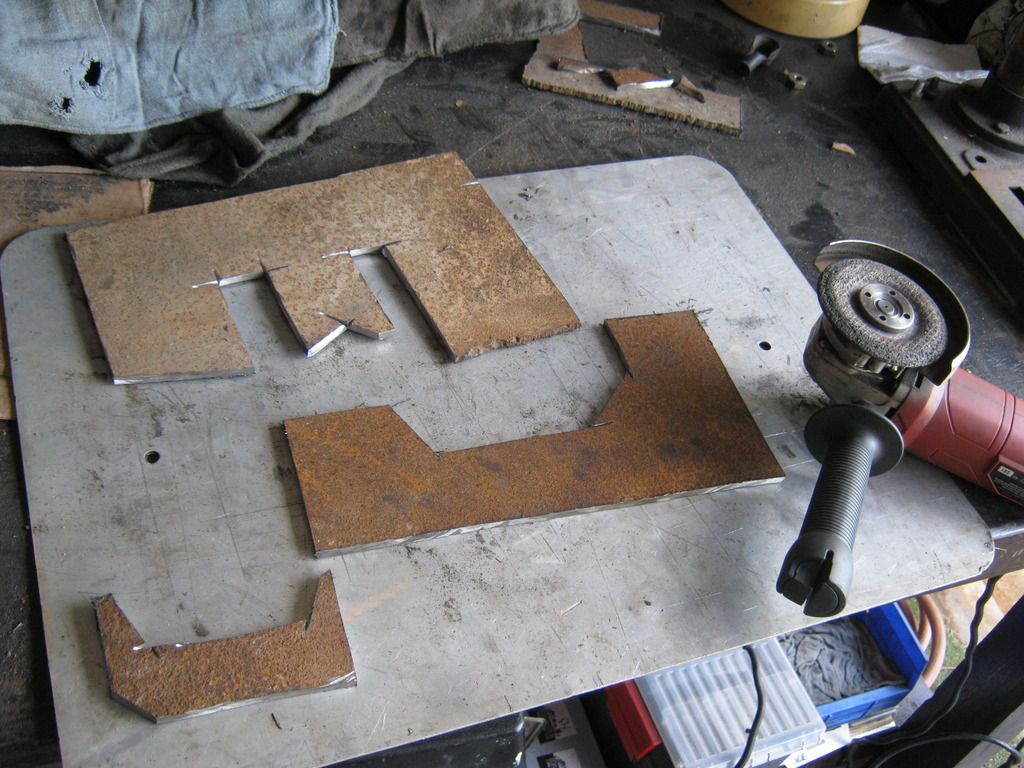
After what seemed to be an endless amount of cutting and measuring I finally ended up with these pieces.
I held things in place with tack welds.
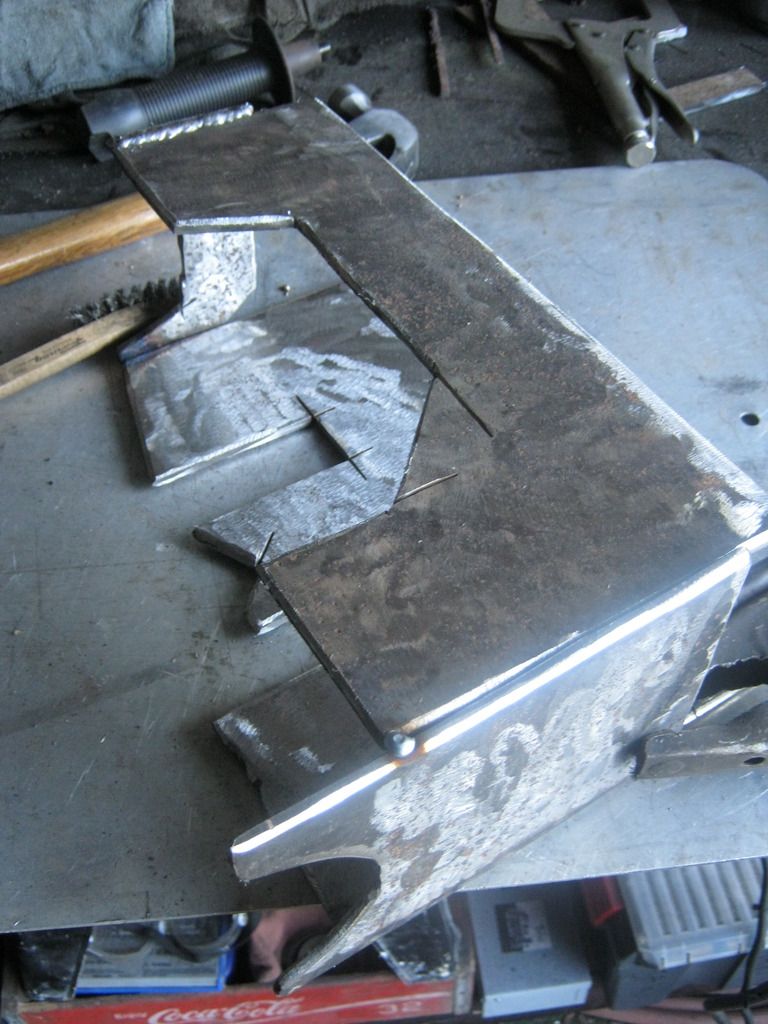
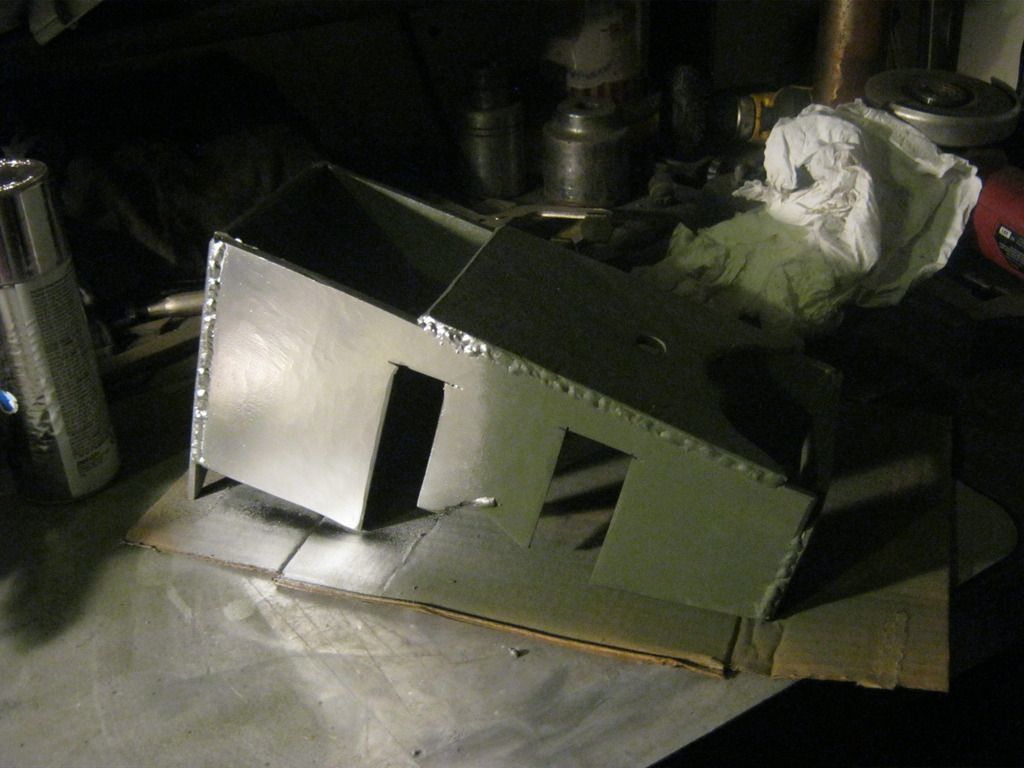
After what seemed like another eternity of grinding, measuring and cutting, I ended up with this. The heat was very terrible. The heat index has been near or over 100 degrees for several weeks now and the humidity has been very high. When grinding or welding, I must leave the fans off because sparks tend to blow in my eye with the fan, despite wearing eye protection. I have already been to an eye doctor twice before to have metal drilled out of my eye and I have absolutely no desire to repeat the process. When welding, the fans must be left off because it disturbs the gas used to create a good weld.
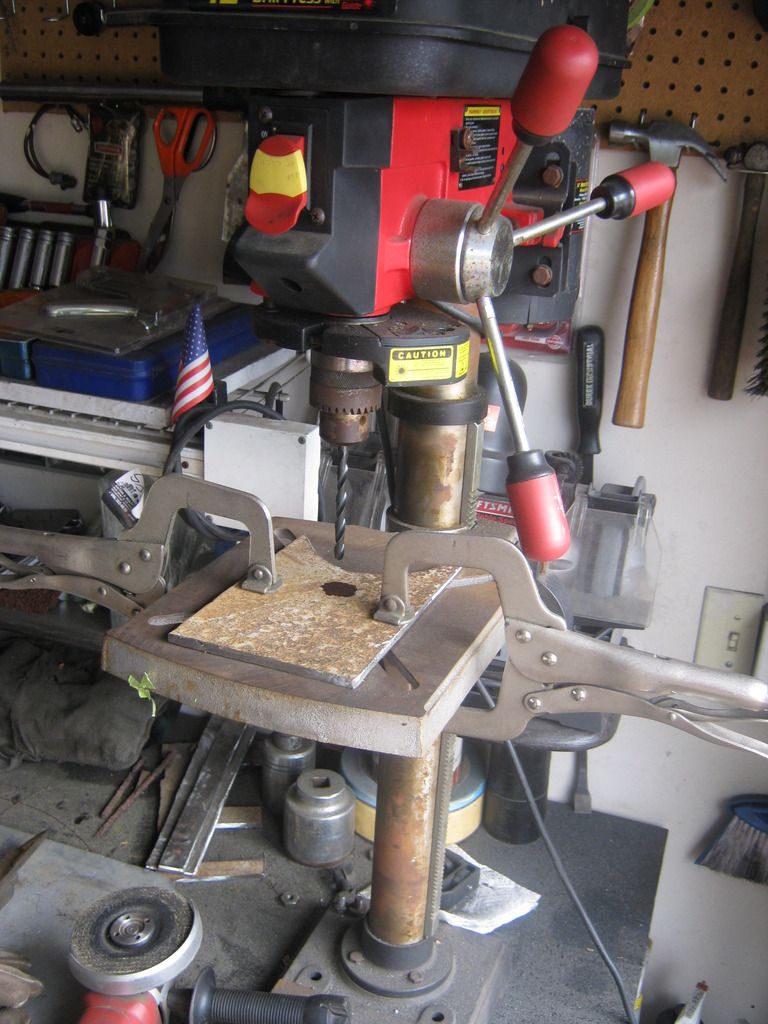
I absolutely loathe the amount of grinding dust this creates. It gets absolutely everywhere and creates an enormous mess and can also ruin the things it lands on. It also embeds in your clothing and feels like someone has put steel wool under your shirt unless you wear a leather welding jacket. When grinding I find it necessary to wear ear muffs, a mask, eye protection and a welding jacket, which is time consuming, annoying and very, very hot. I was able to put the still-new-to-me drill press to good use. Not only does this allow my hole placement to be much more precise than before, it is also much, much easier. Here's the pilot hole.
I used a grinding disc to clean the rust off of all of the surfaces before I welded them together. Some of the metal was badly pitted so after it was completed I cleaned it again and covered it in rust remover.
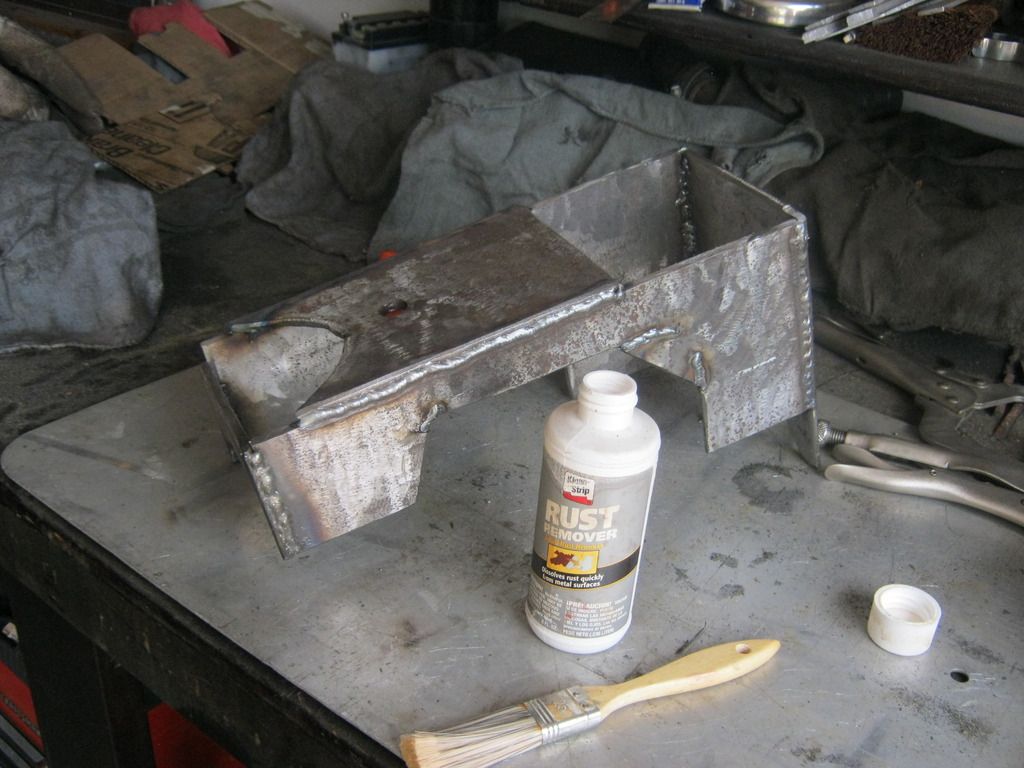
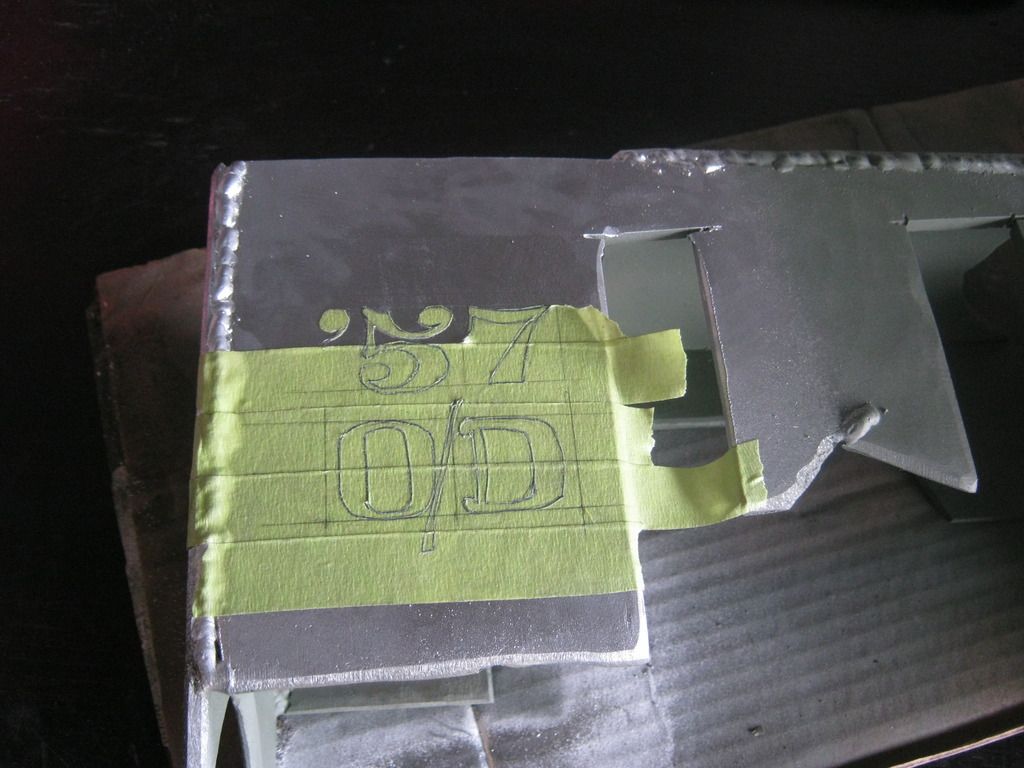
After letting the rust remover sit for several hours I cleaned it with water and a steel brush attached to my drill. Then I followed that with brake cleaner and then applied two coats of self etching primer. After that I painted a portion with chrome spray paint.
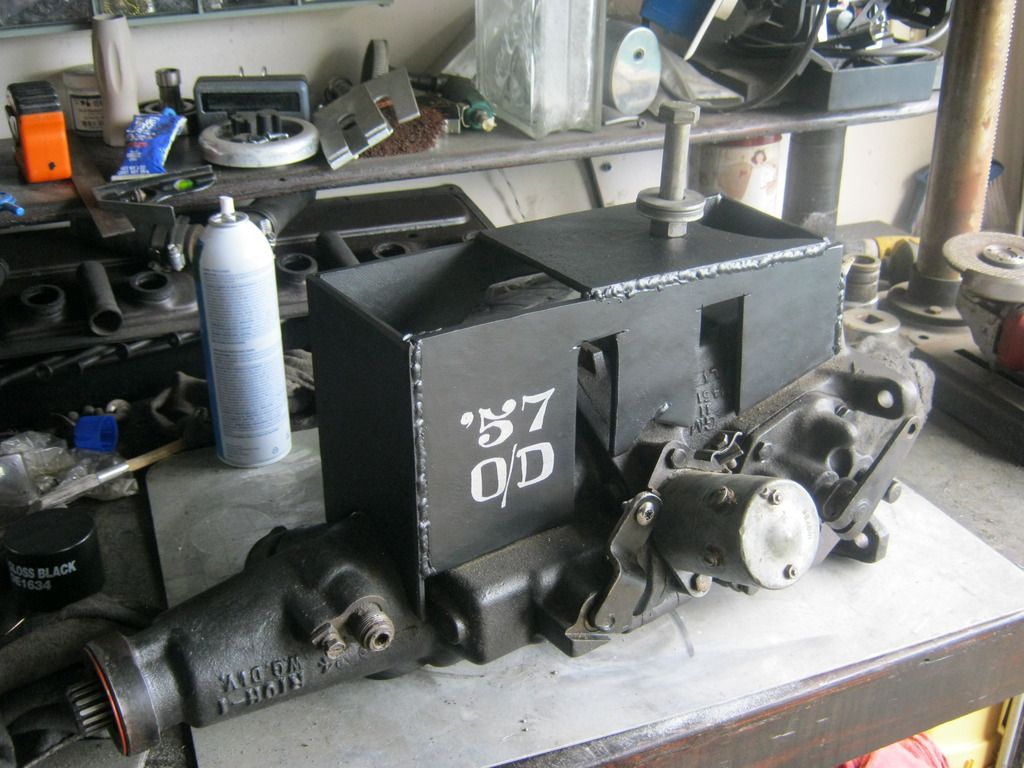
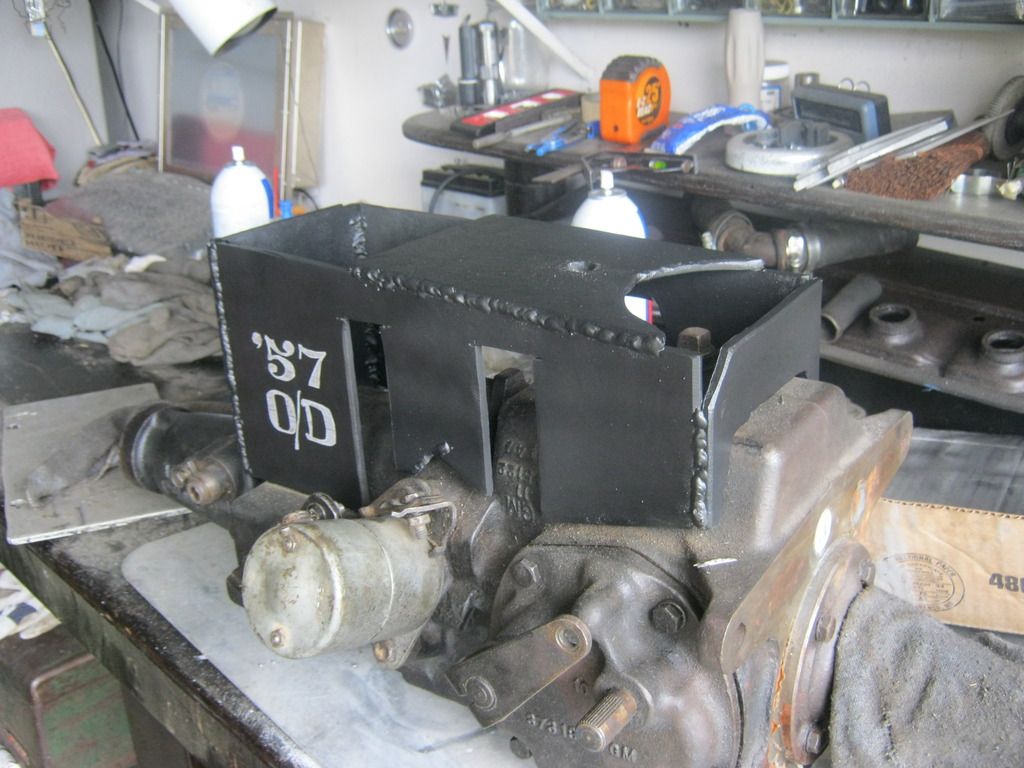
I couldn't help but have a little bit of fun and decided to label the creation so someone one day might figure out what it is for.
After cutting out the tape with a razor blade I painted the mount with several coats of some black paint I had.
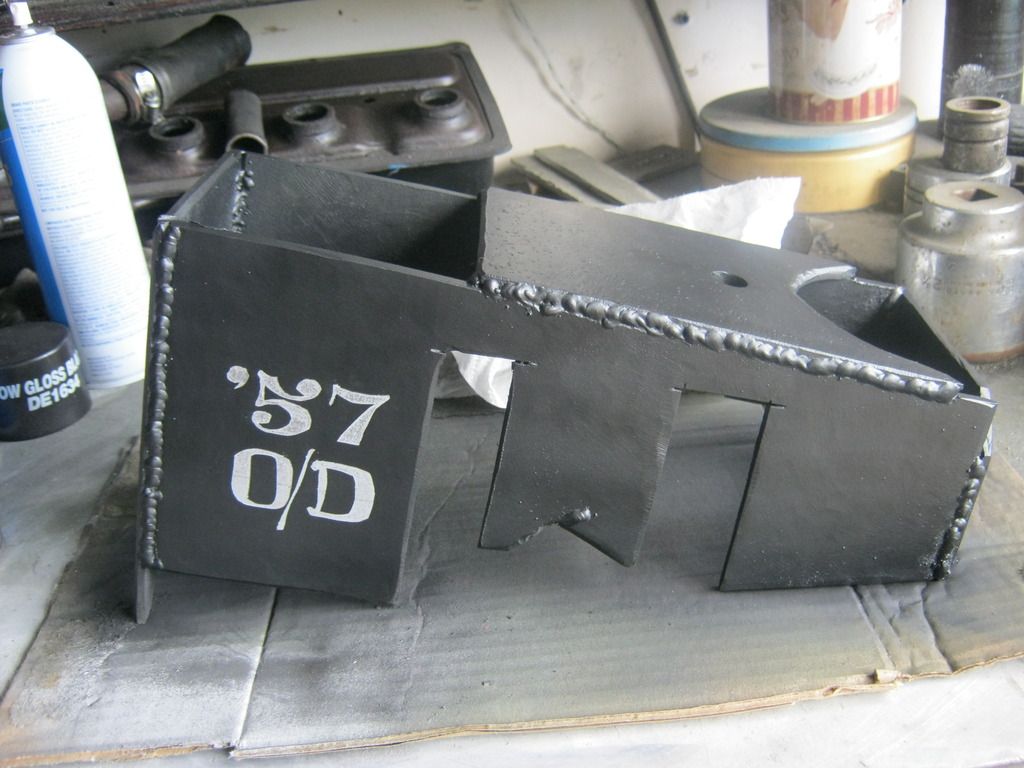
And here's the finished work. This was the culmination of about three days work and I will hopefully find out soon if it works.