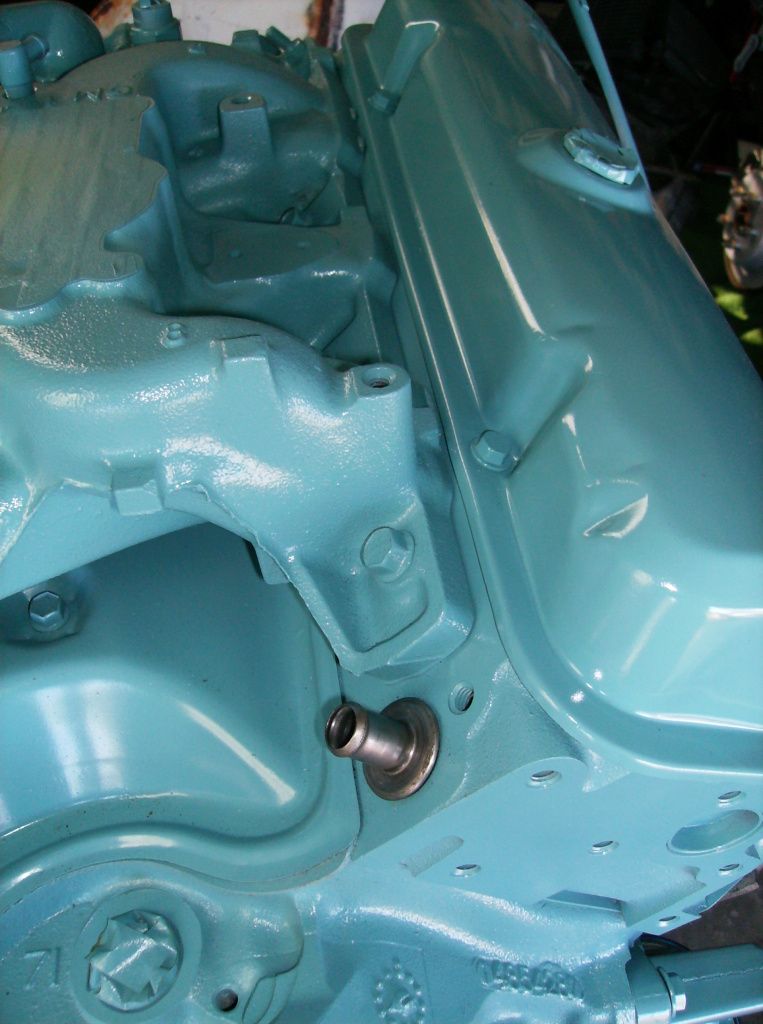
First I installed this heater hose outlet that I had to order from the internet. This part is a Pontiac specific piece and cost $25 dollars. I think that is pretty ridiculous, but if I look at it from another perspective, mine was completely rusted so I'm glad, at least, that it is still available. The piece is a press fit so I was worried I might damage it while attempting to install it. I used a large socket, rag and a hammer and though it didn't go in easy, it eventually seated and went right into place with no problem.
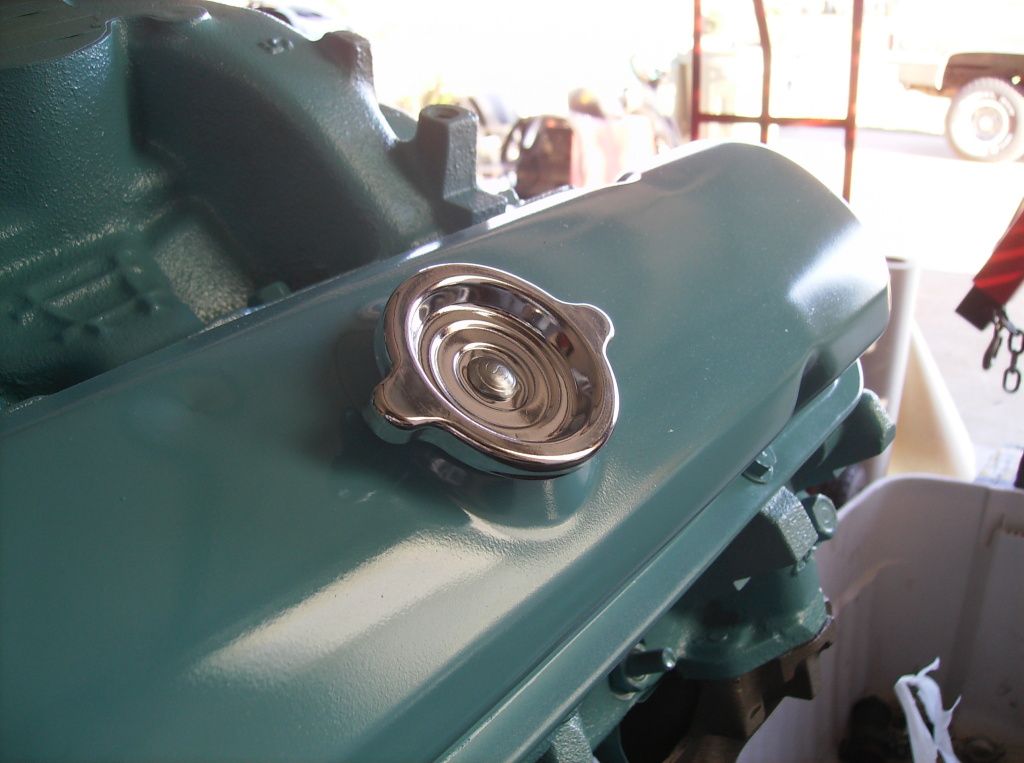
Daniel's dad gave me this still-new-in-the-package oil cap. I'm thankful he did because I think it really dresses up the valve cover and makes it look a lot better.
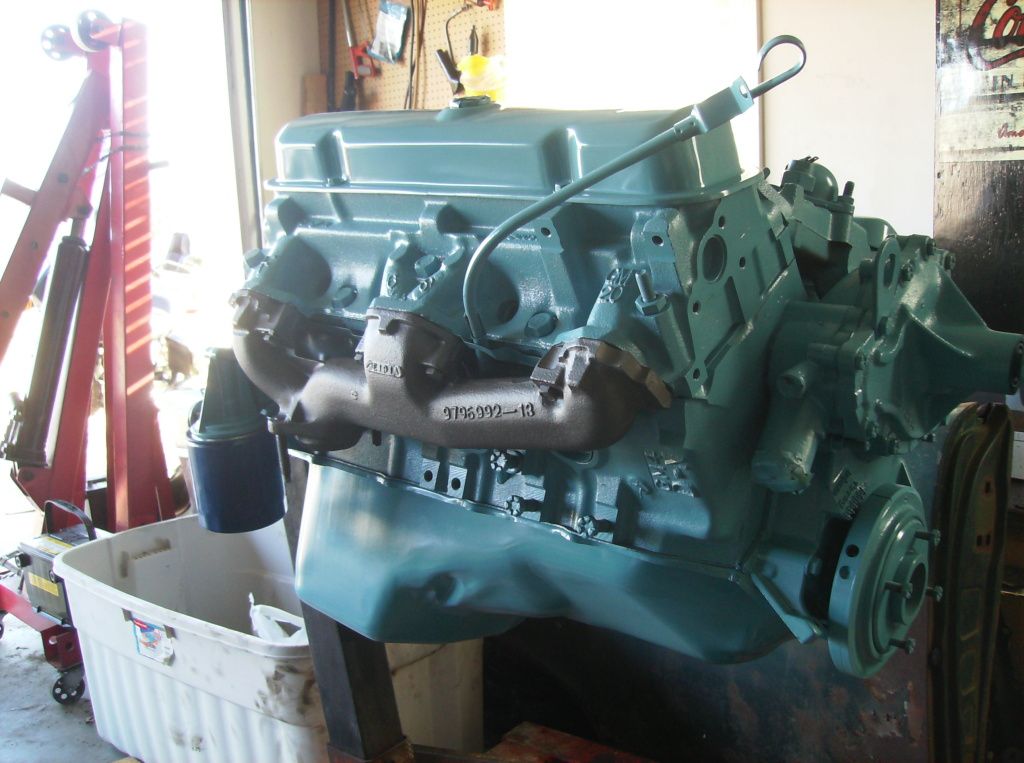
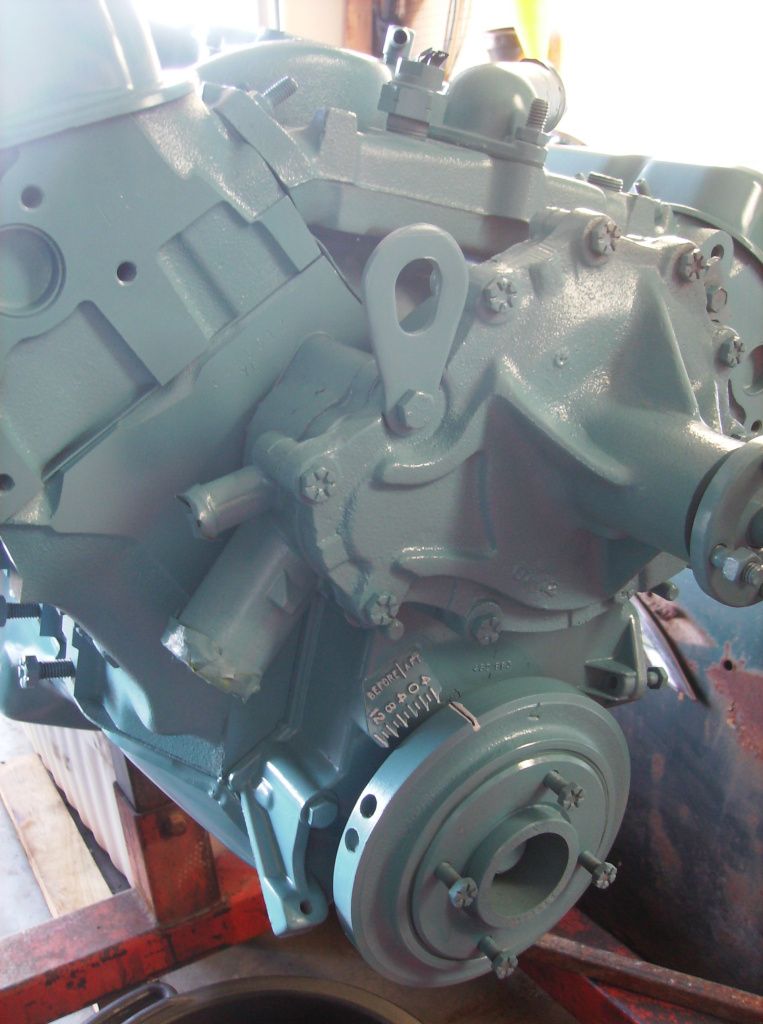
And here's a picture of the engine after I took the masking paper off the exhaust manifolds.
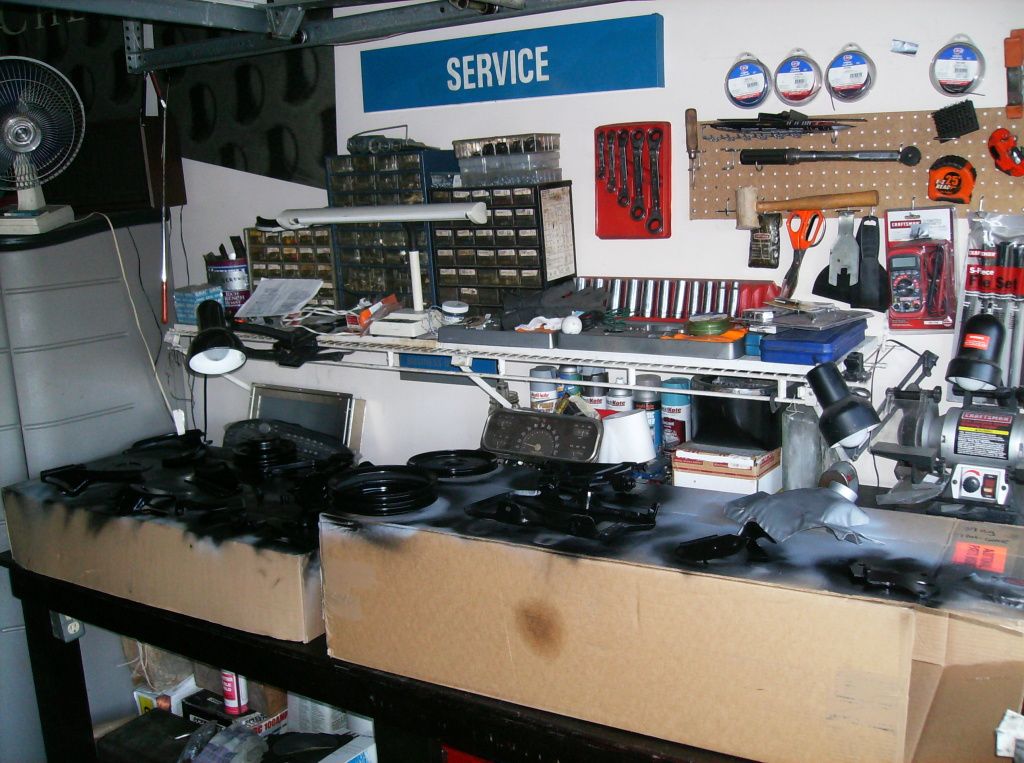
I started out by taking each part and cleaning it with brake parts cleaner to prepare it for primer and paint. Brake parts cleaner is some of the best stuff to use for cleaning and prepping parts for paint but it evaporates very quickly and must be wiped off or it will leave and invisible residue that will cause the primer and paint to not stick.
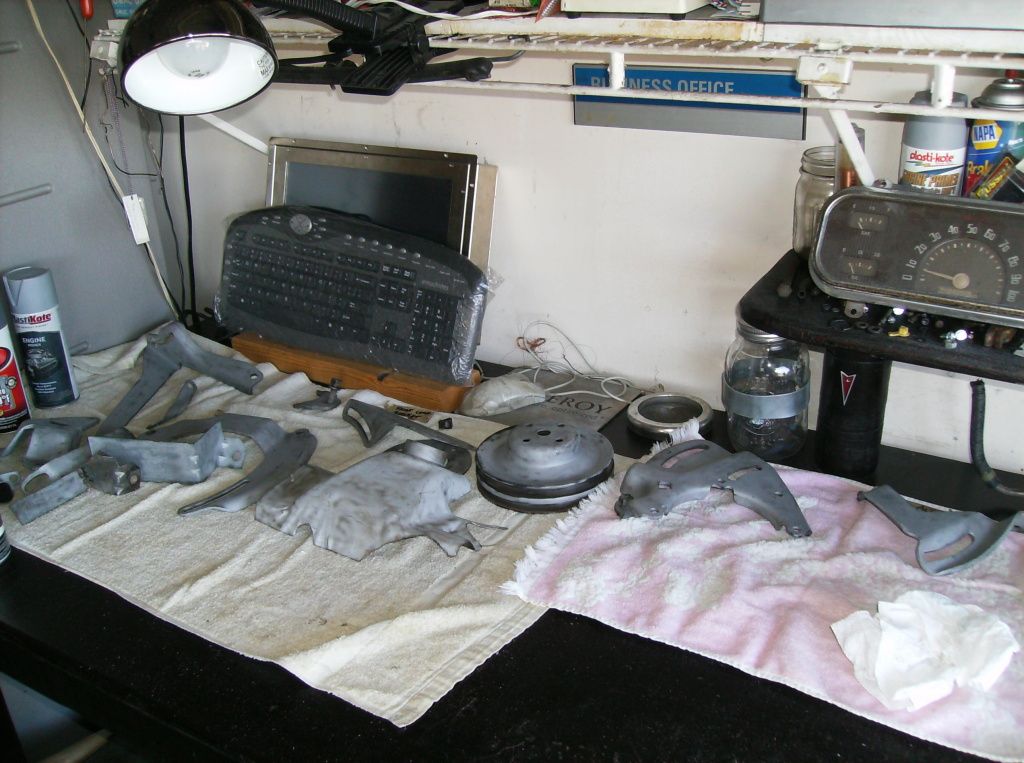
After cleaning each piece thoroughly I primered one side of them all, let them dry, flipped them and primered the other side. Even though it is December I have been fortunate to have a very mild winter this year. It was almost in the 60s today and with the parts sitting in the sun combined with the constant breeze, along with very little humidity, the parts dried quickly. After primering both sides I came back with high gloss black paint. I actually forgot that the pulleys were supposed to be blue like the engine but after I had one of them painted black I decided I didn't mind them being that color so I decided to leave it. It may not be original but in this particular instance that doesn't bother me. If it does in the future, they are pretty easy to remove, so I'll just take them off and repaint them.
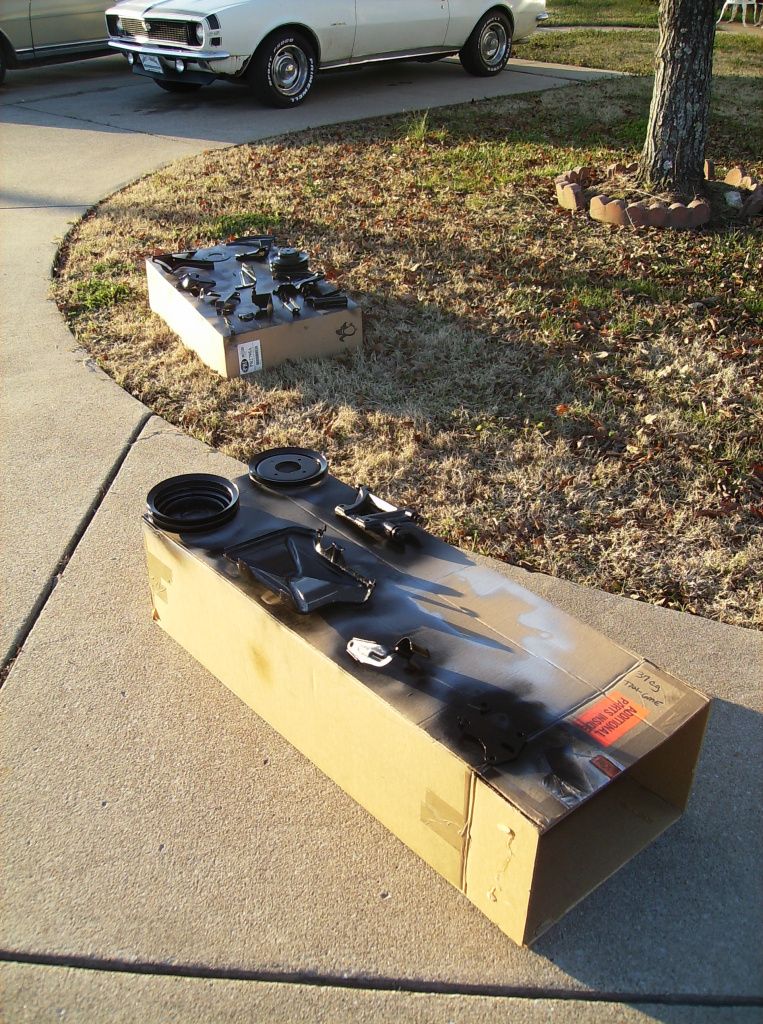
Except on the lone piece that received "Dull Aluminum" paint.
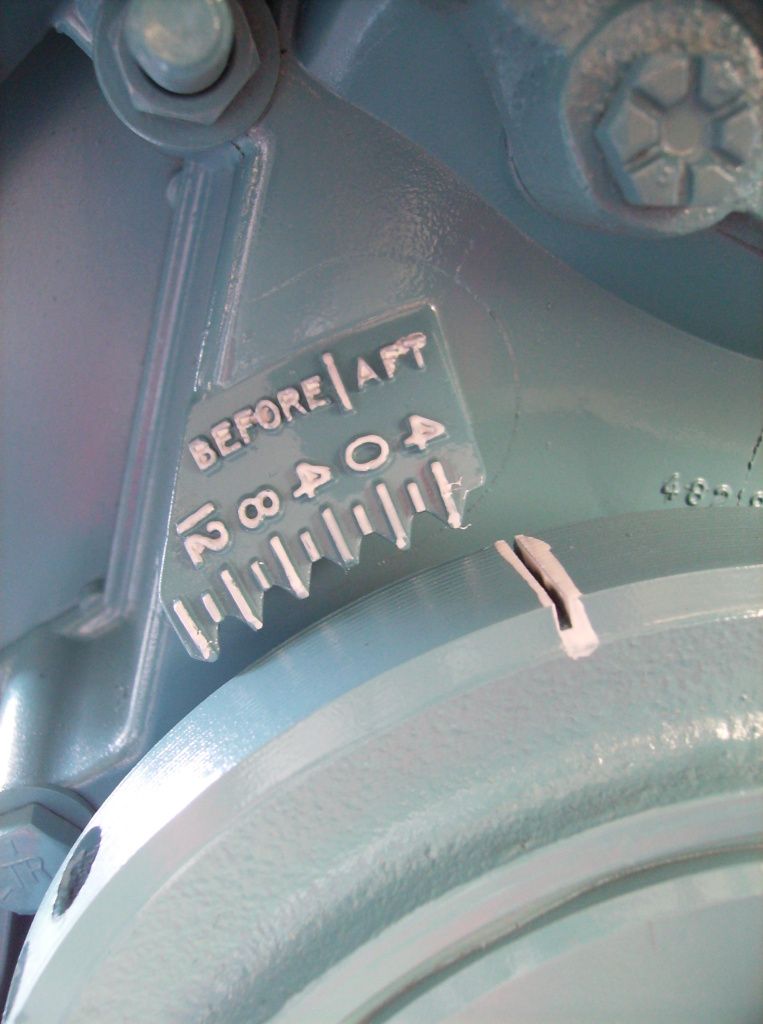
In between drying time I cleaned the garage and also did a few more things on the engine. I painted the letters and numbers on the timing bracket to make it easier to see. I forgot to take a picture before I started so for the before picture you'll have to pretend the "4" isn't white.
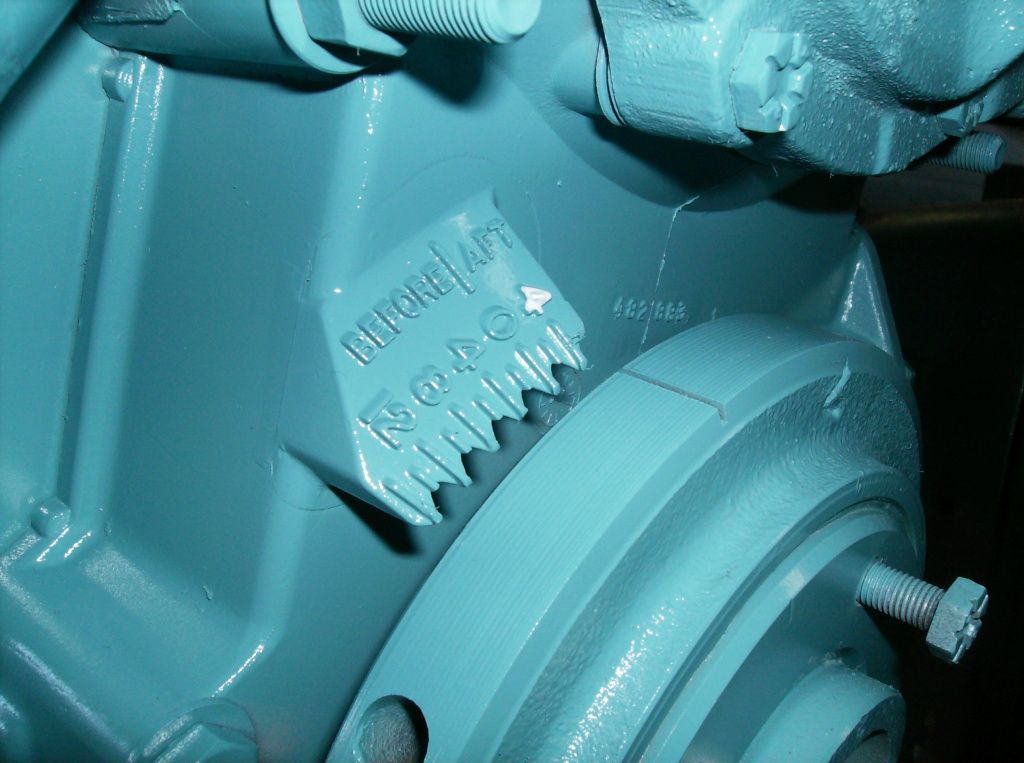
Here's the after. As many people do, I always do this on all engines now. It really improves visibility when trying to use a timing light.
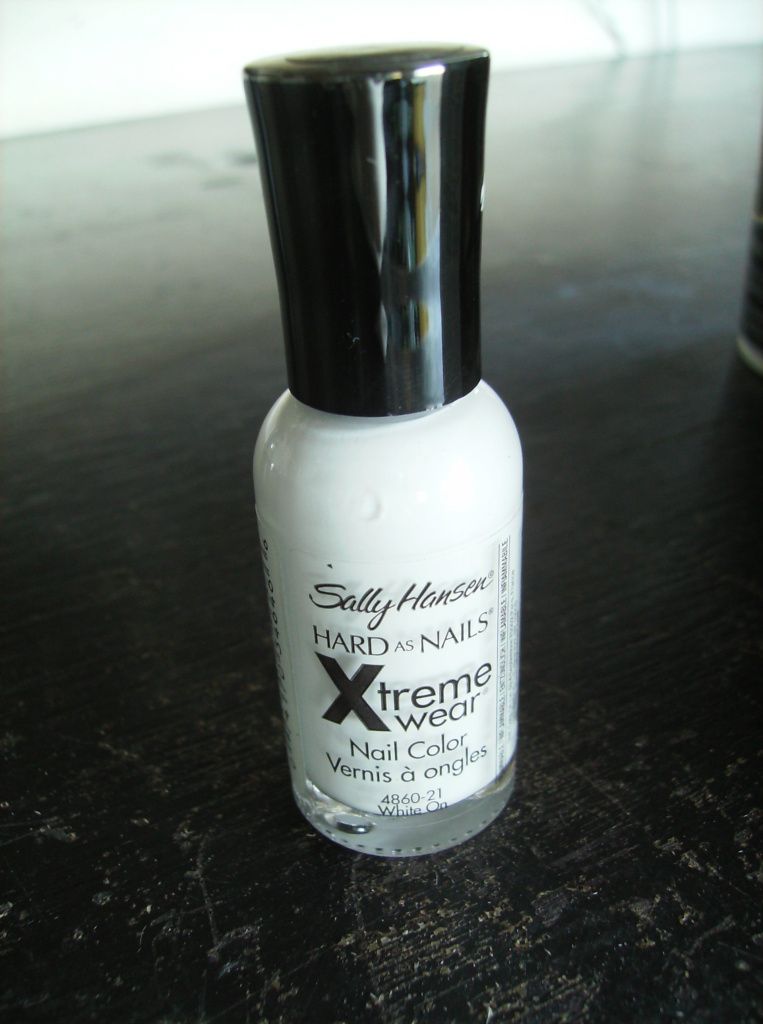
I always use finger nail polish that I get at the Dollar Store for marking the timing indicators. It sells for $1.00 and I've had good luck with the Xtreme Wear brand being pretty durable.
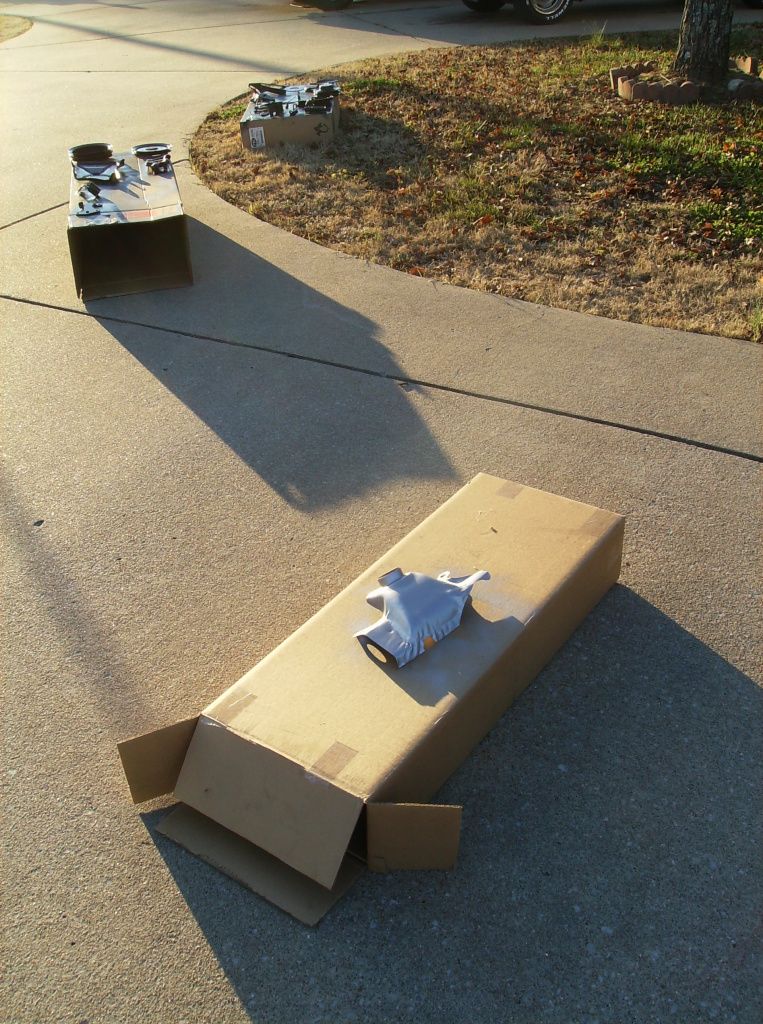
After the sun began to go down and the day started to get cooler I brought all the parts inside. I like to pick them up off the box one at a time so the paint doesn't stick to the box. If it does, when you separate the paint from the box it will either remove the paint or leave a piece of torn cardboard to the part, which won't come off.
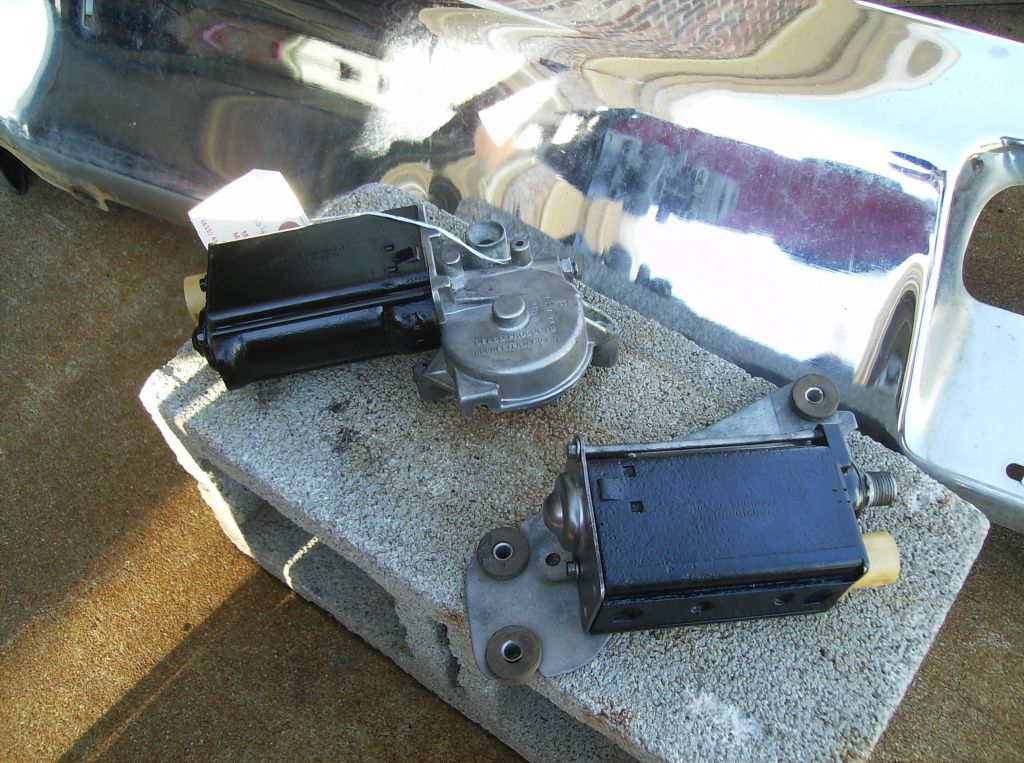
I had taken the motors that operate the rear tailgate and rear window to a local electric shop here in town. Dad went with me because he had known the owner for many years and when dad used to work at a dealership here in town back in the 70's he would let the owner sell some of their wholesale cars. I think typically they work on only large scale, industrial motors but he fixed both of these and it was actually cheaper than buying a used one and having it shipped. He even repainted the cases. These motors had pretty bad water damage from the windows leaking on them over the years. I was also glad to have them work on them because I like to support local, family owned businesses whenever possible.