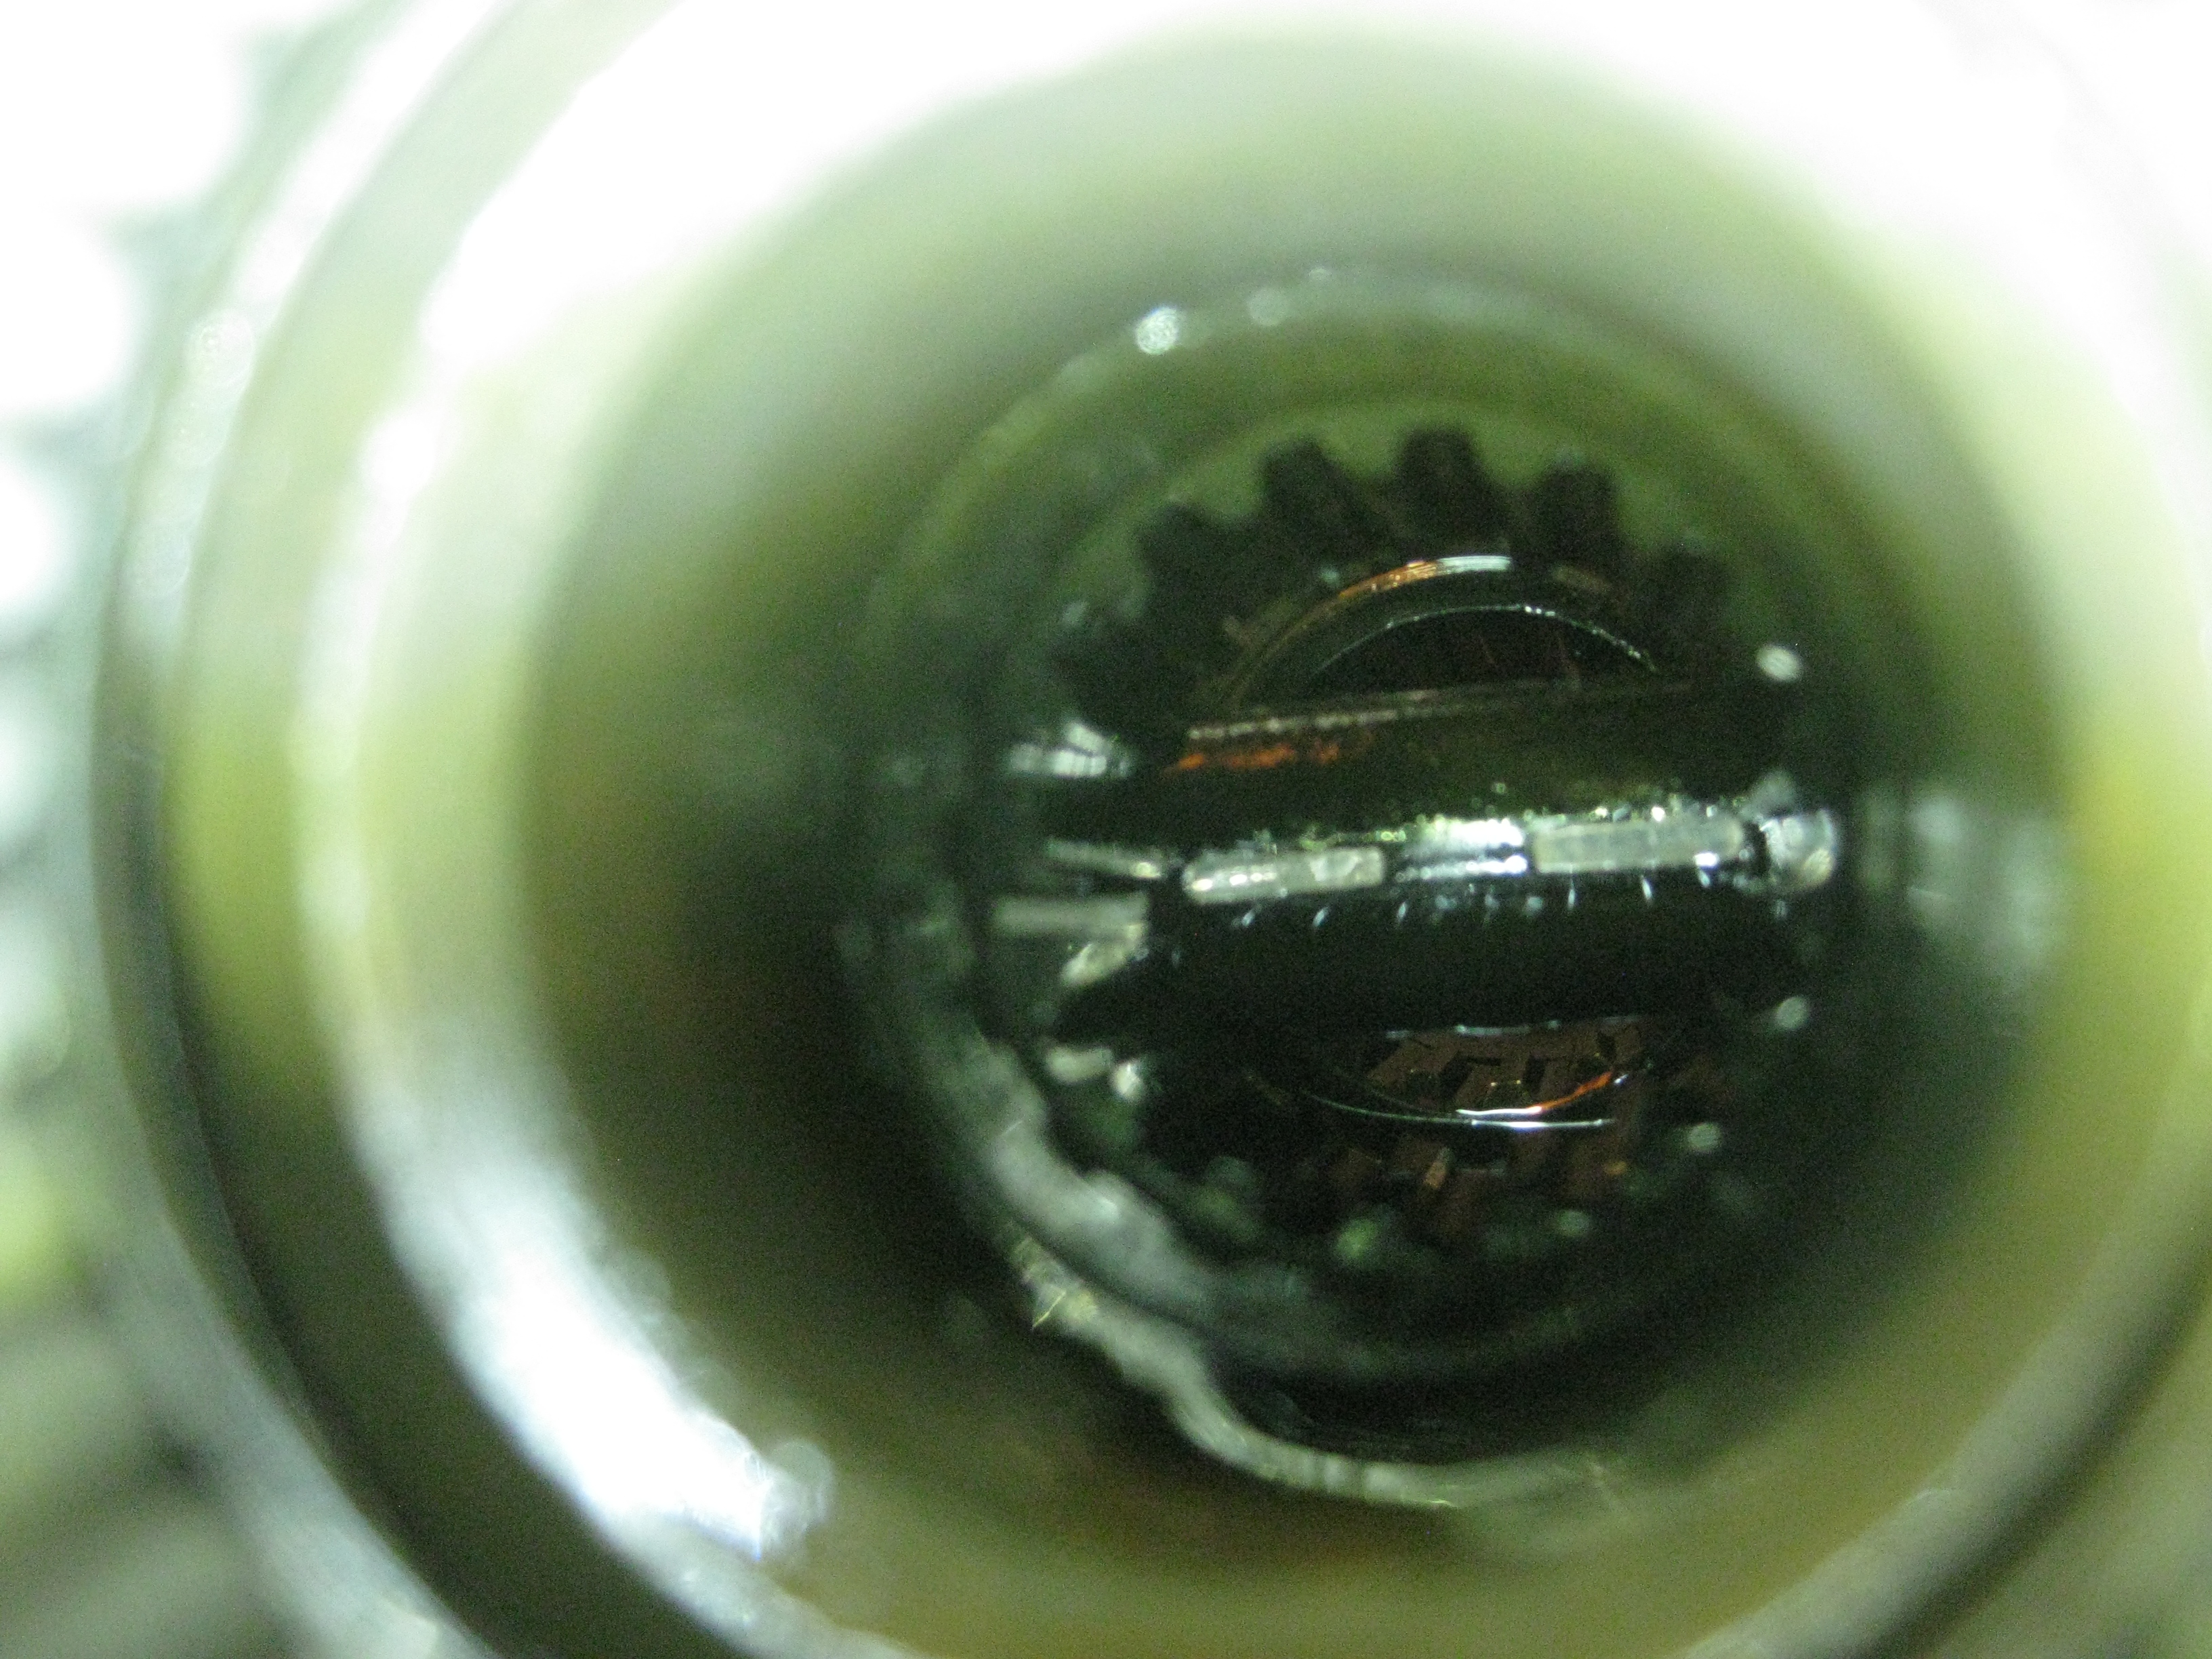
It has been almost two years since I posted any updates on the progress of the blue '75 Vette. It hasn't been because there was no progress, but the entire process became so difficult that taking pictures to document everything became too tedious. The barn was better than being outside, but it was also not a great place to work. The continual sprinkling of debris from the loft left the floor constantly too dirty to sit anything down. There were always mice and spiders and bugs. While working at some points in the year I had to hang a fly swatter on a nail near me because of several wasp and hornets nests. They would constantly be flying over head and divebomb from time to time. At one point we had a 100 year flood and the barn flooded while all my tools happened to be on the concrete floor. None of them washed away, but I did have to disassemble my tool box and individually clean and oil every single tool. The summers were painfully hot in the barn, and the winters cold enough to prevent work all together. We no longer have our own cattle, but we do rent the fields out to beef cattle farmers. The cows are constantly wanting to come down and get into any and everything I'm up to. Licking or biting or otherwise dropping gifts right at the entrance. With all that, I'm still glad to have a place with a roof to do the work. This project was difficult, but not more so than several of the previous projects before, however I think I can say that this was the most difficult project, mentally. Most of the time it felt like no matter how much work I put into it the finish line never got closer. It was exceedingly difficult to become motived to go down and work on the car, especially in the harsher weather months. At times I had to break it down into the smallest tasks and only concentrate on those things. Sometimes as small as just going down to remove one part and then call that enough. The project did not have to take two years. Sometimes it would sit for a couple months with no progress. Other times, it would have to take a backseat to the many other things that have been going on in life. My mother died in 2025. We expanded our business where I took on the role of contractor for a massive construction project. Our newborn is now almost 3 years old, and April began homeschooling the children. There were times when someone might ask how close I was to being finished and I honestly could not give them an answer because so many of the steps were unknown to me I would only be thinking about how to finish the step I was on, and when that was finished I would have to take a step back and figure out what was next. In the end, what was a relatively small project by the standards of what I have tackled in the past ended up feeling like a massive victory of endurance and perseverance. I found paperwork on this car that showed the date my father purchased it. I can't remember the exact date, but it was somewhere around when the car was 4 or 5 years old. The vast majority of the parts on the car had never been off. Many of the parts were covered in grease, which aside from becoming a permanent part of all my clothing also protected the parts from rust very well.

I taped off and sanded the frame with scotch bright from in behind the jackstands to the back of the car. Then treated it with Ospho and then used a 2 stage epoxy primer and then painted the frame. I let my middle daughter do some of the painting. She really enjoyed getting to paint, but enjoyed most peeling away all of the tape. The goal is not to make a show car, but to make a presentable driver that is well protected.

Several of the parts were taken to be powercoated.

Unfortunately, I cannot remember all the fine details as clearly as when they happened, but I remember the general details. I generally detail every part, nut and bolt and write an explanation so that years later I can look back and remember what I did, but not this time. I purchased two used half shafts and flanges in good shape. Removing the u-joints was a real torture test. I tried renting a tool and it destroyed the threads. Then I took it to a friend's house that was a mechanic in the 70s and has worked on cars for decades. He ended up breaking a tool he's had since back then that has taken apart countless u-joints. Finally I took it to another friend that had some magic method that got them removed. Reinstalling the new u-joints was difficult. They didn't want to compress properly to allow the c-clips to fit. I took it to a different mechanic that ended up ruining the u-joints so I had to purchase new ones. I finally figured out the right combination of efforts, forces and techniques to get them installed.

Getting everything primered and painted without cow snot ruining the job was a chore.

After hanging in the sun a while, everything dried for a few days in the barn. I found out there is roof leak over the stairs so if I sat anything there it would get wet.

One of the leafspring mounting ears on the original differential cover was broken so I ordered a new HD unit and painted it black to match. This was the part that I found where the roof leak was. The roof leaked right where I had the new bare steel diff cover sitting and it rusted, which caused me to have to prep before primer and paint.

I lugged the differential up to the house so it could sit in the sun without the cows knocking it over. I prepped it with scotchbrite and Ospho.

Ospho takes a while to cure and it needs to be well ventilated, but it works very well. I left the old diff cover on while prepping for paint.

Two stage primer for the diff and axles.

It was a longer step, but finally the diff and axles were done, along with the transmission yoke and a few other smaller pieces.

Researching the correct way to get get the diff ready to reinstall took as long as doing the work itself. I painted the diff first so the process wouldn't possibly damage any new seals.

Making sure everything is cleaned properly is tedious and can be tempting to hurry through, but these are the moments where taking the extra time prevents having to redo all the work later.

New seals installed with the proper grey Permatex.

Several years ago my friend's family business closed and they auctioned all of their things. Fortunately I was able to pick up this C-clip plier set, which made removing and installing the axles pretty easy.

I got the axles reinstalled and rechecked all the clearances.

I cleaned the gasket surface as much as I could. I really missed having compressed air so I could use my gasket surface wheel. It makes this process effortless. Even though I would later clean out the inside of the diff with brake cleaner I still put paper towels down to catch debris. No need to take any unnecessary chances.

It had been years since I'd changed a pinion seal, so I had to basically start from scratch in learning how to do it again. I marked the location of the pinion nut and staked it.

When my father's dealership closed down years ago one of the tools I kept was the GM pinion tool. I almost never use it, but when I do it makes the job much easier.

The pullers I'd bought for earlier parts of this project made short work on removing the yoke.

Installing the pinion seal is always a nervous moment. There are many opportunities to mess things up here and there's a lot to be read about making sure this is done right so it can be done only once. Learning about speedy sleeves, which I did not require thankfully, and where to apply RTV is priceless information that the forums provided.

Another helpful lesson learned from the forums is to apply RTV to the splines on the yoke to prevent leaking. I would have never thought of this and I cannot imagine the disappointment of getting the car back together and having the pinion leak.

Even things like installing the drain plug can become big issues that set you back several days. Since this was a new diff cover it left a lot of things uncertain. The drain plug didn't seem to want to thread correctly like all the other plugs I've worked with. It wouldn’t go in far enough to clamp down the posi-tag. Turns out, the plug is not straight tread and it is normal for it to not thread all the way in, leaving a few threads exposed and making it look like it is either cross threaded or that the plug doesn't fit. Fortunately the forums were able to help me learn this. Learning what type of gear oil and posi-additive also took some research. It's interesting how something so simple can take so long to figure out because of how many different opinions you can find from all over the internet. After getting everything installed and letting the Permatex dry I filled the diff with oil. I remember waiting anxiously until the next day to check and see if the yoke or had leaked any oil. I left a paper towel under it so I could check. I left it several days and was relieved to find it dry.

Getting the differential and crossmemeber reinstalled felt like a milestone that was impossible to conquer. I ended up putting it off for a while for the dread of tackling it by myself. As it turned out, installing it really wasn't all that difficult. I ratchet strapped it to the floorjack and wrangled it in within a couple hours.

Some small tricks from those that have blazed the trail before were very helpful. Like putting dental floss on the end of the trailing arm pivot bolt to pull it through the hole.

After reading about the difficulty of rebuilding trailing arms, but more so weighing the odds of me damaging it, doing it incorrectly and the cost of tools to make it work, I opted to purchase rebuilt units.

Getting them installed was another project that seemed like a huge challenge that was very intimidating, but once again this part wasn't actually that hard. In fact, I almost felt like I must have done something wrong because installing the trailing arms almost felt too easy, but only in comparison to what I was expecting. I suppose this may have been due in part to the fact that when I removed all of these parts they were welded together from age and it was extremely difficult, but when reinstalling everything was new and clean so it was much easier.

It didn't take very long in the humid barn for the new calipers to rust. One by one I would research how to install each remaining piece of the rear suspension. I would print off guides at work and carry them with me to the barn. At some point the cat that showed up at our house started following me to the barn and hanging out with me while I worked, acting like a dog.

It never at any point felt like the end was coming for some reason. I think because in order to get through this project I had to put the end goal out of mind and only concentrate on the job at hand. This project always had to take a backseat to all the other responsibilities that happened in the last couple of years. Then suddenly, one day, all the pieces were back in their place. Most things presented some form of challenge or problem, but a solution eventually made itself known.

Finally, the car had a rear suspension again and sat on its own wheel for the first time in over 2 years.

I torqued everything that should be torqued before the car was let down and only snugged the bolts that needed to be torqued with weight on the tires. I then drove it up to the house and onto some ramps so I could torque the remainder of the pieces. I found a shop in town that has an employee that used to work on Corvettes so he knows how to properly align the rear end. I installed new stainless steel shims and put an equal number of them on both sides of the trailing arms. This also exactly matches the way the shims were oriented before removing them, so it should be close. Since I had to cut my old strut rods I upgraded to new adjustable strut rods. Unfortunately the employee at the tire shop had a family emergency and is going to be out of work for a little while so I am currently awaiting his return before I can get the rear end aligned and finally go for a ride.