Wednesday, June 19, 2024

My Yoke is Easy

 Once again, the pictures belie the amount of time and work that went into the following steps.  This took place over the course of 2 and 1/2 weeks.  Among other things I've also been building sliding barn doors for the carports.  It has been hazardously hot and humid and the limited airflow in the barn has not been pleasant, but not as bad as working on the doors in the direct sunlight.  My friend Nick came over and helped me move the engine stand from one small barn room and into the tack room and install the differential on the engine stand.  It involved some careful maneuvering to make sure nothing was damaged during the move.  

 The scope of this entire project has seemed impossible, however with the help of the forums I just focus on how to make incremental progress and solve each new problem one step at a time, as it arises.  Despite having ridden and driven C3 Corvettes my entire life, I had no knowledge of their suspension until I began this project, so there has been a lot of learning in a short amount of time.  

I needed to figure out the condition of the side yokes, so I finally ordered a dial indicator and stand.  I've wanted one for quite a while and now was finally the time.  

After draining the oil overnight, the first thing to do was to measure the end play on the side yokes.  I found the driver side had .037" and the passenger side had .043".     


After opening up the differential I was very glad to see that the ends of the splines appeared to be in good shape at first glance.  When my mower broke the keyway on the wheel spindle I had to borrow a set of strong ring pliers.  When our friends that owned Branham's Trucking Co. sold out and closed their doors, Dad and I had gone to their auction at the end of 2021 and I picked up their shops C-ring pliers and this was the first chance I'd had to use them.

The yokes slid right out with no problem.  They had the slightest of resistance which gave way with a gentle tug.  The bearing surfaces appeared to be in good shape.

The tips of the splines also appeared to be in good order as well.  The measurement from the inside edge of the c-clip groove to the end of the spline was .186" on the driver side and .180" on the passenger side, which is within specs.  It was a big relief to find them in such good condition because remanufactured side yokes have become very difficult to source. 

Before taking everything apart I spun the rear end and it all moved freely and there was no feeling of bad bearings.  Visual inspection of the bearings didn't show any problems either.

The center pin did show some signs of wear, but nothing that was concerning.

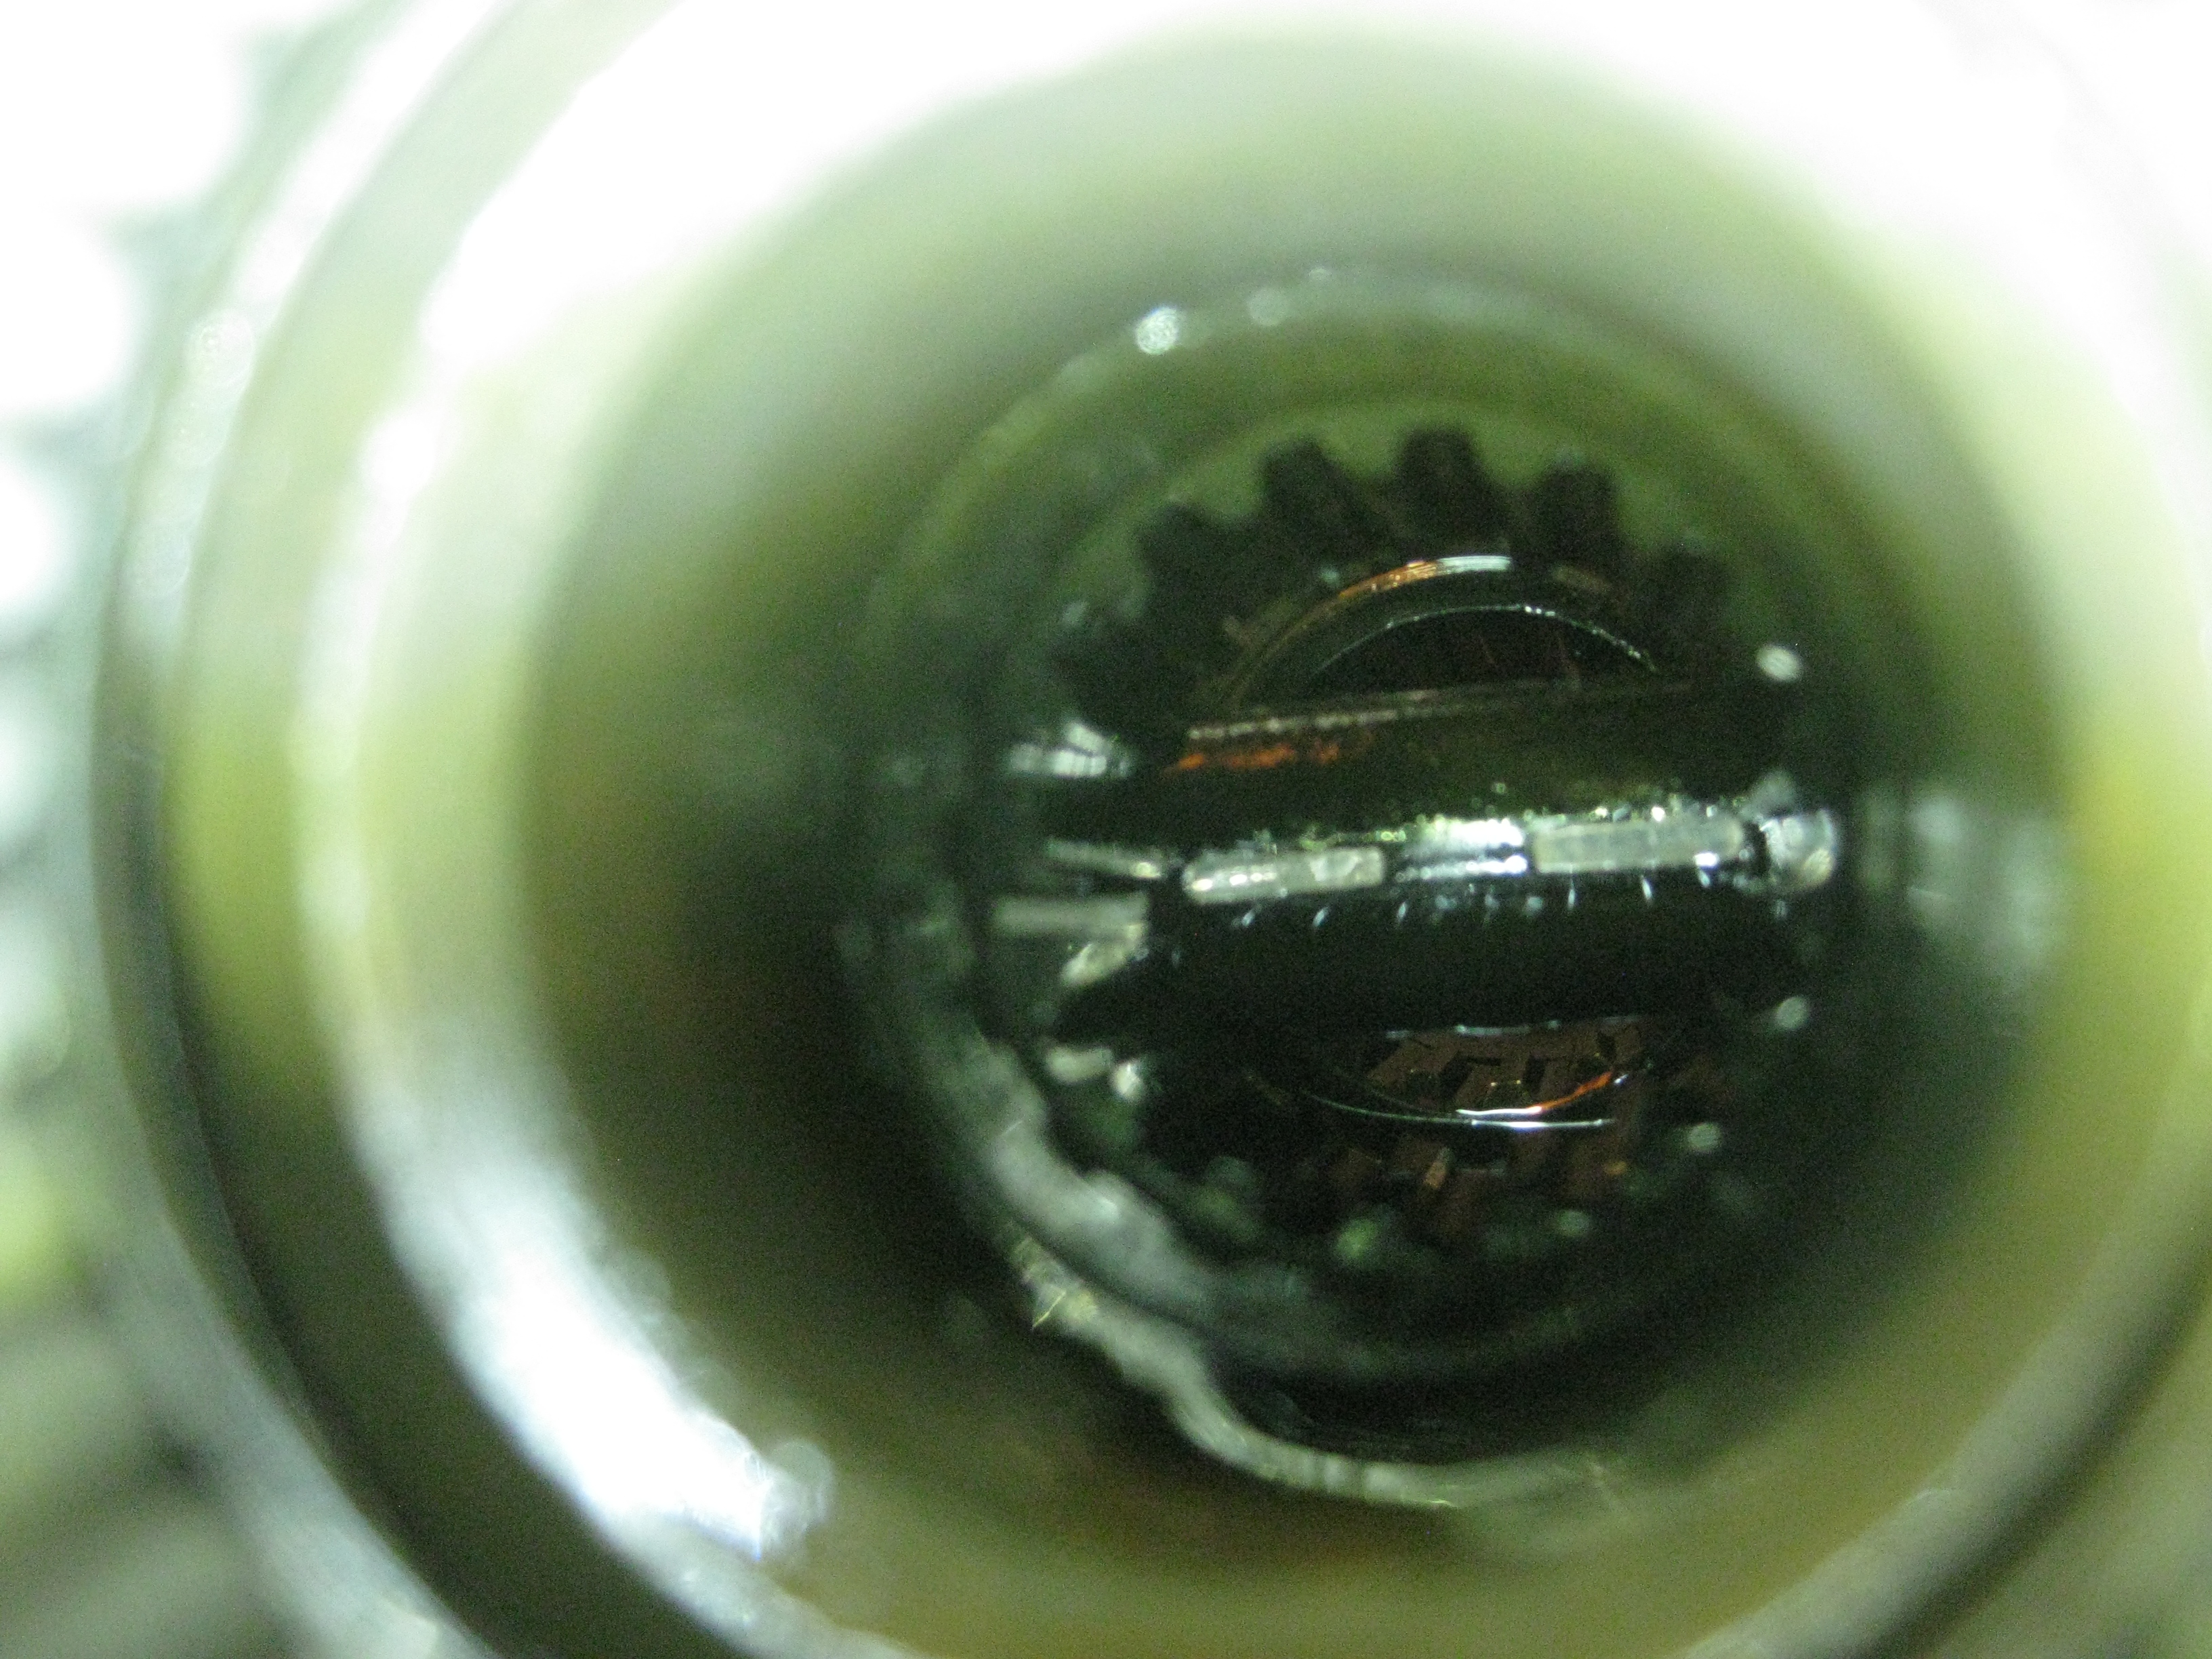
Then I moved on to checking the backlash on the ring gear.  It measured .011", which thankfully was good.  I also tested the backlash on the pinion yoke and it has 0 endplay.

Even though the side yokes were in good condition, I still had a problem.  The u-bolt straps were all seized inside the holes and my drill press kicked the bucket a while back. These straps were the original cause for this quick u-joint replacement turning into a nightmare.  One of the nuts had also rounded off back when I was trying to remove it while on the car.  This step was extremely frustrating because no matter how I mounted the yoke in the vise it would not hold itself square.  I also did not want to clamp down too hard and risk breaking it.  First, I had to try to get the rounded nut off. I finally got a socket to bite it, but then the bolt began to turn.  I eventually had to grind down the backside and hammer it out with the nut still seized.

The process for the rest of them was similar.  I had to heat the yoke, then grab the stud with vice grips and try to work it back and forth.  I had been periodically soaking the studs with penetrating oil for several days.  Eventually after heating and working it back and forth I would be able to get the stud to twist back and forth just a little.

After it began to twist just a little bit I knew it had broken the rust bond, so I would use a punch and drive it out, which did not work well even when I supported the bottom of the yoke.  It was definitely an exercise in patience. 

After a whole lot of heating, and vice-gripping, and hammering, readjusting the vice and going to the house to get a flyswatter to kill the legion of hornets which were trying to build a nest next to the light bulb over my head, all 8 studs finally left home for the first time since 1975.

Finally, the differential inspection was complete.  I did accidentally hit the metal shield once with a hammer and bent it, but I was able to bend it back into shape so it will be usable.  I was really afraid of this step and afraid that I would not be able to remove the studs without damaging the yokes and I'm very thankful this is over.
 
The next steps will be checking the rear wheel bearings to see if they are good.  If they are, I hope to be able to only replace the trailing arm bushings, as I don't currently have the budget for this car to replace the entire trailing arm assembly.  Also, I will need to remove all 6 u-joints and replace them, hopefully without bending or breaking anything.  Until then, the '75 will have to hang out in the barn while summer continues to pass by.


Saturday, June 1, 2024

The Differential Equation

 This project has moved very slowly due to weather, family and other projects happening simultaneously.  Among other things, I am concurrently building double bypass sliding barn doors for two carports.  I've been coming down to the barn and whittling away at this project as I'm able.  Unfortunately, most of the time I forget to bring the camera.  

 As I feared in the last entry, cutting was the only option to remove the shock mount bolts.  It required buying some large cut off discs, which also meant I had to take the safety guard off of the cutting wheel.  I really don't like this as I've had a wheel explode on me before so I'm a bit skittish of using angle grinders with no guard.  This is a catch 22 situation because one thing that causes cut off discs to explode, is cutting while not holding them true to the angle being cut.  Since I have no guard, I'm definitely not going to be able to position myself to best see the angle which I am cutting.  I was able to use three cuts to remove the bolt.  Two just on the inside of the arms and one to severe the strut rod.  After prying out the middle part of the bolt, I put the nut back on the end of the stud and used the impact to pull the rearward piece out.

I had to drive the forward piece out with a punch.

Unfortunately, accessibility is not always the best.  On the driver's side I accidentally cut into the rear spindle support.  I believe this part will now have to be replaced, which opens up a whole new can of worms.

The strut rod brace, attached to the bottom of the differential housing, came out with no problems.  It seems that the only badly rusted areas were bolts that were very close and in direct line of sight to the moist concrete over the years.  After disconnecting the front driveshaft, I moved onto the crossmember support.  I had been soaking these for many days in anticipation, however they still required the puller.  I am thankful for the advice from The Corvette forum, because pullers are not something I've owned or used with regularity and so it would not have naturally occurred to me to use this as a solution.  The puller made very easy work of separating the crossmember from the car.  I tried a pry bar just out of curiosity and it was not doing much good.  I unscrewed the bolts about 1/2" and when the crossmember came loose it was able to hang from the bolt until I could get a support under the differential.

After some trial and error I was able to find a position that allowed the jack to get under the differential.  I then used a ratchet strap to hold the rear end to the jack because the balance was not even and it would have fallen off immediately.  I was afraid of it falling onto the exhaust and damaging it.  For a while I feared I was going to have to cut the exhaust off and have it re-installed later, I was eventually able to leave the exhaust intact.

This was a very slow process of lowering, observing and moving the jack.


I could have removed the crossmember after lowering the differential, but I left it because it was not interfering with anything or causing problems while lowering the rear end.  It was various parts of the housing itself that were the problem, and by leaving the crossmember attached it allowed me to have a greater leverage point to maneuver and position the rear end while snaking it out of the car.


 After taking my time, and a whole lot of sit ups, I was able to successfully separate the rear end from the car.


 I had to remove the crossmember in order to pull the differential back to the tack room where the workbench is.  It was a very narrow passage.

 It was almost as tight getting the jack through the passage way as it was getting the rear end out of the car.

 Finally, I was able to get the differential on the workbench.  Now is time to do more research.  Since I've been tied up with other issues (among others, I had two AC units go bad at one time) it has been tempting to begin researching the next step too soon.  I have learned from previous projects that I must be patient.  Often, if I begin researching steps before I'm ready for them, I then forget the information when I'm ready for it and it's very hard to try to reread and relearn things I recently already spent time researching.  So now that I've finally got the differential out it's time to research the next steps.  I've ordered a dial indicator so I can measure the run out of the side yokes.  I can tell already that the endplay is too much, but I'll need to measure the new ones when they're installed and just for the sake of curiosity, I'd like to know exactly how much endplay is in the old ones.  Given what I've read online so far, it also seems like it would be foolish to be this far in and, given the condition of all the other rubber and bushings in the car, not remove and rebuild the trailing arms and associated bushings.