Monday, July 1, 2024

Trailing Arm of Tears

 The next step was to remove both trailing arms.  I only have pictures of the passenger side, as I did it first, but both came off essentially the same.  The first steps are to remove the rotors, hard and soft brake lines, the caliper, the parking brake cable and the shock.  Fortunately, since I'd just had all new brakes put on, most of these came out easily.  The front fitting on the hard brake line was seized to the nut, so I had to loosen the rear and then bend it to spin it free.  I'll likely need to get new brake hard lines, and I already have new hoses ready to install.


 I'm not sure exactly how old these shocks are, but I'd say that "old" is a good description.  I know for a fact they are minimum of 45 years.

 I had been soaking these bolts for several days with penetrating oil and found that the nut came off relatively easy.  I left it in place while trying to hit the bolt loose.  I found that the cotter pin for the trailing arm nut was just slid into the hole and was never bent to lock it into the place.  I found the same thing on the cotter pin for the shims.  At least the driver's side cotter pins were installed correctly.

I hammered the fire out of this bolt, but it was absolutely not going to budge.  Protection on the dog log of the fender is definitely good insurance.

These were my weapons of choice.  I've had this upper control arm shaft for years.  I kept it when I replaced the suspension on some project years ago.  I put the nuts on the end and use it as a driver.  I don't use it often, but when I do need it it's often the only thing to get the job done.  It also allowed me to keep the hammer a good distance away from the fender.

Since the bolt wasn't moving, I proceeded to remove the shims.  They didn't pose too much trouble, and after removal I bound them together with tape and labeled their location.

After a lot of hammering I though the bolt finally came free, but as it turned out it was only moving back and forth with the control arm since the shims were now removed.  The bolt itself was very stuck to the bushing and arm, so I had to use a sawzall to cut it out.  It's good to remember that you can use a jack to raise and lower the control arm to allowed better reach of the sawzall, either from the top or bottom as needed.  I can't say that the job was easy, but considering how tight the spaces are I have to say cutting the bolt out wasn't as bad as I was expecting.  After removing the trailing arm assembly the piece of bolt left inside the bushing did not want to come out of the trailing arm at all.  I'm afraid trying anything further may damage the arm, and I don't want to do that because I'll need to exchange it as a core for the replacement.  From what I have read even if the bearings are good the original grease inside of them should be replaced.  In order to do that, the bearings need to be removed.  If they are removed, they should be replaced.  To replace them, special tools are needed and given the condition of the parking brake and the front bushings, which also require special tools to replace, the easiest solution seems to be replacement.  At least I can use my current arms as cores.  If I try to do the work myself and damage them, then I would have no core to exchange.


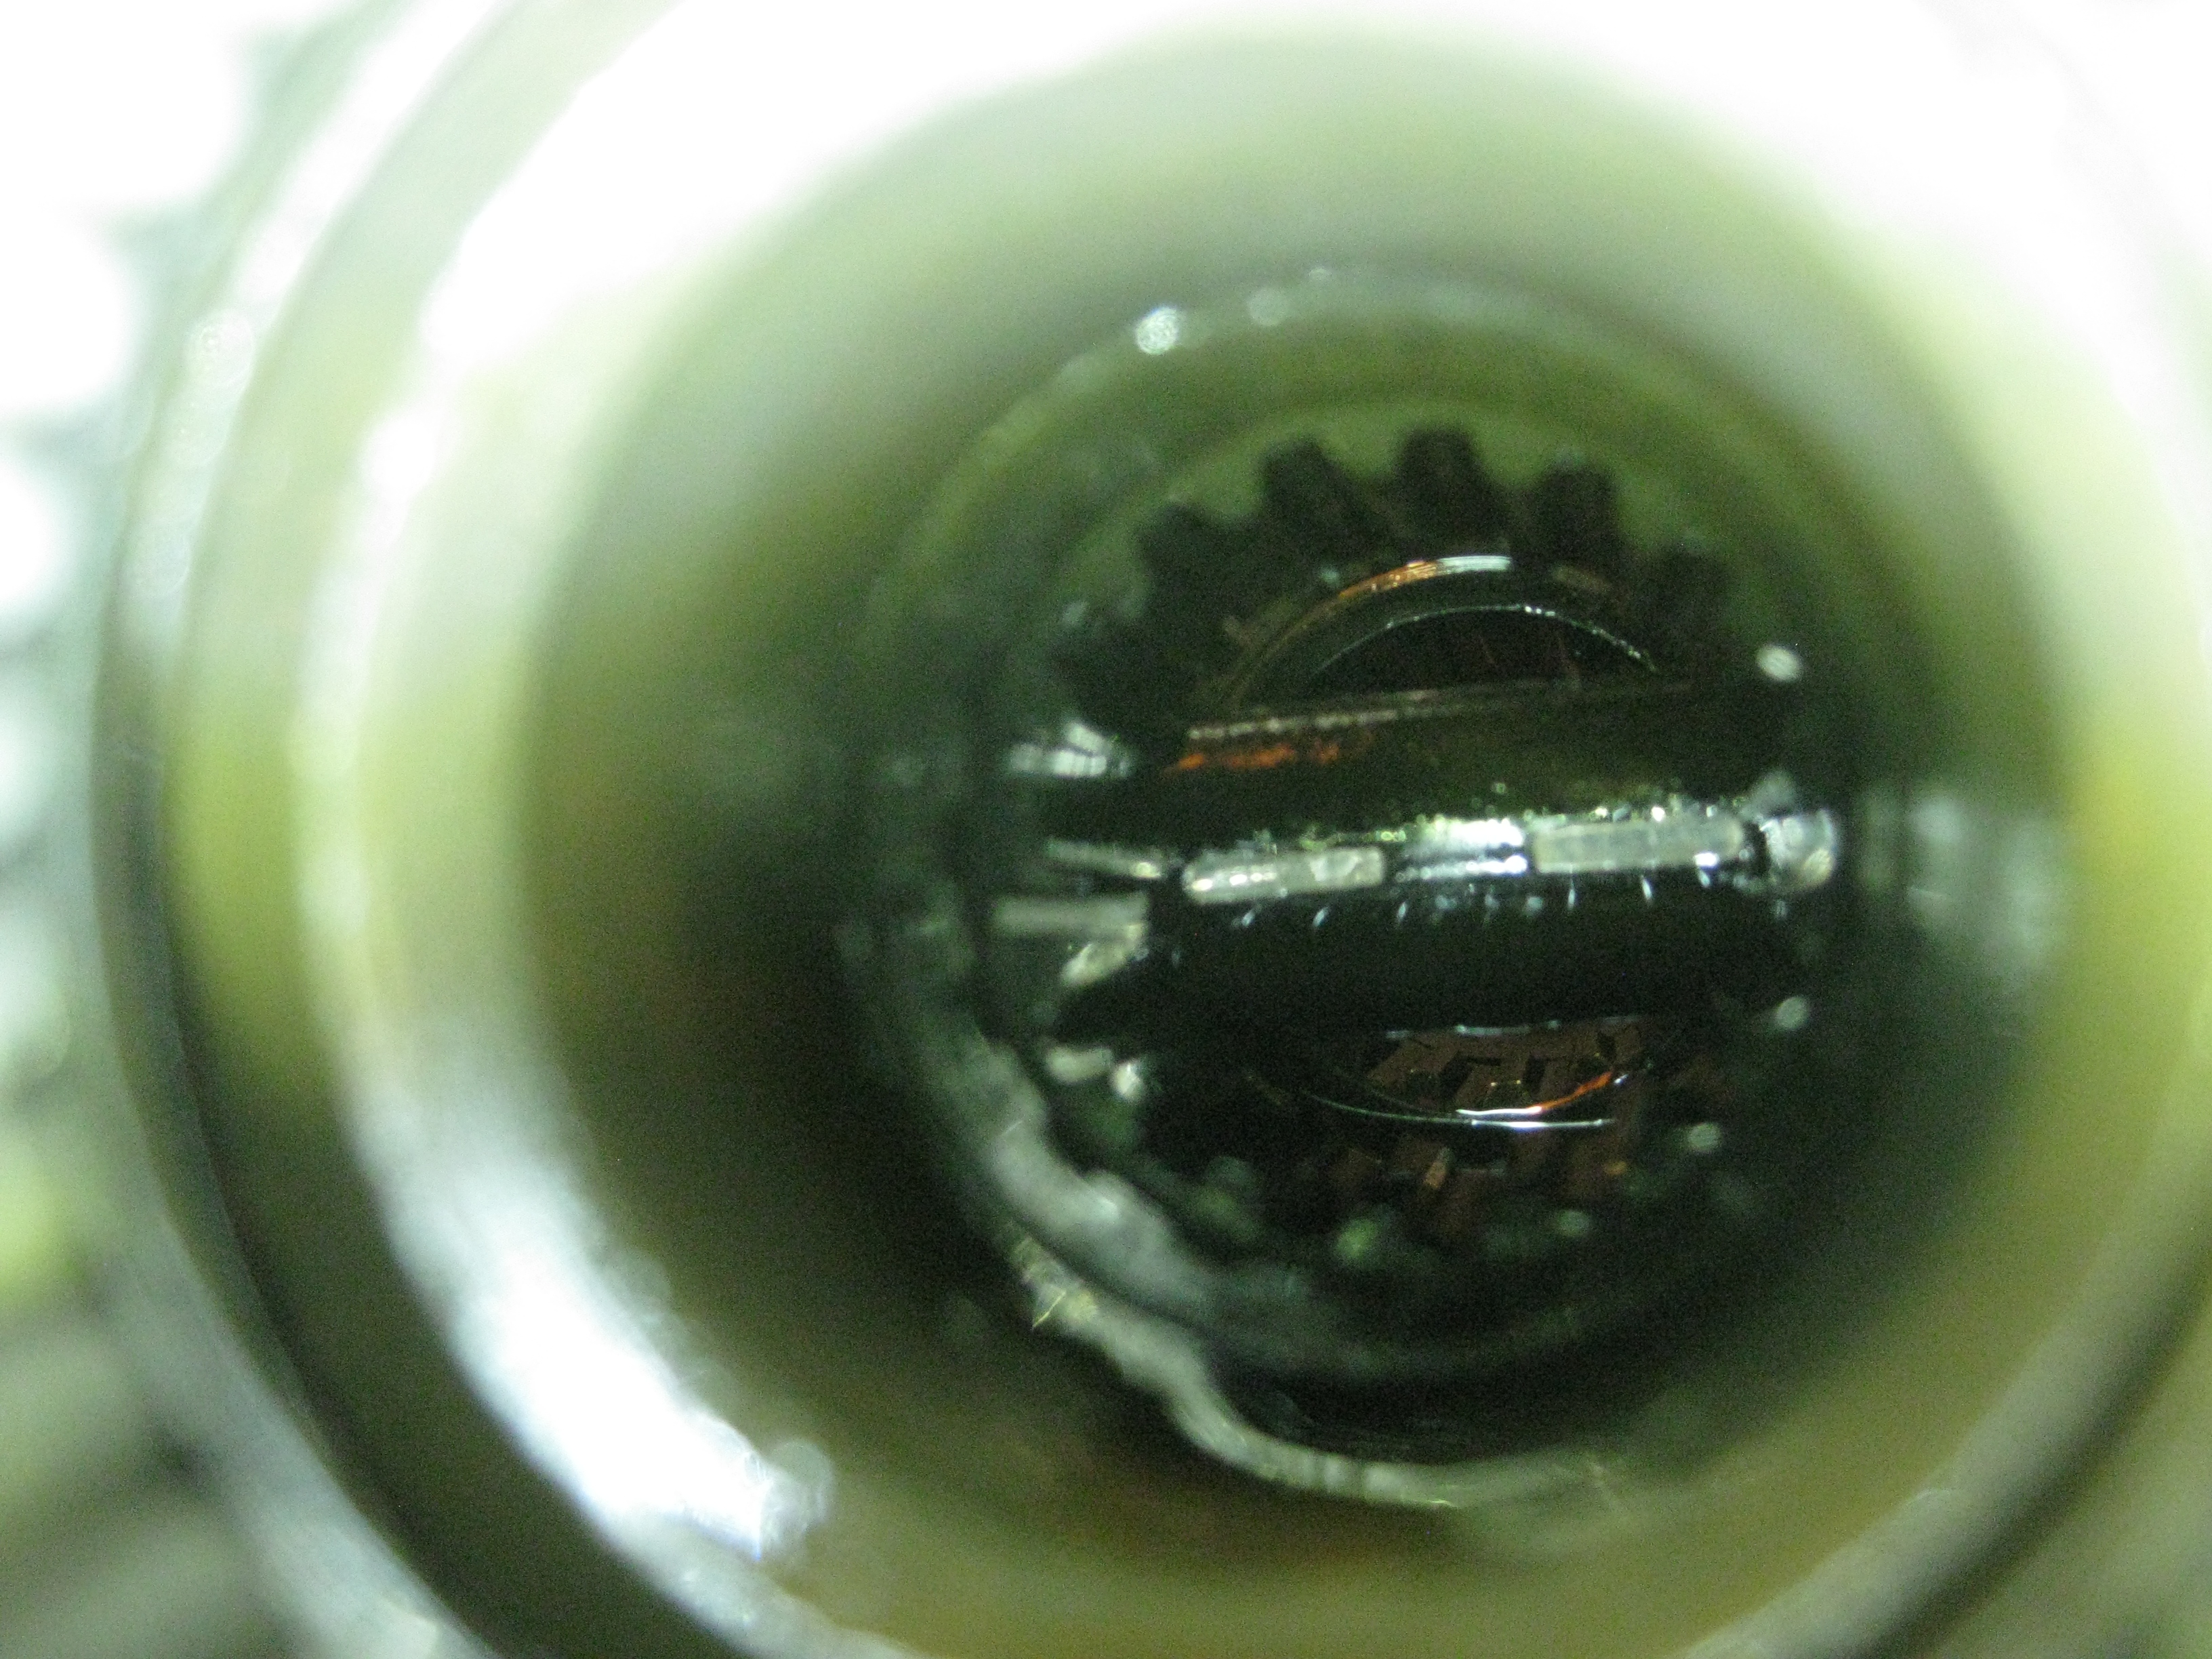
This is a close up of the control arm bushings. 


I was glad to find the control arm pocket appeared to be in good shape.


 Here's the empty cavity after everything was removed.  The driver side added one level of difficulty because the inside shim would not budge and I had to cut the bolt out with the shim in place.  I broke a blade on that side but eventually cut through it.  While I'm waiting on all of the new parts to come in I'll clean up all of the exposed frame areas and the control arm pocket.  Likely, I'll scuff all of the areas and then spray them down with Ospho, followed by primer and paint.  I've been keeping a list of parts but now it's time to go over it several times so hopefully I don't leave anything out and have to pay for shipping twice.


Wednesday, June 19, 2024

My Yoke is Easy

 Once again, the pictures belie the amount of time and work that went into the following steps.  This took place over the course of 2 and 1/2 weeks.  Among other things I've also been building sliding barn doors for the carports.  It has been hazardously hot and humid and the limited airflow in the barn has not been pleasant, but not as bad as working on the doors in the direct sunlight.  My friend Nick came over and helped me move the engine stand from one small barn room and into the tack room and install the differential on the engine stand.  It involved some careful maneuvering to make sure nothing was damaged during the move.  

 The scope of this entire project has seemed impossible, however with the help of the forums I just focus on how to make incremental progress and solve each new problem one step at a time, as it arises.  Despite having ridden and driven C3 Corvettes my entire life, I had no knowledge of their suspension until I began this project, so there has been a lot of learning in a short amount of time.  

I needed to figure out the condition of the side yokes, so I finally ordered a dial indicator and stand.  I've wanted one for quite a while and now was finally the time.  

After draining the oil overnight, the first thing to do was to measure the end play on the side yokes.  I found the driver side had .037" and the passenger side had .043".     


After opening up the differential I was very glad to see that the ends of the splines appeared to be in good shape at first glance.  When my mower broke the keyway on the wheel spindle I had to borrow a set of strong ring pliers.  When our friends that owned Branham's Trucking Co. sold out and closed their doors, Dad and I had gone to their auction at the end of 2021 and I picked up their shops C-ring pliers and this was the first chance I'd had to use them.

The yokes slid right out with no problem.  They had the slightest of resistance which gave way with a gentle tug.  The bearing surfaces appeared to be in good shape.

The tips of the splines also appeared to be in good order as well.  The measurement from the inside edge of the c-clip groove to the end of the spline was .186" on the driver side and .180" on the passenger side, which is within specs.  It was a big relief to find them in such good condition because remanufactured side yokes have become very difficult to source. 

Before taking everything apart I spun the rear end and it all moved freely and there was no feeling of bad bearings.  Visual inspection of the bearings didn't show any problems either.

The center pin did show some signs of wear, but nothing that was concerning.

Then I moved on to checking the backlash on the ring gear.  It measured .011", which thankfully was good.  I also tested the backlash on the pinion yoke and it has 0 endplay.

Even though the side yokes were in good condition, I still had a problem.  The u-bolt straps were all seized inside the holes and my drill press kicked the bucket a while back. These straps were the original cause for this quick u-joint replacement turning into a nightmare.  One of the nuts had also rounded off back when I was trying to remove it while on the car.  This step was extremely frustrating because no matter how I mounted the yoke in the vise it would not hold itself square.  I also did not want to clamp down too hard and risk breaking it.  First, I had to try to get the rounded nut off. I finally got a socket to bite it, but then the bolt began to turn.  I eventually had to grind down the backside and hammer it out with the nut still seized.

The process for the rest of them was similar.  I had to heat the yoke, then grab the stud with vice grips and try to work it back and forth.  I had been periodically soaking the studs with penetrating oil for several days.  Eventually after heating and working it back and forth I would be able to get the stud to twist back and forth just a little.

After it began to twist just a little bit I knew it had broken the rust bond, so I would use a punch and drive it out, which did not work well even when I supported the bottom of the yoke.  It was definitely an exercise in patience. 

After a whole lot of heating, and vice-gripping, and hammering, readjusting the vice and going to the house to get a flyswatter to kill the legion of hornets which were trying to build a nest next to the light bulb over my head, all 8 studs finally left home for the first time since 1975.

Finally, the differential inspection was complete.  I did accidentally hit the metal shield once with a hammer and bent it, but I was able to bend it back into shape so it will be usable.  I was really afraid of this step and afraid that I would not be able to remove the studs without damaging the yokes and I'm very thankful this is over.
 
The next steps will be checking the rear wheel bearings to see if they are good.  If they are, I hope to be able to only replace the trailing arm bushings, as I don't currently have the budget for this car to replace the entire trailing arm assembly.  Also, I will need to remove all 6 u-joints and replace them, hopefully without bending or breaking anything.  Until then, the '75 will have to hang out in the barn while summer continues to pass by.


Saturday, June 1, 2024

The Differential Equation

 This project has moved very slowly due to weather, family and other projects happening simultaneously.  Among other things, I am concurrently building double bypass sliding barn doors for two carports.  I've been coming down to the barn and whittling away at this project as I'm able.  Unfortunately, most of the time I forget to bring the camera.  

 As I feared in the last entry, cutting was the only option to remove the shock mount bolts.  It required buying some large cut off discs, which also meant I had to take the safety guard off of the cutting wheel.  I really don't like this as I've had a wheel explode on me before so I'm a bit skittish of using angle grinders with no guard.  This is a catch 22 situation because one thing that causes cut off discs to explode, is cutting while not holding them true to the angle being cut.  Since I have no guard, I'm definitely not going to be able to position myself to best see the angle which I am cutting.  I was able to use three cuts to remove the bolt.  Two just on the inside of the arms and one to severe the strut rod.  After prying out the middle part of the bolt, I put the nut back on the end of the stud and used the impact to pull the rearward piece out.

I had to drive the forward piece out with a punch.

Unfortunately, accessibility is not always the best.  On the driver's side I accidentally cut into the rear spindle support.  I believe this part will now have to be replaced, which opens up a whole new can of worms.

The strut rod brace, attached to the bottom of the differential housing, came out with no problems.  It seems that the only badly rusted areas were bolts that were very close and in direct line of sight to the moist concrete over the years.  After disconnecting the front driveshaft, I moved onto the crossmember support.  I had been soaking these for many days in anticipation, however they still required the puller.  I am thankful for the advice from The Corvette forum, because pullers are not something I've owned or used with regularity and so it would not have naturally occurred to me to use this as a solution.  The puller made very easy work of separating the crossmember from the car.  I tried a pry bar just out of curiosity and it was not doing much good.  I unscrewed the bolts about 1/2" and when the crossmember came loose it was able to hang from the bolt until I could get a support under the differential.

After some trial and error I was able to find a position that allowed the jack to get under the differential.  I then used a ratchet strap to hold the rear end to the jack because the balance was not even and it would have fallen off immediately.  I was afraid of it falling onto the exhaust and damaging it.  For a while I feared I was going to have to cut the exhaust off and have it re-installed later, I was eventually able to leave the exhaust intact.

This was a very slow process of lowering, observing and moving the jack.


I could have removed the crossmember after lowering the differential, but I left it because it was not interfering with anything or causing problems while lowering the rear end.  It was various parts of the housing itself that were the problem, and by leaving the crossmember attached it allowed me to have a greater leverage point to maneuver and position the rear end while snaking it out of the car.


 After taking my time, and a whole lot of sit ups, I was able to successfully separate the rear end from the car.


 I had to remove the crossmember in order to pull the differential back to the tack room where the workbench is.  It was a very narrow passage.

 It was almost as tight getting the jack through the passage way as it was getting the rear end out of the car.

 Finally, I was able to get the differential on the workbench.  Now is time to do more research.  Since I've been tied up with other issues (among others, I had two AC units go bad at one time) it has been tempting to begin researching the next step too soon.  I have learned from previous projects that I must be patient.  Often, if I begin researching steps before I'm ready for them, I then forget the information when I'm ready for it and it's very hard to try to reread and relearn things I recently already spent time researching.  So now that I've finally got the differential out it's time to research the next steps.  I've ordered a dial indicator so I can measure the run out of the side yokes.  I can tell already that the endplay is too much, but I'll need to measure the new ones when they're installed and just for the sake of curiosity, I'd like to know exactly how much endplay is in the old ones.  Given what I've read online so far, it also seems like it would be foolish to be this far in and, given the condition of all the other rubber and bushings in the car, not remove and rebuild the trailing arms and associated bushings. 

Saturday, May 11, 2024

86 the 75

When my father died, I inherited three of his older cars.  One was a 1975 4 speed Corvette he had owned for 45 years.  I used to drive it some when I was younger.  When I was younger still, I can remember sitting between my mother and father, before seat belt laws, and shifting as he would instruct me which gear to go to next.  It has not been driven for 15 years, and has been sitting dormant in a barn with concrete floors.  It is finally time to wake it up.  The years are flying by and my children have never ridden in the car.  It's time for them to shift the gears.

Those floors did not do Old Blue any favors and a selected number of nuts and bolts under the car have taken on the per-marxist American matrimonial social milieu; They will not separate no matter the circumstances.

 I am limited on the time I can spend working on the car, and all of my tools are completely disorganized from a recent move, so just getting to work on the car has been difficult and frustrating.  I miss knowing where all my things are located.  I began by dragging the car out, loading it on a trailer and hauling it to my mechanic where he replaced the master cylinder, calipers and rotors.  I then got new tires and drove it for a couple days before the half shaft U-joints started to communicate that they were considering changing occupations and gave far less than a two week notice.  I swept the floor and drove the car back into the barn, put it on jack stands and began to remove the half shafts.  


I don't have pictures of the half shaft removal as I forgot to take my camera several times when going to the barn.  Removing the nuts from the U-joint straps was a nightmare.  I did finally get them to loosen, however they remained very difficult to turn the entire way out, requiring that I hook two box end and crescent wrenches together for leverage.  After working on them for several hours over the course of a few days I had the nuts off, but it did no good.  The straps were practically welded to the U-Joints.  I had gone to the barn numerous days in a row to soak the bolts and nuts with penetrating oil in preparation.  I tried heat, and prying, and hammering and nothing made any progress.  I finally had to cut the straps off.  Fortunately, the bolts on the wheel-side flanges were not as difficult.  Though I had removed the spare tire and carrier to remove the driver side nuts on the yoke, I had left the top spare tire plate in place.  At this point I realized we were at war so I went ahead and fully removed all of the spare tire accoutrements.  I used a paint marker on the half shafts to mark everything so I can reinstall it back from wench it came and at long last, sat the half shafts aside, knowing that soon fate will have us meeting again as I try to remove those U-joints from the half shafts.  That will be a problem to figure out in the future.  I've not yet decided if I'm going to attempt to make my own brace for the flanges or buy one.  The brace keeps the flanges from bending when the U-joints are pressed out.  As one might imagine, the U-bolt studs left in the yokes on the differential after I cut the straps will not come out of the yokes.  I will have to remove the yokes from the differential, which means I will now have to pull the differential.  The fun and enjoyment are spiraling out of control.

The next step was to remove the transverse leaf spring pack.  Although I have driven this car for many years, and many years ago, I have never turned one wrench on this car, so this was all new to me.  The car was always very reliable and never broke down or needed anything outside regular maintenance.  I used a pair of vice grips (real, legitimate vice grips, because the stamping on the side says as much) clamped to the spring to allow the jack to take the pressure off of the leaf spring bolt without slipping and causing me to have to learn how to type with one hand.

Once the pressure was off of the bolt I tried to turn the bolt and to no ones surprise, nothing happened.  I tried the limited edition breaker bar extended cut, but it was actually bending my breaker bar, so it didn't take me long to decided to cut the bolt, and that's what I did.  Both of them.

Next would be the center spring pack mounting bolts, but first I loosed the exhaust hanger in the rear and in the middle of the car.   I couldn't understand why my spring pack looked different than all of the other ones I saw pictures of online.  After closer examination I realized that my spring pack had a plate, of sorts, clipped underneath it.  I used a screwdriver to remove the rear and a single bolt was holding it in the front.  After removal, it looked much more familiar to what I'd seen on the internet.

Unfortunately, before I even began turning a bolt I noticed a big crack in one of the mounting flanges.  As I feared, it was completely broken off.  I suppose I'll also have to purchase a new differential cover.  Fortunately, I was able to get the bolt out of the broken tab because after the broken tab turned a bit, it wedged nicely against the springs and allowed the bolt to come out.  All of the other bolts came out with no fanfare.  I removed the springs, using the jack to prevent them from falling on the now-unsupported exhaust and sat them to the side. 

All of preceding took place over several days.  At this point a giant storm hit with tornadic winds and flash flooding.  There is a creek next to the barn and it quickly rose to levels I've never seen in my lifetime.  The water came out of the banks and water did get into the barn.  Unfortunately, all of my tools were on the floor of the barn.  After finishing the spring pack removal, and knowing it would be a few days before I could return, I had put everything that would fit back in my tools box, so nothing was completely ruined, however I did have to completely clean and oil every single tool I had taken to the barn, which at this point was substantial.  This was a long and tedious process.  Fortunately, nothing was damaged, and none of the cars in the barn were effected.  The worst part was that the barn floor was quite damp and muddy, which I couldn't clean until it dried.  The middle of the barn dried quickly, so the pictures look decently dry, but where I was sitting was wet and muddy.  No tools could be sat on the ground, and I had to make sure no part of me touched the ground or I would have been covered in thick mud.  Fortunately, I had a creeper.  This was the first time water had ever reached this height in over 50 years.

The next step was the camber and shock mount bolts.  I would expect everyone would not be shocked to learn that this bolt has no desire to relocate.

I provided the bolt a deluge of penetrating oil over a period of days, accompanied by heat and hammering.  I put a bolt on the end and used a series of progressively larger hammers ending in a sledge hammer, which did nothing.  In anticipating of one day hoping to remove the upper differential crossmember bolts I had purchased three, two-jawed pullers.  I attempted to use but they also had no effect on the cantankerous bolt.  At this point, I am at a loss of how to remove this.  I have no tools adequate to handle this, and I am considering if cutting it out would be possible.  At this point I am unclear how to proceed.