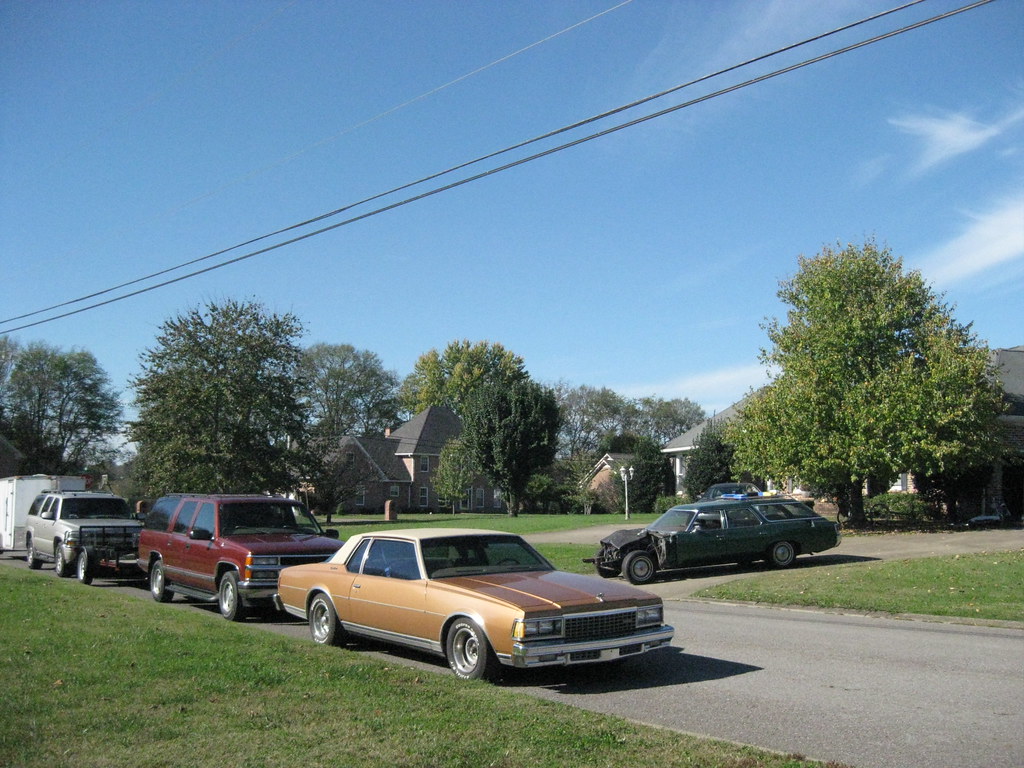
Now that The Caprice was relatively "done," despite some minor things like a new door handle, replacing the plastic ring in the steering column that broke off last February in the 5 degree temperatures when I was installing the new turn signal with cruise control for my cross country trip (having cruise control for a 4000K mile trip in 5 days was worth every miserable moment of laying upside down in the floorboard in weather so cold I had to keep the digital camera in my chest pocket so it would work), and a few other odds and ends things, it was time to, at long last, bring The Wagon, The Clam, back from the dark recesses of the trailer from which it has slept for what has now become many years. My father-in-law was in town one weekend, and while he was there I called Dad and made use of the extra manpower, and Dad's four wheeler to help me move the '37 into the car trailer and The Wagon into the garage. I also rented a storage unit for the '31, because I am absolutely sick and tired of working on cars out in the weather.
The Wagon sees the light of day for the first time in several years.
Before I could even begin moving the cars into place I had to take on the huge project of getting the garage ready, which meant a lot of organizing. Our girls learned to ride bicycles this summer and so I finally convinced Dad to get his bicycle out and start riding it. This was the bike he had when he was 15 and it was in a garbage bag in a rusted heap under his house. It's a 1959 Western Flyer. I stole it about 9 years ago and completely restored it so he could ride it and then he was too afraid to use it so he kept it at his house hung from the ceiling. I finally brought it over to my house and mounted it on my ceiling so he could come ride with the rest of us and the girls this summer. We rode all the way into town several times and on one outing rode about 15 miles. With that mounted up high and out of the way I moved on to cleaning and organizing the rest of the garage, which took about 3 weeks to get to the point that I could start moving the cars around. In anticipation of this project I also finally invested in some decent lighting. I really should have done that sooner.
I was never satisfied with the door alignment so I took them all off and started from scratch. The first time around I had put some caulk-strip under the hinges to try to seal them better and prevent rust. This ended up not being a great idea so I cleaned the area while the hinges were off.
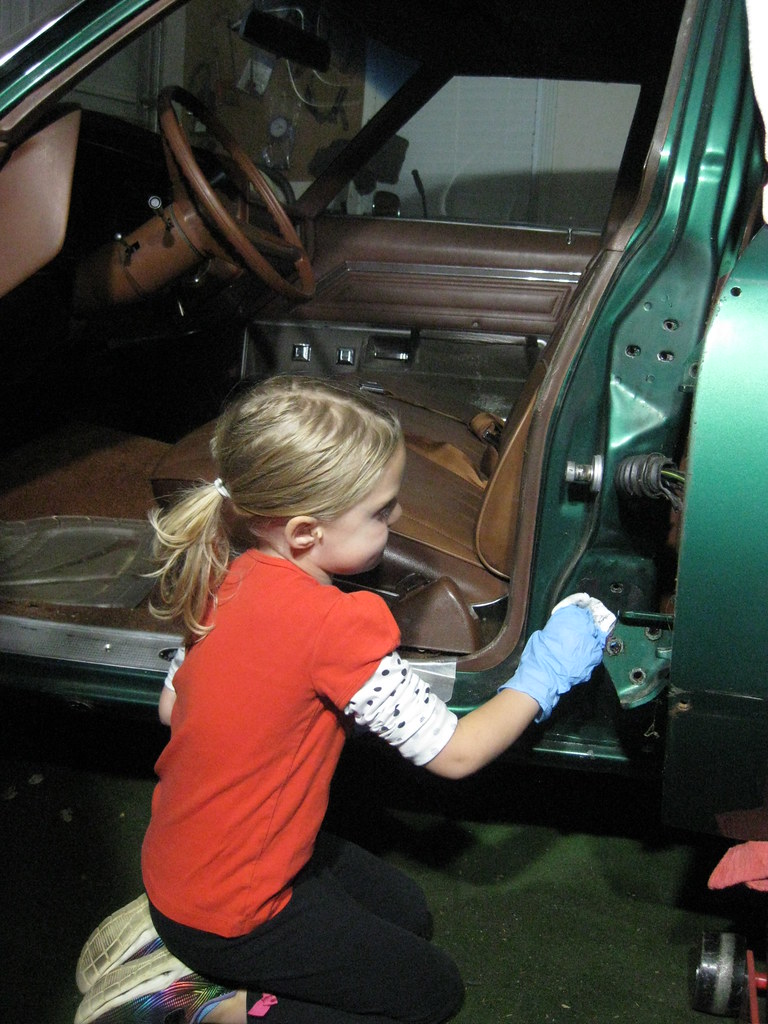
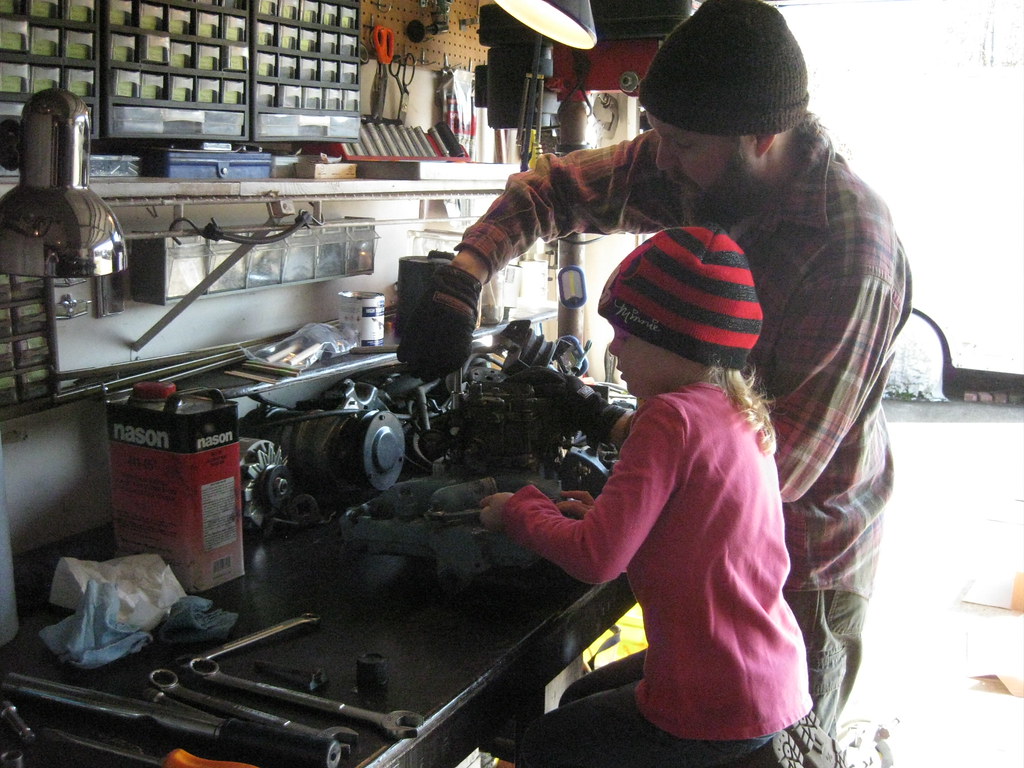
One big difference between now and when I built this car the first time is that our daughters didn't exist the first time around. In fact, I was in a barn removing the windows from this car when I found out April was pregnant with our oldest daughter. Our youngest, Luella, has taken an active interest in working on and building things and has asked on multiple occasions to help with the car. Naturally, things slow down a lot when you're allowing a 5 year old to help, but of course it's worth it.
Dad came over and helped with the alignment of the doors. The driver side went pretty smoothly, but the rear passenger side is very problematic. It will not adjust correctly. It was this way when we got the car, but I plan to try to correct the issue.
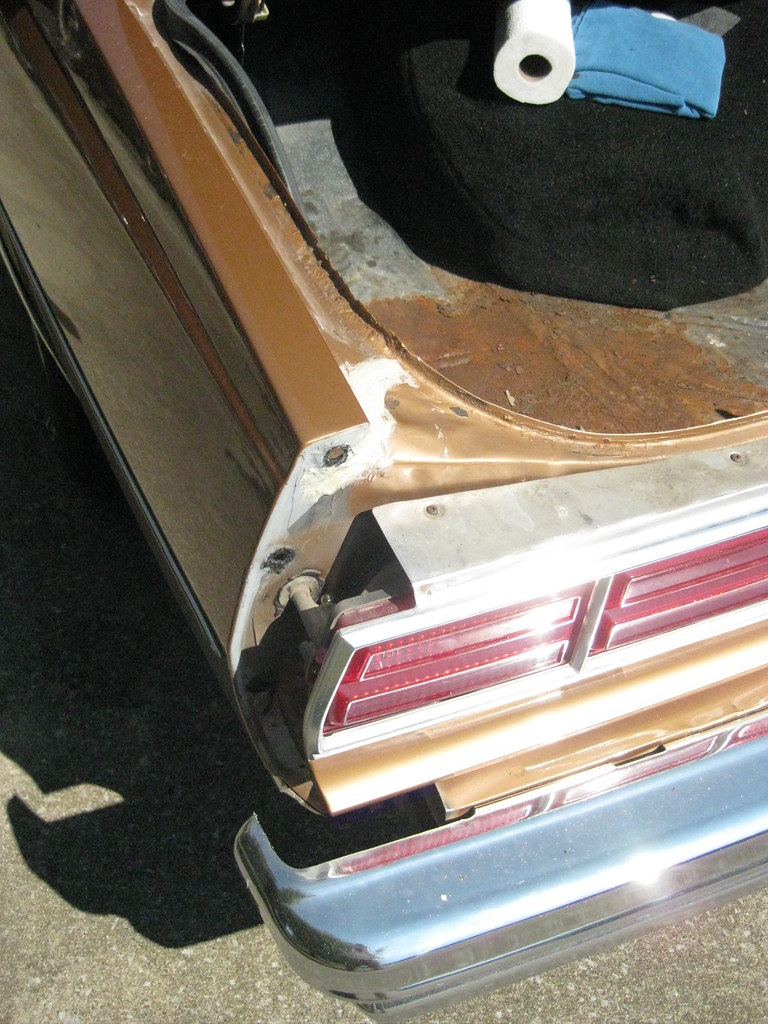
No matter what you do, this is the absolute best you can get the lower dog leg door gap, and even then it throws off the other areas to get it here. The plan is to align the door where it should be and then when the dog leg is removed for rust repair, weld it back to for a correct door gap.
On the first time around I took this car to the best carb guy in the area. It's been too long now for me to remember exactly why, but the end result was the QuadraJet that I have has an issue that rebuilding will not fix. I had ended up buying a new Edelbrock 650 carburetor. When I recently got the car back in the garage I began reading up on the carburetor issue and found out that a QueadraJet is a spread bore carburetor, meaning the butterflies in the front are a different size than the rear and an Edelbrock is a square bore, meaning the butterflies are, roughly, the same size front to rear. This means that my intake manifold will not accept an Edelbrock carburetor without an adapter, and then hood clearance becomes and issue. After reading up a lot on my options I ordered a new Edelbrock Performer intake, which is somewhat of a snowball into ordering a lot of other parts. I'm not looking for performance, but rather a good, reliable, easy to tune carburetor with decent low end torque for daily driving capabilities. I have since found that opinions on how to achieve this vary greatly and no matter what you choose many people on all sides are going to openly voice how stupid they think you are.
I had forgotten just how many brackets this engine has on it. Each accessory seems to have a least three brackets if not more. Fortunately, taking the very heavy cast iron intake off is much easier when there's no sheetmetal on the car. Of course many digital pictures will help when it comes time to put them back in place, otherwise it can be a pretty big puzzle. I believe I'll likely end up having all of the brackets powder coated to match the other parts I had done years ago.
Prepping the intake for paint was no small feat, and finding out a decent paint to use that wouldn't flake off was harder than I'd thought as well. I ended up going with a two stage, high-temp primer from Eastwood that I will follow with regular Pontiac Blue engine paint. Luella helped me clean the surface and prep for paint. Here, compressed air is used to get rid of the lint.
I realized after cleaning the intake that I had forgotten to transfer over all of the fittings. I broke them loose and Luella finished removing them. I wished I had remembered to do that before cleaning the intake.
I also almost forgot that the new intake is aluminum, something that's easier to remember when you go to pick it up. I used aluminum anti-seize on all of the fittings for when the day comes I need to take them out.
With all of the fittings transferred to the new intake, I taped off all of the holes and cut off the excess.
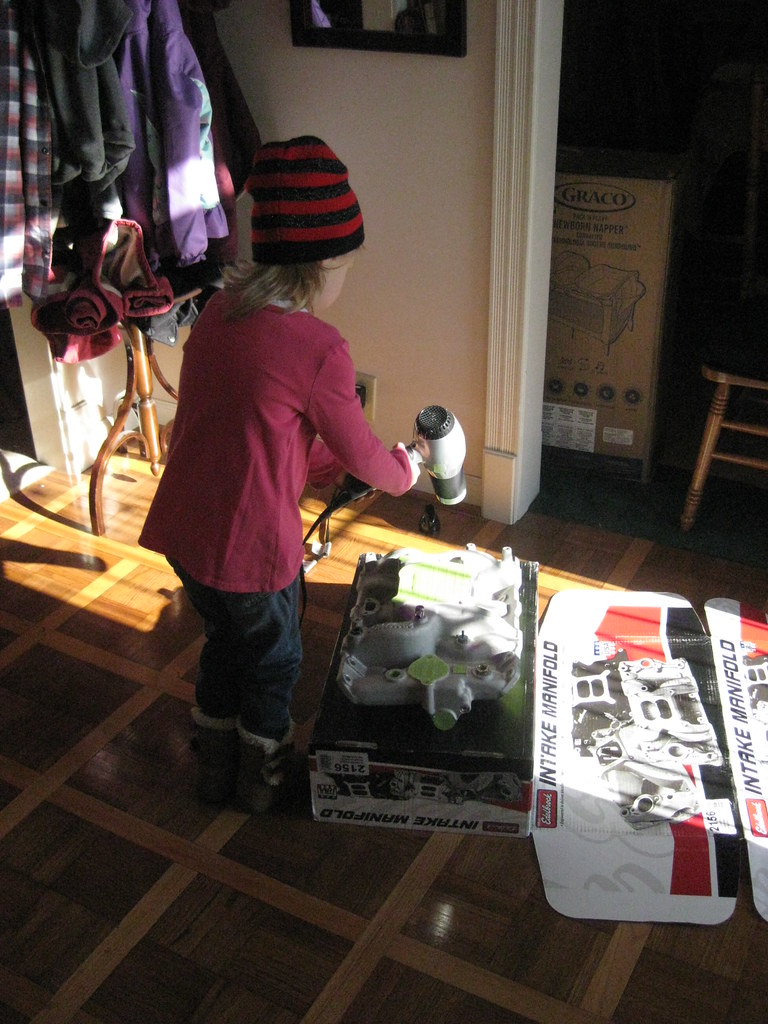
It was warm enough in the sun that we were able to take the intake outside and paint it, and then we brought it back inside to dry.
I also remembered that back when, I had an exhaust leak at the manifolds but I didn't remember which side. They were already looking pretty bad so we removed both of them. I have new gaskets and I'm also going to have them sandblasted and prepped with some better coating so the finish will last longer.
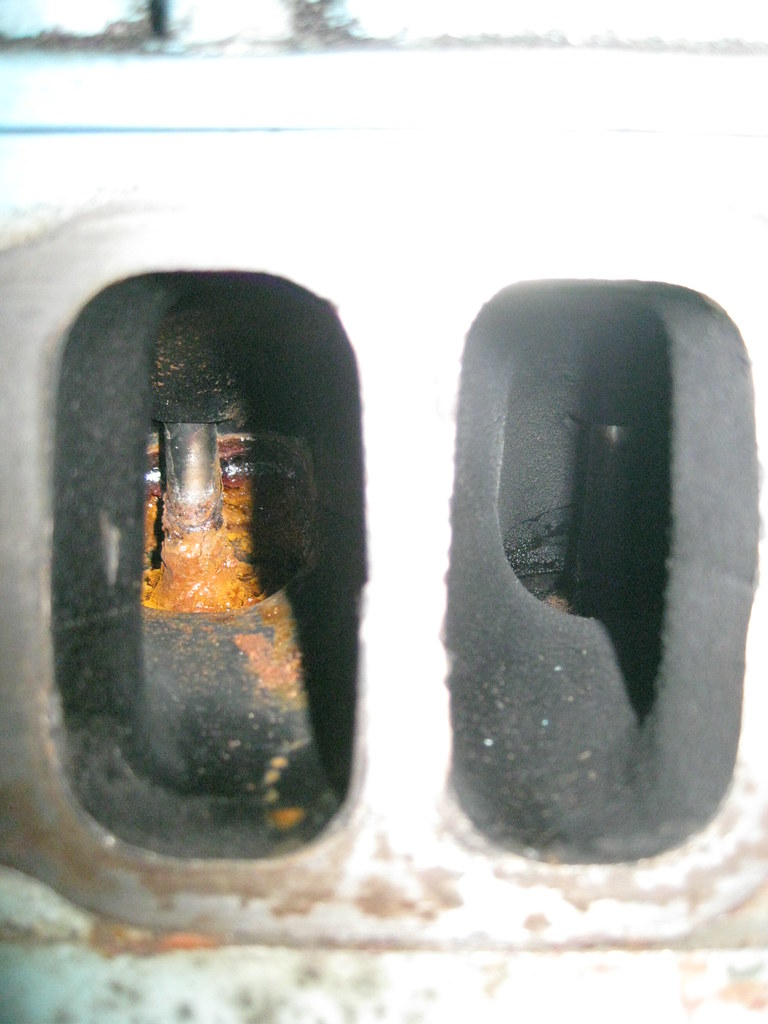
While the intake was off I looked down into the heads to check out the valves and when I did I noticed something that caught my attention. The intake valve on cylinder #2, passenger side front, was covered in rust and crud. It was the only valve like this. I haven't yet figured out what would have caused this. The gaskets don't show signs of having leaked. There is no way water got into the carburetor while it was stored and even if it had, it wouldn't have only effected this one cylinder. Perhaps the intake manifold has an internal crack? I'm not sure, but I'll be investigating further to try to learn more.
